Keyword

TOPIC:

Home Vac Former For making RC car bodies 7 years 11 months ago #38374

some more updates from the last week or so. The vacumm system is in, and the uprights with a raising system for the plastic works (but needs a lot of refinement).


and a short video of the raising/lowering of the plastic in action. This weekend I hope to tidy it up and add in heater at the top.

Please Log in to join the conversation.

Home Vac Former For making RC car bodies 7 years 11 months ago #38375

The following user(s) Liked this: stingray-63

Please Log in to join the conversation.

Home Vac Former For making RC car bodies 7 years 11 months ago #38397

Nice mechanism!
I love mechanics working that smooth! :y: :)
Signature now gets correct formatting if you edit it in your Profile. Use normal BBcode if you want.
www.tamiyabase.com was formatted automatically.

Please Log in to join the conversation.

Home Vac Former For making RC car bodies 7 years 11 months ago #38422

Nice mechanism!
I love mechanics working that smooth! :y: :)

thanks Lars, I ended up using roller bearings to make sure its smooth.


Today I took my perfectly (and near new) oven and cut it in half. This will be re-built for the heating element at the top. Doing it this way means I don't have to do any wiring or make a frame etc.

Please Log in to join the conversation.

Home Vac Former For making RC car bodies 7 years 11 months ago #38455

managed to make a control panel to hold the oven controls. I copied the existing oven panel, but as it looked a little boring, I added a HAL9000 flavour to it.

The following user(s) Liked this: stingray-63, AndyAus

Please Log in to join the conversation.

Home Vac Former For making RC car bodies 7 years 9 months ago #39491

ok, its been a little while, work had been crazy, but at least I have a functioning vac former now. The vacuum pump system isn't working properly yet (too many leaks in the platen), but I have pre-staged it with an industrial vacuum cleaner and that is allowing me to vac form 1 mm ABS, HIPS and PETG. With my current setup 1 mm Polycarb will be out of the question ( more on that later), but I have ordered some 0.375 mm to try.

So this is the current platen design. I machined out small channels that align with the holes drilled in the top, hoping to reduce the amount of air that has to be sucked out. What I eventually figured out is that MDF is highly porous and needs to be sealed! And in fact for my cnc machine I should be able to make a vacuum hold down system for thin sheets using MDF that doesn't have any holes.


This is the clamping system. The metal window frame clamps I'd initially used were useless, so 9 more clamps around the outside. Plus there is a top and bottom layer of 50 grit sandpaper to help grip the plastic. Its working well, but I intend on upgrading the frame to metal.


This is a test for a RX-3 body in 1 mm ABS. The base hasn't formed in too well, but the rest is not bad. Getting the body off was a drama too. I tried pumping in air, but can't generate enough force. I might try a single hole platen design.


Another test, this time using 0.75 mm PETG. Lots of webbing in the corners. This and the ABS should be sorted if I raise it about 30 mm.


What did become clear is I won't be able to vac form 1 mm poly carb. I'll need the vac pump working perfectly, plus the heating system isn't good enough. There is only a 5C window temp, meaning the heating has to be very uniform and steady. Plus it seems in proper industrial vac formers, they push the buck up into the hot plastic sheet. This is to keep the plastic hotter for longer as polycarb loses its heat almost instantly.

However what I did learn while making some masks for a customer is that 3D printed shapes vac form very well. I've been keen on a 3D printer for awhile now, and now plan on ordering one in the next couple of weeks. My budget will mean I'll be limited to a print size of about 200 mm x 200 mm x 150 mm or slightly smaller. And it seems in the price range I'll need to do some modifications to get something decent. Still it should mean I can print a car body in sections which if designed properly I can then vac form with overhangs. This should also be a quicker or at least a less manual method than machining a car body (and cheaper too!)
After some research this is the 3D printer I intend to buy:
CTC 3D printer
The following user(s) Liked this: larbut, stingray-63, Purple_rob

Please Log in to join the conversation.

Last edit: by yogi-bear. Reason: eBay link not working

Home Vac Former For making RC car bodies 7 years 2 months ago #42076

ok, this year I decided its time to improve the vac former I'd made half way through last year. While I can vac form 1 mm HIPS or 0.75 PETG, I can't vac form polycarbonate or thicker ABS, so time for some improvements :D

Issues with the initial vac former included:

- the frame is a very bad design, didn't get a good grip in the plastic,
- I can't get enough heat into the polycarbonate, especially the corners of the frame
- the sliding mechanism would loosen and so the frame would tilt
- there were other issues with air leaks too, so I was never going to achieve high vacuum with the vacuum pump.

So to start with, I made a new metal frame. I ended up going with right angle top and bottom as I want to be able to add in sections later on to hold smaller pieces of plastic sheets. I also switched to toggle clamps to lock down the frame.


Then I made new metal swing arms and mounted them into the vac former. Initially I wanted to use bearings again to help with the mechanism sliding, but in the end a block of wood with graphite powder as lubricant did the trick! This sits firm between the uprights and there is very little movement.


There is still a bit to do, the frame has gaps that need to be filled so there is even pressure around the frame to grip the plastic. I need to upgrade the oven a little and make sure it covers the frame completely, as there wasn't enough heat getting into the corners before. For this I am just going to buy another oven and end up with 8 elements. I'll also make the oven more shallow, I think I have too large an air gap above the elements and its losing too much heat.

My aim is to have this finished within a couple of weeks and to start vac forming a Ford Mk1 Escort in ABS or Styrene in sections.

Anyway a test video of it in action.

Please Log in to join the conversation.

Last edit: by yogi-bear. Reason: spelling mistake

Home Vac Former For making RC car bodies 7 years 2 days ago #43220

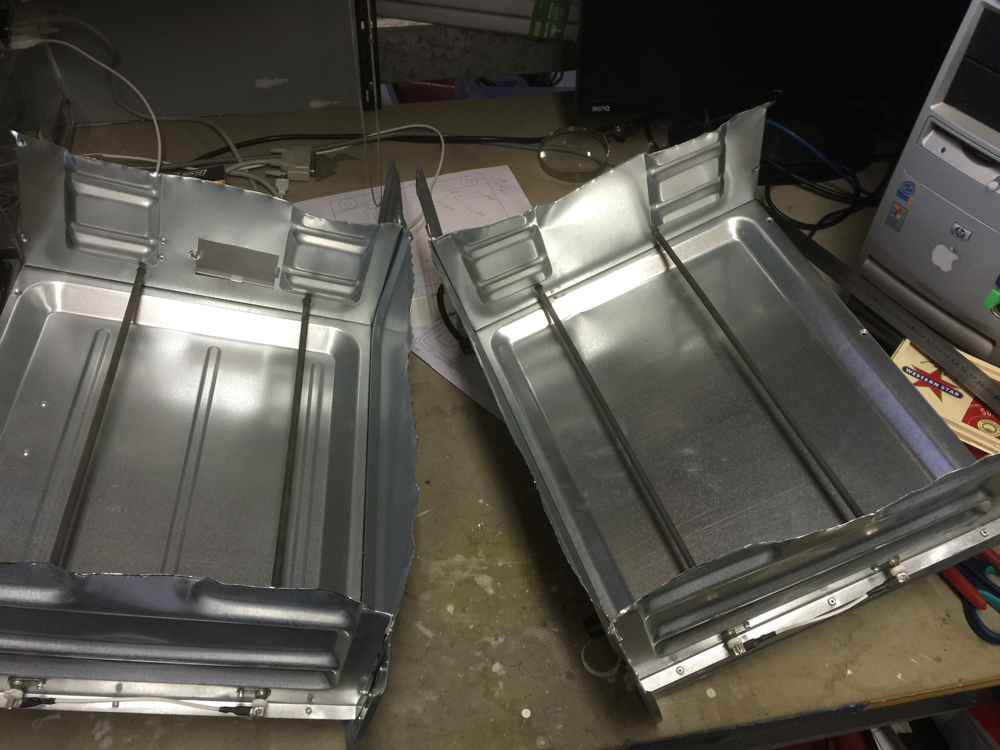
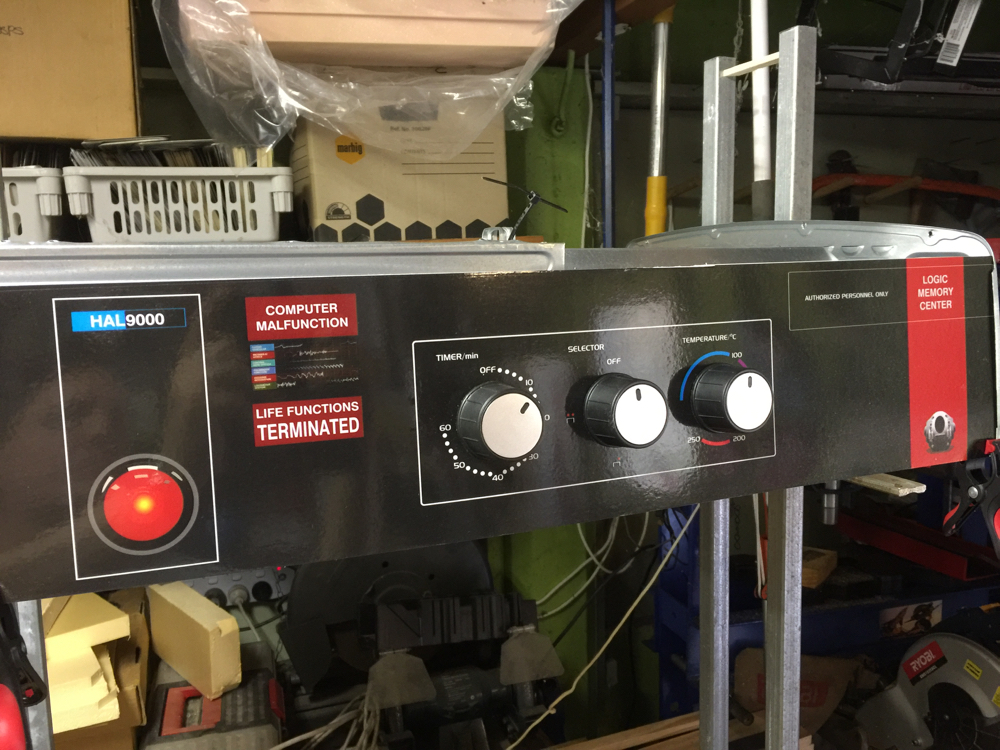
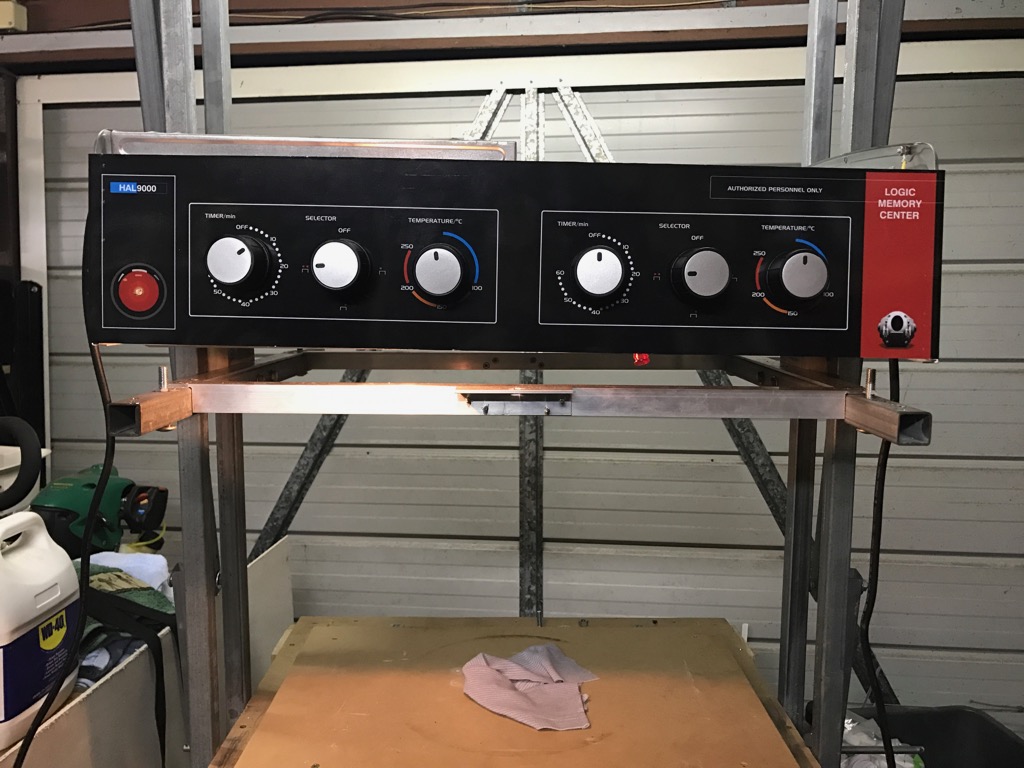
I thought I'd do one last post on how i finished this vac former off. To be able to vac form polycarbonate properly, I needed more heat, so I cut up another oven and mounted the two elements and controls side by side.


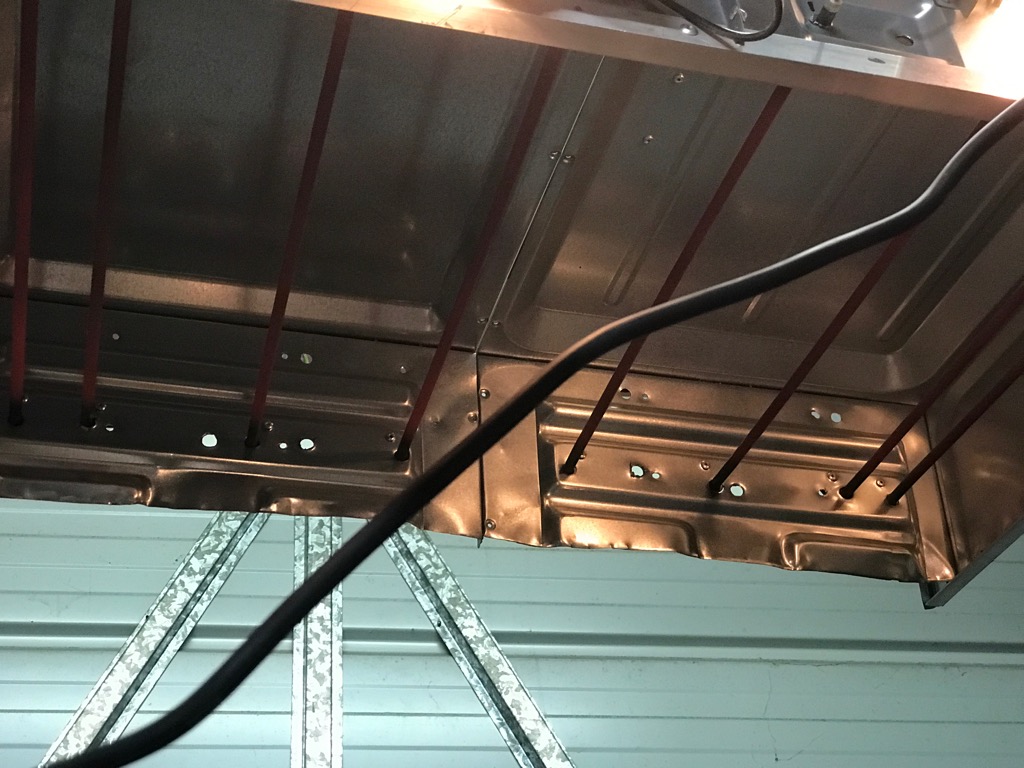
As the corners weren't getting enough heat, I place two of the elements closer in each corner and equally spaced the rest.


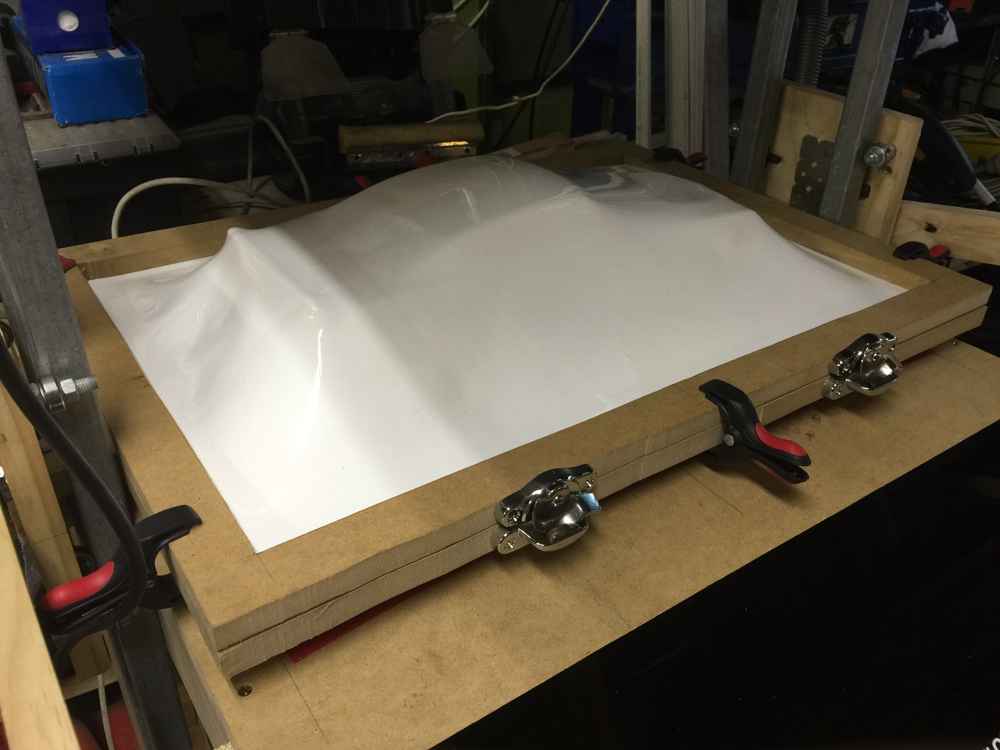
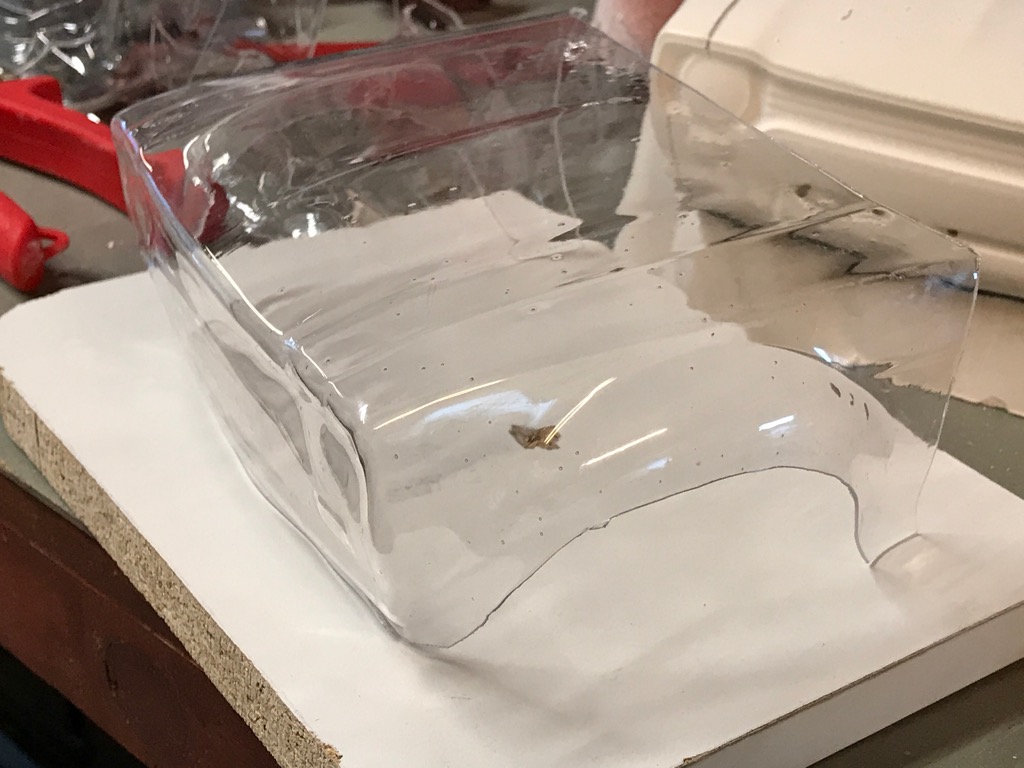
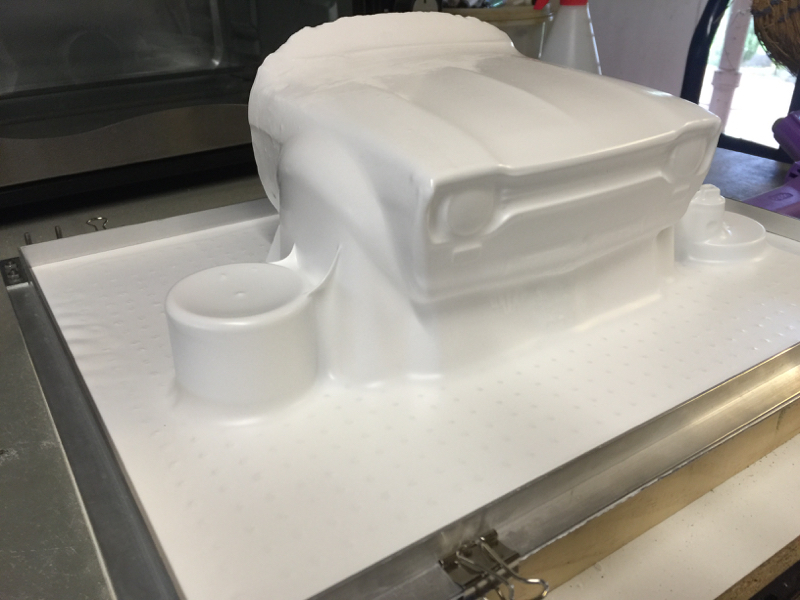
So with a bit of experimenting with 1 mm polycarbonate (roofing class!) I was able to get a decent shape. Only one main issue, bubbles in the sheet were forming. Much googling and it turns out its absorbed moisture escaping too quickly.


Time to experiment then. I wanted to avoid if I could making a warming cabinet (which was suggested on many forums I found), so I tried preheating first, here is one of my test pieces, this one I warmed for 10 mins at about 100C and then over the next 10 minutes brought it up to the required temp, resulting in less bubbles. Other longer tests I was able to get no bubbles, but its seems to vary from sheet to sheet.


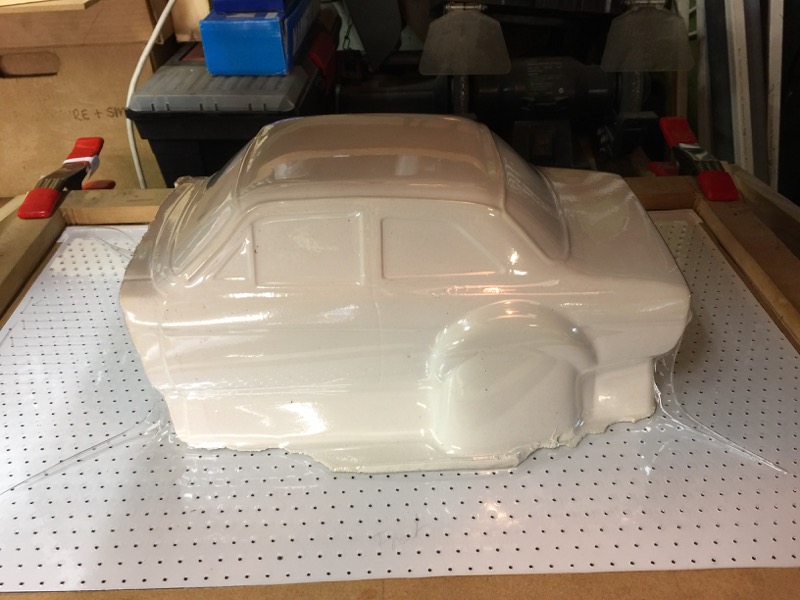
Now 1 mm polycarbonate would be really tough, but that would come at the cost of a loss of detail.


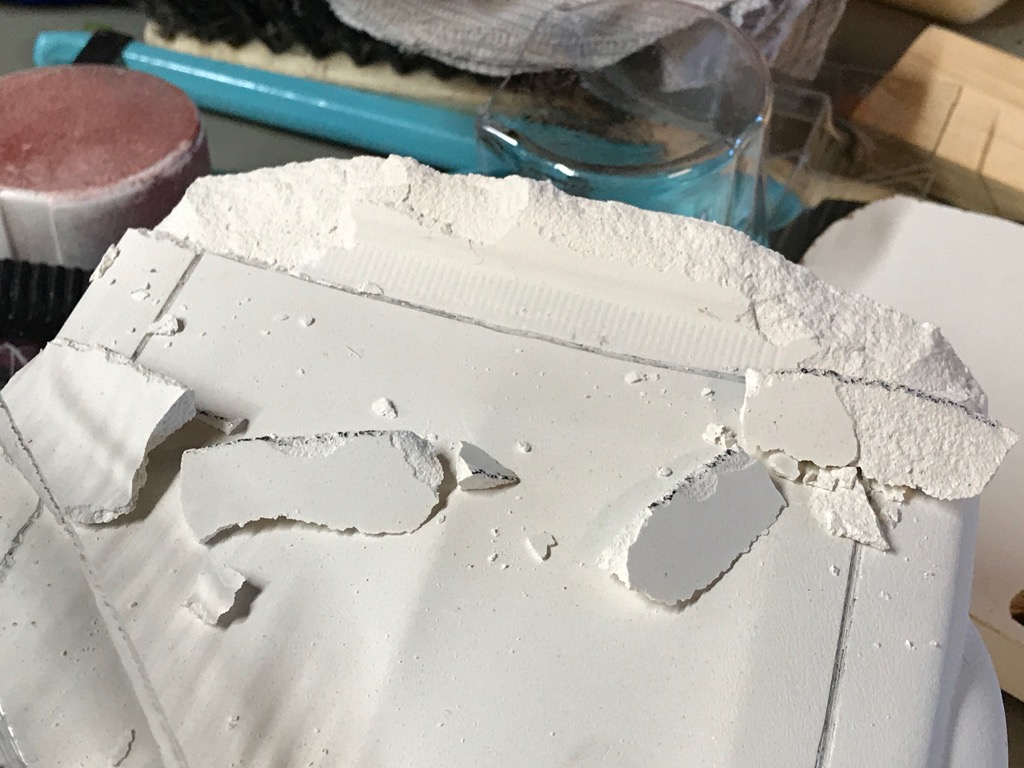
Plus I found the higher heat and stiffness of the polycarbonate to quickly affect the plaster. This was after only 4 attempts. So I'll switching to either pottery plaster or hyrdostone for bucks that I want to re-use.


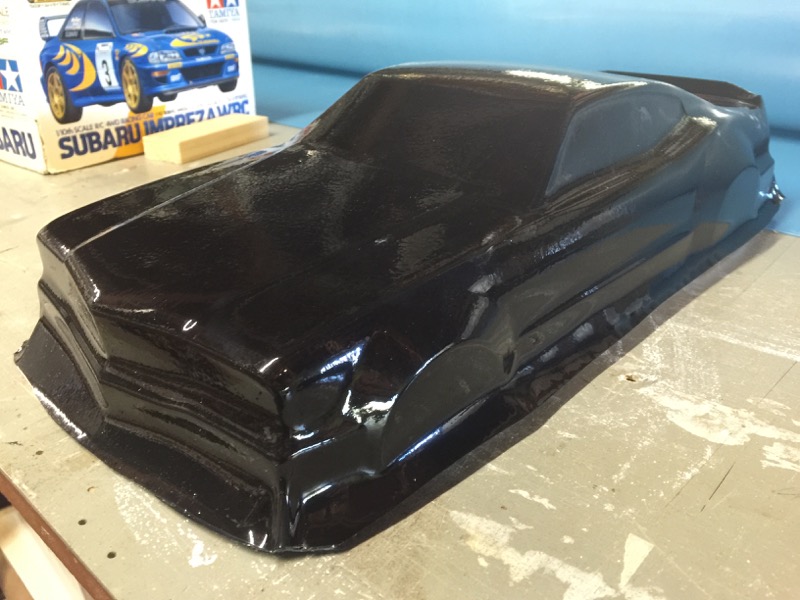
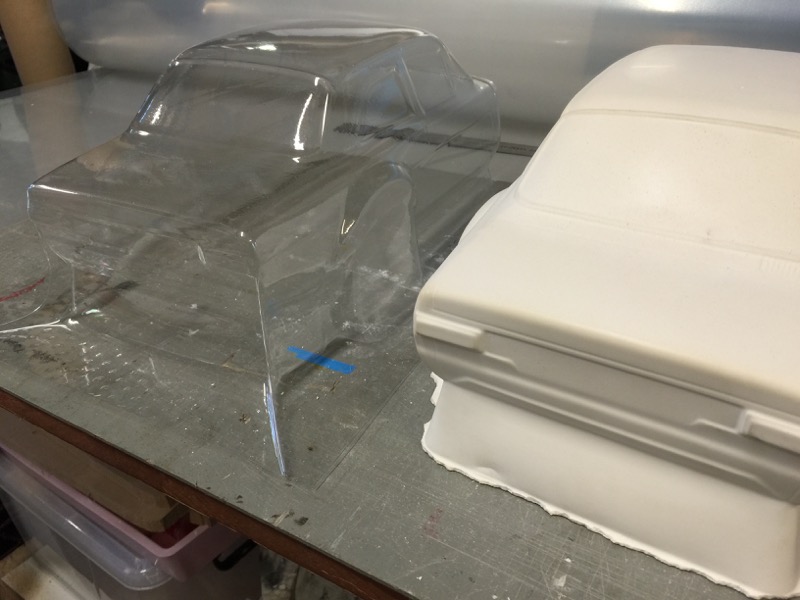
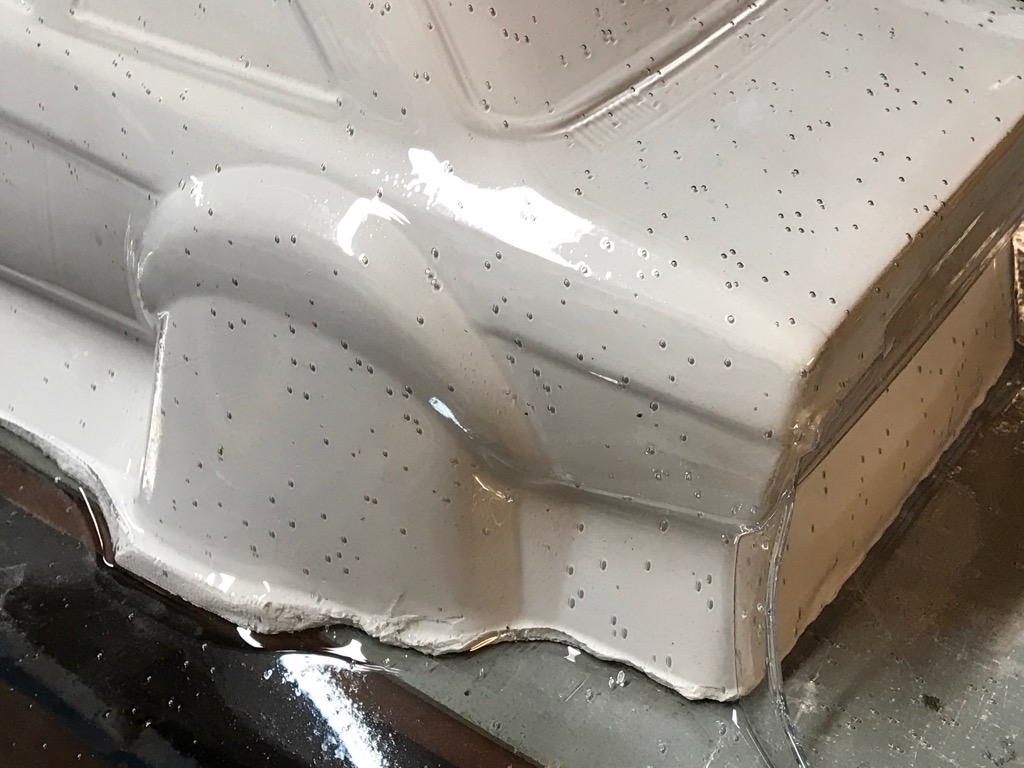
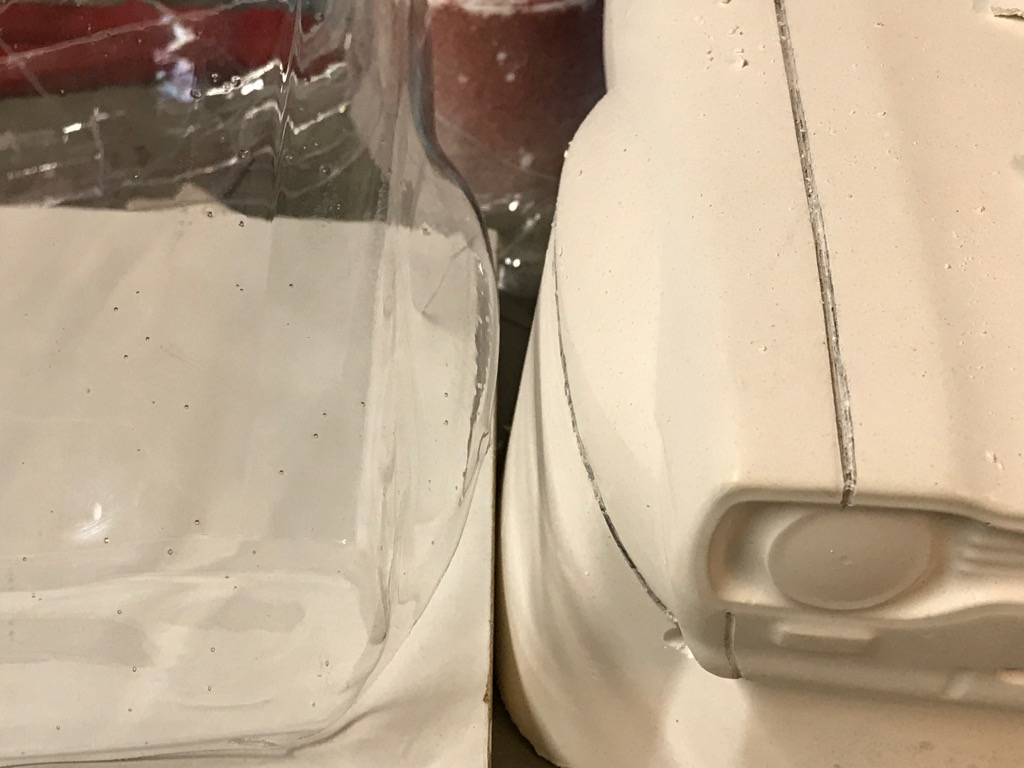
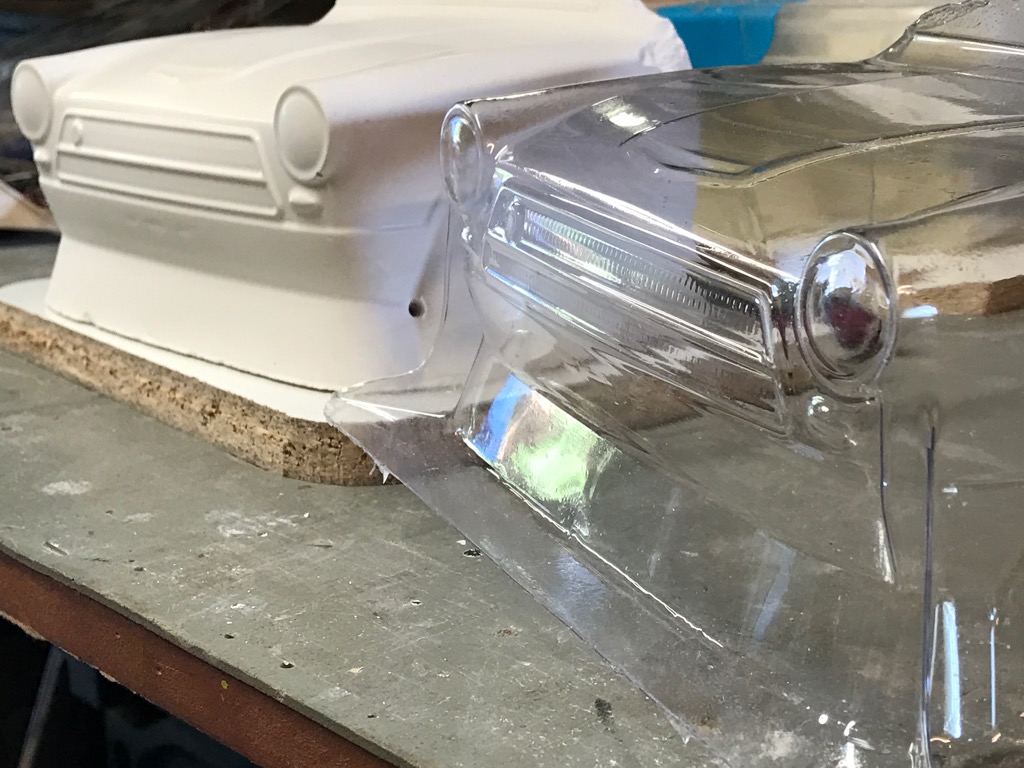
On the positive side, testing with 0.75 PETG, I was able to get really good reproduction of detail.


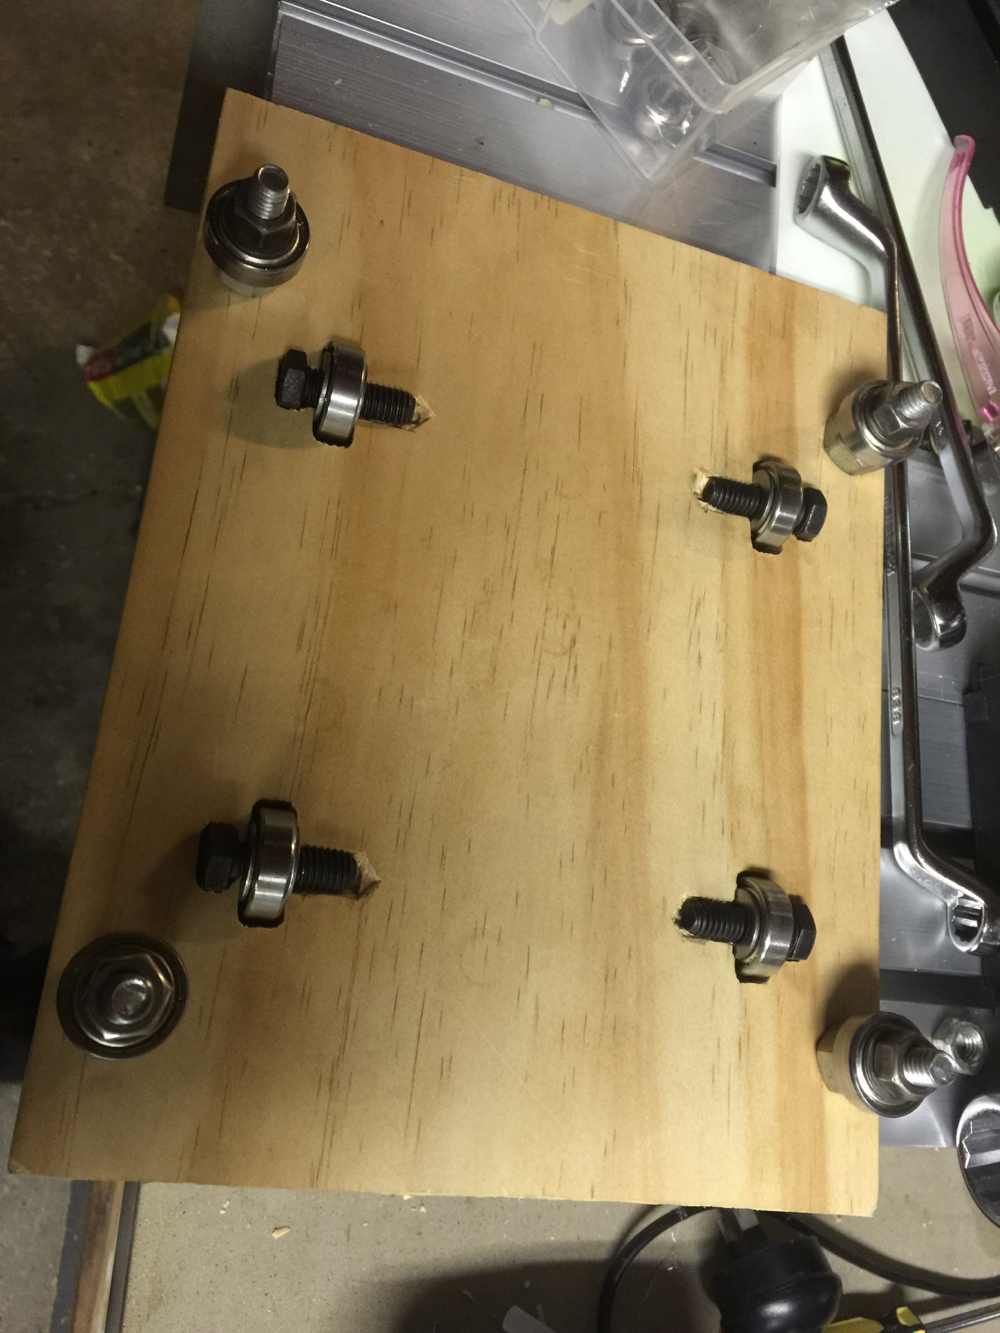
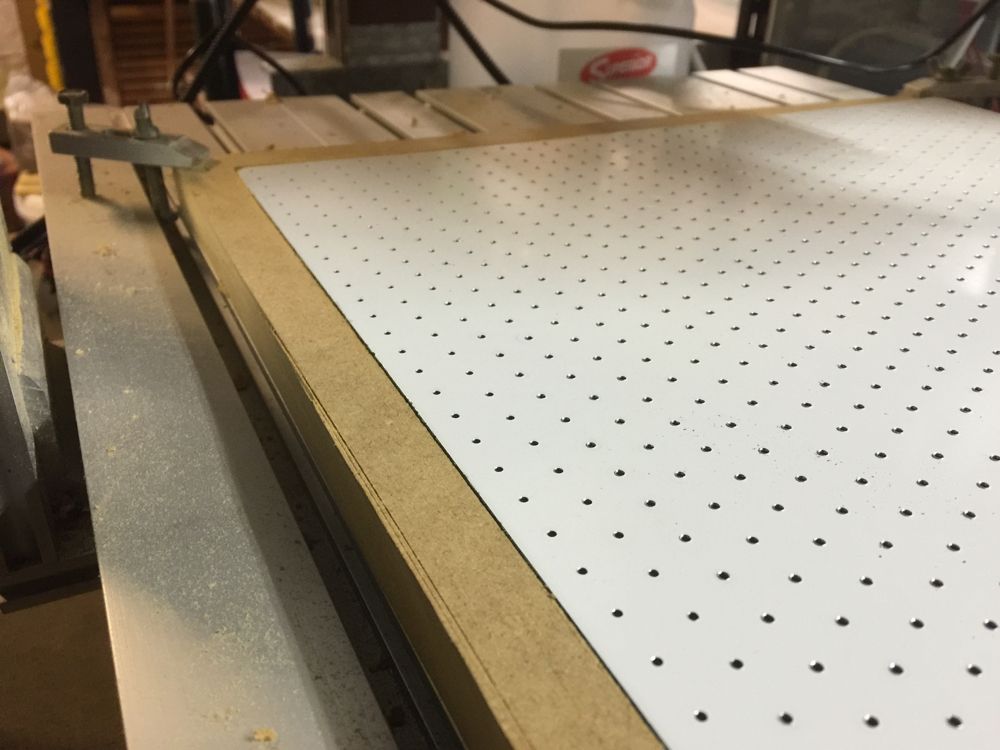
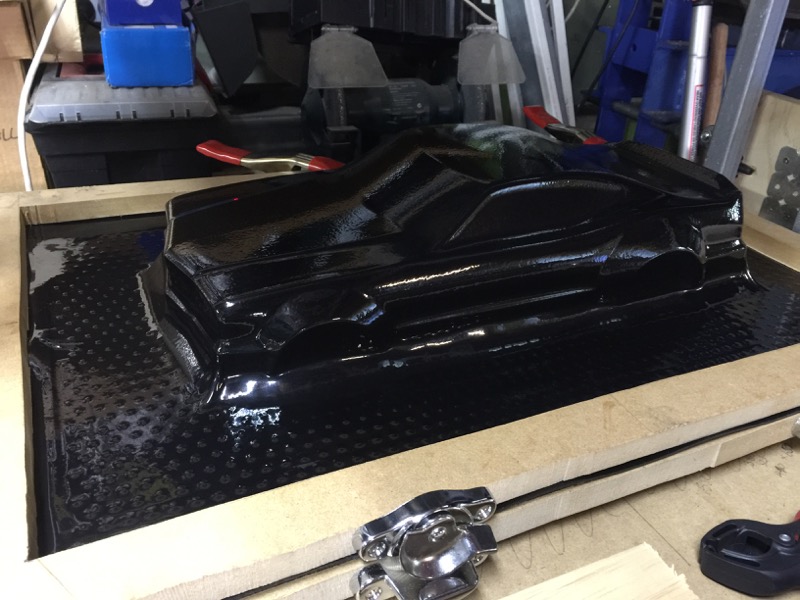
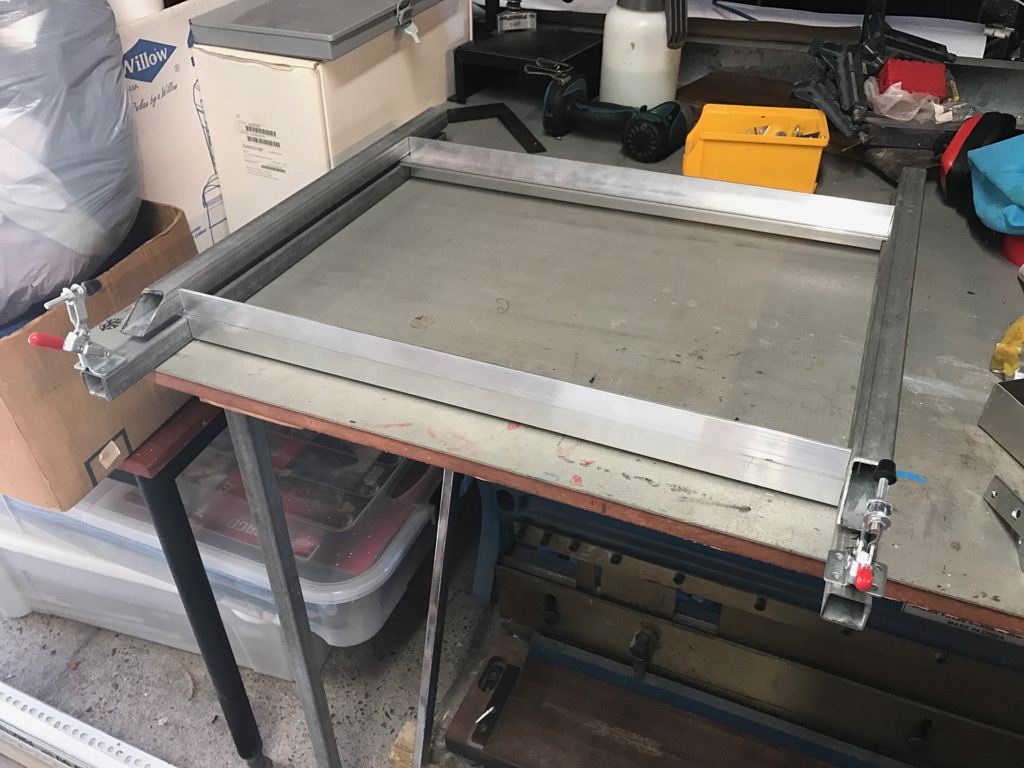
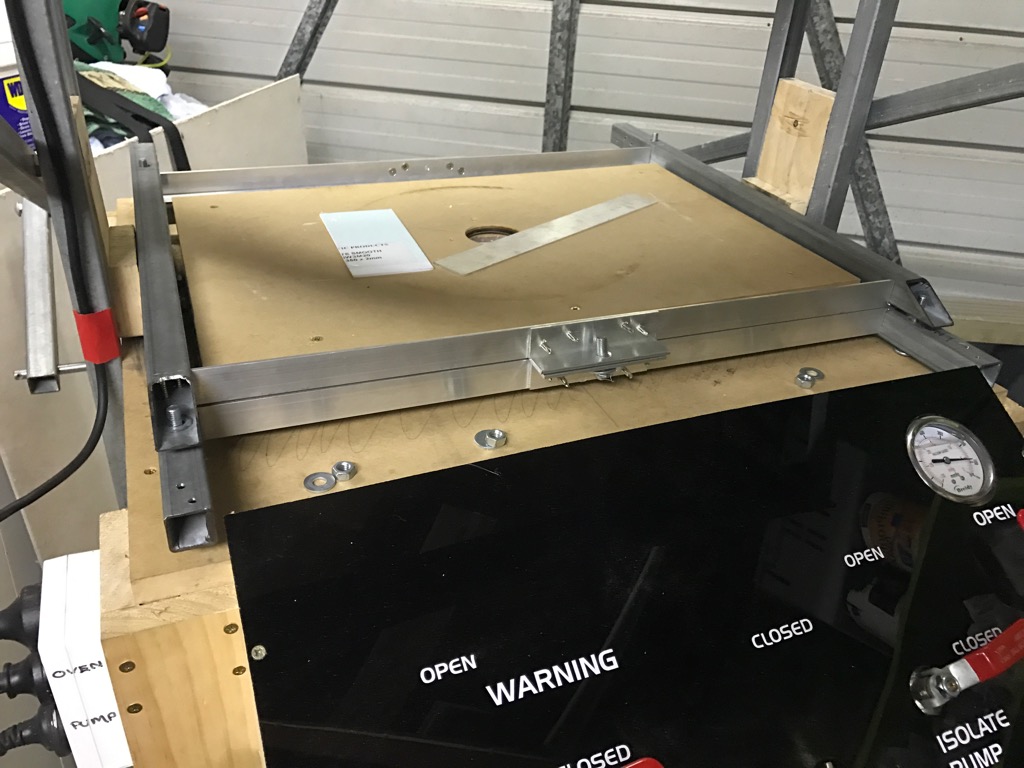
Another change I made was getting rid of the toggle clamps I was using. They were too small and didn't provide enough pressure. So instead I opted for a bolt down method, adding a bolt along the centre. I have since found larger toggle clamps.


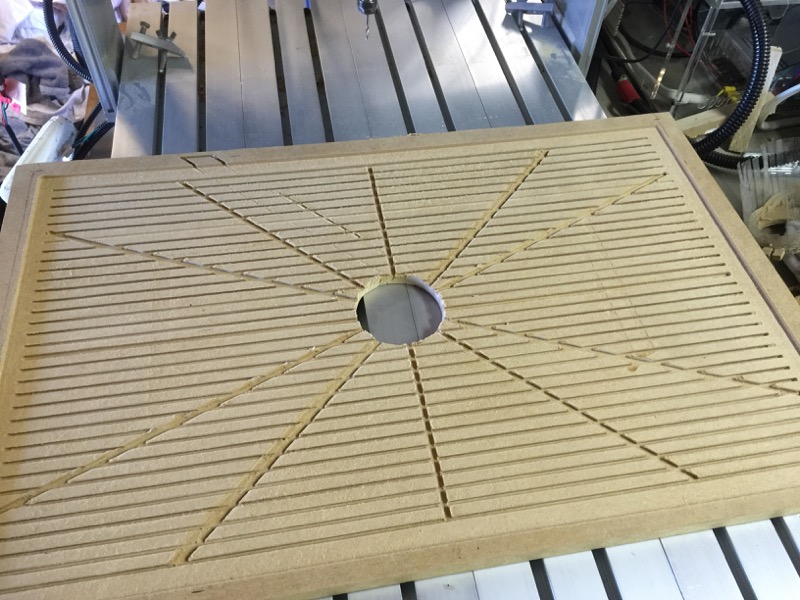
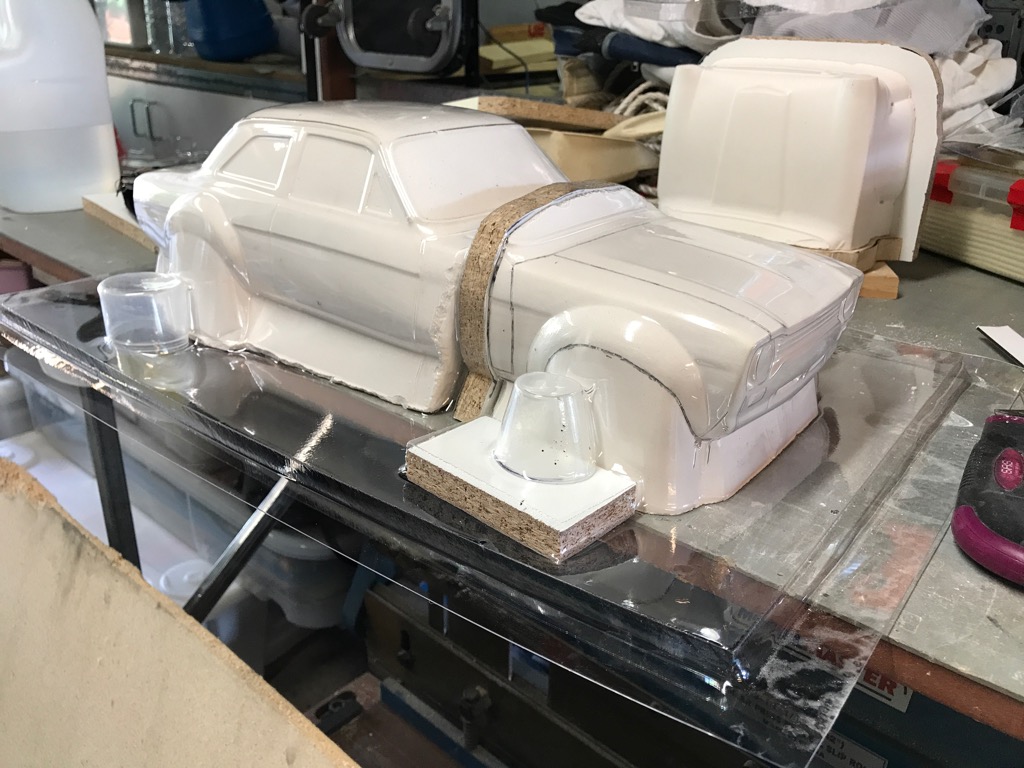
Lastly, you might have noticed that I was getting a lot of webbing at the corners. I suspect these bodies were made using a reverse mold where the shape is formed into a mold rather than over a mold. I'm not able to do that just yet, but you can change how the webbing forms by strategically placing shapes nearby to draw the excess material away.


So now all I have to do is re-make my molds and vac form some shells :)
I intend to vac form 1.5 mm ABS and 1 mm polycarbonate shells, plus trying out 0.375 mm polycarbonate for either windows or F1 bodies. Unfortunately in Australia I can't seem to source any thinner ABS sheets or get the 0.5 mm or 0.75 mm polycarb sheets. I can get 0.5 HIPS sheeting, but I feel its probably not tough enough for a runner car.
The following user(s) Liked this: AndyAus, Purple_rob

Please Log in to join the conversation.

Home Vac Former For making RC car bodies 7 years 1 day ago #43224

Thanks for sharing your progress on this :) Very cool :blink: or hot :laugh:
If you can't fix it with a hammer, you've got an electrical problem mate :)

Please Log in to join the conversation.

Home Vac Former For making RC car bodies 7 years 1 day ago #43235

:woohoo: there are a litbof progress. Congratulations.

Please Log in to join the conversation.

Moderators: caprinutstingray-63AndyAus
Time to create page: 0.187 seconds
Cookies are required to make this site work. If you continue to use this site you permit us to use cookies.