TOPIC:
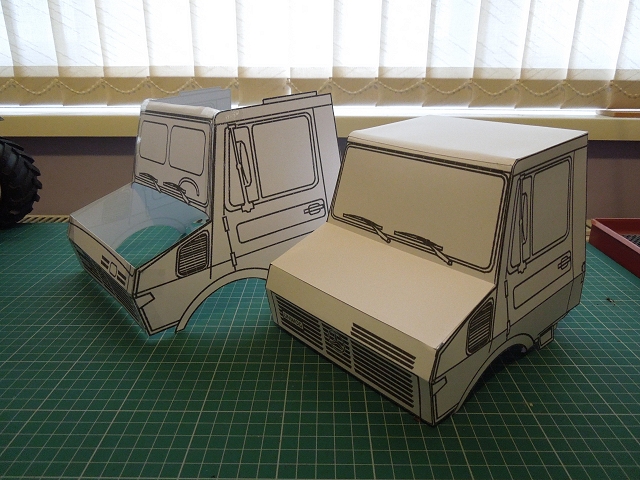
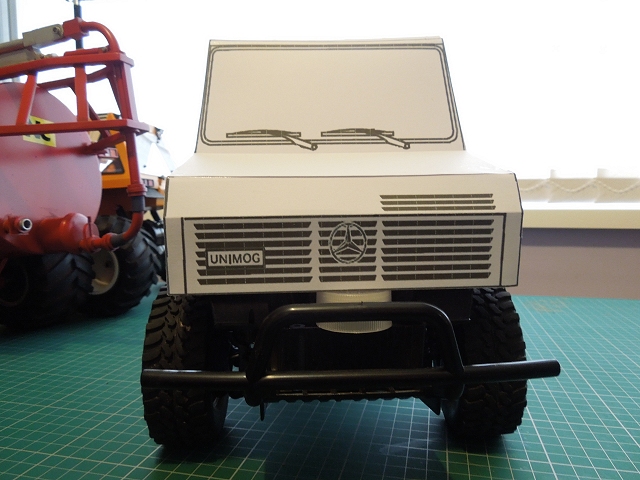
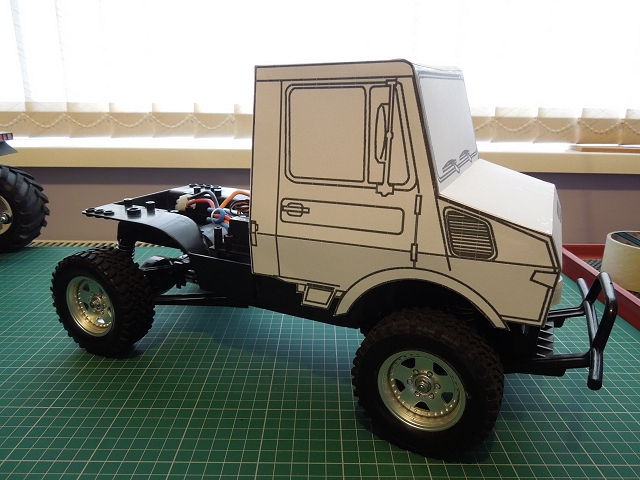
CC-01s: RV, Unimog, Bedford TM, Valp, Ford CMP, Series 3 Land Rover, SD Revopak 9 years 7 months ago #30631
|
|
Please Log in to join the conversation. |


CC-01s: RV, Unimog, Bedford TM, Valp, Ford CMP, Series 3 Land Rover, SD Revopak 9 years 7 months ago #30679
|
|
Please Log in to join the conversation. |


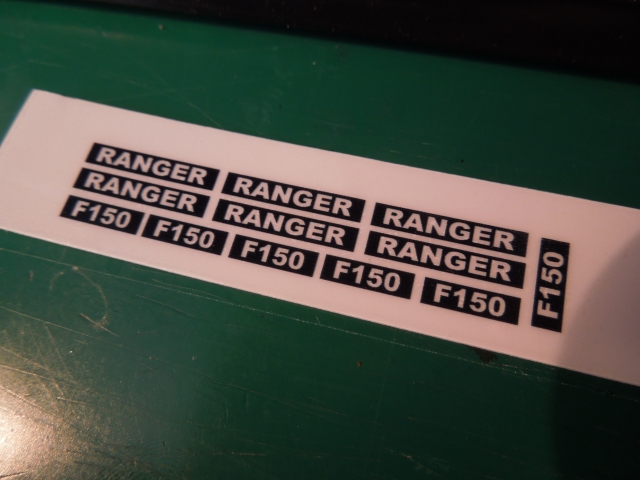
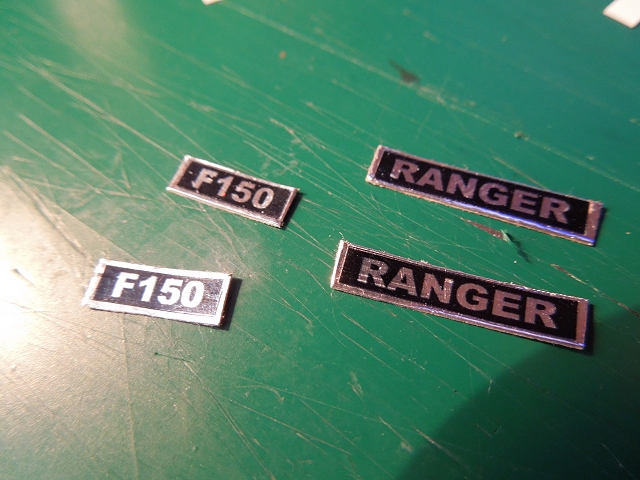
") ) RANGER XLT.
) RANGER XLT.")

CC-01s: RV, Unimog, Bedford TM, Valp, Ford CMP, Series 3 Land Rover, SD Revopak 9 years 7 months ago #30681
|
|
Please Log in to join the conversation. |


CC-01s: RV, Unimog, Bedford TM, Valp, Ford CMP, Series 3 Land Rover, SD Revopak 9 years 7 months ago #30684
|
|
Please Log in to join the conversation. |
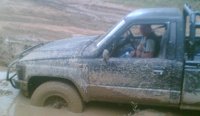
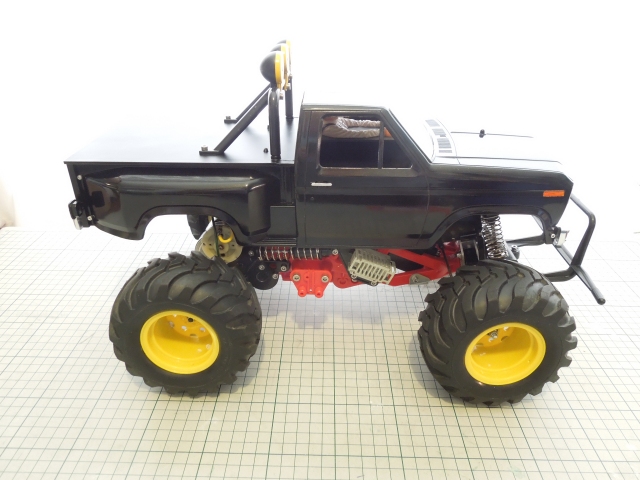
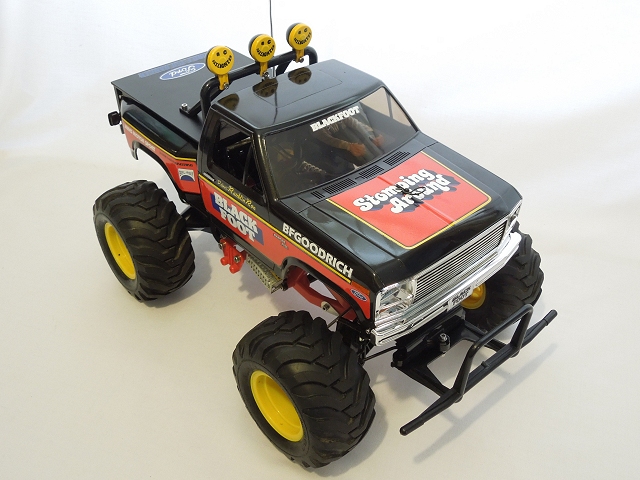
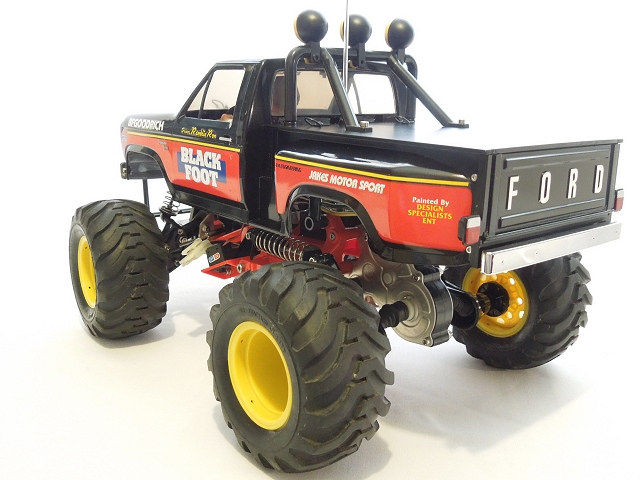
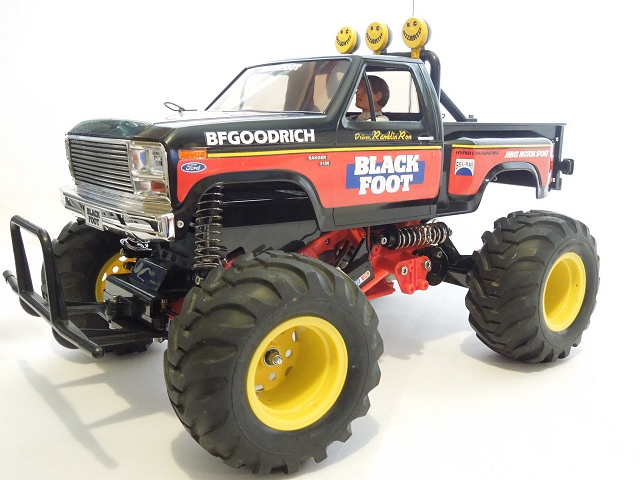
 It should have F O R D on the leading edge of the bonnet (hood) & a more cattle grid looking grille; the original bits went on the RV. Compare & contrast:
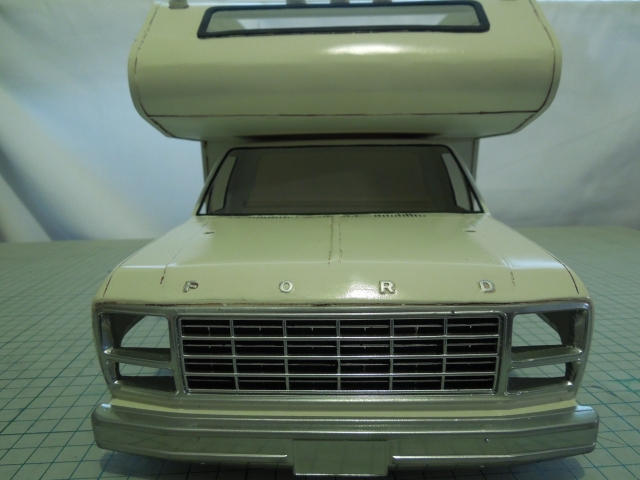
CC-01s: RV, Unimog, Bedford TM, Valp, Ford CMP, Series 3 Land Rover, SD Revopak 9 years 4 months ago #32233
|
|
Please Log in to join the conversation. |
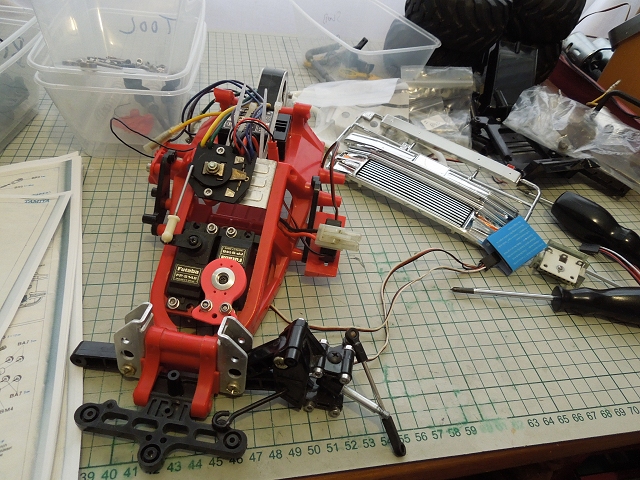
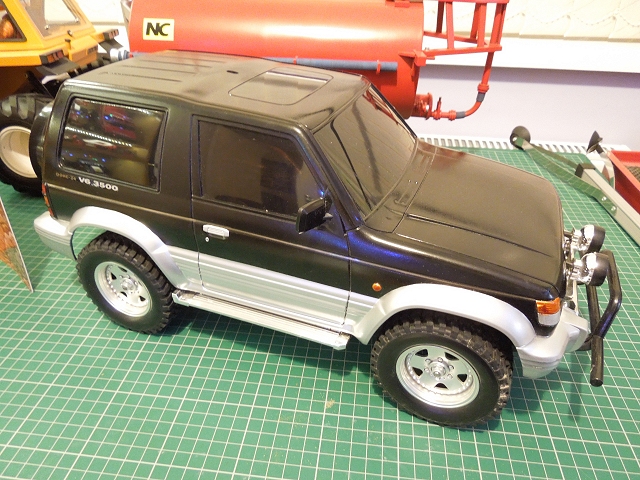
 ), has a slightly bent chassis, and is missing 1/2 the towbar linkage, spare wheel & whatever should have been on the back (a small pickup bed IIRC) that I got for potential scaling purposes, but it was cheap


CC-01s: RV, Unimog, Bedford TM, Valp, Ford CMP, Series 3 Land Rover, SD Revopak 9 years 4 months ago #32249
|
|
Please Log in to join the conversation. |
Time to create page: 0.306 seconds