


Part of many of my recent projects has been to remove the scratches on plastic parts - sometimes on the underside of suspension arms, but often on the underside of the chassis tub, where use has inevitably left any number of gouges. It’s not just me being cheap – sometime replacements aren’t readily available, and even where they are, unless a tub is really badly broken, I think retaining original parts is important. I’ve always used wet & dry paper, starting with a very aggressive grit & working to a fine finish, but in the past I’ve used various 1:1 car products to get the final shine – Autogylm Original Colour Restorer, Autoglym Super Resin Polish, and Bilt Hamber Auto-Balm Wax ... but ever since Edou mentioned the 3-bottle Novus plastic polishing set, I’ve been itching to give that a try. I spent around 90 minutes going through a number of grades of wet & dry paper, then the 3 Novus polishes, and I have to say I was impressed with the result. What follows is mostly pictures of the results after each step – apologies for the poor quality of some of the images – and for not finding a better background for the reflection shots than a streaky vertical blind.
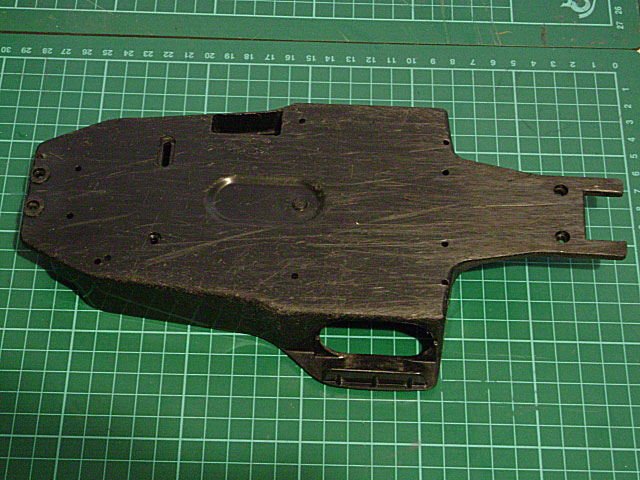
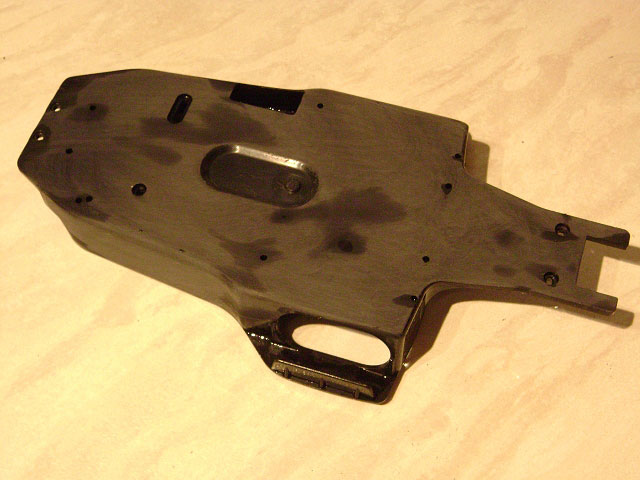
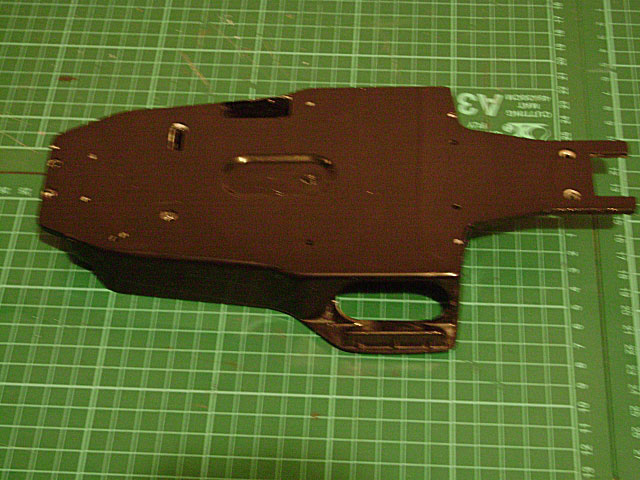
This is the underside of the chassis tub from my recent Manta Ray acquisition – it is pretty rough, but eminently restorable.
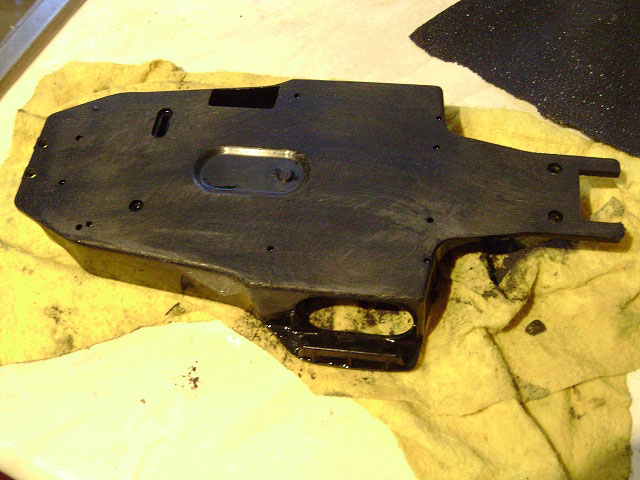
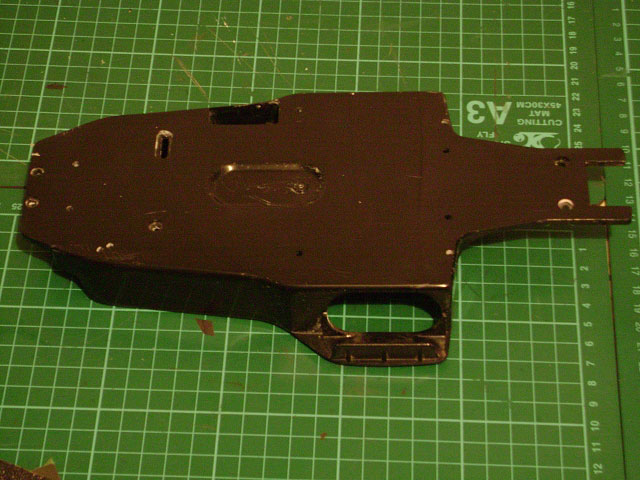
The same tub after a few minutes work with 60 grit wet n dry paper, used wet with a little washing up detergent, and wrapped around a small wooden block:
Ditto for 120 grit paper:
And 240 grit ...
400 grit ...
And 1200 grit:

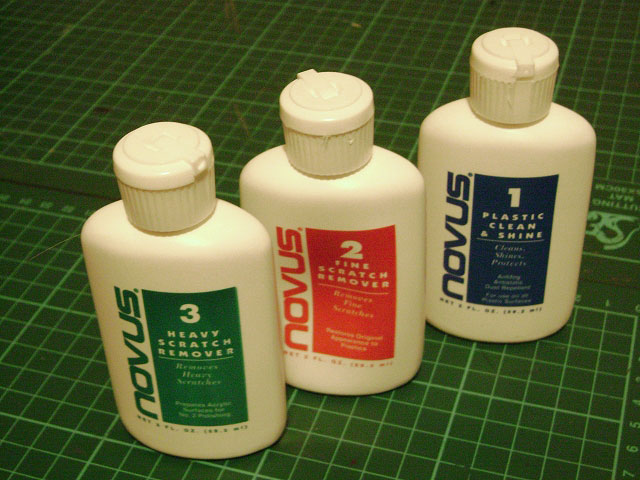
On to the Novus polishes – the three bottles are:
- #3 – Heavy Scratch Remover
- #2 – Fine Scratch Remover
- #1 – Plastic Clean & Shine
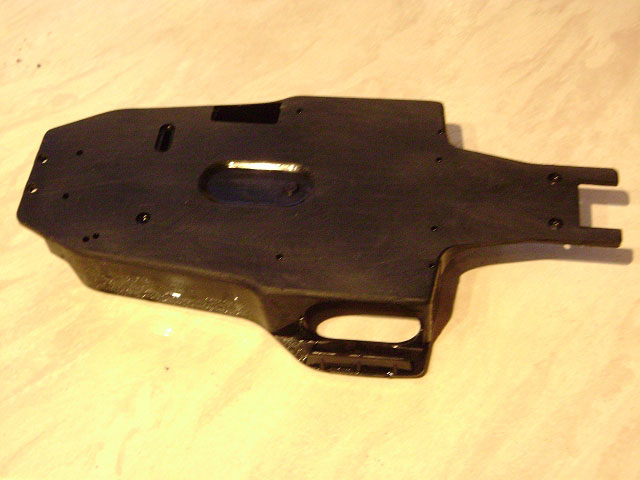
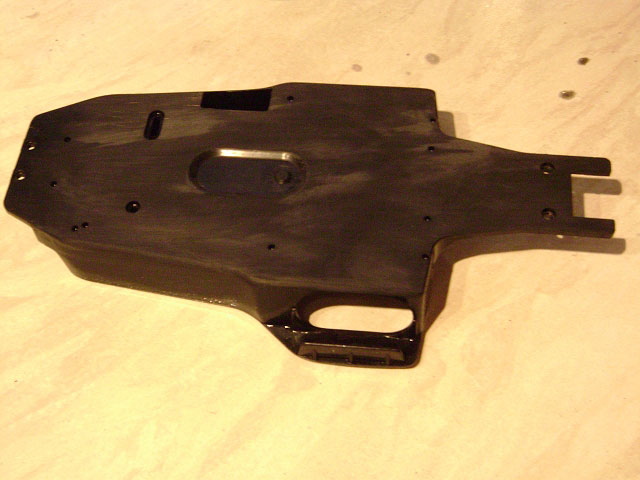
After using the “Heavy” polish:
... the “Light”:
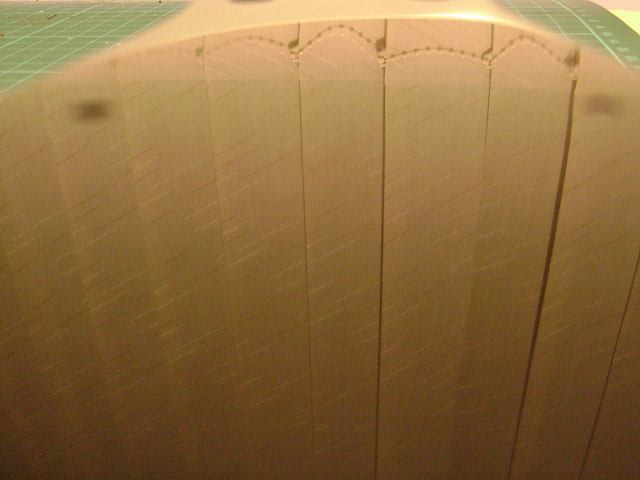
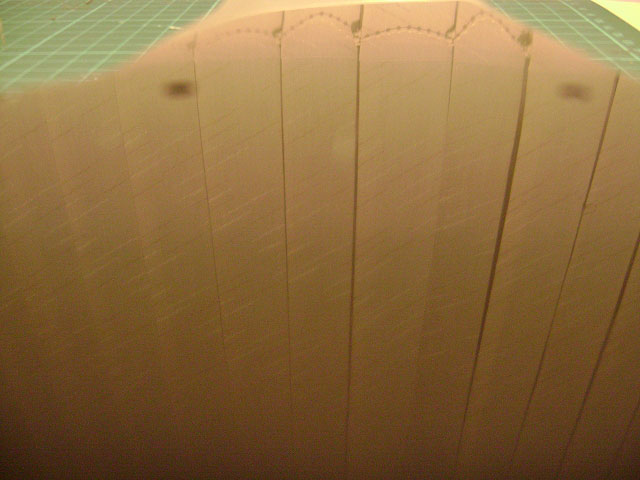
... And the final “Shine”:
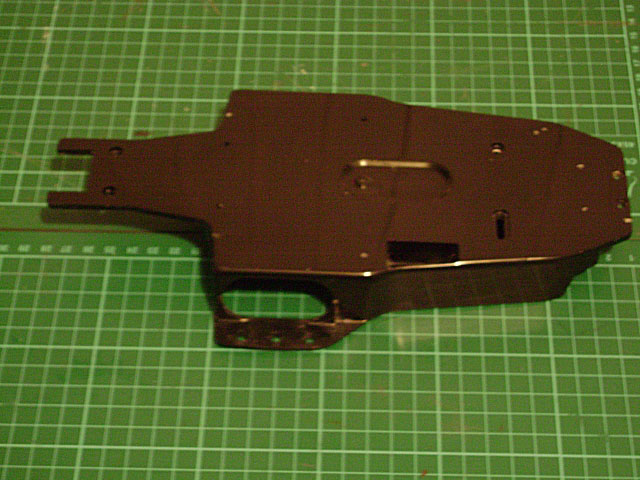

I think that came out quite well – though I have managed to also “polish” off the raised rings around the two screw holes at the very front of the chassis ... and part of my fingerprints.
________________________
Written by TB member Jonny Retro