TOPIC:


Unimat SL Micro Lathe 8 years 10 months ago #34503
|
|
Please Log in to join the conversation. |


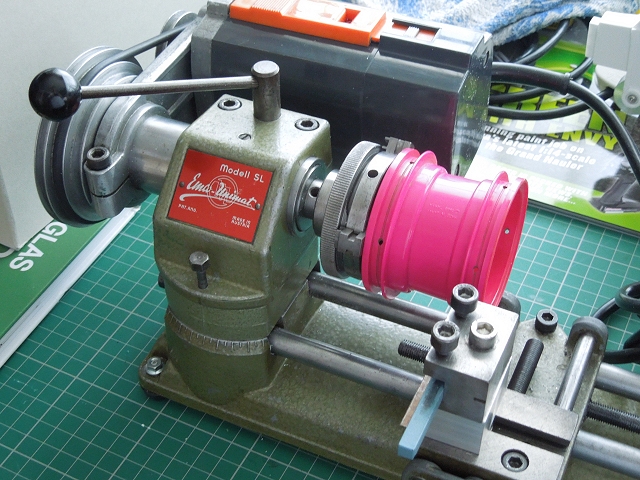
") I had my eye on the circular saw but missed out on a good deal.
I had my eye on the circular saw but missed out on a good deal. Unimat SL Micro Lathe 8 years 10 months ago #34559
|
|
Please Log in to join the conversation. |
Unimat SL Micro Lathe 8 years 10 months ago #34560
|
|
Please Log in to join the conversation. |

Unimat SL Micro Lathe 8 years 10 months ago #34562
|
|
Please Log in to join the conversation. |
")
Unimat SL Micro Lathe 7 years 4 months ago #41726
|
|
Please Log in to join the conversation. |


Unimat SL Micro Lathe 7 years 4 months ago #41844
|
|
Please Log in to join the conversation. |
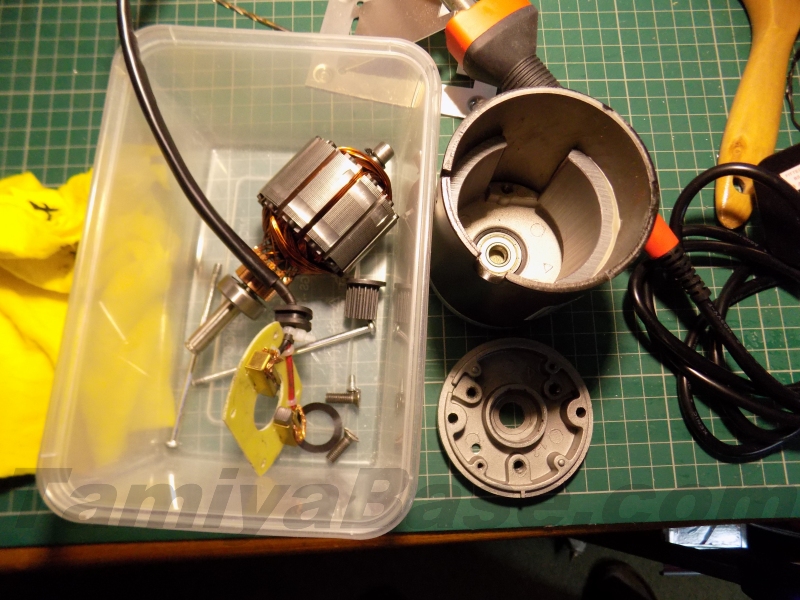
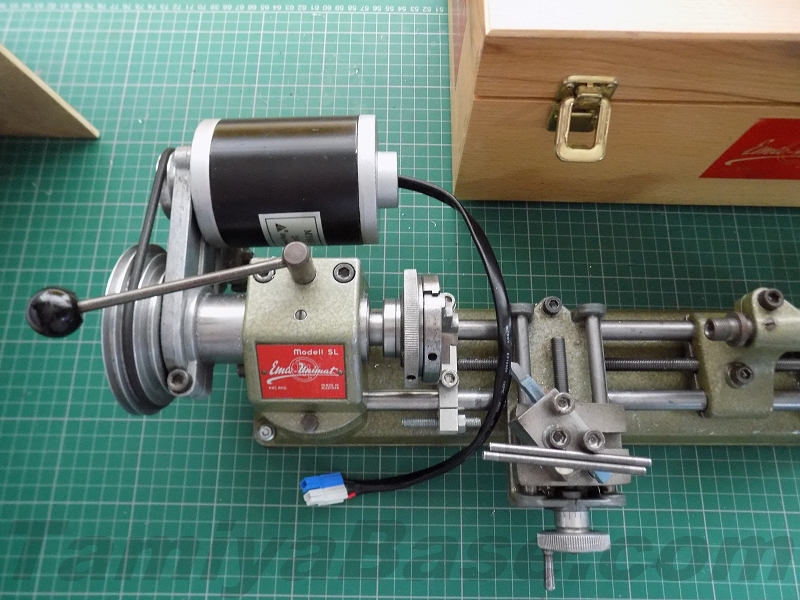
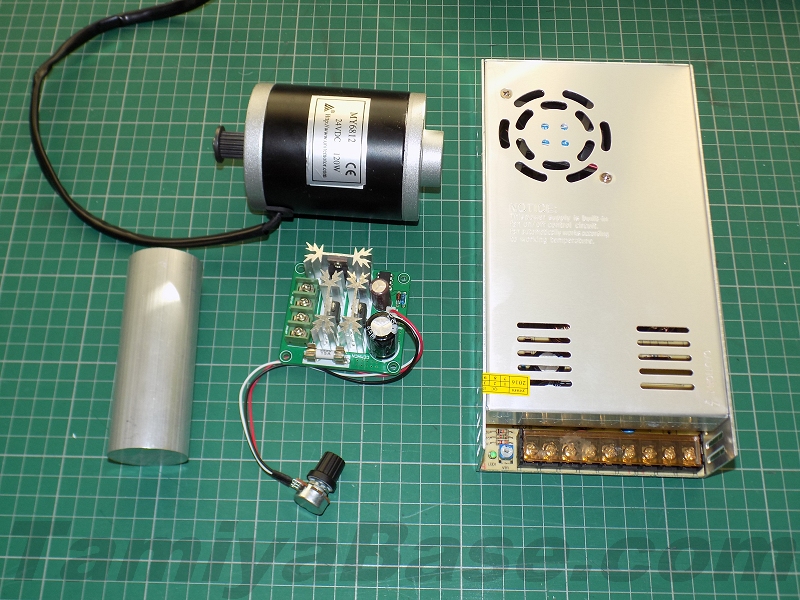
 was planning in the same direction to save the old motor.
Time to create page: 0.335 seconds