Hi guys,
Thought I'd start a separate thread on this subject... ABS DF-01 chassis are nice cars but one thing that is really lacking is the option to use a better steering assembly. Only the bended tie rod can be used to connect both steering arms... Lack of room between the gearbox and the chassis prevents the use of ball ends and tightly matching adjusters. This will always be the cause for a big amount of slop in the steering. Even the aftermarket parts of GPM and Yeah Racing cannot offer a solution here. So I decided to take a radical approach and make room with the Dremel on a brand new bathtub. I dare to do so on a reissued item... For that all the red bits need to be taken off : Now the steering assembly has enough room to move freely with upgraded (more accurate) parts on it : But obviously the front end of the chassis has been seriously weakened. Enough to possibly even break under impact. So the next step will be reinforcing... Soon to be continued... |
|
Please Log in to join the conversation.
Last edit: by Edou.
|
Nice work Edou... Nice to see someone using available parts to improve on a design... Keep it up.
My Projects:
Bullhead Rebuild ... Ford F350 Mods ... Manta Ray Revival ... Custom Super Hornet Build ... TL-01 Crawler ... CC-01 Pick-up ... CR-01 With Hop ups ... Project Unknown ... Clod crew cab ... Other: Custom Display cases ... Limited Slip Diff(LSD) ... |
|
Please Log in to join the conversation. |
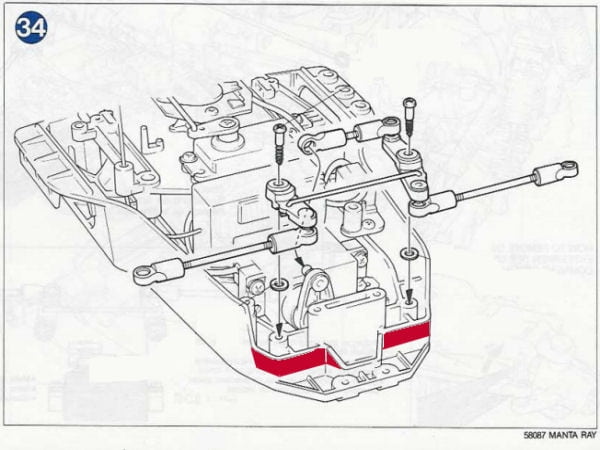
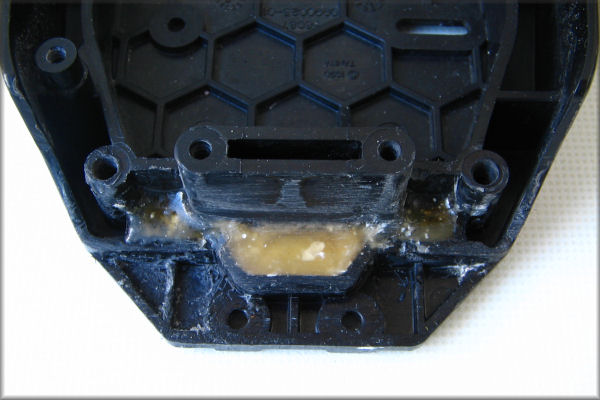
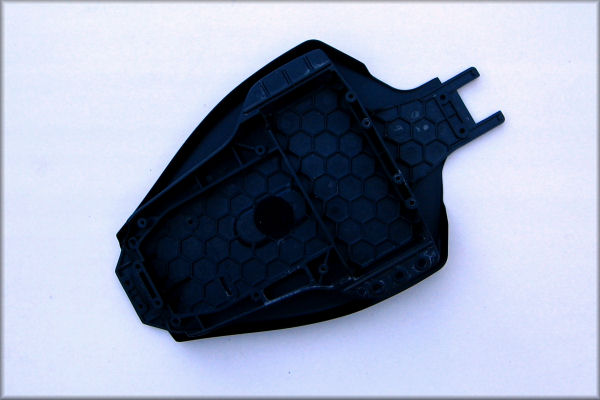
Most of the force from the gearbox to the chassis goes through the middle - that is where 4 out of 5 screws are...
The last one is at a spot where I haven't really done any dremeling. 
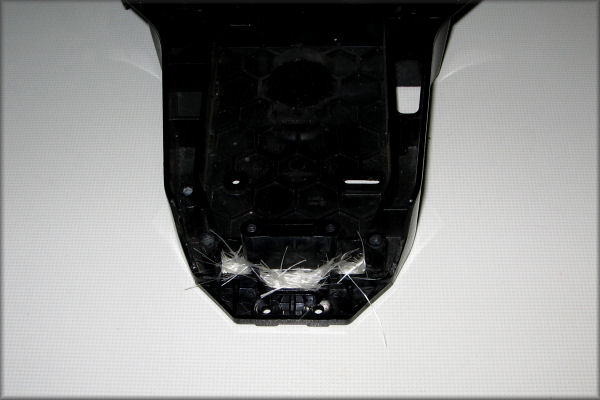
So reinforcing the residual compartments in the center sounds like the best plan. 
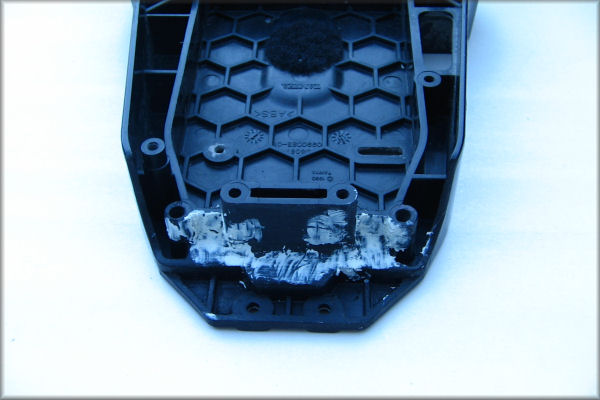
Stuffed them with fiber glass first : 
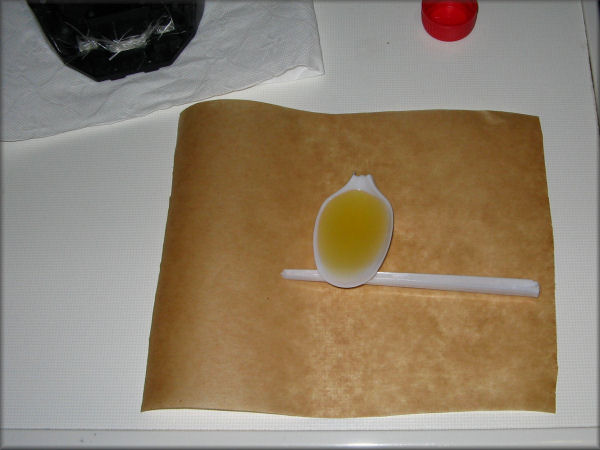
Then prepared some resin on a plastic spoon - while using the broken off end to stirr in the hardener : I totally overdid it with the hardener on the first batch so I threw that away. It's only a spoonful of resin... Actually started making crackling sounds and producing smoke! 
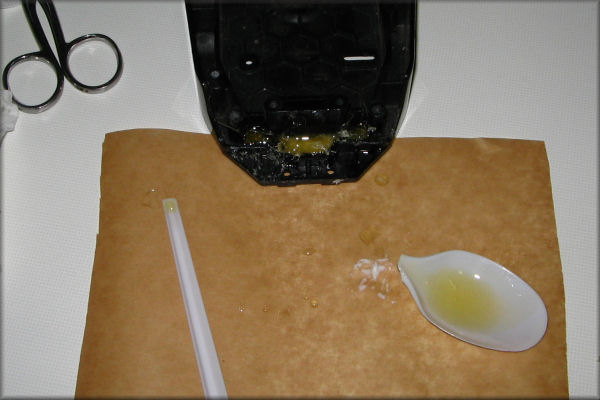
Next approach - put it on the paper first and then stirr it in instead of straight from the tube into the resin. Taking advantage of the form of the broken off end of the spoon to poor in the mix... Preparing for the possibility it might get a bit messy though : 
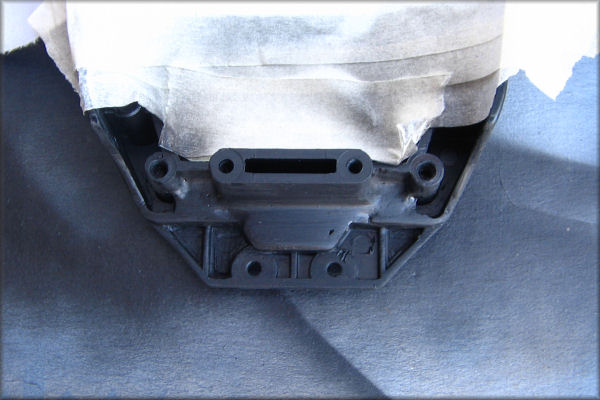
Oh well, not too bad. Only spilt a bit on one side : Feels very solid. Now more dremeling, finishing with putty and painting... 
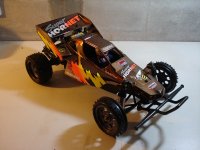
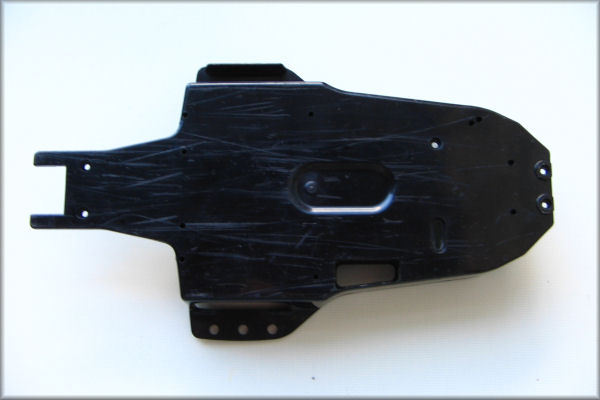
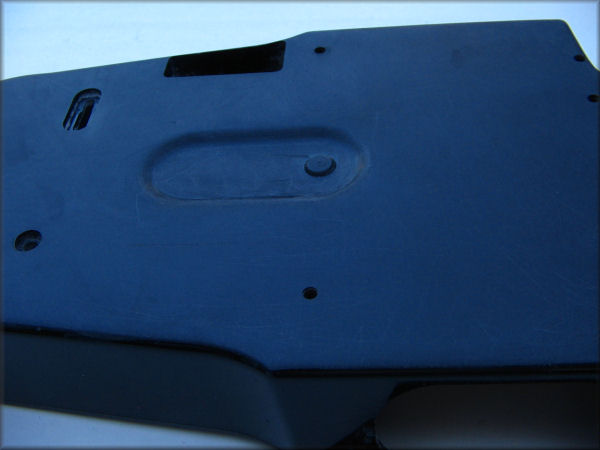
Only ran this chassis once - don't think I'll visit any construction sites (big pointy rocks) anymore. I'll sand out these scratches too. An underguard would certainly be nice : |
|
Please Log in to join the conversation. |
Thanks, Lb. I'm just too much of a tech detail freak to let that go... And it's a nice experiment to do on some reissued parts. |
|
Please Log in to join the conversation. |
|
Thanks for posting this Edou - as I discovered on my TA01, there's just no room to upgrade the rubbish bit of bent wire into bare plastic holes that Tamiya optimistically call a steering linkage
TBH though I'm skeptical about the usefulness of the glassfibre reinforcement, I would have thought the key thing would be how well the resin bonds to the plastic - and even after degreaseing & keying, in similar situations I've found it can entirely separate over one or more surfaces, rendering it pretty useless as reinforcement ... I'm thinking an underguard/brace, bridging as far forward as the bumper mounts & as far back as the servo mounts (& using every hole in between too) would be better |
Please Log in to join the conversation. |
Yeah, that tie rod it a bit of a silly setup.
The slop'll probably get worse with time as the holes in the plastic arms will wear... Only real solution would be to get an FRP (or carbon) chassis. Don't think it's much better on the TA02 either. The resin looks pretty solid but I'll have to see if it comes loose when I dremel it. I've been having the idea to design an underguard in mind for a while... Not only could it serve as scratch protection but also as strengthening. Btw - I'm gonna tone down the car compared to the video. Put a small pinion and slow torquey motor in it for off roading. |
|
Please Log in to join the conversation.
Last edit: by Edou.
|
Epoxy resin would probably have been best to use. It bonds well and is flexible.
I'm using polyester here though 'cause that's what I had in stock... Despite putting quite some force (both ways) on the front end of the chassis, the reinforcement doesn't budge. I'll paint it black - if that shows cracks after running the car, I'll know it's not holding. Looking good so far... After dremeling and a rough sanding : Put some black paint on it to see the surface better : Not bad. Only some tiny bits of putty and a finer sanding needed. |
|
Please Log in to join the conversation. |
|
Edou, The frame is the same as the TA01, isn't it? |
Please Log in to join the conversation. |
Put on some putty for a smoother look :
Underside sanded up to 800 grid so far : Not going for a polish you can see your reflection in but it's gotta look neat. Painting a Top Force undercowl at the same time and discovering it's a pretty good match with a bathtub after all... Only thing that's not great (yet) is the access for the battery : I think I'll be using it on this car. But more on that later. |
|
Please Log in to join the conversation.
Last edit: by Edou.
|