TOPIC:
Hornby Dublo OO train set 4 years 7 months ago #56740
|
My Dad has just got a 1954 Hornby Dublo 3-rail train set, I thought I'd get a couple of small buildings to start populating it.
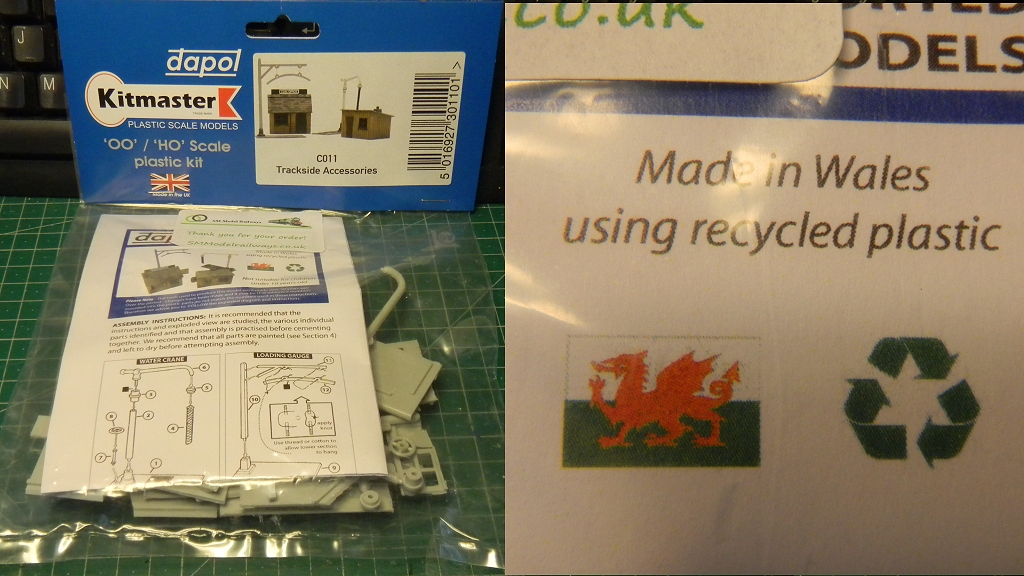
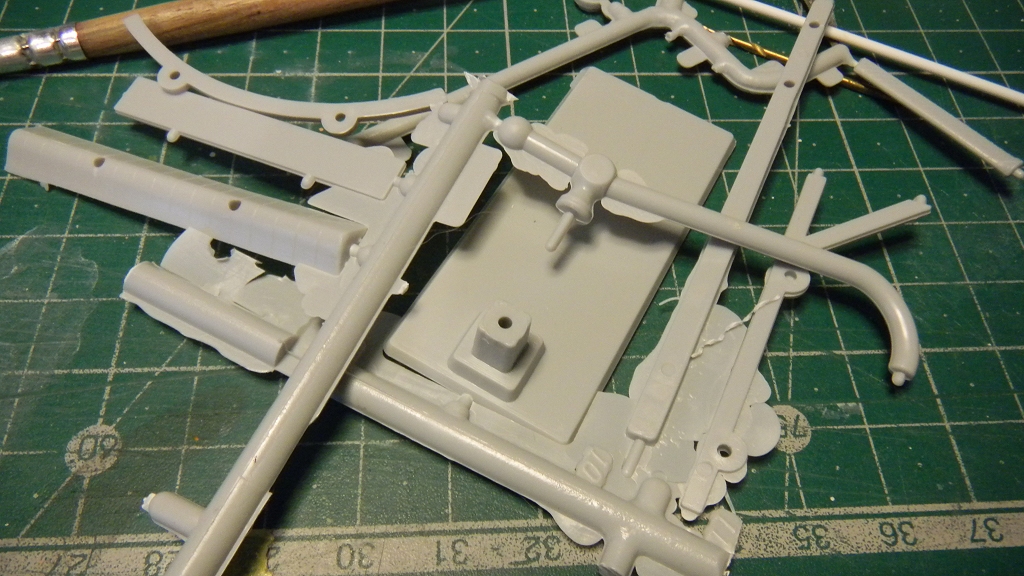
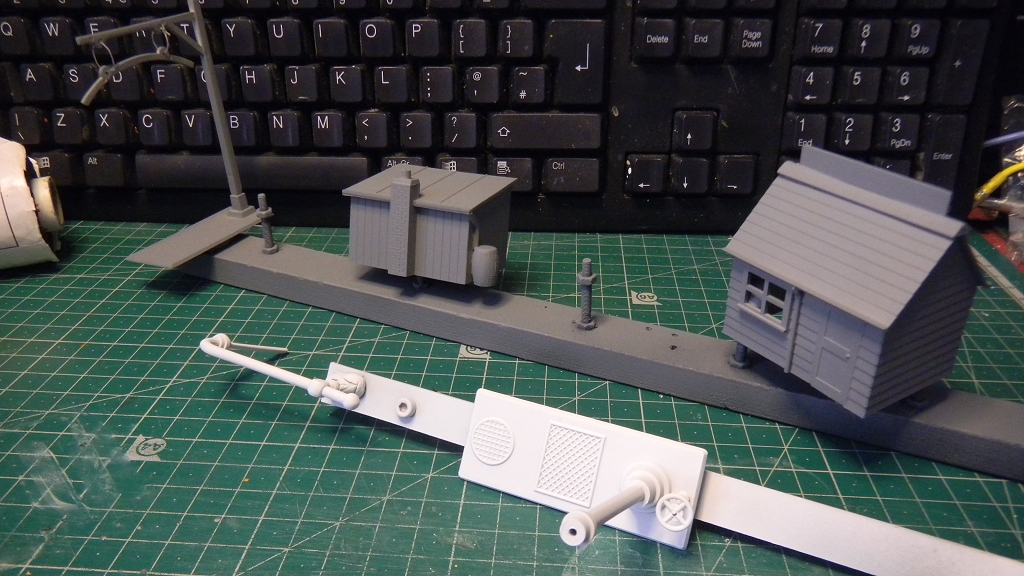
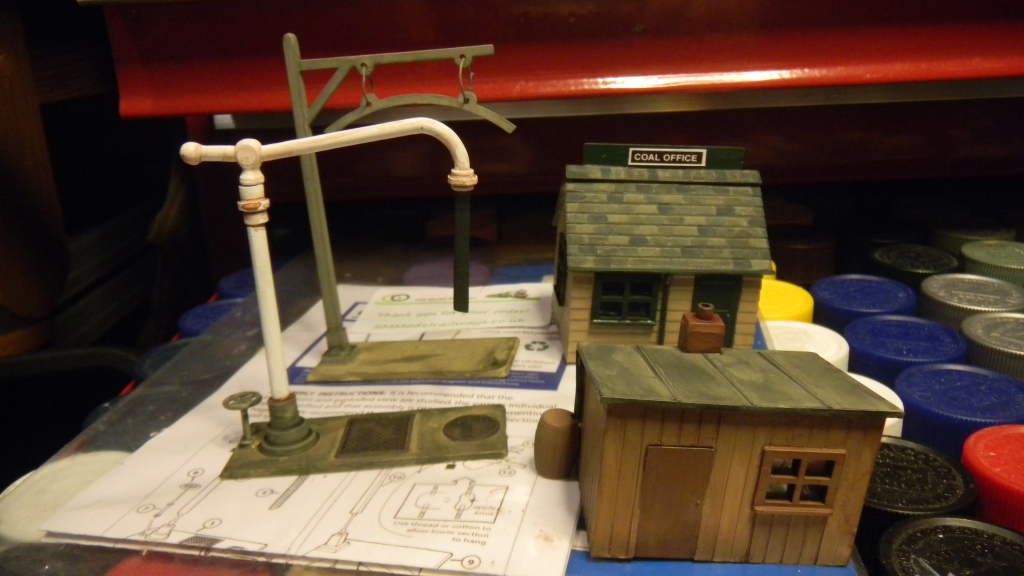
Dapol evidently have got a bunch of old Kitmaster & Airfix tooling, this is their "trackside accessories" kit. They warn about flash, but TBH it was no worse than a lot of modern Airfix kits & just needed trimming off. The only problem I had was with the downpipe on the platelayers hut, which flew across the room never to be seen again during test fitting. I replaced it with a bit of styrene rod. Build & priming was the work of one evening; painting & weathering was finished the following day. They look ok from 1m away, but clearly OO guage (equivalent to 1:76?) is really too small for my level of skill. |
|
Please Log in to join the conversation. |
Adventures in painting 4 years 7 months ago #56742
|
Lovely houses.
|
|
Please Log in to join the conversation. |
Adventures in painting 4 years 6 months ago #57011
|
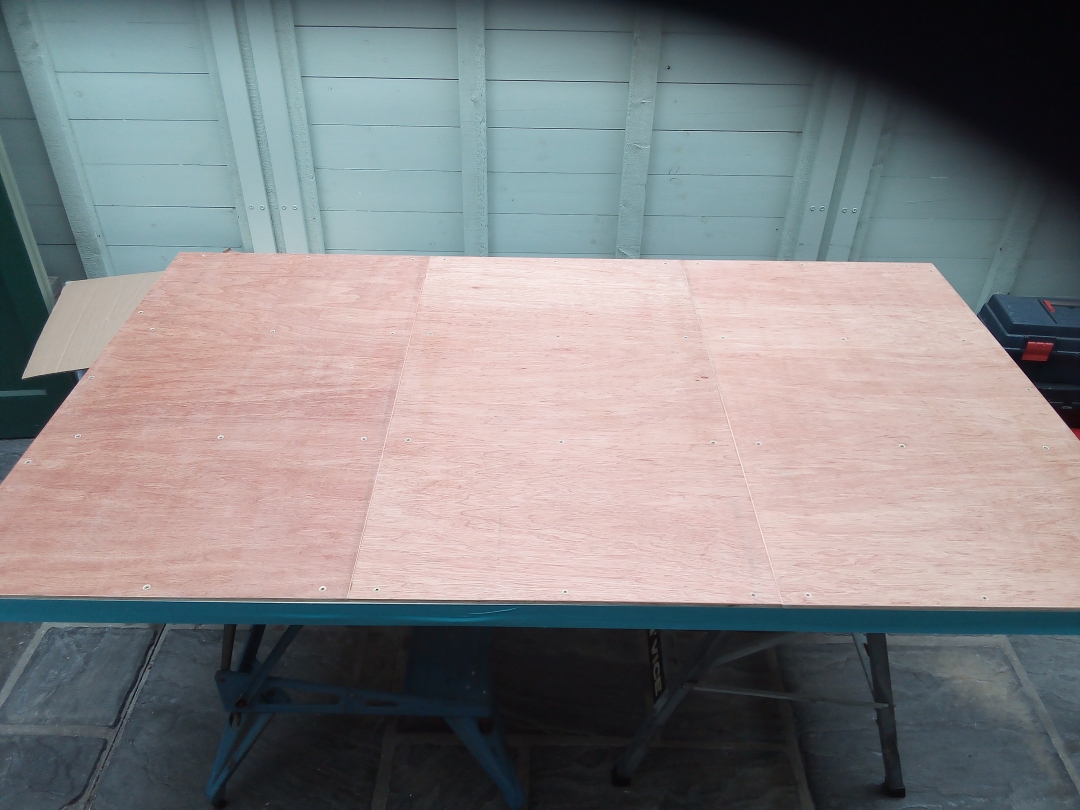
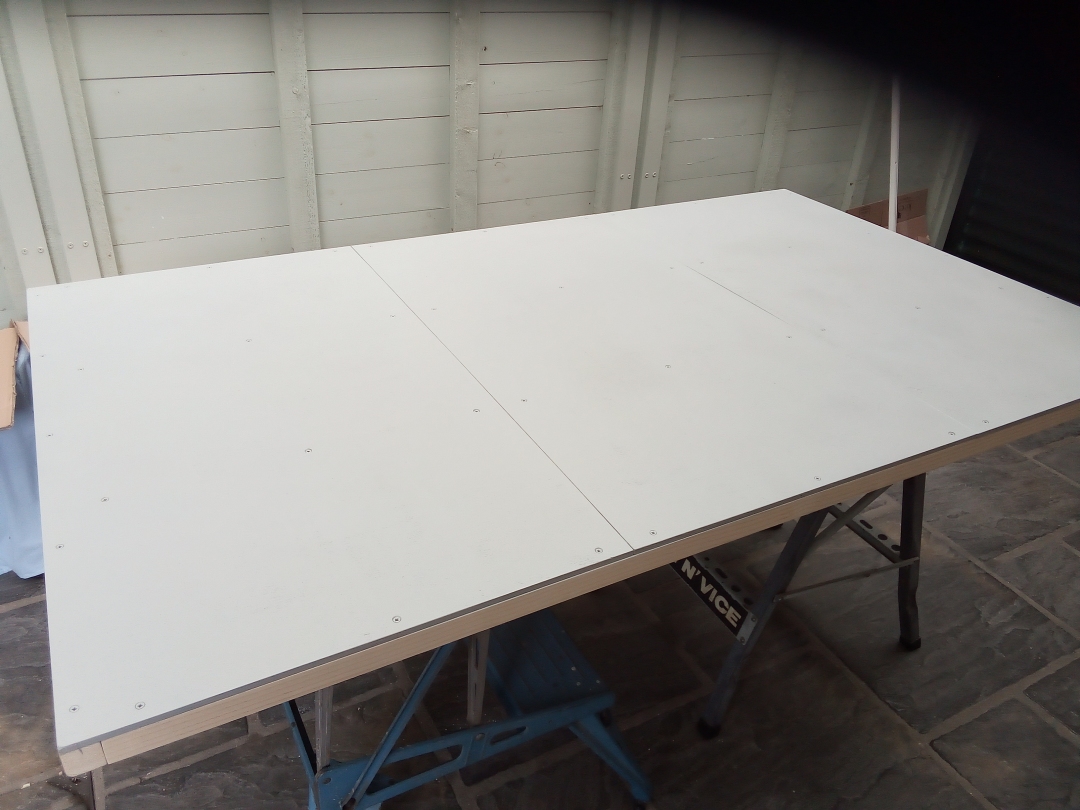
More bits for my dad's railway layout - a load of OO gauge (1:76 scale) bricks.
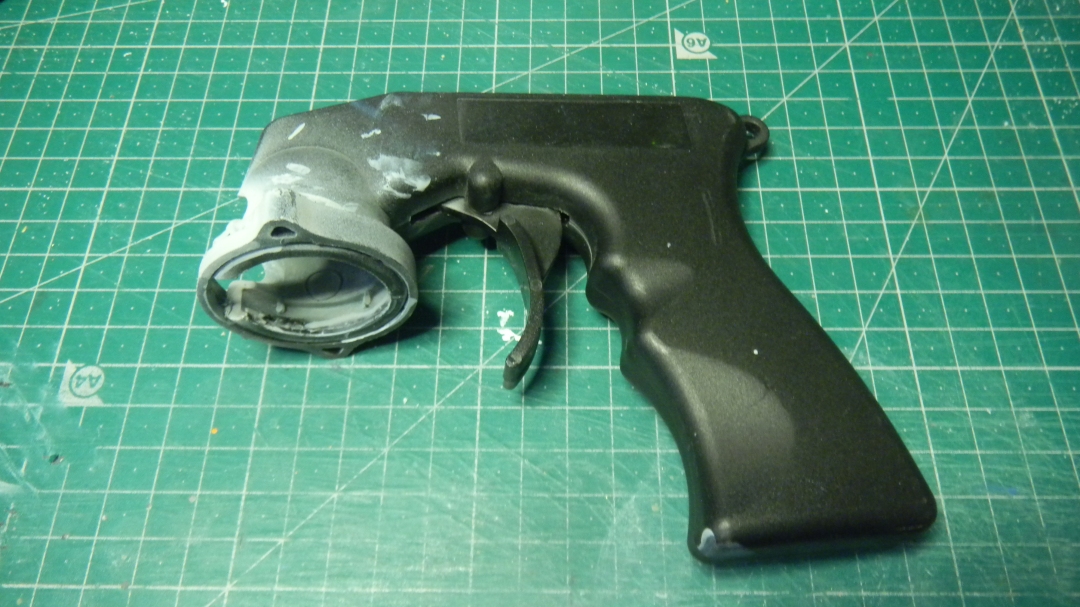
The baseboard is a pretty small (for OO gauge) 6ft x 3ft 6" (1829mm x 1067mm), the plywood got a coat of celloluse sanding sealer before a light rub down & grey synthetic lacquer type primer. Normally I eschew spray triggers, but this time I was grateful to have it, the board took two coats, and each coat need two 400ml cans
The following user(s) Liked this: stingray-63
|
|
Please Log in to join the conversation. |
Adventures in painting 4 years 6 months ago #57014
|
Roohh that smells a pure rail way.
|
|
Please Log in to join the conversation. |
Adventures in painting 4 years 3 months ago #57813
|
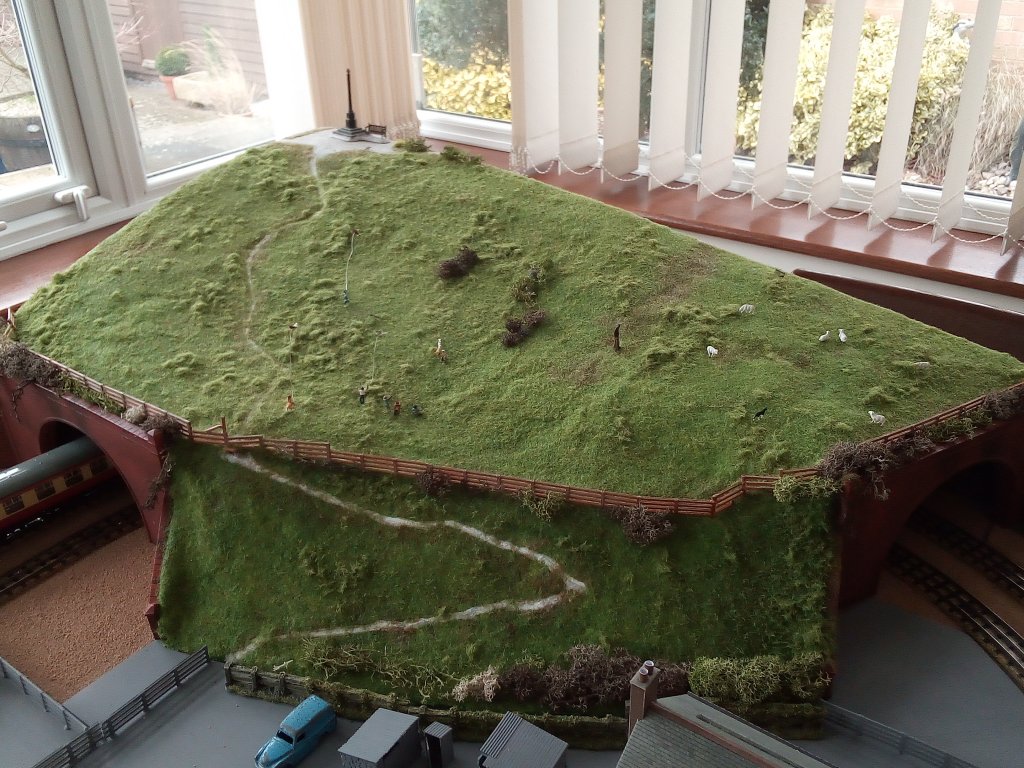
Working on my dad's train set* seems to be sucking up all my hobby time at the moment, the hill is premade Hornby tunnel mouths fixed to a homemade wooden framework, with aluminium mesh supporting plaster of paris bandages, paint is varying quantities of green , yelllow, brown, white & black poster paint (which looks a whole lot better in the flesh) & still has some way to go.
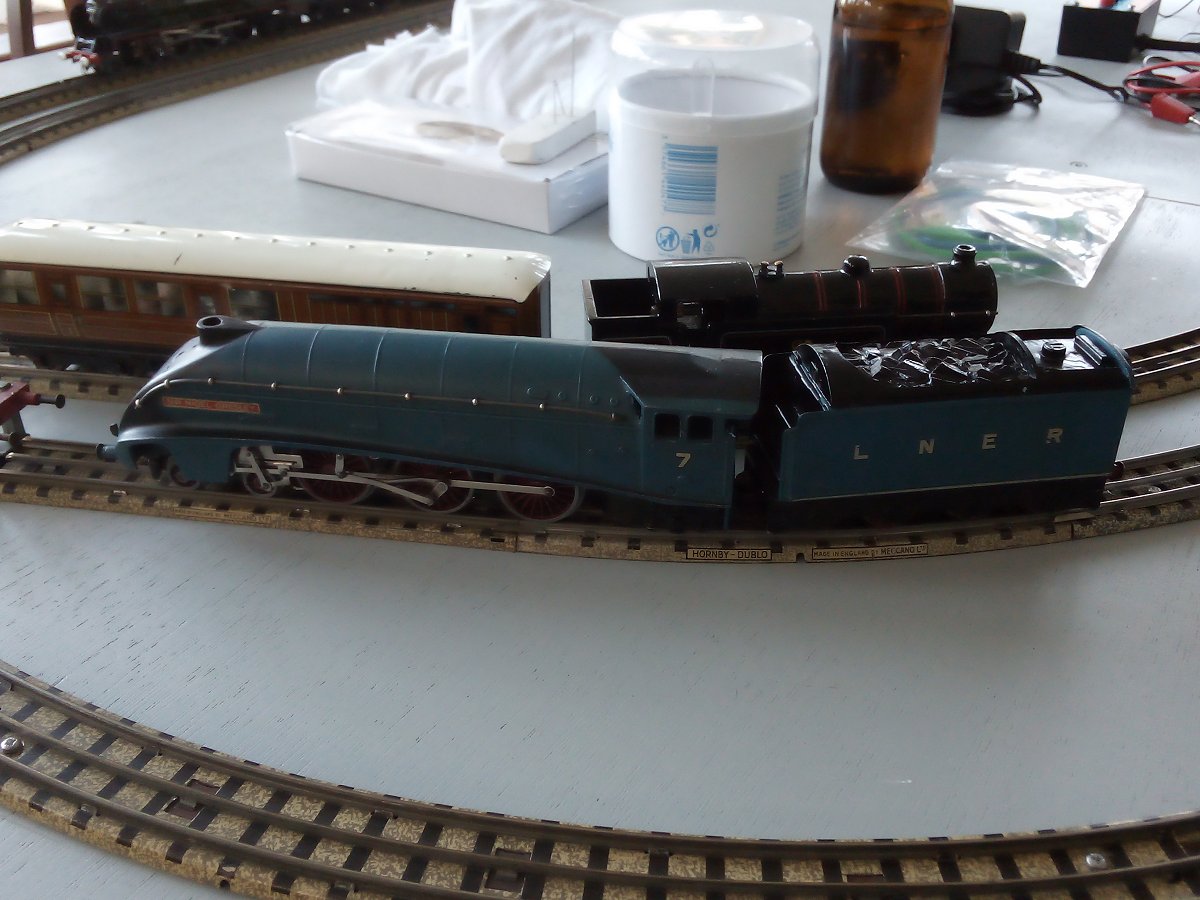
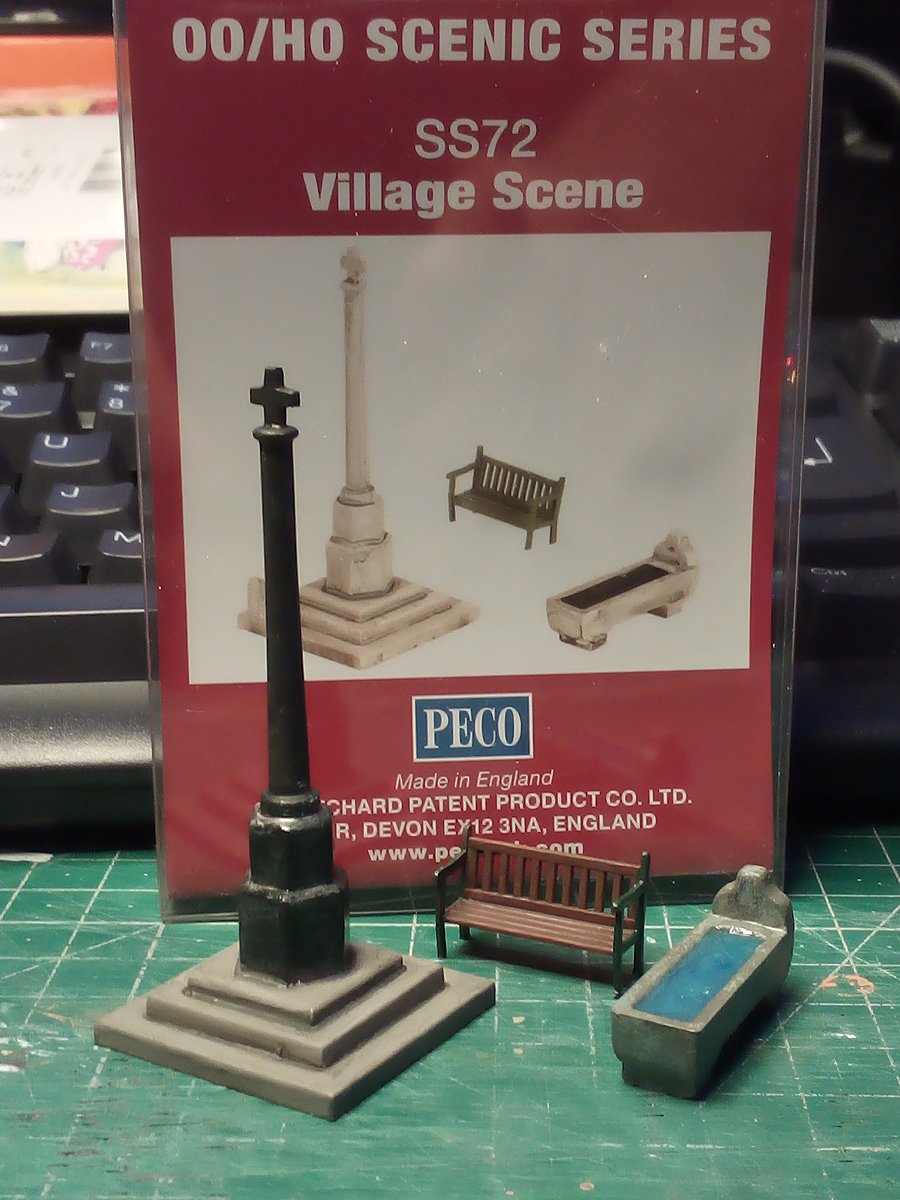
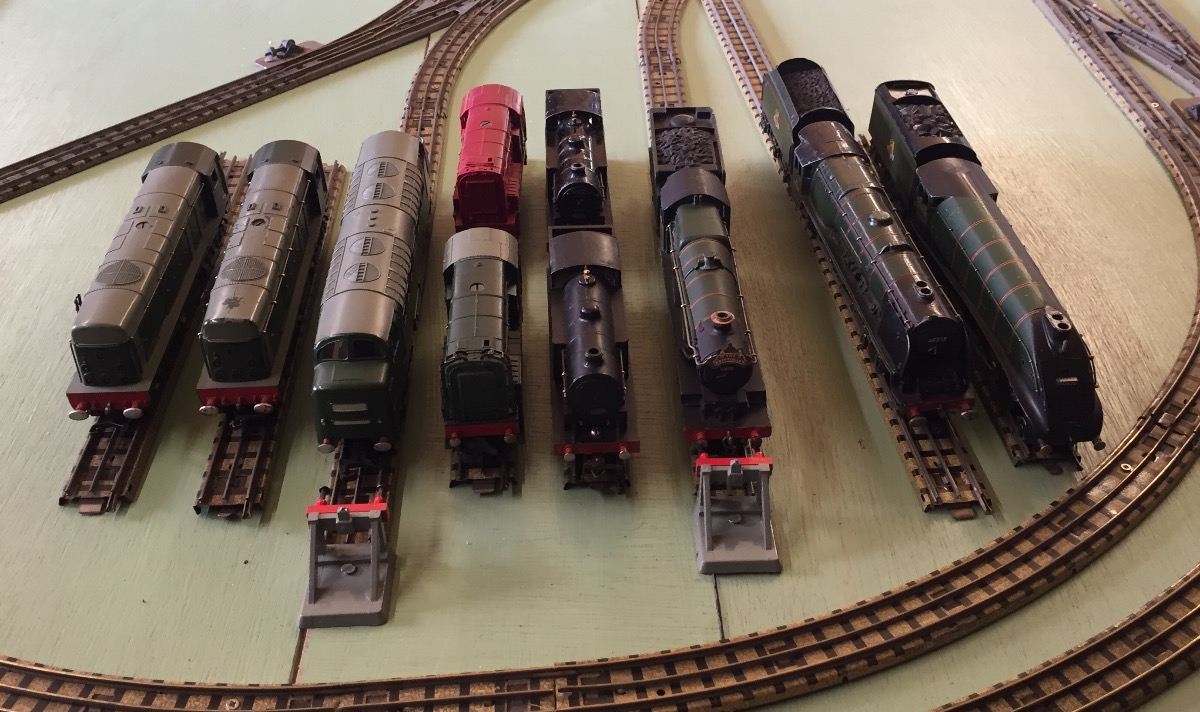
* apparently that is the correct term when you can see the full loop, it's only a grown-ups "layout" I've also been working on another plastic kit, the monument is meant to look like a cast iron pole fitted to black granite, trough is meant to be lead filled with water. A "new" loco - an A4 class, this ran straight out of the box despite having not been serviced in 65+ years, but ran smoother & better after de-fluffing, cleaning & lubricating. |
|
Please Log in to join the conversation. |
Adventures in painting 4 years 3 months ago #57829
|
Woohoo. A nice scene Jonny.
|
|
Please Log in to join the conversation. |
Adventures in painting 4 years 2 months ago #58220
|
Have made some progress on this
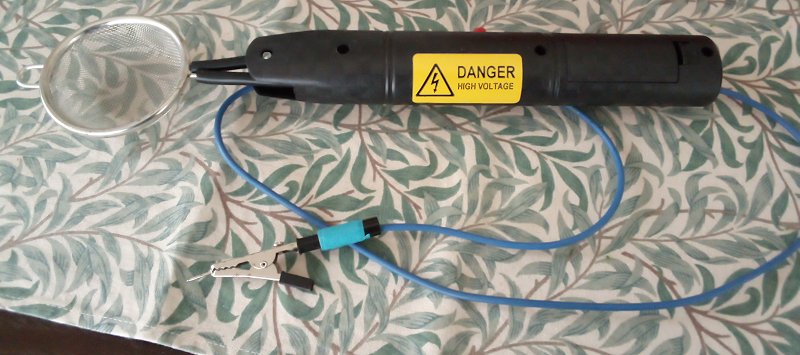
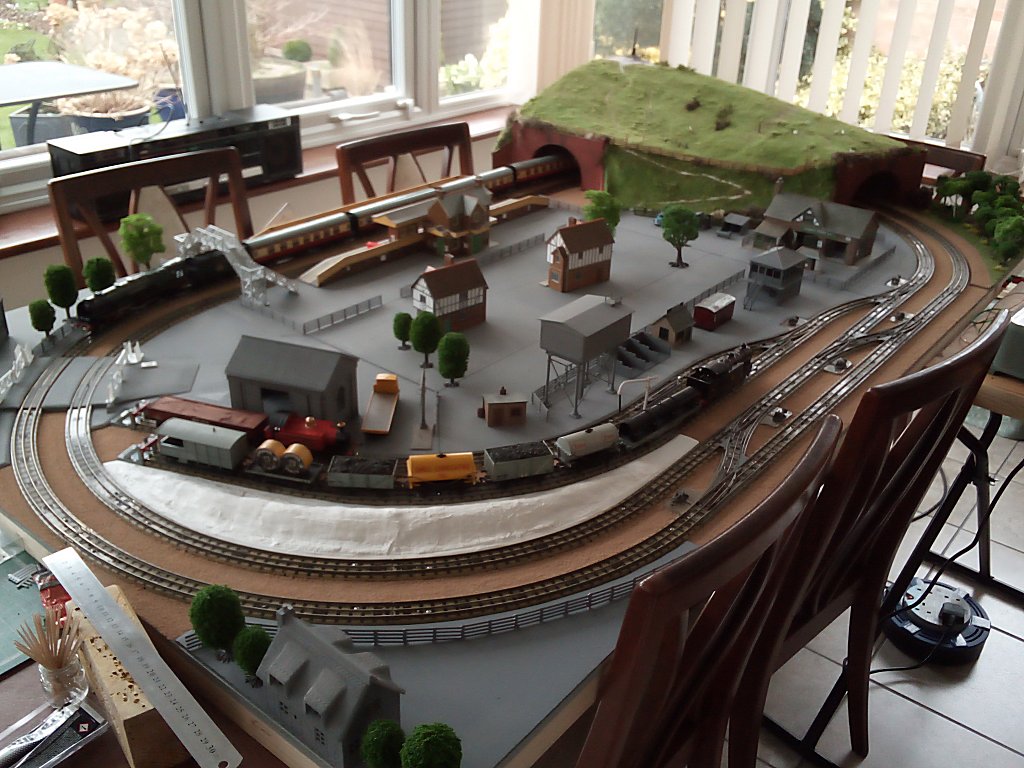
Made a static flocking machine from an electric flyswatter & tea strainer, in theory these are supposed to make fibres stand on end to make them look more like natural vegetation, in practice they are a little better than sprinkling by hand but you have to be carefull to short out the charge after use as it holds on for some time & I kept zapping myself at first :whisle: Not sure what the voltage is, my multimeters only go up to 500v DC & the needle was pinned very quickly ... Anyway, this is the hill after using PVA glue & flocking in varying colours, then adding clumps of flock by hand, plus a little reindeer moss. You can buy expensive "layering spray", buy I used really cheap supermarket hair spray. The "wood" is very similar, but using cheap Hobbyking trees fixed to a removable PVC foam board. In fact everything will be on a PVC foam board apart from the track, buffers & some of the ballast so it can be packed away in sections. Station building, platforms, garagae & two of the cottages were build from card kits by my mum, the others are plastic kits built by me, including the goods shed which came as moulded sheets and instructions that were only one step away from being of the "Make building (A) from materials ( I'm almost at the point where I'll feel ok in taking a break from this to get back to RC projects, I just need to prime the footbridge, fix down the crossing gates & at least get some paint on the bare plaster of paris on the banana-shaped bank.
The following user(s) Liked this: stingray-63
|
|
Please Log in to join the conversation. |
Adventures in painting 4 years 2 months ago #58221
|
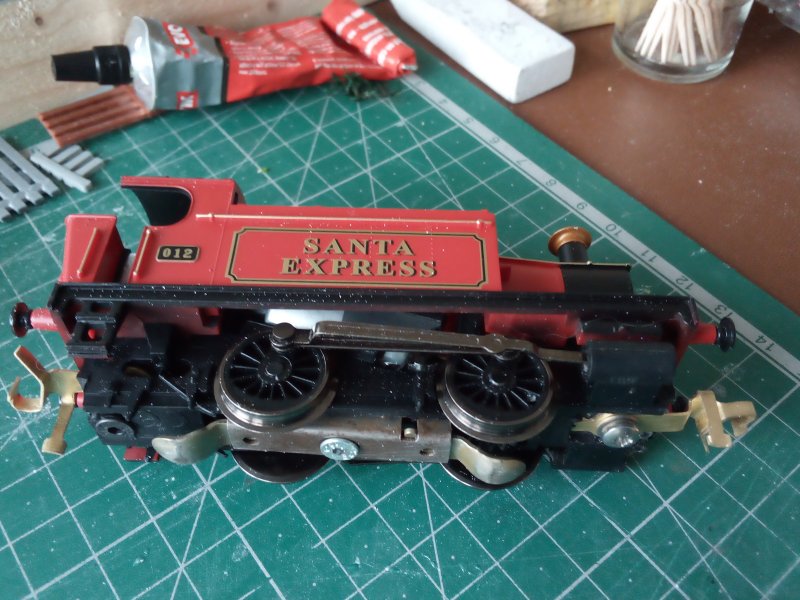
Dad also wanted a shunter, but there aren't a whole lot of vintage 3-rail Hornby options, the possibilities were really to get another 0-6-2 the same as the little black one & dirty it up, get a diesel electric 0-6-0 that would have been a bit out of character, or buy something already converted ...
In the end I bought the cheapest new Hornby loco I could find, cut away most of the chassis so I could fit a set of vintage 3rd rail contacts. I also made new couplings from brass sheet. Even with 40g of extra weight (some of it visible) traction is not great, and performance is pretty poor. It will get a plain black paint job at some point. |
|
Please Log in to join the conversation. |
Adventures in painting 4 years 2 months ago #58229
|
The following user(s) Liked this: Jonny Retro
|
|
Please Log in to join the conversation.
Last edit: by Hornet neil.
|
Time to create page: 0.224 seconds

