|
Index:
Pumpkin Lowride 
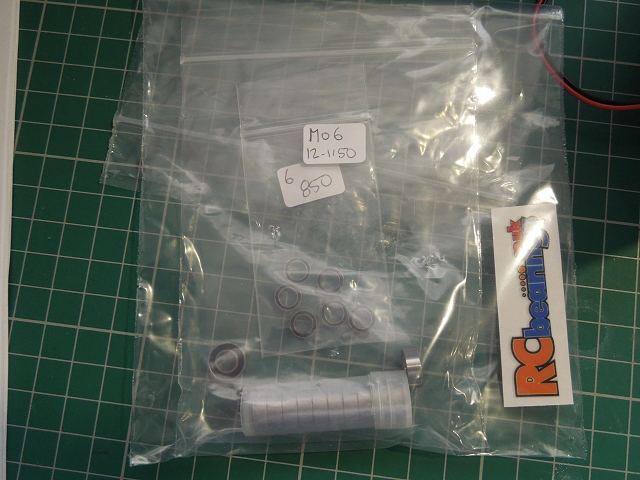
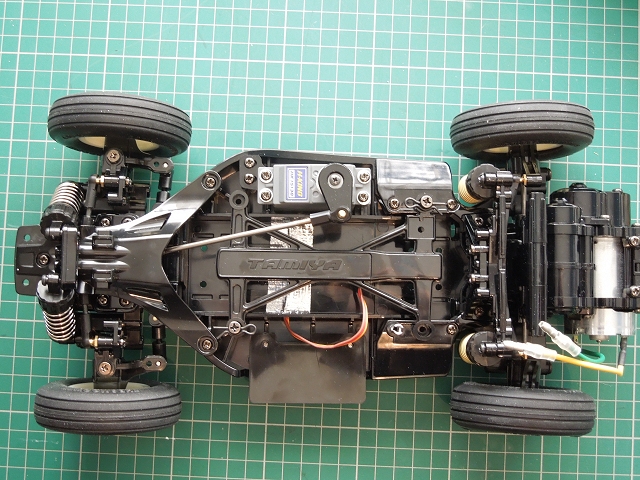
Page 1: background, lots of ambition, M-06 chassis build & wiring spaghetti, wheel mods, cutting out bonnet (hood) Page 2: sunroof fill, new lower bed, FORD lettering, oil shocks, scale V8 engine Page 3: more work on engine, painting engine Page 4: building 2nd engine to fit, attempt at hood articulation Page 5: entirely lost patience with complexity, project abandoned "Graham": 1:10 version of my Mini Cooper R56 Page 5: body masking, paint, M-03L chassis build Page 6: complete 
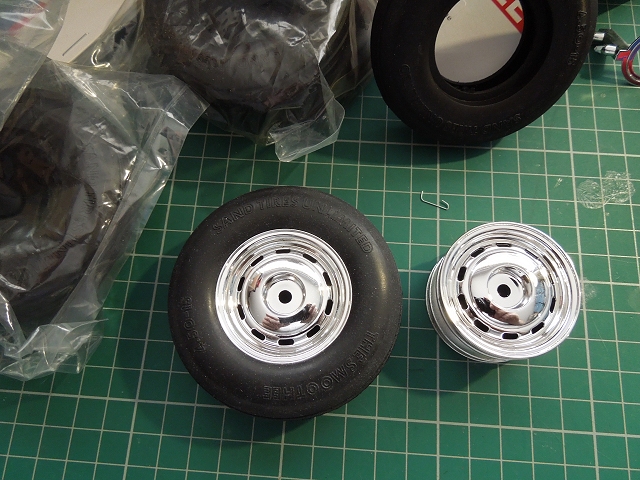
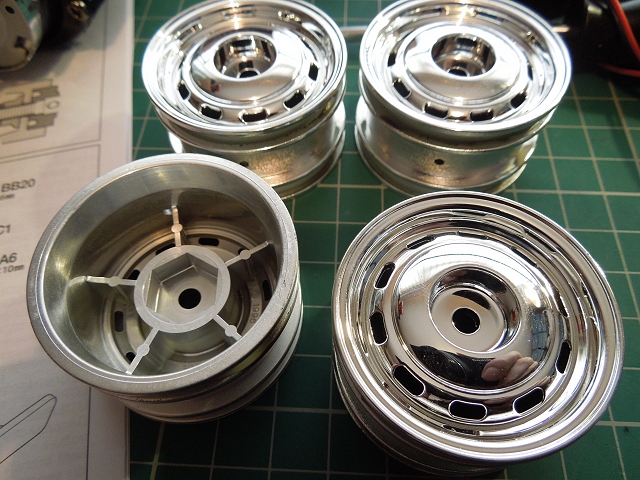
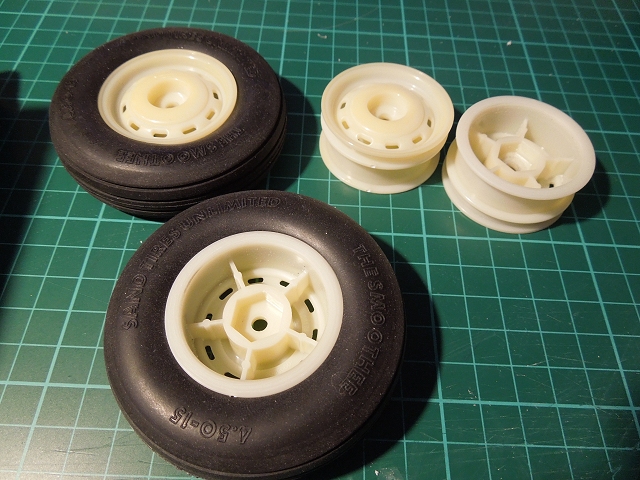
Page 9: replacing wheels, and modding them "Snowy": my 1977 1098 Mini Page 6: Cutting & painting "Matrixline" mini shell, M-05 NSU TT kit as chassis donor Page 8: Decals, wheel mods, chassis build, finished 2nd Attempt at Pumkpin Lowride: 
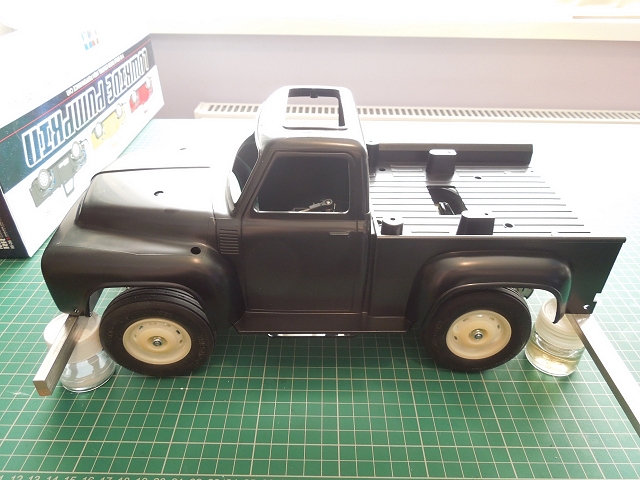
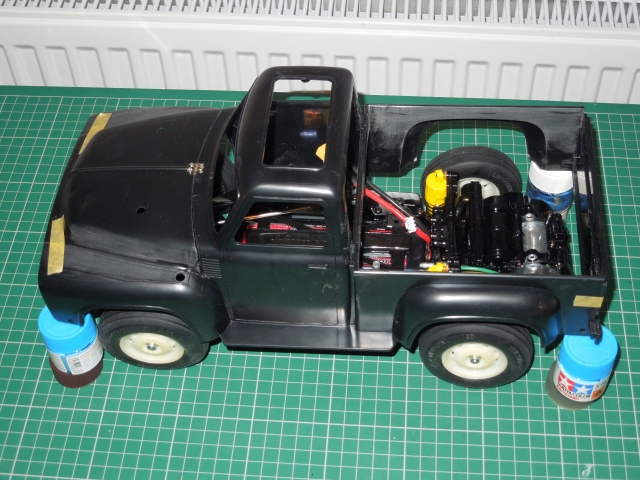
Page 6: stripping Midnight Pumpkin body, M-06 VW Beetle kit as chassis donor Page 27: Chassis build, wheel mods, body mods start Page 28: new load bed, rear lights Page 29: winch & crane, interior, driver mods Page 30: bumpers, accessories, "rust" Page 31: salt, paint Page 32: detail painting Page 37: still not together Page 39: "done" pics Backwoods 1923 Skidoo half tracker Page 8: idea, inspiration Page 9: M-06 chassis build, starting interior Page 11: interior continues Page 12: bodywork starts, grille & emblems Page 14: doors Page 15: Railway lamps, front fenders Page 16: bigger skis Page 17: load bed Page 19: more details, fuel tank, fake load Page 20: primer Page 22: "metal" and "rust" Page 23: salt, driver & lamp painting Page 24: detail paint ongoing Page 25: test drive fail, toe-in fix Page 26: toe-in fix, track refit & fix Page 27: Snow! "Poppy" - 1986 family Mini City E Page 10: M-03 Chassis clean & rebuild, body cut rescue, wheel mods, resistor repair, starting paint Page 11: complete "Advent Calendar" Karmann Ghia Page 13: Body Cut Out & paint Page 14: ongoing chassis build, body masking Page 15: chassis continues Page 16: chassis, painting body page 17: chassis more painting, unmasking Page 18: body decals Page 19: chassis ongoing Page 20: still not finished that chassis ... Page 21: magnetic body mounts, chrome bits "Keeper" Karmann Ghia Page 32: cutting out body, masking, paint Page 33: chassis build, "done" photos "Keeper" NSU TT Page 34: Cutting out body, paint experiments Page 35: Paint, number plates Page 36: Wheel mods, chassis build Page 37: "done" pics 2CV Page 37: wheel mods, body cut. fit & paint Page 38: Paint continues, decals, magnetic mount fail Page 39: "done" pics L&L Models Porsche 356 Page 40: Cut body, sat on new chassis Page 41: Painting, cutting decals, magnetic mounts Page 42: fitting decals, "done" pics L&L Models Mini Clubman as 1275GT Page 40: used body binned, used chassis rebuilt, body cut & sat on chassis Page 41: Painting, cutting decals, magnetic mounts Page 42: fitting decals, "done" pics Belated Xmas 2022 M-06 Beetle Page 42: building chassis, cutting body page 43: painting |
Please Log in to join the conversation.
Last edit: by Jonny Retro.
|
|
Original 1st post:
My Monster Beetle has gone, and as I've had my eye on the official Pumpkin Lowride kit, I immediately spent the proceeds on one The box was the size I expected, but surprisingly heavy & densely packed - I guess there's proportionally more mass wasted on sprues & packaging on a small car? I'm committed to the Scorcher body repaint & want to finish the Bedford Skip truck, so this is a way in to the future - but I can think about it, and post it so I don't forget... A few years ago, before this kit was released, there was a pre-built Pumpkin Lowrider available from Tamiya, but it was so rare that if you wanted one you really had to make it yourself. This meant using a small chassis such as the various Tamiya M's, or in my case a Mardave 1/12. All I can say is that my skills & standards have improved since then ... The body came to me with a single coat of blue over bare plastic & I left it alone, just making & fitting some flame decals from self adhesive vinyl & adding extra body mount holes. And that pink antenna tube In many ways I'd like to revisit that idea idea again & do it properly - smooth out all the holes & bumps, maybe even lower the roof, shiny paint & painted on flames - but for now, the "rat" look is in & everyone seems to be going that way with this kit. I'd like to go in the same direction, just not quite as far with the rust My wish list so far: - Faded blue paint (or maybe red) with a little rust & maybe a few dents, definitely "age" the chrome. - The kit wheels look quite suitable to me (apart from the chrome), so I'll probably narrow them & use Scorcher front tyres all round for a more period look. It won't be so much of lowrider then - Fill the 4 body post holes on the front end, fill in the sunroof, and make the cab back that's currently part of the window moulding actually part of the body. - I'd like to make the bonnet (hood) openable (maybe even with servo power, off the TX ?) & space permitting, fake out the engine bay. - Interior - again space permitting, but I think there's at least room for a dash, a bench seat (or at least the back of one) & something of a driver. - Rear bed - I'm really not sure here, could be a small crane (with the winch I keep meaning to fit to something), could be wooden planking raised sides, maybe even build a completely new wider bed (a la the B-130 in Spin Tires). At the very least, the load bed is now so full of holes & excresences that really aren't needed (MSC resistor hole, 4 body post holes, 2 antenna holes, 4 pillars for rollbar) that I'd cut the whole panel out and start again. 2nd post I did a bit of building on this yesterday, I can't say I particularly enjoy modern, all-plastic builds anyway, but this was particularly dull. Of course I'm used to cutting parts off frames & them cleaning them up, but on this kit most of the points where the components join the sprues seemed to be unusually large & took up far more time & was harder work than it needed to be. This chassis seems to have been designed with a huge number of permutations & spec levels in mind, no doubt that make commercial sense but I can't say I like the idea of using the same chassis for lots of "different" cars - bring back the days of chassis only being used across 2/3/4 cars I say The number of parts, spacers & all the fasteners required to hold them together must have a penalty on the weight, just a short way in to the build I couldn't help but think how much heavier it was than a complete Mardave chassis with all the electrics & a battery in it It also seems to have plumbed new depths of cheapness in a couple of places - more on that later... Lots of bits I'm not going to need: ... and some I will: Sand Scorcher (etc) front tyres give a much better look IMO, though I'm not so sure about the lettering ... We're not going drag racing, so the wheels will need narrowing a bit ... ... I had planned to take a chunk out of the middle glue back together, but due to the ribbing around the hex fitting it'll be so much easier to just turn the inside edge back & make the inner bead edge the new rim. I had a long think about whether I wanted to keep the chrome (you can do quite a lot to dull it down with artful dry brushing with "silver" and clear paints + hull red / rust washes, but in the end I felt they were just to shiny - what I'm imagining would have had basic painted wheels rather than plated - so it had to go. The chrome on the inside & back came off pretty quickly just sitting in a strong solution of caustic soda (eye protection!), but the plating on the faces was much thicker & I think had some sort of protective clear over it - it took a much stronger solution & 1/2 an hour in the the ultrasonic tank _plus_ some light scuffing up (to give it a way in) to get it off. The runoff from the tank was yellow tinged with some clear jelly-like strands in it, it makes sense but still, blurrrgh! Inside edge(s) turned down with the trusty Unimat & rounded a bit with wet & dry. On to actual building - pages 4 and 5 of the manual cover building the diff & starting on gearbox & rear suspension: Nylon 1150 bearings have long been a feature of Tamiya cars, but 850 size has to be a new low? |
Please Log in to join the conversation.
Last edit: by Jonny Retro.
|
|
Pages 6/7, completing gearbox, attaching chassis, starting on front end:
Pages 8/9, rear suspension/drive, part of front suspension: Plastic 850 bearings were destined for the steering, but still, I'd rather put proper metal ones in there: Pages 10/11 - front suspension & steering complete: Shocks are quick to assemble, but still - ewww They're not even pretending they're dampers any more Pages 12/13 are building/fitting the shocks, and the front bumper... ... I won't be fitting it due to it's similarity to a 1:1 car ice scraper, but it does need some reinforcement. I'm thinking a flat GRP plate & turned alloy uprights at present, but I'll see if I can incorporate some sort of hidden front body mount... Servo saver is meant to be fitted at 15 degrees, but TBH that depends on how many splines your servo has - one over will probably be a bit too little, 2 will be far too much. |
Please Log in to join the conversation. |
|
Another moan re cheapness - servo wiring runs under battery so needs a bit of protection from fretting, the manual mentions using aluminium glass tape (as found in the Frog & so on) - it'd have been nice if there was some in the kit
Pages 14/15 - servo setup & fitting, battery retainer... I stopped at this point but I guess there's more on fitting bodyposts & building the body, hubs & wheels etc... I just put the modified wheels on. I know the tyres are bigger than stock but the geometry & suspension setup looks to me like a desperate attempt to tame a car that was ludicrously tail-happy with a neutral setup, (really obvious toe in & negative camber on the back end, despite most of the weight being on the back wheels) then make it actually turn again (toe out one the front, I'm really not sure what the positive camber is for ). I wonder what it'll handle like - I don't know if Tamiya have got it right, or it'll be a total shed. In hindsight I don't think I don't think I'll put the body on quite as high as this, but even so there's some scope for an interior, lowering the load bed & a fake engine (although the front shocks will compromise that a bit). Back in the box for now ... |
Please Log in to join the conversation. |
|
Got this one out of the crate to have a quick look at & ended up doing a bit more - built up the mini CVAs with the option parts from the kit ...
Bonnet (hood) & front panel needed the mounts taking off (one bonnet one still to do here): Side cut lines marked with tape & scribed over & over again ... ... eventually that & a bit of wiggling causes white stress marks to form on the inside, so you can do the same from the inside ... ... so the bonnet can be removed. Front panel is now glued in ... Test openings of the bonnet showed the pointy rear corners would catch & scrape, so I heavily rounded the corners, saving the offcuts to refit to the body ... I was never going to be able to work out a scale set of Z-type hinges (where the bonnet moves forward & then up at an angle), especially not if opening is going to be servo controlled - so I've fitted a single, central hinge. Rear corners will gain control via some small tension springs. I've also been thinking about the possibility of making the fake engine fit on a pivot (with some sort of return spring/damper) & it having a motor with an asymmetric weight so it can oscillate ... but that may be just too much to fit in, along with the opening bonnet, full interior, dropped bed with crane & working winch + lights & beacons I've already got planned Rear bed cut out: Next step is to fit an RX & ESC, work out the final body height & make body mounts (hopefully "invisible" ones).
The following user(s) Liked this: Edou
|
Please Log in to join the conversation. |
|
which tools did you se to cut so fine Jonny?
|
Please Log in to join the conversation. |
|
10A scalpel
|
Please Log in to join the conversation. |
|
oh god! Yiu are really patient.
|
Please Log in to join the conversation. |
|
I pulled this one out today for another look, it turned out I'd accidentally glued the front right corner of the hood on, so spent some time winkling that off, breaking it, gluing & filling
Eventually I got to what I wanted to do - test all the wiring. Setup currently is 6 channel radio, up/down on left stick & left/right on right stick will be throttle & steering as usual, and winch control (fixed to rear bed & line passing through crane) up/down on right stick. Hood opening will be via a servo (I may get a smaller one) on channel 6 knob, the channel 5 knob currently turns the vibration motor (380 is just there for testing) on/off, LEDs (will change, and the wiring will get tidier) are currently on as soon the drive battery is attached as that makes a bit more sense to me than the other way round. There's a lot of electrics in there for such a small chassis, the purpose of getting them in early was to see if there'd be room for the full depth interior I'd hoped for ... I can't see it happening now, probably the cab floor will have to be a fake just under the top of the bench seat squab (1/3 to half way up the the door?).
The following user(s) Liked this: AndyAus
|
Please Log in to join the conversation. |