TOPIC:
M-02 Rebuild 10 years 4 months ago #26605
|
|
Please Log in to join the conversation. |
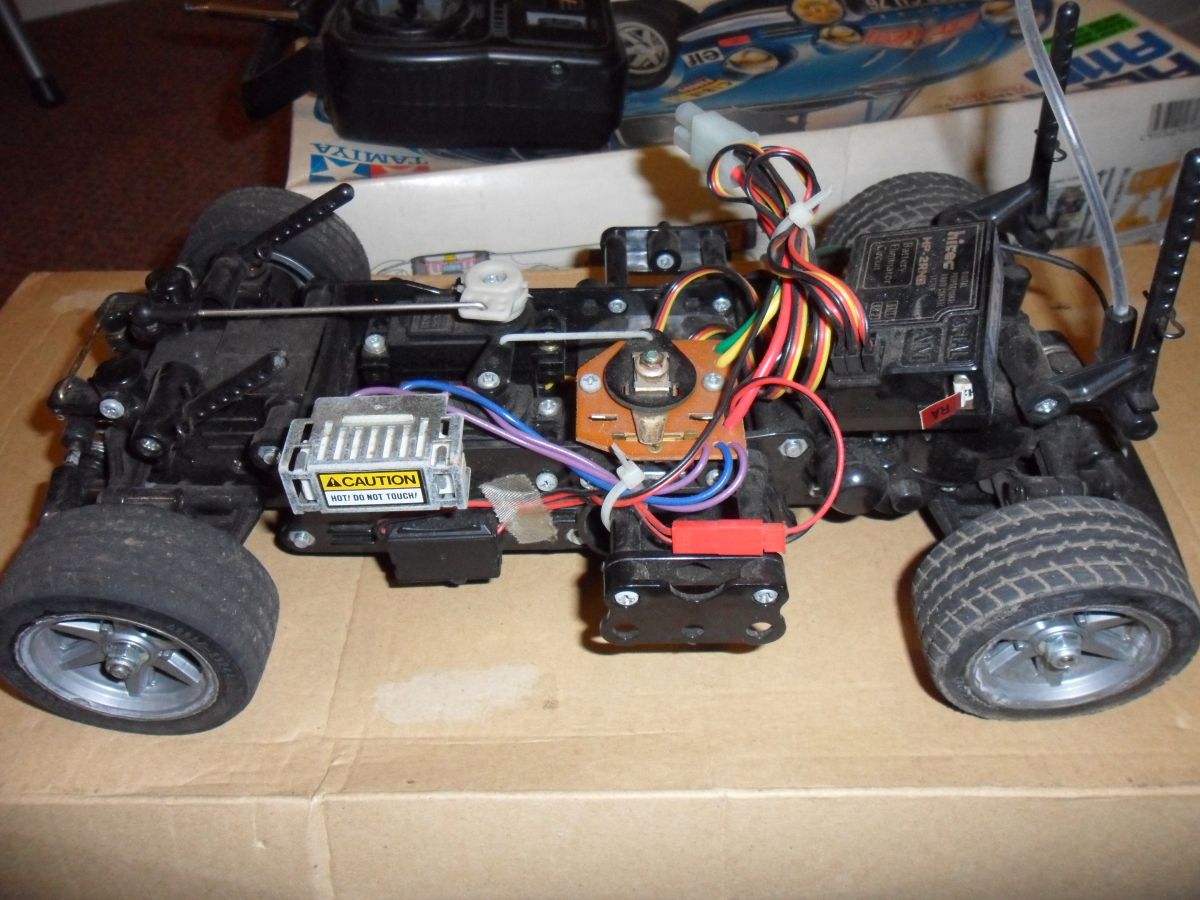
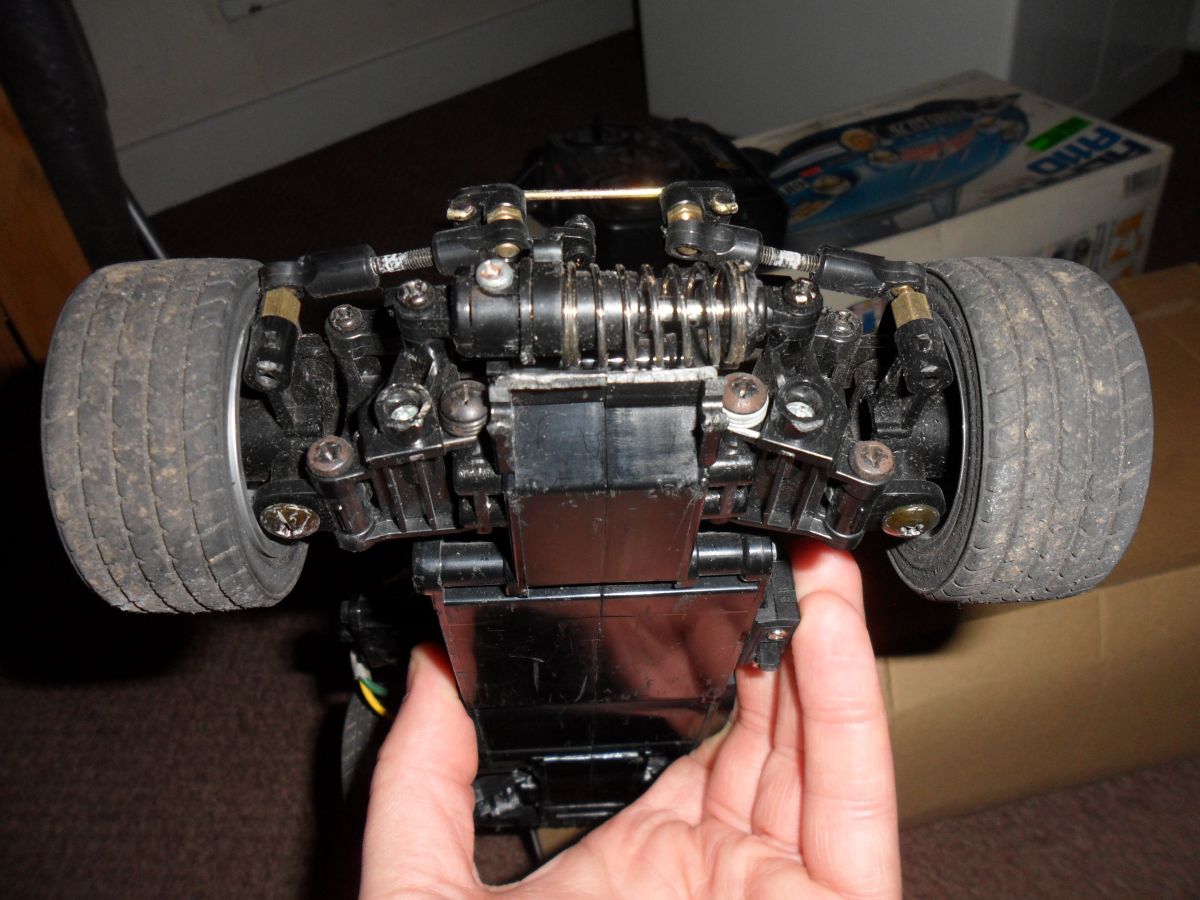
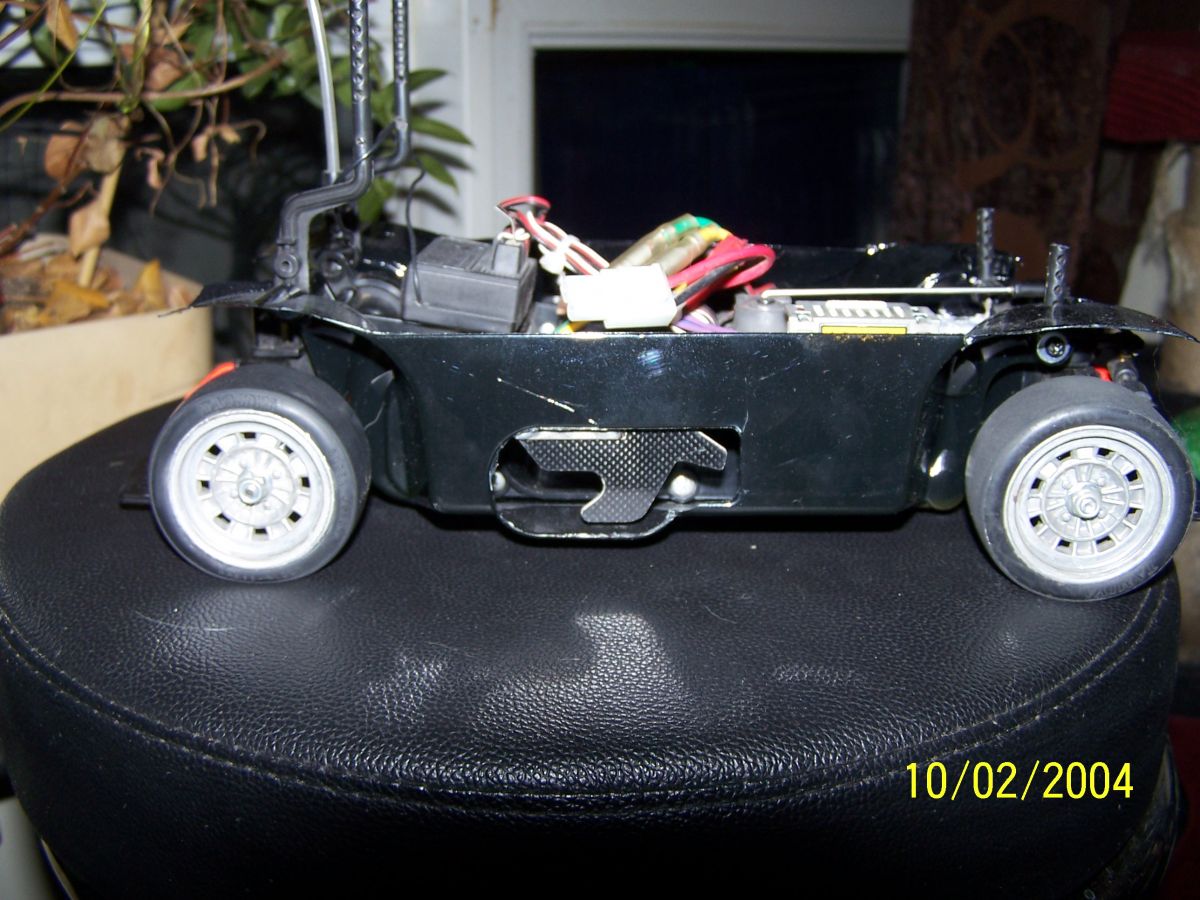
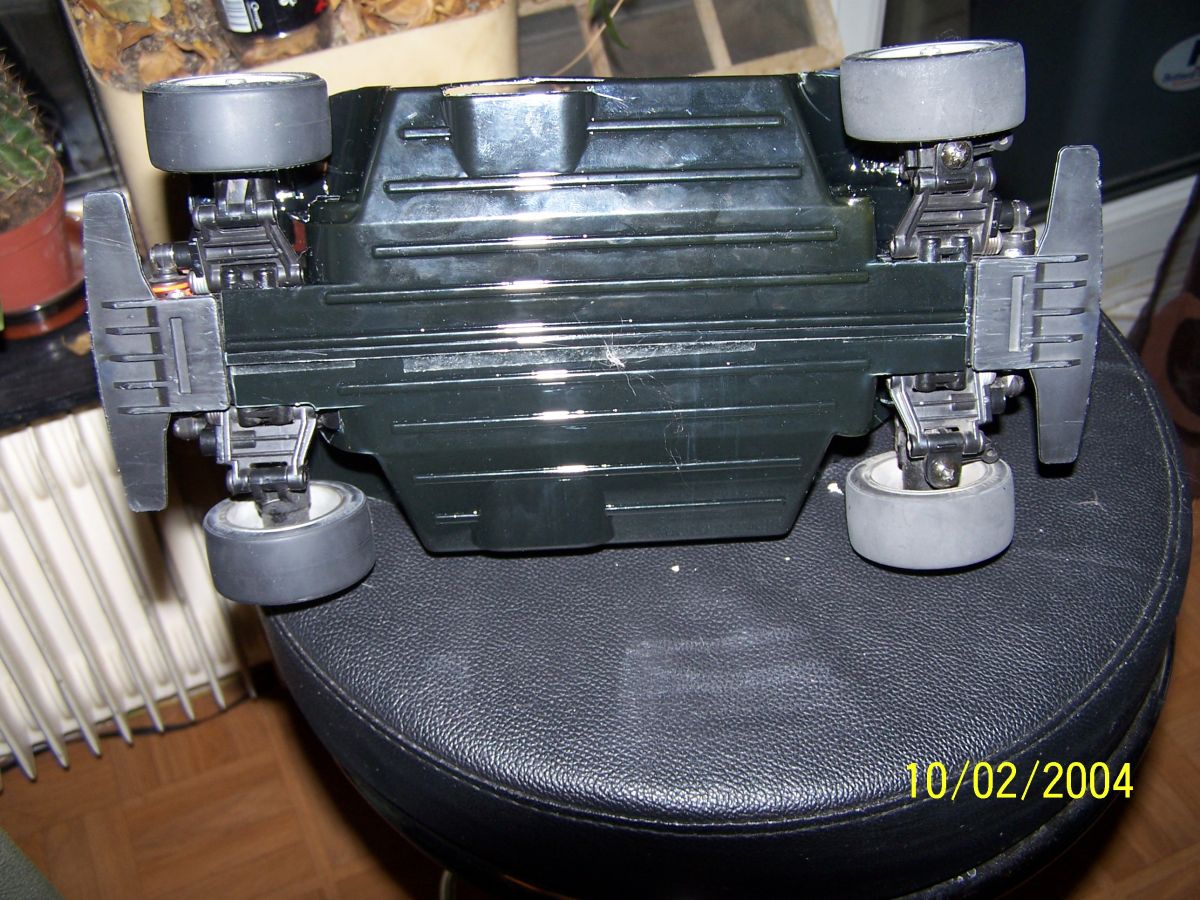
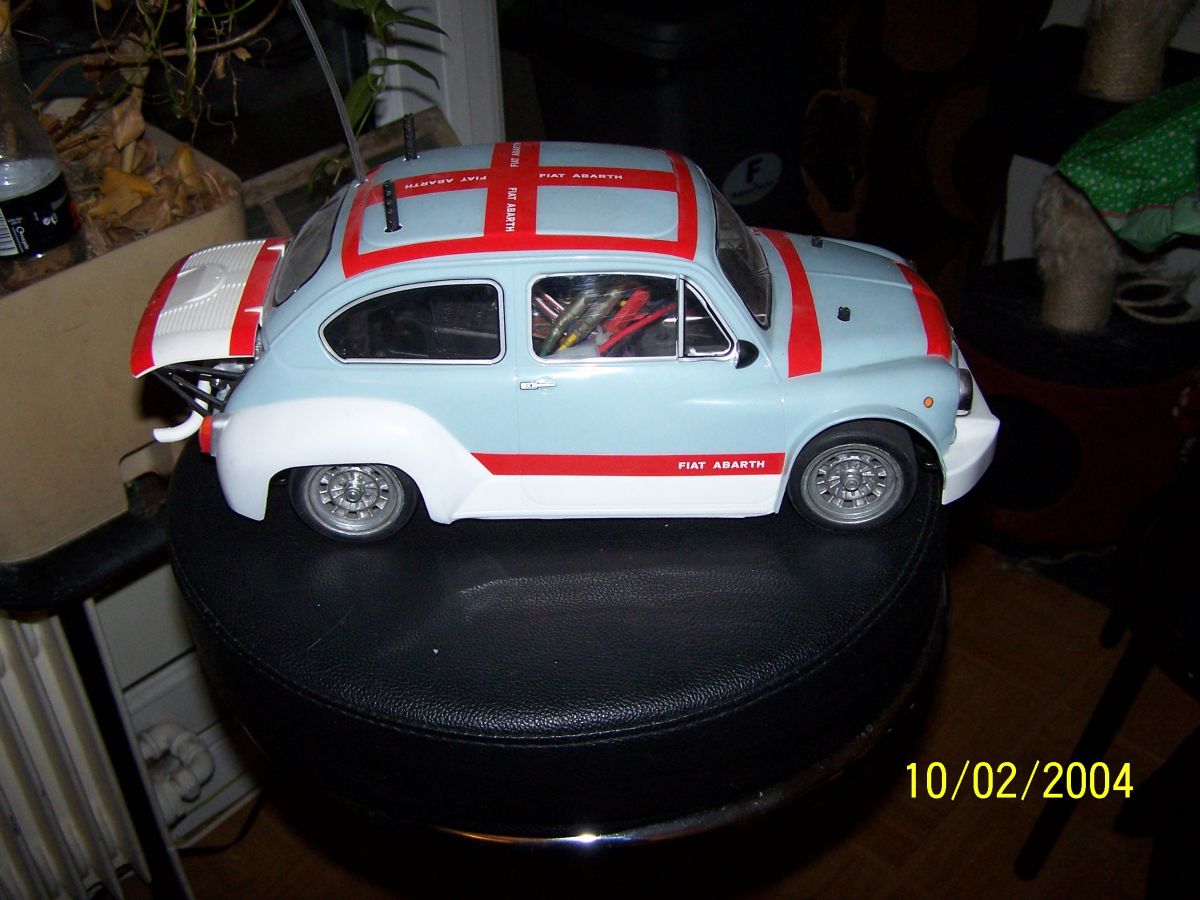
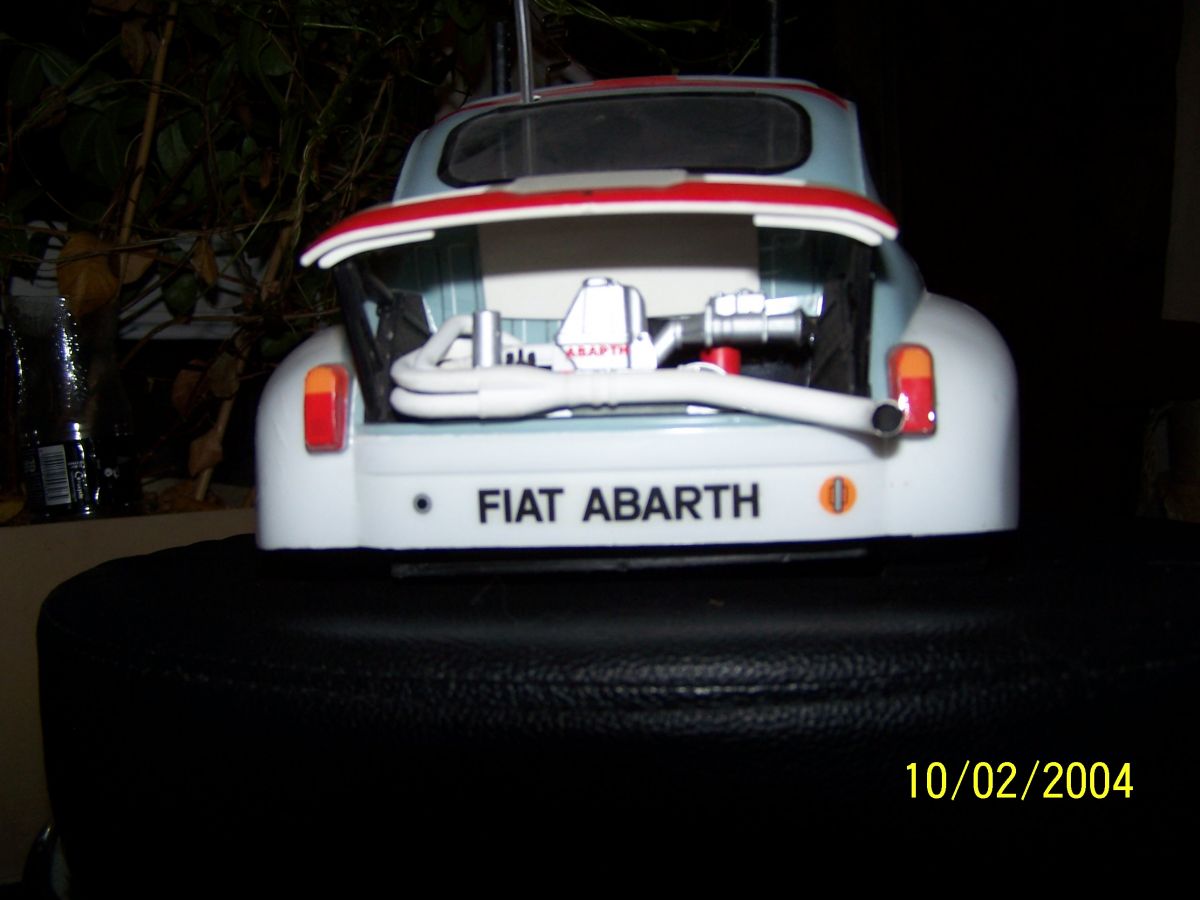
 so i have decided to give her a well earned rebuild. Sadly the body was so badly smashed up it was binned many moons ago and the price of a replacement on ebay right now is silly money so i will be using a different bodyshell once i have finished rebuilding her. Up to now i have ordered a new chassis A parts tree and i have a new set of bearings that i will be fitting too. pics below show her current state

M-02 Rebuild 10 years 4 months ago #26606
|
|
Please Log in to join the conversation. |
M-02 Rebuild 10 years 4 months ago #26608
|
|
Please Log in to join the conversation. |

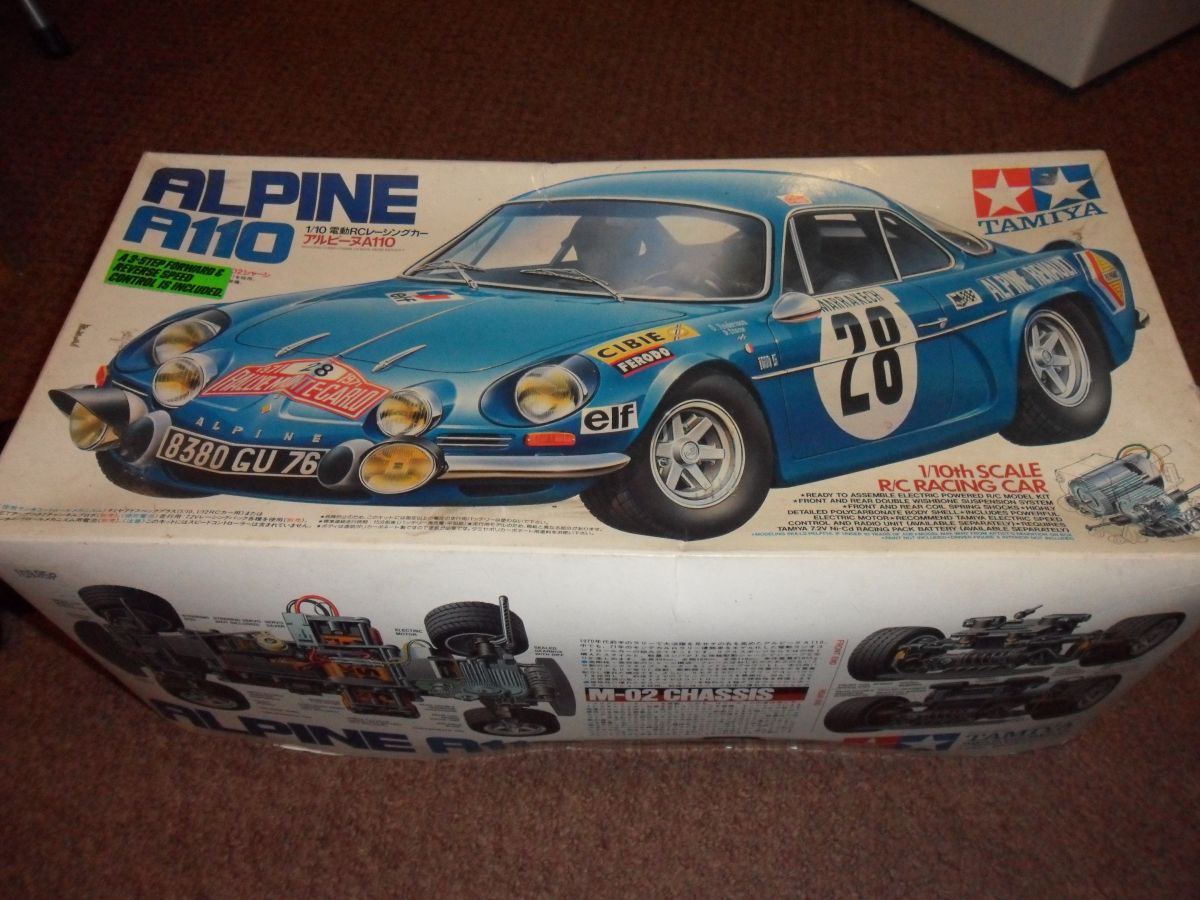
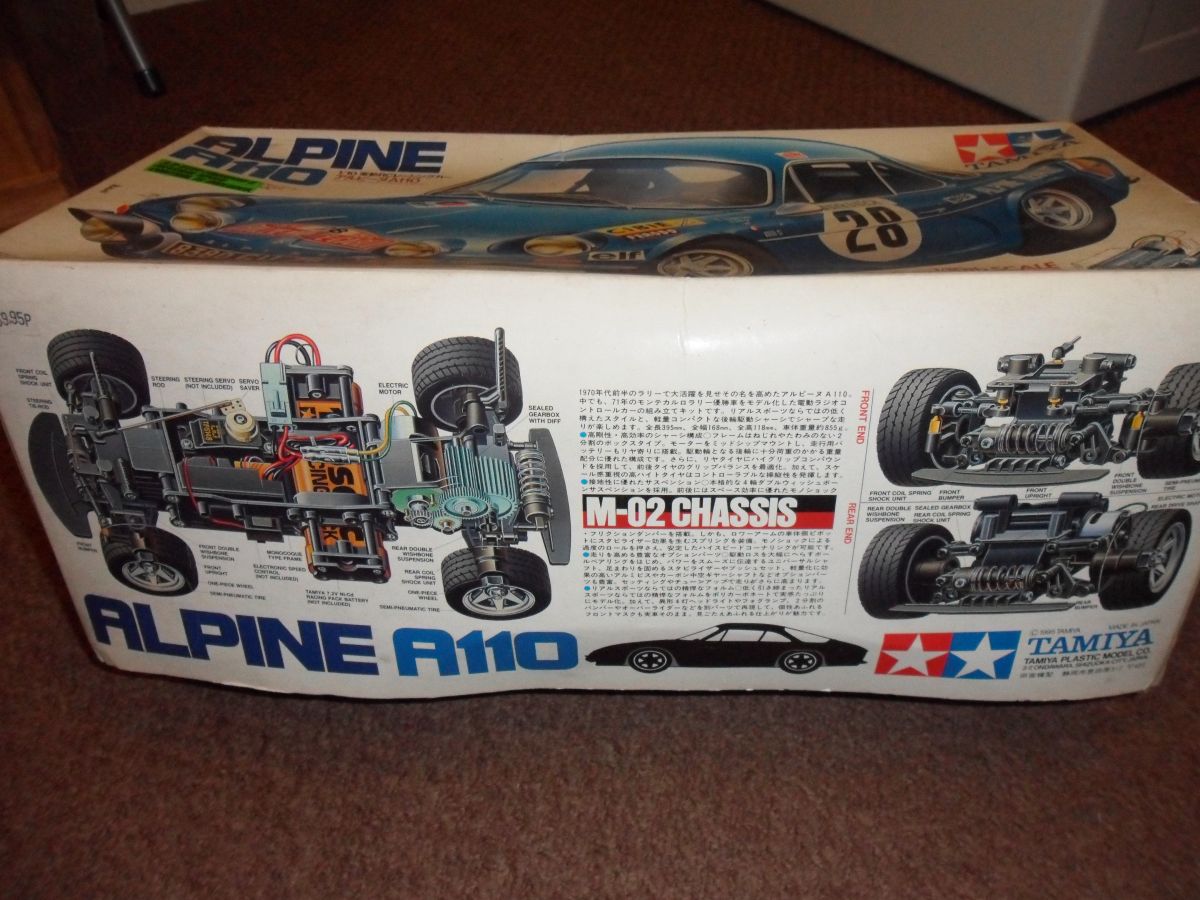
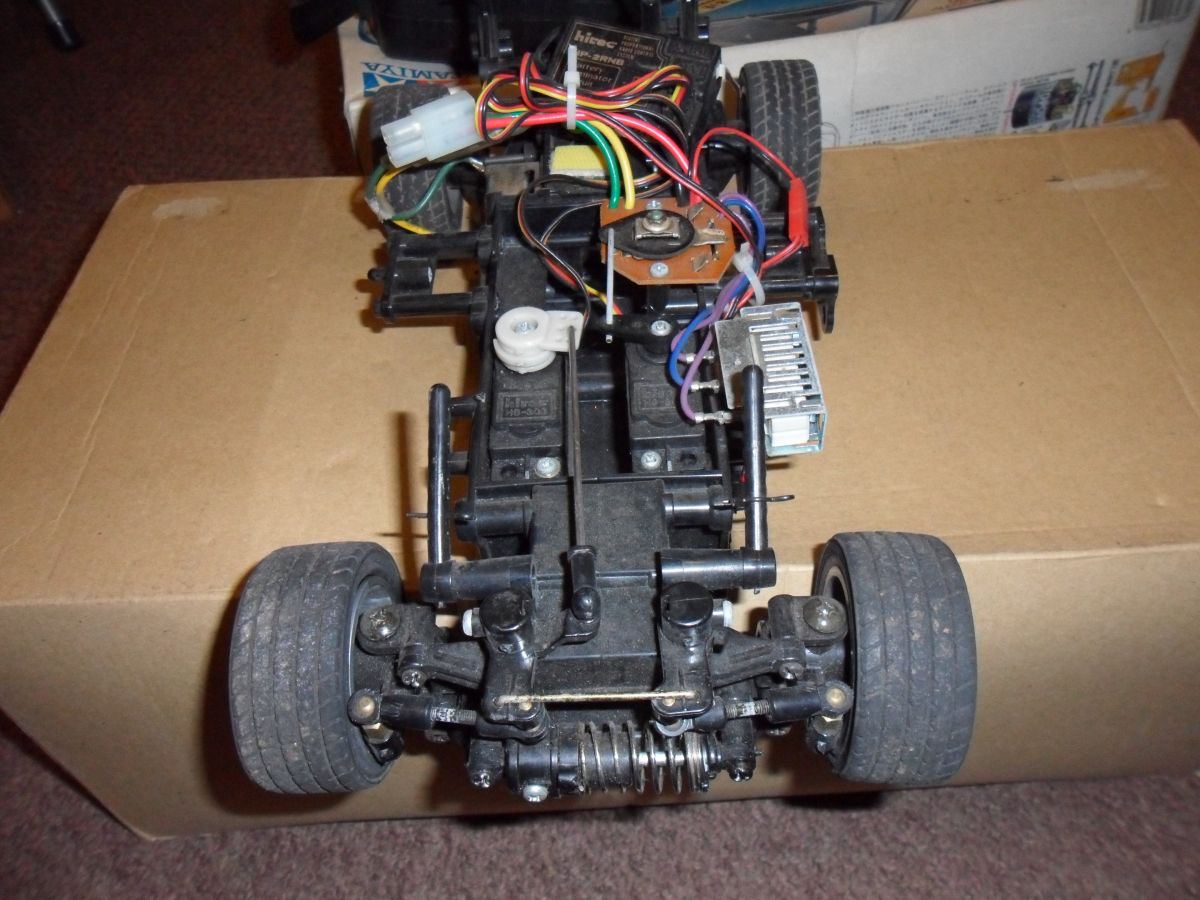
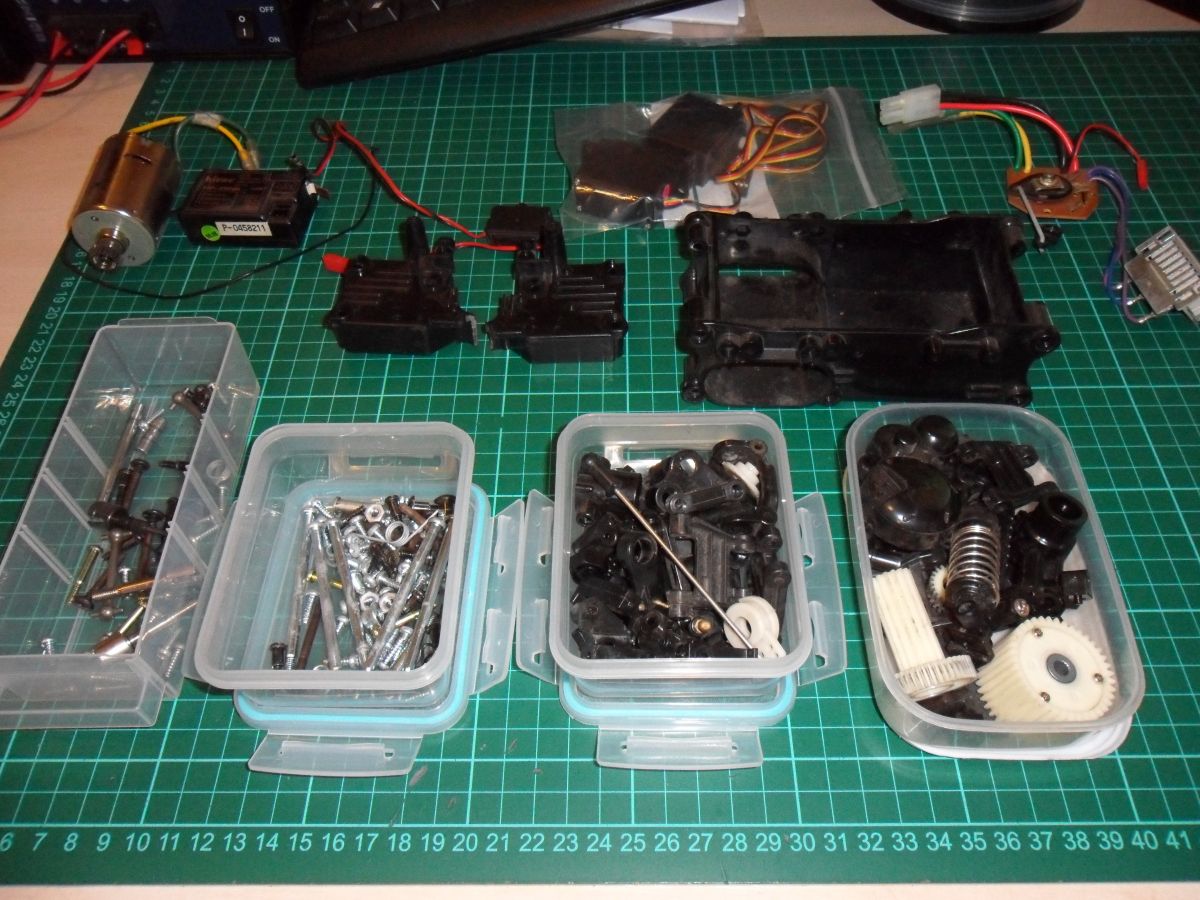
") The chassis looks in good condition and the best method to remove glue is the Andy's method. A bath in boiled water.
The chassis looks in good condition and the best method to remove glue is the Andy's method. A bath in boiled water. M-02 Rebuild 10 years 4 months ago #26609
|
|
Please Log in to join the conversation. |

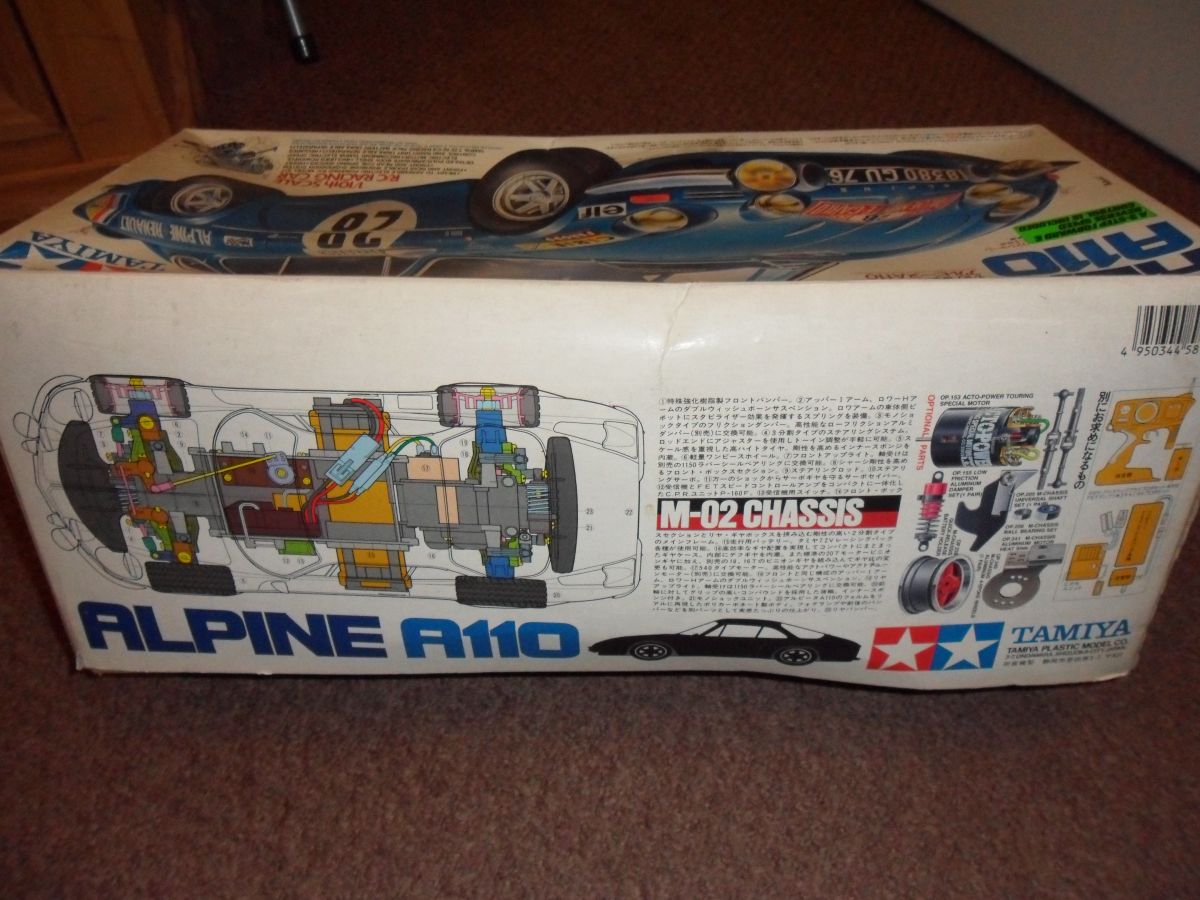
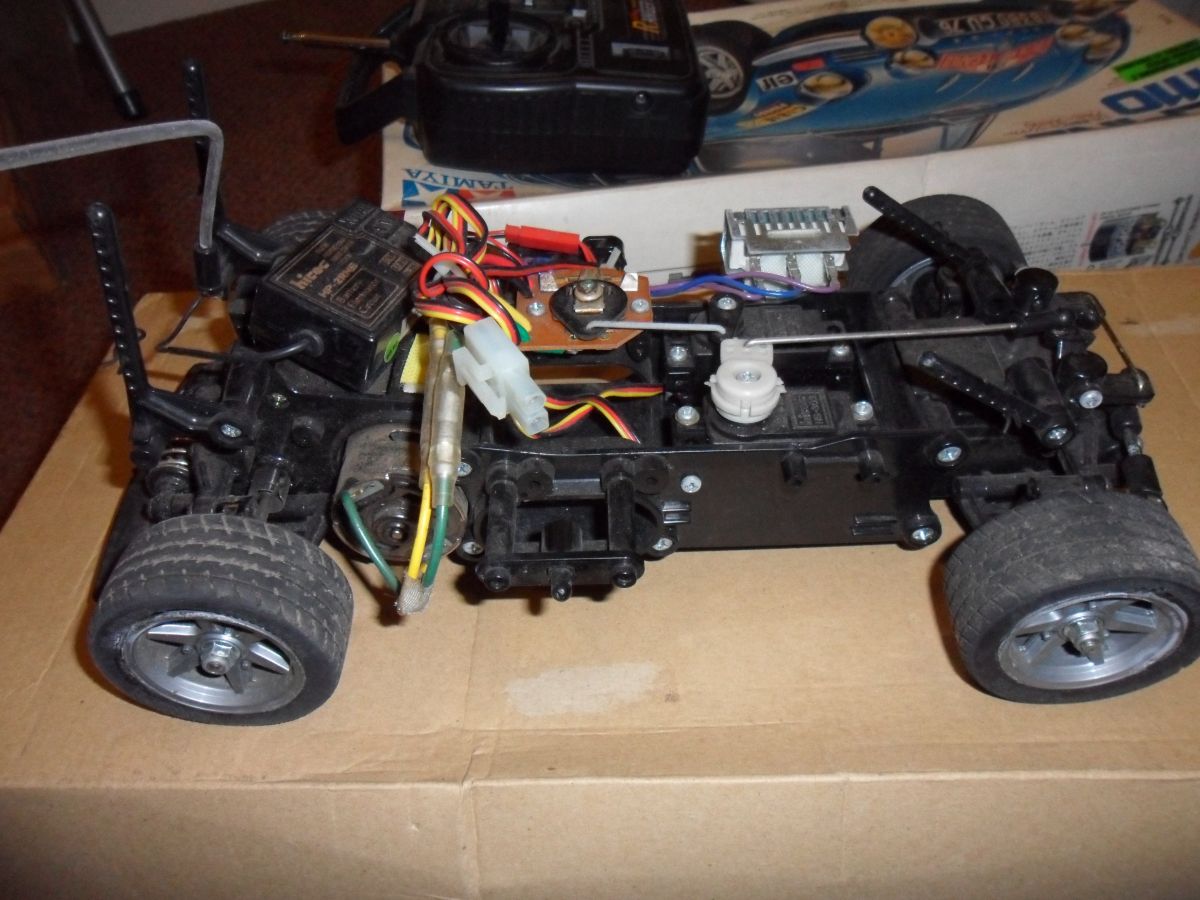
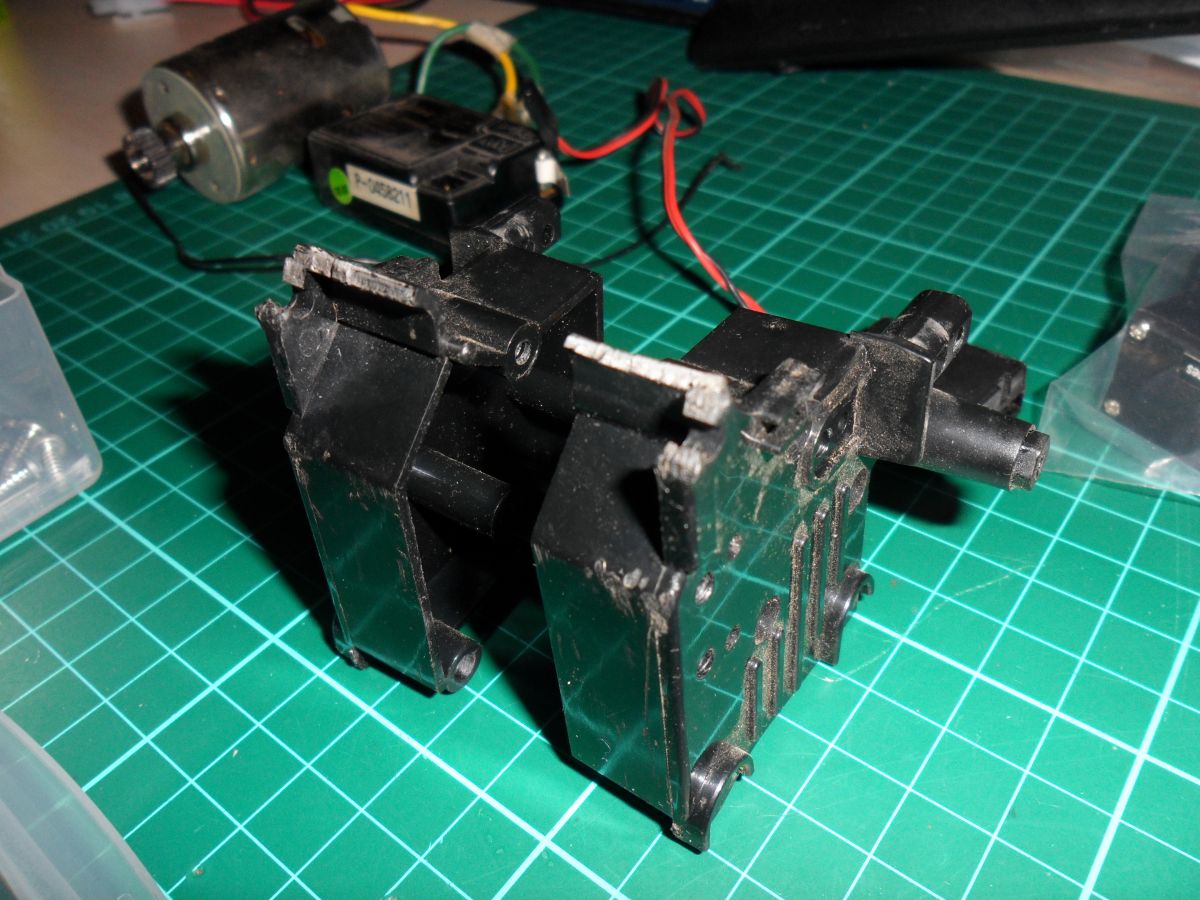
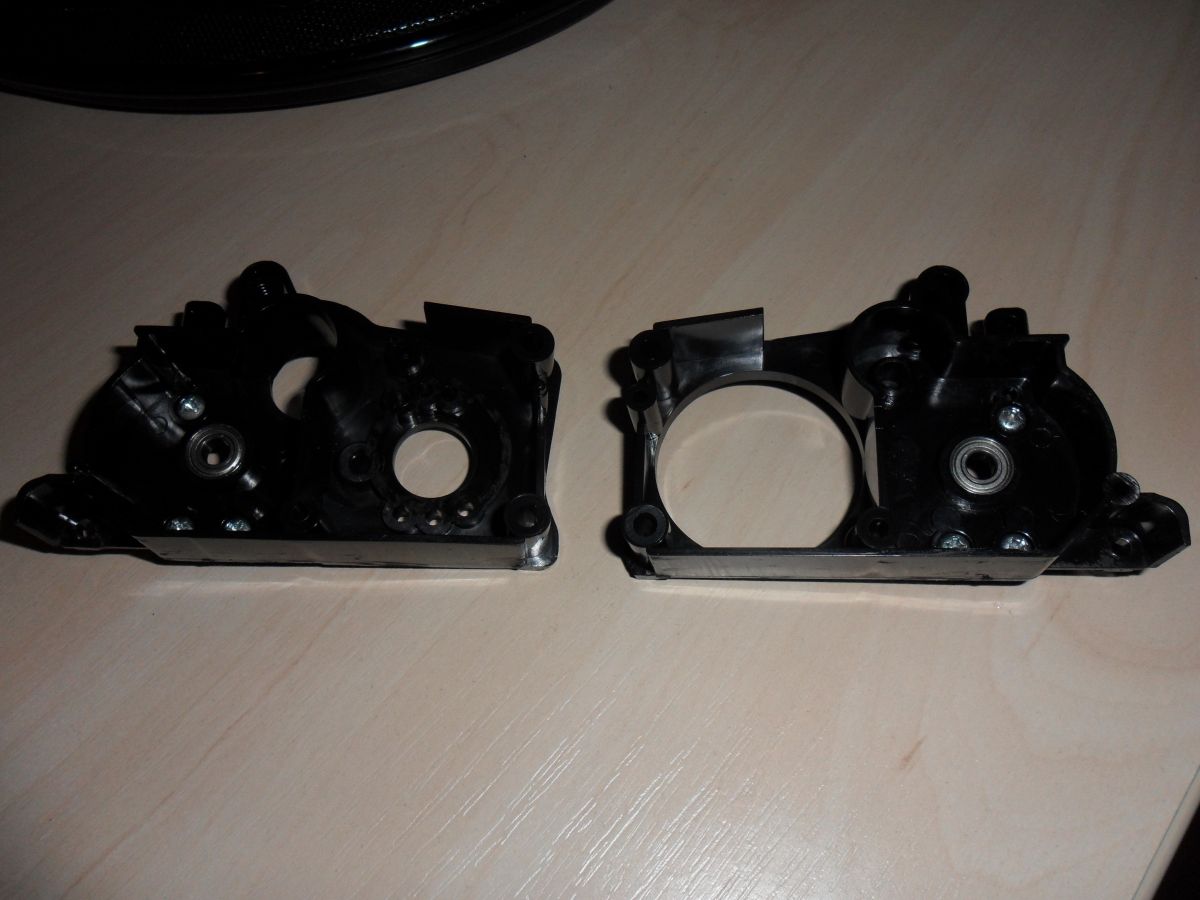
 also they have left a lot of the casting bits attached to the parts they didnt cut them off before assembling. The inside of the gearbox is like new with hardly any grease inside it
M-02 Rebuild 10 years 4 months ago #26611
|
|
Please Log in to join the conversation. |

M-02 Rebuild 10 years 4 months ago #26619
|
|
Please Log in to join the conversation. |

M-02 Rebuild 10 years 4 months ago #26628
|
|
Please Log in to join the conversation. |
M-02 Rebuild 10 years 4 months ago #26644
|
|
Please Log in to join the conversation. |
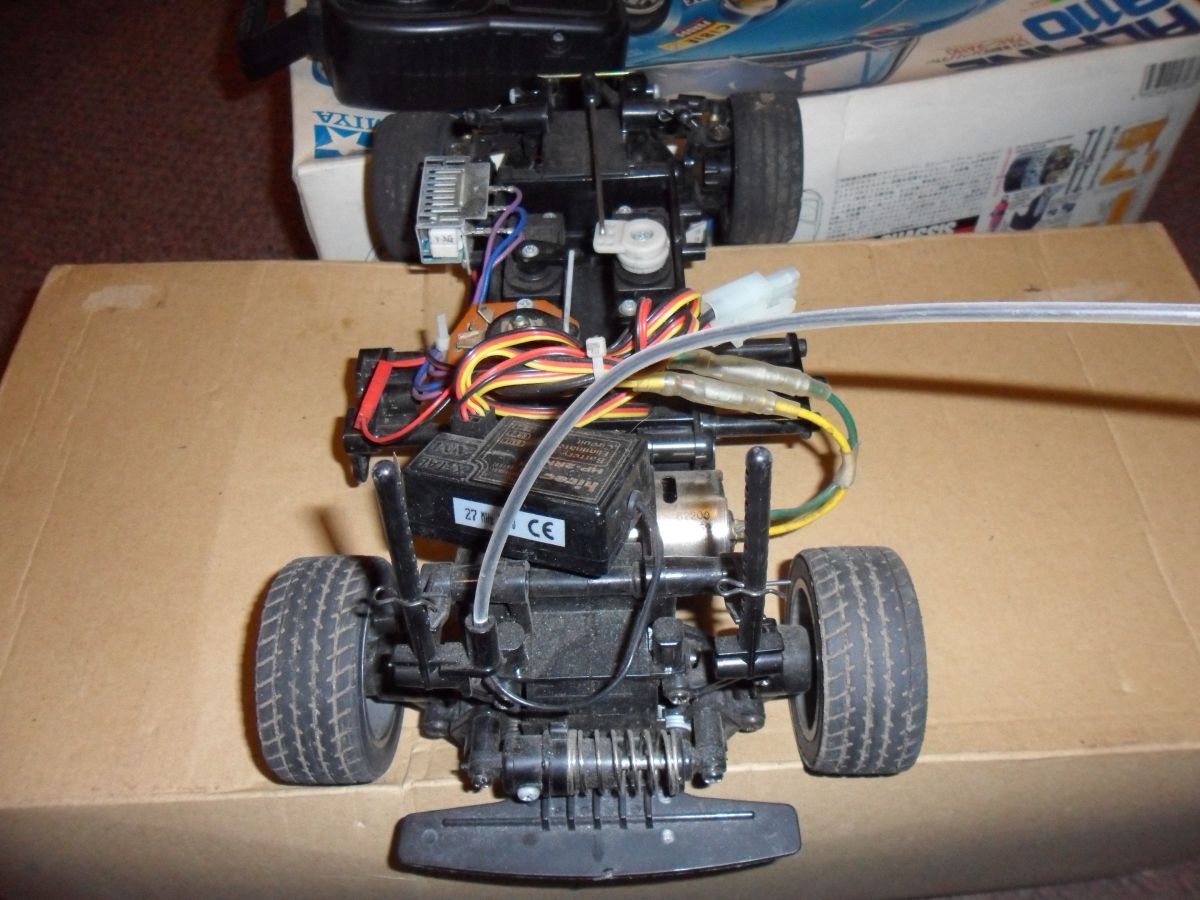
 just starting to rebuild mine starting step 1 differential gear ill post some pics up as i make progress
 M-02 Rebuild 10 years 4 months ago #26670
|
|
Please Log in to join the conversation. |


M-02 Rebuild 10 years 4 months ago #26671
|
|
Please Log in to join the conversation. |
 :
:


Time to create page: 0.197 seconds