TOPIC:
M-02 Rebuild 10 years 4 months ago #26672
|
|
Please Log in to join the conversation. |

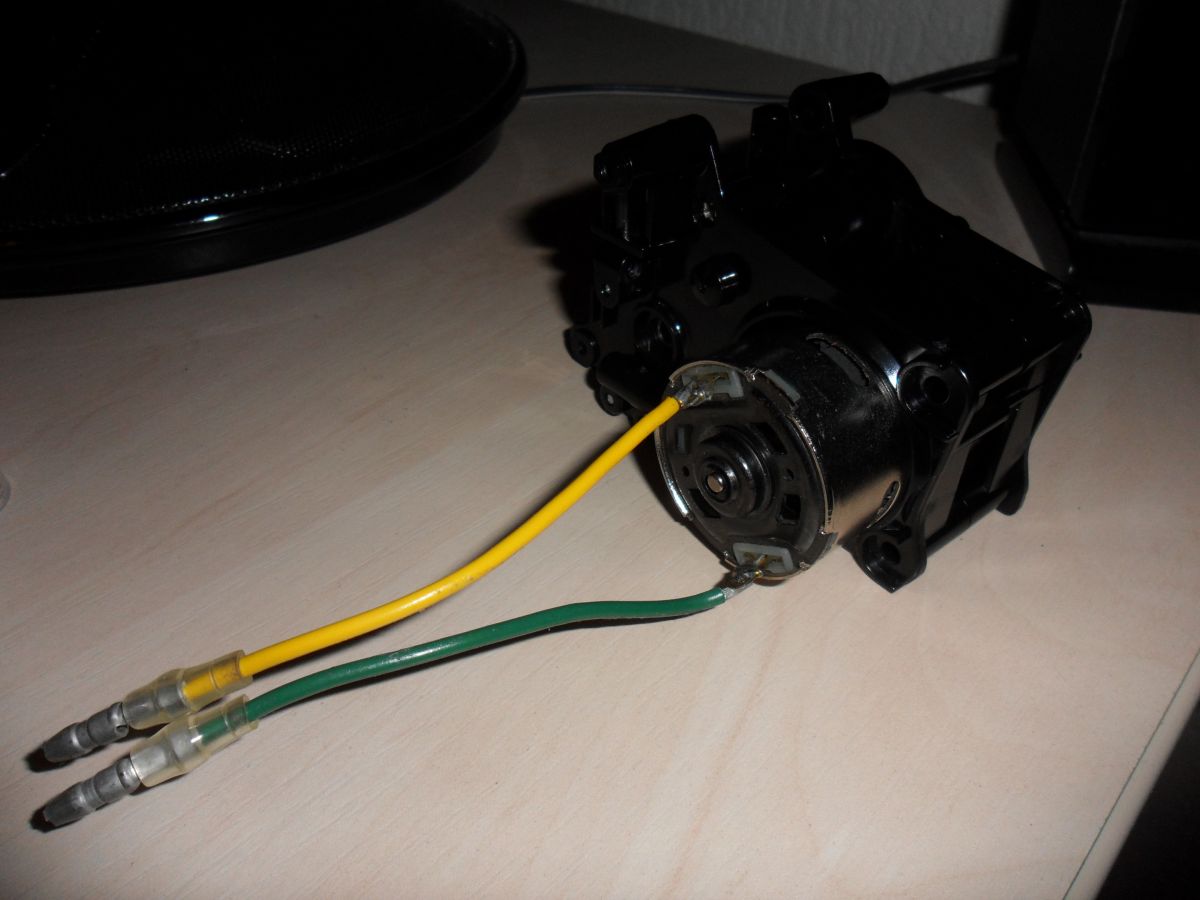
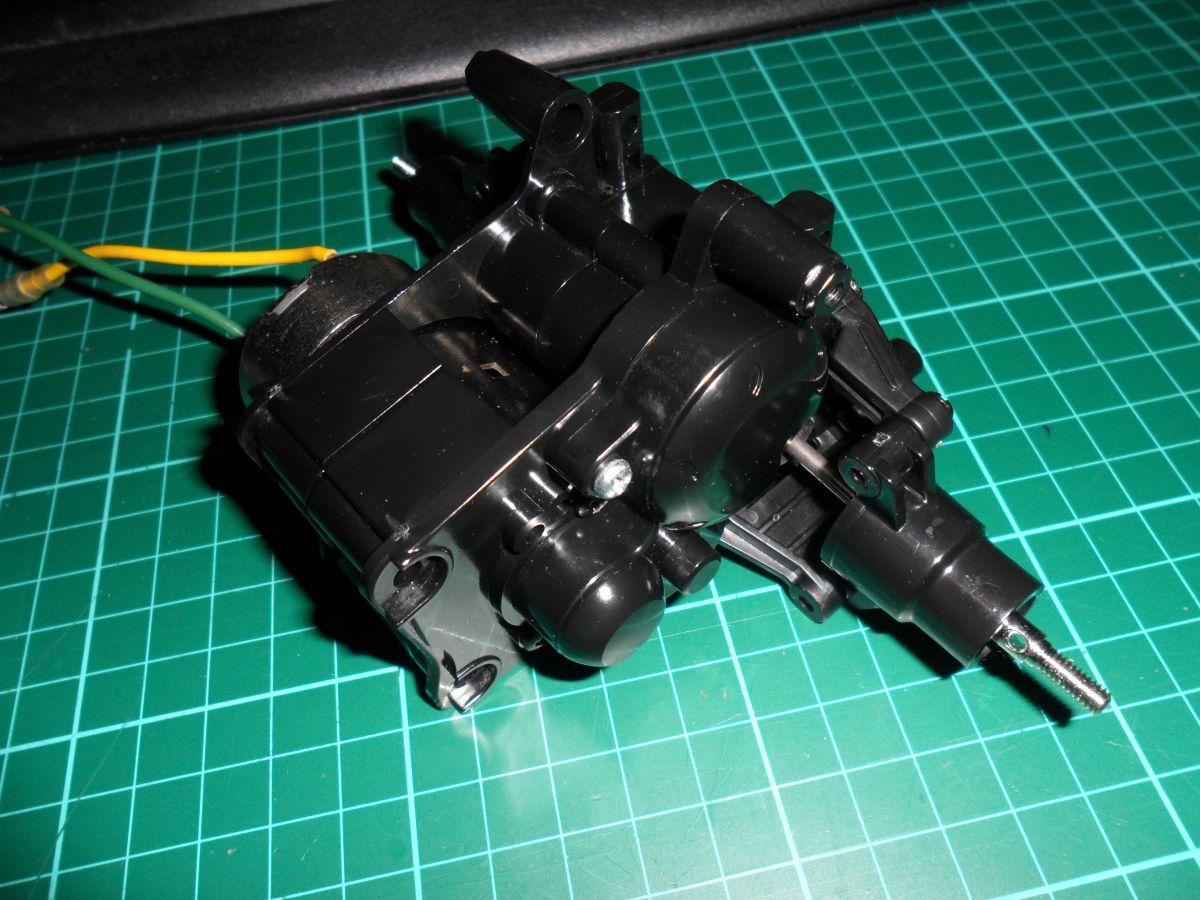
 as a result one of the motor threads was a little rough but after passing the proper screw through a few times went in well and tightened up very well thankfully or i would have had to source a replacement motor or re-cut the threads.
M-02 Rebuild 10 years 4 months ago #26673
|
|
Please Log in to join the conversation. |

M-02 Rebuild 10 years 4 months ago #26674
|
|
Please Log in to join the conversation. |
M-02 Rebuild 10 years 4 months ago #26675
|
|
Please Log in to join the conversation. |

M-02 Rebuild 10 years 4 months ago #26676
|
|
Please Log in to join the conversation. |
M-02 Rebuild 10 years 4 months ago #26677
|
|
Please Log in to join the conversation. |
M-02 Rebuild 10 years 4 months ago #26678
|
|
Please Log in to join the conversation. |
M-02 Rebuild 10 years 4 months ago #26679
|
|
Please Log in to join the conversation. |

M-02 Rebuild 10 years 4 months ago #26693
|
|
Please Log in to join the conversation. |

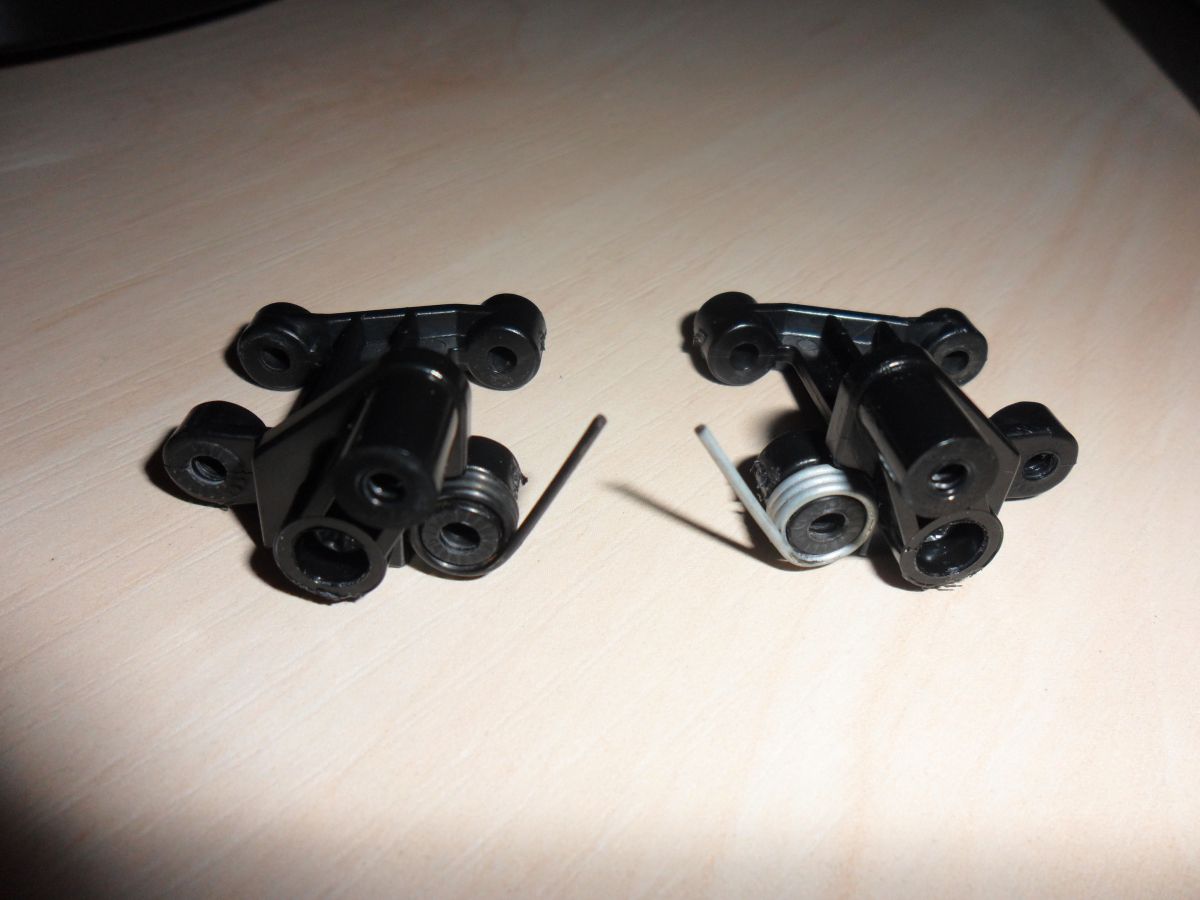
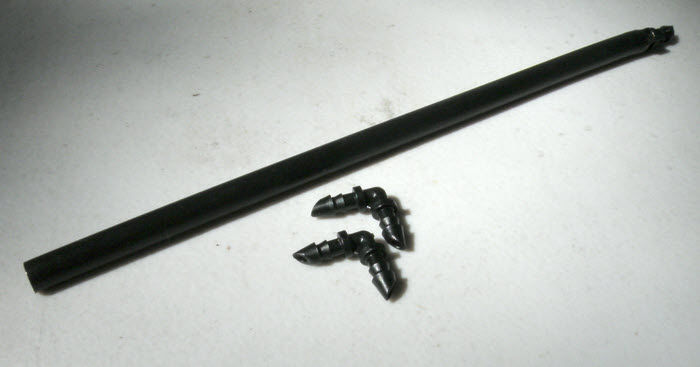
") No real utility for the rubber tube. The best is to put a pair of black CVAs.
No real utility for the rubber tube. The best is to put a pair of black CVAs.")


Time to create page: 0.168 seconds