TOPIC:
Blakbird's 58587 Neo Fighter Build 5 years 6 months ago #52136
|
Note: This build log is excerpted from my
web site
. You can check there for larger versions of every photo or further reading.
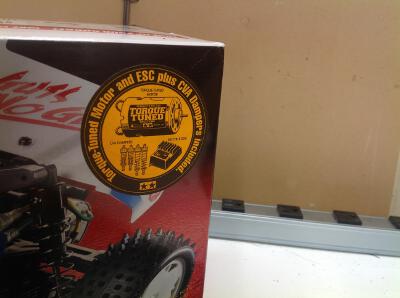
Most of my Tamiya collection consists of vintage re-releases or models of historical significance. This is certainly neither of those, so why did I buy it? I was mostly drawn by the appearance. I particularly hate the new style "cab forward" buggy bodies and much prefer the old classic shape, although neither can be considered scale since they don't exist in the real world. The Neo Fighter represents something else entirely: a long, sleek missile of a shape. I also figured it would be a good opportunity to see how a "modern" Tamiya 2WD chassis compares with all the classics. The DT-03 chassis (Dirt 2WD) is fairly recent, dating back only to 2014 and this body style represents the original release. If we don't count custom colored versions, then there would only be one other, the 58628 Racing Fighter from 2016 which actually looks a bit like a real sandrail style buggy. The DT pedigree goes back to the DT-01 from 1996 which, in turn, gets its DNA from the Grasshopper. The other strand of DNA comes from the historical "fighter" designation which includes others such as the 58071 Sonic Fighter, the 58184 Fighter Buggy, the 58275 Mad Fighter, the 58416 Rising Fighter, and several others. These are all 2WD entry level buggies. This particular incarnation has four wheel independent double wishbone suspension and came with CVA oil dampers. Despite the simple assembly and inexpensive price, this thing is an absolute blast to drive. It is very stable and planted, handles bumps and jumps well, and is clearly capable of handling a lot more power than the stock motor can provide. I really have no complaints nor can I think of anything I would change at this price point. I'm quite surprised we don't have more DT-03 based models to choose from. It may be just that 4WD is a lot more popular now. The Neo Fighter comes in a moderately sized box with a photo rather than traditional Tamiya artwork. The sticker in the corner shows that my version seems to be a bit special. Not only does it comes with the usual ESC, it has a torque tuned motor and even a CVA shock upgrade already included. 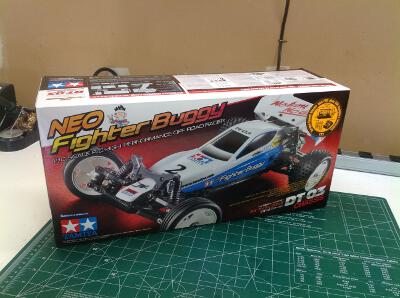
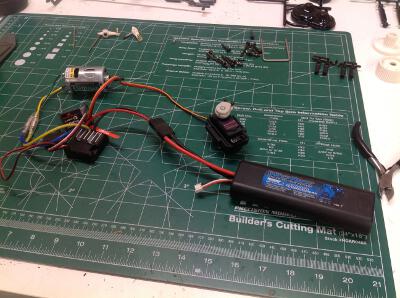
Here are the parts laid out on the table. There are a relatively small number of plastic sprues compared with some of the more complex kits, but also quite few metal parts. 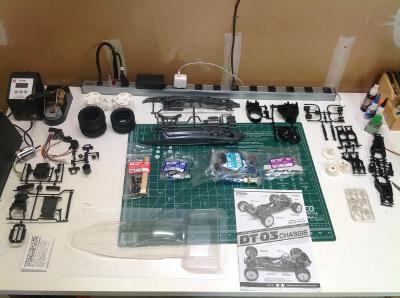
The central chassis is fascinating. It is constructed from two halves forming a long, strong bathtub. The cavernous interior is used for the battery and servo and still has plenty of room left over. The right hand image shows my electronics setup with a Li-Po, the stock ESC and motor, and a cheap metal gear steering servo. 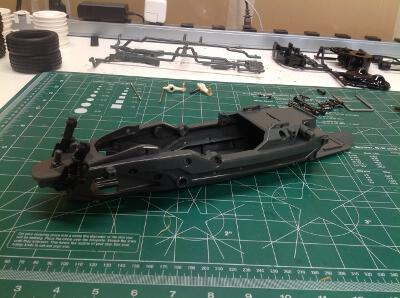
We'll start with the steering and front suspension. The steering servo installs upside down in the front of the chassis and directly drives a pair of steering links. The front lower suspension arms mount to the chassis via a cross bracket and have a significant kick up angle. They are retained with a u-shaped wire and a lower skid plate. 

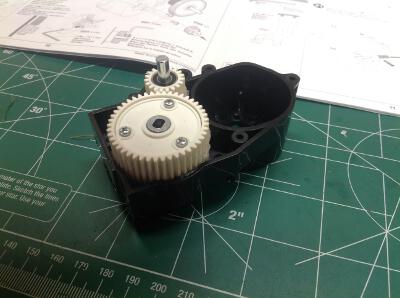
The differential uses the standard sintered metal bevel gears inside with a very large external plastic housing. This assembly then drops into the rear gearbox along with a center gear that will mate with the back of the spur. 
|
|
|
Please Log in to join the conversation. |

Blakbird's 58587 Neo Fighter Build 5 years 6 months ago #52137
|
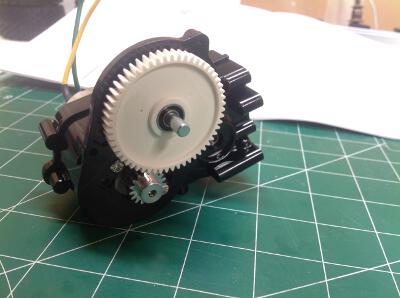
The completed gearbox now houses the motor, the pinion, and the spur. The back side of the spur has an integral smaller gear that grabs the center gear in the gearbox. Note how large the face width is on most of these gears. This model is clearly designed to support a motor much larger than stock if desired. I believe I shall have to rise to the challenge.
Now we'll build the rear suspension. The lower arms pin to the gearbox housing. The upper arms are solid and therefore neither the toe nor the camber are adjustable. The uprights contain the bearings and hubs which are driven by plastic dogbone style axles. 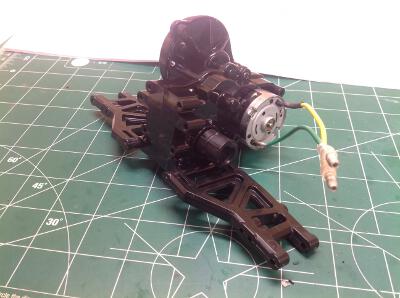

The front and rear suspension were each built as standalone modules which can now be joined to the main chassis tub. At this point it is looking buggyish. I like how thin the chassis is which makes it very easy to grab securely with one hand. You can see that the ESC and receiver are mounted above the tub, and battery is placed down low and inside. The wheels and tires can then be installed: narrow in the front and wide and spiky in the back. 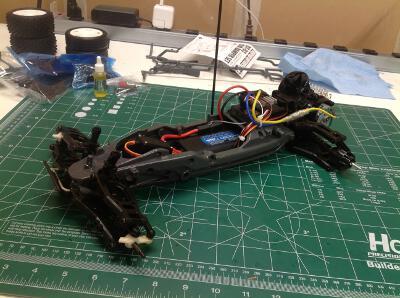

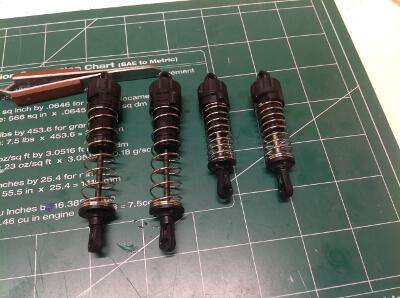
Now we'll build the shocks. These are standard CVAs so nothing special to comment on except that obviously the front and rear are sized quite differently so you need to keep careful track of which parts are which. The diameters are even slightly different which means they use different spring cups and caps. 
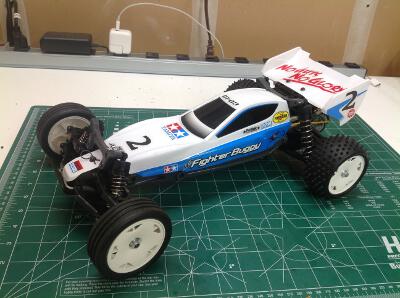
With the installation of the shocks, the chassis is complete. This was a quick, one day build. One more afternoon to apply the paint and decals. The masking on this one is quite easy since it is just a straight line. There are no wheel arches to trim, so cutting out the body is also quite simple. 
|
|
|
Please Log in to join the conversation. |
Blakbird's 58587 Neo Fighter Build 5 years 6 months ago #52138
|
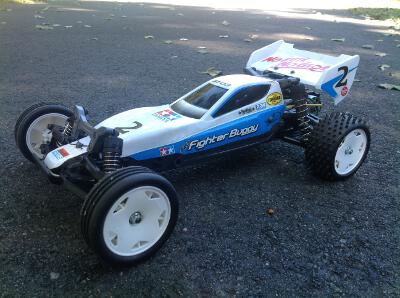
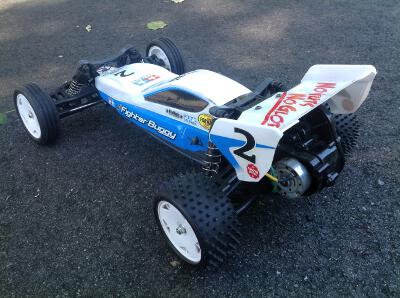
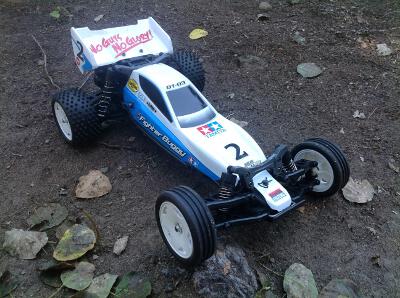
The main thing that attracted me to this particular model was the appearance, specifically the long and thin aspect of the body and chassis. It just looks sleek and fast. I also like the paint scheme. My only complaint is that I wish it had clear windows and a driver.

|
|
|
Please Log in to join the conversation. |
Time to create page: 0.160 seconds