Keyword
  • Page:
  • 1

TOPIC:

Blakbird's 56326 Maersk Container Trailer Build 4 years 9 months ago #55684

As my fleet of tractor trucks grew I knew I would need to have a suitable stable of trailers for them. This container trailer was the 6th trailer released by Tamiya overall and didn't come out until 2011. A second version of the same trailer came out the following year using a blue NYK container instead of Maersk. It is surprising that it took so long so see such a staple as a container trailer. This trailer uses the same 3 axle frame as the 56319 Reefer Trailer. This is a very long 3-axle trailer which uses wide tires instead of dual tires. Nearly every part of the trailer is metal but the large corrugated panels of the container are ABS. I added a set of Tamiya trailer lights later and a couple of shorter containers to add some variety.

Since I've already fully documented a 3 axle trailer build on my Stanchion Trailer page and the chassis is 90% similar, I'll be providing only a cursory overview of the build here.

It is not surprising that this trailer comes in a very long box. The chassis rails are the length of the entire trailer so the box can't be shortened. Inside are an amazingly large number of parts for "just a trailer". This is actually a serious build. What you see on the table are just the parts for the trailer base. The container will come later at the bottom of this page.
Here are the 3 solid rear axles. Each is supported by leaf springs which are tied together between axles to provide integrated movement. Depressing one axle lifts another. The left and right axle shafts are separate allowing the wheels to all turn at different speeds when turning.
This shows the rear fenders, wheels, mud flaps, and bumper installed. From above you can also see the rest of the trailer. My cutting mat is 600mm wide so you can tell how huge the trailer is. The chassis is effectively done at this point. Nearly everything you see is metal. The container toggle locks are at the ends but also in the middle which allows the trailer to accept a single 40' container or two 20' containers.
I wasn't quite sure what to expect by way of container assembly methods, but I didn't expect this. I thought maybe the corrugated panels were sheet metal. Nope. They are actually formed ABS. The process is similar to how polycarbonate bodies are made, but ABS is much tougher. This stock of formed parts needs to be cut out and trimmed. They are way too thick for a Lexan scissors so I used the score and snap method with my trusty X-Acto knife. The picture on the right shows the front panel after trimming.

Please Log in to join the conversation.

Blakbird's 56326 Maersk Container Trailer Build 4 years 9 months ago #55685

Here I'll explain my method for making the rounded cutouts. Each of them has a little dimple at the center which works well to center a drill bit. I used my drill press and a bit of roughly the right diameter to make holes at each cutout as shown on the left. The right hand image shows the notch after I trimmed out the remainder with a blade. These slots are where the clamp blocks will install the panels to the rails.
The side and top panels are half length which means the same parts can be used to build a 20' container. For a 40' you need to connect them end to end as shown by overlapping them and taping them together. This may seem weak (and it is), but the frame does a good job of strengthening everything later. The tape is a special type that will accept paint and not be very visible. These pictures show the top panel. It is interesting to note that the top and sides use different types of corrugation. The corrugation on the top stands proud of the surface and is roughly rectangular. The corrugation on the sides goes inward instead and is tapered instead of square.
With the panels cut out and prepared we can start work on the frames. The corners are held together with white brackets shown on the left. These help to hold everything square and include aluminum cross members. On the right you can see the completed top frame shown next to the solid metal panel that will be used for the bottom. This takes up nearly my entire build table.
The first major assembly to be completed is the floor. You start with the sheet metal panel then attach an L-channel rail to the perimeter and plastic cross members to the center. In case you thought this was easy, look at the massive number of tiny fasteners shown on the right. You can see that the cross members are not the same for the whole length of the floor. On the right hand end there is a tunnel which is used to provide space for the neck of a gooseneck trailer to allow the container to sit lower and fit under bridges. Yes, I had to look that up. Extra points to Tamiya for accuracy.

Please Log in to join the conversation.

Blakbird's 56326 Maersk Container Trailer Build 4 years 9 months ago #55686

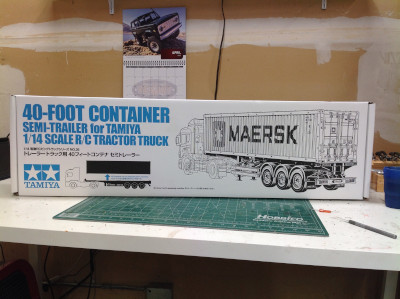
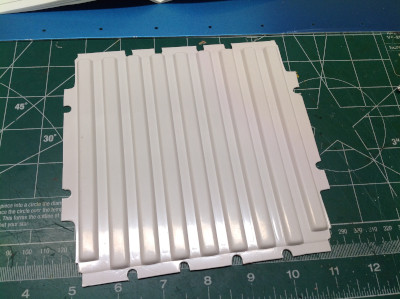
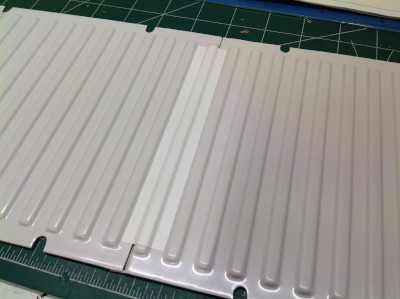
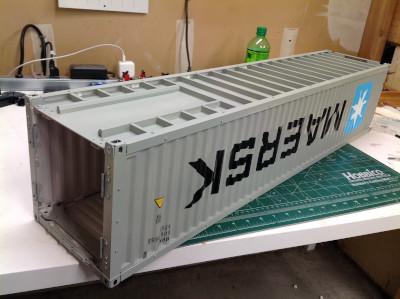
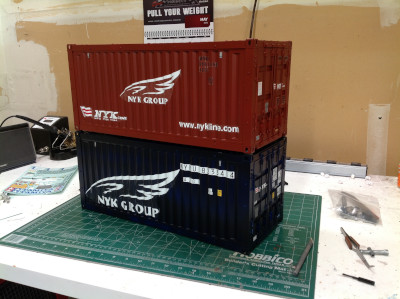
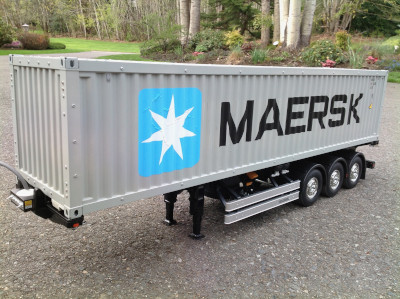
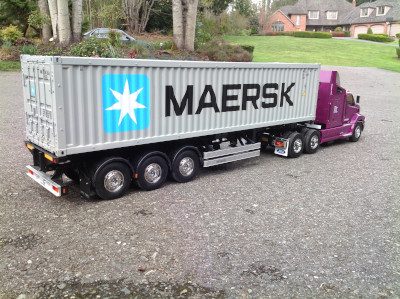
Here the first long panel has been installed into the top frame. This is the point in the assembly when I started painting. For the side panels, I wanted to paint and apply stickers before I put the panels in the frame as shown on the right. The huge Maersk stickers are very difficult to apply. Any large sticker is hard to apply without bubbles, but this one also has to conform to the corrugations while at the same time staying parallel to the panel. I'd say I spend nearly an hour carefully applying it. One side came out quite well, but the other side has a lot of bubbles.
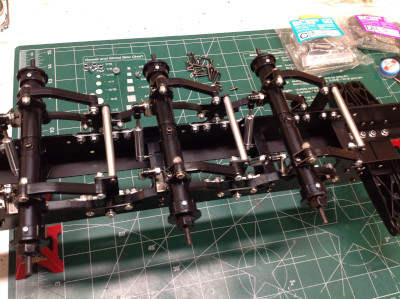
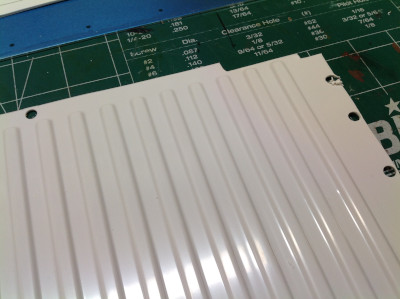
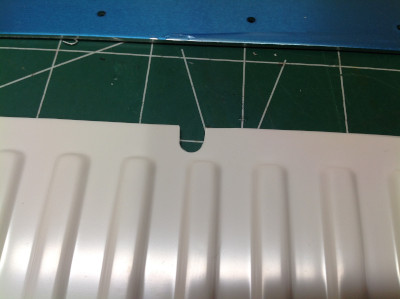
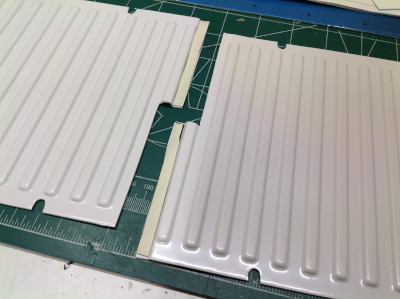
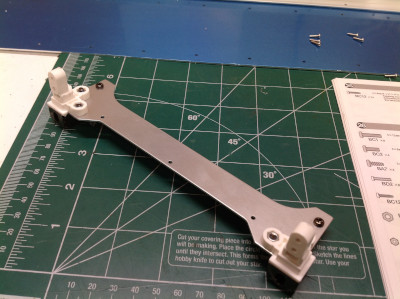
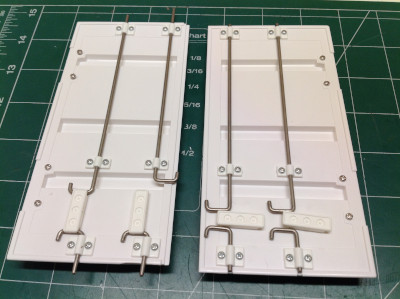
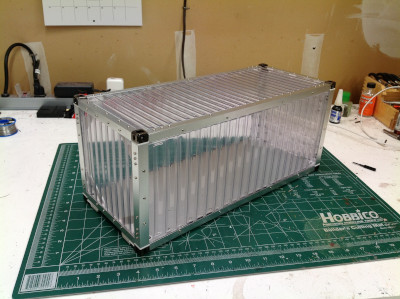
The construction of the front panel is somewhat different. The L-channels are held together with large diagonal braces which do an excellent job of making the end square which is really important up front because the back has a big opening for the doors. You can also see that the brackets overlap the panel which is what locks the panel in place. For the large side and top panels, a huge number of small rectangular brackets are used to lock each notch in place. Again, lots of screws.
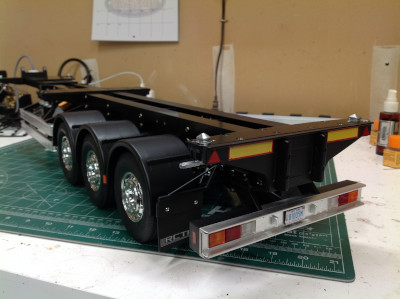
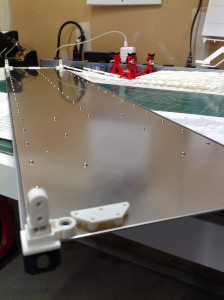
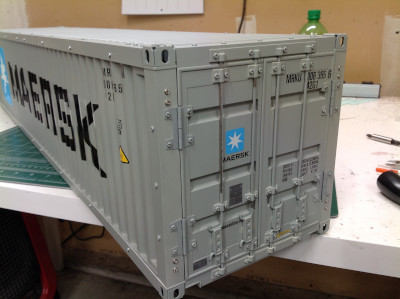
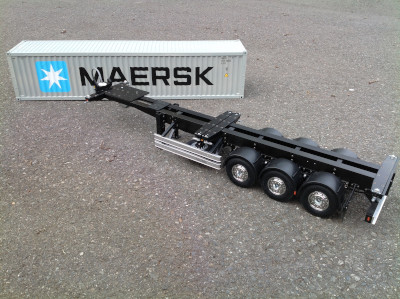
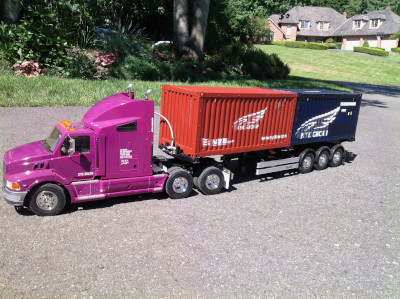
Now I'm finally starting to put the whole thing together. Putting the last side on is quite difficult because it must correctly overlap everything else. I helps to keep the screws locking all the panels loose until everything is in place, then tighten them all at once. I didn't paint the inside of the trailer since it is mostly hidden and, so far, I haven't figured out anything to put inside it. Some scale pallets of RC boxes would be nice.
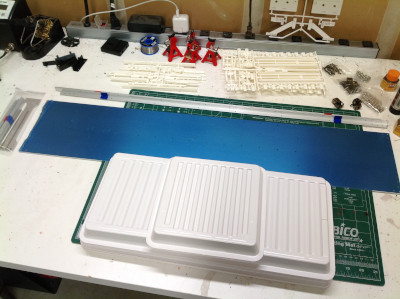
The last thing to build are the rear doors and, like the rest of this container, they were more complicated than I expected. There are four lock bars on each door with a pair of cranks to hold them in place. They do a good job of helping to hold the box square when shut.
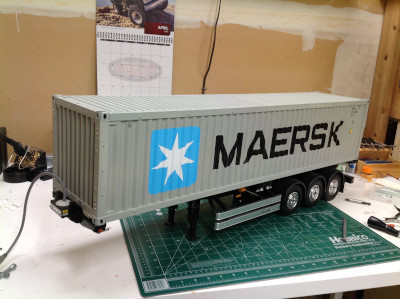
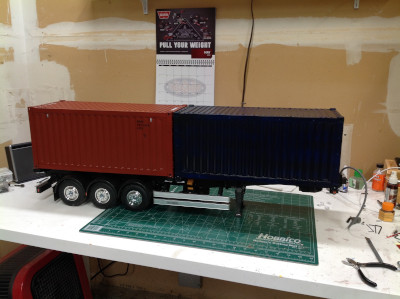
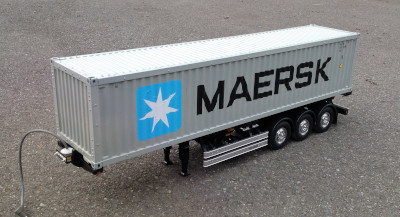
Here's the completed container atop the trailer and locked in place. It really looks realistic.

Please Log in to join the conversation.

Blakbird's 56326 Maersk Container Trailer Build 4 years 9 months ago #55687

I added the standard Tamiya trailer light set to integrate with the MFC systems on my various tractor trucks, and then installed the optional spare tires as well.

While it isn't exactly an upgrade for this trailer per se, I really wanted to have the option of using two 20' containers on the trailer and to be able to stack multiple containers with a crane. Tamiya doesn't actually make a 20' version of their container so I went to Hercules Hobby for a solution. These are a near perfect copy of the Tamiya container at half length but with a couple exceptions. First, as you can see below, the panels arrive clear instead of white. I'm not sure what material they are made from, but it is very thick. In another way, the Hercules Hobby 20' containers are too good a copy of the Tamiya. By this I mean that they copied the gooseneck channel in the floor grid, but 20' containers actually don't have these. It should have forklift slots on the side instead.
I didn't want all the containers to look the same, so I picked dark red and dark blue for the other two which seem to be the most common container colors in my area. I'm using the decal set from the Tamiya NYK trailer on the blue one. This is a decal sheet for a full sized 40' trailer, but I was able to use a subset of what was available and make it look pretty good. It had enough extra decals to use them on the red container as well, but a close look will reveal a combination of NYK logos with Maersk identification numbers.
20' containers are stackable with 40' containers as long as you put the smaller containers on the bottom. You'd never stack them on a trailer like this, but they are sometimes stacked on train cars and certainly on ships. This also opens up the option of having some sort of RC port where I can use a crane.

Please Log in to join the conversation.

Blakbird's 56326 Maersk Container Trailer Build 4 years 9 months ago #55688

The final trailer came out as good as I could have possibly expected with the exception of one of the Maersk logos. Sadly it ended up with a lot of bubbles as you can see, and everything I did to try to correct it made it worse. The other side looks perfect though. I had different problems with the 20' containers and discovered that you should not use flat clear paint over the top of transparent stickers. It highlights all the bubbles.
The following user(s) Liked this: Jonny Retro, stingray-63

Please Log in to join the conversation.

Blakbird's 56326 Maersk Container Trailer Build 4 years 9 months ago #55689

Nice work :y: B) Surprised the siding is so low tech though :blink:

ETA - how are you putting the decals on? I found doing them wet with a little dishwashing detergent makes things so much easier :)

Please Log in to join the conversation.

Last edit: by Jonny Retro.

Blakbird's 56326 Maersk Container Trailer Build 4 years 9 months ago #55702

ETA - how are you putting the decals on? I found doing them wet with a little dishwashing detergent makes things so much easier :)

I am reasonably competent at it in general. Compound curves which require stretching are always difficult. These decals were particularly hard because of the combination of huge size and irregular surface. I have certainly used waterslide decals, but I have never tried installing stickers wet.

Please Log in to join the conversation.

  • Page:
  • 1
Moderators: caprinutstingray-63AndyAus
Time to create page: 0.236 seconds
Cookies are required to make this site work. If you continue to use this site you permit us to use cookies.