|
|
|
TOPIC:
Richard's TamTech-Gear GT01 Lamborghini Countach - Red 4 years 1 week ago #58901
|
I have actually two of these that I bought some years ago.
These is the only TamTech series of cars I have so I have minimal experince with these. The one in this thread have deffo been a runner. Cracks, dents, flaked paint', not to mention the missing right side suspension is the obvious clues. These are made at least 10 years ago, so some parts are getting harder do get. Anyway, let's have a look what we got... And yes it's very dusty! 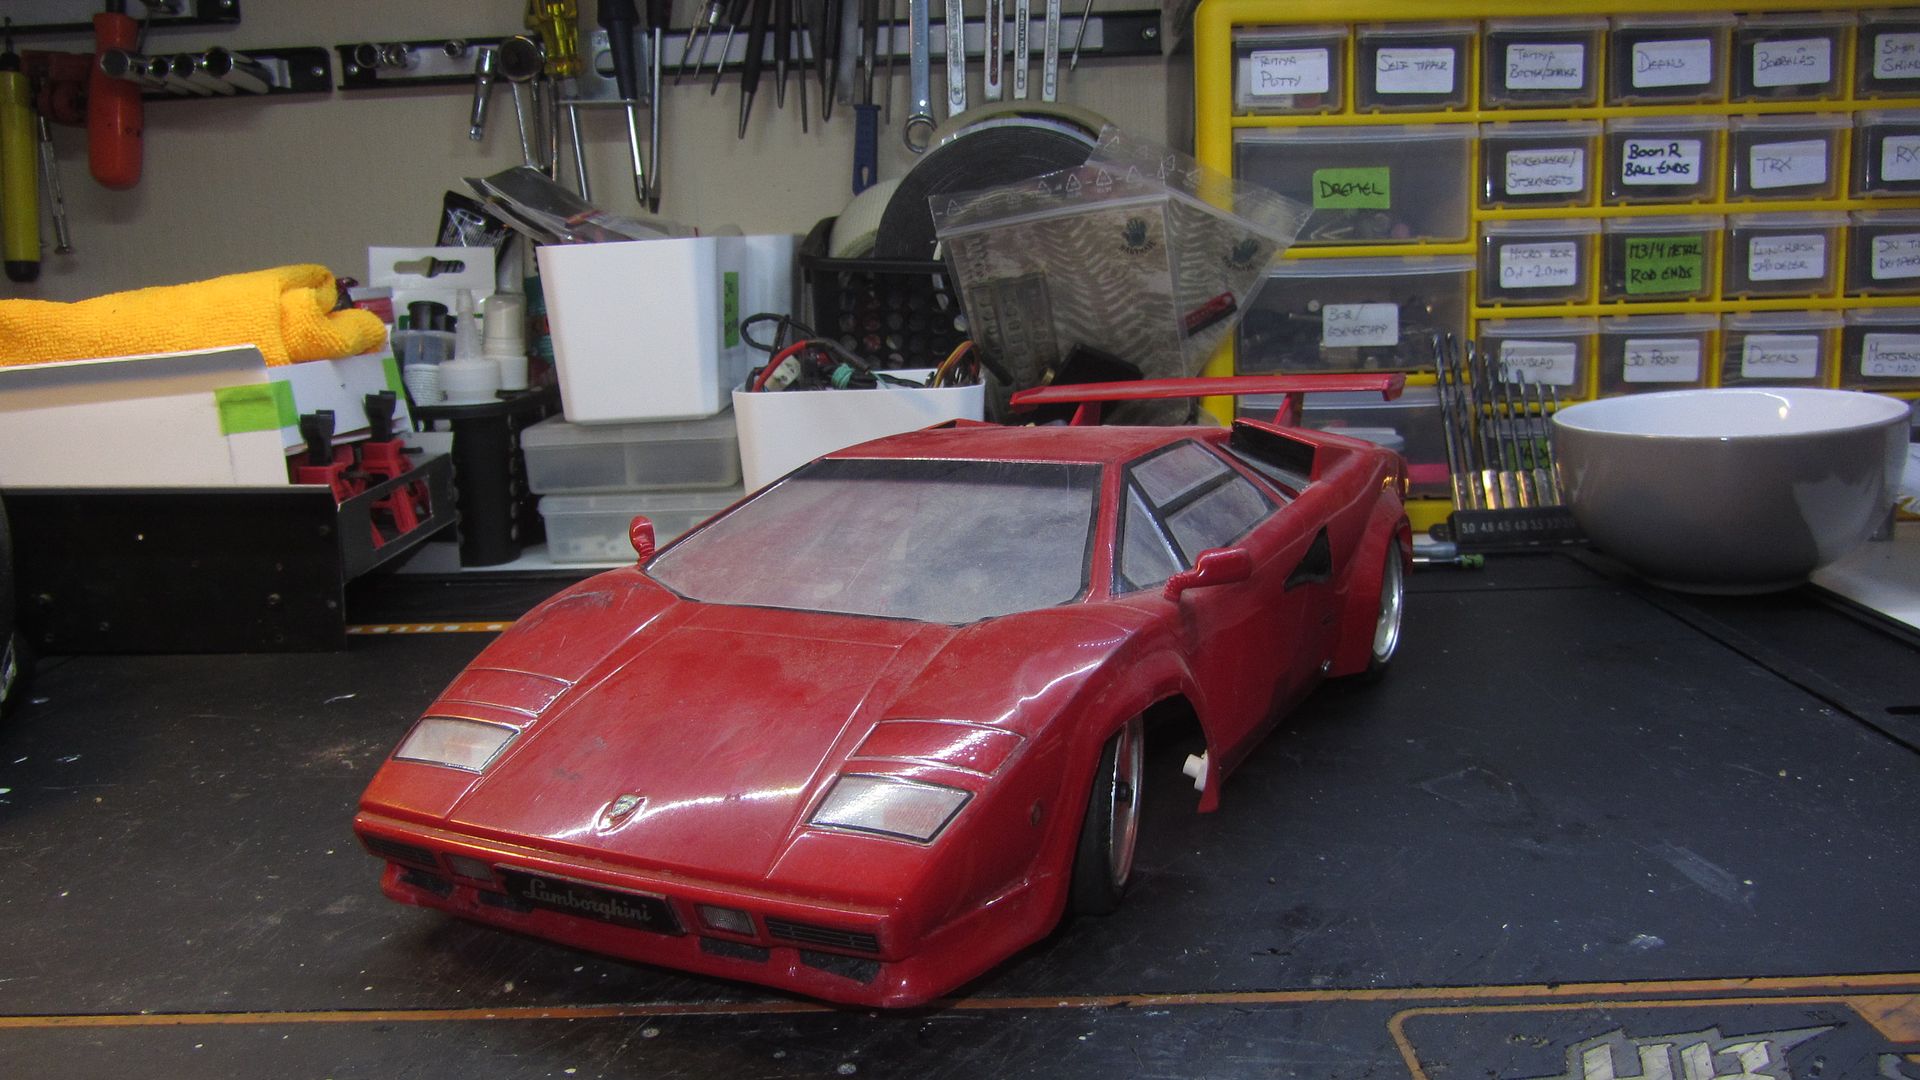
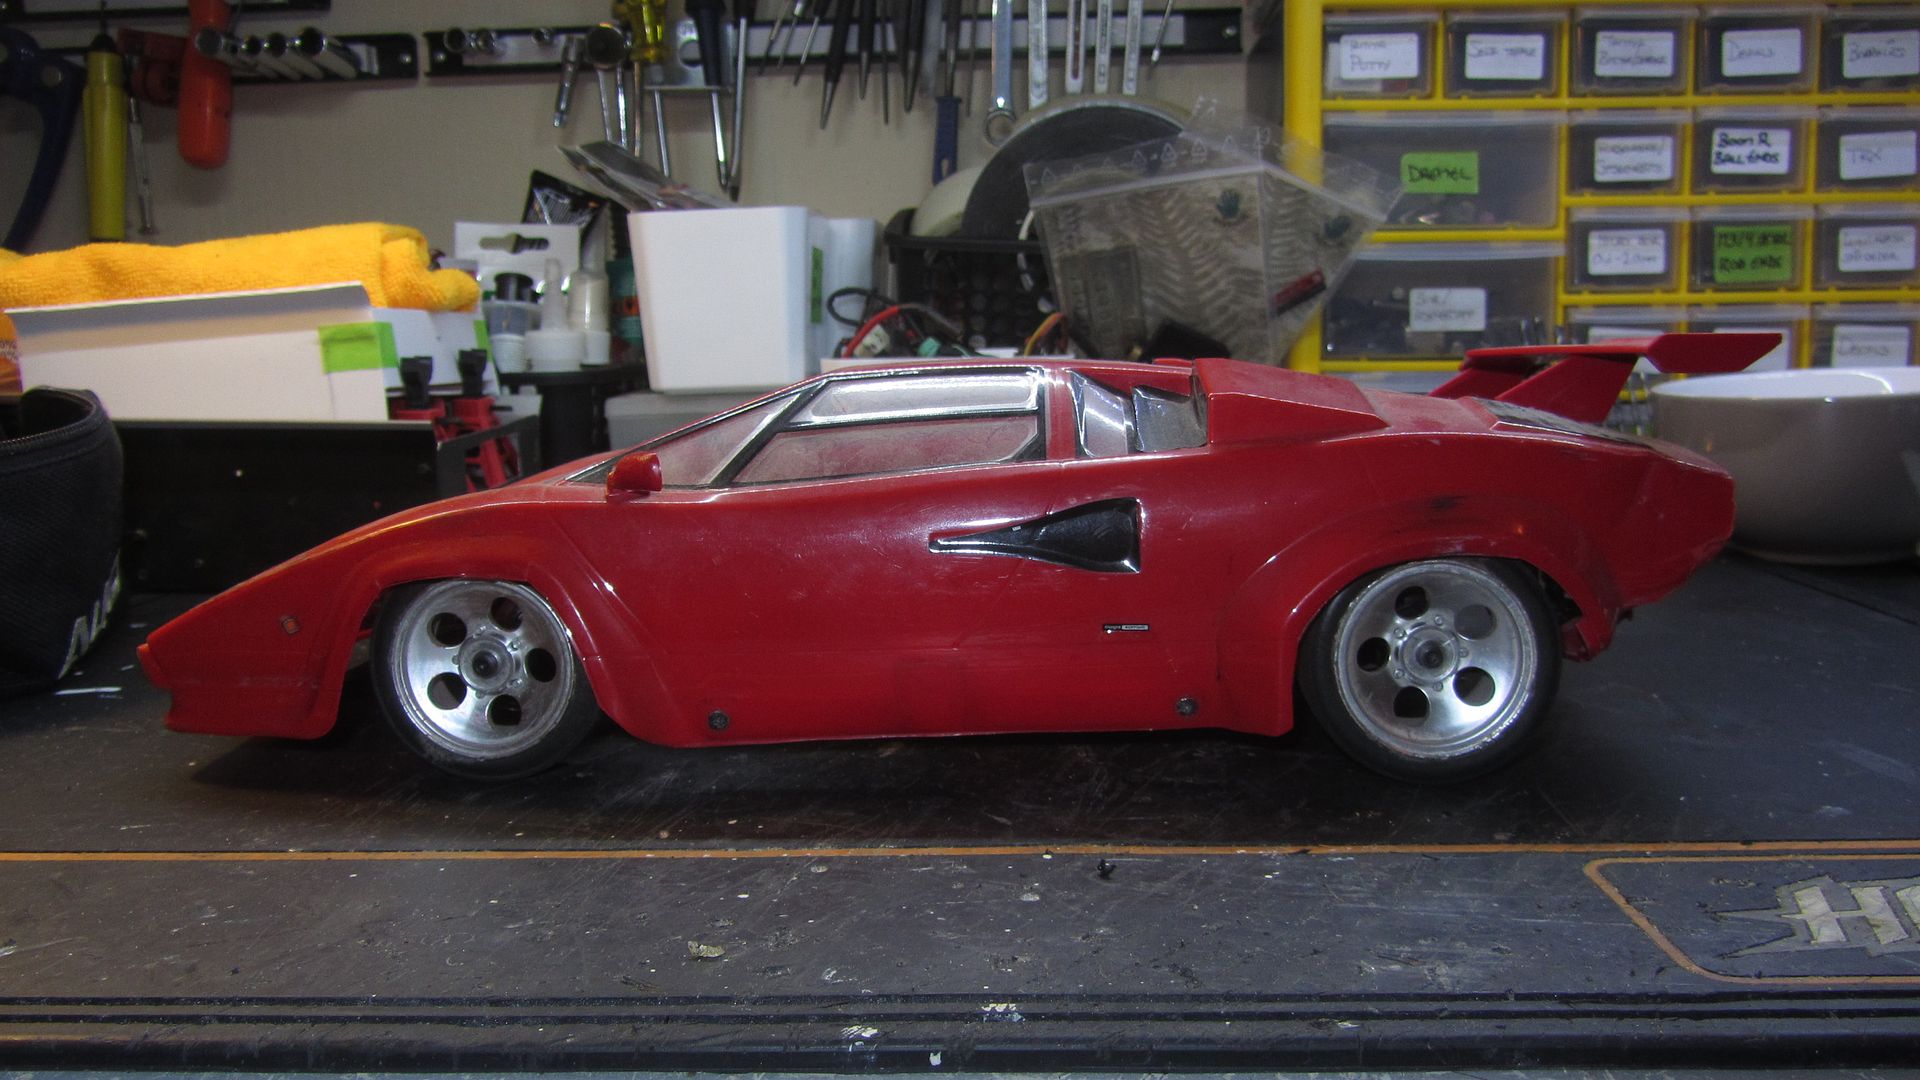
Yep, that's a dent alright! 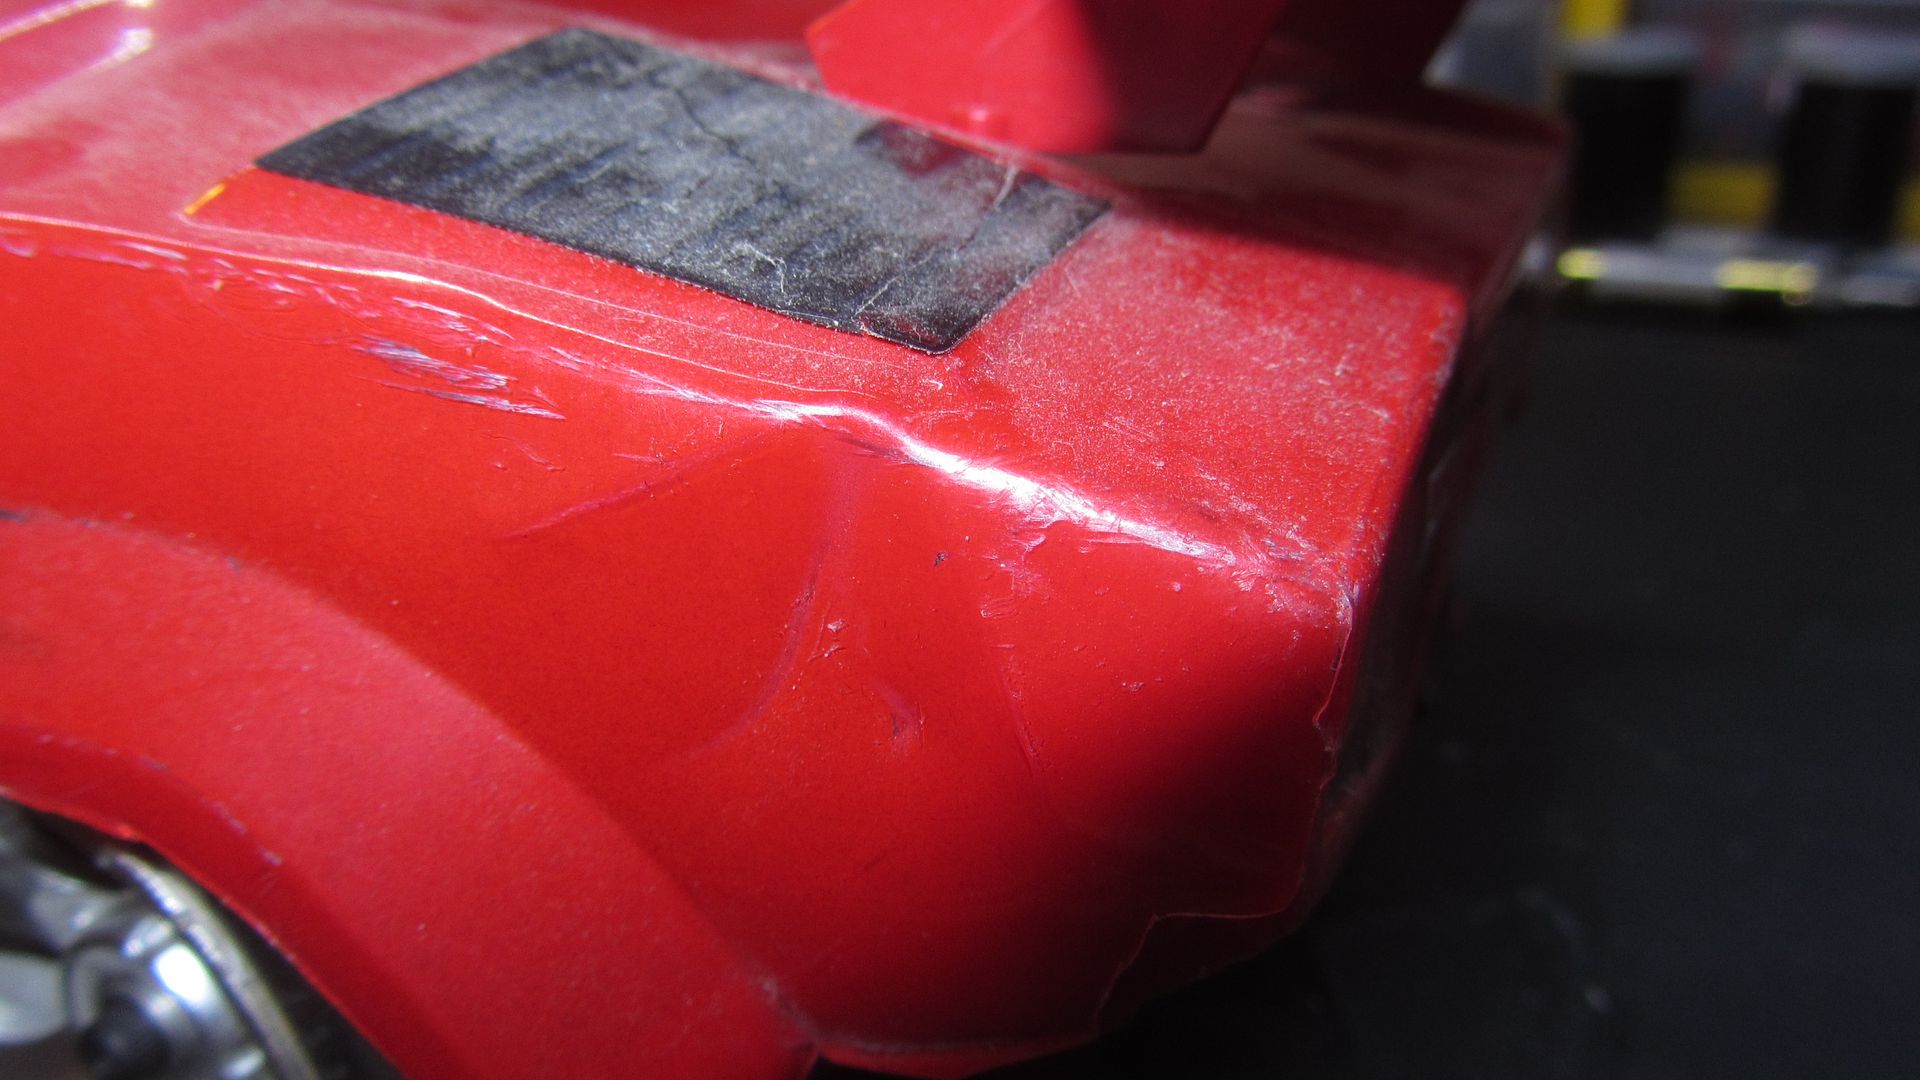
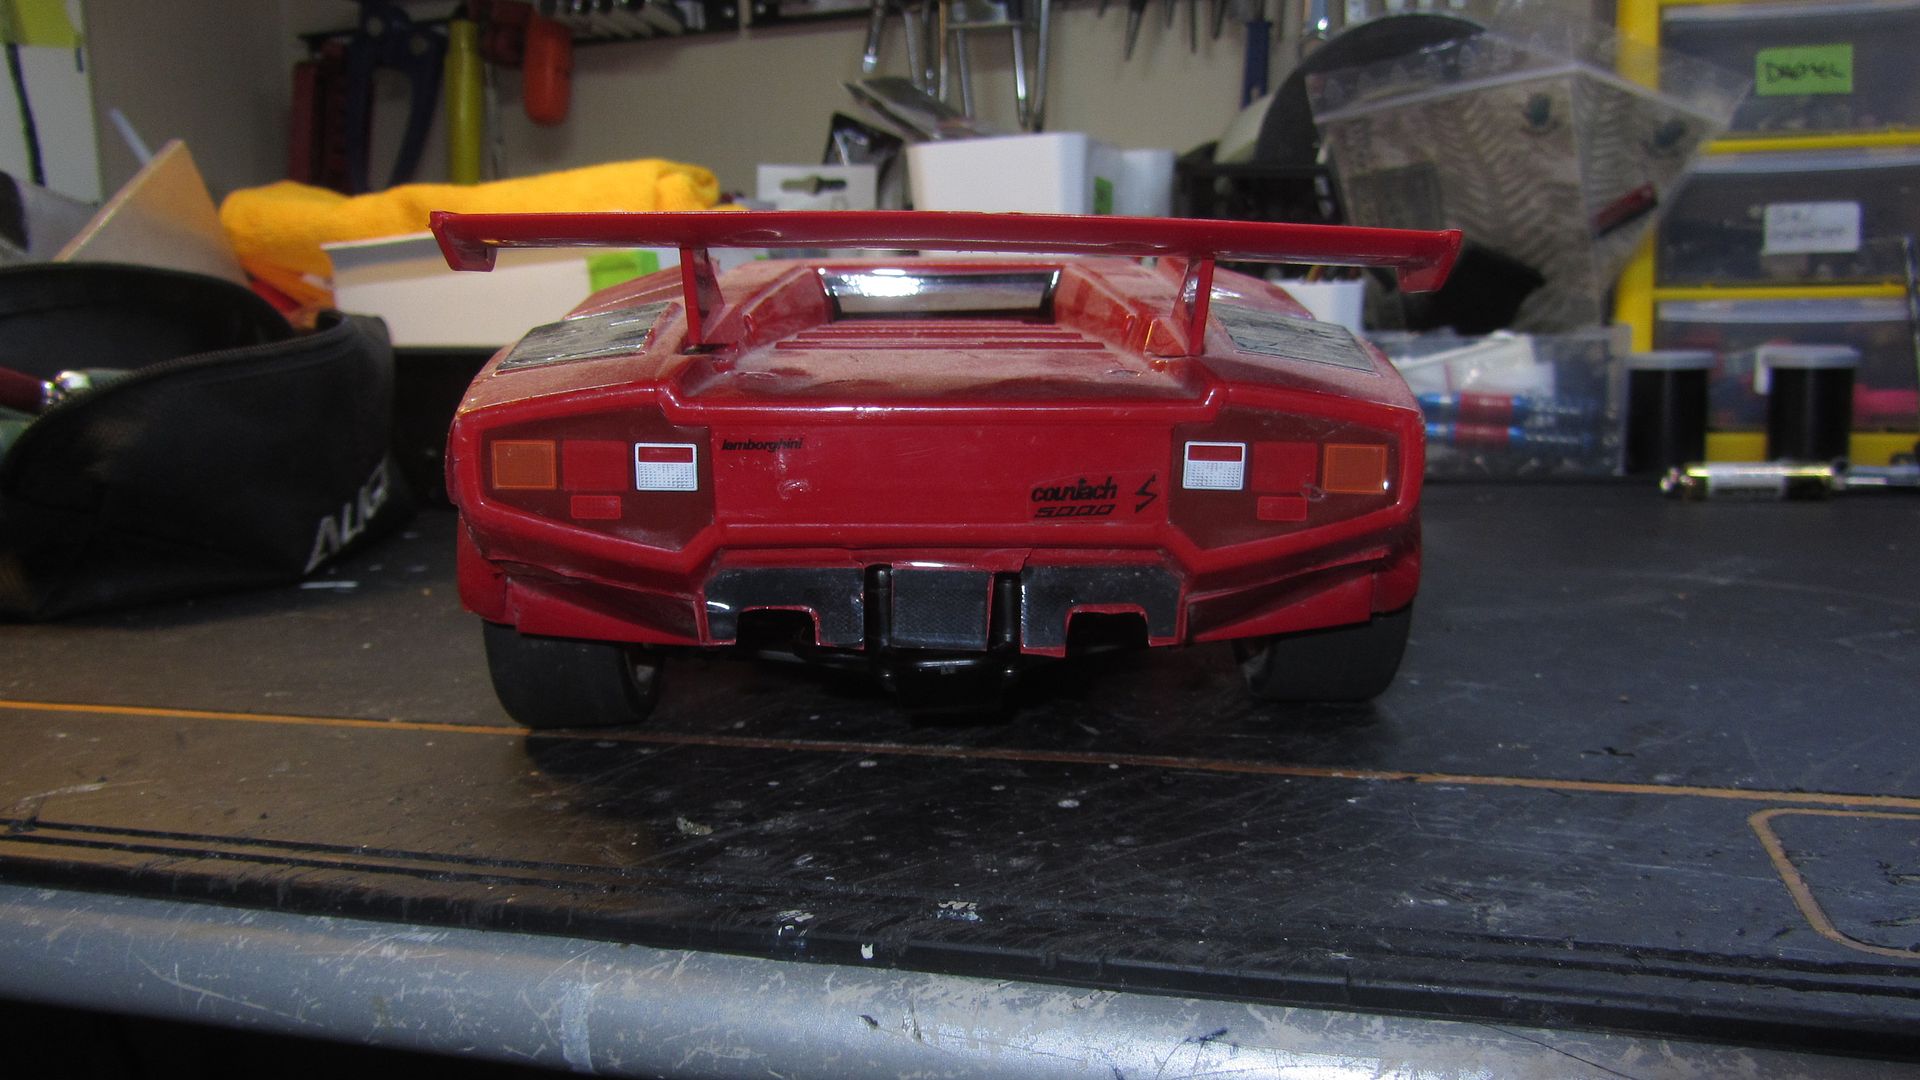
And here we find some missing suspension parts, all of it actually beside the cantilever and suspension arm 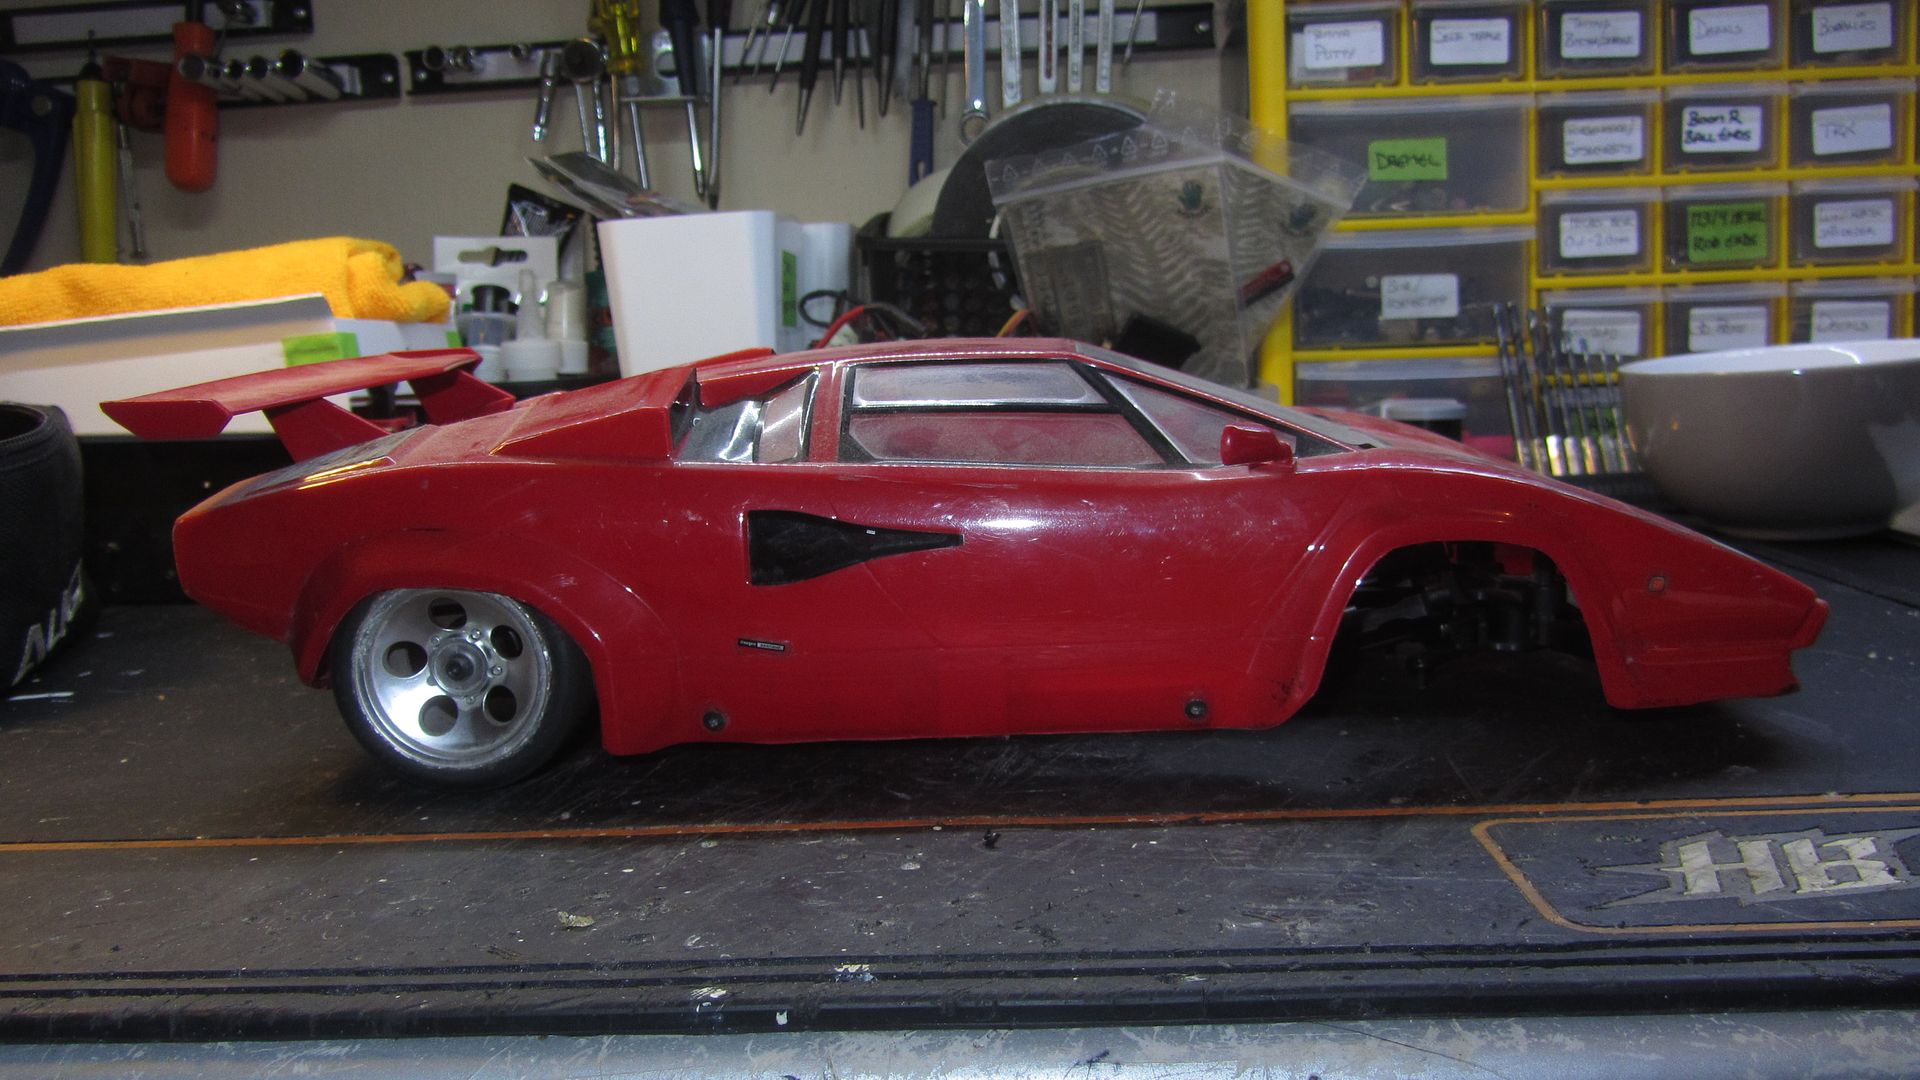
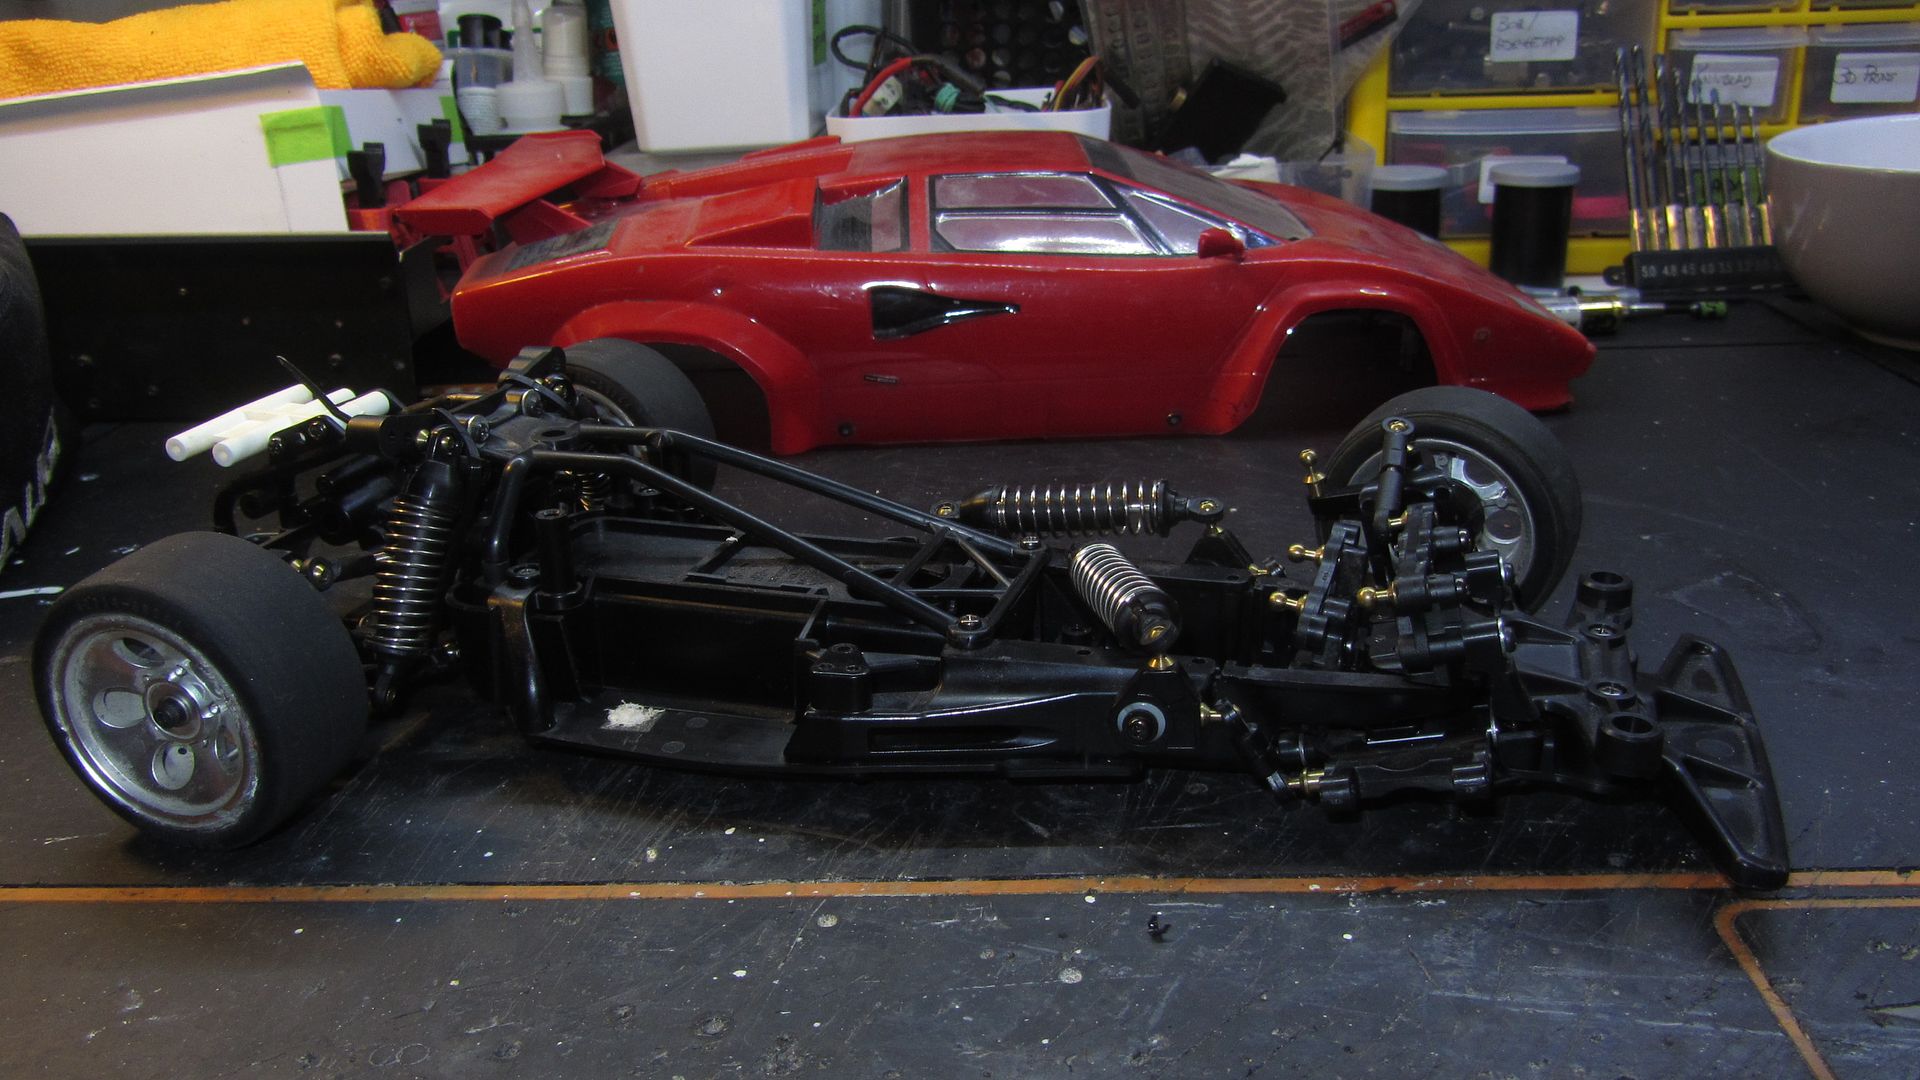
And most of the transmission bits are missing. 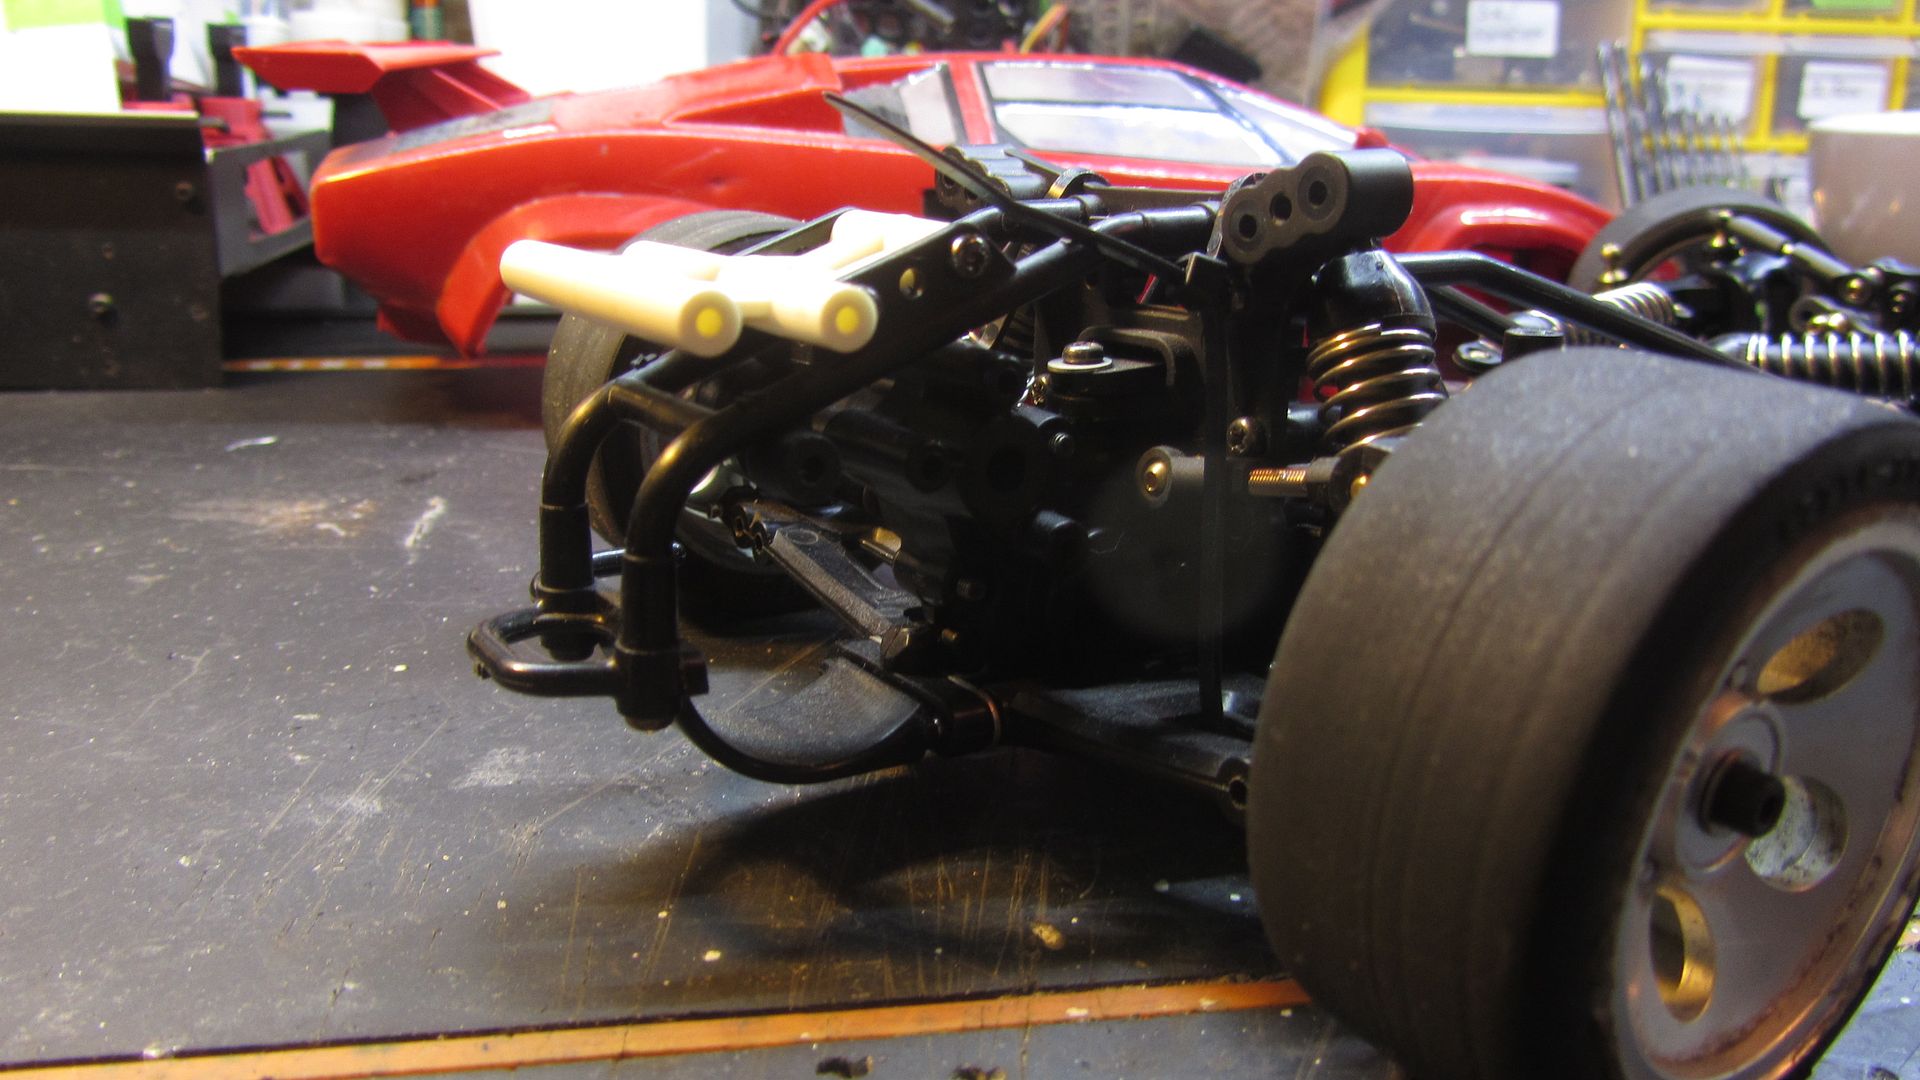
So far as I can tell by the manual, I'm missing these parts and they are on the way now H1 C-hub - One needed, they are the same for both sides. K5 Upright - For the right side. F1 Inside part of wheelhex - This is the male part that interlock into the wheelhex. BA14 4x10 Ball connector - #9808103 - One needed. 2x28mm Flange shaft - #9808107 - One needed. BB11 2.6x16 Threaded shaft - One needed. BB10 2.6x29 Threaded shaft - Two needed. These parts above will make my suspension complete. Gearbox is also missing some bits. BA24 Motor mount plate. BA25 Slipper spring. BA28 Ball differential. The 10mm drivehex tree and the slipper shaft has already arrived. 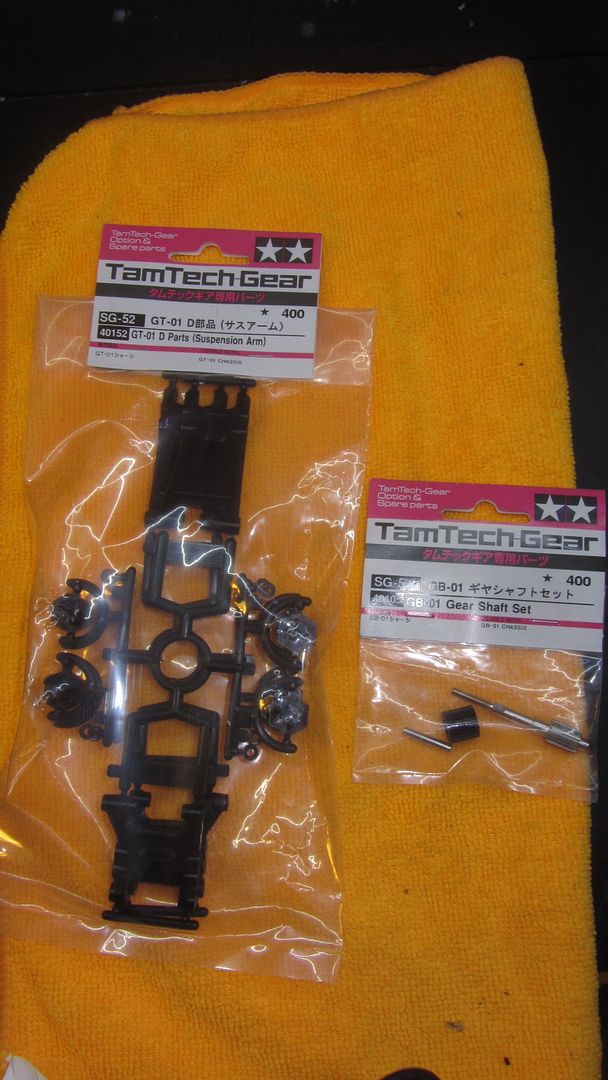
My plan is to get it as complete as possible and presentable for the shelf. Was thinking of a new body as these are really brittle and thin, but the price for those are insane. So for now I will work with what I have. And the main reason I've started on this projet now, is that is was looking at bit sorry for itself sitting crooked as it's missing half of the front suspension. I have been working a little bit on this and I found the dampers had 3 different lengths. Turns out the rear dampers have the wrong springs as they are too long, so I guess these comes from a GB01 which is the buggy variant, incl the mini Hornet. Spacers inside was wrong or missing. Luckly I found a damper rod set online with the correct spacers. Have also oredered the correct springs. Due the long rear springs currently fitted, I have used cable ties in the rear to get the ride hight lower. At least it sits level ish on the shelf now. The other one in my collection is a white one that I think is painted with the PS-57 Pearl White. Rear body corners, rear spoiler etc that is part of a sprue, is stil in the box, but with red overspray. I'm thinking they started on spraying these parts red as they forgot they have already done the red body. So the white body is missing those parts. I plan on sand these items and paint them body color as they only got a mist of overspray on them. So I bought a can of white primer for that task. 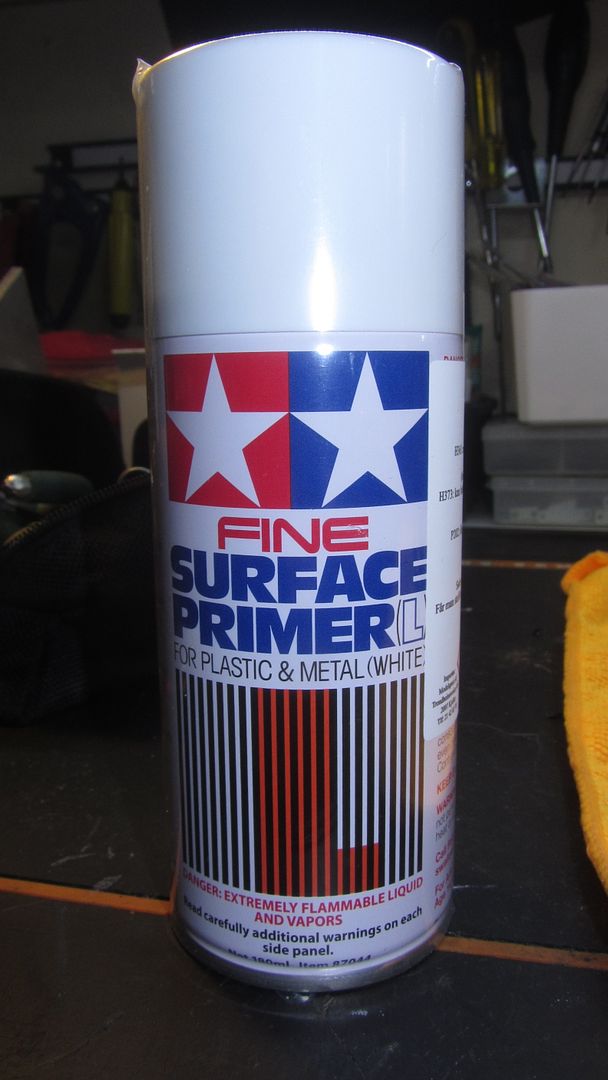
Next task will be to clean the red body and start on some repairs. It may ground to a halt as my 1:1 Capri is soon out of the paint booth, and I hope to get it on the road this summer or within this year at least. Depending on my health and economy. |
|
|
Please Log in to join the conversation.
Last edit: by caprinut.
|
Richard's TamTech-Gear GT01 Lamborghini Countach - Red 4 years 1 week ago #58902
|
|
|
Please Log in to join the conversation. |
Richard's TamTech-Gear GT01 Lamborghini Countach - Red 4 years 1 week ago #58905
|
My own lights system was more realistic. I will be back with it same if it was more wiring...
|
|
Please Log in to join the conversation. |
Richard's TamTech-Gear GT01 Lamborghini Countach - Red 4 years 1 week ago #58910
|
If you want , I should have some leds for your light system. Just give me quantity size and colors of the leds |
|
Please Log in to join the conversation. |
Richard's TamTech-Gear GT01 Lamborghini Countach - Red 4 years 1 week ago #58914
|
I can't wait to see your installation Richard. That will give me ideas for my next projects.
|
|
Please Log in to join the conversation. |
Richard's TamTech-Gear GT01 Lamborghini Countach - Red 4 years 1 week ago #58962
|
Been working on this lately...
Body got a good bath, and all the dust was hiding damage, bad stickers/placement, heavily scratched it places and missing paint. First I applied some plastic restorer (I would try scratch remover for paint-but don't have in hand atm) and then some polish. Got better, but loads of scratches left, gash some places too. The worst idea on this vehicle is the stupid 2.6mm screws with cross heads. I have normally no proplem with crossheads, but for some reason these screws is like cheese. Don't help as the former may have been using the wrong screwdriver. Had to remove the rear spoler as the body was split, and to be able to use a bit force I needed some space as also one of the rear plastic corners was loose so I had to remove that as well. To do this I had to remove the rear body posts from the body. I found a selection of screw bits to be able to remove the bodypost. One got out by pure luck, the other one got rounded pretty fast so I had to drill it out. As the remaining bit of the screw was still inside the body post I did try to drill it out, but that was a failure. In the end I used a Axial 3mm link that was cut in half and used those as body post as almost every other bodypost in my parts bit was either too thick or had no means of fitting them to the bodty. These Axial links was slippery, so I used a styrene tube that fitted perfect on the Axial link and used that as a guide. For now, this how the body mounts look like now 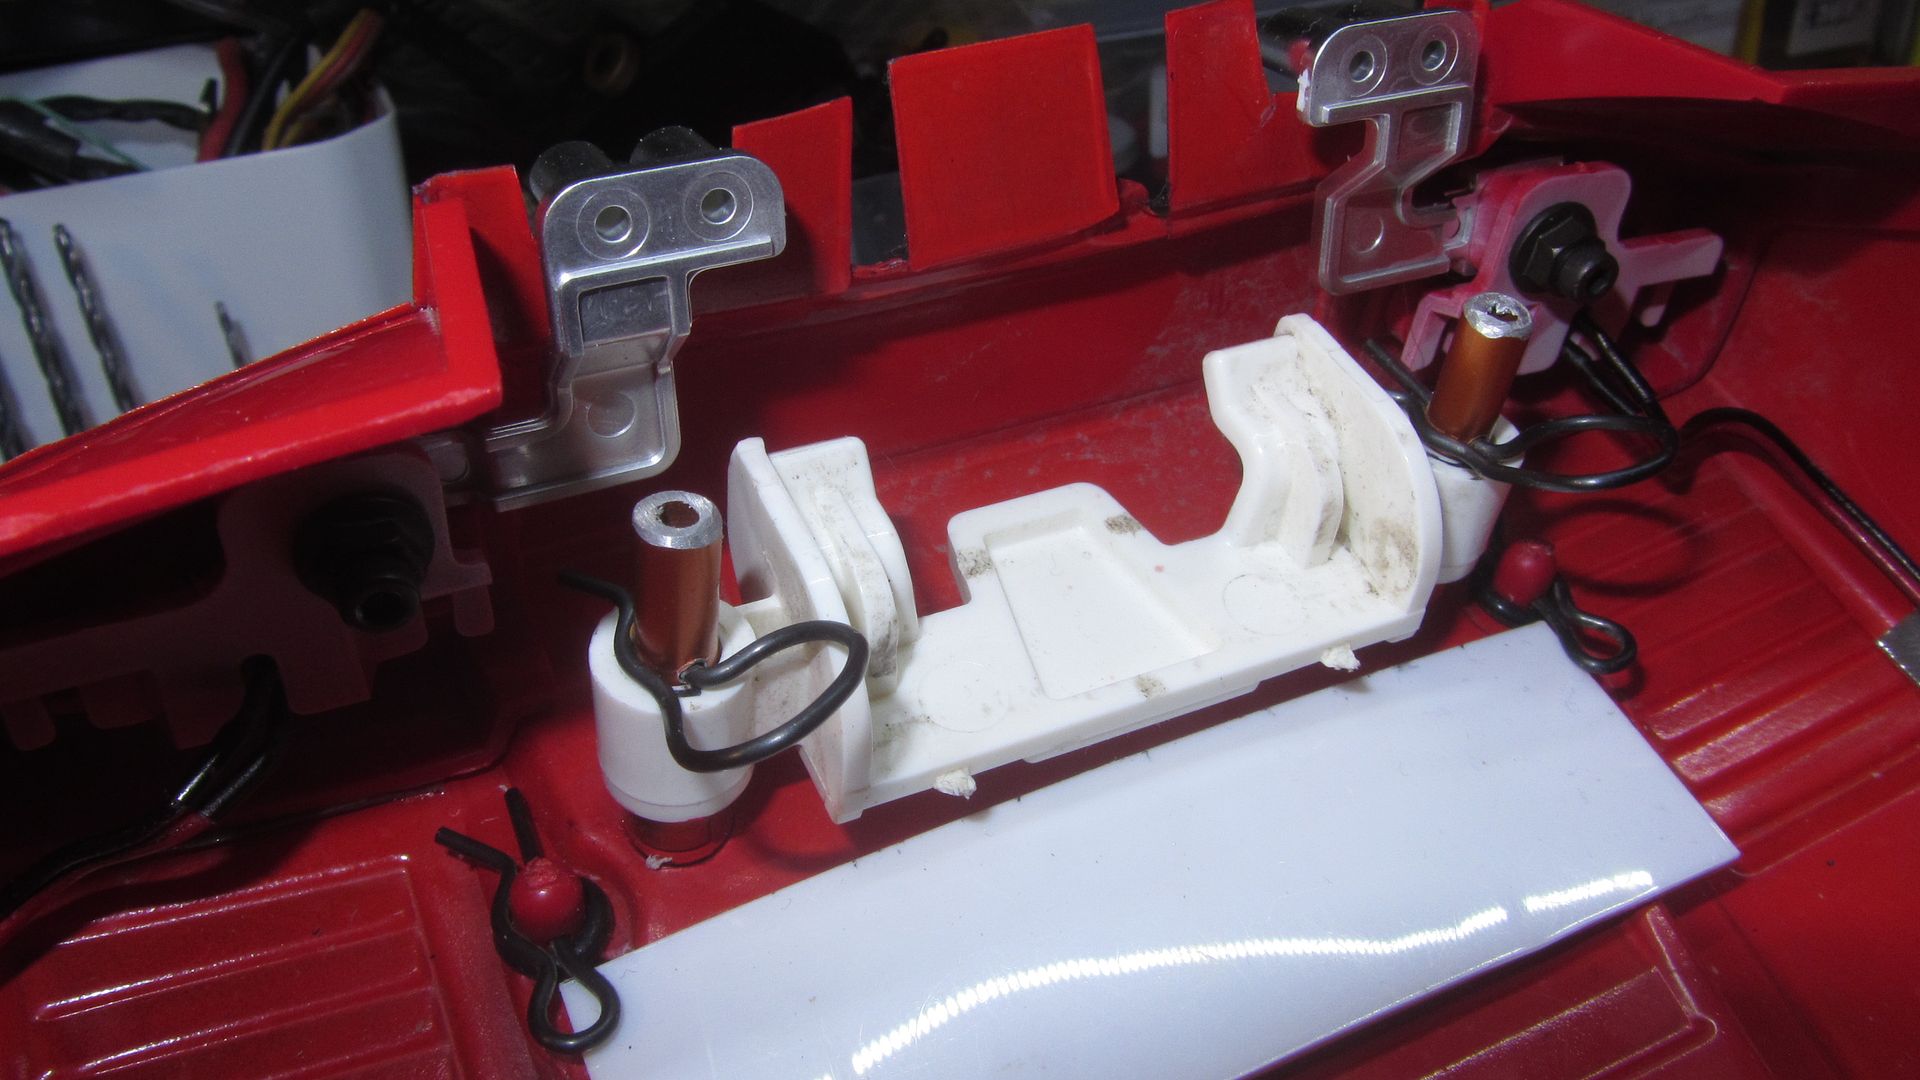
That ment I now could use a regular M3 cap bolt instead of the weak orginal 2.6 screw. 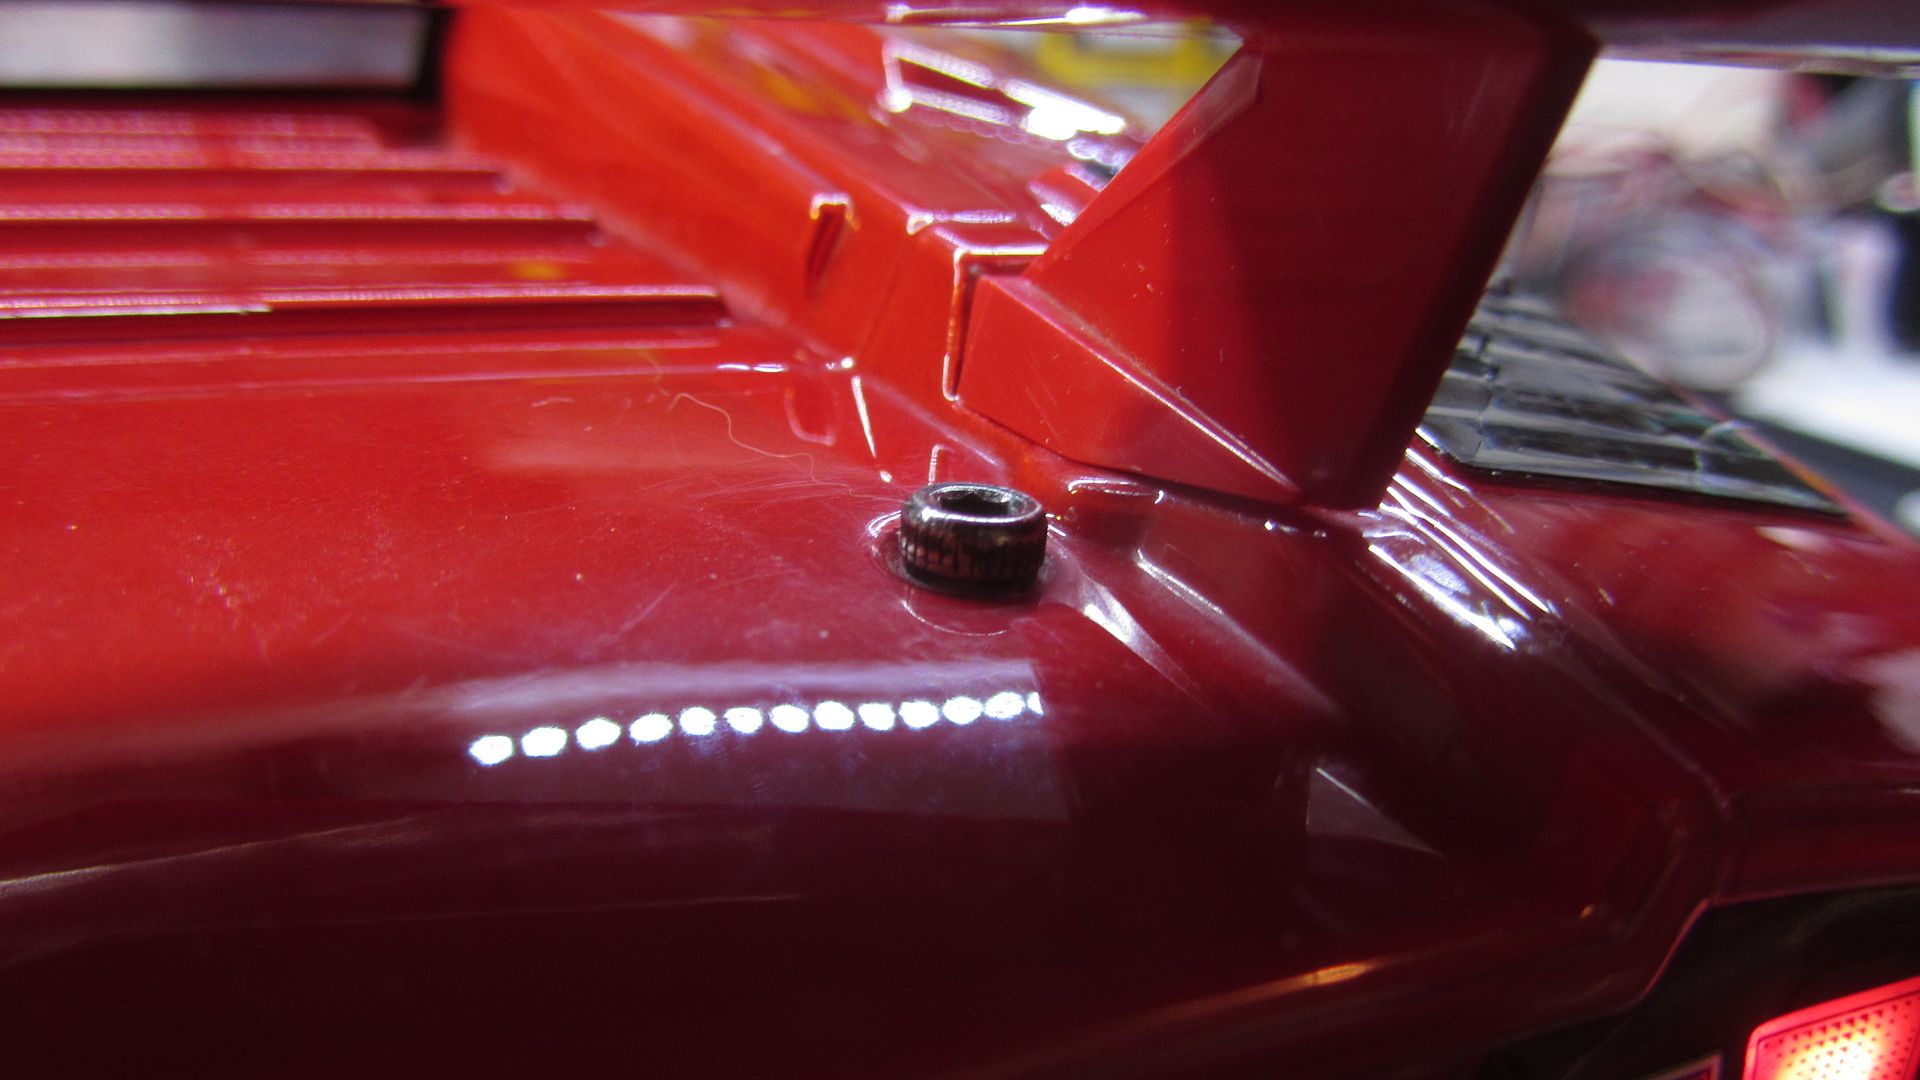
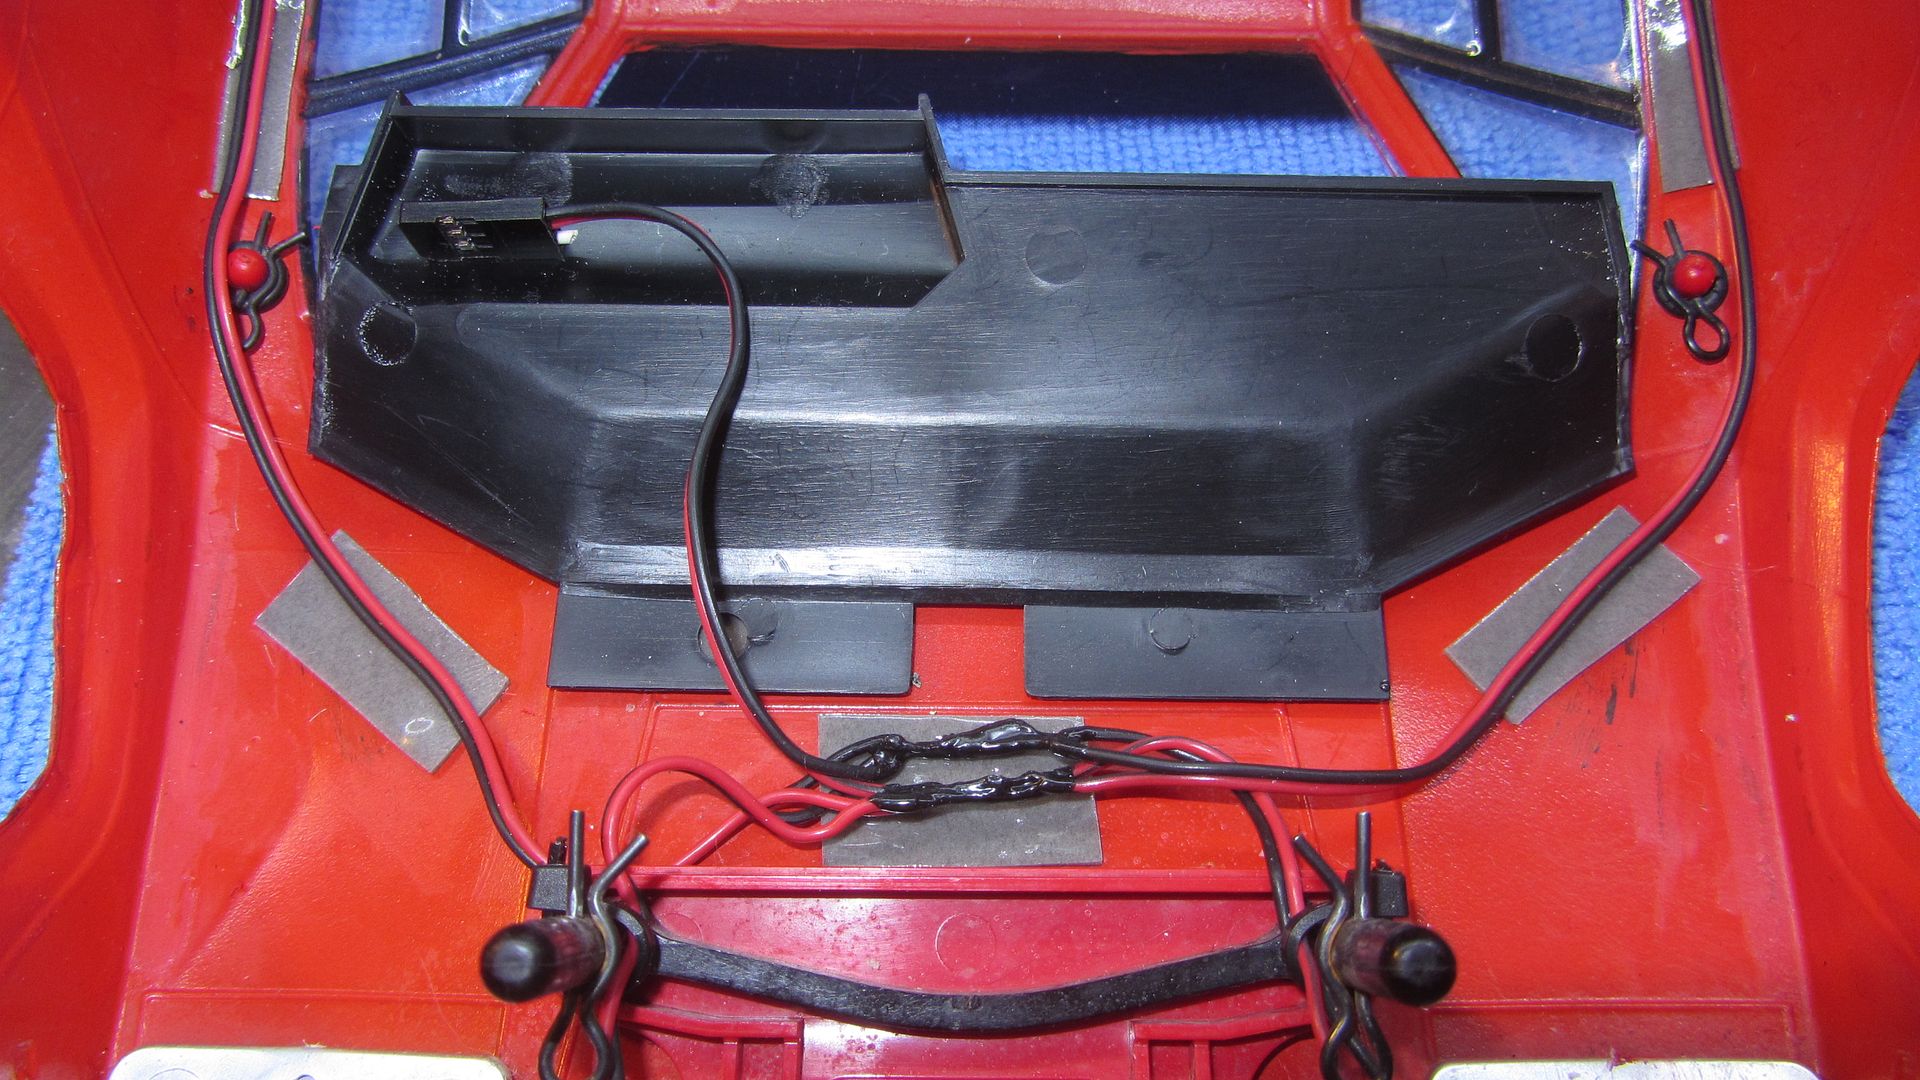
I had a spare led light kit kicking around I wanted to fit to this car. But the control unit was really not good as the pins for the led connectors bent with ease, got loose or broke. It also had to have both channels fitted to work properly. So in the skip the controller vent. Instead I used the led and wires to make my own kit. As this is purely ment for the shelf, I soldered 3 AA batteries to be my power source. It takes place where the servo used to be. I tried to get the wires neatly fitted to the body. 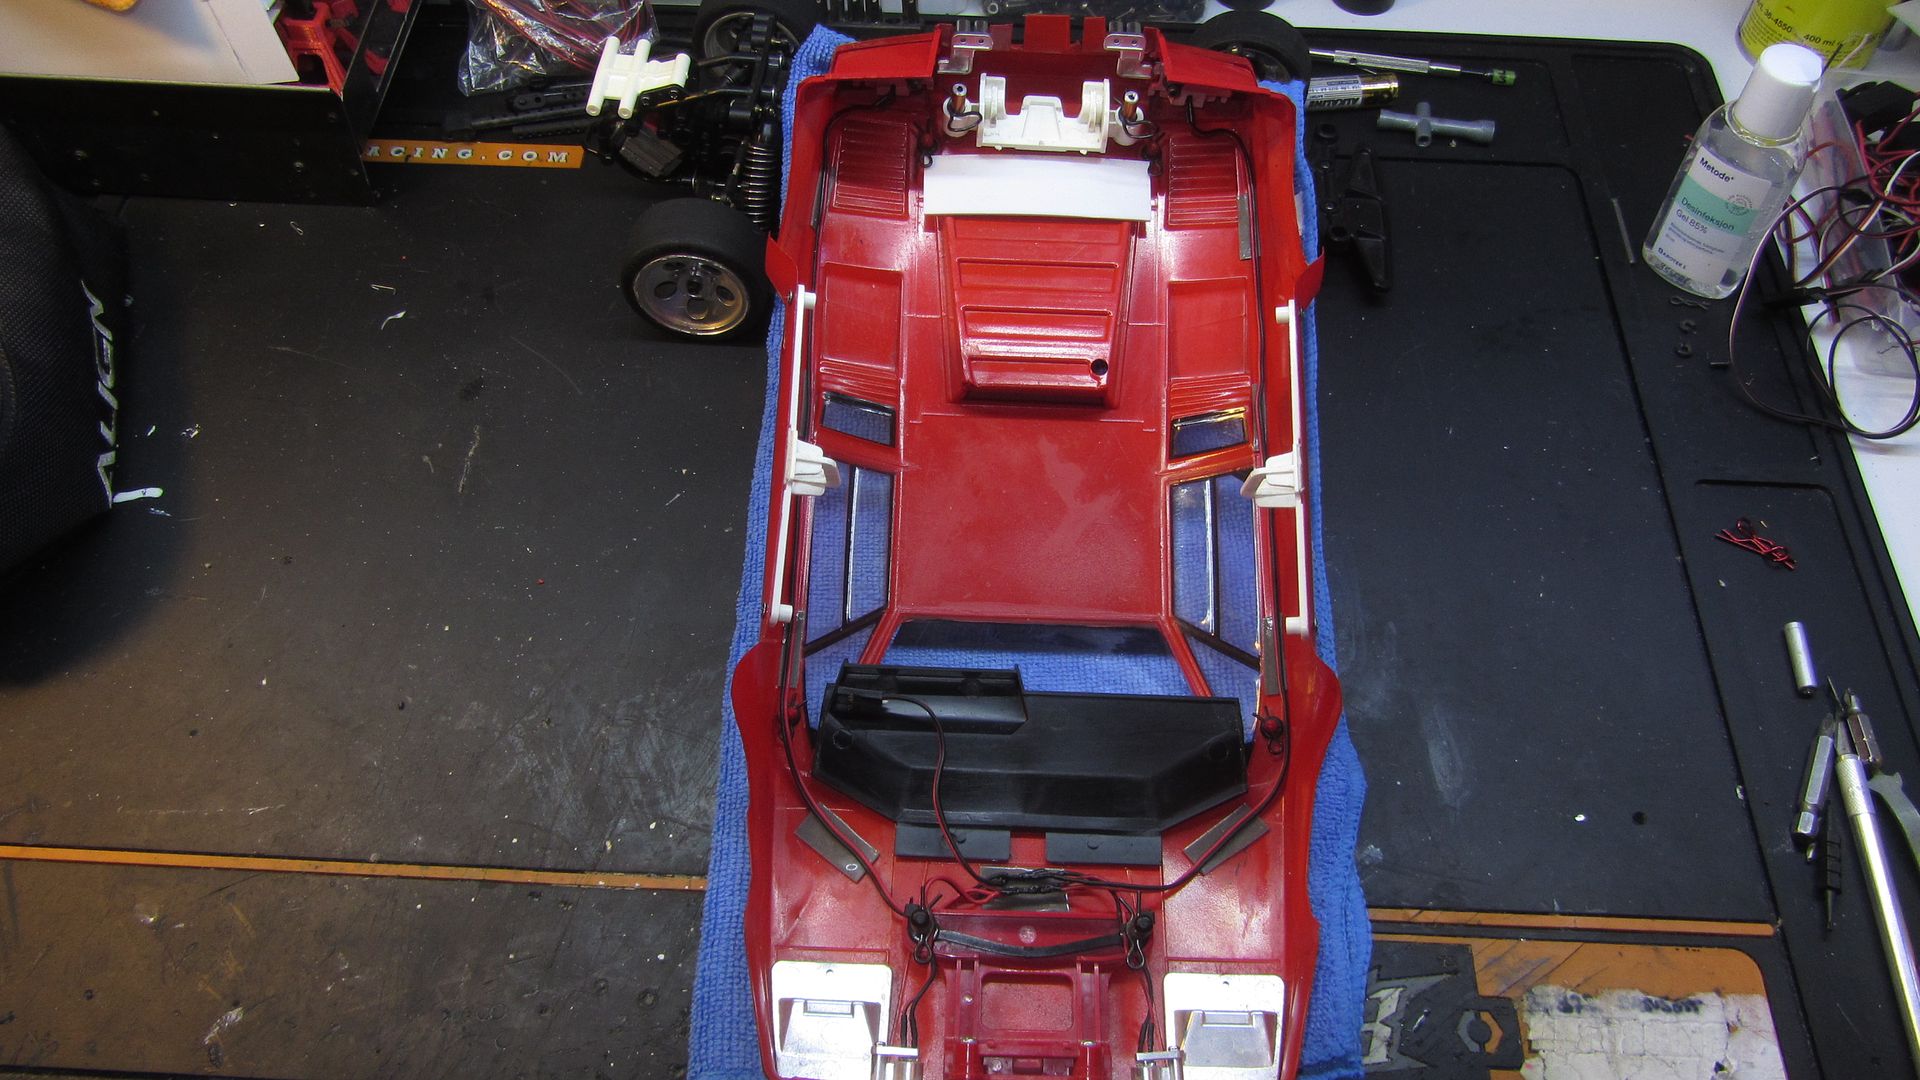
And it looks better in low light than it really is. 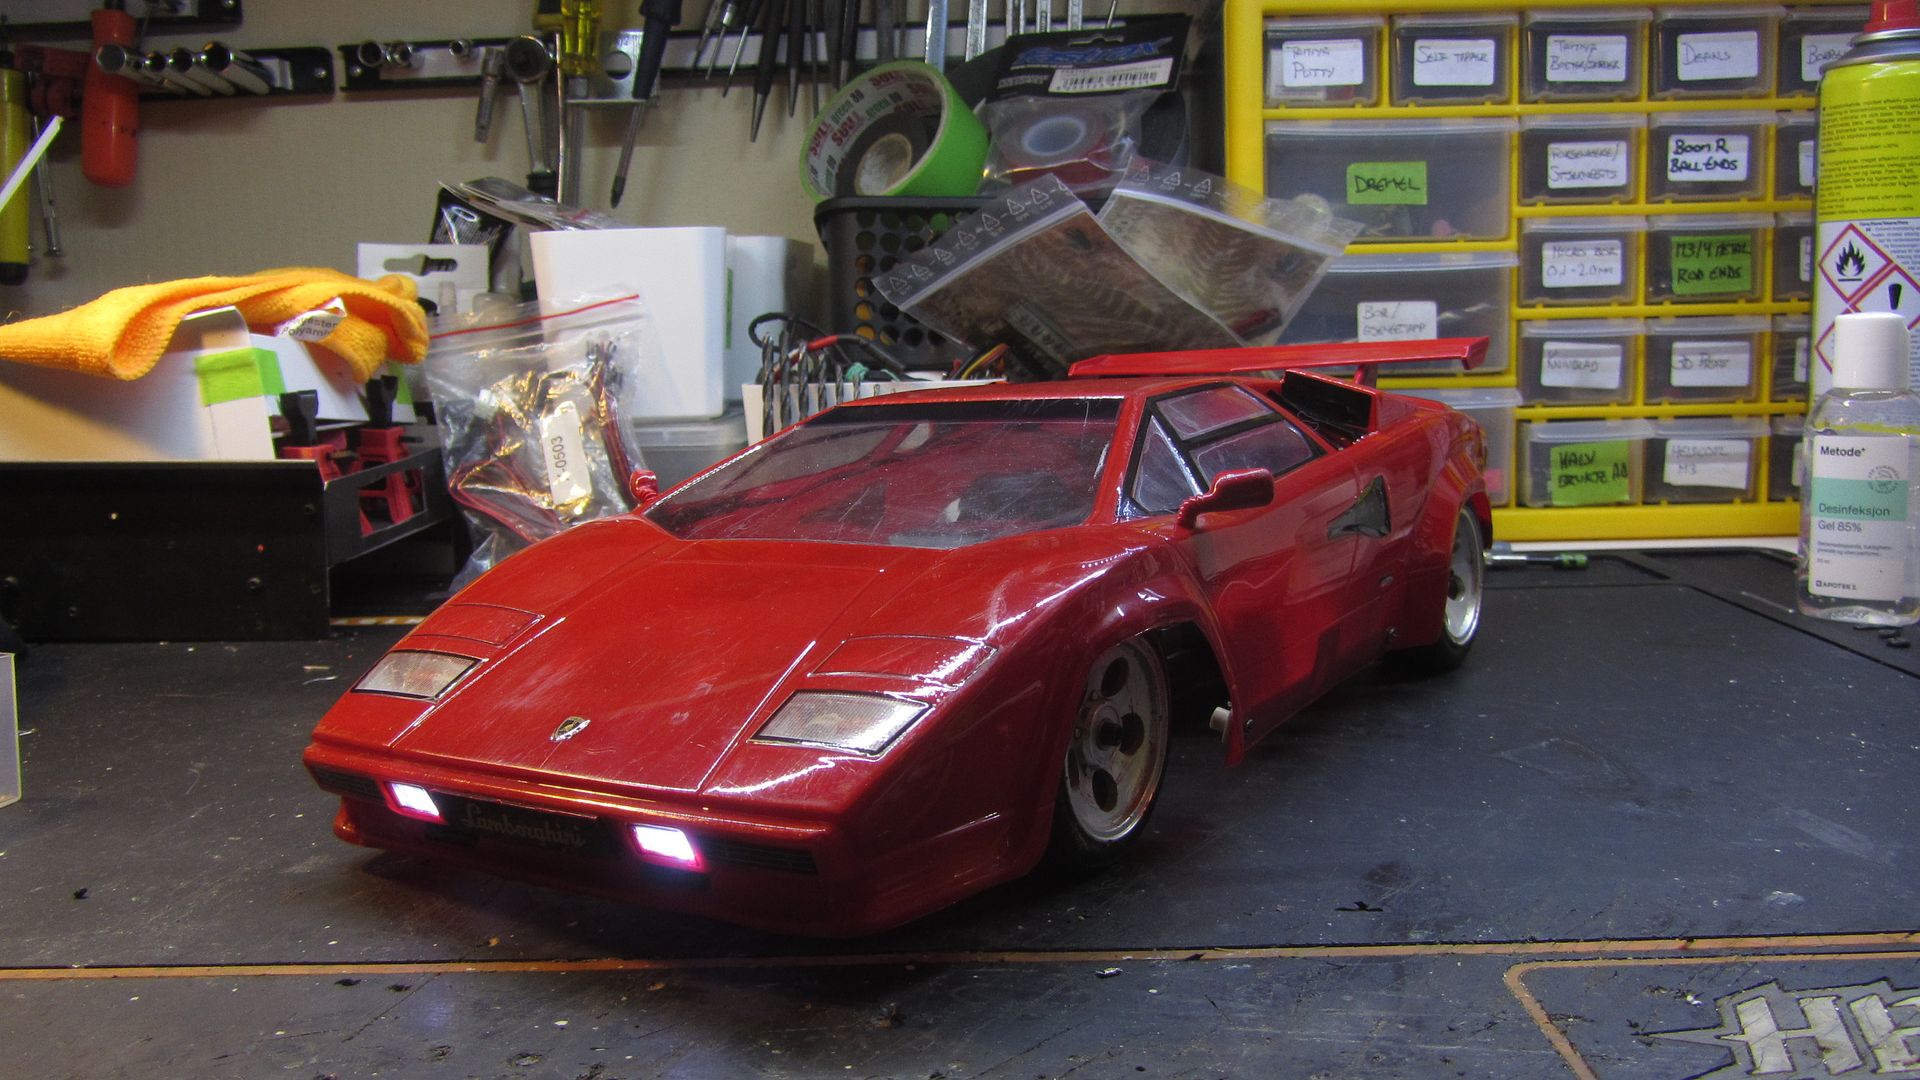
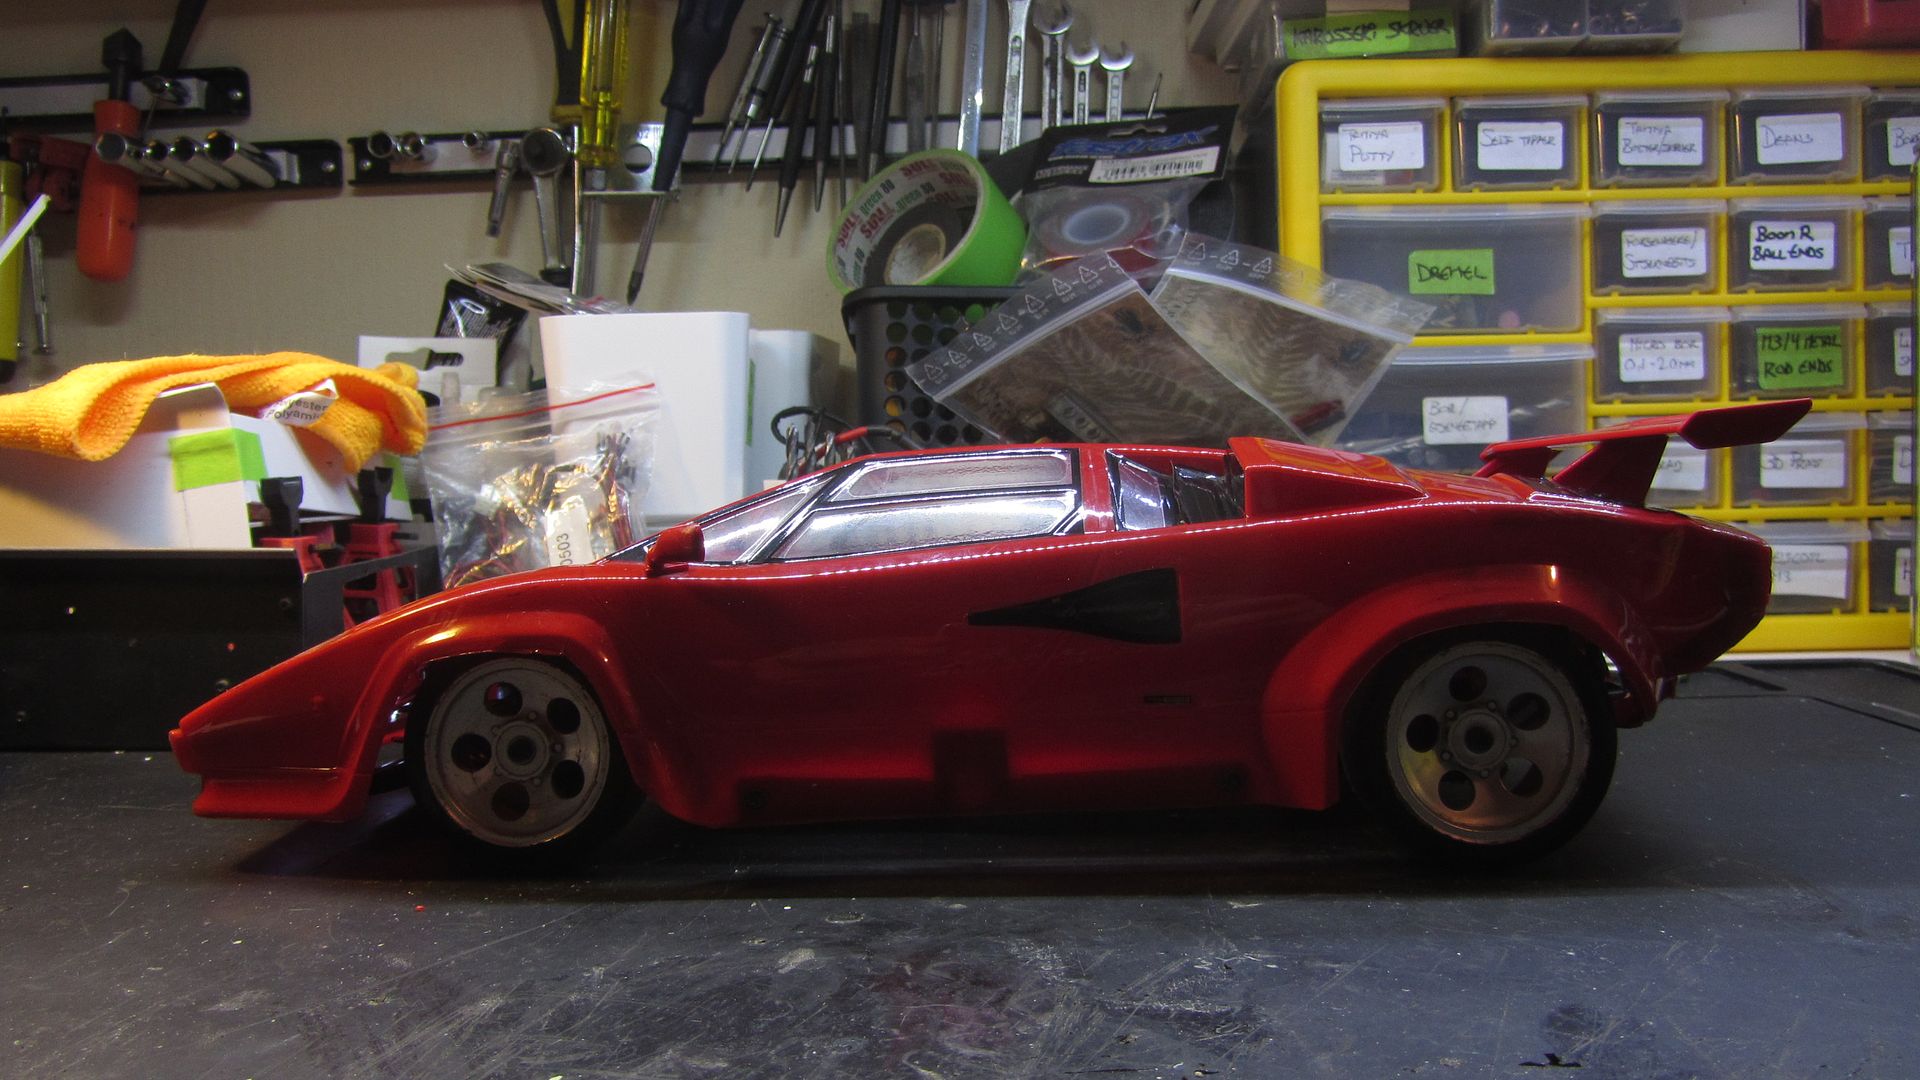
I was out of red leds fitted with wires, so I simply painted the red with Tamiya transulcent red. It did come out ok. 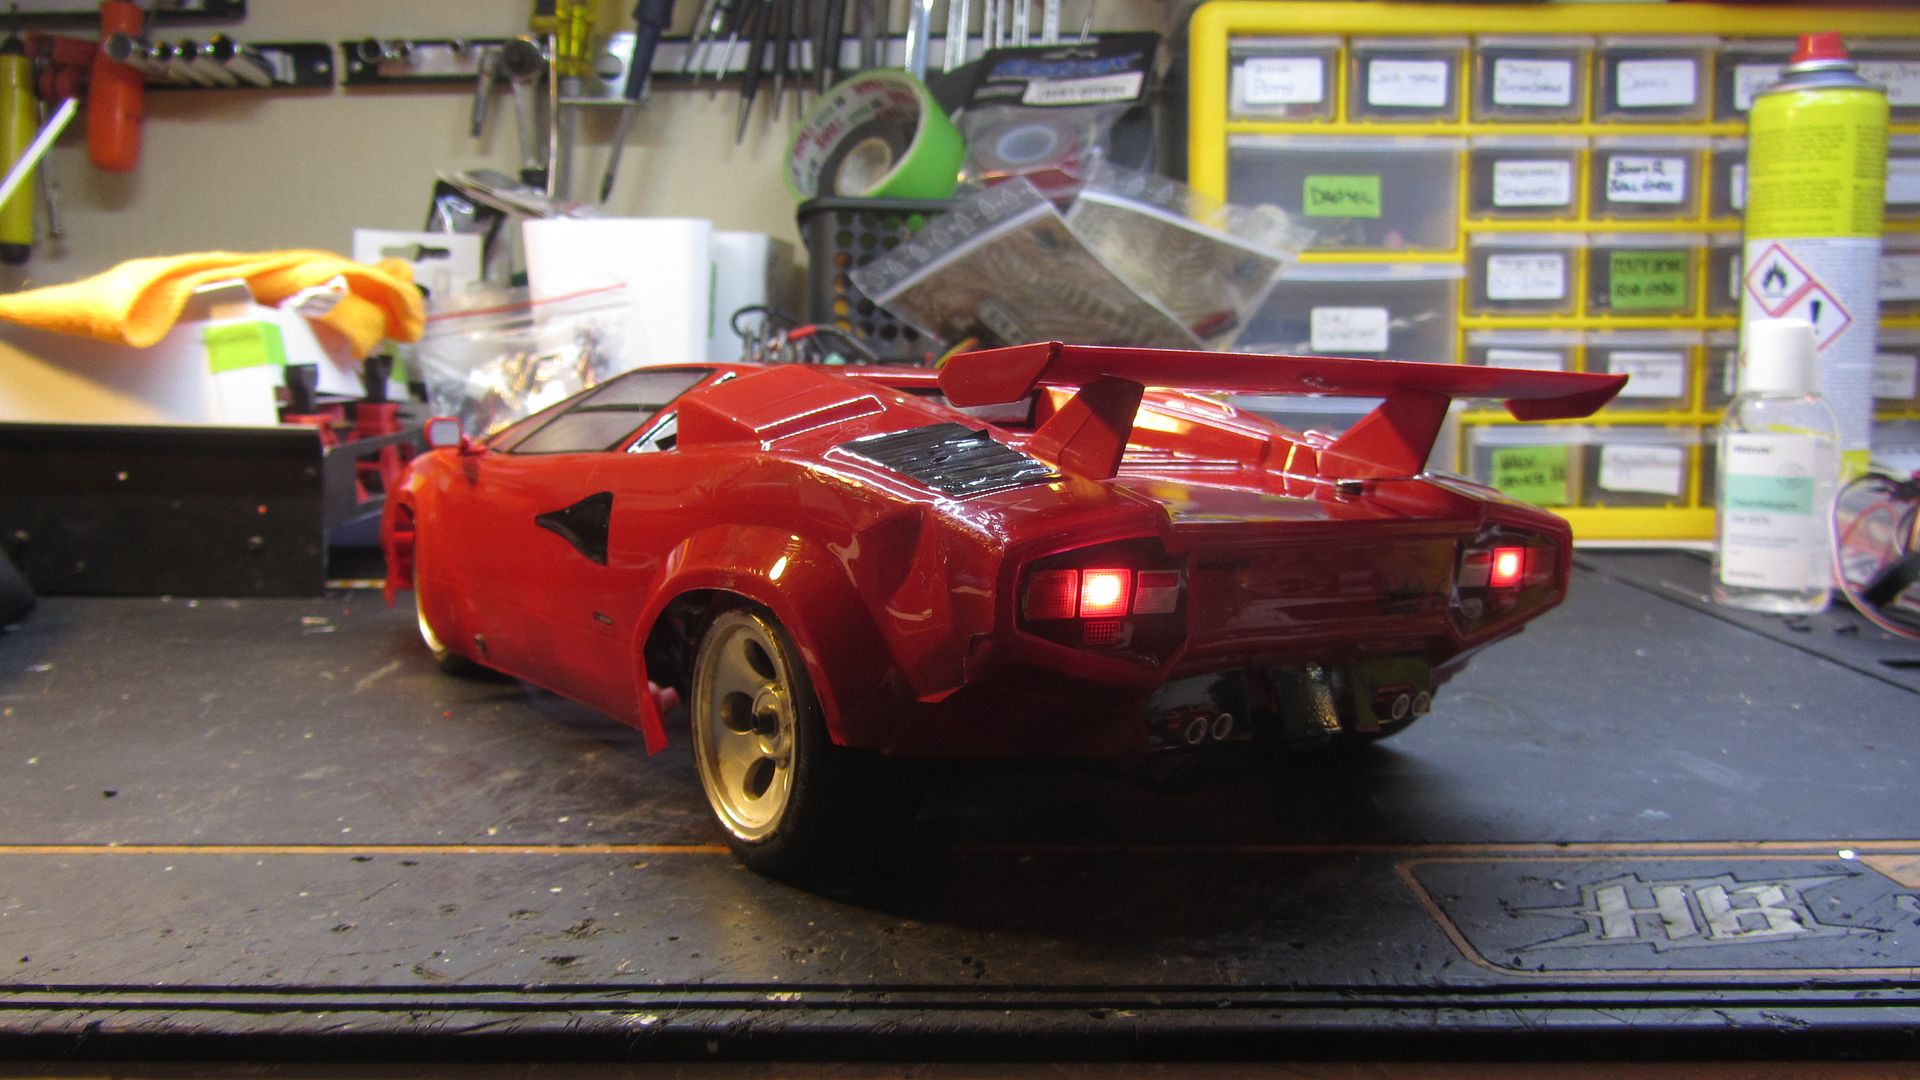
Now the bad... 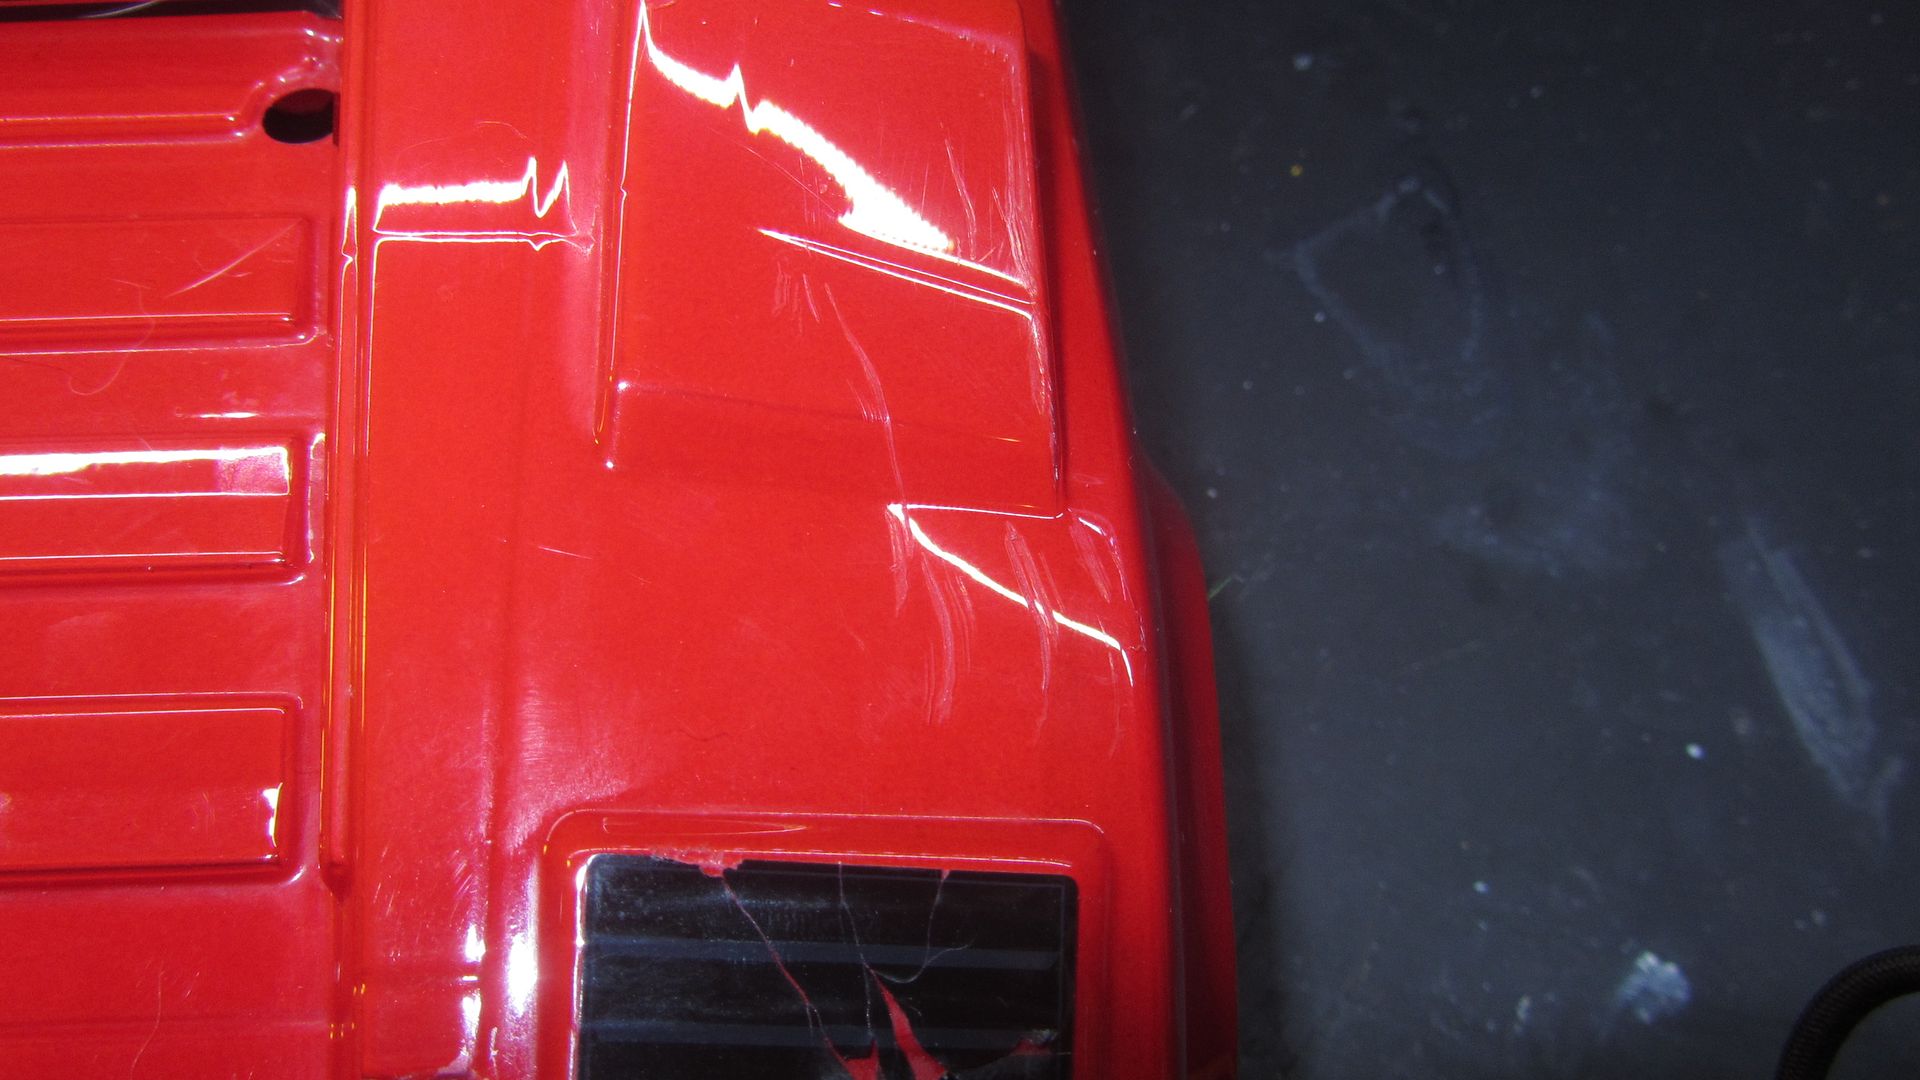
Stickers have come unstuck 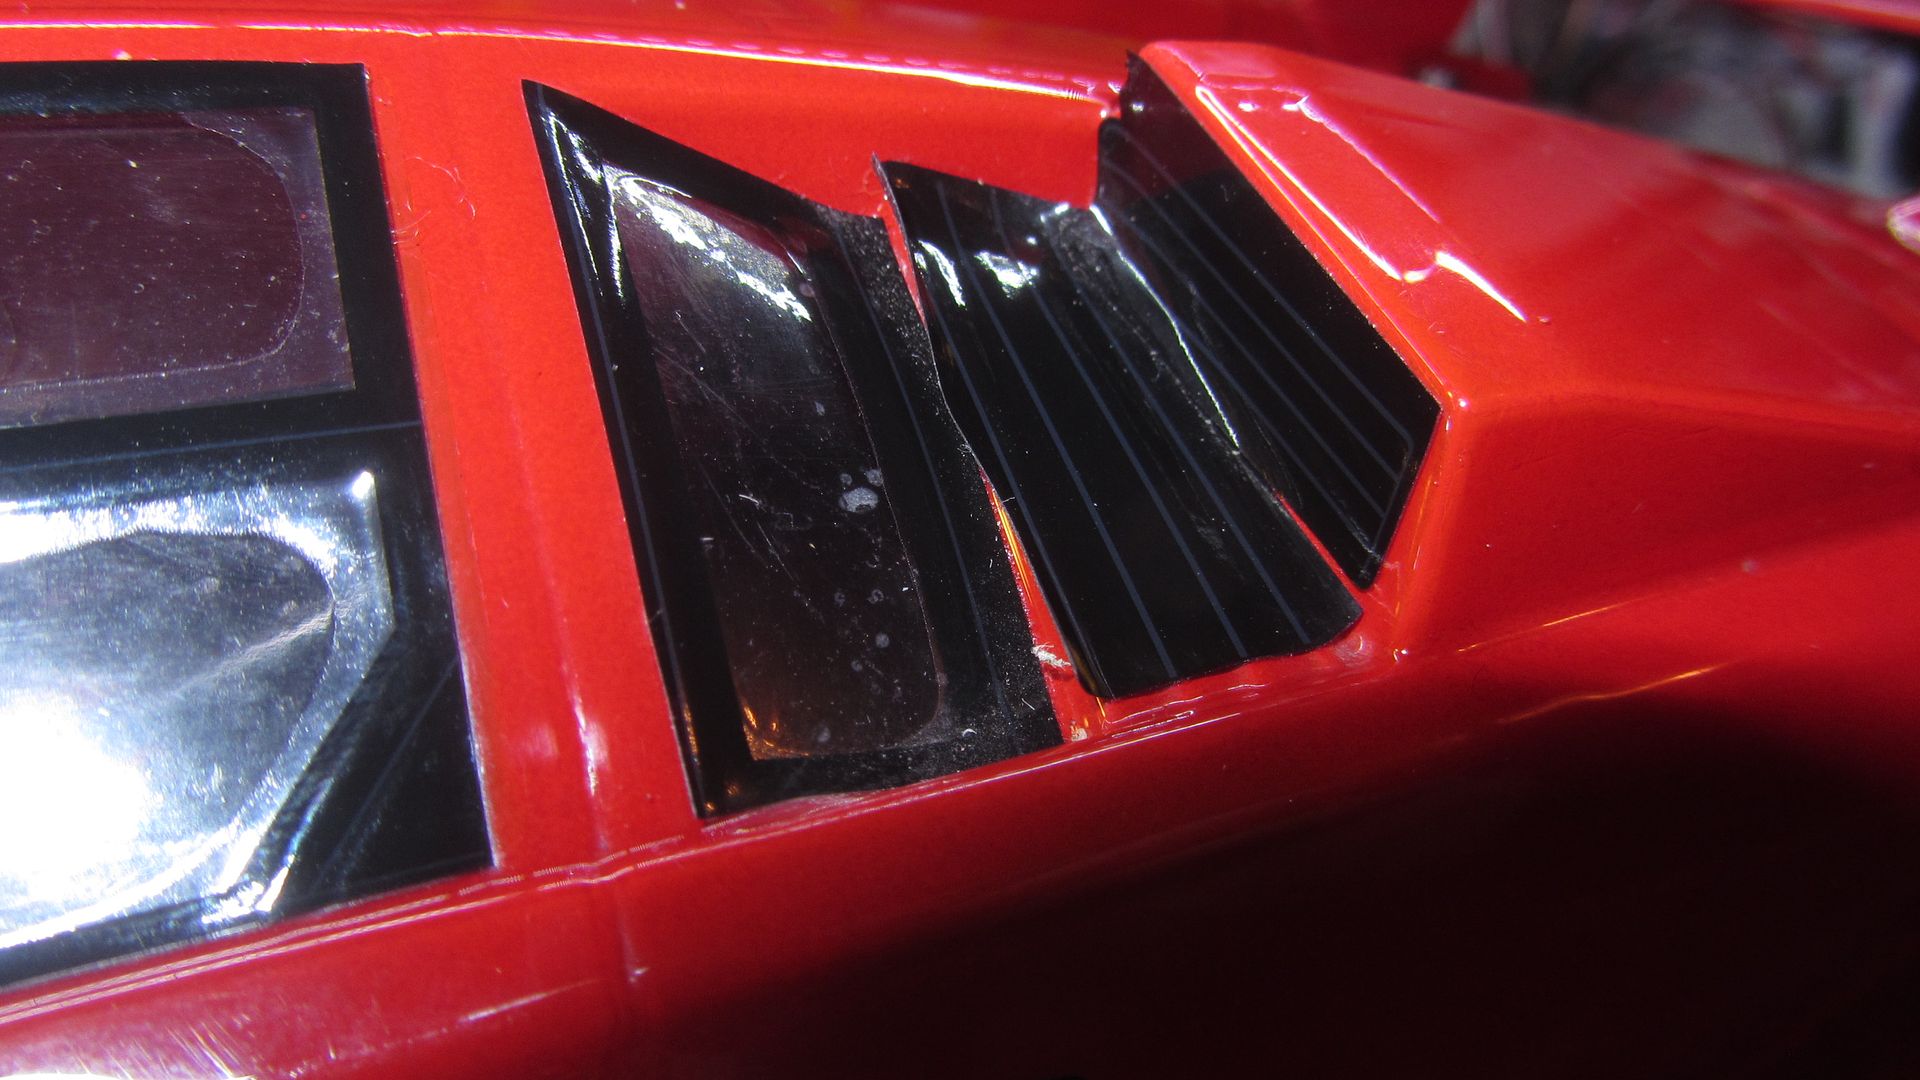
I'm thinking of either cut the glass bit out of the decal, or simply remove the decal altogether and paint the window frame... 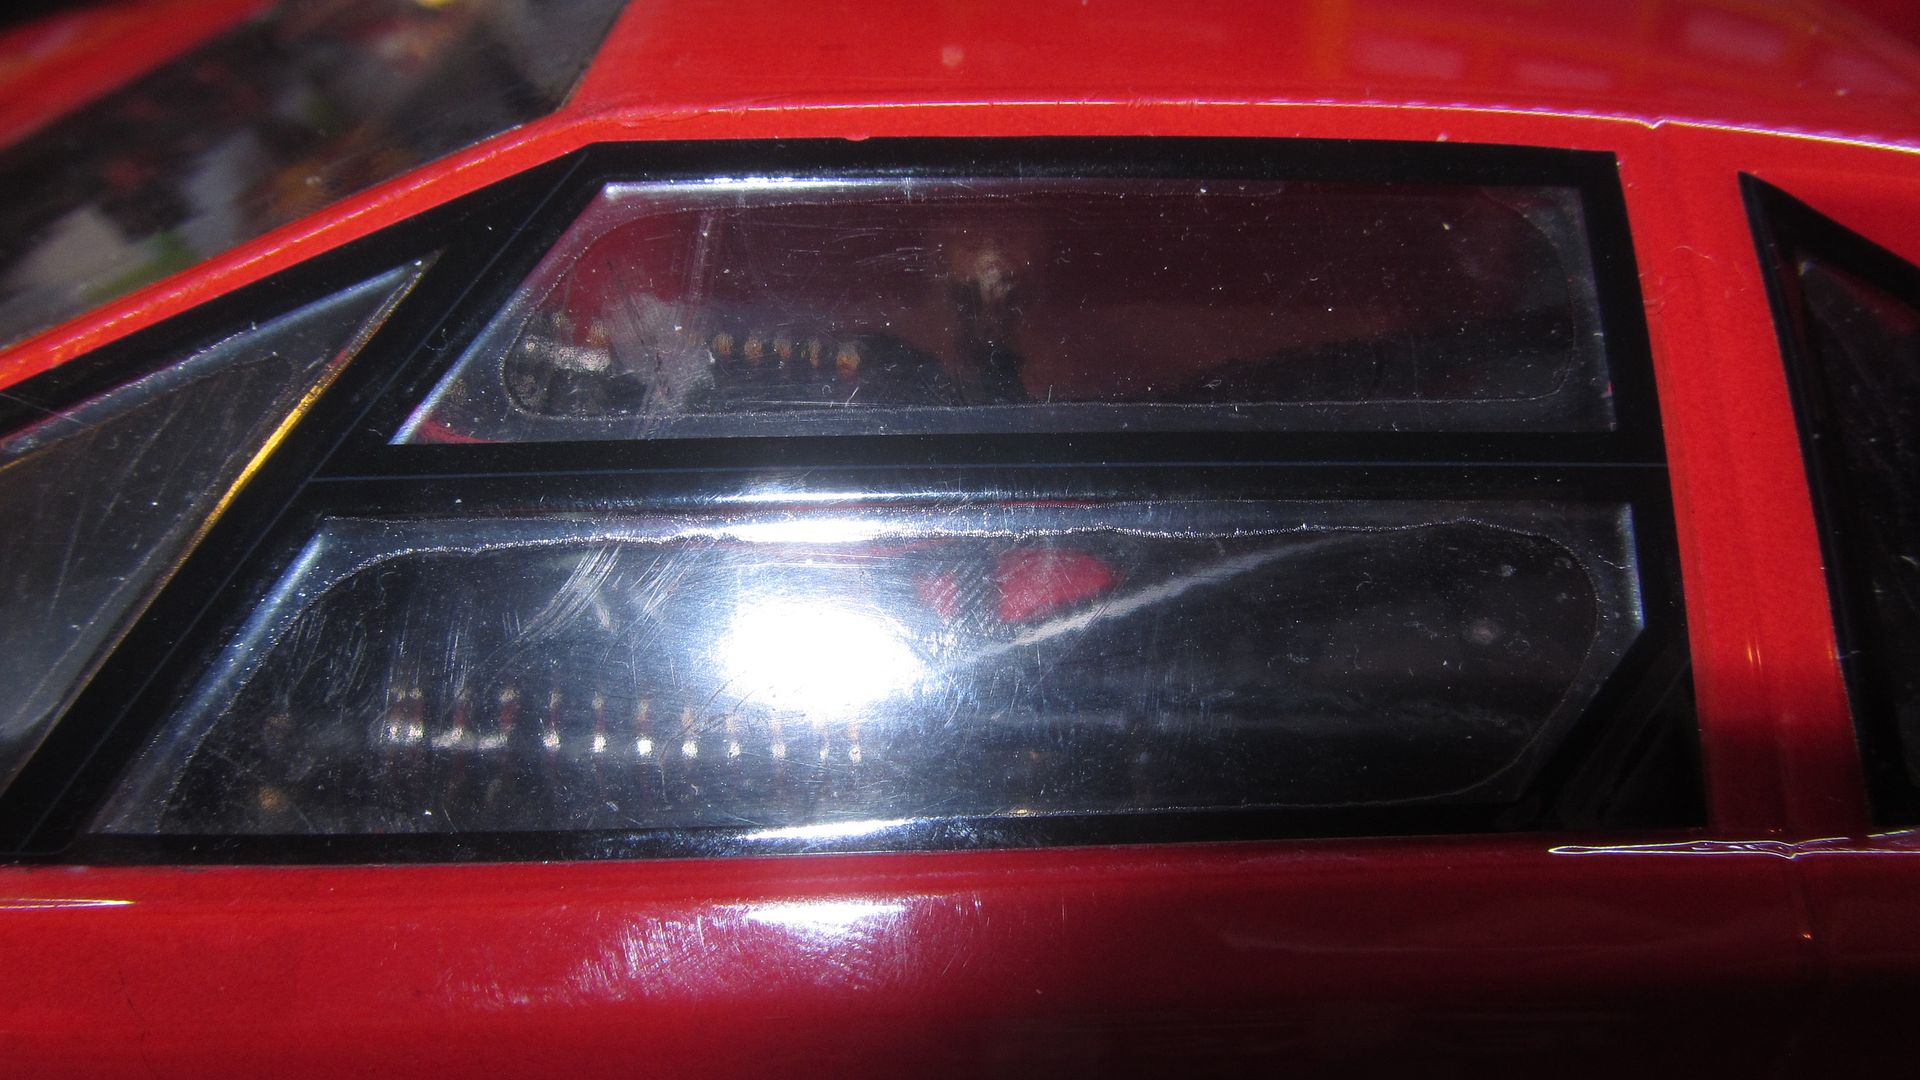
This have seen some sliding action, up side down that is 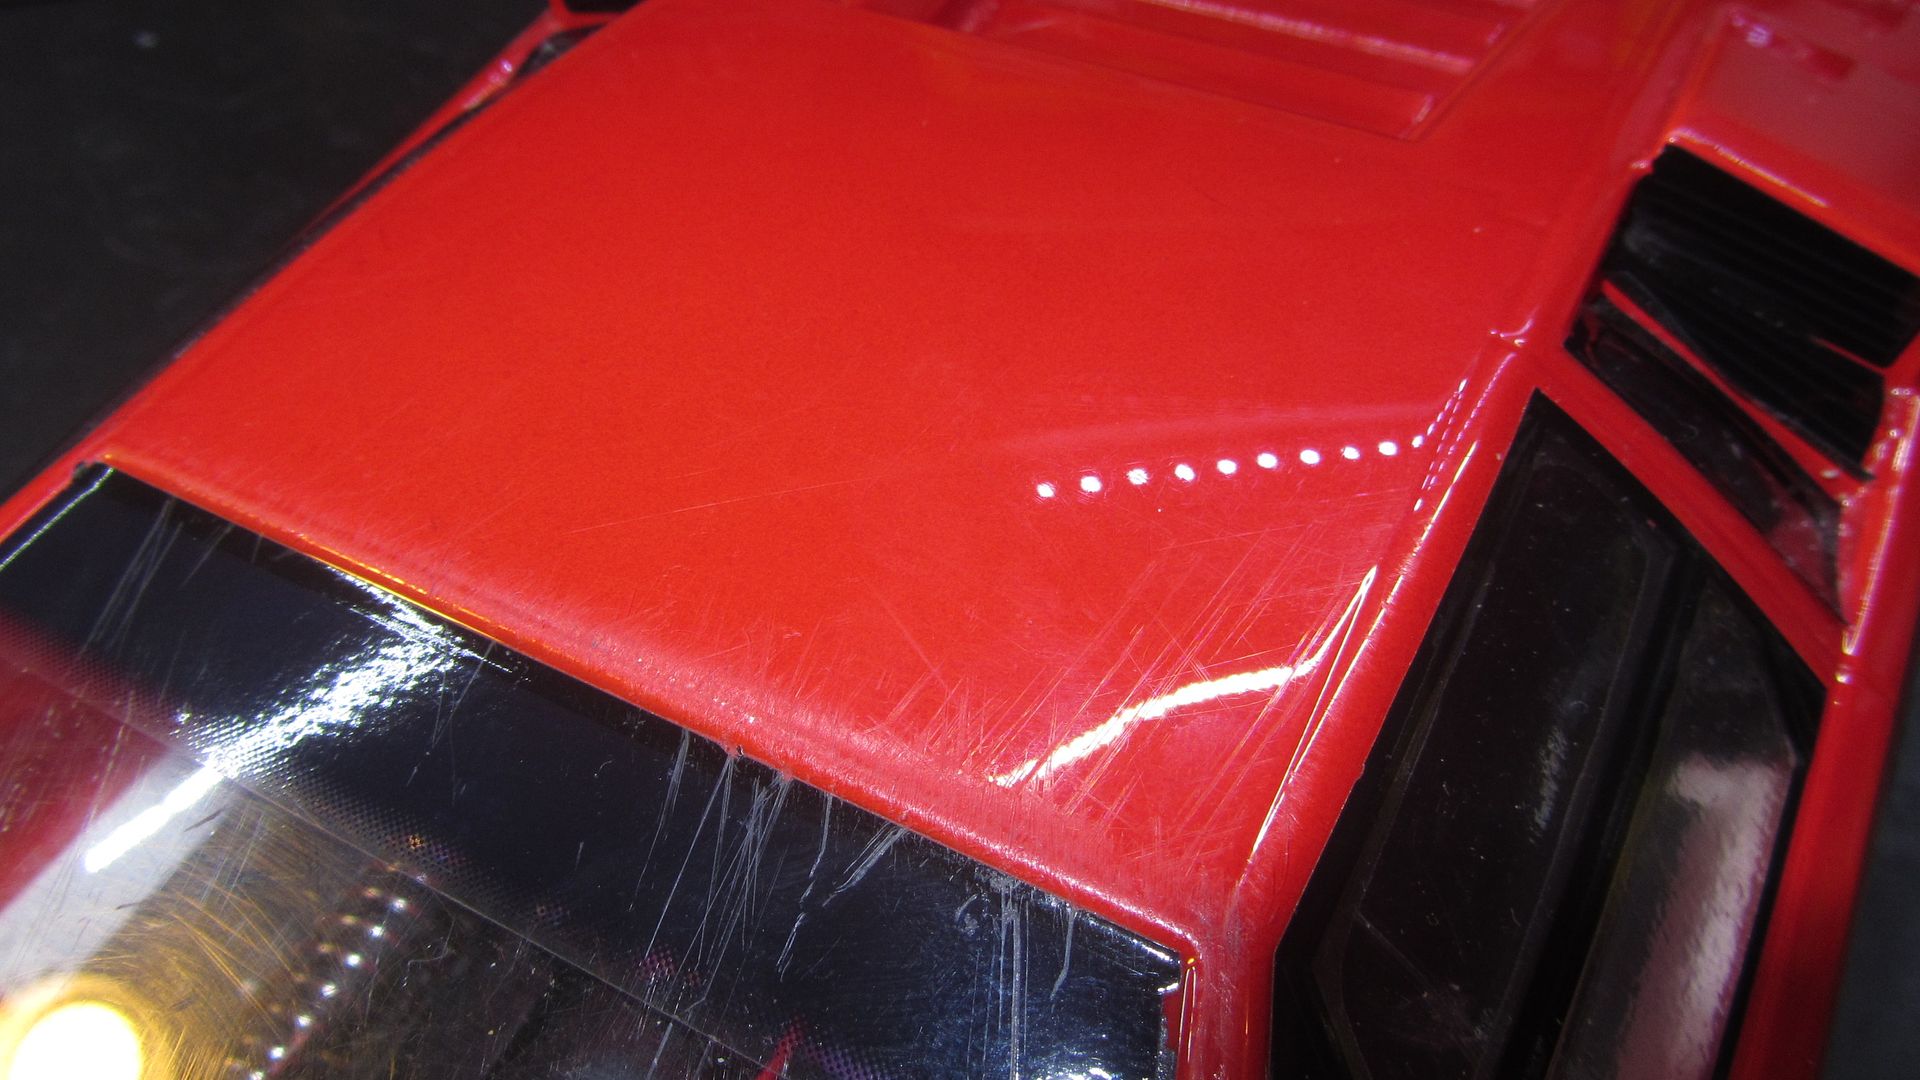
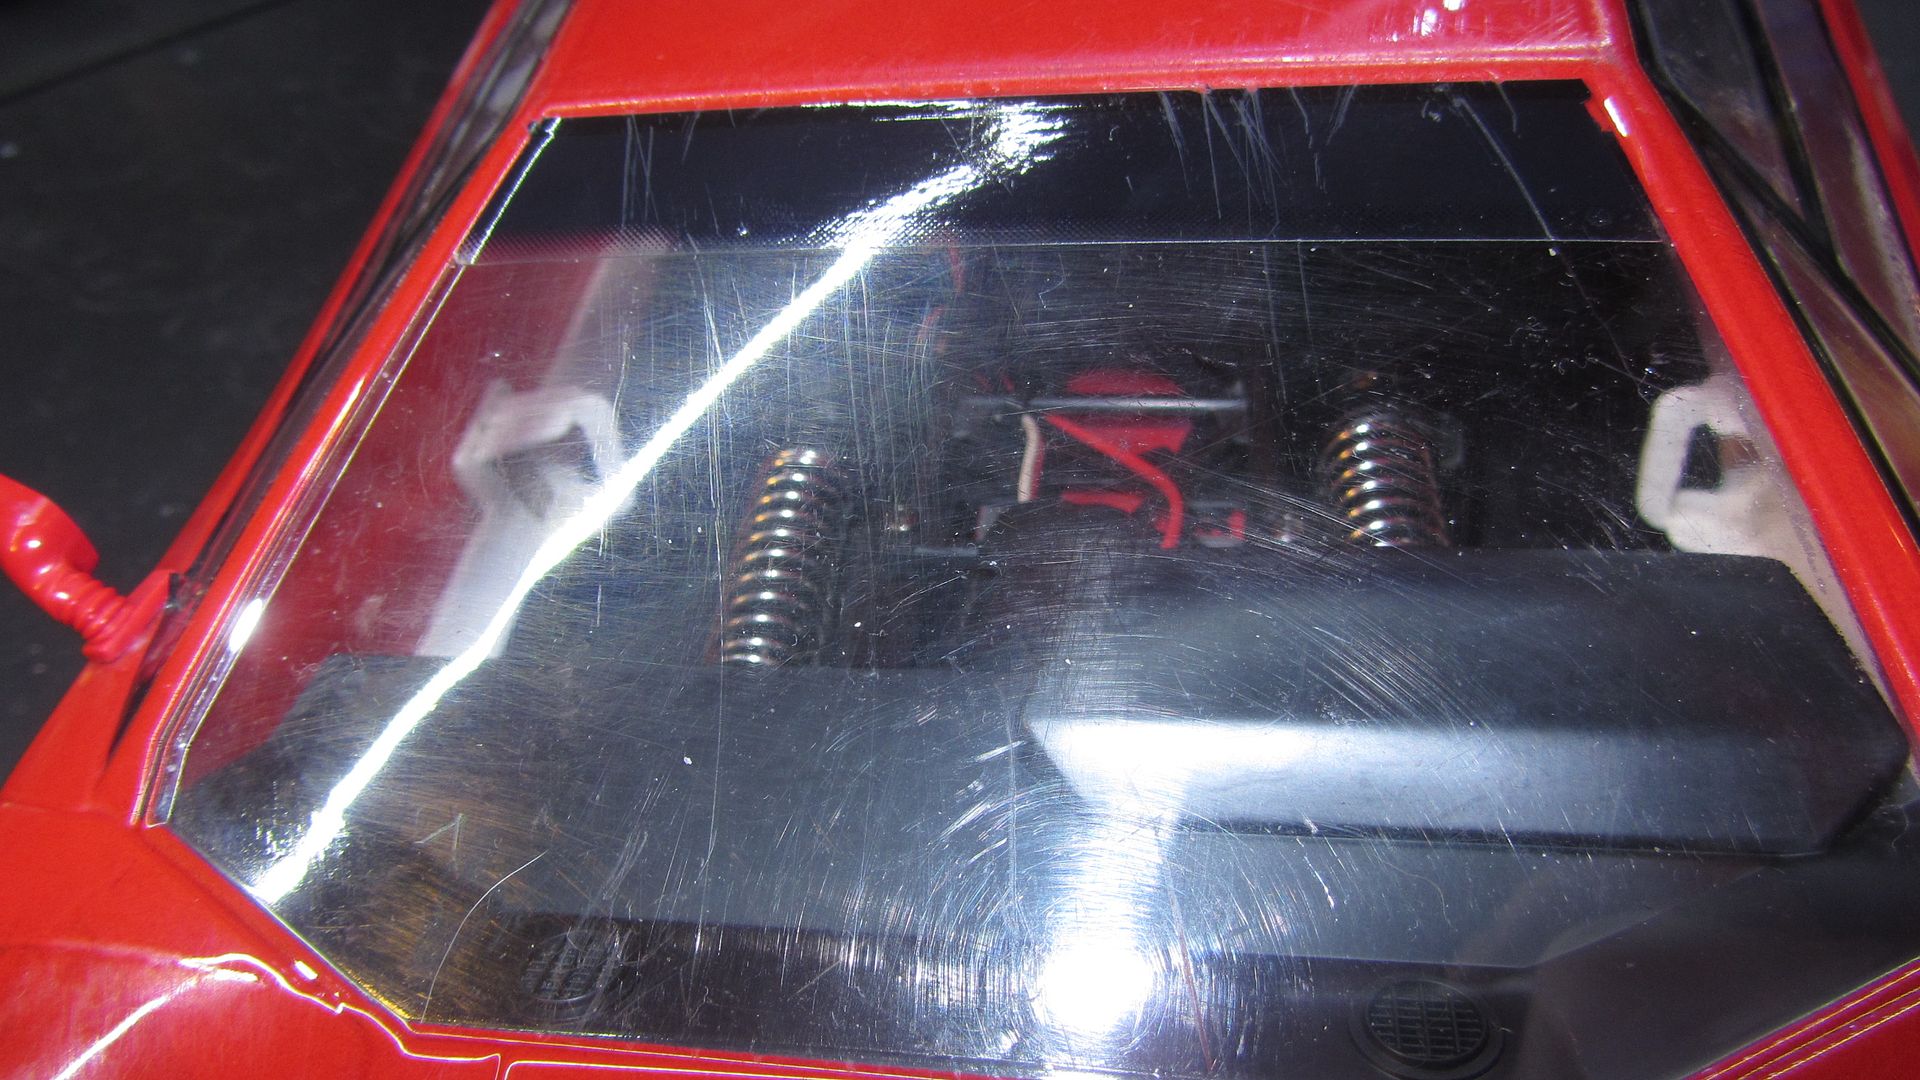
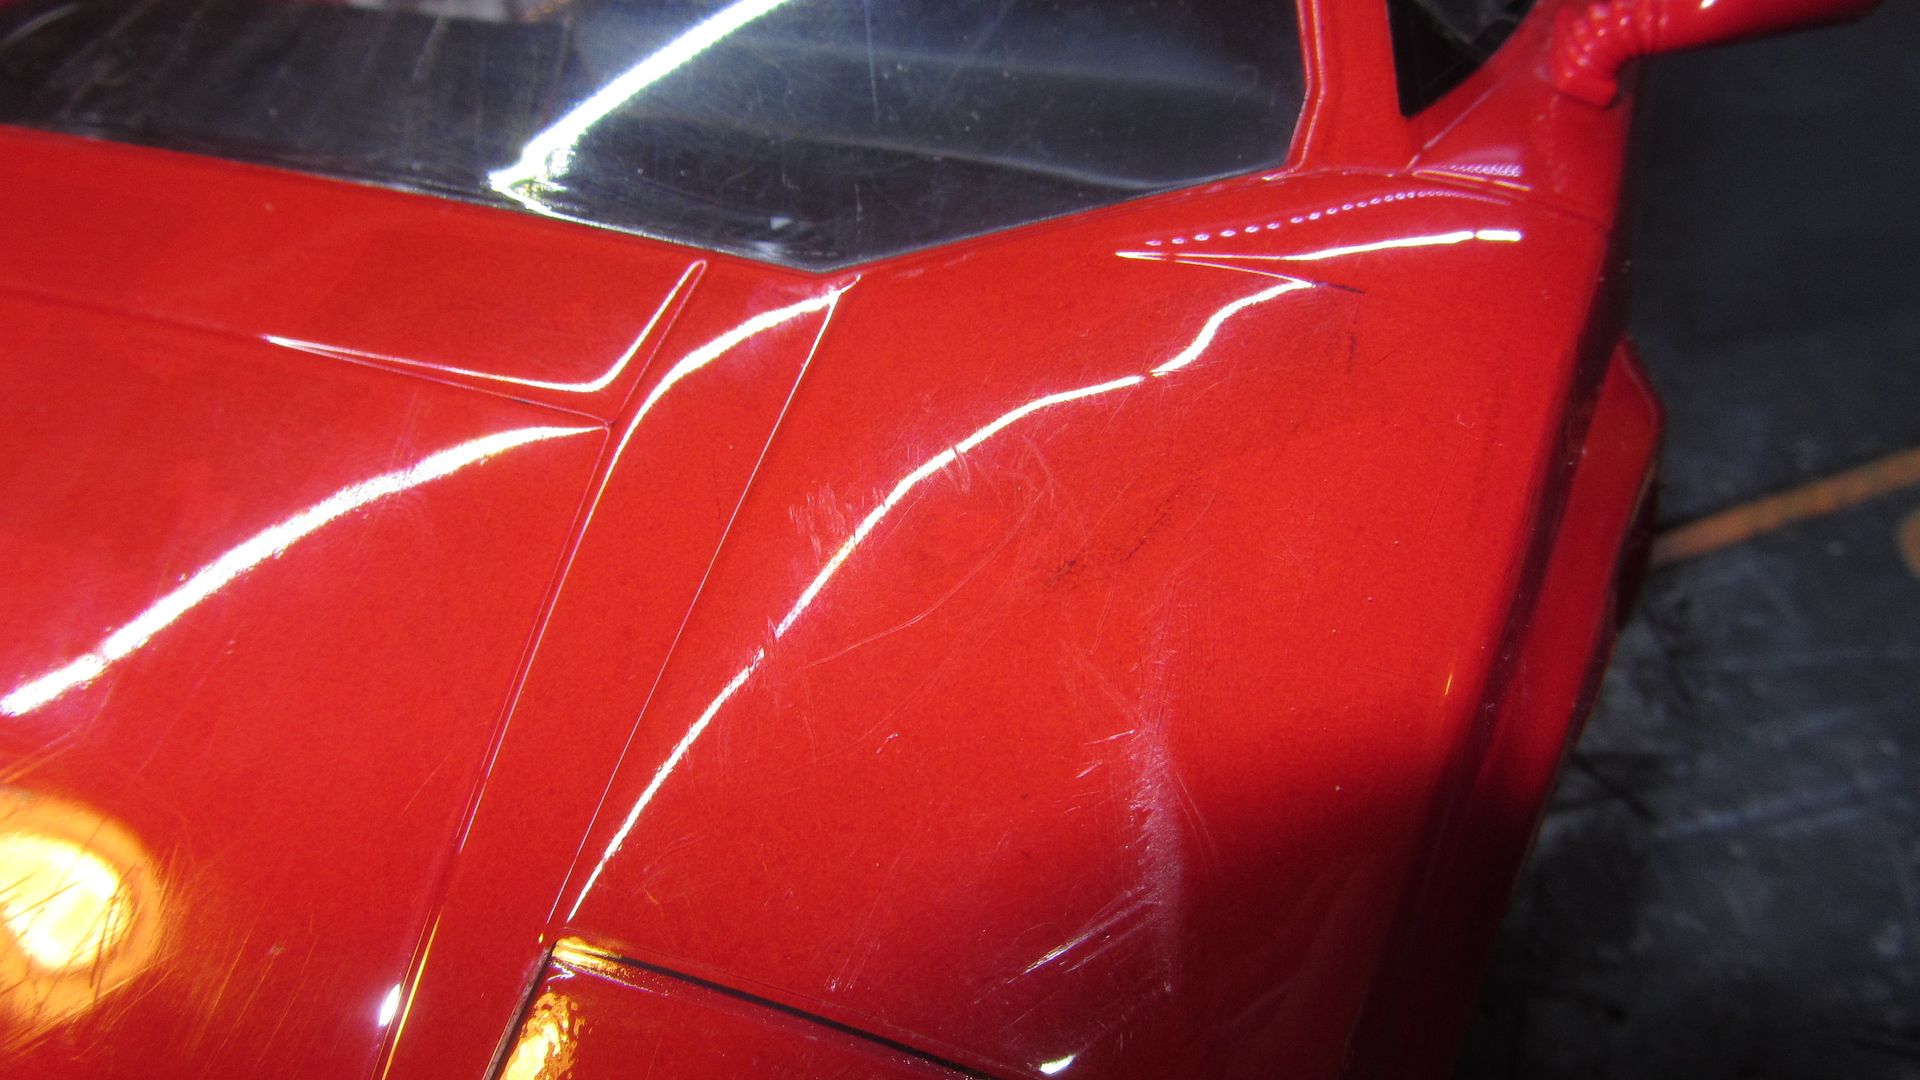
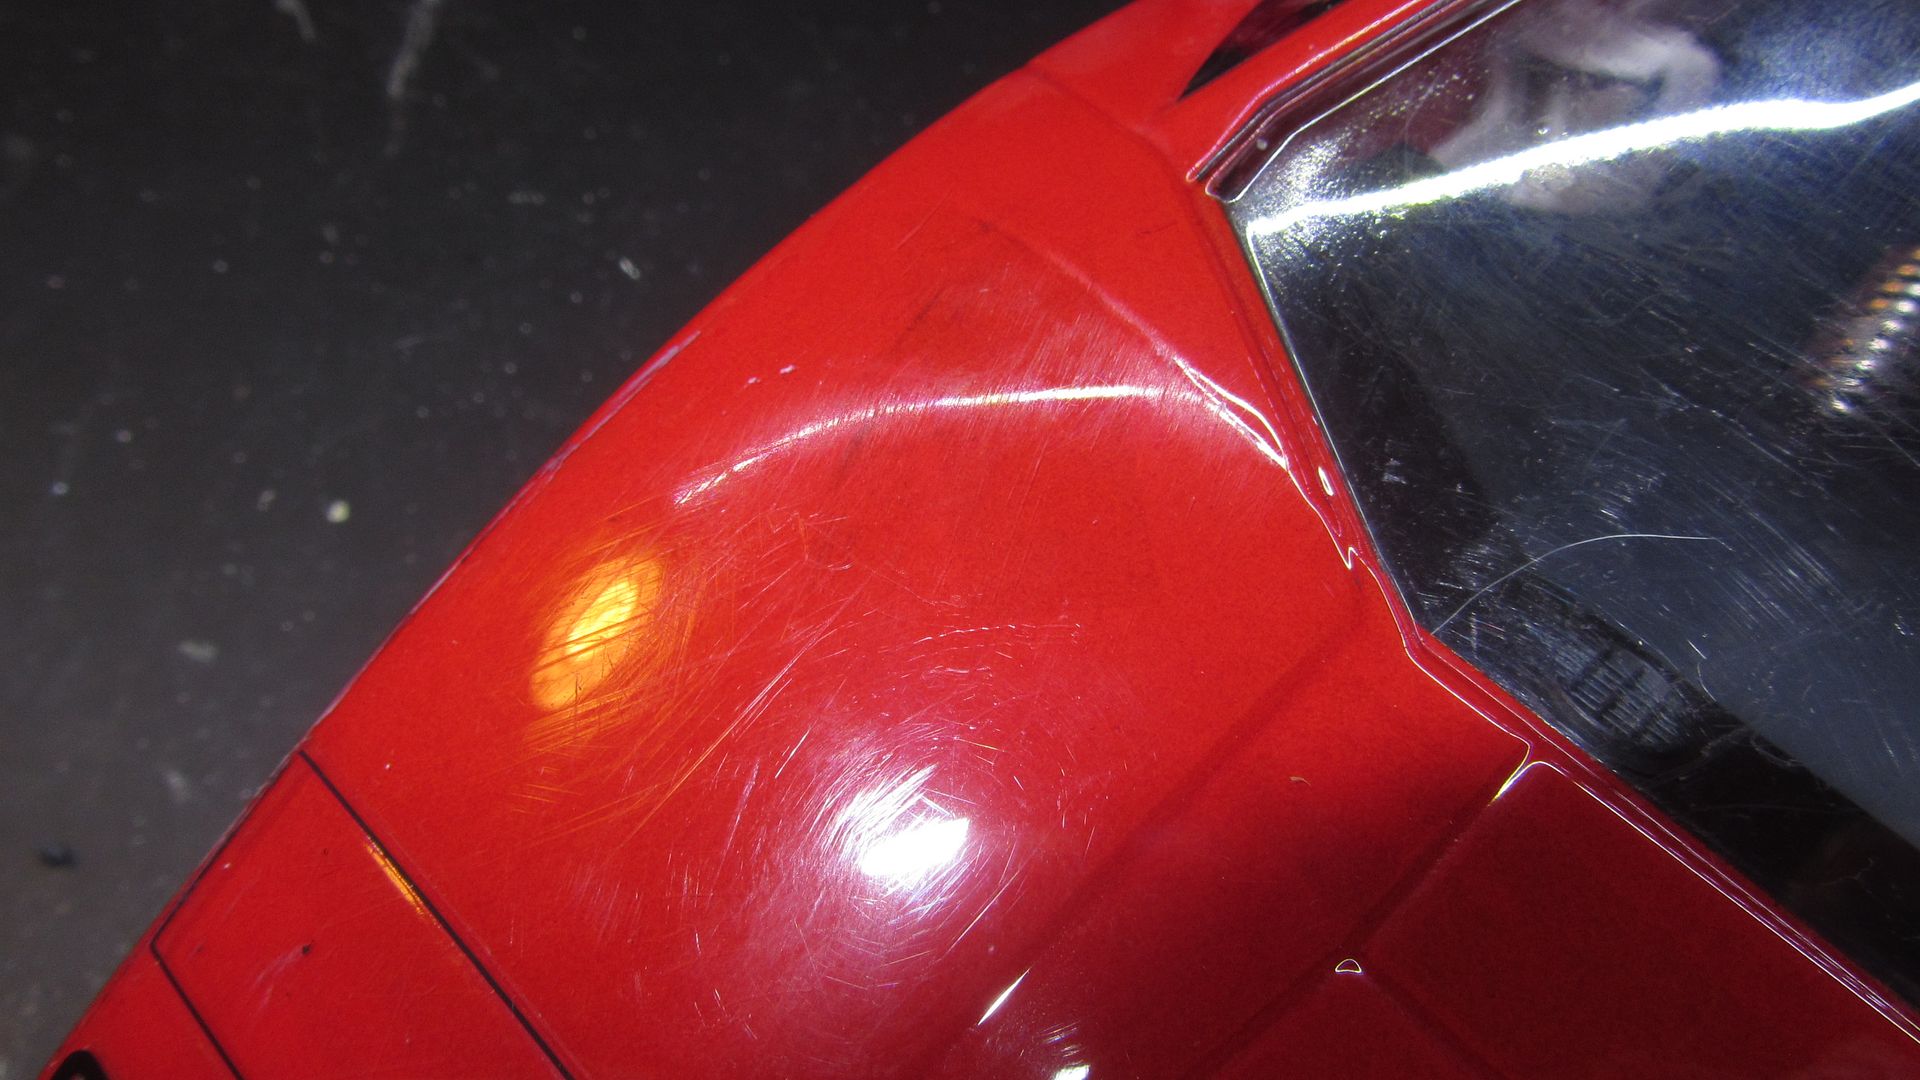
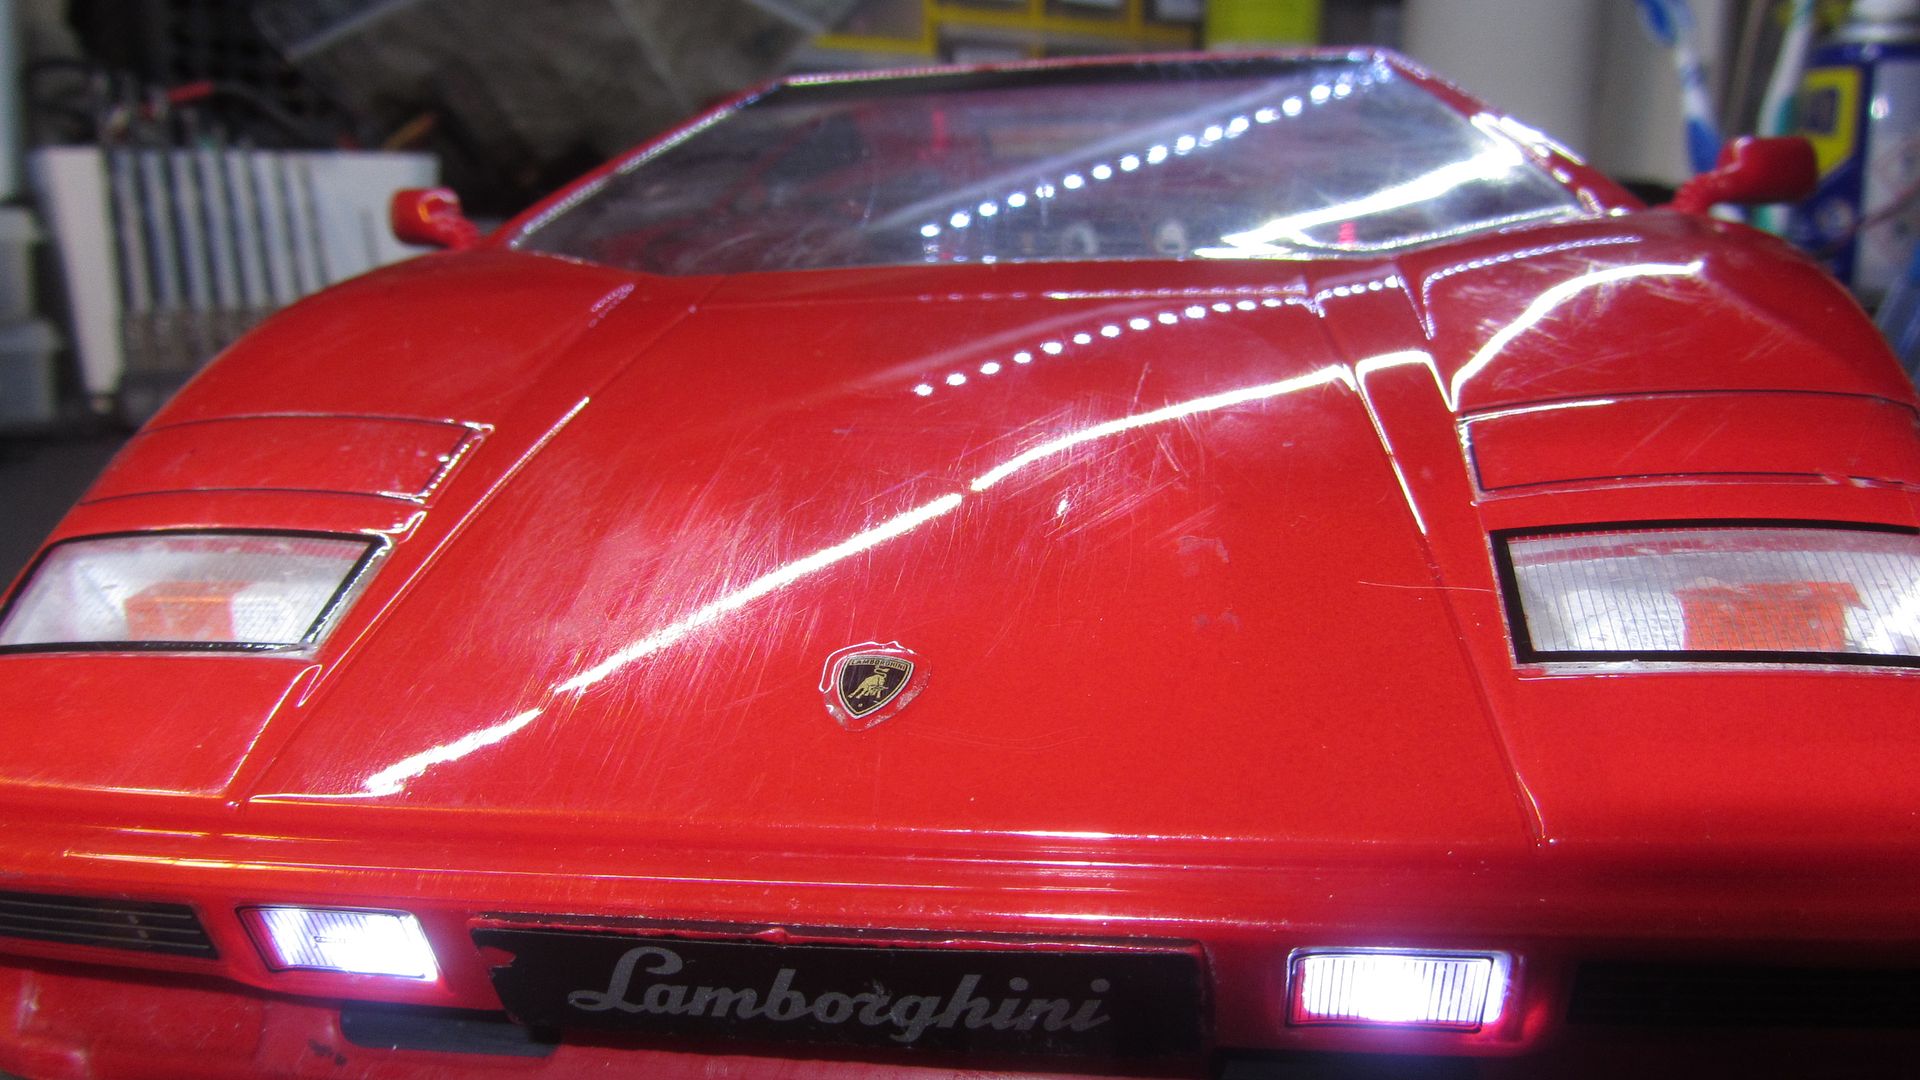
Some stickers had to be removed, as windshield frame, front spoiler blend decals and front side indicators. These was either lifting or simply fitted badly. Take a good look on the picture above. See the frame for the lights?? Fitted poorly and not painted the whole area. Was several areas I had to paint along windows as there was simply missing paint and there was a touchups done. At least the lights looks good Still waitning on parts. As usuall with my luck the parcel stopped one day before it reached my doorstep as everything closes down here for Easter. Should have it on Tuesday. So the chassis still looks a bit sorry... 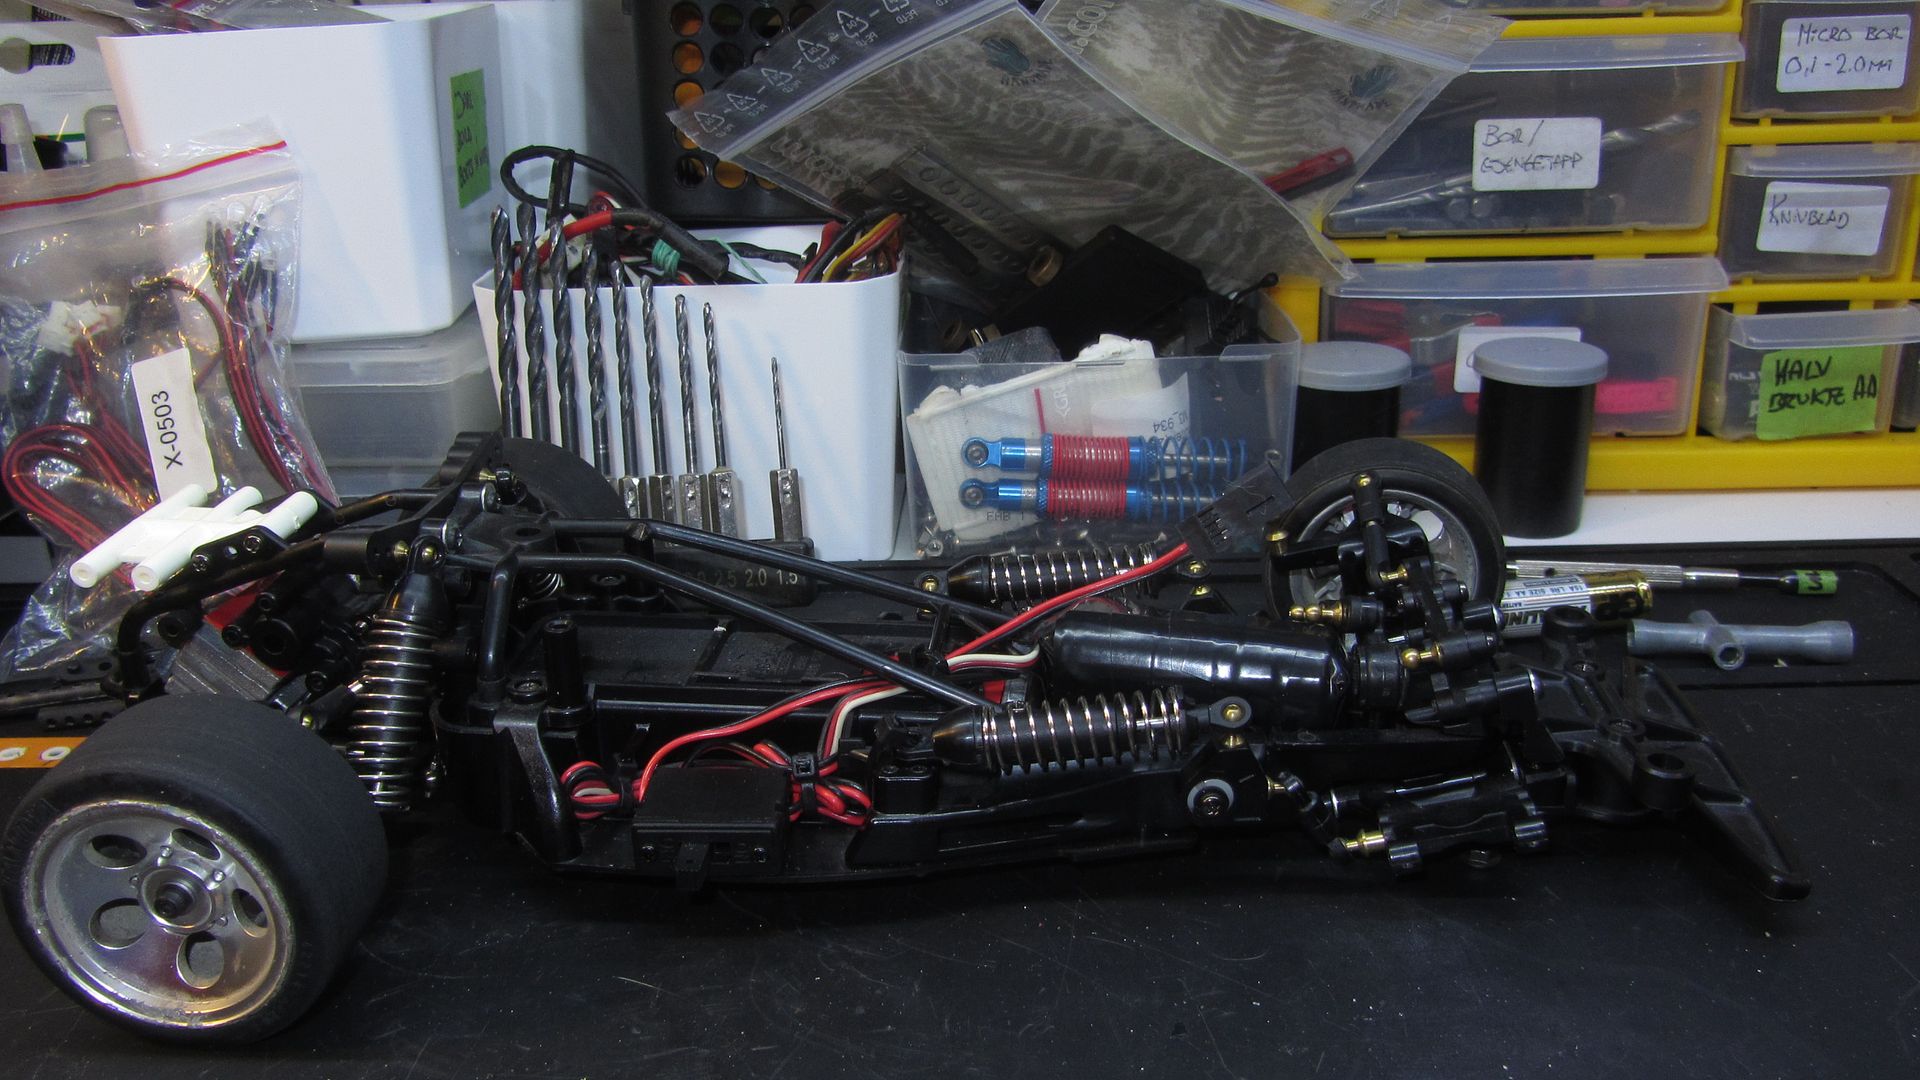
The following user(s) Liked this: Jonny Retro, stingray-63
|
|
|
Please Log in to join the conversation.
Last edit: by caprinut.
|
Richard's TamTech-Gear GT01 Lamborghini Countach - Red 4 years 1 week ago #58964
|
Nice!
|
|
Please Log in to join the conversation. |
Richard's TamTech-Gear GT01 Lamborghini Countach - Red 4 years 4 days ago #59029
|
Bugger, one move on the keyboard and I managed remove Tamiyabase in my browser address bar, and with it what I just had typed here.
Oh well... Finally my package from Tamico was ready for pickup from my post office It had been delayed because of the easter (everything has been closed) and the tracking had stopped after it left Oslo on the 7th. First time ordering from Tamico, and it was well packed and turned out cheaper in total than I thought it would be 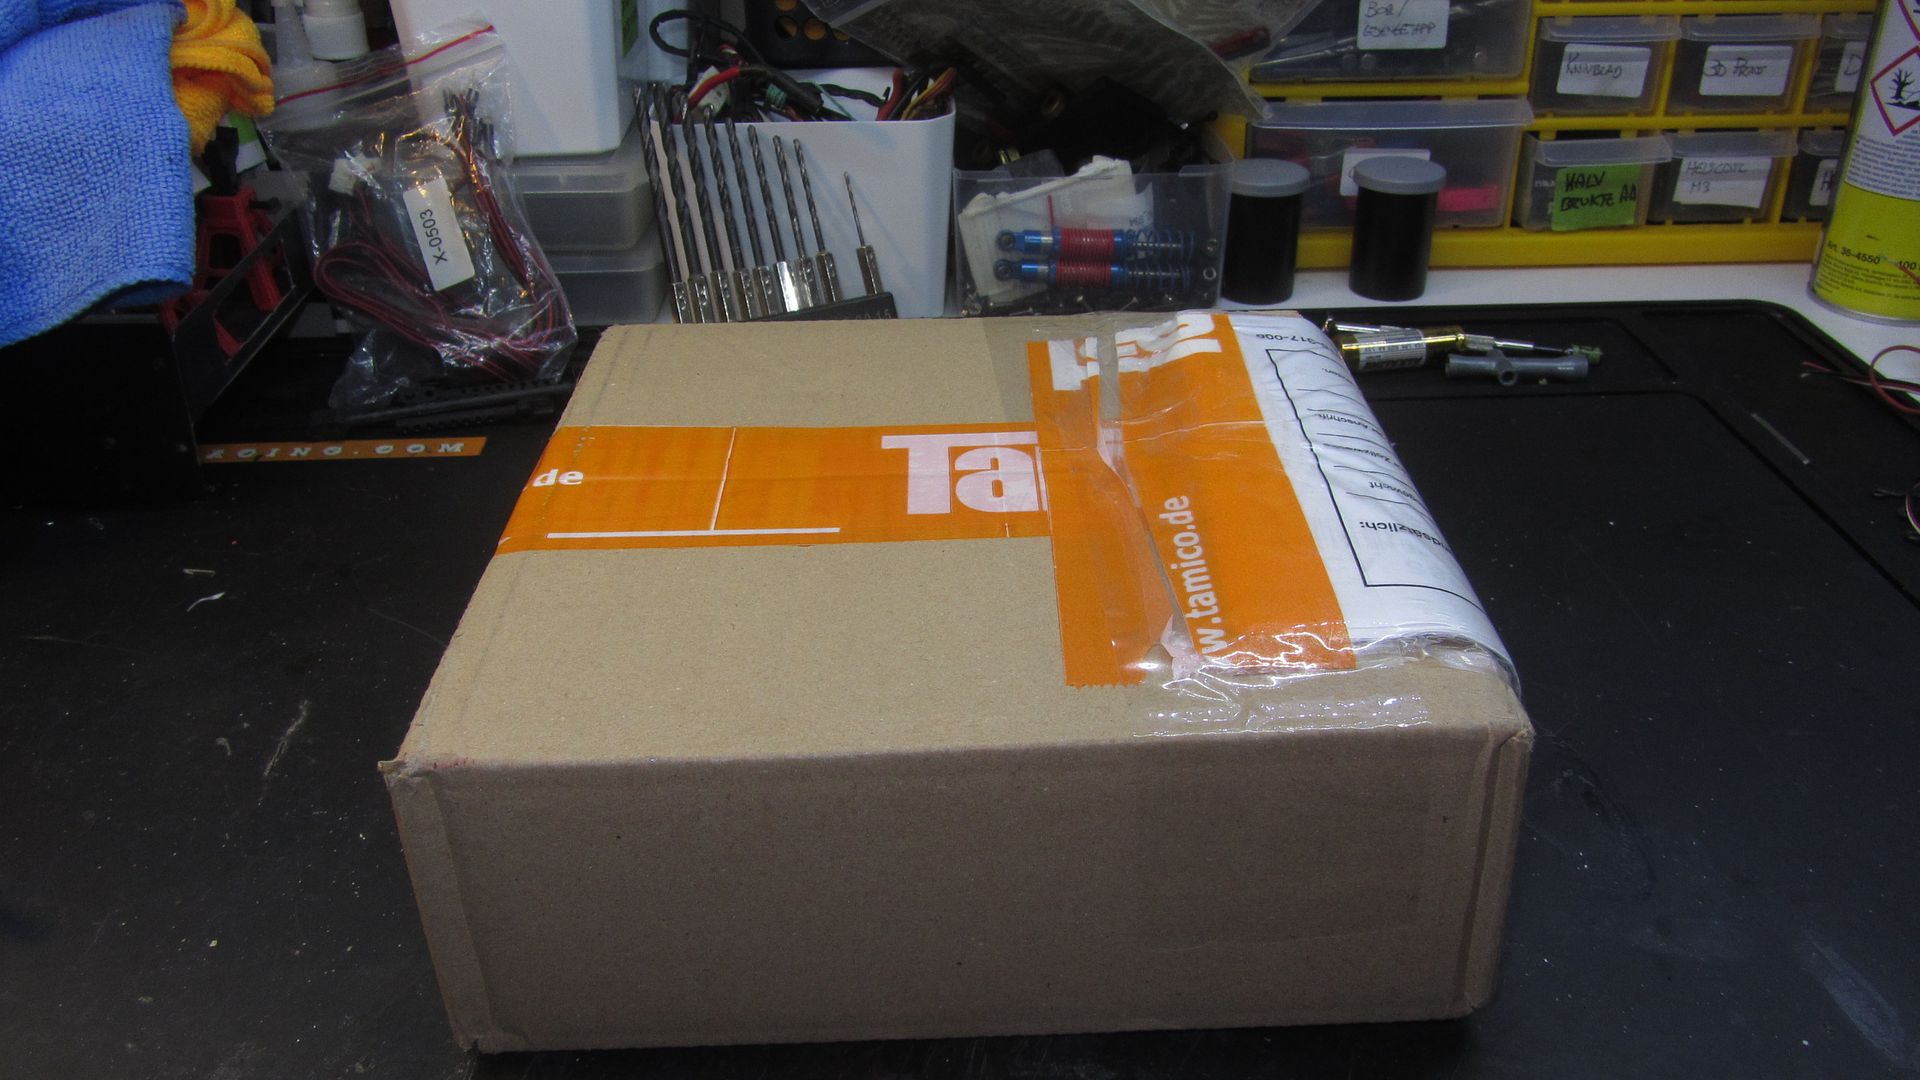
Most of the stuff was for this rebuild 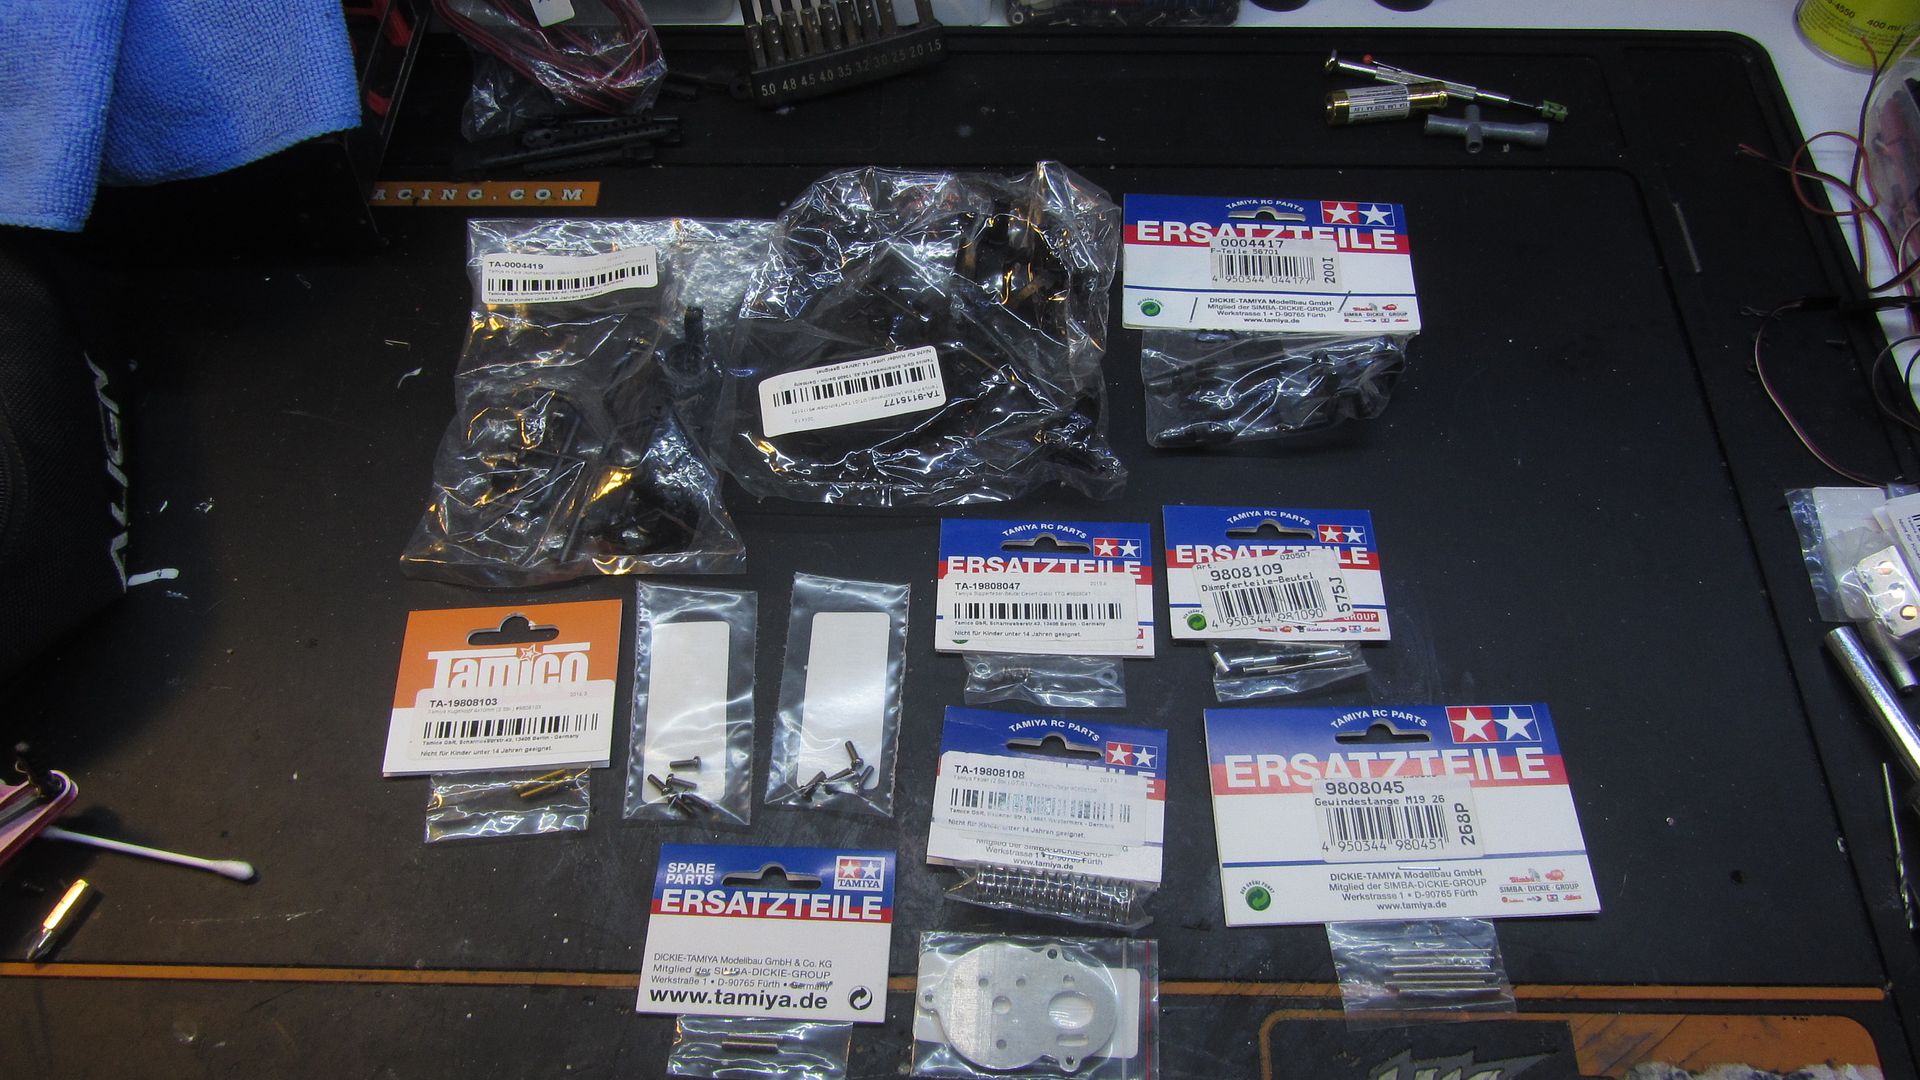
The other bits being resistor plates and cover for my Fox resto. 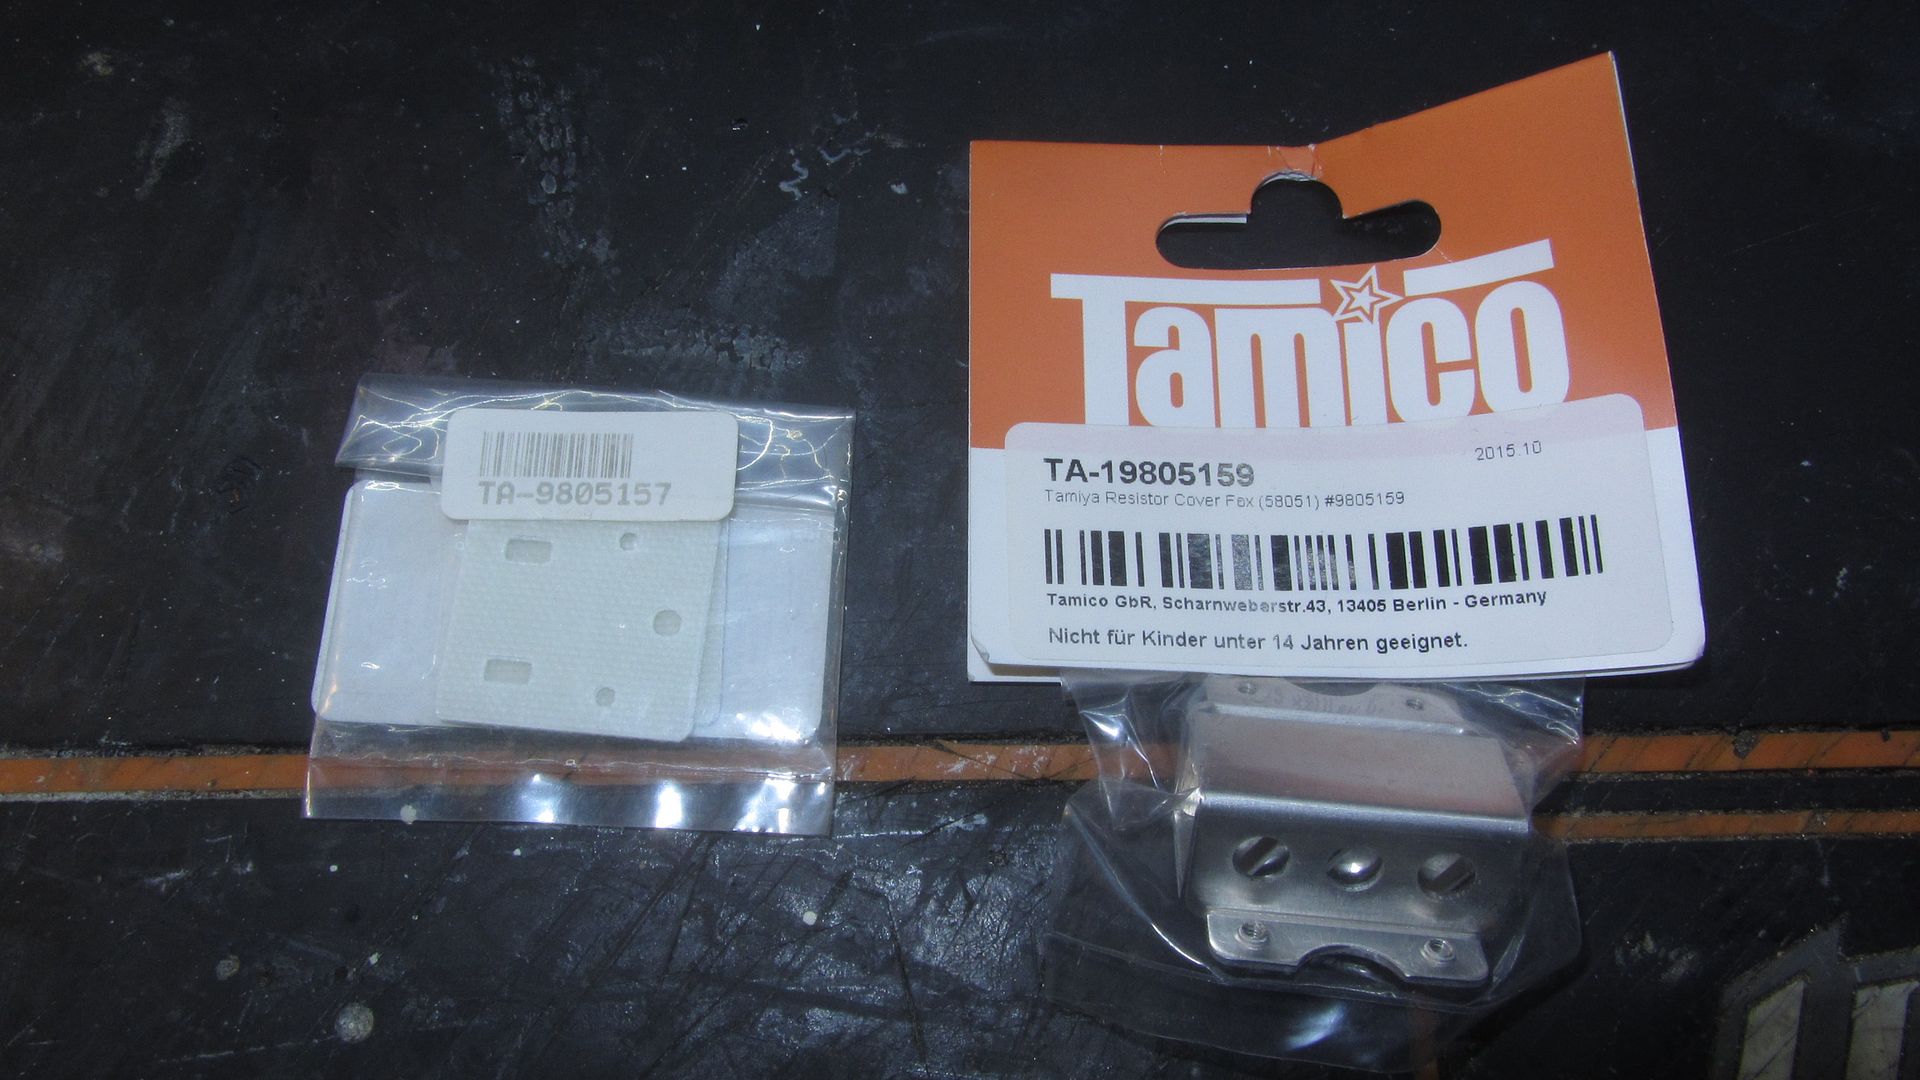
Usually I don't mind the cross heads screws on Tamiya kits, but the TamTech-Gear series use M2.6 ones, don't sound like much difference than the "normal" 3mm ones, but these screws seems to be made out of cheese, and add the former owner has used the wrong type of screwdriver, most of them is worn and may or may not come out ok. Because of this i want to change these to allen bolts, I prefer the button type, but these seems hard to come by or cost way too much in regarding how many you get in a package. Turns out HPI makes 2.6 cap head bolts, so I popped over to my LHS and bought some. I will mainly get it complete first and then replace the remaining screws. 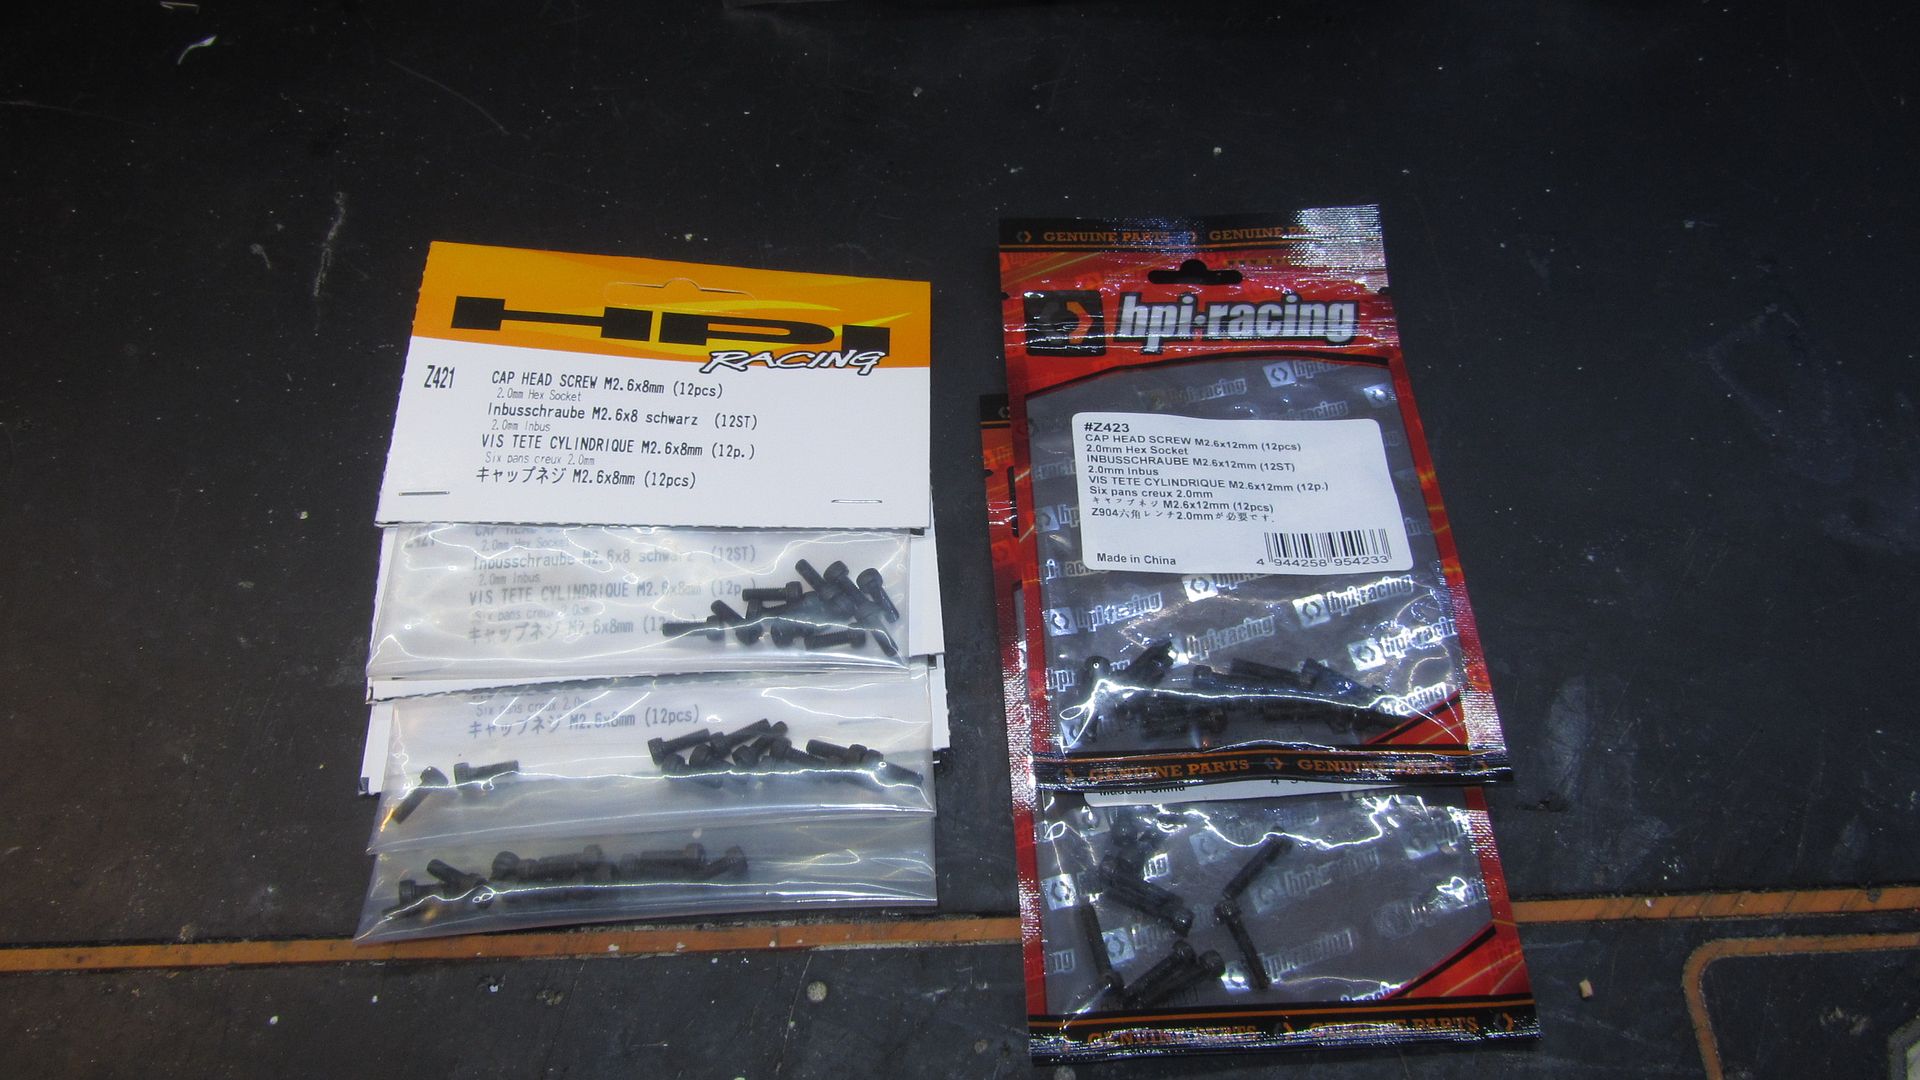
Had no intension to do anything today since I had a bit fatigue, but one thing led to another..... First I found the ball end for the missing one on the chassis side for the damper. 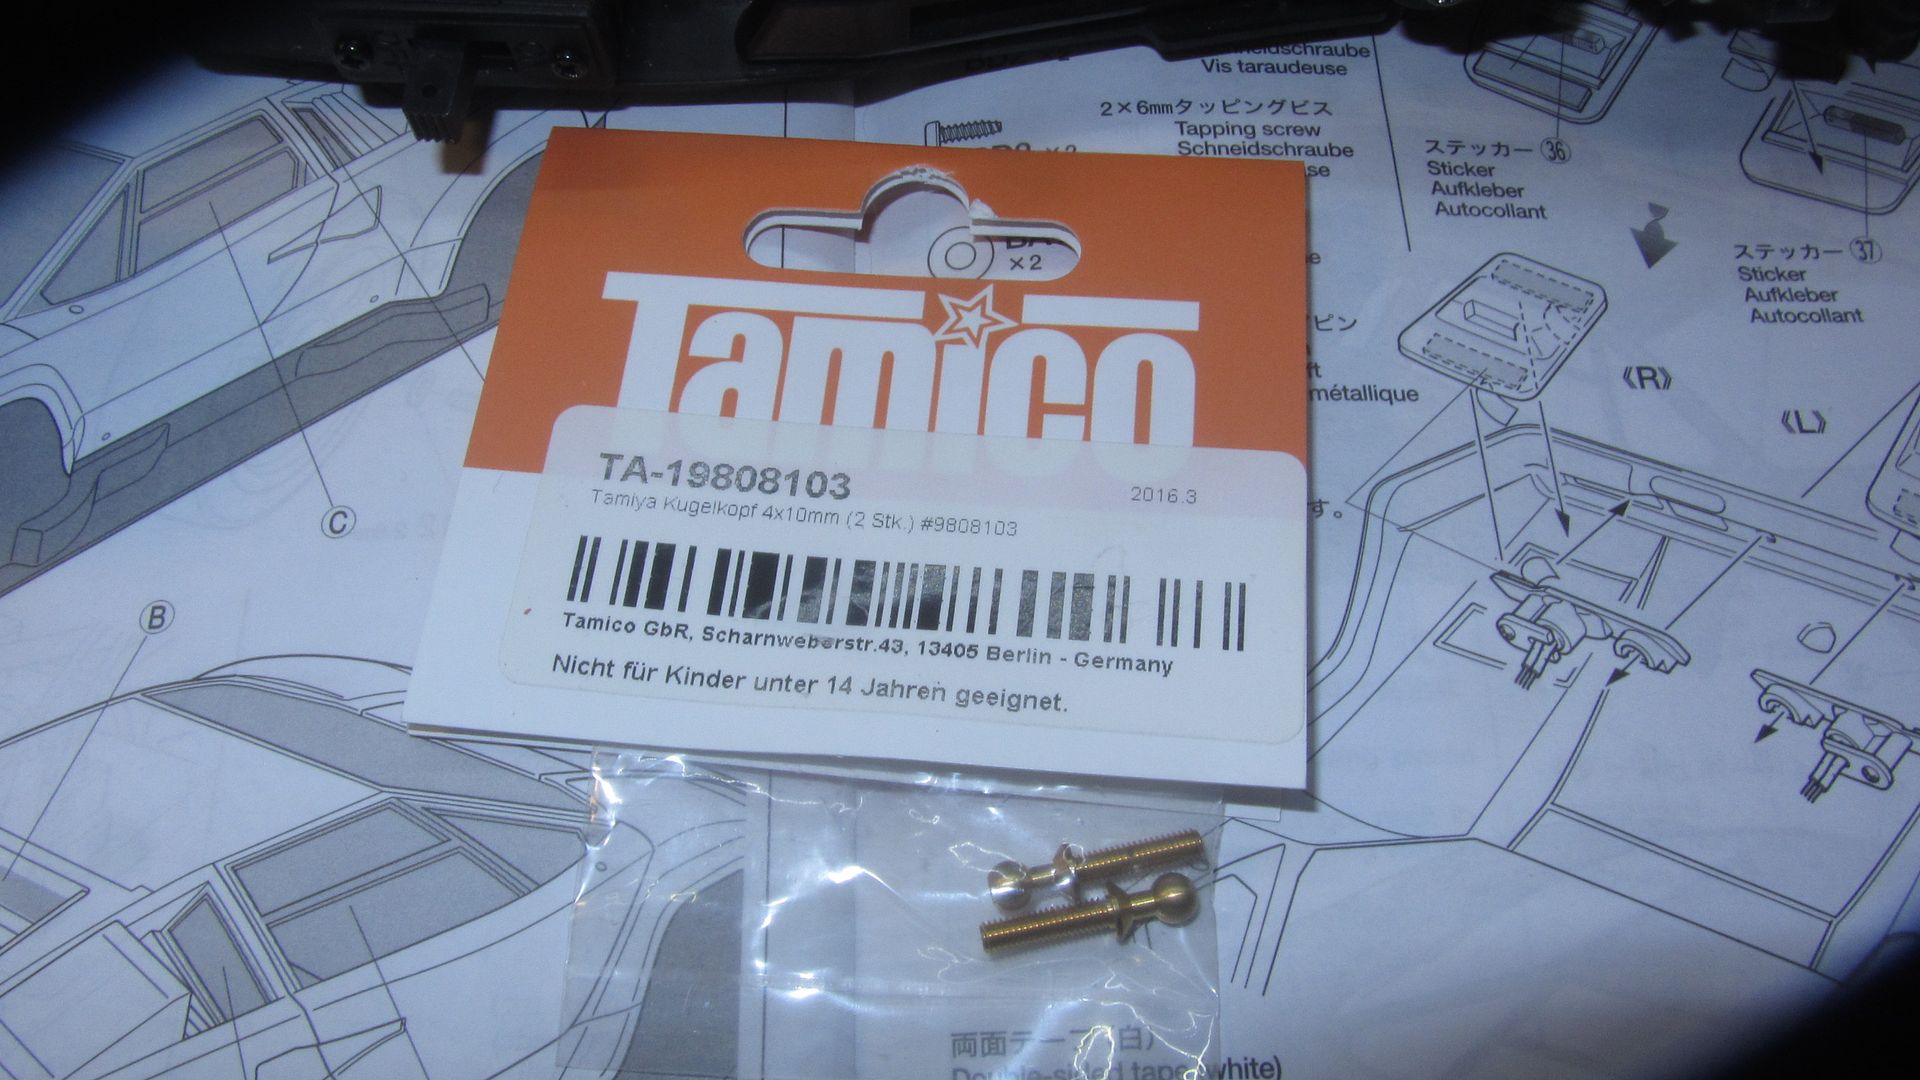
Fitted 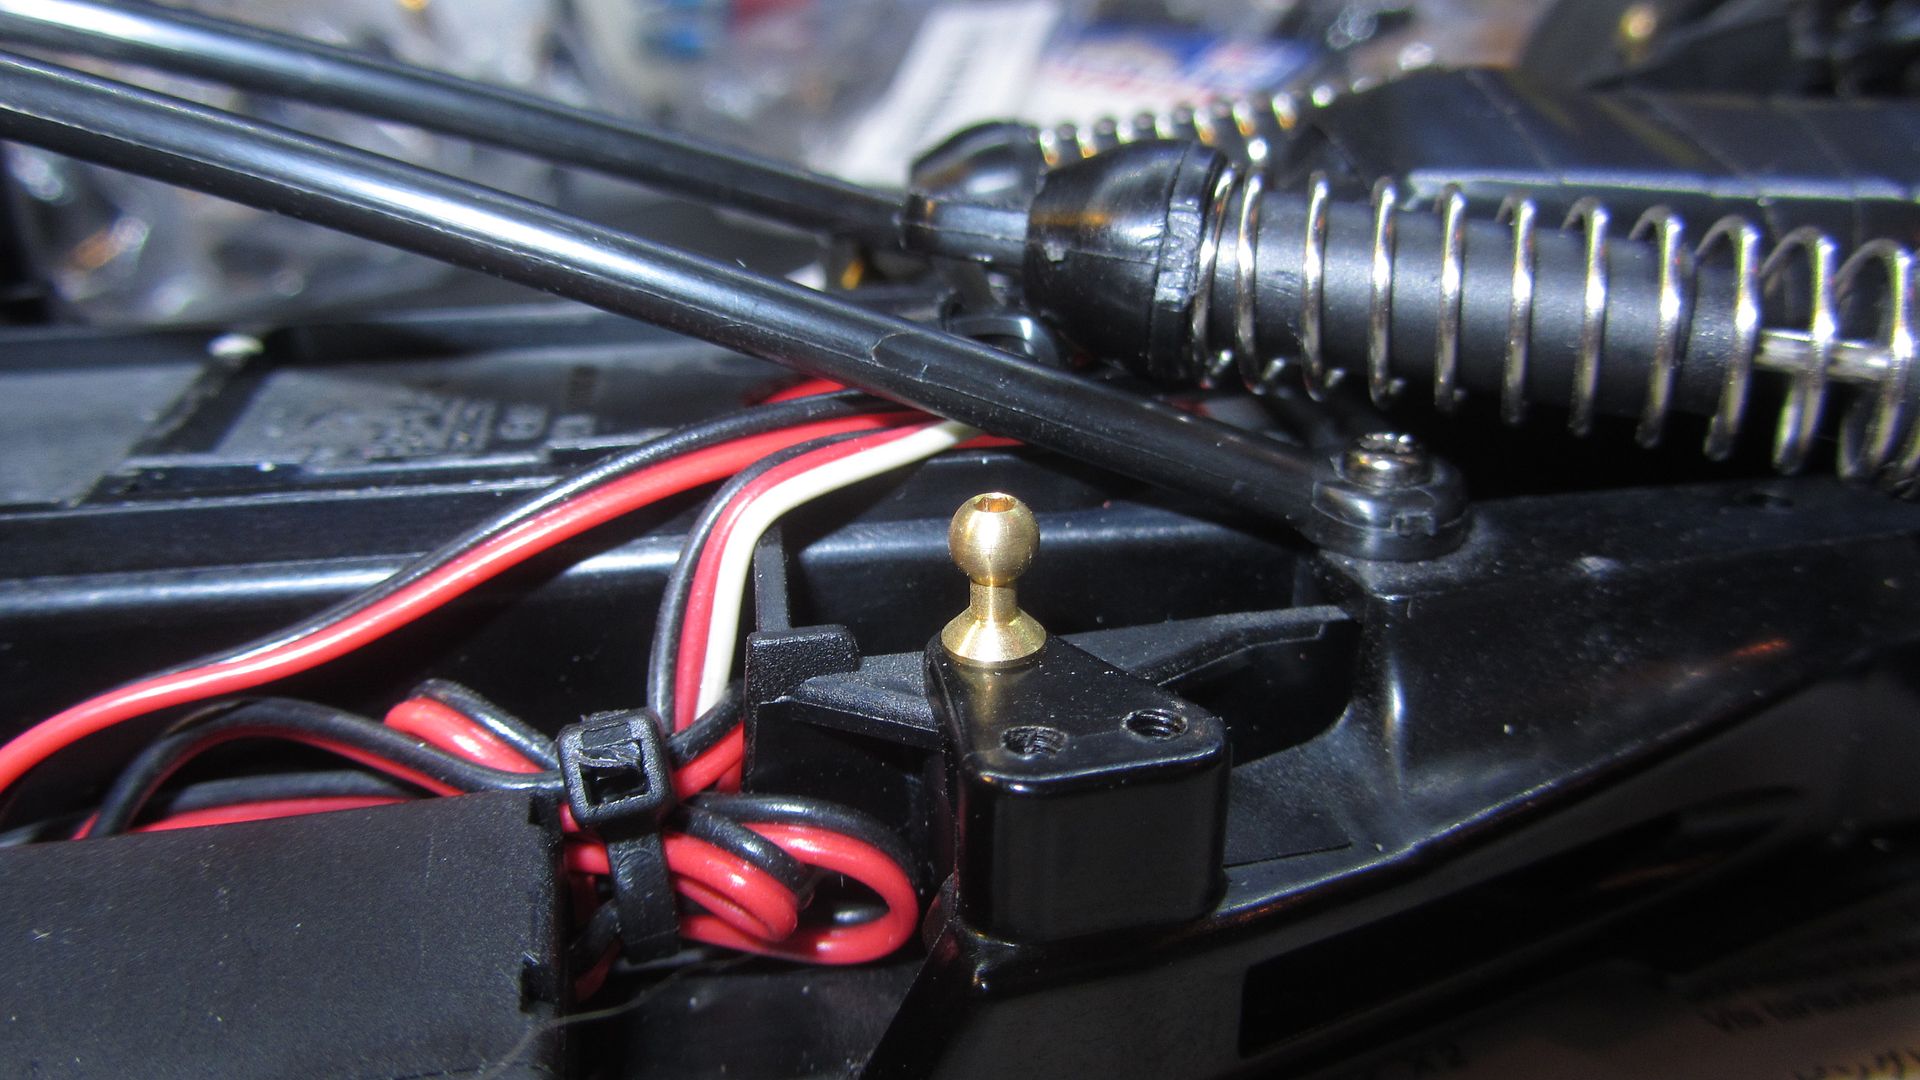
Then I built the missing right side suspension that started it all... Found out I still miss some minor bits, but think my LHS has most of the sizes needed. 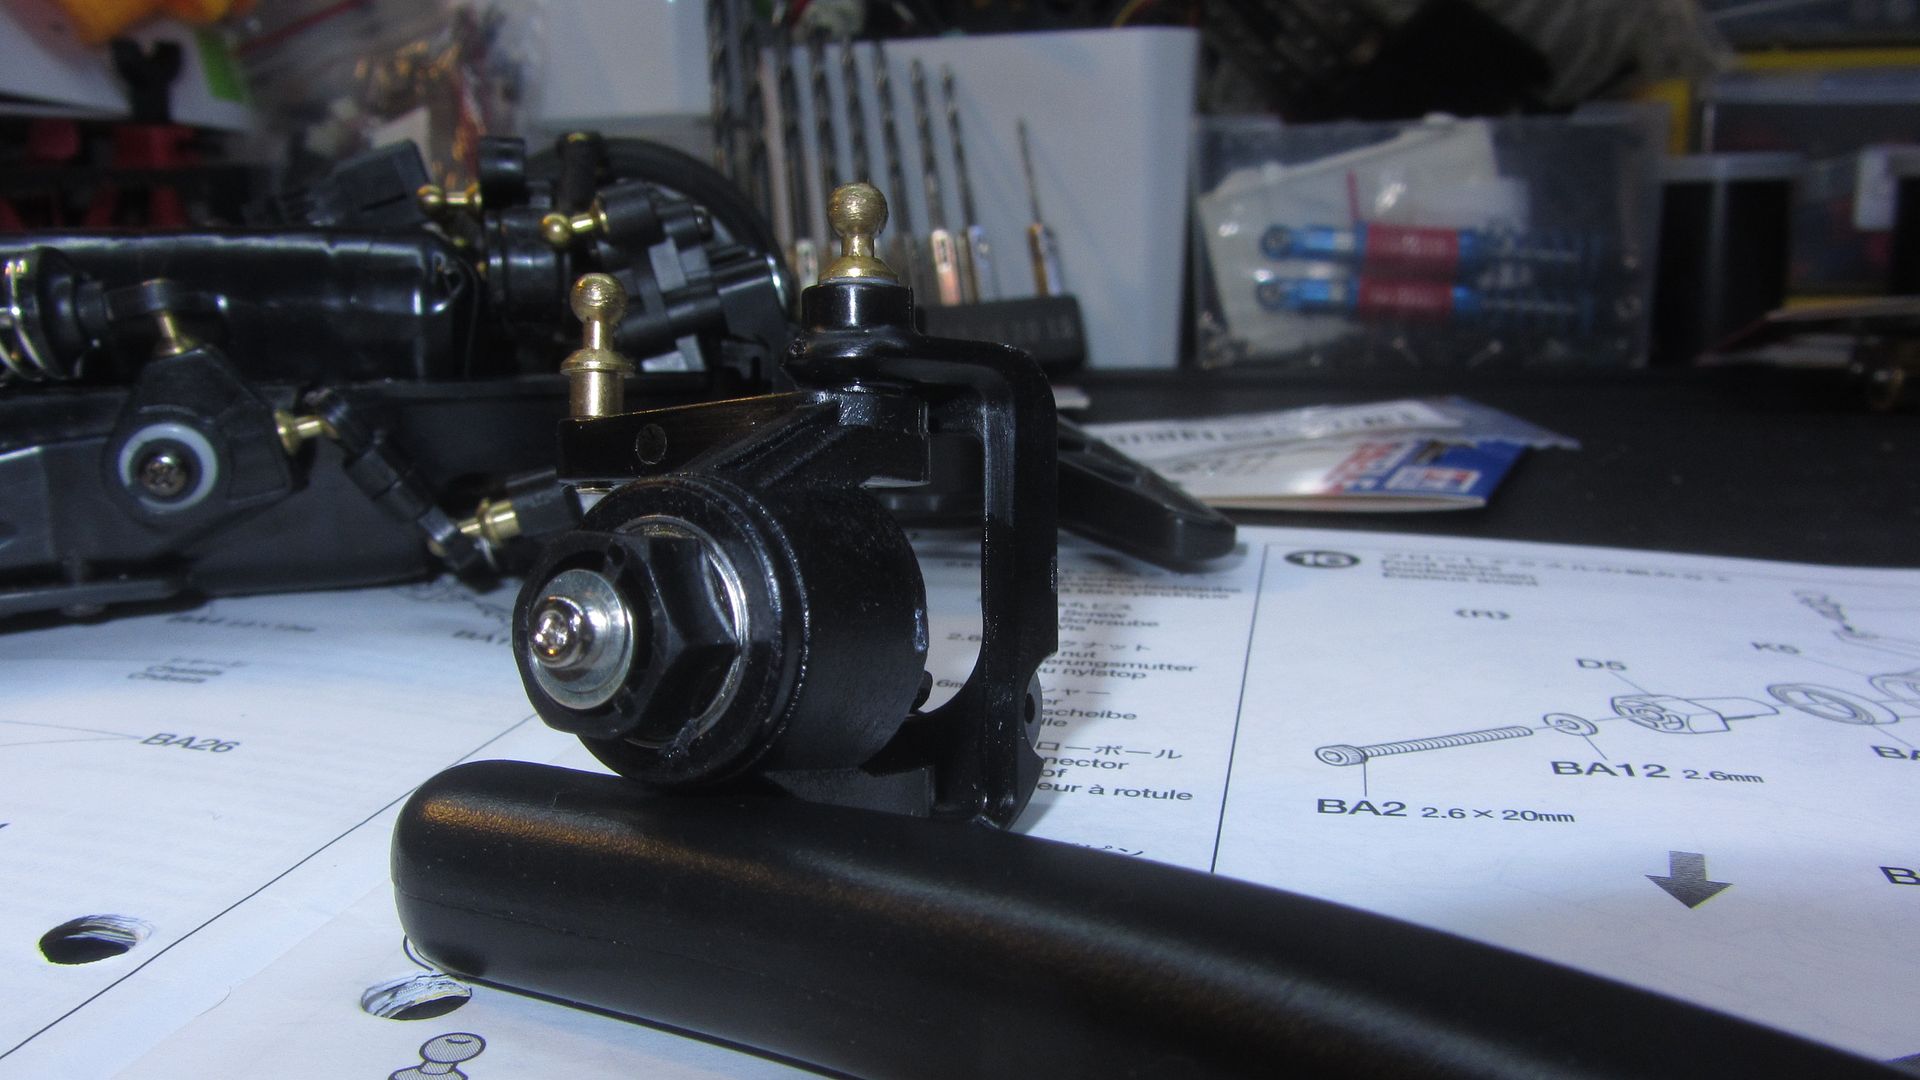
Built the camber rods and fitted the suspension, voila! 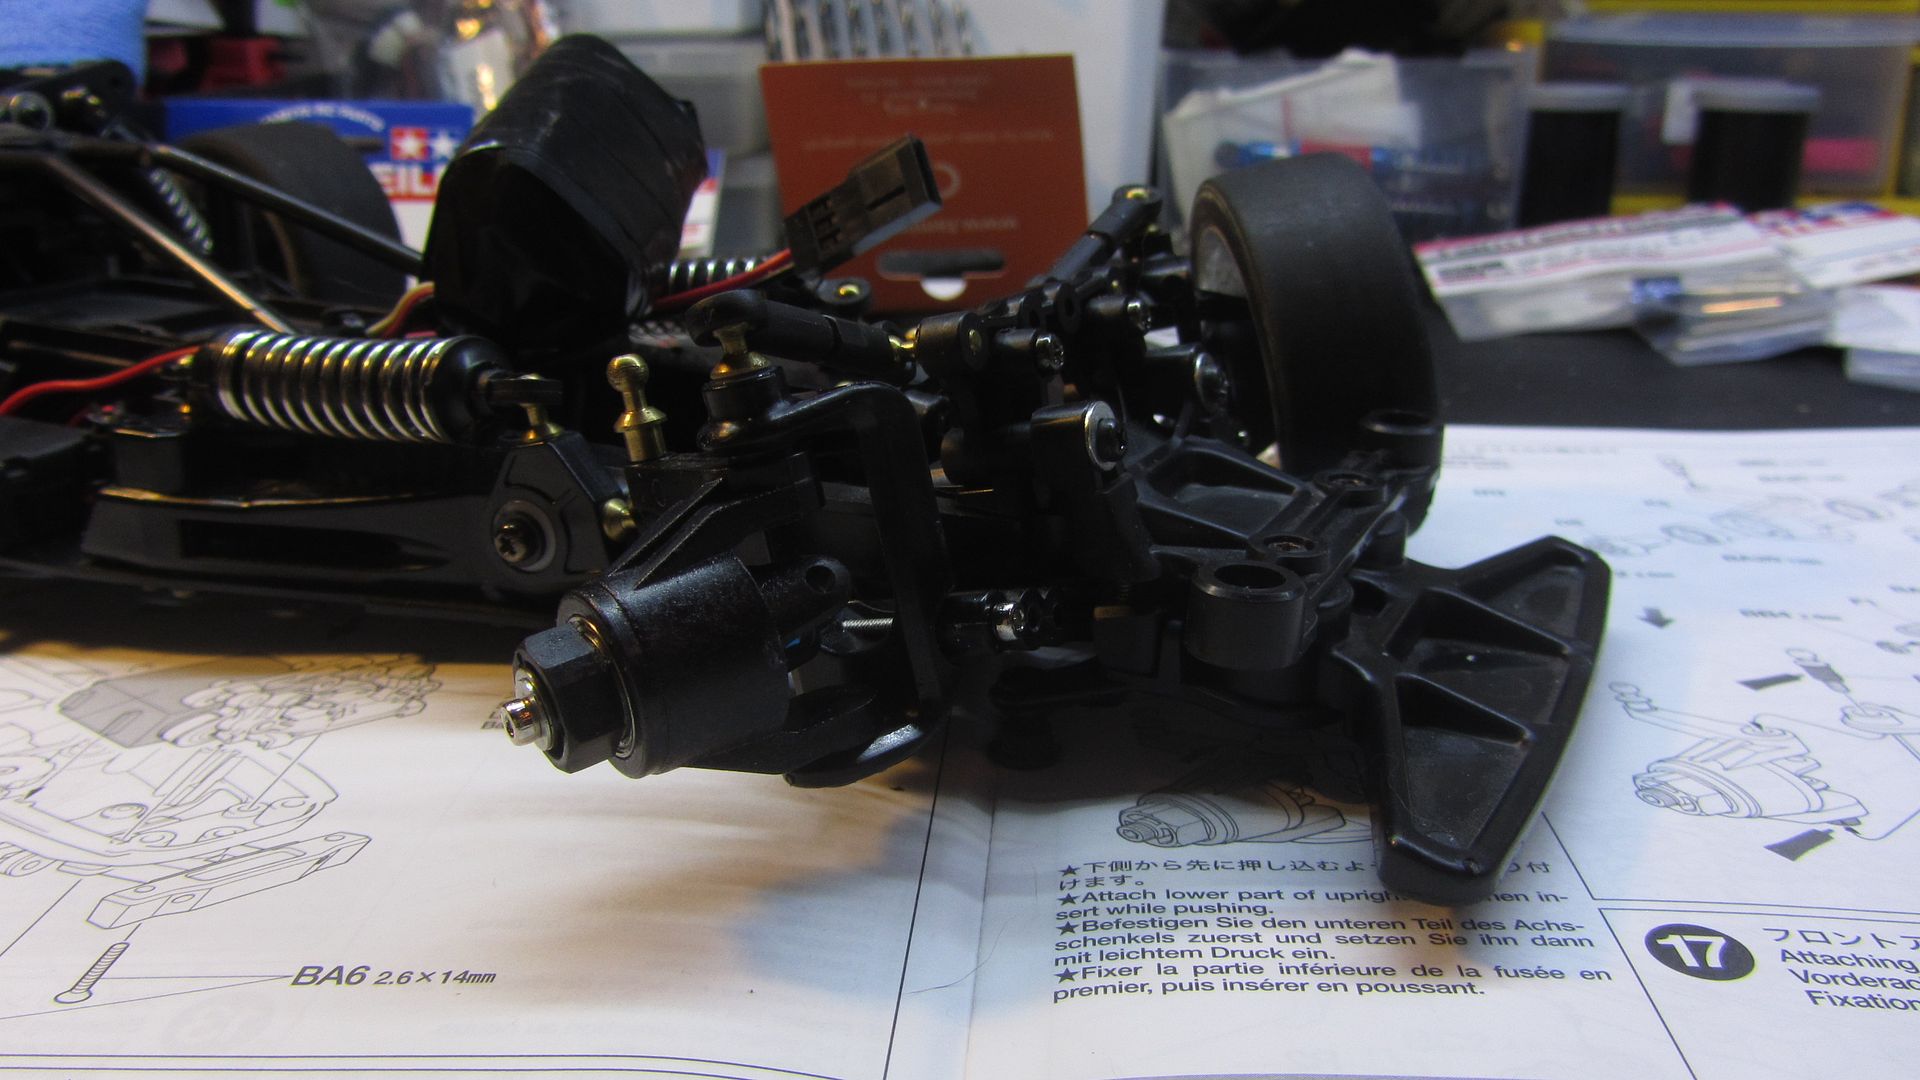
And for the first time in my ownership it now sits on all wheels. Also made a tie bar since this is a shelfer, so the front wheels is not flapping about. 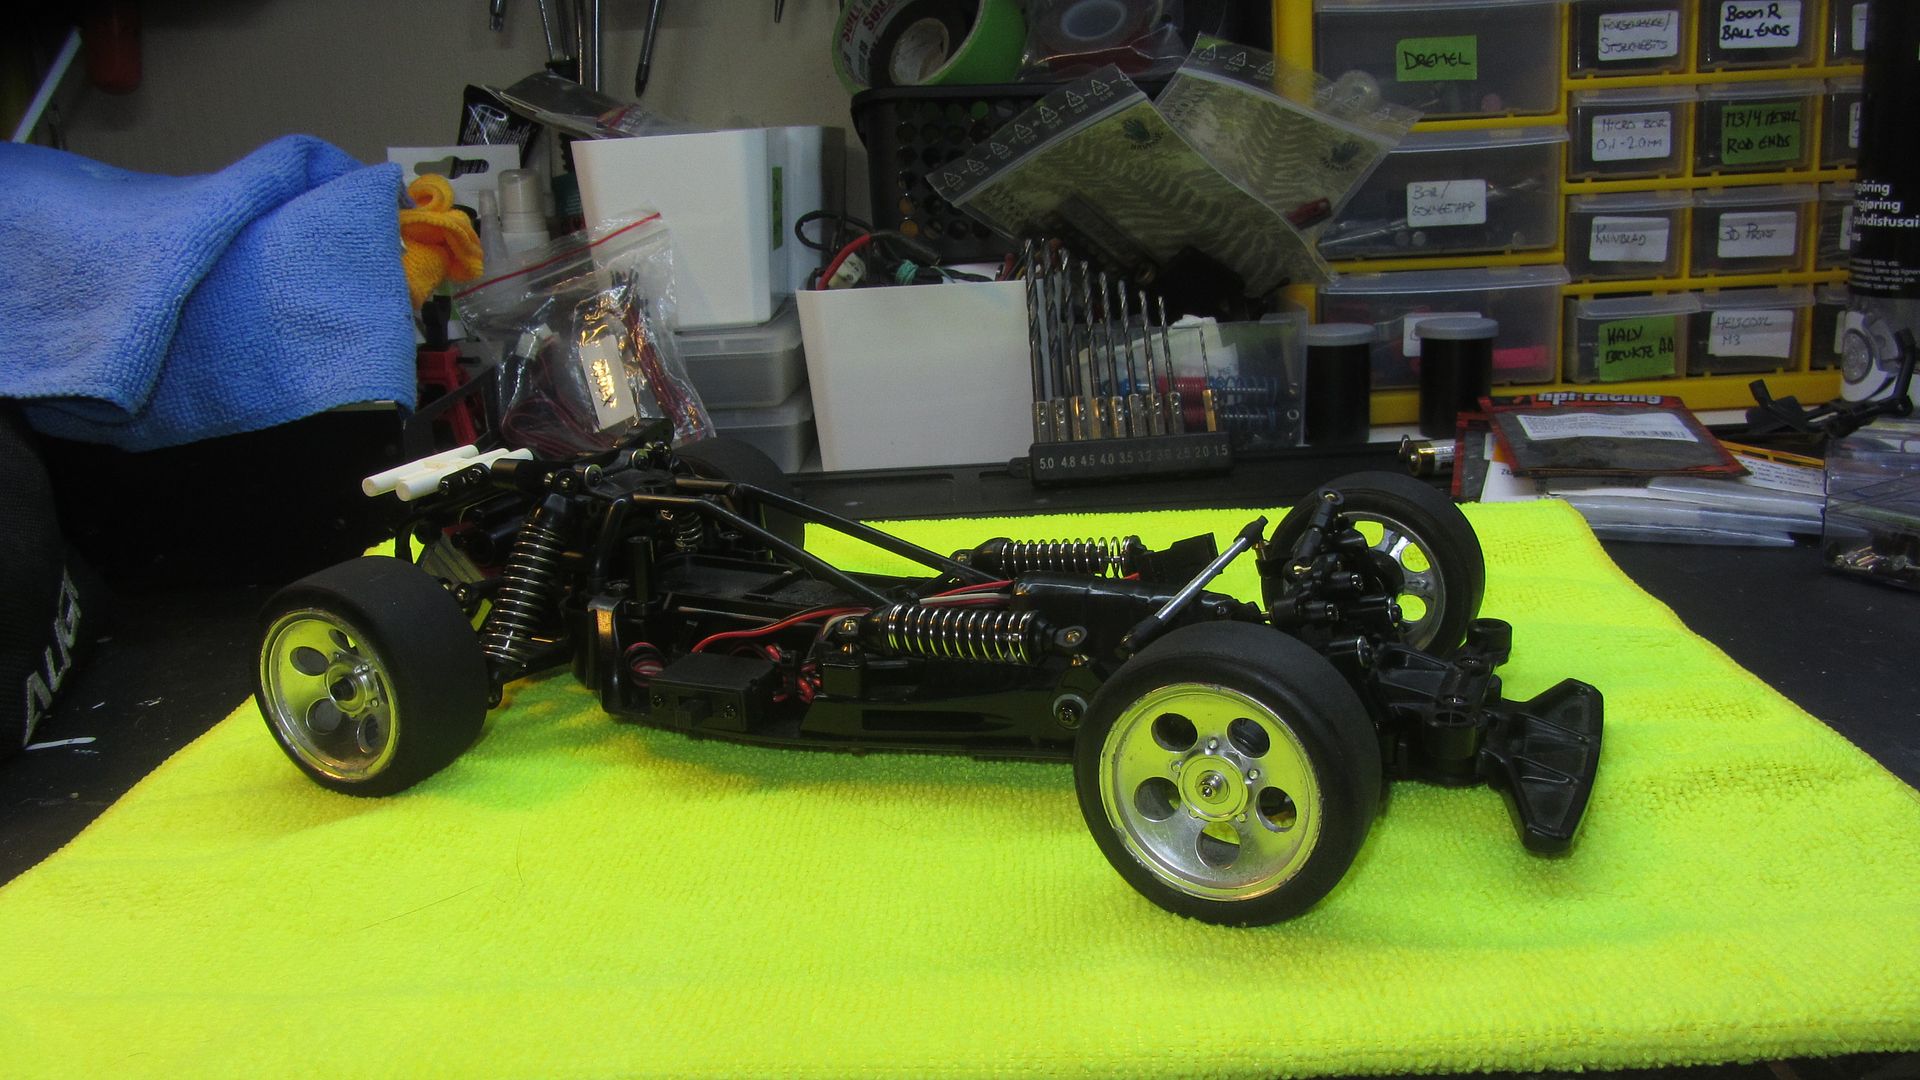
And since I love the Lp400S "low body", slammed it is!!! 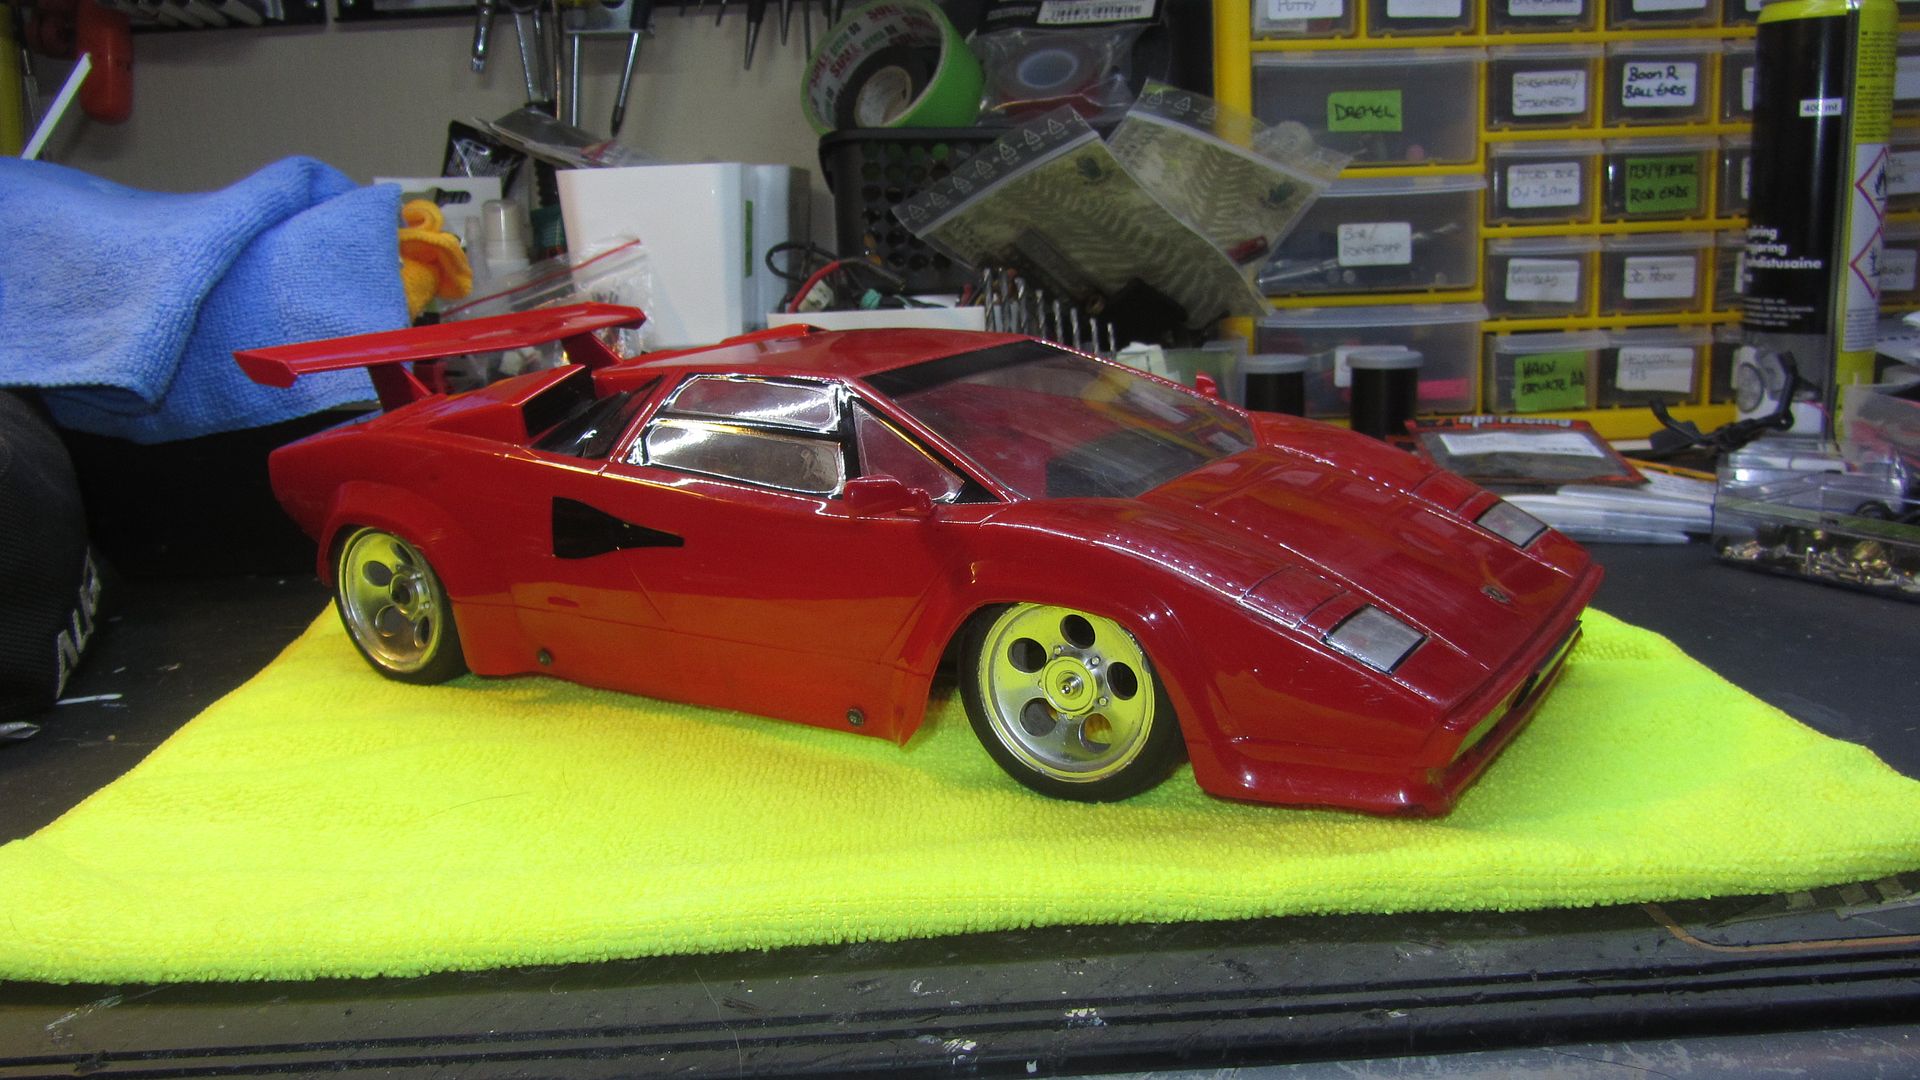
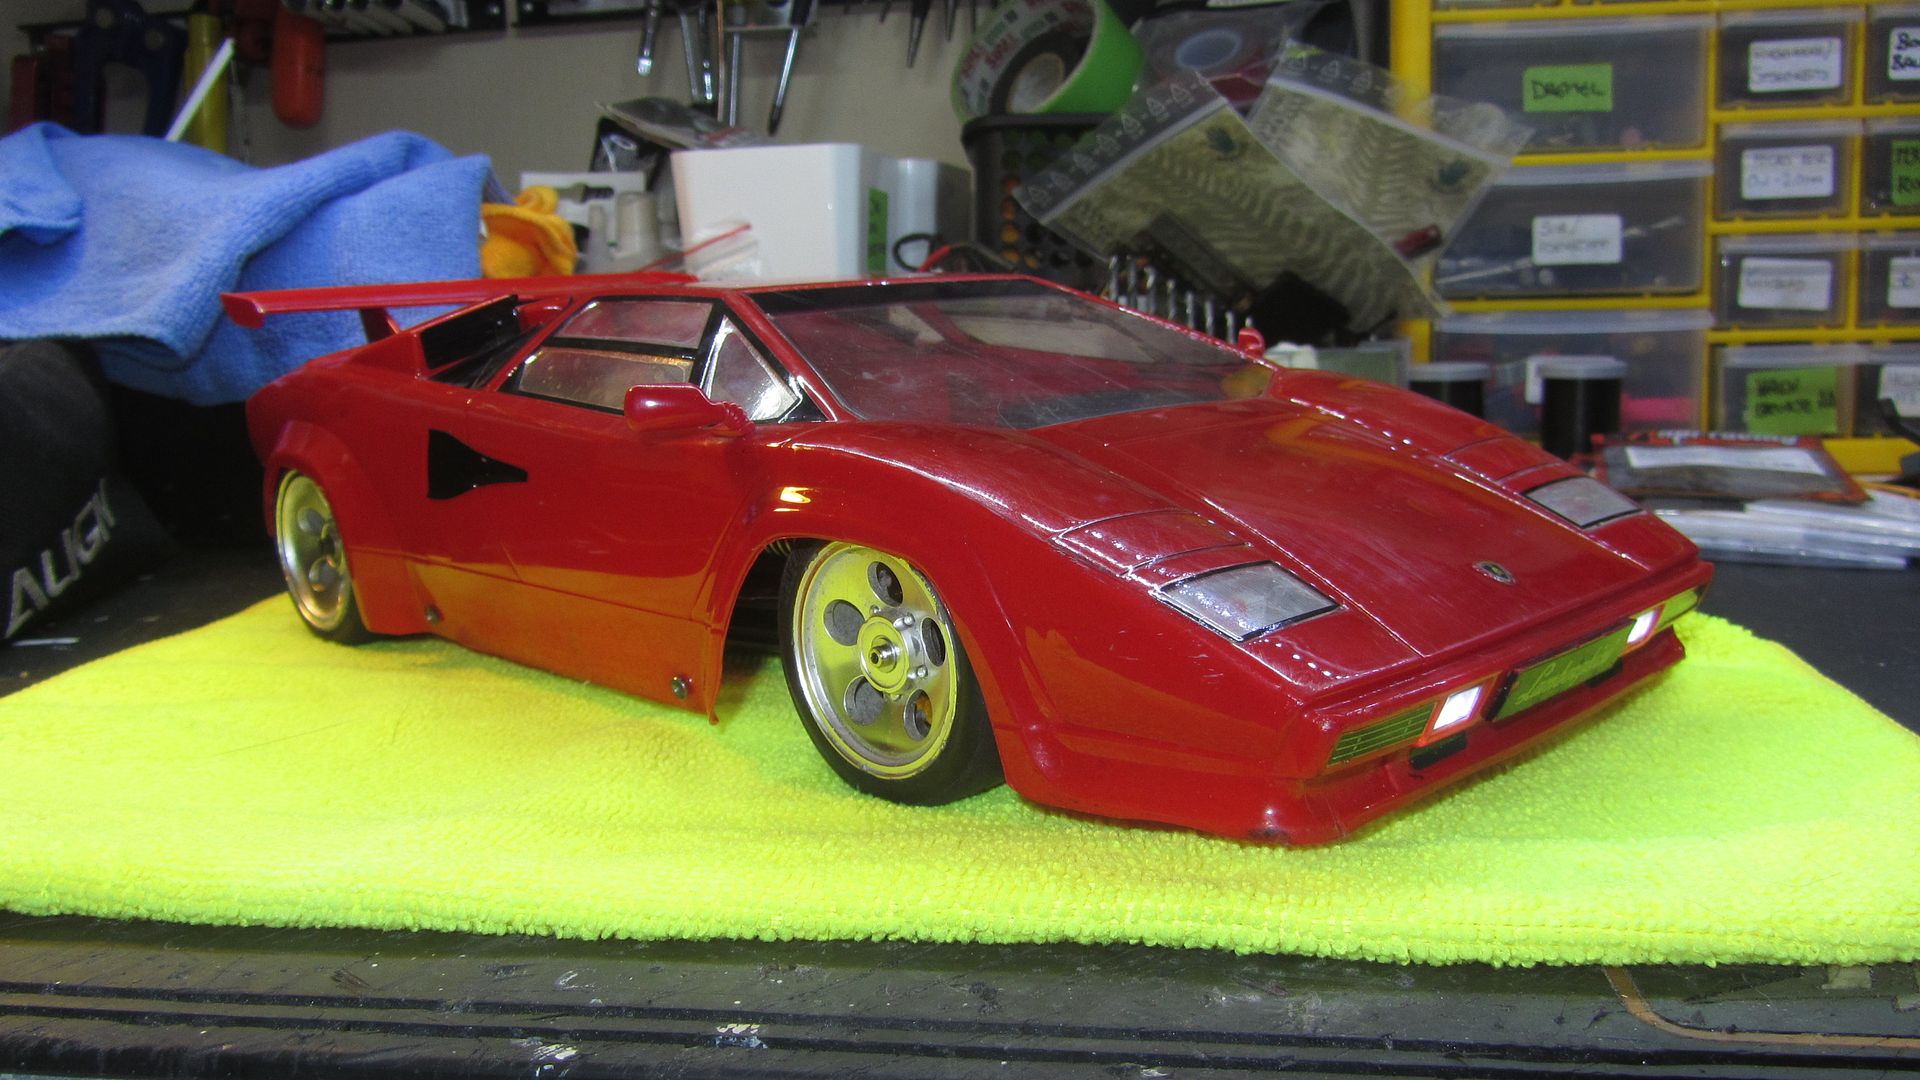
Parked together with the white one 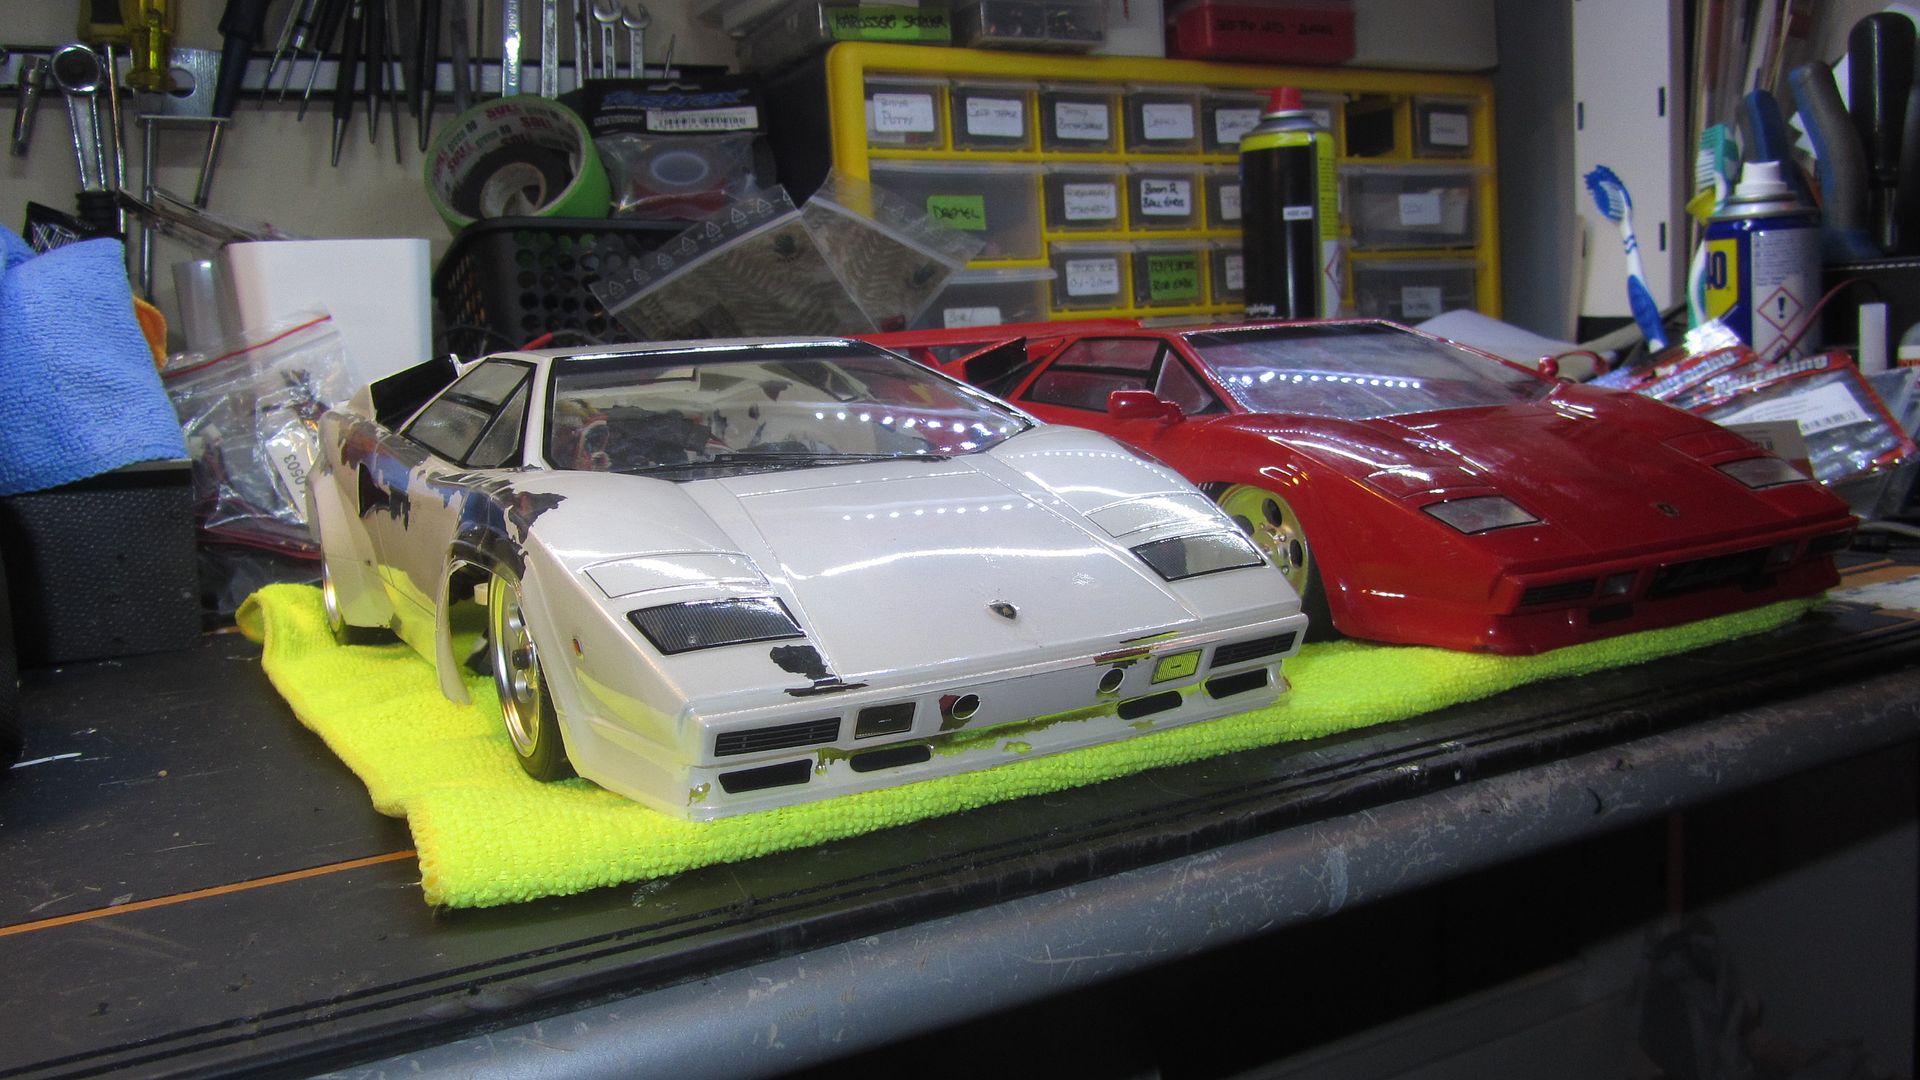
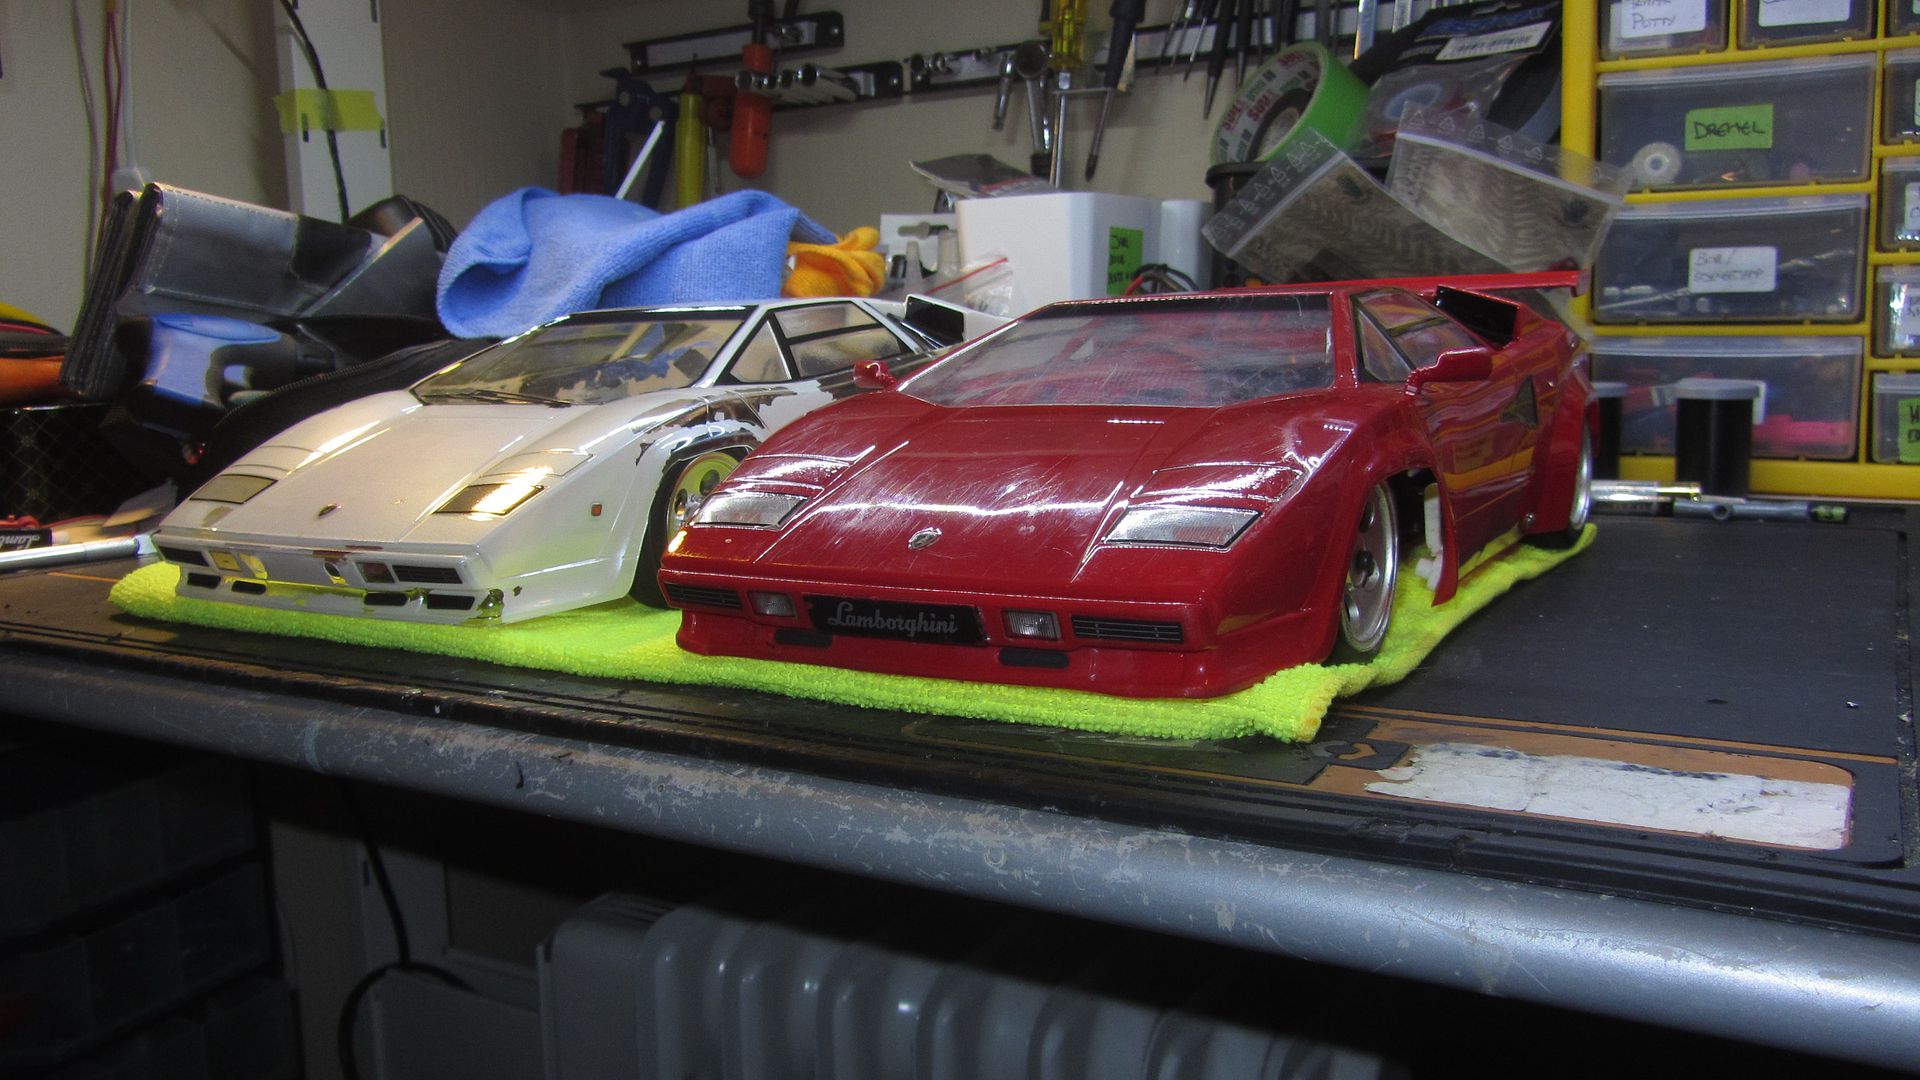
The white body is much much better condition than the red, despite the missing paint. Hardly any scratches at all. Think it will repaint nicely, just have to wait til my LHS gets the Tamya Paint Remover in stock. Next I will clean the gearbox and fit the new parts as it is now just a empty casing.
The following user(s) Liked this: stingray-63
|
|
|
Please Log in to join the conversation.
Last edit: by caprinut.
|
|
|
|
Time to create page: 0.249 seconds


