Keyword

TOPIC:

Ducksnuts M-Chassis Cars 2 years 5 months ago #69232

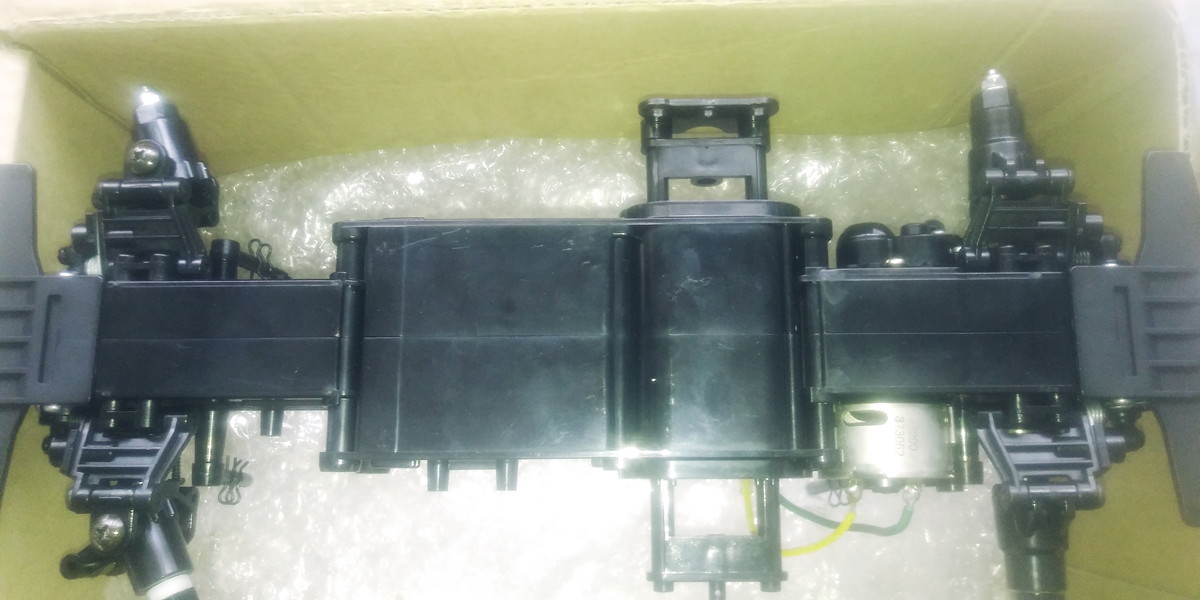
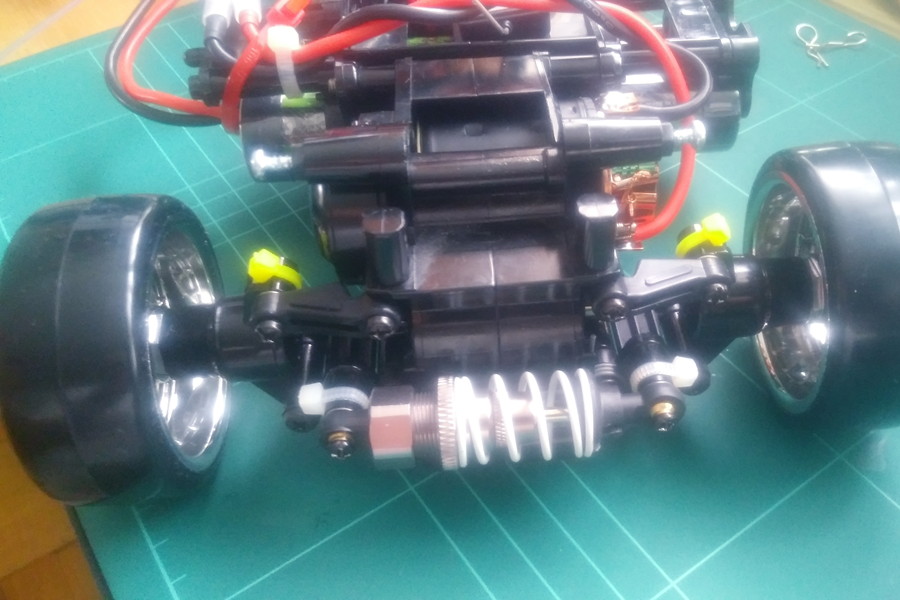
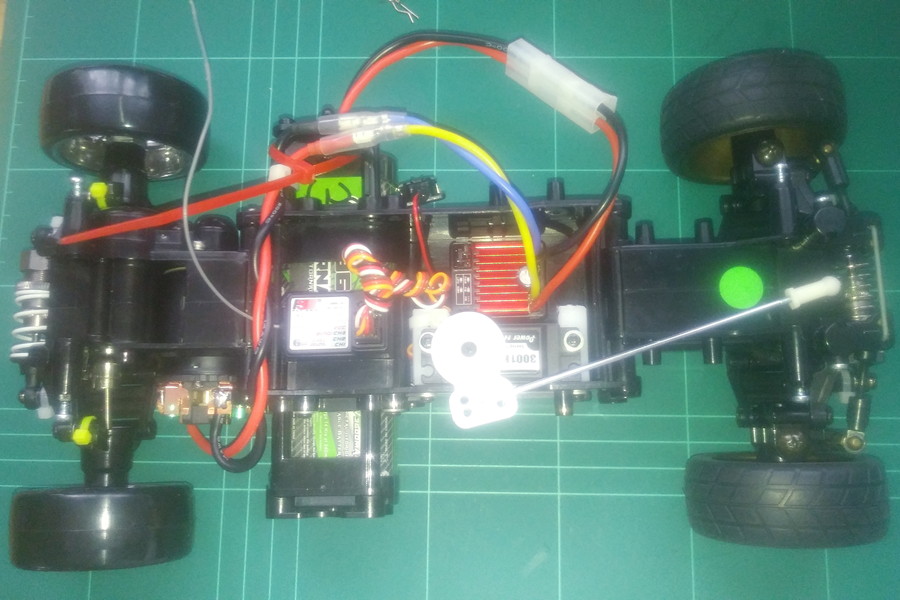
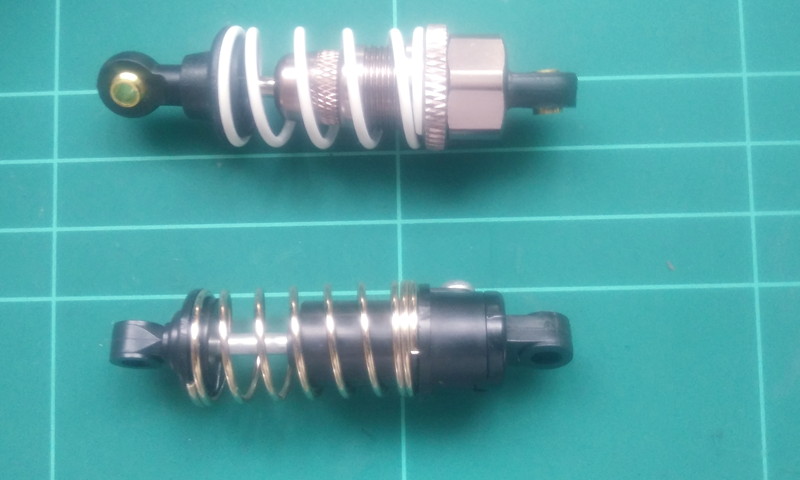
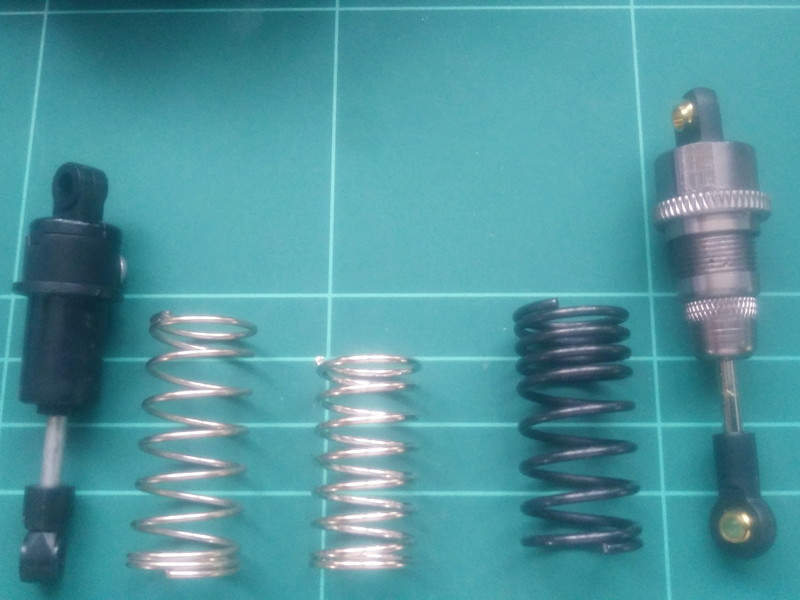
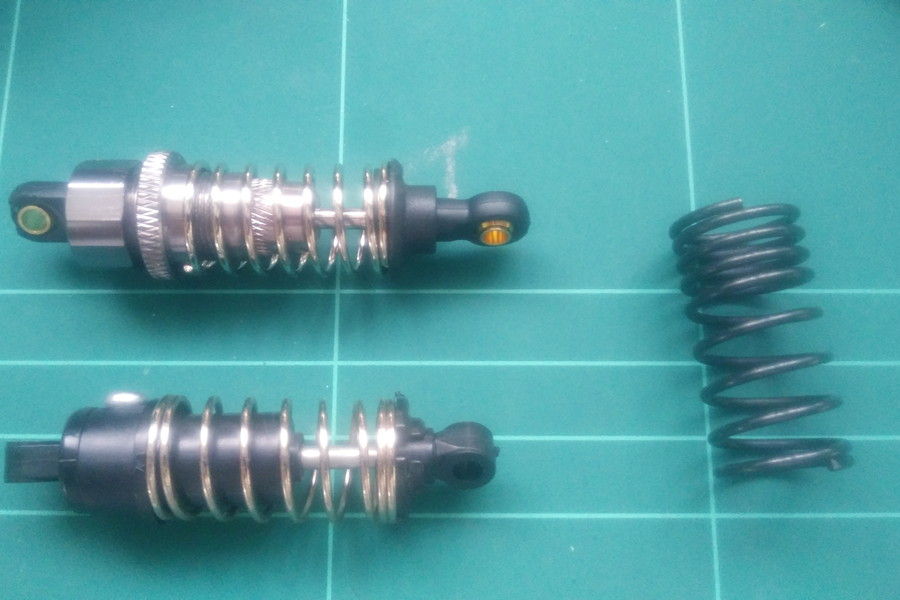
I got an M05 chassis with the NSU Prinz TT body a few months ago, and running the Prinz as a FWD just didn't seem right.  So I kind of shelved it and have just been slowly building the chassis.  After a bit here an there, I finished on the w'end.  Only upgrades so far are ball-bearings throughout.  Gotta say the rear suspension is disappointingly soft for a FWD, so will stiffen up the springs.  Next year I'll look at getting some oil shocks.

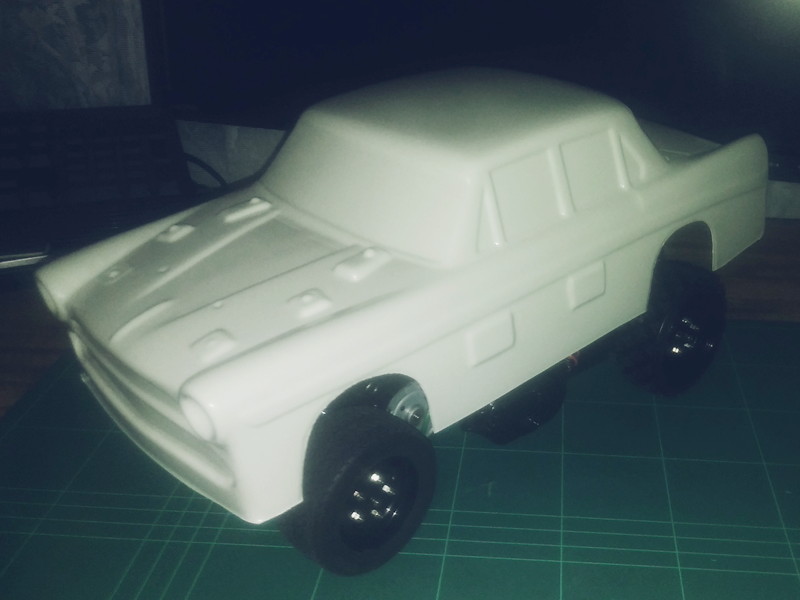
Since I was going to have an M05 with no body, I'd also looked for a body shell and decided on an Austin A60 Cambridge that arrived few week ago.  Technically it is a Front-Rear car, but I can live with it being F-F.  And the M05-S wheelbase is a few mm too short, but I can make it work by slightly extending the bodies wheel arches.  And looking at some of the Mini Cooper body shells available, the Austin may get voted off in the future.

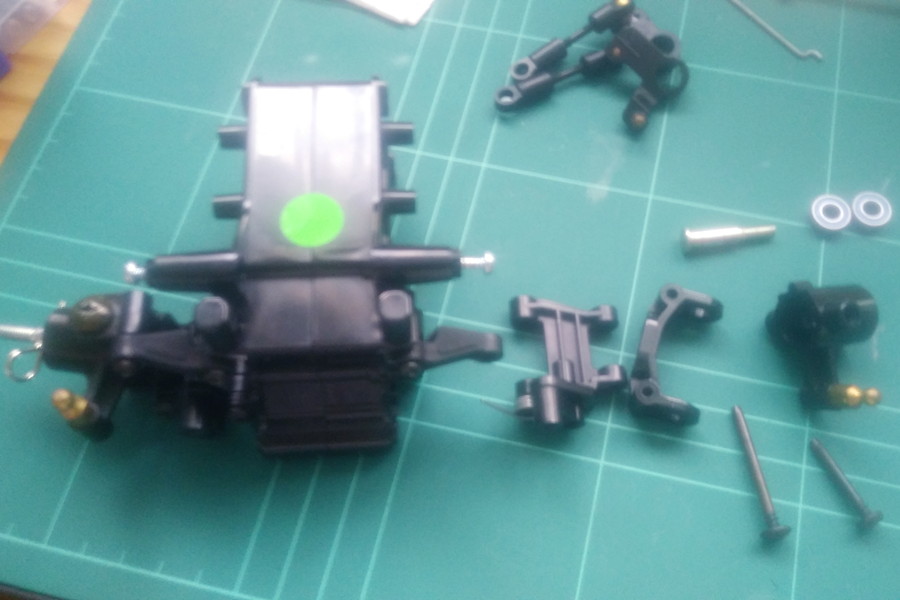
About a week ago I started thinking what chassis to use for the Prinz, and decided on the M06 as it's rear-engine and RWD, and can be configured to the correct wheelbase.

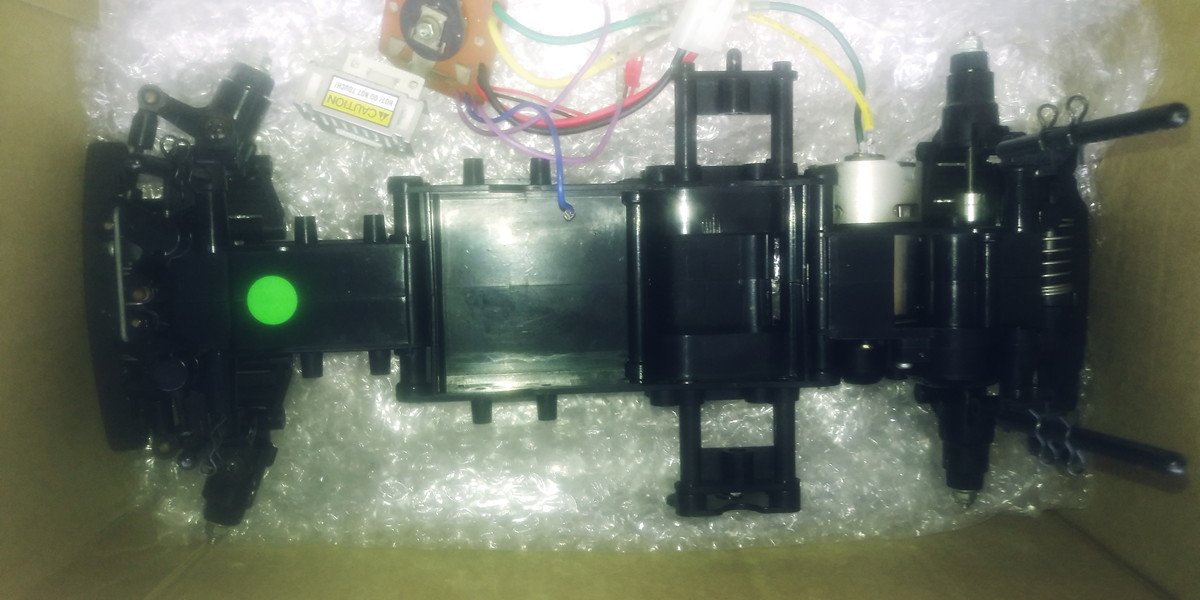
So I ordered a #58668 Volkswagen Type2 (T1) w/ M06 Chassis.  I'm not much of a fan of Combi's (was just after the chassis) and haven't decided what to do with the body shell.  Options will be 1) Sell it, or 2) Look at creating a static model in olive/white for my sister (she has full size Combi).  #1 sounds the easiest.

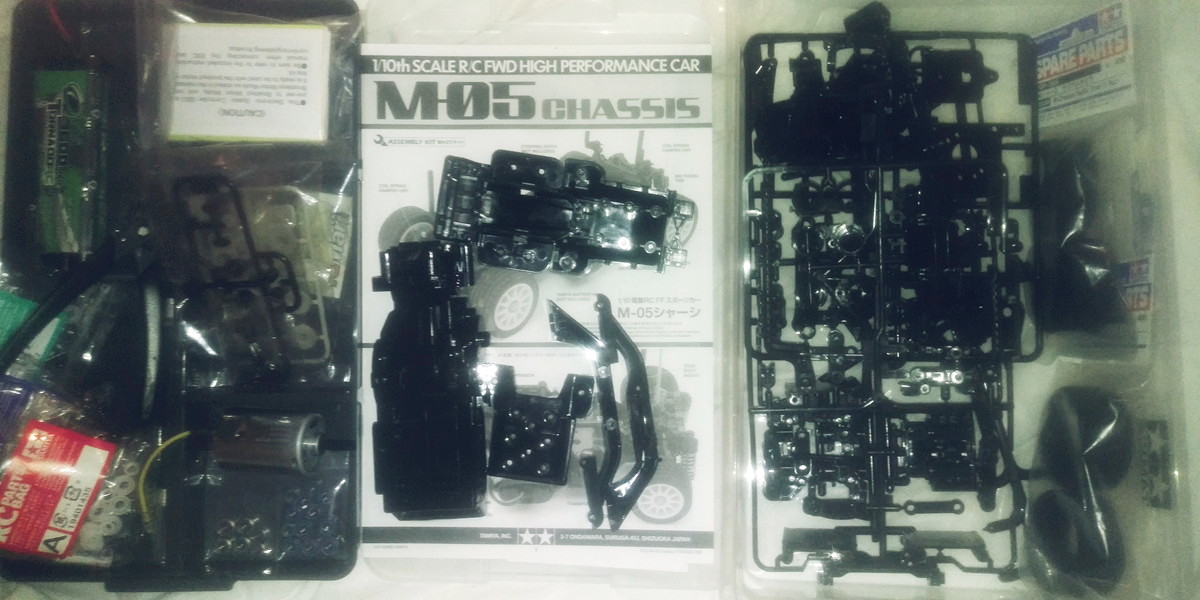
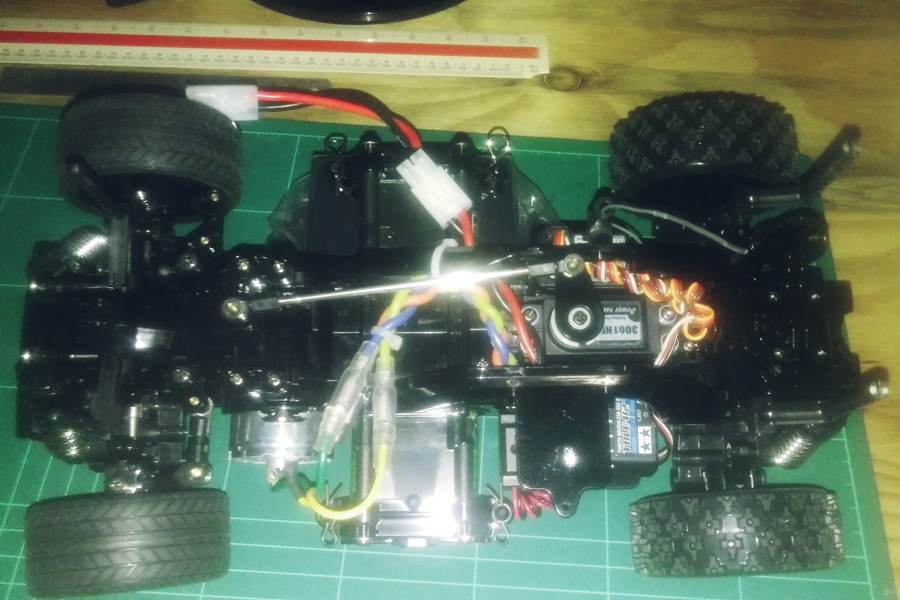
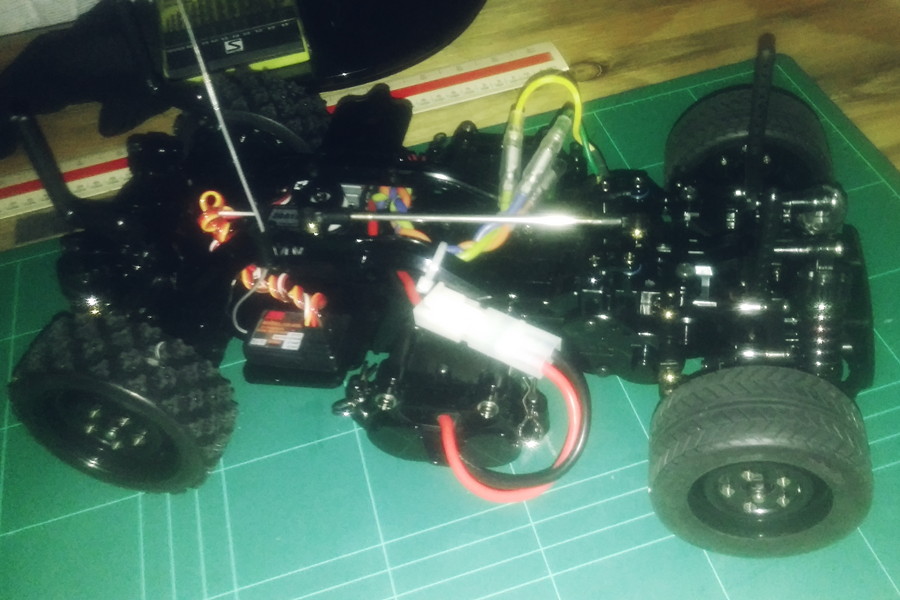
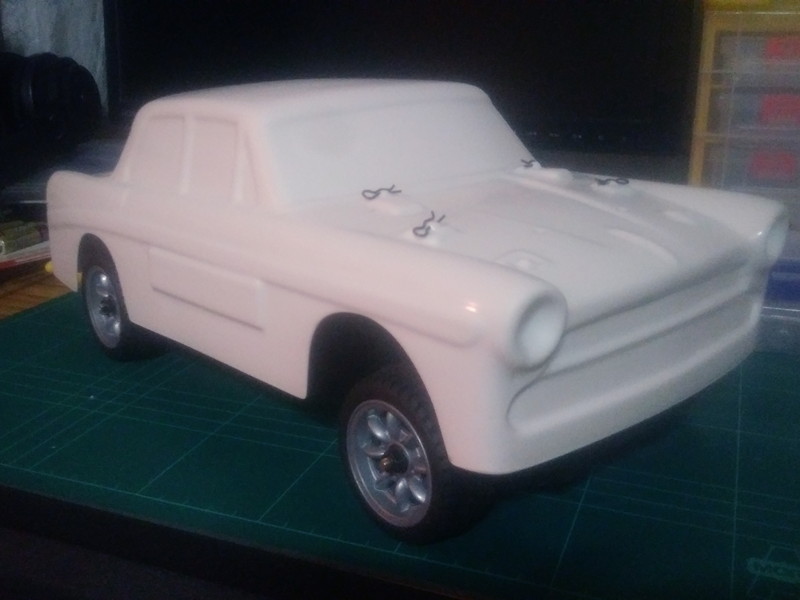
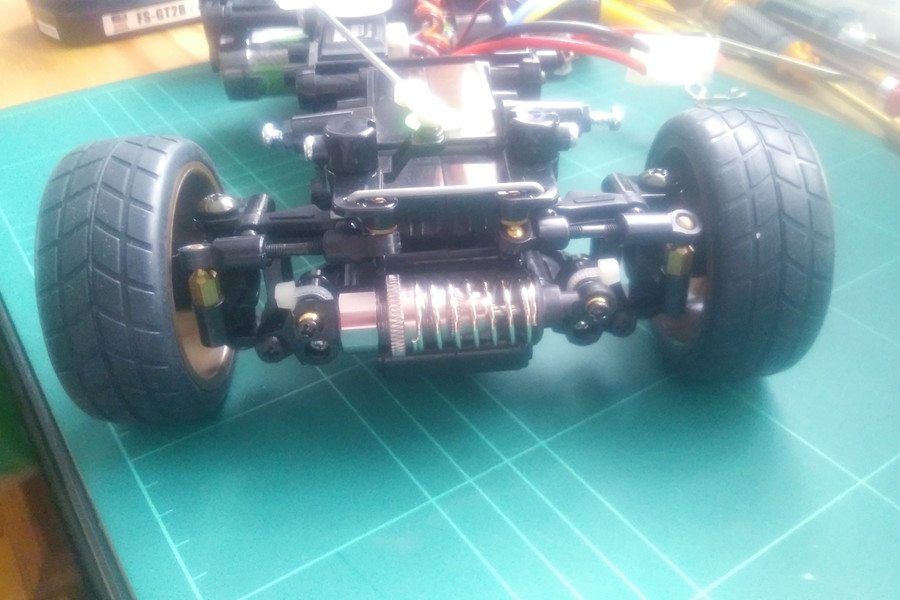
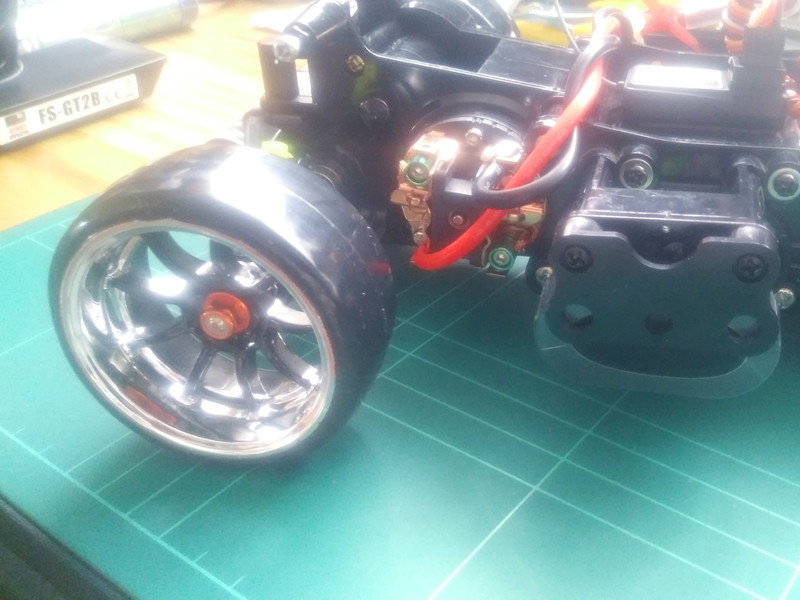
Here is the unboxed and then completed M05 and partially fitted Austin.  The wheels/tyres are only temporary, as I have some M-Chassis Mini-Lites on order that should look good with the Austin.


Attachments:
The following user(s) Liked this: yogi-bear, stingray-63, Al, 1972 LeMansGT Jim, Lemsko, jord001

Please Log in to join the conversation.

Ducksnuts M-Chassis Cars 2 years 3 months ago #70247

Eventually got the Mini-Lite rims.  Also got some hidden magnetic body mount thingys.  Still need to adjust the height and glue the magnets.

As it is technically a 'banger' body, it has all these pseudo bonnet pins and whatnots, so figured I'd run with it and will use some small body shell clips so they look like actual bonnet pins.  The front two 'pins' aren't formed very well, so am thinking of turning them into small air scoops.
 

Also got some old style racing decals from MCI.
 
Attachments:
The following user(s) Liked this: Manotas, stingray-63, 1972 LeMansGT Jim, jord001

Please Log in to join the conversation.

Ducksnuts M-Chassis Cars 2 years 3 months ago #70323

M02L - "Drift Pig"
I picked up an M02L chassis last year for a not too disgusting price.  From the fleabay photos it looked mostly complete, and when it arrived, the only missing parts were;
  • Main steering rod
  • Battery retainer
  • Servo mounts
Best of all, it was basically as new condition and looked like it probably had a couple runs around the loungeroom then shelved.
 
 
Attachments:
The following user(s) Liked this: stingray-63, 1972 LeMansGT Jim

Please Log in to join the conversation.

Ducksnuts M-Chassis Cars 2 years 3 months ago #70324

Over the hols I decided to do something with it.  So first was to strip down and make sure all of the gear internals were there.  This thing was brand new, even the grease was clean, and thankfully they had used it sparingly too.  I then started looking for a suitable body shell.  The original Tamiya VW and Porsche don't interest me at all, so kept looking and found the Toyota Sprinter shell.  Cheap.  More on that in a minute.....


Attachments:
The following user(s) Liked this: stingray-63, 1972 LeMansGT Jim

Please Log in to join the conversation.

Ducksnuts M-Chassis Cars 2 years 3 months ago #70325

I set about cleaning everything.  Most of the screw pins had some surface corrosion, so gave them a good clean and let soak in grease for couple days.  Then started to reassemble it all.  Replaced all the plastic bearings with ball-bearings, and also replaced most of the horrible Tamiya silver screws, the ones that strip really easily, with new black ones.


One thing I noticed when unassembling was alot of the screws were over tight.  This later proved to be a problem during reassembly, as the 3x14 step screws had been heavy handedly tightened with a ratchet gun and the plastic for all them was split.  Glue wasn't going to work as a) I didn't have anything strong enough and b) I didn't want to wait for epoxy to fully cure.  So keeping with the Drift Pig theme, cable ties to the rescue.
 
 
Attachments:
The following user(s) Liked this: stingray-63, 1972 LeMansGT Jim

Please Log in to join the conversation.

Ducksnuts M-Chassis Cars 2 years 3 months ago #70326

Made up some servo mounts from some 5mm HDPE.  Decided to add a mount above the battery for the Rx, as had a spare from my M05.  The main steering rod is a 2mm bicycle spoke (thanks Jord001 for the suggestion).  And for now, a cable tie holds the battery in.
 

The Yeah Racing ESC and Hackmoto motor came as package.  The ESC is actually a rebranded Hobbywing.
 
Attachments:
The following user(s) Liked this: stingray-63, 1972 LeMansGT Jim

Please Log in to join the conversation.

Ducksnuts M-Chassis Cars 2 years 3 months ago #70327

The friction shocks were all floppy, and really aren't designed to be laid sideways.  They just sag and flop.  I had some spare cheap aluminium oil dampers.  Fitted the rear with an Extra Hard spring, and front shock with a standard spring.


Attachments:
The following user(s) Liked this: stingray-63, 1972 LeMansGT Jim

Please Log in to join the conversation.

Ducksnuts M-Chassis Cars 2 years 3 months ago #70328

For wheels/tyres they had to be mis-matched.  Grabbed some Rays TE37's and radials for the front, and no-name rims with drift tyres for the rear.  And some shiny orange 4mm nylocs to hold them on....  And yeh, the front tyres are on backwards.
 
 
Attachments:
The following user(s) Liked this: stingray-63, 1972 LeMansGT Jim

Please Log in to join the conversation.

Ducksnuts M-Chassis Cars 2 years 3 months ago #70329

The body shell is a HPI pre-painted.  I didn't look to closely at the photos when I ordered it, it was cheap.  When it arrived I went back and checked the website.  All I could do was laugh.
A quick search, and yep the wonky pre-painting is fairly normal on this body shell.  Which explains why you get additional black body stickers, to help try and make the lines look 'straight'.  Anyway, no worries and I had planned to sticker bomb the body.

The real challenge here was getting a 257mm wheelbase body onto a 239mm chassis.  One easy part was trimming the wheel arches slightly larger.  Then the typical drifter cutting of the front flare at the rear of the arch gave a bit more distance.  It doesn't look perfect, but it works.  Kinda.  And the body is wider than 190mm, so the wheels are tucked way inside anyway 

Once I'd put the regular car decals on, I decide not to sticker bomb but do something that look ok and help take attention away from the wobbly paint.  So set about seeing what legit decals I had.  I've since got the body mounted on the chassis, so all that's left is a few final pics.  Coincidently, I ordered another AE86 body shell today, but this one is unpainted.


Attachments:
The following user(s) Liked this: stingray-63, Al, 1972 LeMansGT Jim

Please Log in to join the conversation.

Ducksnuts M-Chassis Cars 2 years 3 months ago #70338

Regarding the screws, it's not the screws fault, it is the tool.
Tamiya screws are not Phillips, but JIS. A Tamiya screwdriver sort that out.

That said, the ones I find stripps easly even with Tamiya screwdriver is the counter sunk ones as used on Hotshot family suspension and chassis plates on 959/Celica.

Regarding the track width.
Just fit TL01 suspension arms, they fit straight on.
You will need:
Suspension arms, same is used on GF01 cars as well. C part tree.
TL01 driveshafts. 39mm I think they were.
TL01 steering links.

I have done the other way round, fitted M03 suspension on a TL01 chassis.
The following user(s) Liked this: stingray-63, Al, 1972 LeMansGT Jim

Please Log in to join the conversation.

Moderators: caprinutstingray-63AndyAus
Time to create page: 0.220 seconds
Cookies are required to make this site work. If you continue to use this site you permit us to use cookies.