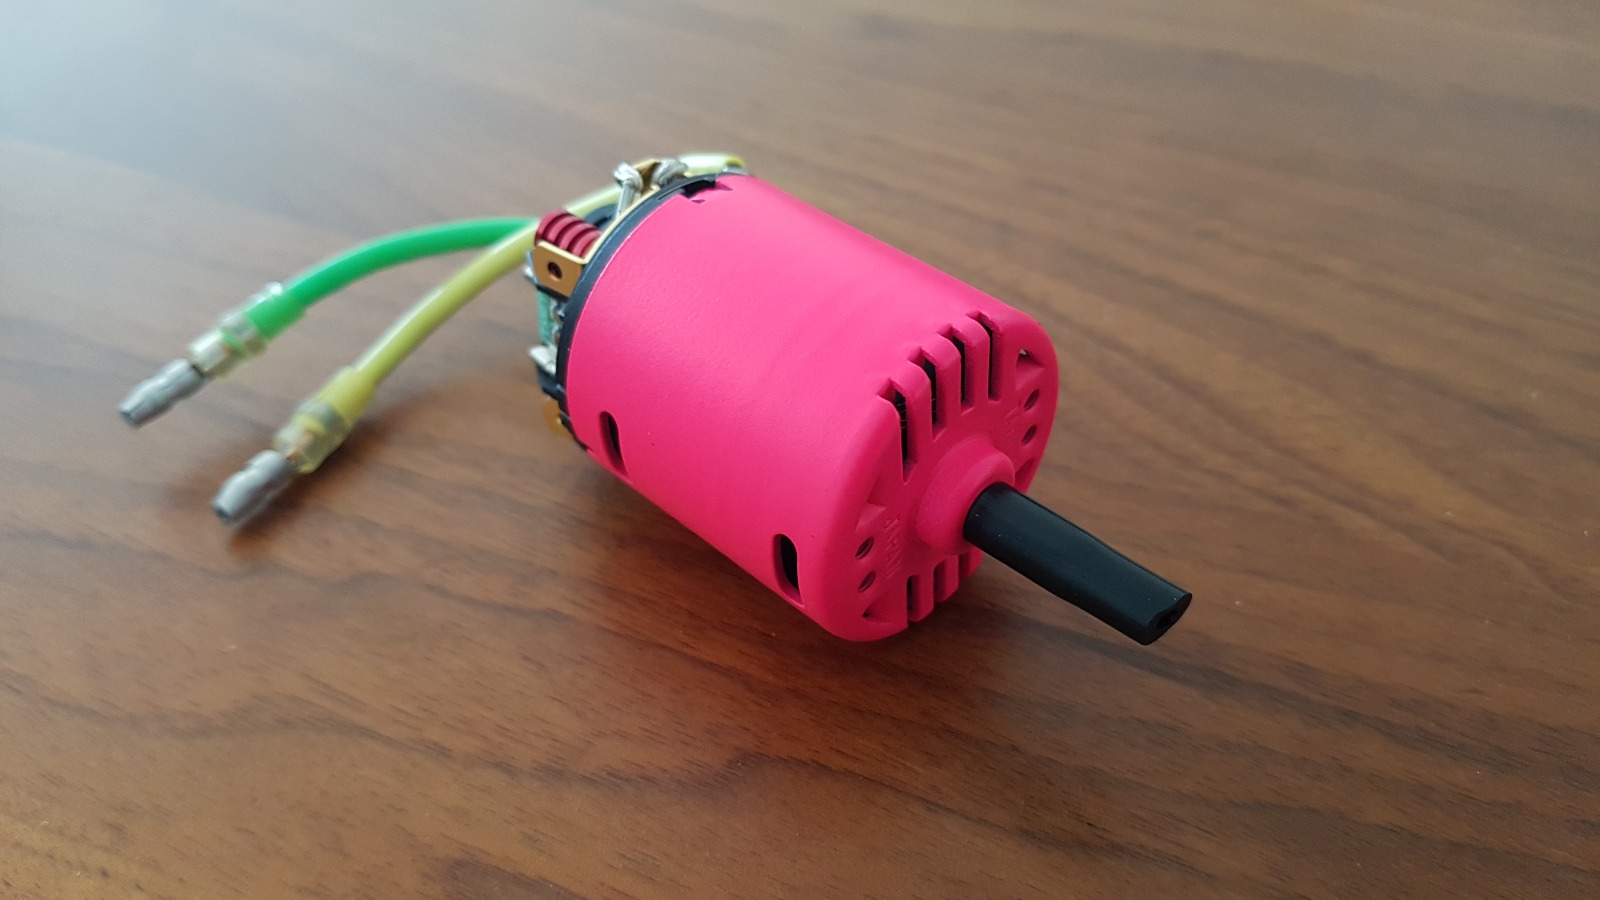
While waiting for the correct motor and the screws, I decided to build the dampers.

Step 24 and 25, damper assembly.
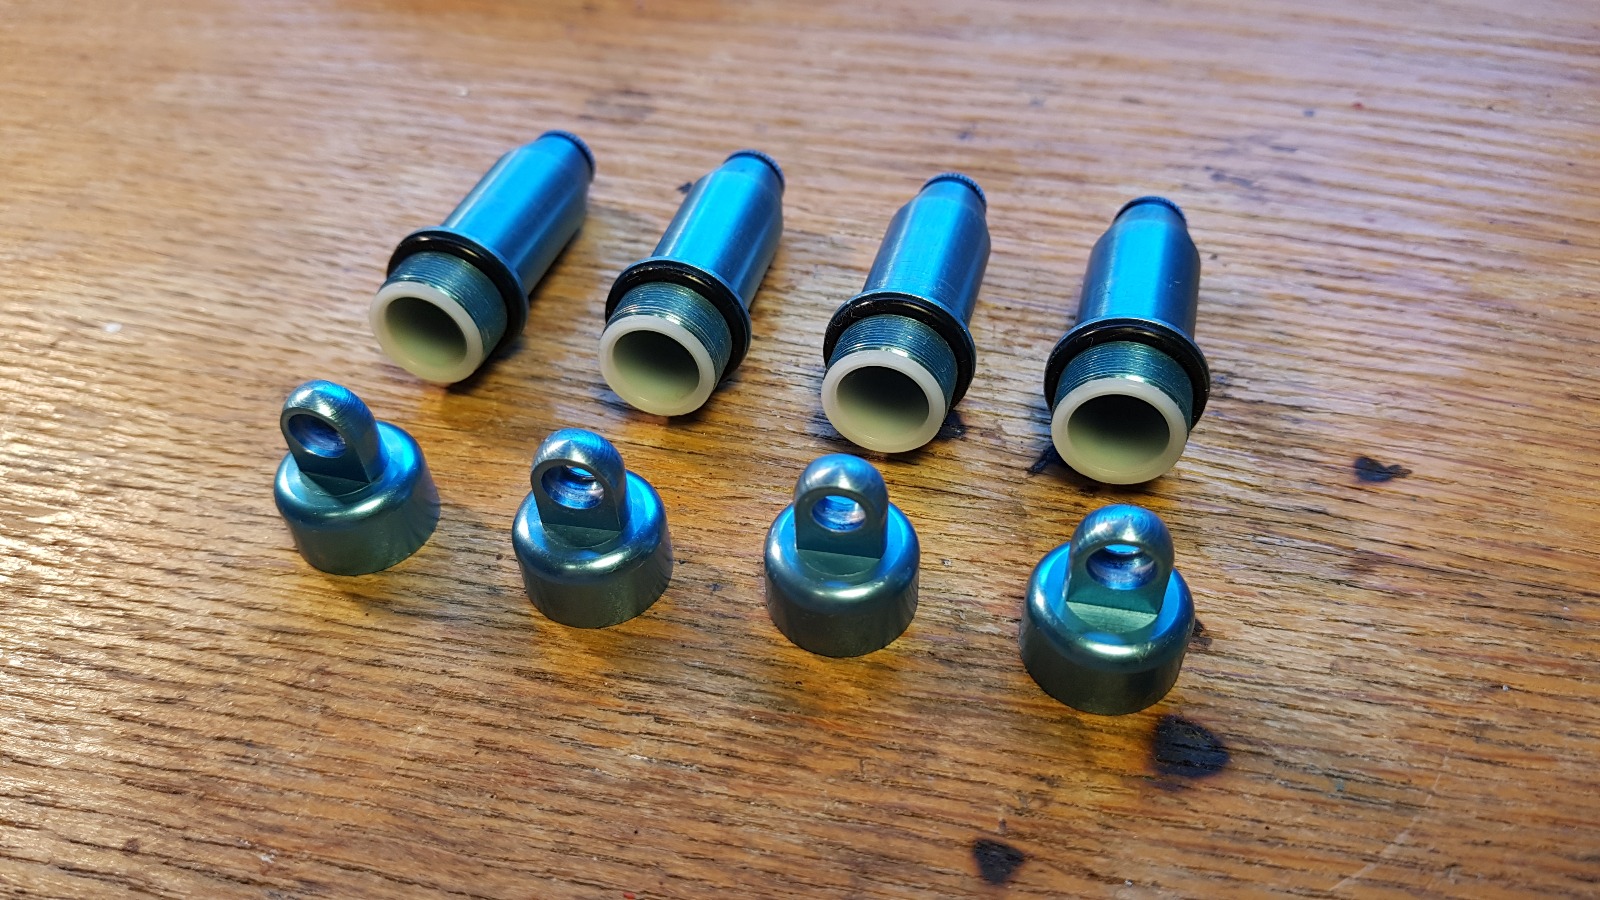
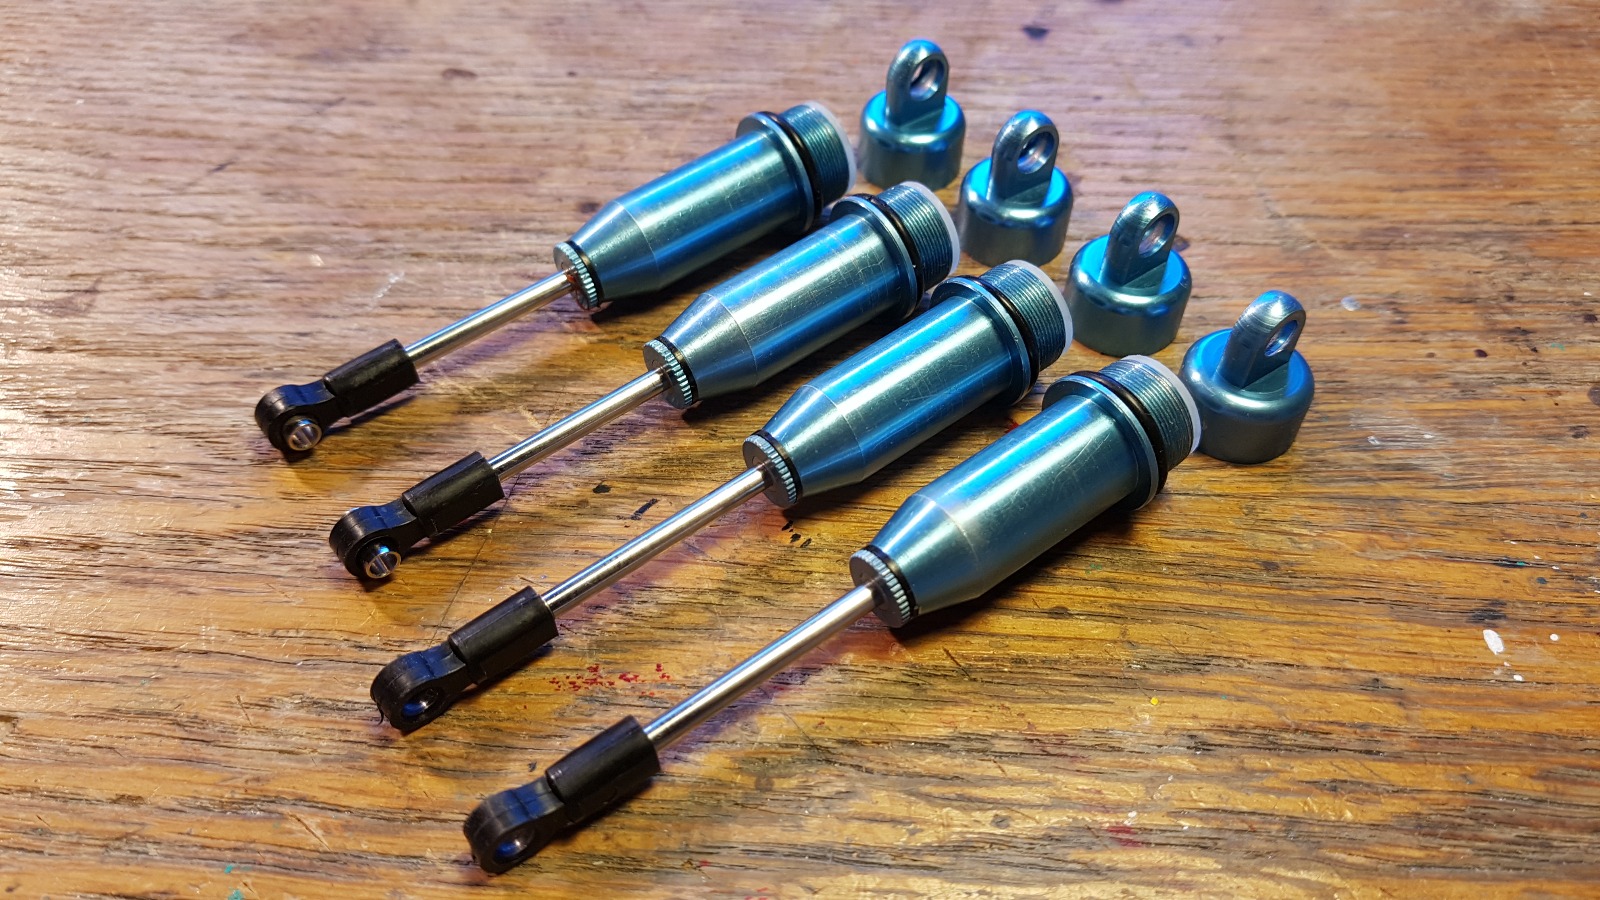
As far as I know these dampers are unique to the Dyna Storm, both in looks and design. At a first glance they can be mistaken for Hi-caps, but these are called Sleeved Dampers.
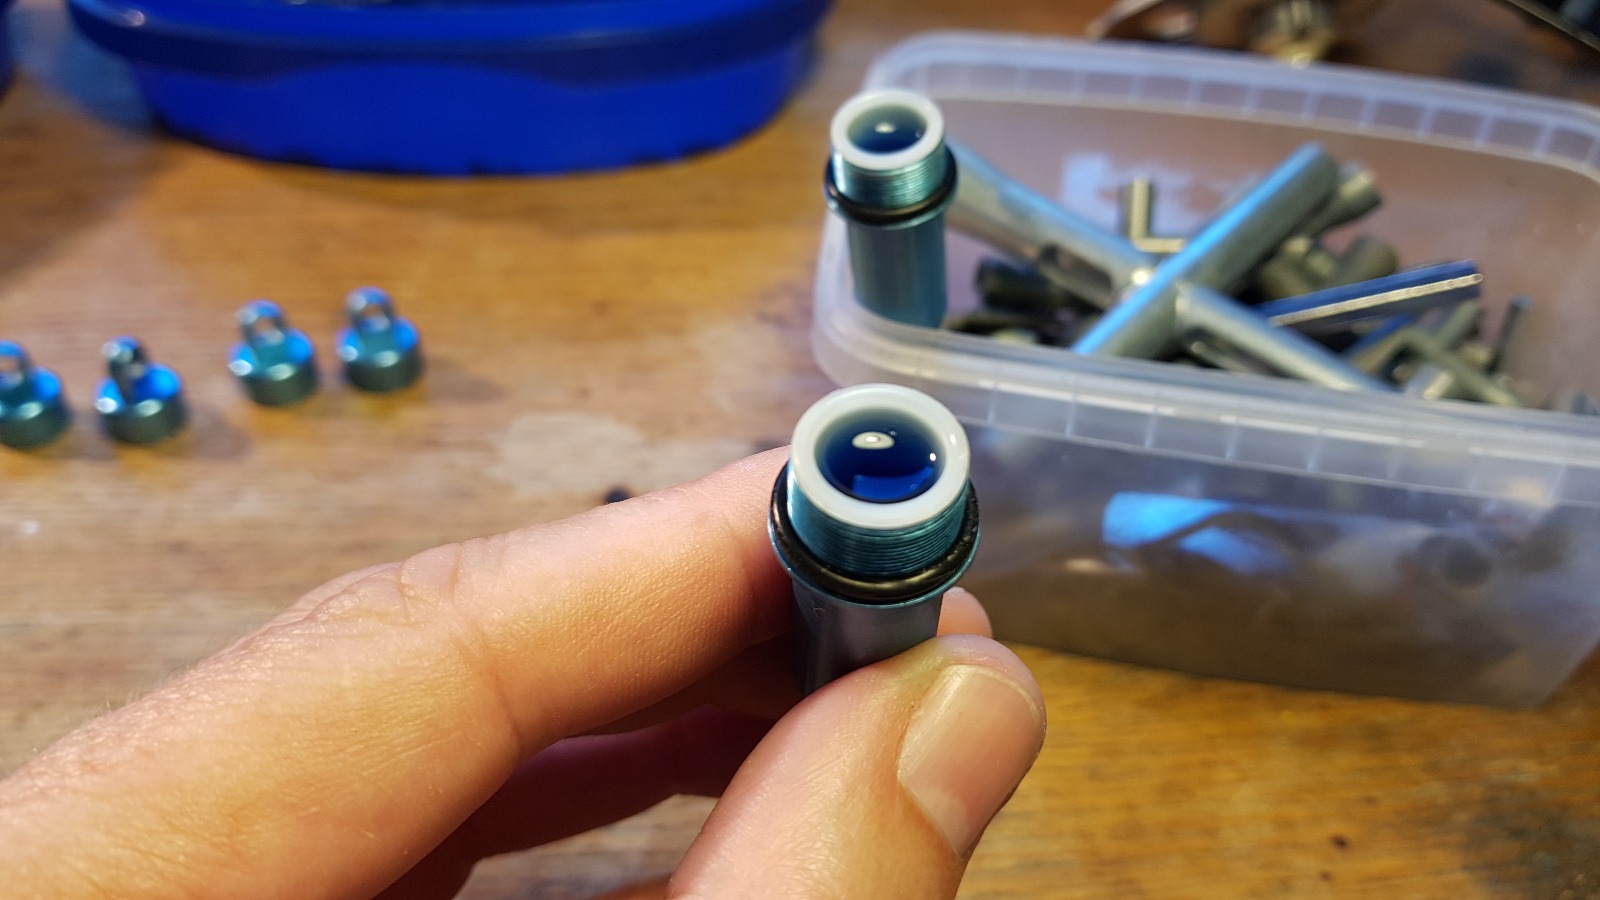
The blue aluminium body and pass-through for the damper rod are both lined with a plastic (Nylon, I guess) sleeve. In addition the Sleeved damper does not have the traditional rubber dome seal inside the cap. It's designed to mix the air and oil inside the damper. Note the outside o-ring being the only seal to keep the oil inside the damper.
So let's go on with it...
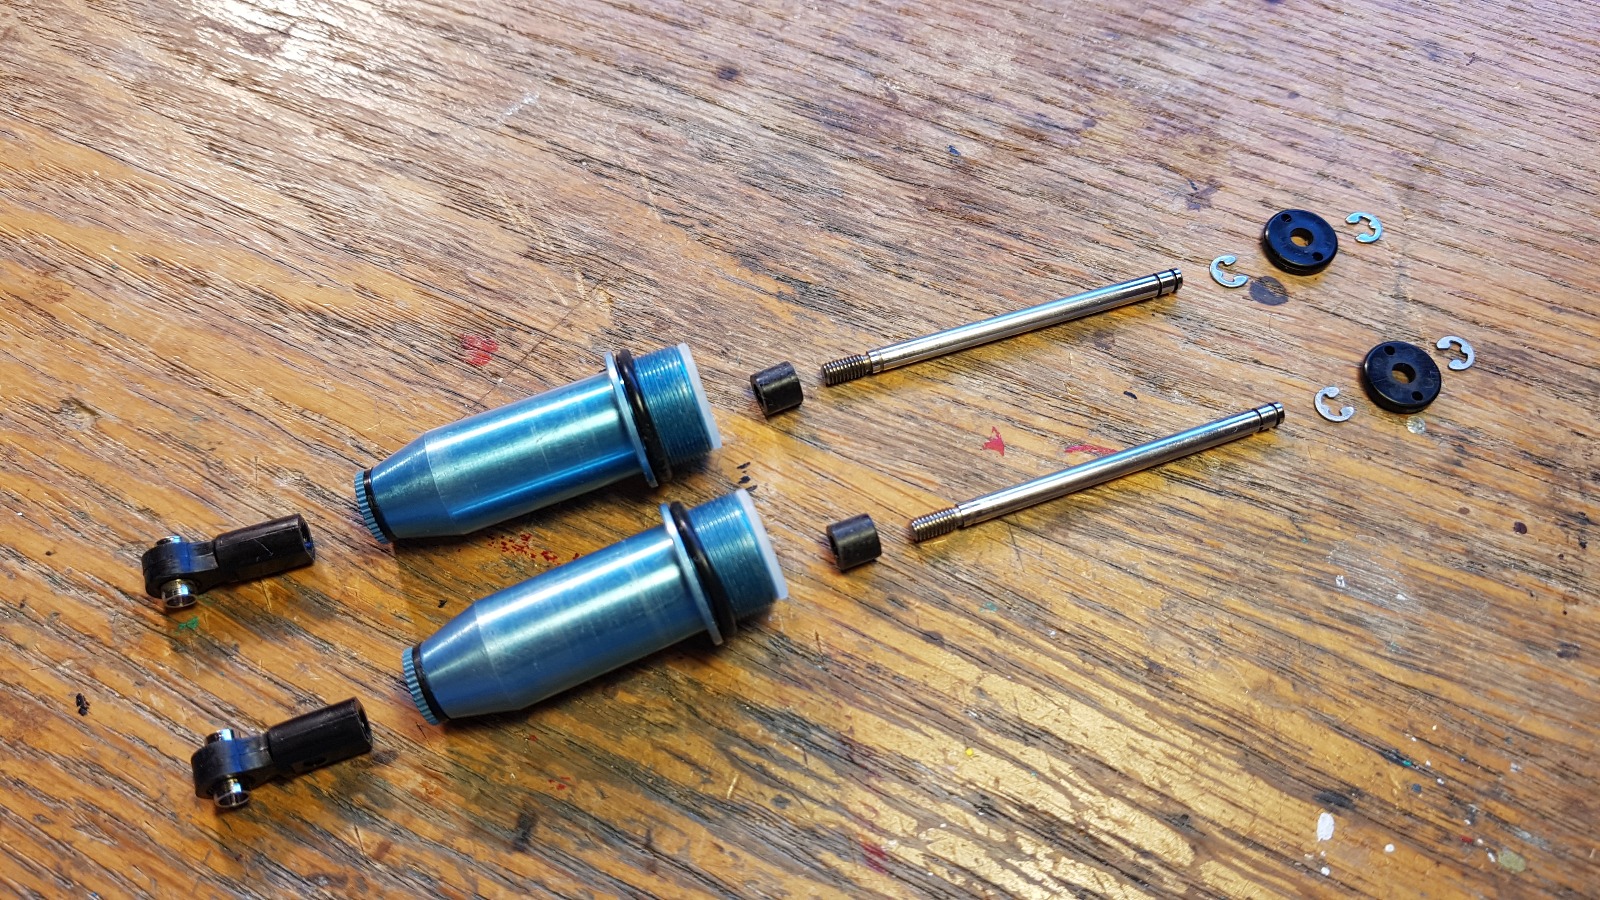
All parts for the body lined up.
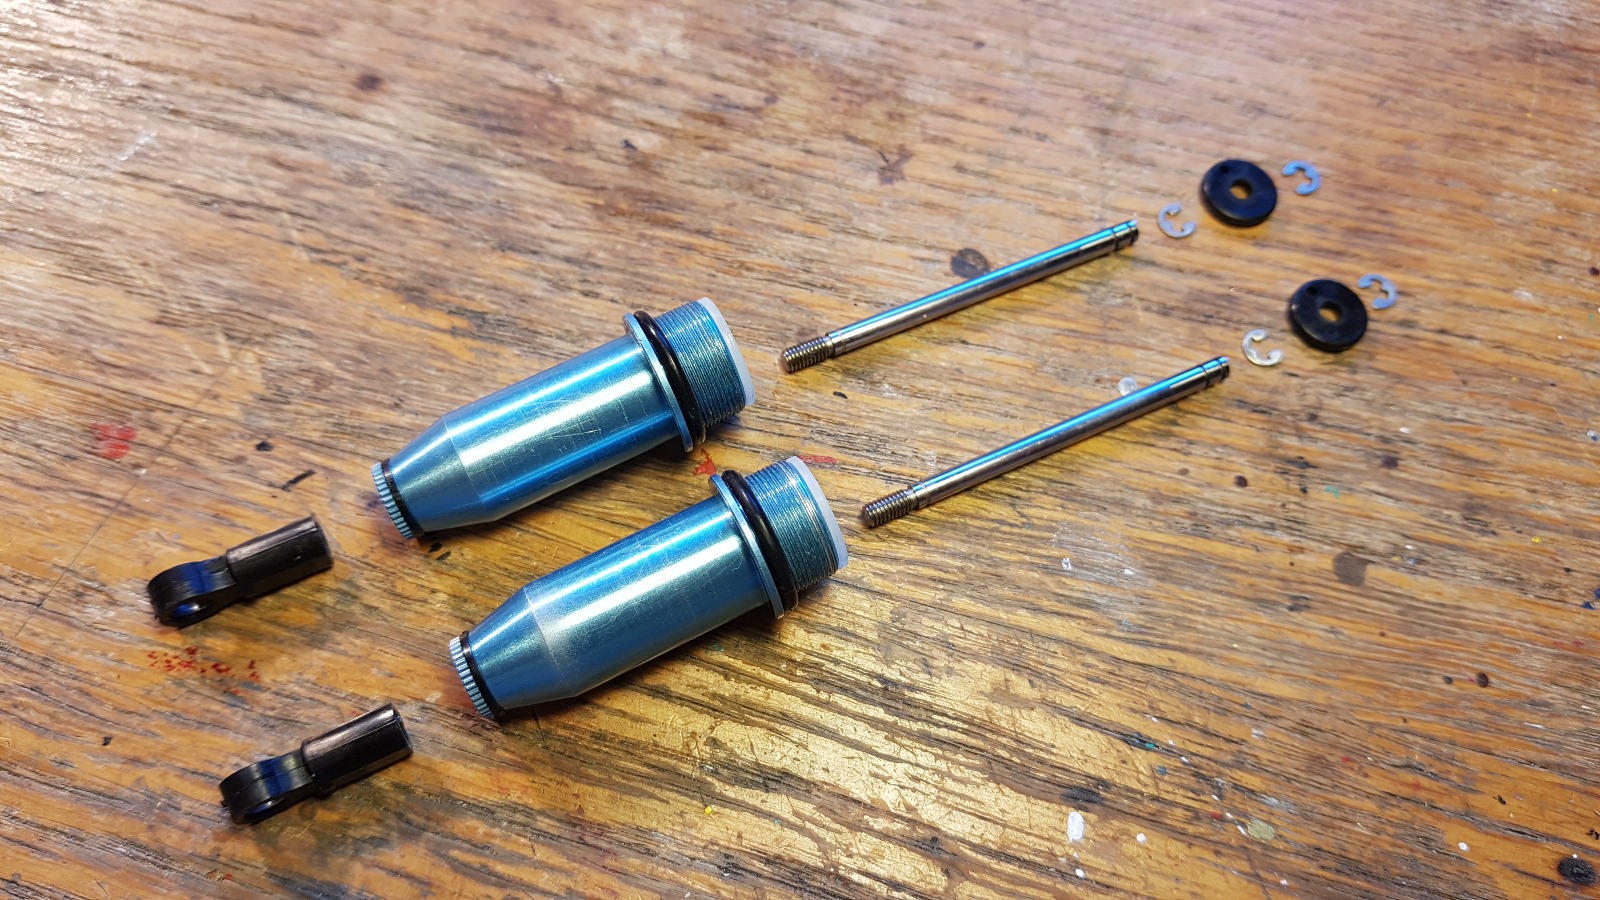
Sleeves inserted and body ready for rod.
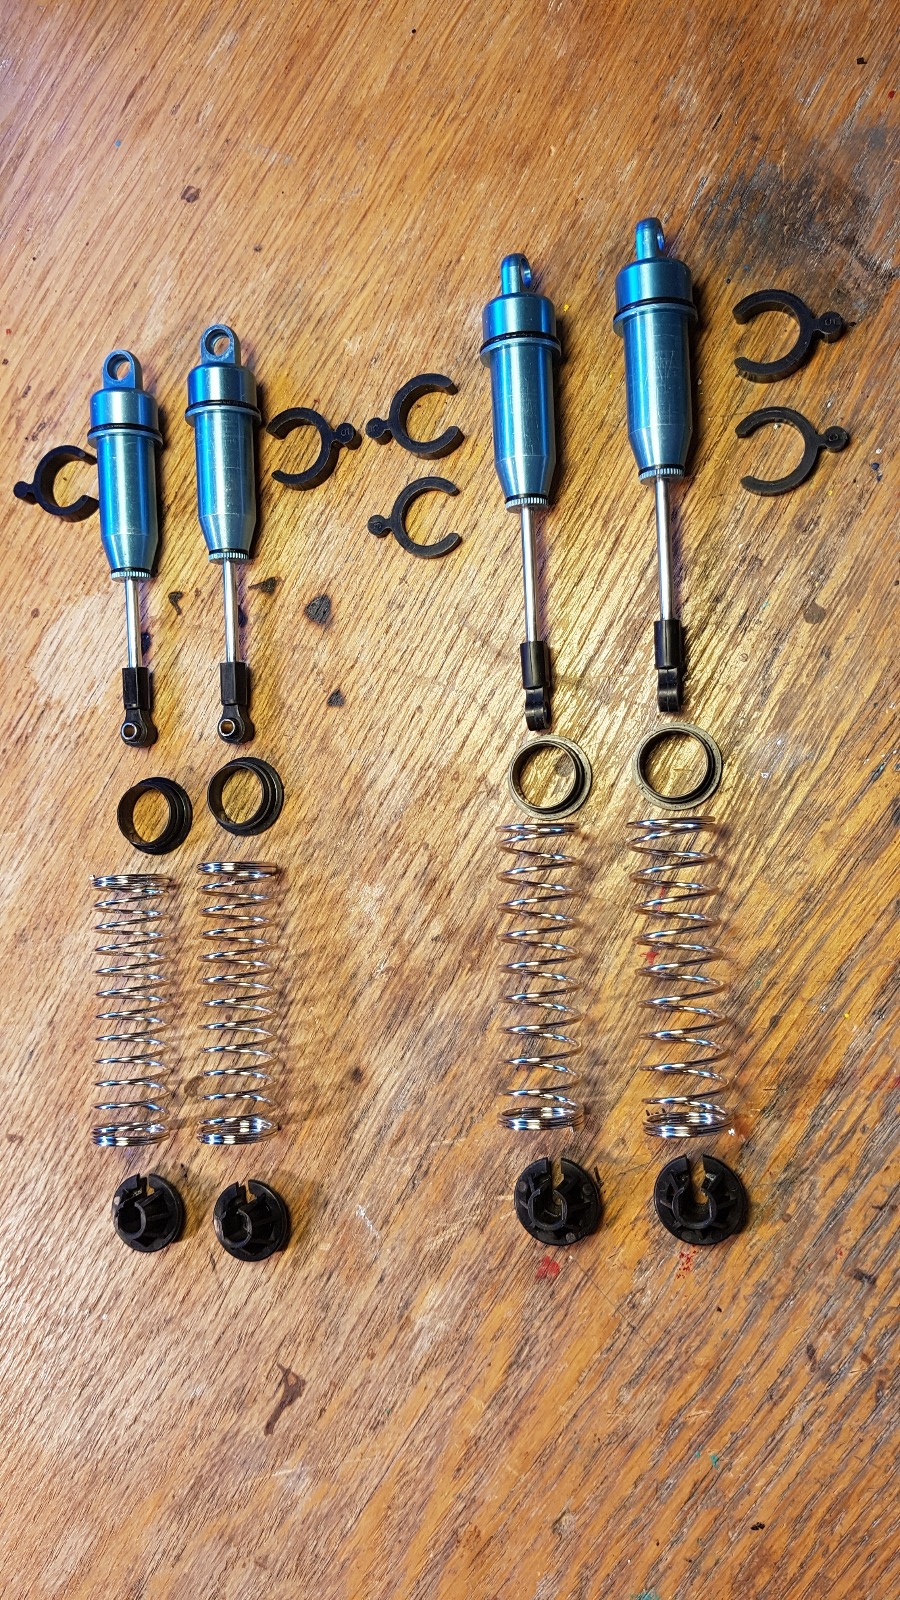
Front dampers use a spacer on the rod to reduce the total length.
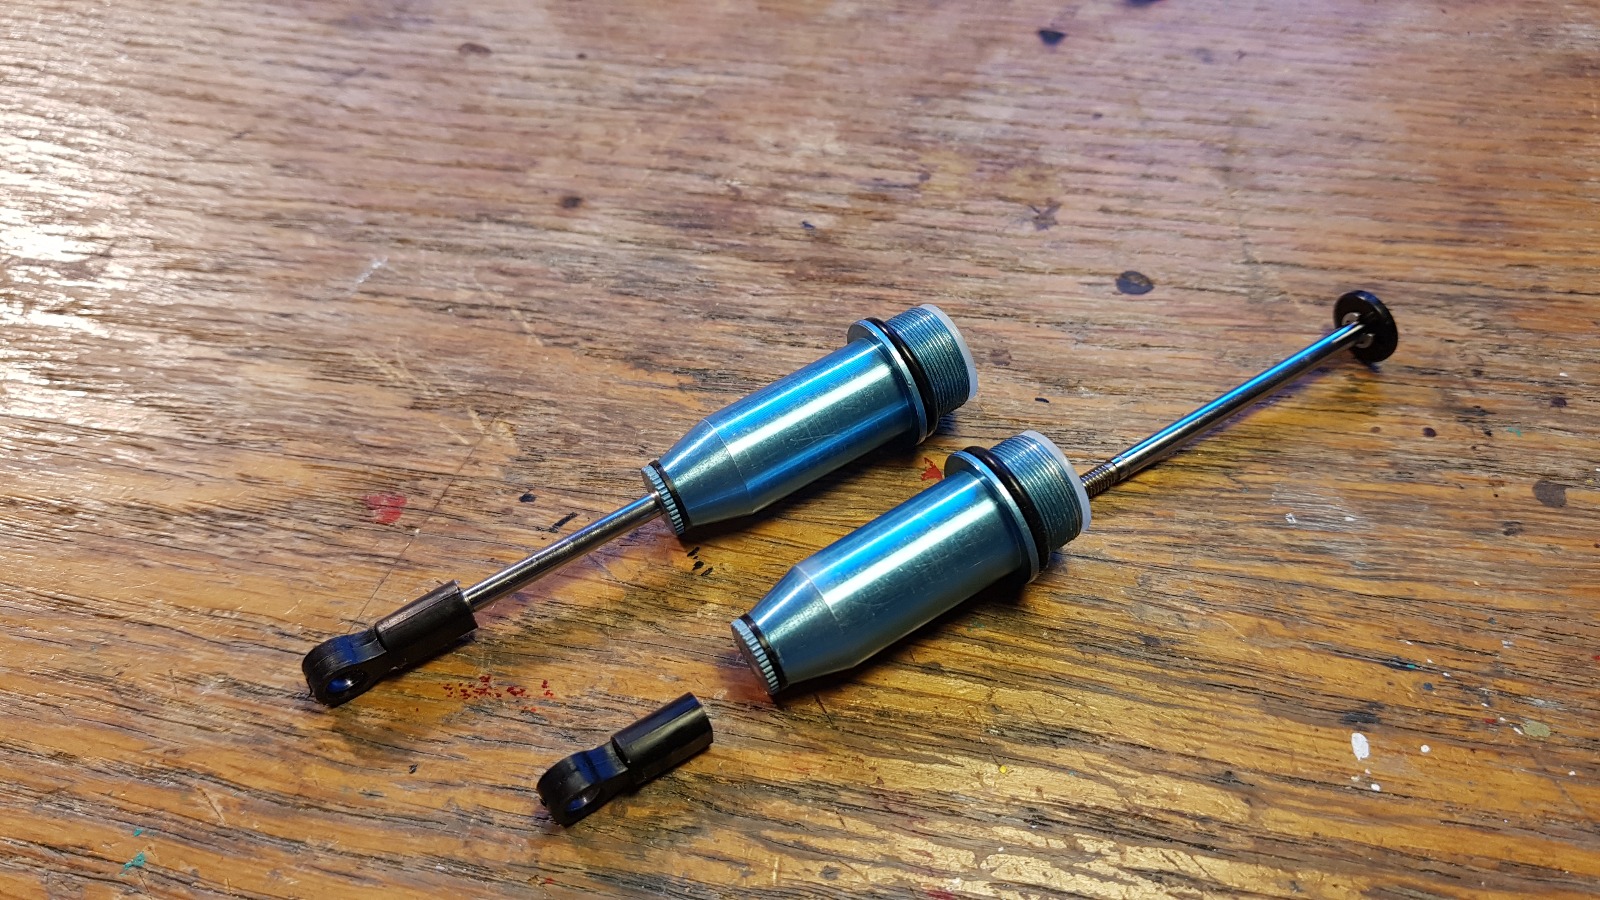
Rears same as front except the spacer.
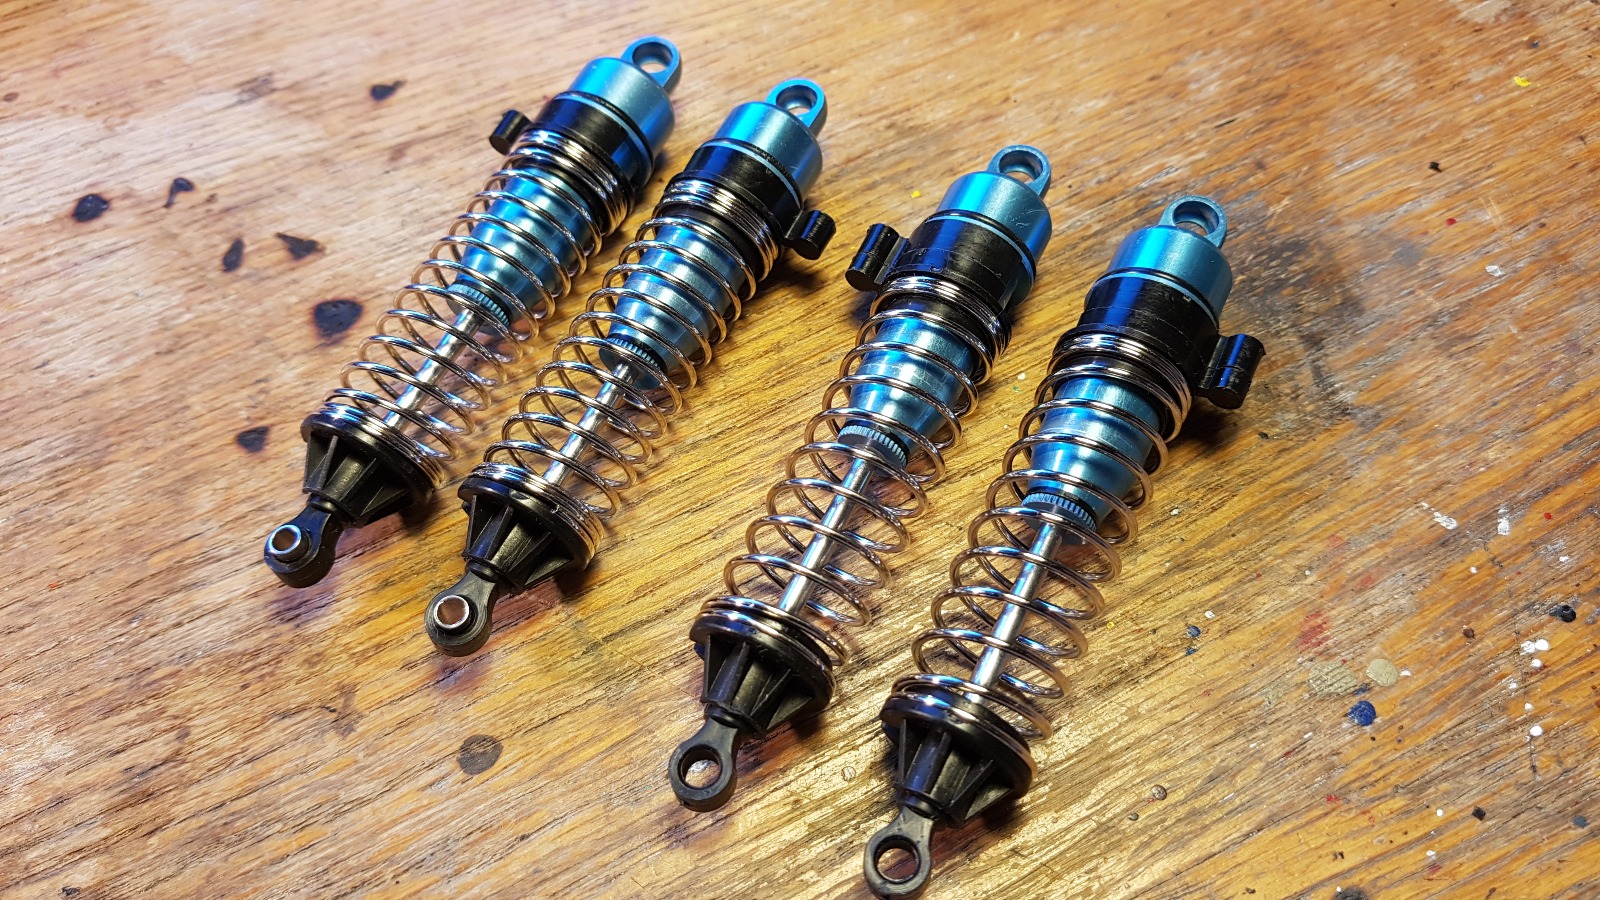
All four ready for oil.

")
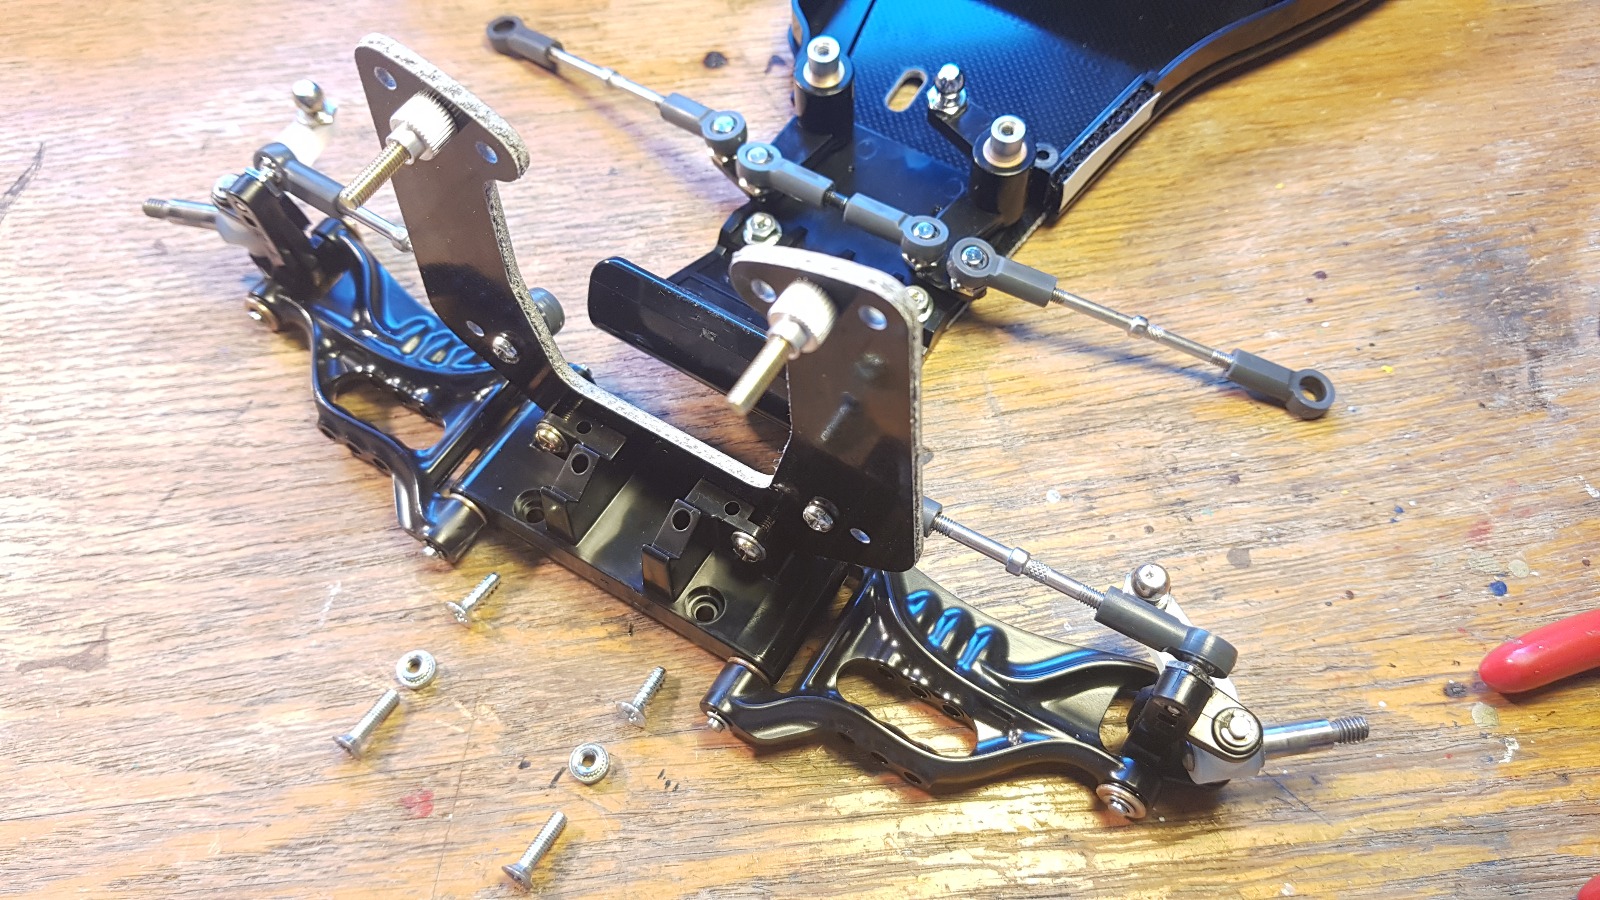


 , if no one would ever see it perhaps something could have been substituted but it's right on top so.....that was an expensive washer
  ......
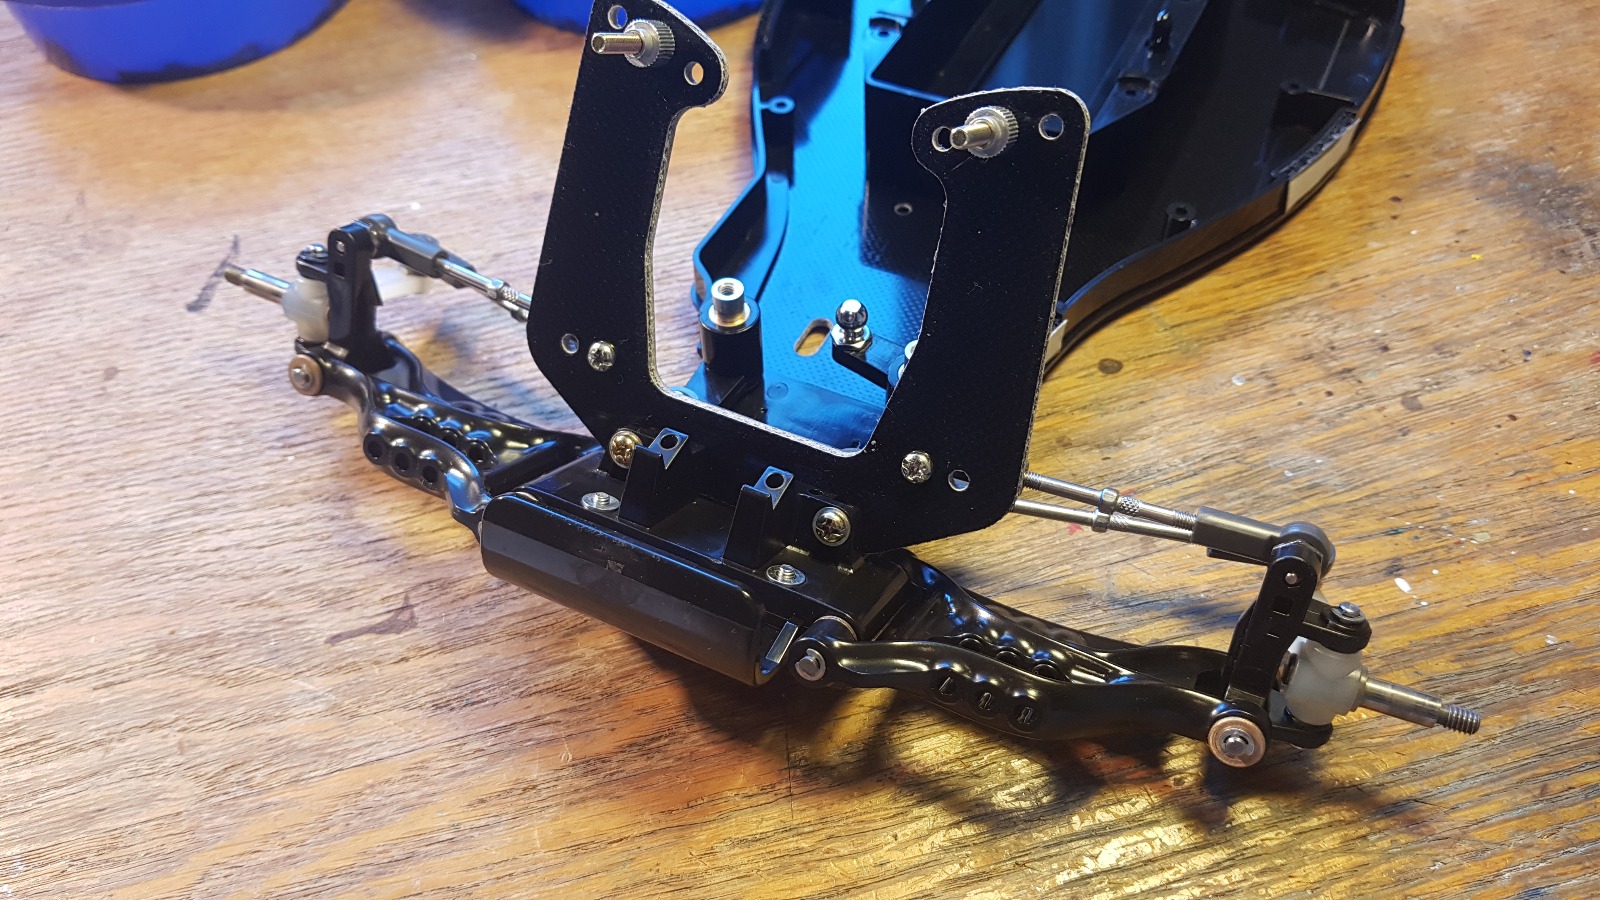
 lovely chassis
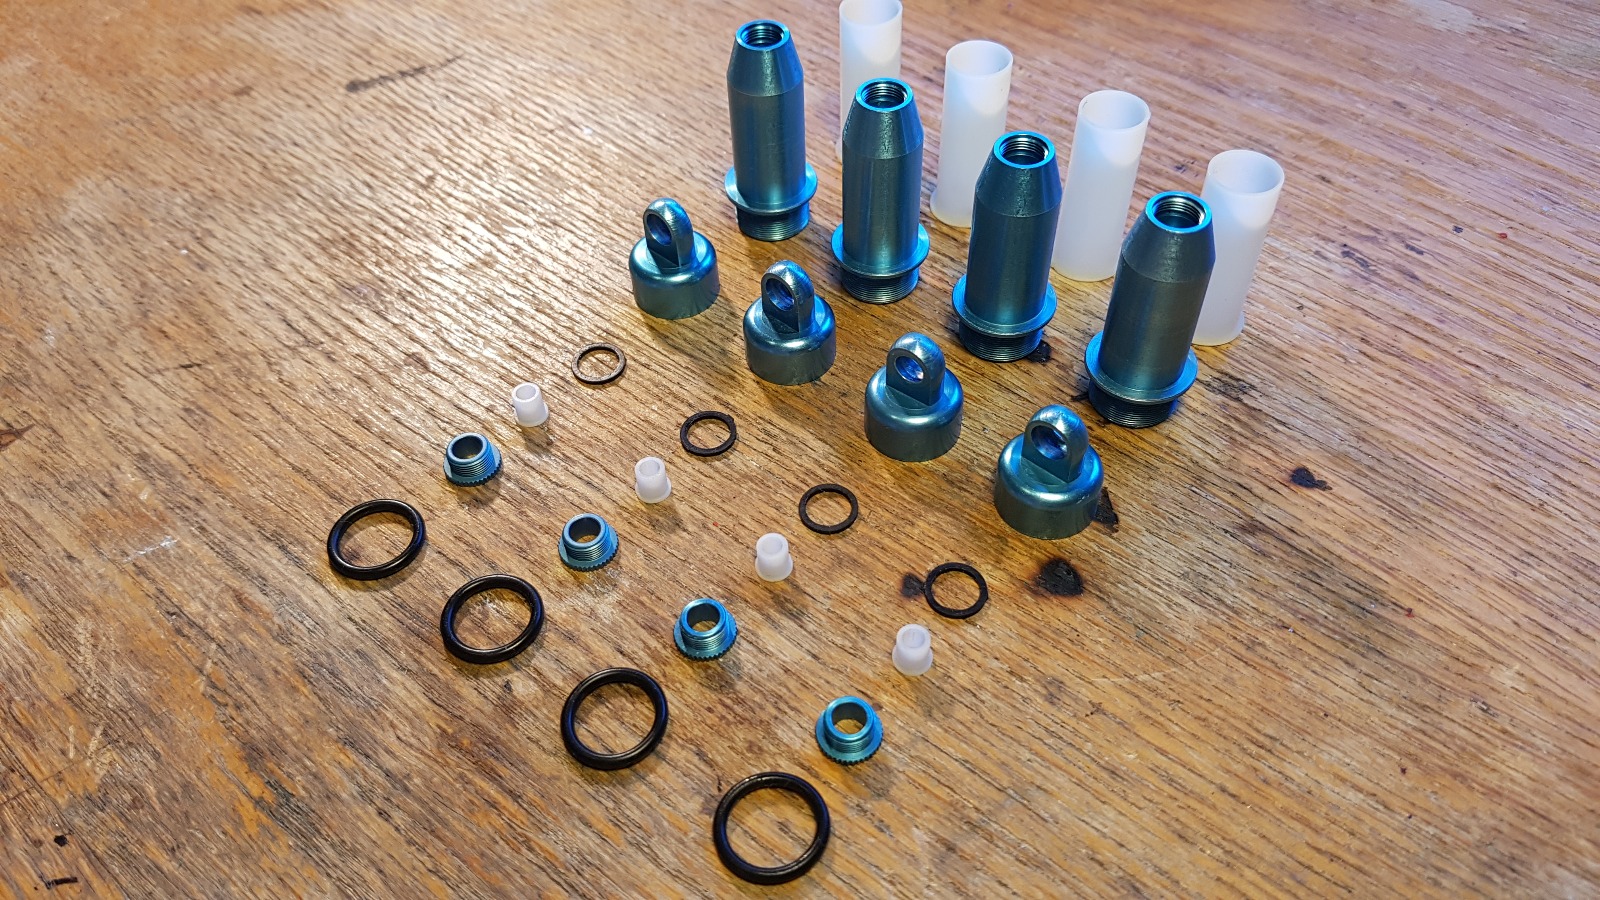

 I need to sale my big ones before. Or find a good deal like the tyrrell