Keyword

TOPIC:

Richard's TA02 Zakspeed Capri project. Vintage chassis. 2 years 9 months ago #67487

It looks nice Richard. But why no headlights?

Please Log in to join the conversation.

Richard's TA02 Zakspeed Capri project. Vintage chassis. 2 years 9 months ago #67490

It looks nice Richard. But why no headlights?

There will be led headlights in the buckets that comes with the body.
Have not decided if I want to run the orginal headlight decals or not yet.
You get two options with this body, either a decal with the headlights and the bezel with the air intake (where it is 4 headlights on a stock Mk3 Capri), or seperate headlight decals if you decide to paint the area like me. Have not agreed with myself yet if I run with decal over the headlight or not. 

For the rear lights I will run the kit taillight decals as they look good imo.
I will make buckets to house the brake(park light leds.

Should look more or less like the finished kit pictured here when finished, but mine will have led headlights and taillights, and clear windows.


Here is the real deal
The following user(s) Liked this: stingray-63, Al, 1972 LeMansGT Jim, silvertriple, jord001

Please Log in to join the conversation.

Richard's TA02 Zakspeed Capri project. Vintage chassis. 2 years 9 months ago #67494

It's too nice.
The following user(s) Liked this: 1972 LeMansGT Jim, jord001

Please Log in to join the conversation.

Richard's TA02 Zakspeed Capri project. Vintage chassis. 2 years 9 months ago #67499

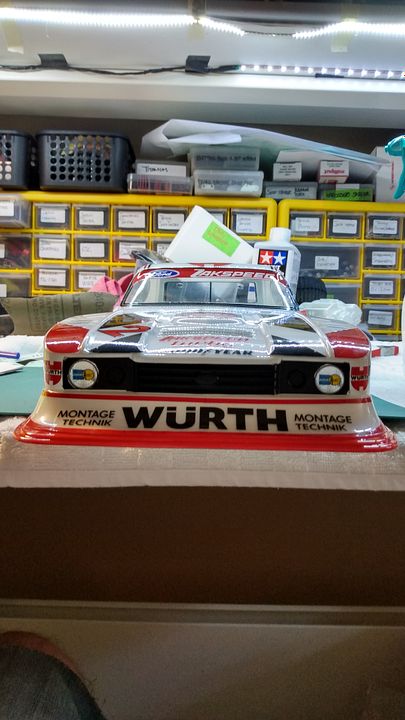
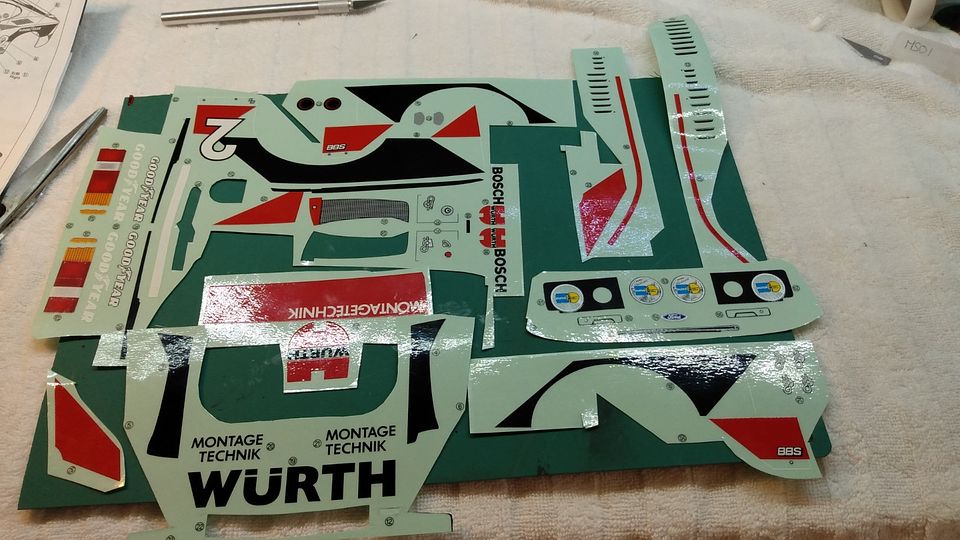
Holy moly, this sticker and spoiler job are time consuming to say the least.
All I manged today was to cut all the spoiler parts, trimming them and sanding edges for good fitment etc. Test fitting the spoiler. Sticker up the spoiler and sticker the tailgate and window trim in the tailgate. 
The latter turned out a bit disaster as I cut the decals that fit along the tailgate sides and over the roof a bit too much around the window. Window trim was too narrow to take up the the missing space between those stickers and the window rubber trim.
Luckly I have another set of Würth decals,

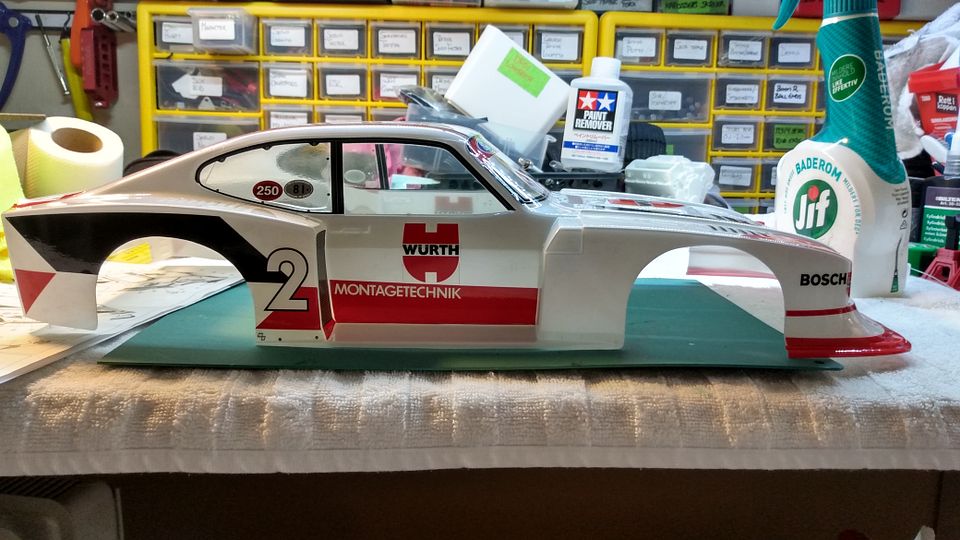
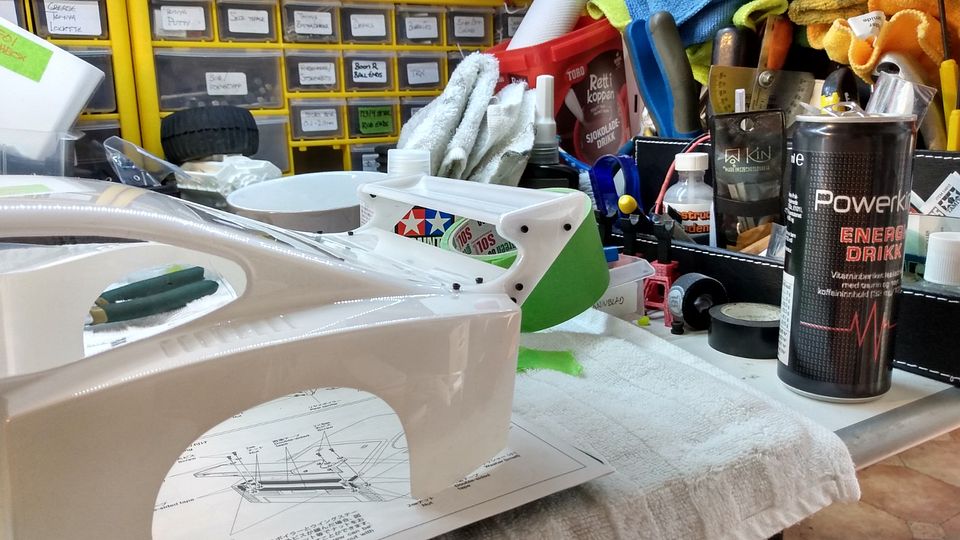
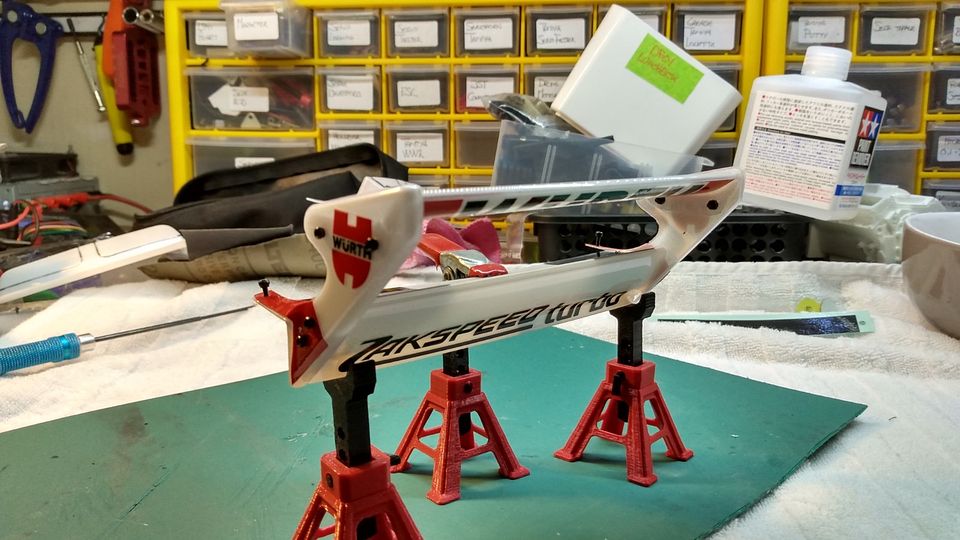
Anyway here I'm mocking up the rear spoiler which consist of 4 parts. sides and top wing and lower wing that becomes a part of the tailgate.
I find the supplied 2mm bolts too big, so I'm using M1.6 socket cap head bolts and nuts. Far more scale looking.


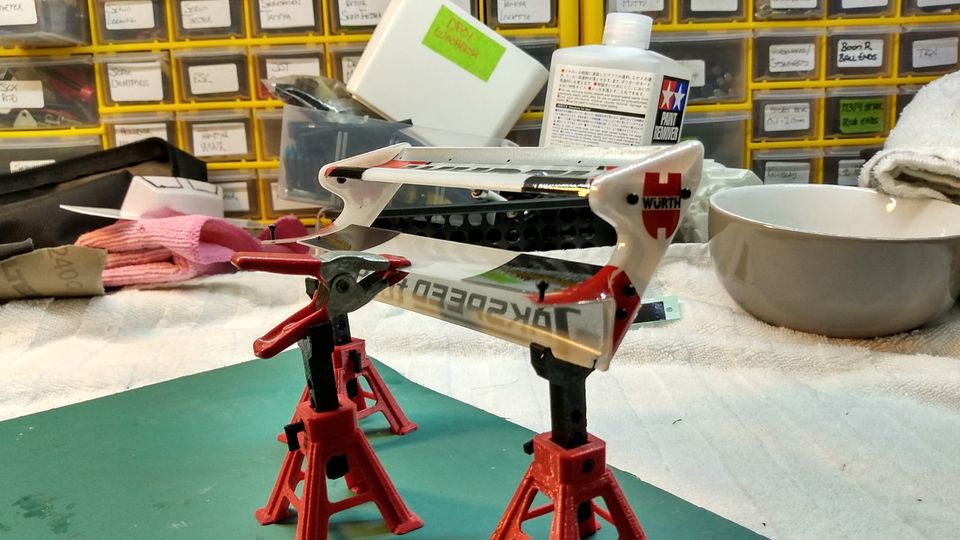
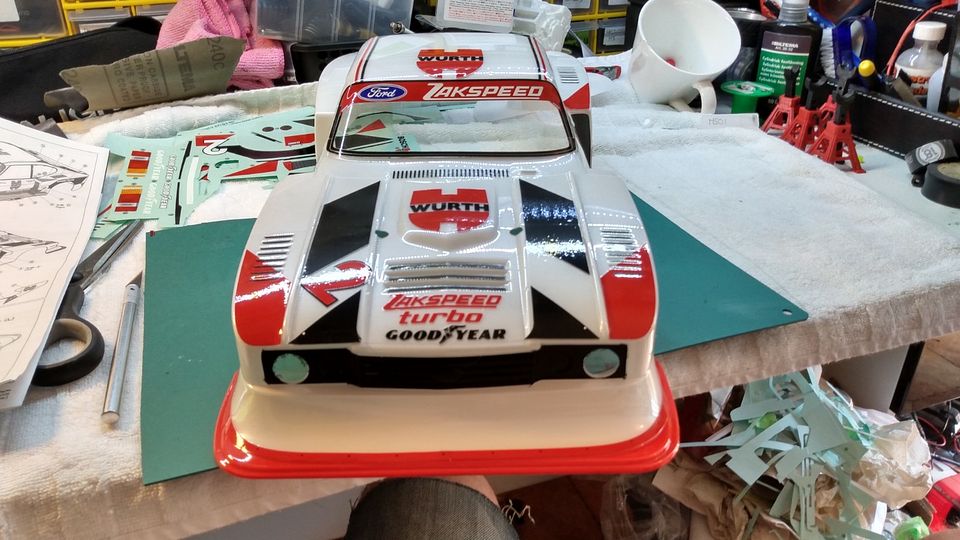
The wing makes the look of the Capri me thinks.


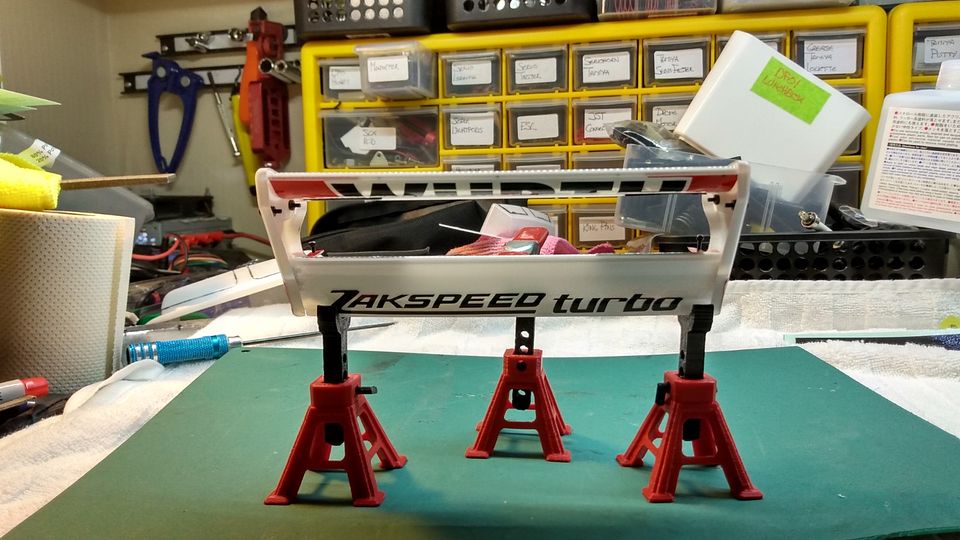
Many hours later the wing and the tailgate area is done.


Pulled off the wing and will set it aside till the body is done preventing damage to it.
The manual calls for double sided tape on both top and rear side of the tailgate to hold the wing, but I think I will skip that step in case I want to reapair the wing or something.


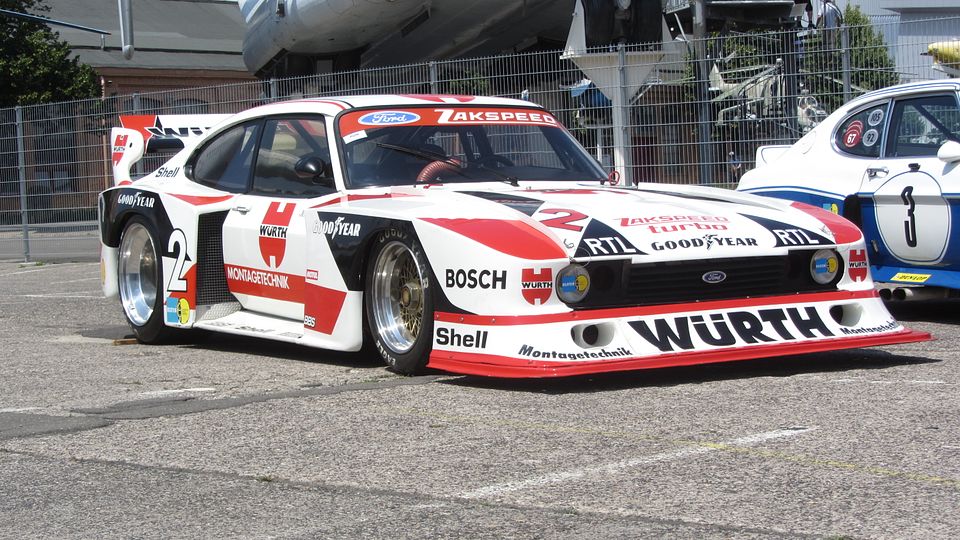
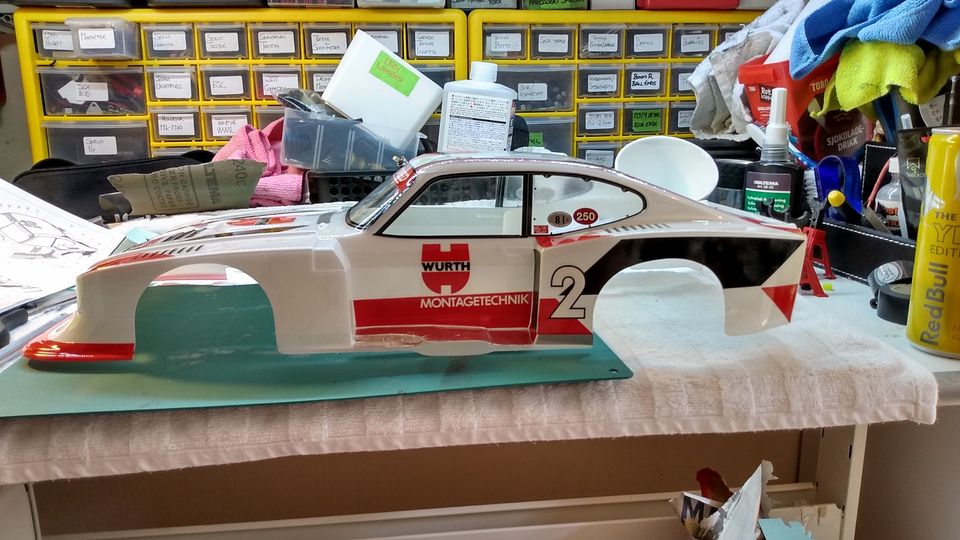
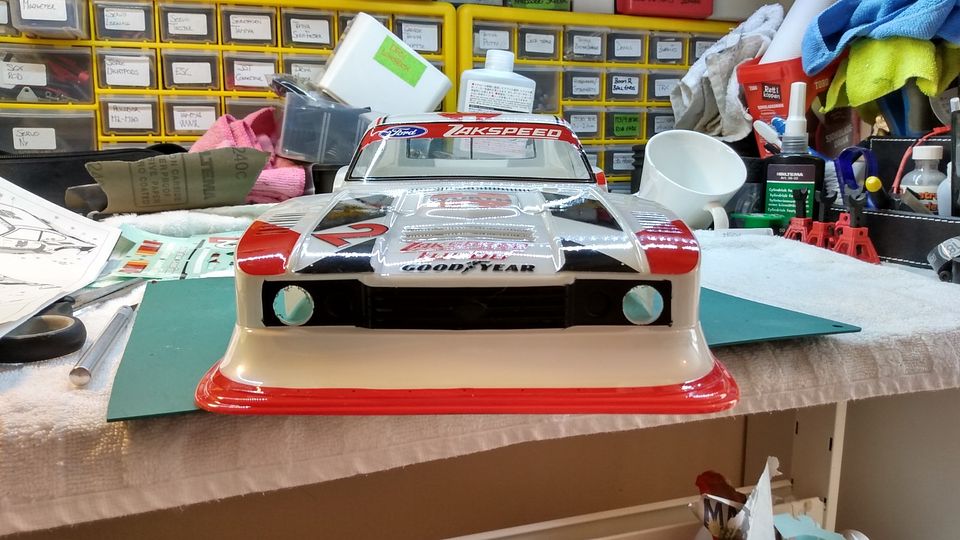
This was the view that GR5 Porsches saw when the Capri worked good.
Zakspeed Capris won many races in Group 5, both division 1 and 2, especially in 1981 where it won 6 of 13 races in Div 1 and 11 of 13 races in Div 2.


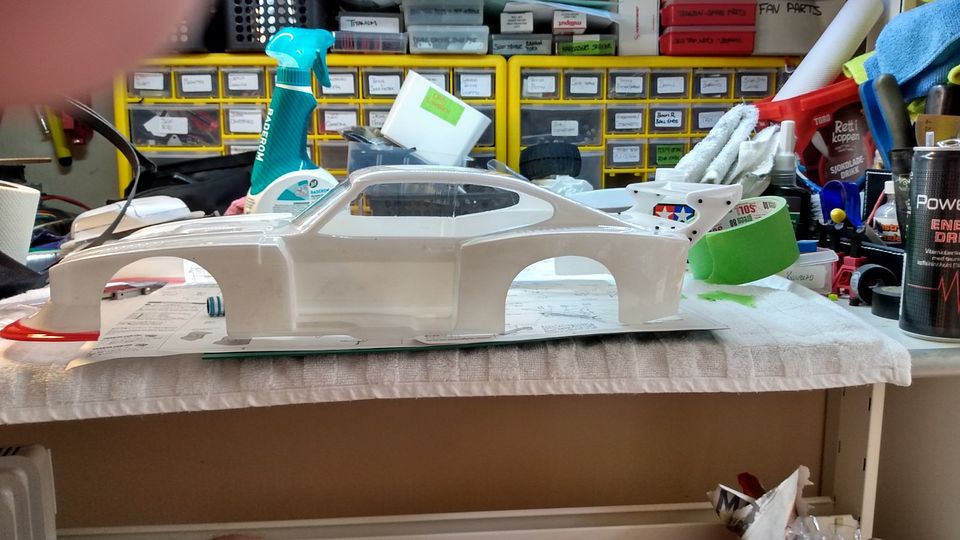
This body will take much longer time to do than I first thought.
There is 2 big sticker sheets for this body.

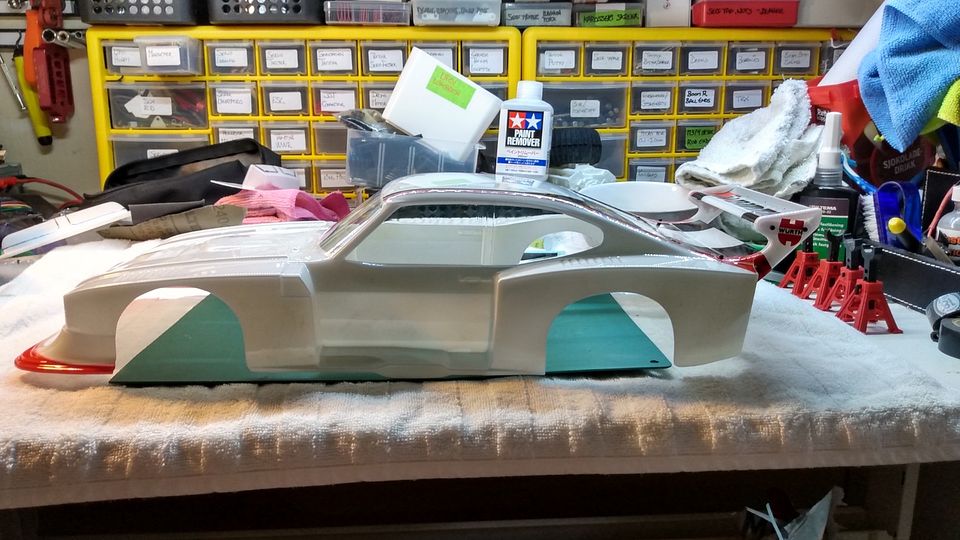
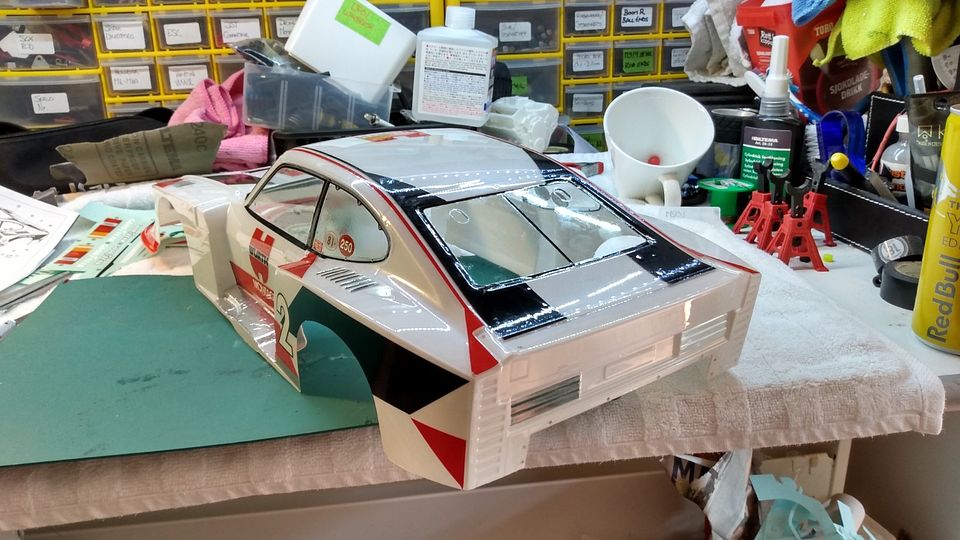
Progress should be faster now as there is no sanding to do, just stickering.
The following user(s) Liked this: stingray-63, Al, 1972 LeMansGT Jim, jord001

Please Log in to join the conversation.

Richard's TA02 Zakspeed Capri project. Vintage chassis. 2 years 9 months ago #67502

Starting look like something now....
Have loads of stickers left to do, but had to take a rest after 4 hours work today.
And putting on the deacals wet helps a lot!
Those that was put on dry and had to move sligtly ended up being a tad damaged.


Area around rear windscreen has to be redone later as I'm not happy of the outcome.


The two part sticker on top of the painted front lip that I thought might going to be tricky, turned out to be the easiest to apply.


Still have a few to put on here


These is still to go
The following user(s) Liked this: stingray-63, Al, silvertriple, jord001

Please Log in to join the conversation.

Richard's TA02 Zakspeed Capri project. Vintage chassis. 2 years 9 months ago #67503

It seems to be a lot of work, but still look very simple compared to a Lancia Delta with a Martini color schema...

That is the key reason why I did not ordered a XV-01 yet: I'm not confortable at all with decals, and tend to prefer masking when possible... And in such case, I would try to do as much as I can with paint rather than stickers as dirt tend to accumulate around the stickers, and any slide may damage the stickers as well...

Good luck for the rest of the stickers, Richard...
I buy kits to built and ru(i)n them :-)
The following user(s) Liked this: caprinut, stingray-63, jord001

Please Log in to join the conversation.

Richard's TA02 Zakspeed Capri project. Vintage chassis. 2 years 9 months ago #67504

Yeah I'm not fan of stickers usually, but this wont work without all the livery.
But that said, there is several area on this I would rater paint than using the stickers if I build another one.
Lower part of the wing area is one of them.
The exhaust area is ment to be painted with flat aluminium, but instead I have covered that with aluminium tape for more real look.

Think this is my most time consuming project so far regarding the amount of decals.
Seesm simple, but there are a few that needs to line up with eachother to work properly, like on a 959.


Managed to do a bit more.
Front looks so much better now.
And Flo, it has headlights now! 
The single headlight decals was not of the see through type, so instead I cut out the ones from those with the included headlight bezels.
I used a circular cutter, similar to a compass with a knife blade in the end instead of a pencil


Also started on the other side


One more day and I think the decal bit will be finished..
The following user(s) Liked this: stingray-63, silvertriple

Please Log in to join the conversation.

Richard's TA02 Zakspeed Capri project. Vintage chassis. 2 years 9 months ago #67505

Yeah... I saw as well those red stickers with white lettering on it...
This Ford Zakspeed Capri Group 5 is one of my favorite cars... I spent a lot of time using those in Project Cars 1 & 2. If ever I get a TT02 chassis, this will be with this body shell. That being said, your pictures makes me thinking about other liveries: looking at the stickers picture, there is at least one piece that bug me  that red with white lettering in it. This what makes painting red and black not possible in this case. Only black seems possible in this case (and even for the windows joints it is easy : you just have to do a scan of the windows mask and recut them with a 1.5 mm contour in addition - that is what I did for my son on his lunchbox body:  )...

I will search for other liveries for this car, in anycase as I like to do things different than box art...

As well, Richard, you said there is light buckets delivered with the body shell, would it be possible to have a picture of it (i'm trying to find something to fit the kamtec lunchbox bodyshells)
I buy kits to built and ru(i)n them :-)
The following user(s) Liked this: caprinut, jord001

Please Log in to join the conversation.

Richard's TA02 Zakspeed Capri project. Vintage chassis. 2 years 9 months ago #67506

Yep, text here and there makes some of the colors hard to paint on its own, but I think it is doable if the letters are cut out and then placed on the painted colors.
The door sticker might not look good with the letters transfered, but now MCI can make your own custom stickers.

Speaking of MCI, they do several others livery for the Zakspeed Capri: mciracing.ca/a/...peed+capri

Will snap a picture of the light buckets.
The following user(s) Liked this: jord001

Please Log in to join the conversation.

Richard's TA02 Zakspeed Capri project. Vintage chassis. 2 years 9 months ago #67507

Yep, text here and there makes some of the colors hard to paint on its own, but I think it is doable if the letters are cut out and then placed on the painted colors.
The door sticker might not look good with the letters transfered, but now MCI can make your own custom stickers.

Speaking of MCI, they do several others livery for the Zakspeed Capri: mciracing.ca/a/...peed+capri

Will snap a picture of the light buckets.

Did not even thought about looking at MCIRacing... Thanks for the hint!
I do take a scan of all the decals before doing anything on a kit. I would eventually try in this case to use the plotter to cut a white decal like I did on my Super Hotshot. If it is the only case where there is this situation, that would be easily doable...
I buy kits to built and ru(i)n them :-)
The following user(s) Liked this: jord001

Please Log in to join the conversation.

Moderators: caprinutstingray-63AndyAus
Time to create page: 0.216 seconds
Cookies are required to make this site work. If you continue to use this site you permit us to use cookies.