TOPIC:
58008 lp500s restoration 4 years 5 months ago #57459
|
I've used Humbrol clearfix to make small windows & carefully bonded sacrificial bit of other clear windows & CD cases to fix holes
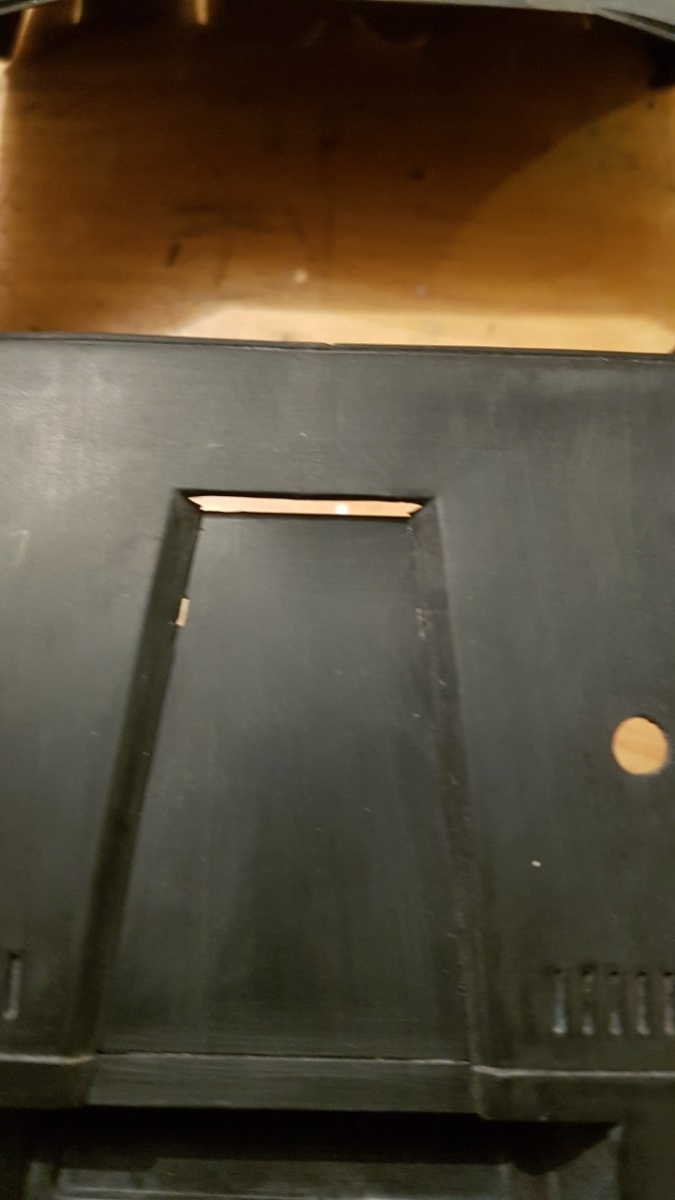
If it's going to spend most of it's life on a shelf I think being the best 1:12 representation of the real thing is the most important, not being 100% period correct or the best setup for the 5 minutes you're going to run it ... I'd fill the hole & paint the wing black
The following user(s) Liked this: Graemevw77
|
|
Please Log in to join the conversation. |
58008 lp500s restoration 4 years 5 months ago #57460
|
Went to youtube for info, clearfix looks good! I have a local model shop that will no doubt stock it too. Thanks. |
|
Please Log in to join the conversation. |
58008 lp500s restoration 4 years 5 months ago #57461
|
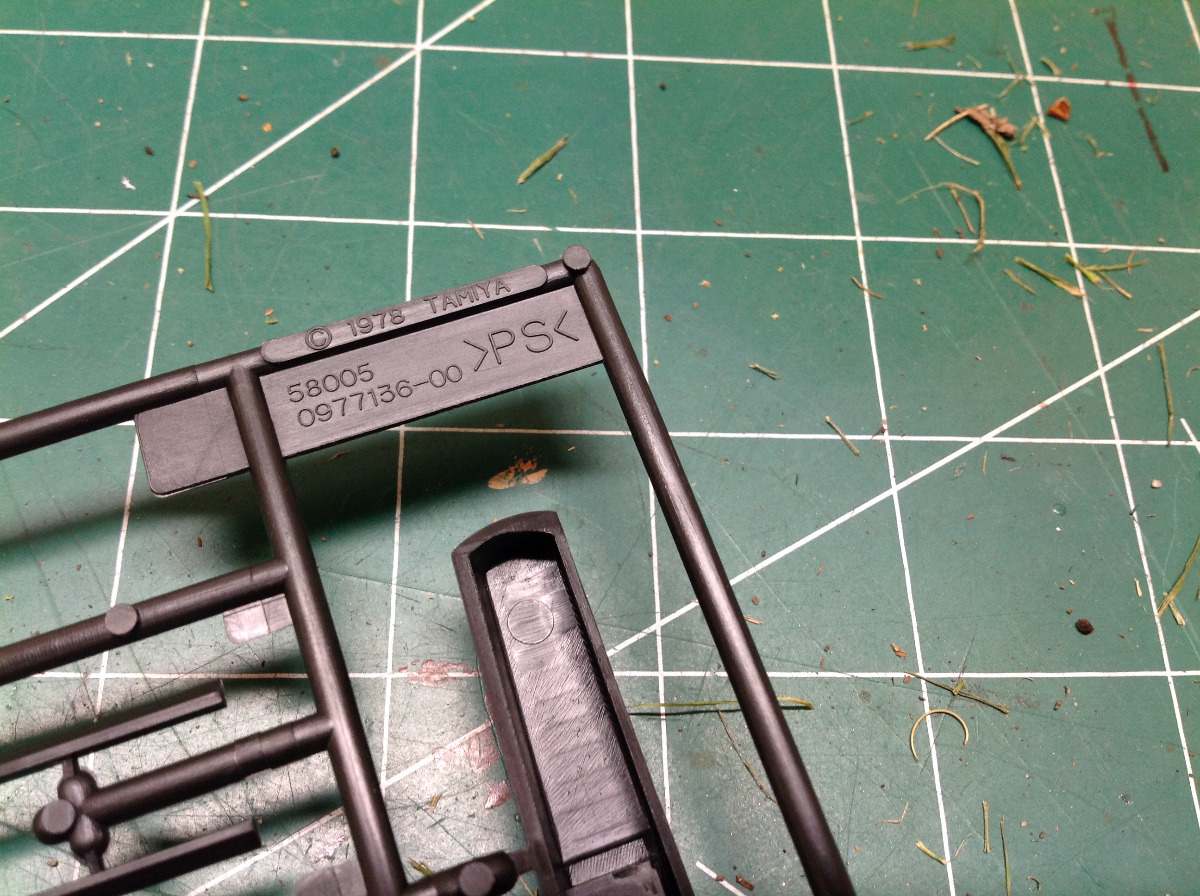
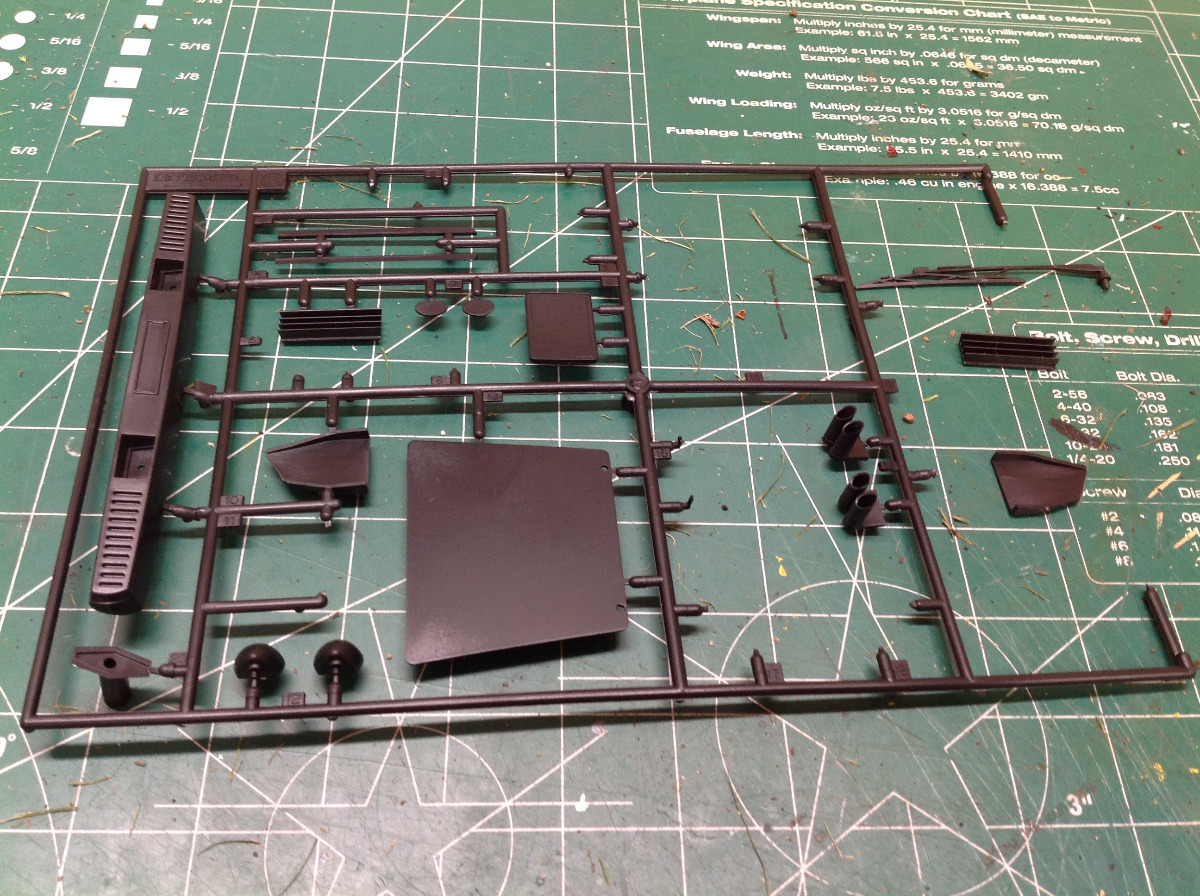
There was a 1/12 scale Countach in the Tamtech Gear series in 2008 (57105). That used a polycarbonate body, but it included the body accessories tree from the original 58005 just for the dash panel. All of the other parts were just extra. I probably still have those parts lying around somewhere which would include at least the wiper and the exhaust.
The following user(s) Liked this: stingray-63
|
|
|
Please Log in to join the conversation. |
58008 lp500s restoration 4 years 5 months ago #57463
|
Thanks, but i should be sorted for body parts now. Im sure someone out there would be very keen to get hold of that tree though!
The following user(s) Liked this: poebe
|
|
Please Log in to join the conversation. |
58008 lp500s restoration 4 years 5 months ago #57480
|
I bought some of this today. Just wondered if you had found anything it wont stick to. I was thinking of making a barrier and backer to help in building up a missing area. Also, any experience of shaping and maybe polishing it once set? Ill experiment with it but thought i may as well ask if you had already tried such things. Thanks. |
|
Please Log in to join the conversation. |
58008 lp500s restoration 4 years 4 months ago #57503
|
|
|
Please Log in to join the conversation. |
58008 lp500s restoration 4 years 4 months ago #57504
|
Nice work.
|
|
Please Log in to join the conversation. |
58008 lp500s restoration 4 years 4 months ago #57544
|
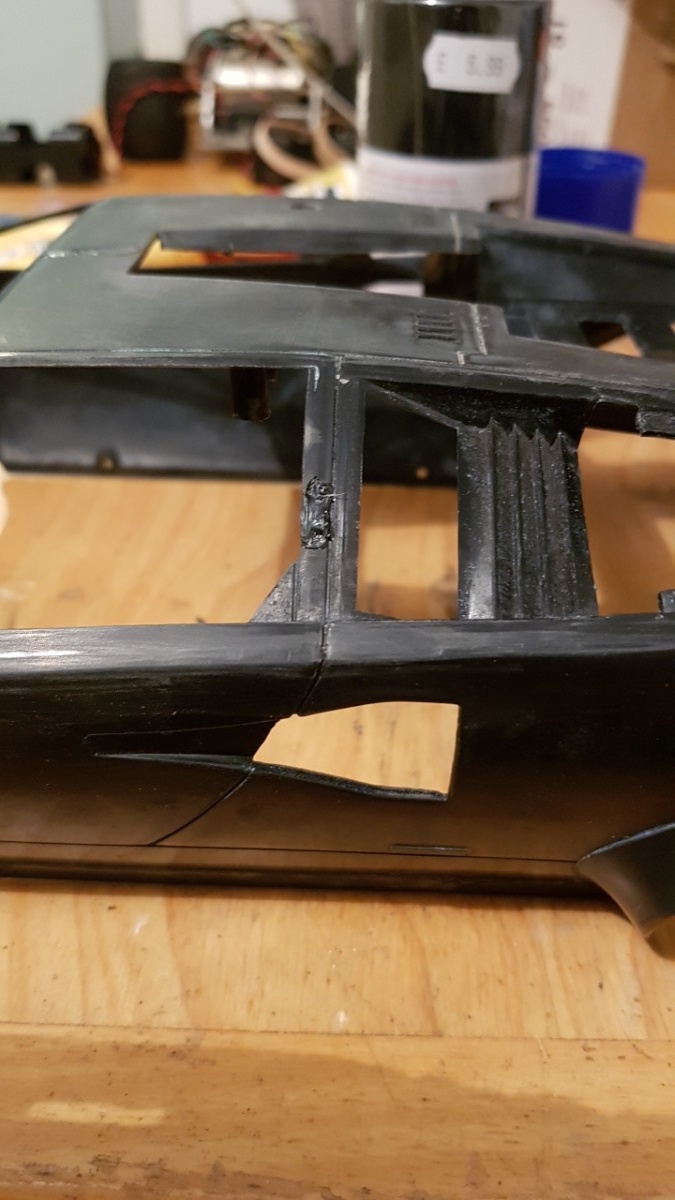
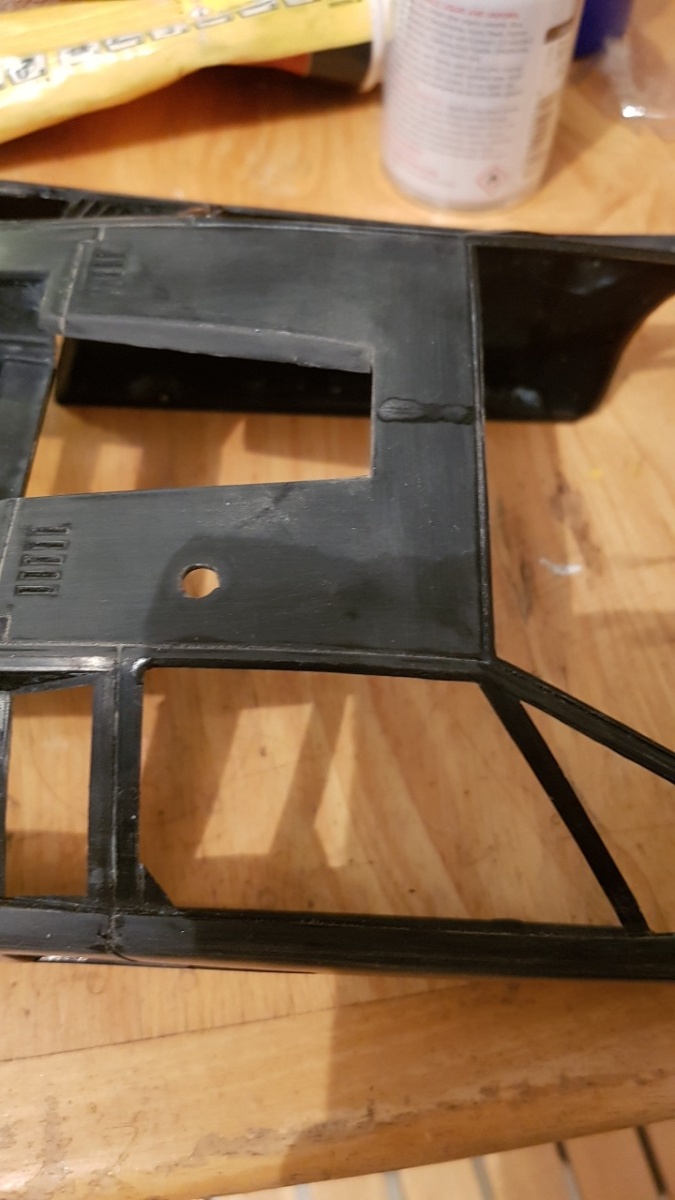
Got a couple of hours on this today. I flatted out the mould lines, finished the repair works, flatted out the whole body to level the panels and try and remedy a few moulding bad areas. I then re drilled the holes for the number plate, mirrors and wiper and used solvent to re attach anything i felt should be on before painting.
There are a few little niggles that if i had made it from scratch, id fix, but i want to it look like a tamiya rc model thats been built well rather than a full on scale model. Things like the little gaps you get from the location slots on the roof panel. I could fill those, but this is how tamiya made it so ill leave it. This is how it sits right now A little more prep and a real good clean and maybe tomorrow ill get the primer on.
The following user(s) Liked this: stingray-63, AndyAus
|
|
Please Log in to join the conversation. |
58008 lp500s restoration 4 years 4 months ago #57545
|
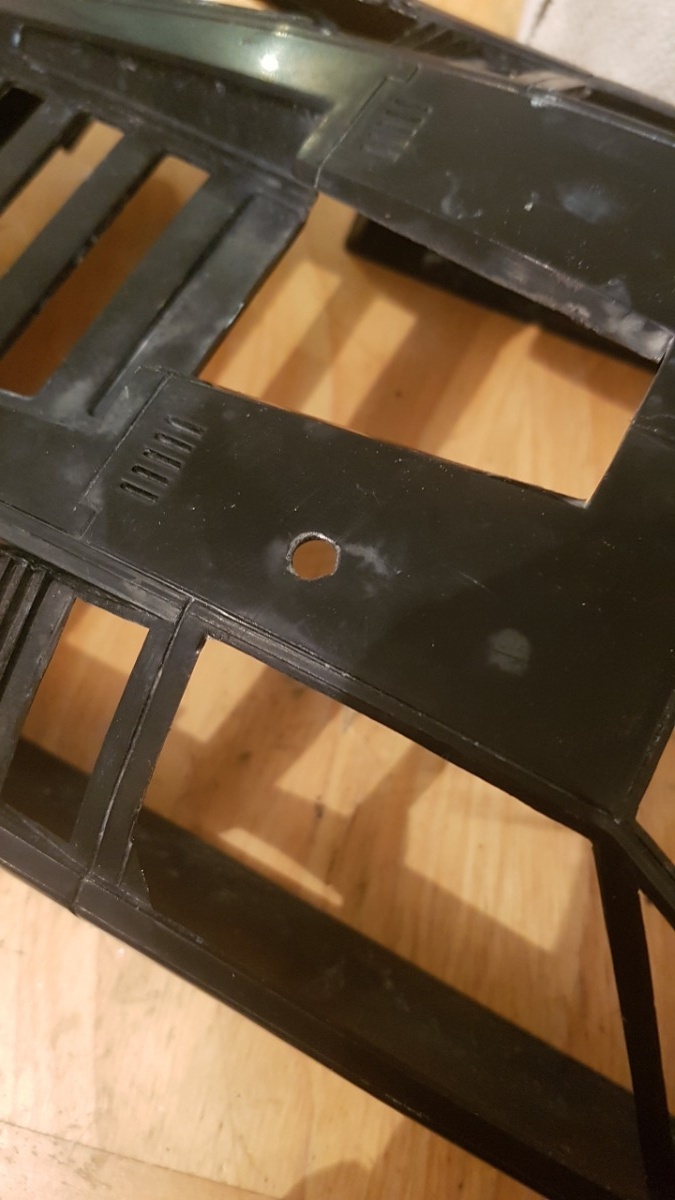
I also decided to leave the aerial hole. I was going to fill it but its an rc car, it should have an aerial (i did add some plastic to tidy up a chipped edge though).
I plan on doing a stealth 2.4ghz conversion on the futaba rx so it will get a short aerial tube. |
|
Please Log in to join the conversation. |
Time to create page: 0.215 seconds

