Keyword

TOPIC:

Blakbird's 959 Restore 3 years 10 months ago #59882

If you find something that work, can you sell me some of that tube so I can do mine?

Sure, I will post my progress (or lack thereof) when it happens.

I've built up the mechanical portions of the chassis and had a lot of fun doing so. It is making me rethink the idea of selling it when I'm done. I may not be able to part with it. The shocks are empty and uncapped until I get my gasket material and tubing.


I spent some time trying to repair the bottom of the chassis. This was clearly a runner (unusual for a 959) so there are a lot of scratches on the chassis and pans. I started by sanding with 400 grit pads, then worked my way up to 3000. Finally, I used some plastic restoration polish and a buffing wheel on my rotary tool. The following pictures show before and after. Not too bad.


In case there was any doubt about how much this was used, here is the pinion I removed compared with a new one.


I've been hunting eBay for some of my missing parts. Replacing them is theoretically possible but financially prohibitive. Here is a million dollar light bucket:


and here's a million dollar interior:
Attachments:
The following user(s) Liked this: stingray-63

Please Log in to join the conversation.

Last edit: by blakbird.

Blakbird's 959 Restore 3 years 10 months ago #59883

One nasty surprise I found is that the previous owner took a razor saw to the right side of the chassis for some reason and sawed off one of the MSC support and one of the servo supports. He kept the removed part and then used it as a spacer. This is invisible when the MSC is installed so I didn't know about it until now.


Were there multiple variations of this chassis? I see that the manual shows a dogbone style prop shaft, but my car has a paddle style (wire with flat ends). In the picture above you can see the brass collar on the gearbox output where the prop shaft fits in. The manual shows a different part.
Attachments:
The following user(s) Liked this: stingray-63, 1972 LeMansGT Jim

Please Log in to join the conversation.

Last edit: by blakbird.

Blakbird's 959 Restore 3 years 10 months ago #59888

blakbird sorry about your porsche 959 chassis are u going to fix it or is it too far gone?
can i see more pic of your chassis front thanks not sure if u got old chassis or the celica type chassis
what porsche 959 parts are u after?

Please Log in to join the conversation.

Blakbird's 959 Restore 3 years 10 months ago #59892

Pulled from the Tamiyaclub site: "The Celica A parts are the same as the 959 A parts, it's an early running production change to strengthen the 959 gearbox mount.

The 959 manual was produced based on the original parts. Tamiya later beefed up the gearbox mount to strengthen it, and when the later Celica manual was produced it was drawn based on the later version of the 959 parts. The front gearbox also has extra added ribs to stop the mount flexing."

959 must be one of the most expensive chassis to restore within Tamiya cars.
The following user(s) Liked this: stingray-63

Please Log in to join the conversation.

Blakbird's 959 Restore 3 years 10 months ago #59899

shock tubing on ebay, i bought some and it works perfect,
www.ebay.co.uk/...SwLdJcs1fh
The following user(s) Liked this: caprinut

Please Log in to join the conversation.

Blakbird's 959 Restore 3 years 10 months ago #59900

Pulled from the Tamiyaclub site: "The Celica A parts are the same as the 959 A parts, it's an early running production change to strengthen the 959 gearbox mount. The 959 manual was produced based on the original parts. Tamiya later beefed up the gearbox mount to strengthen it, and when the later Celica manual was produced it was drawn based on the later version of the 959 parts. The front gearbox also has extra added ribs to stop the mount flexing."

Cool, thanks for this info. I can see in Lars' old restore pictures that he has the original dogbone type prop shaft which uses bits of shock tubing to retain the ends. I apparently have the later version.

blakbird sorry about your porsche 959 chassis are u going to fix it or is it too far gone?

It all depends on how I want to use the word "restore". I can't really claim it is restored with that type of damage, but the car can be made perfectly usable and it will still even look good as a shelf queen because that area will be invisible. I will know though.

can i see more pic of your chassis front thanks not sure if u got old chassis or the celica type chassis
what porsche 959 parts are u after?

Is the difference just the swaybar mounts? I don't have those.


The parts I need are the interior and body parts and the resistor:
  • Tree H: 0555012
  • Tree J: 0115050
  • Tree K: 0555012
  • Resistor: 7265011
Attachments:

Please Log in to join the conversation.

Last edit: by blakbird.

Blakbird's 959 Restore 3 years 10 months ago #59903

I did a little bit of resistor research. The 959 uses the 3-pin, wide terminal, ribbed type of resistor. The manual lists this as part number 7265011. Our very own Tamiybase lists the stock resistor as 50294 which is a 0.2 Ohm part. The more "normal" wide terminal resistor is the 50212 which is 0.3 Ohm. Makes no difference when you are running flat out, but the correct part would be a little faster in the low and medium speeds on the MSC. I'm able to find any buy the 0.3 Ohm version on eBay, but no sign of the correct part so far. Of course my broken resistor also works just find. The loss of some ceramic just means that it won't dissipate heat as well. Looks bad though.

Please Log in to join the conversation.

Blakbird's 959 Restore 3 years 10 months ago #59904

hi get the 0.3 Ohm version not the 2ok its better
but yes 0.2 did come with the porsche 959
its just got me thinking of change my runner one out
thanks didnt know that till i just had a look
sorry have to ask this are u looking for new or 2nd hand stuff

Please Log in to join the conversation.

Last edit: by spannerman3.

Blakbird's 959 Restore 3 years 10 months ago #59905

The change is in the main chassis tub.
It can be seen in step 3 in the Celica and 959 manual.
On the late 959 and Celica chassis there is a square bit added on the side of where you fit the big white washer in the steering in step 3.
Pull up both versions of the manuals on your computer and you will notice it.
The suare bit can be seen in the Celica manual but is not present in the 959 manual.

I don't know of to pull a picture from the manual online...

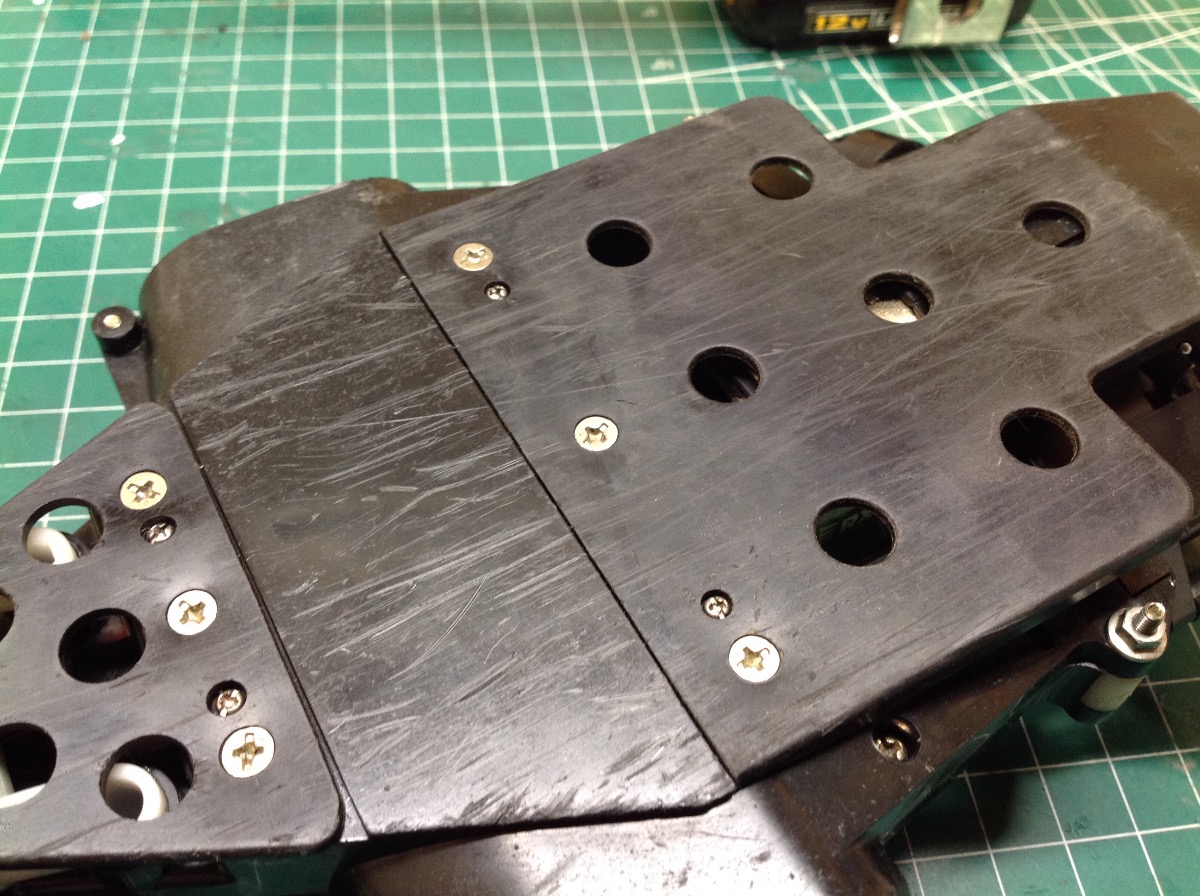
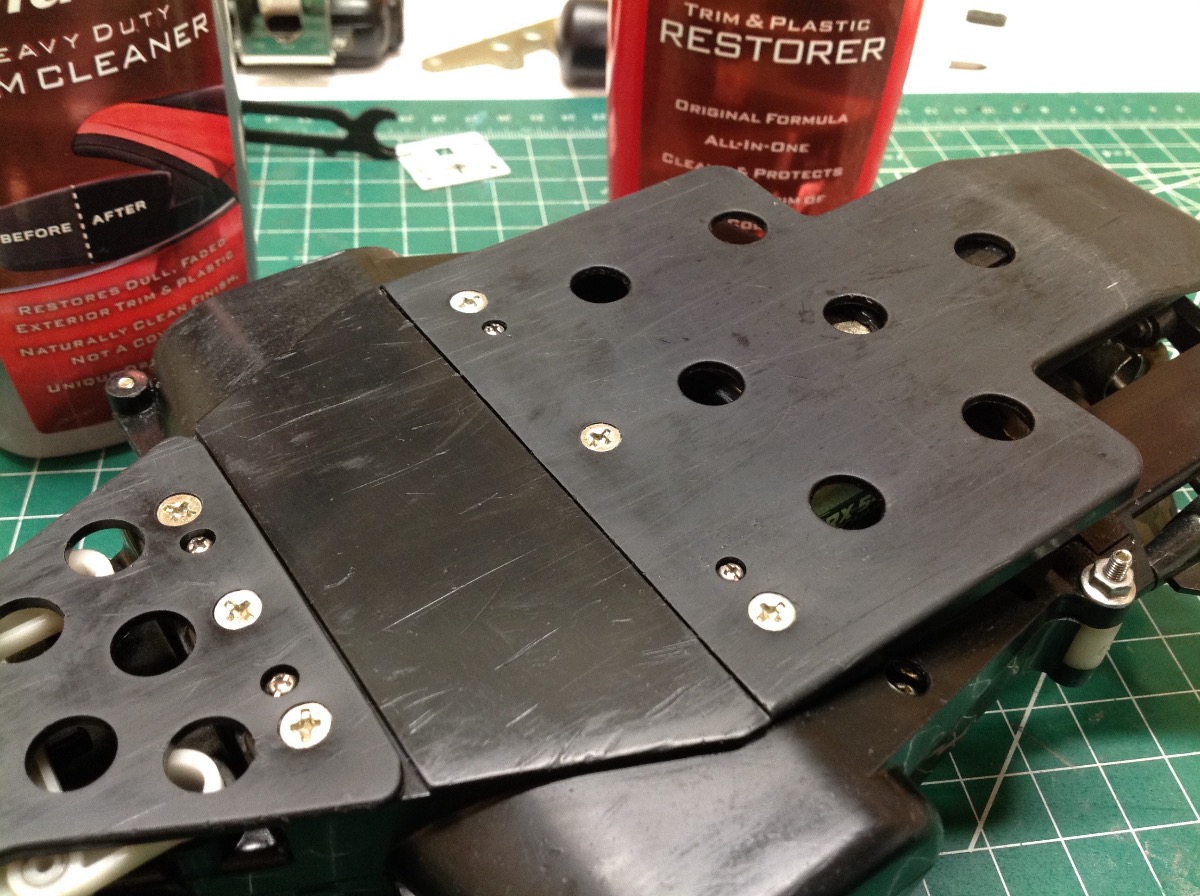
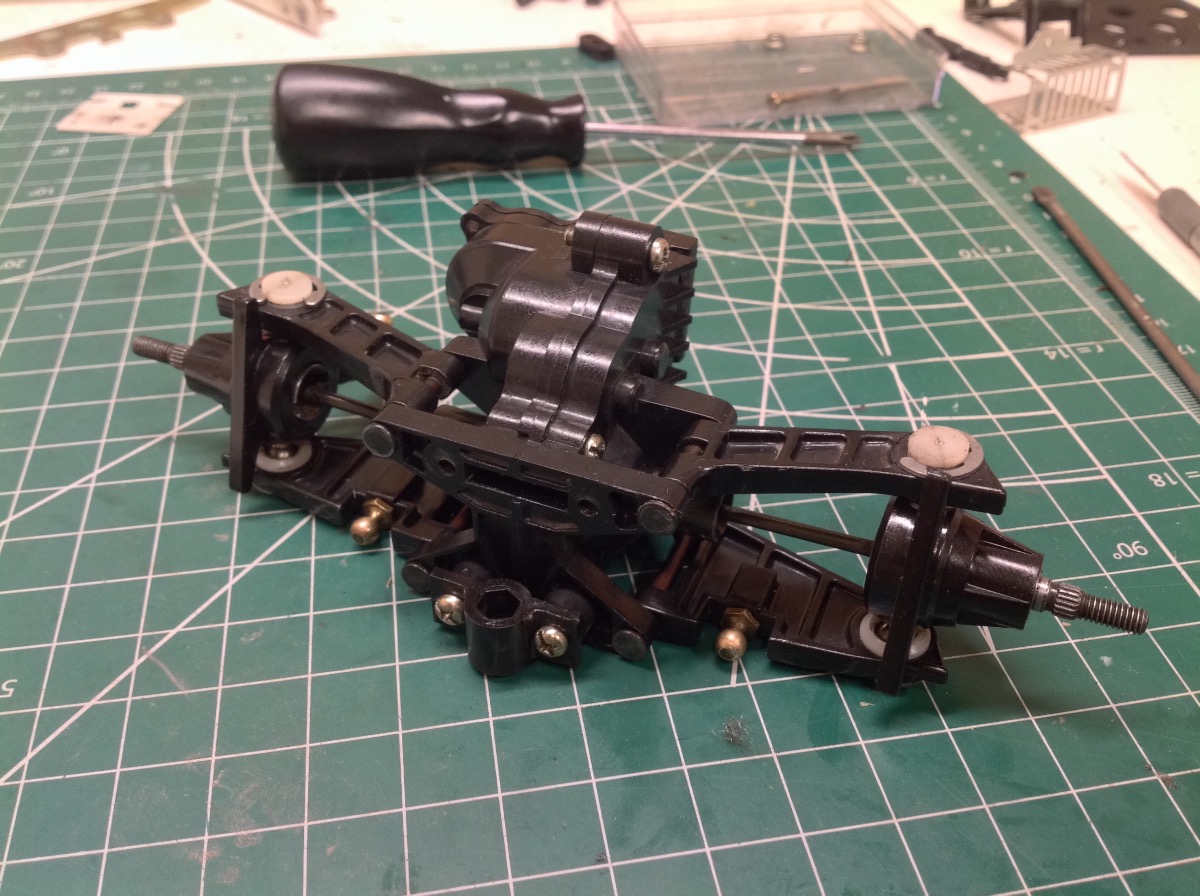
But here is a picture of my Celica with a 959 chassis.
If this was an late 959 or Celica chassis there would be a square bit added to the chassis to the left of the white washer on the left side
As you can see it looks the same on both sides of the chassis sides.


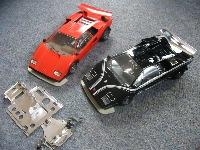
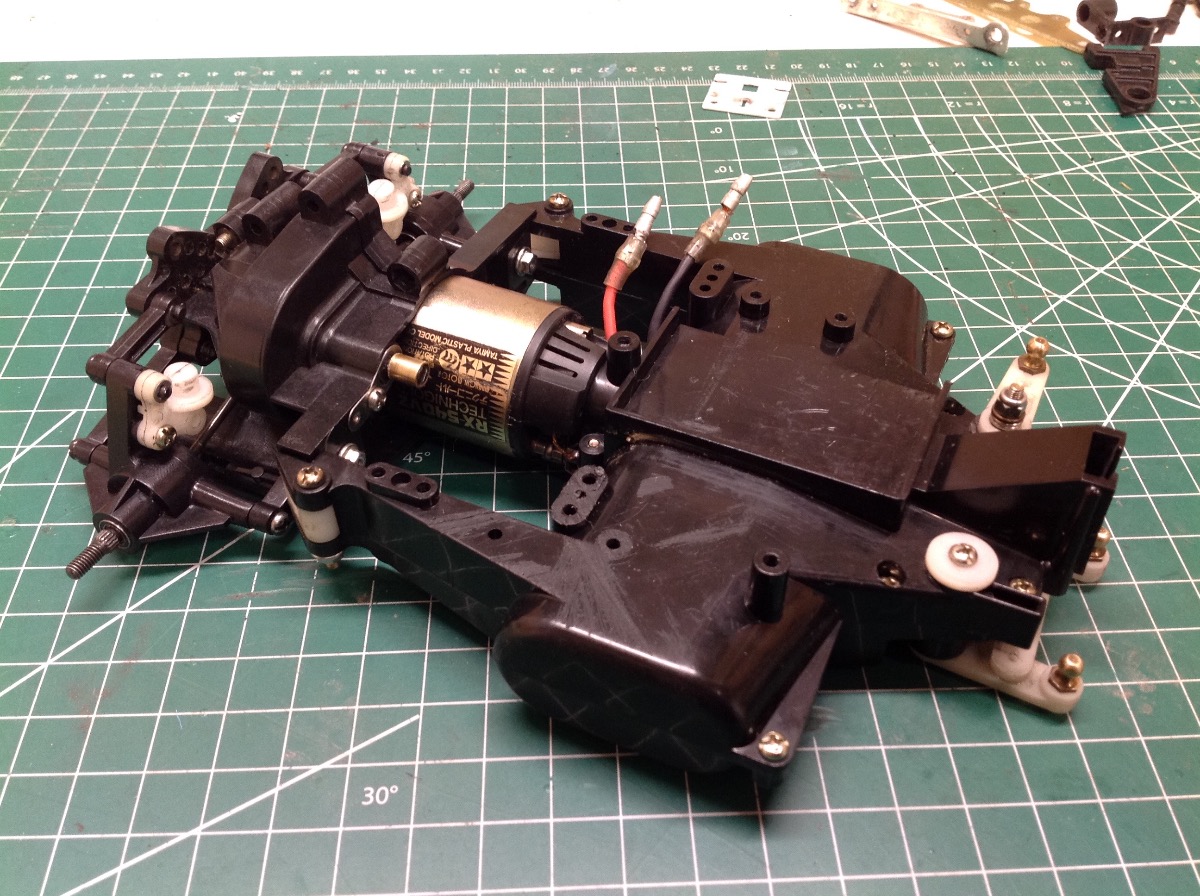
And from our very own Lars.
You can just make out the black square over the white steering bellcrank arm.
tamiyabase.com/...064_06.jpg

Please Log in to join the conversation.

Last edit: by caprinut.

Blakbird's 959 Restore 3 years 10 months ago #59906

The change is in the main chassis tub.
It can be seen in step 3 in the Celica and 959 manual.
On the late 959 and Celica chassis there is a square bit added on the side of where you fit the big white washer in the steering in step 3.

I see it now. Here you can clearly see the square bit you are talking about, so I guess that confirms I have a late version chassis. Any idea why they made that change?
Attachments:

Please Log in to join the conversation.

Last edit: by blakbird.
Moderators: caprinutstingray-63AndyAus
Time to create page: 0.180 seconds
Cookies are required to make this site work. If you continue to use this site you permit us to use cookies.