|
|
|
TOPIC:
How the Sand Rover should look. 3 years 2 months ago #64400
|
You gave me the idea to rebuild a chassis I have in spare if I have all parts
The following user(s) Liked this: Al
|
|
Please Log in to join the conversation. |
How the Sand Rover should look. 3 years 2 months ago #64407
|
I have several spare parts of my last hb resto. I have to see but still have the main tube. But no body...
|
|
Please Log in to join the conversation. |
How the Sand Rover should look. 3 years 2 months ago #64410
|
Original chassis but worn. I will list all parts I have.
|
|
Please Log in to join the conversation. |
How the Sand Rover should look. 3 years 2 months ago #64454
|
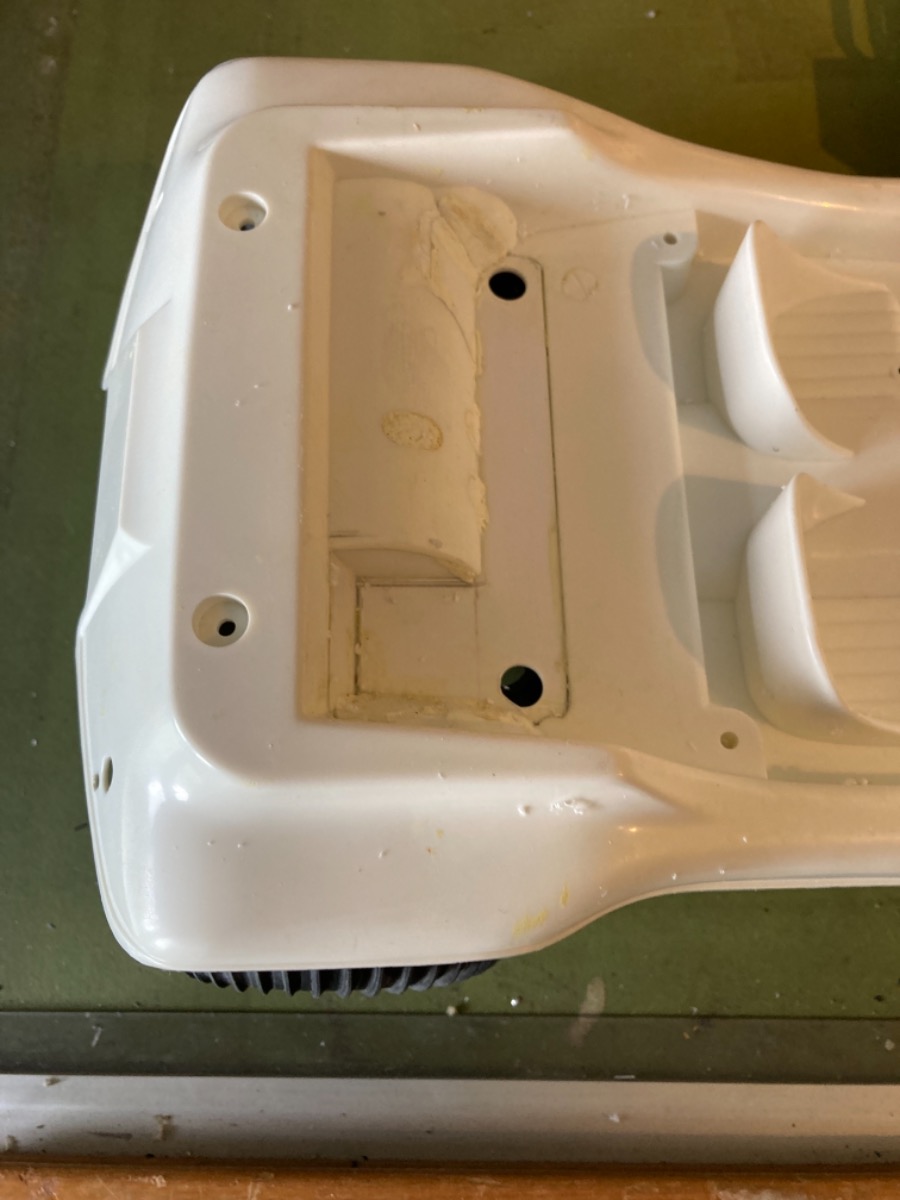
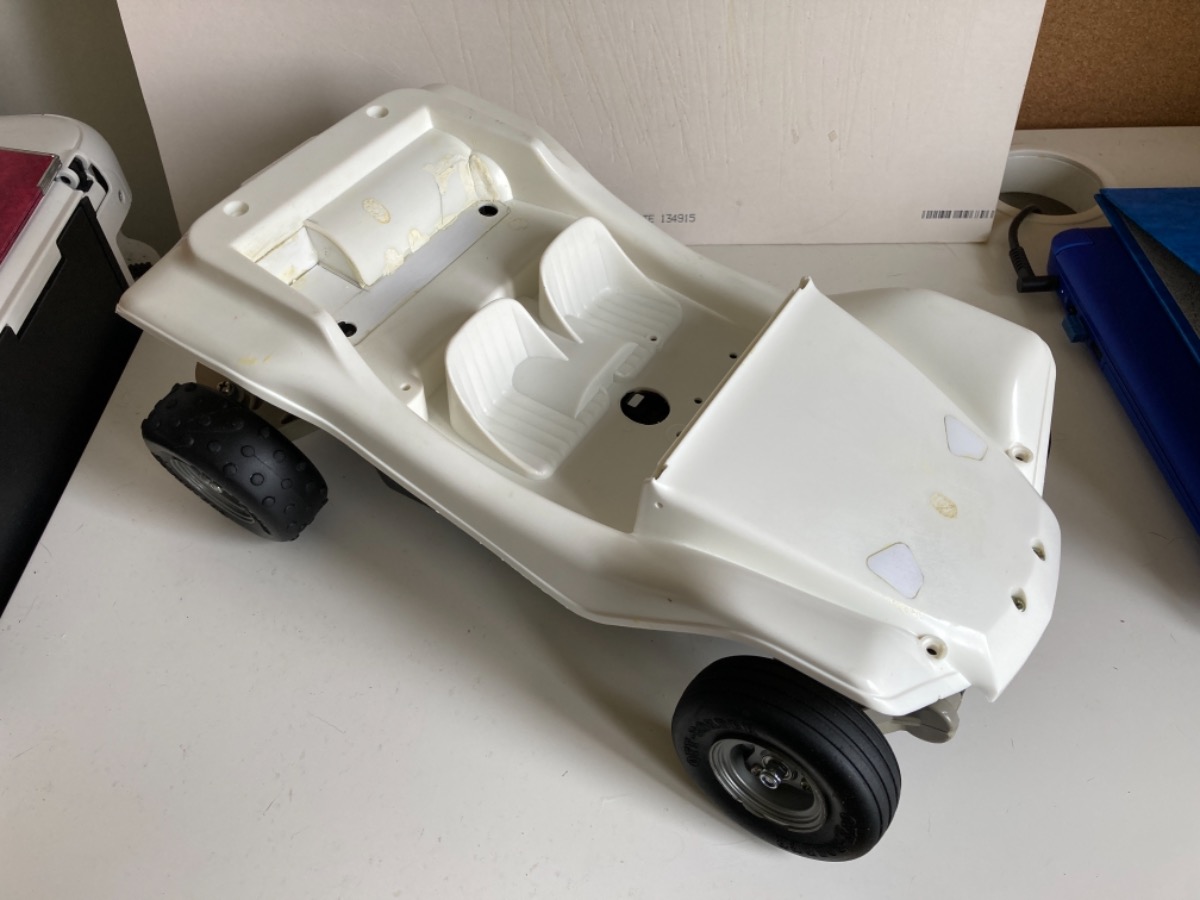
I bought a cheap reamer the other day. I didn't know about these until I saw Jonny post about some he'd just bought. It was new to me, but perfect for adding the rear body mount holes on the Sand Rover shell. This is a really neat way of doing this. Next job will be to start sanding the rough parts and tidy the back end up. I was using filler to get the bulges on the inside at the back of the shell, this definitely still needs work. Attachments:
The following user(s) Liked this: stingray-63, AndyAus
|
|
|
Please Log in to join the conversation. |
How the Sand Rover should look. 2 years 10 months ago #66671
|
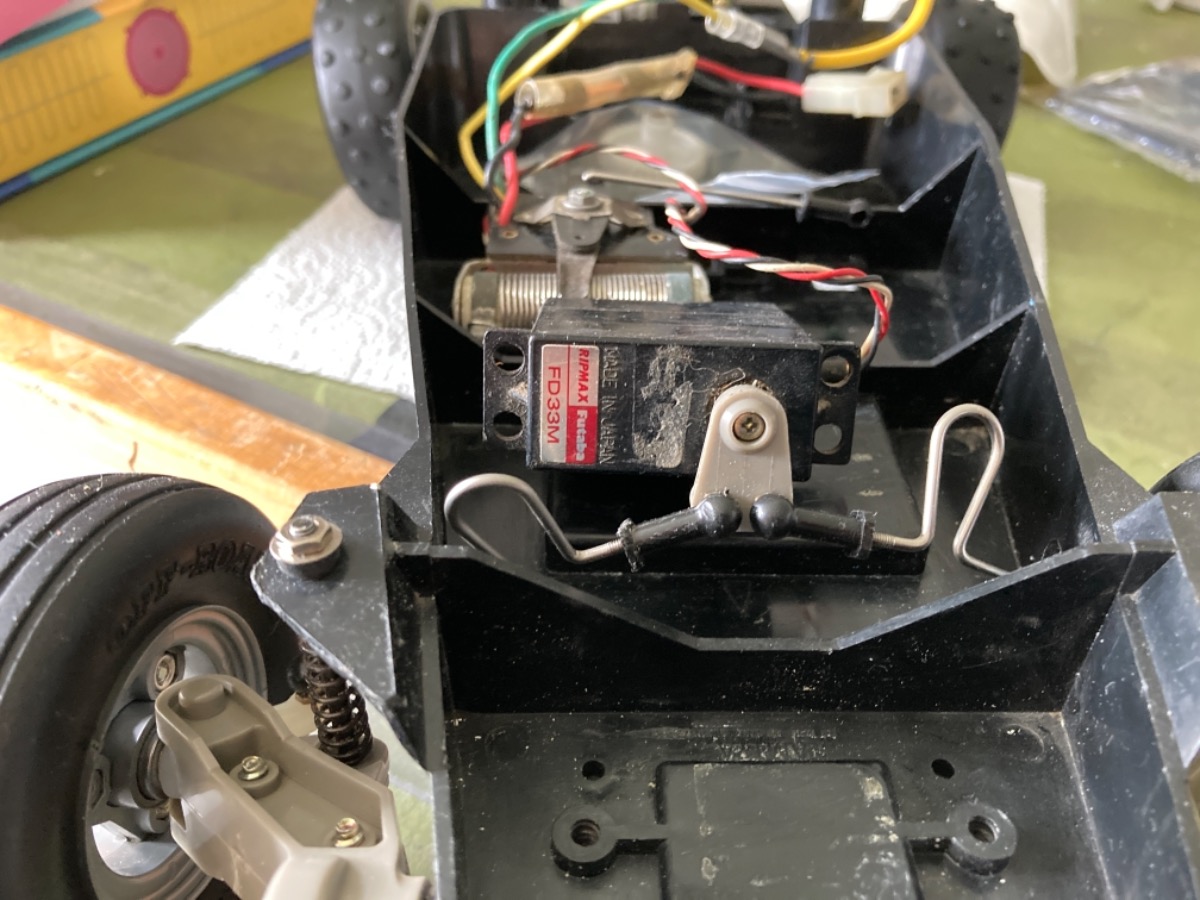
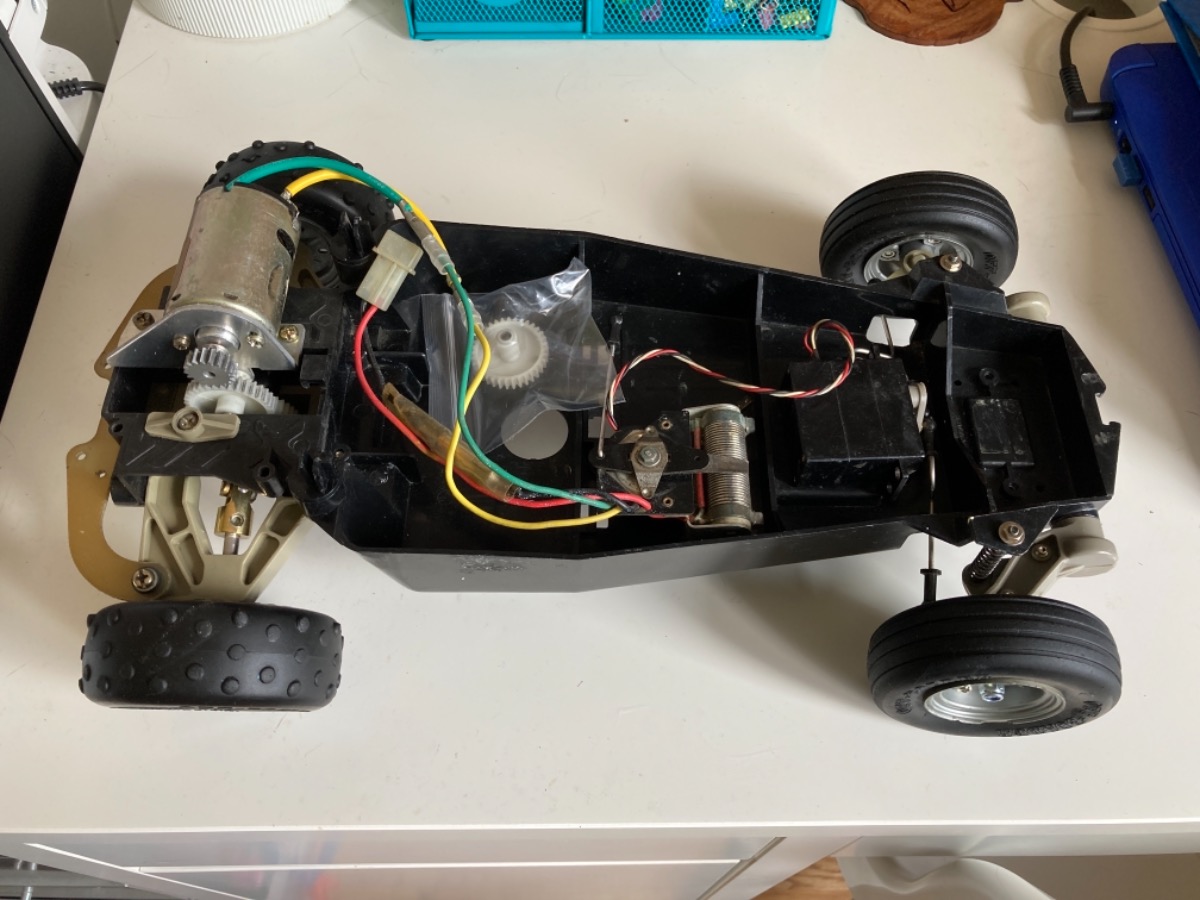
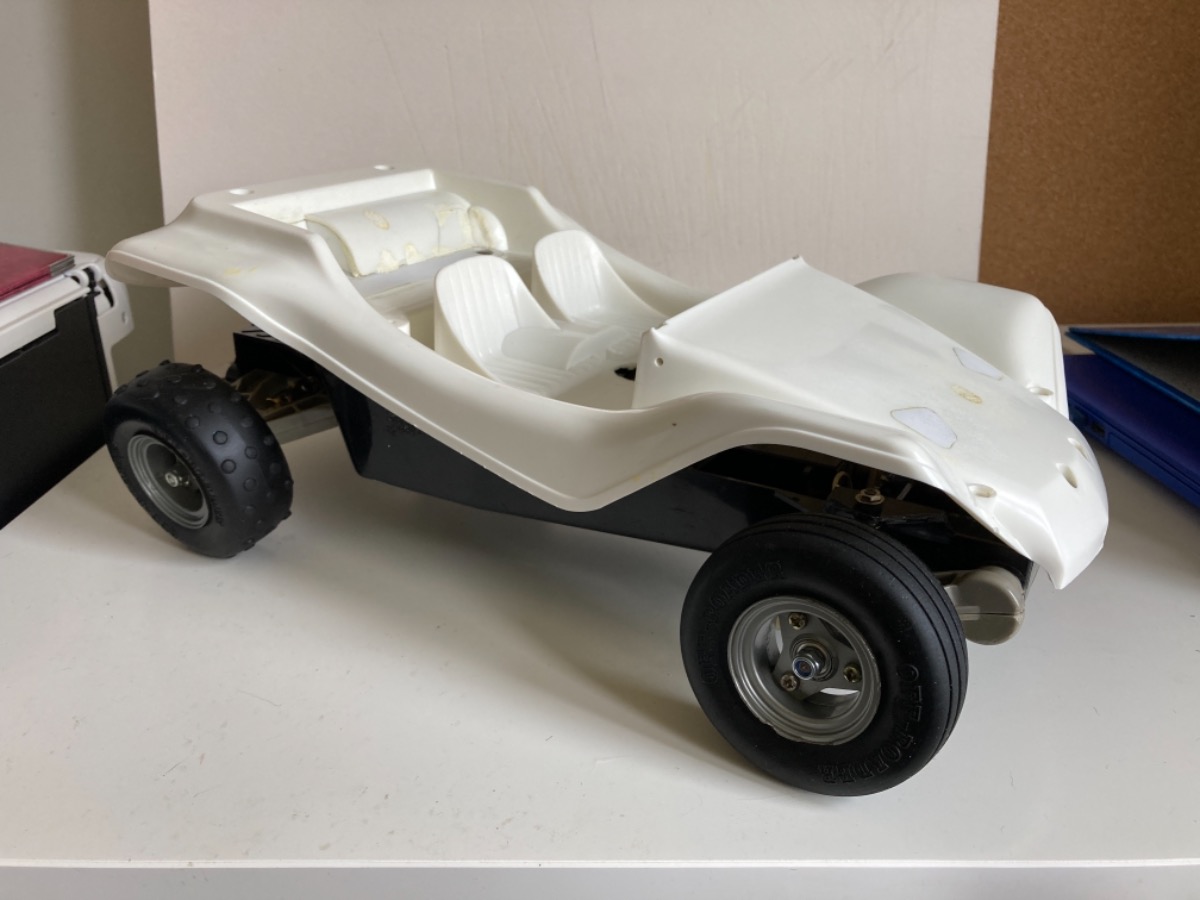
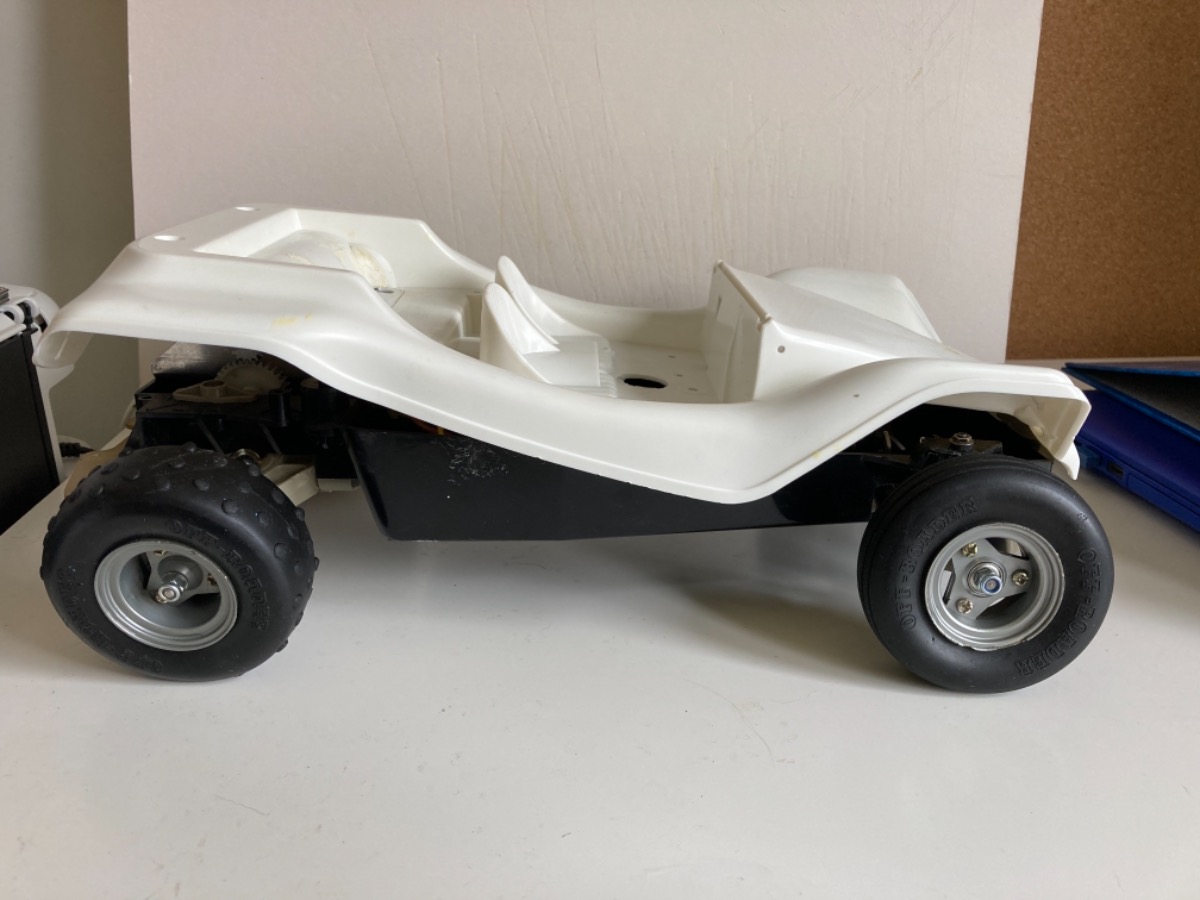
Times been short recently, but I grabbed half an hour on Sunday.I’ve dug around in my spares and found some original tyres for this. Not the best, but not the worst either, that I’ve seen on a Sand Rover.I had also picked up a couple of MSC’s recently, so after buying the control arm this is all coming back together from what was left overs.
I stuck in an old Futaba servo because it’s the only I had spare that would match the servo horn.
Attachments:
The following user(s) Liked this: stingray-63, jord001
|
|
|
Please Log in to join the conversation.
Last edit: by Al.
|
How the Sand Rover should look. 2 years 10 months ago #66672
|
And with the body popped on. Next jobs will be strengthening the body where it fits onto the 2 black plastic body mounts. And the front body mounting point needs re- instating in some way on the chassis tub. I think once the weather sorts itself out, I’ll get some primer on the body. That’s going to show up a myriad of errors. Attachments: |
|
|
Please Log in to join the conversation. |
How the Sand Rover should look. 1 year 5 months ago #73133
|
really nice work
The following user(s) Liked this: Al
|
|
Please Log in to join the conversation. |
|
|
|
Time to create page: 0.232 seconds

