Keyword

TOPIC:

2012 re-re Bruiser & HG P407 clone builds 2 years 3 months ago #70199

Thought half nuts, washers & threadlock was the best option for the underguard :)


Driveshaft ends are different from the Tamiya, these have an M4 screw pin with a hole through the end of each shaft (T has a flat & an M4 grubscrew). Honestly not sure what is better, the pins mean the UJs can only go on at one point, but I would have thought a (2.6mm?) hole through the shafts was probably a bit weaker than a flat?

A problem here was that although the pins came pre-fitted in each UJ (and so fit correctly), _none_ of the pins would go through _any_ of the shafts without fettling, which involved quite a lot of filing, especially on the gearbox rear.   


The manual suggests the rear gearbox mounts can all be fitted to the gearbox & the rubber parts pushed through the chassis holes, but the rubber is far too soft for that & needs fitting to the chassis first.


Page 5/6 see the gearbox fitted, the shift & steering servos fitted to the mechanism box, and a start on the servo savers. (steering will be done up front so I didn't do those parts). There's no choice of servo fittings, you have to use 25 splines. 

I couldn't identify the shift rod required, or the length it should be, so had to compare parts in the "long" (RTR") manual back, and get the length from the relevant step: 57mm, not the 52mm the rod was "preadjusted" to.  


I felt my original Bruiser was a bit too fast for safety (of the bodywork in a crash, mostly) at full throttle in top gear, so I wanted to take the edge off.  I've used an RC4WD 35T motor rather than the kit motor -  I anticipate having to make some motor extension wires.

I'm not clear on what the kit motor is, other than being black, 540 sized with long, flexible silicone wires. It sounds the same in both directions so doesn't have any advance or retard on it. It has a fan so there's more air moving, but otherwise - loose bearings and unwanted vibration included :S - sounds exactly like the Chinese-made Mabuchi 540Sh Tamiya use as their kit silvercan at present.


I'm going to take a bit of a break to do some tidying up, brush cleaning & battery charging :)
Attachments:
The following user(s) Liked this: caprinut, stingray-63, 1972 LeMansGT Jim, silvertriple, jord001, Ducksnuts

Please Log in to join the conversation.

2012 re-re Bruiser & HG P407 clone builds 2 years 3 months ago #70200

nb I did have the gearbox ends off to have a look inside, fearing it might have the same stinky "grease" as the rear diff, but it looked to be a clear, stink-free mineral oil so I left well alone.

That did involve a bit of juggling though - I wasn't going to risk accidental complete dismantling for the sake of a photo :)  
The following user(s) Liked this: jord001

Please Log in to join the conversation.

2012 re-re Bruiser & HG P407 clone builds 2 years 3 months ago #70201

Flipping heck, how many Steve Wonders is it possible to cramp into one factory??
I mean it is fiaxable, but that should be taken care off before they leave the manufacturer..


I'm highlighting flaws as I go through, so it might seem that's all there are - but there has been lots which is completely un-noteworthy.  

We're kind of spoilt by the standard of Tamiya finish, fit, and manuals, but I wouldn't want anyone to get the wrong impression - it's not terrible.

It's not Tamiya, it's not Team Associated, it's about the level of fettling and "not in the manual" knowledge required as an early/mid 80s Nichimo or Mardave, but of course multiplied by the complexity of a metal, 3-speed truck. For a half price (or less) clone, I'm still quite happy :) 


The following user(s) Liked this: caprinut, stingray-63, Al, 1972 LeMansGT Jim, jord001

Please Log in to join the conversation.

2012 re-re Bruiser & HG P407 clone builds 2 years 3 months ago #70210

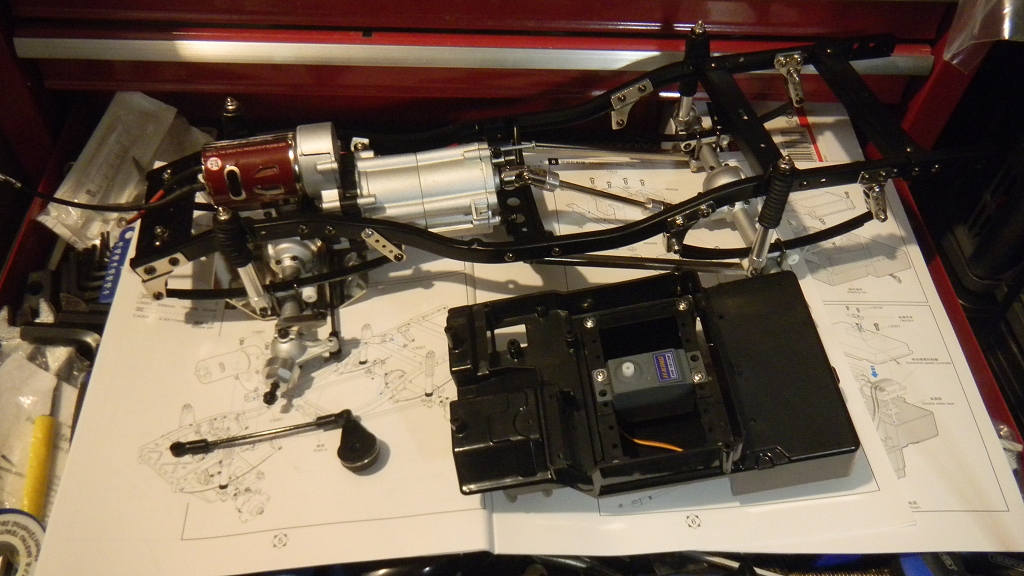
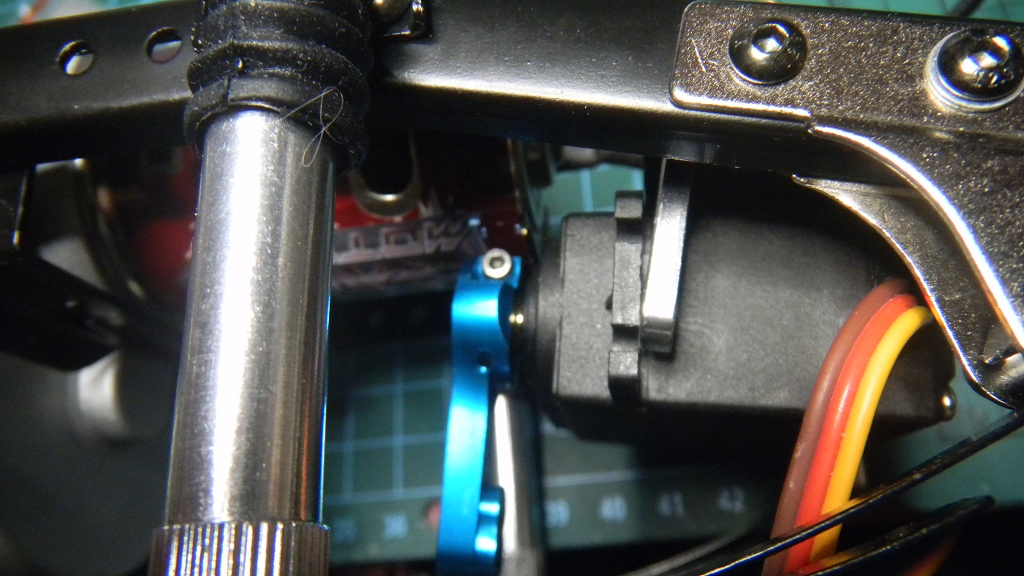
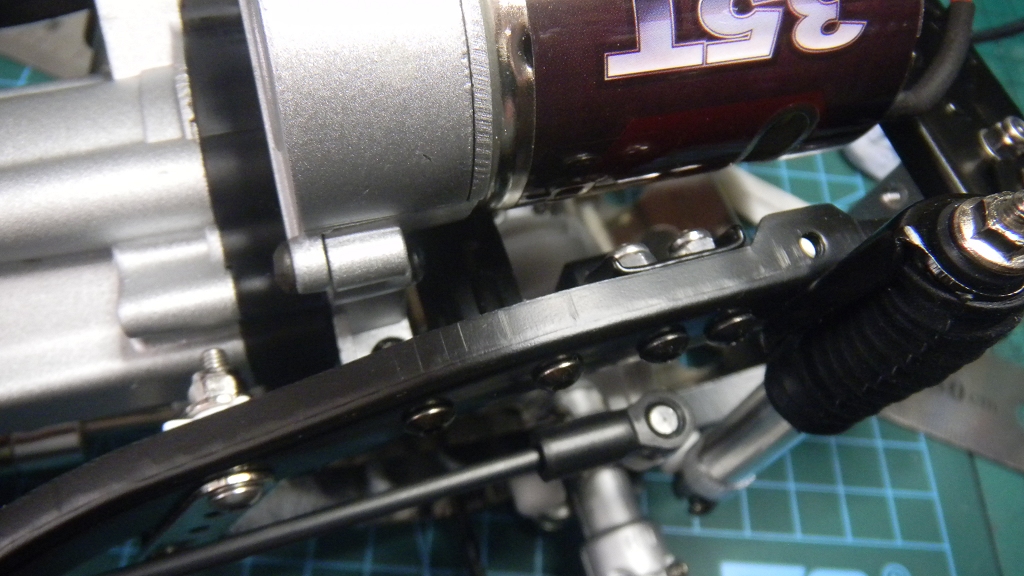
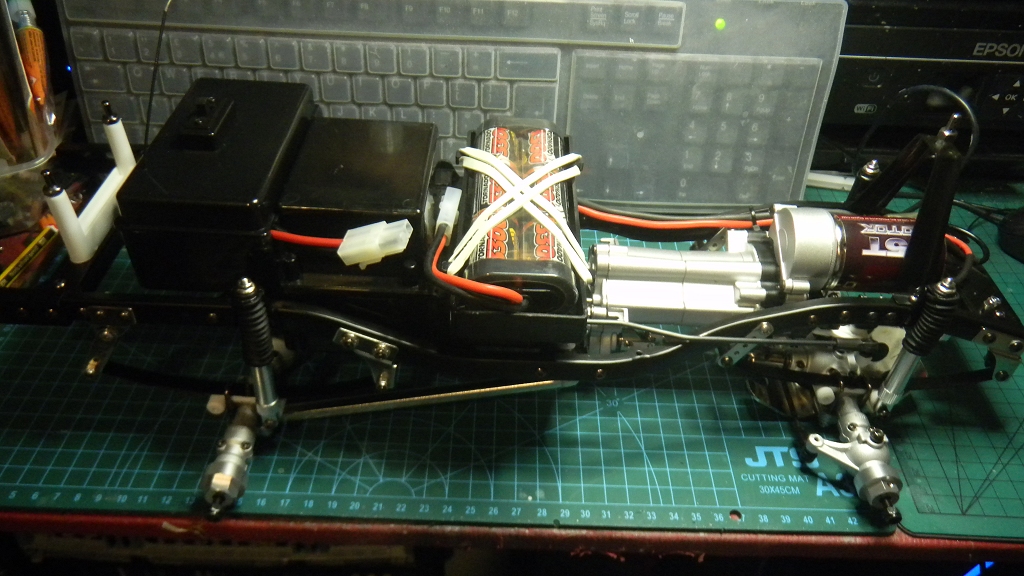
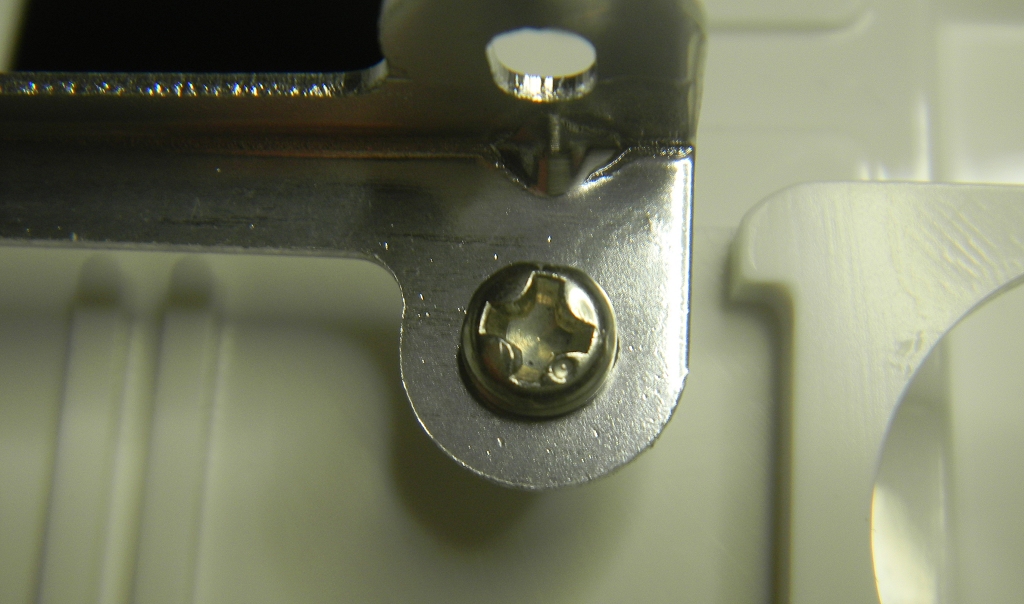
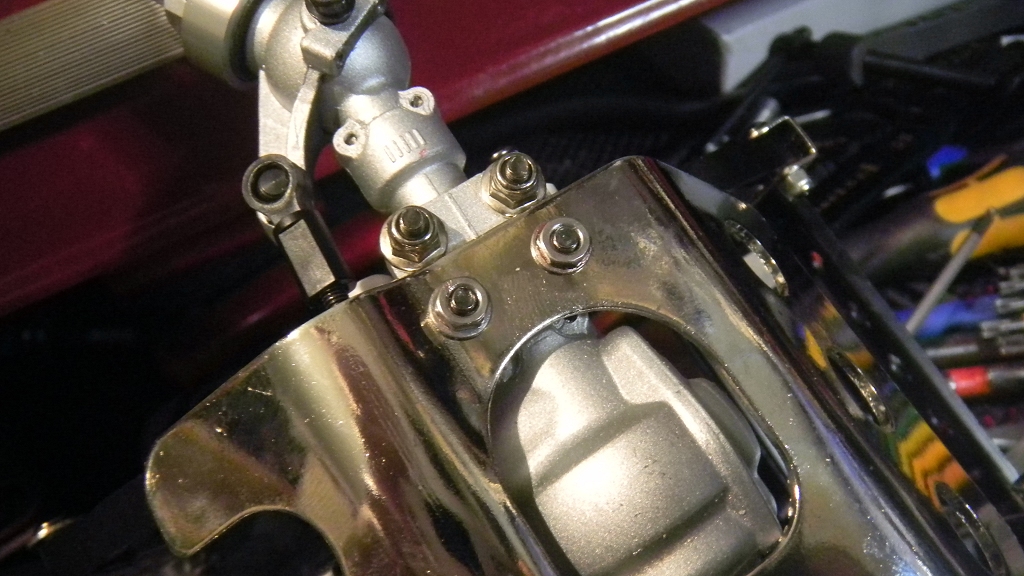
Evidently I missed something crucial from all the Youtube modders' front servo relocations - there's no way a standard servo can fi there without the end of the servo & horn occupying the same space as the end of the motor, or cutting out the front of the chassis brace. 


Choices were to cut the brace, use the 3D printed bracket (the 90 degree orientation makes a lot more sense now), or go with the standard location. Or get a low profile, metal gear servo. 

As I won't be using the large front bumper any mods will be very visible so I didn't want to cut the chassis brace. The 3D print looks awful, and very fragile. That's not necessarily a criticism of the person I bought it from, just that all home/very small enterprise 3D printing I've seen looks like the equivalent of the draft setting on a dot matrix printer with a worn out ribbon on green & white perforated computer paper from 20-25 years ago (when everyone really should have been on an inkjet or monochrome laser). Shapeways on the other hand, are colour lasers the same 20-25 years ago -  much better results, but bloody badword they cost HOW MUCH?!?!?!?!!!! 

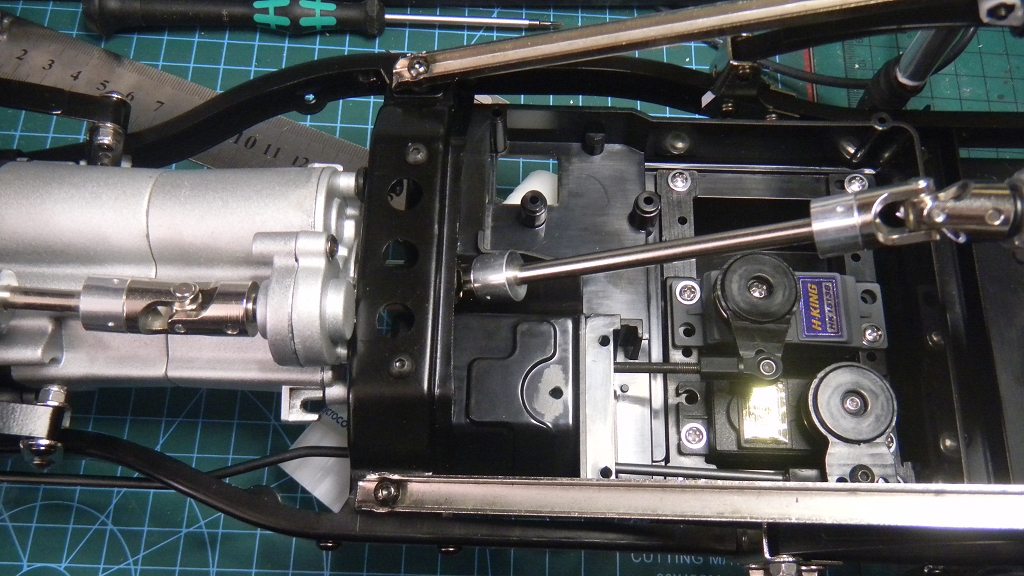
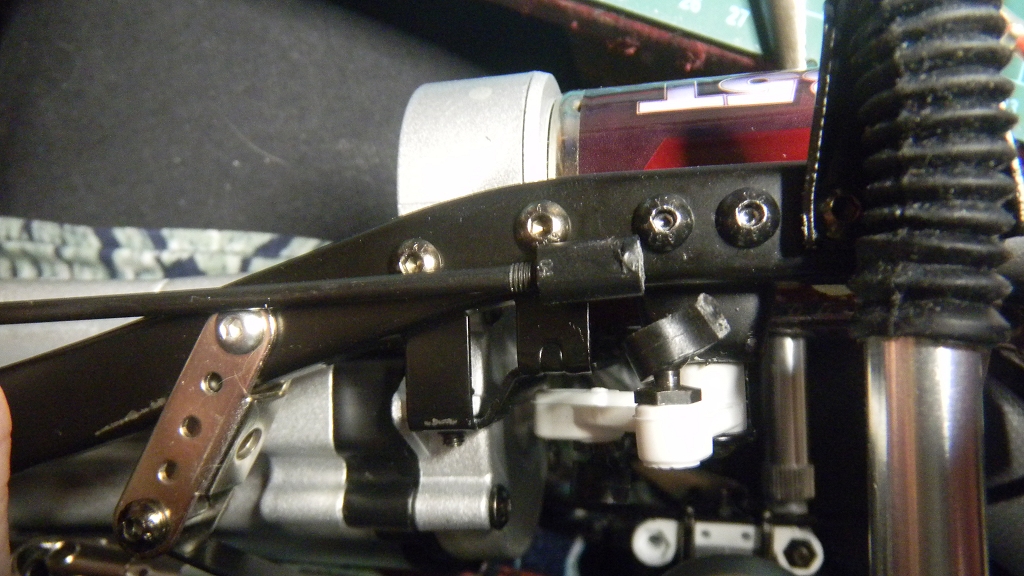
I may buy a low profile metal gear servo at some point, but in the meantime I went with the standard location, upside down in the middle. 

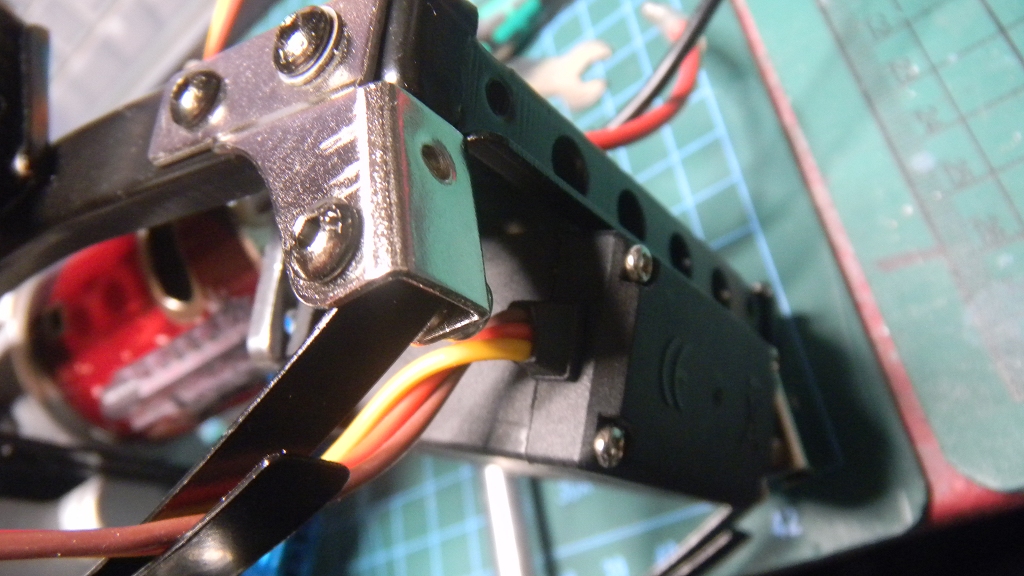
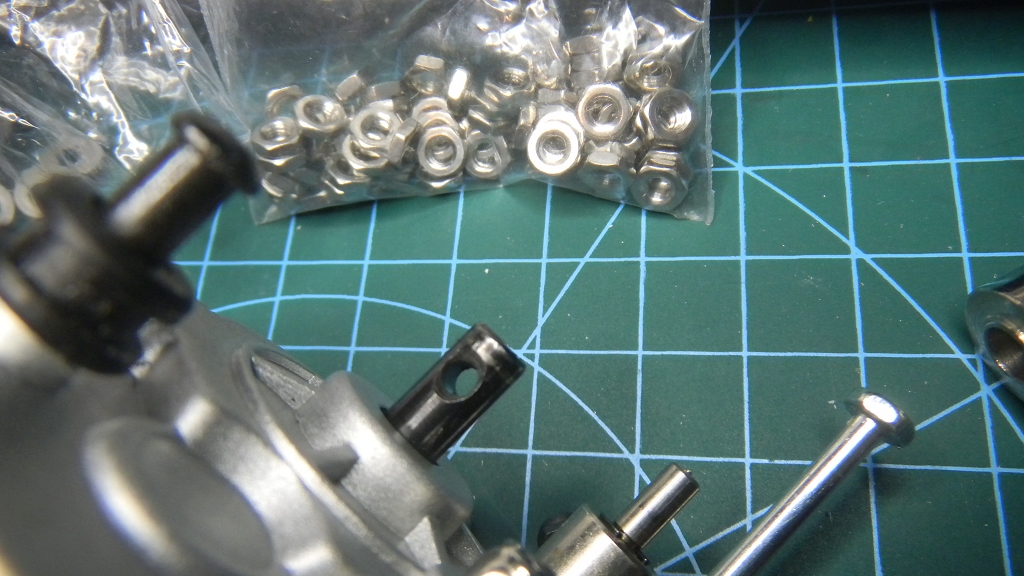
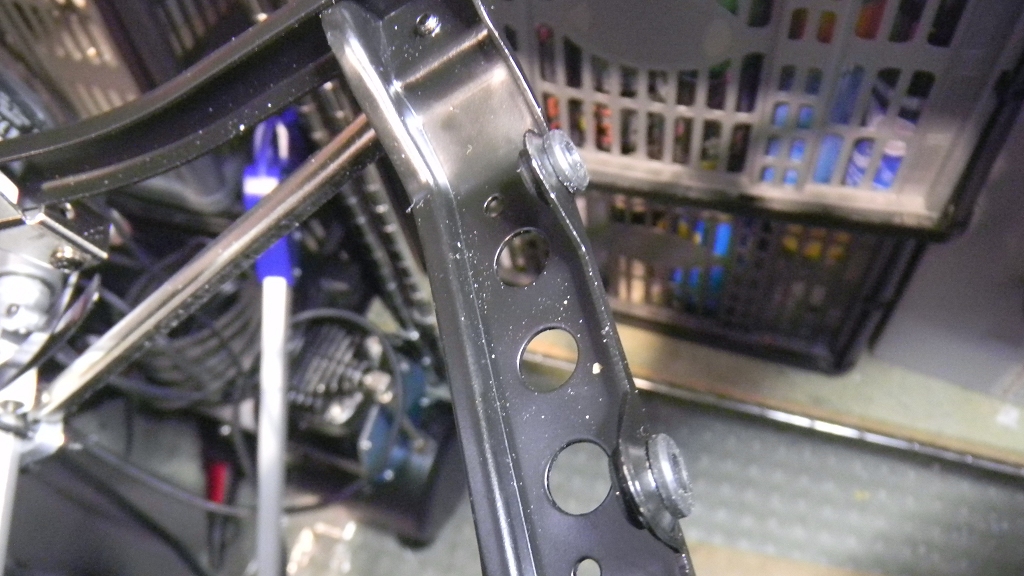
This meant doing things out of order, not fun given the boneheaded & vexing design of the mechanism box inherited from Tamiya, and only added to by how much harder it is to get screws in to the cheaper plastic.  The bellcrank bracket should have the screw heads on the inside & nyloc flange nuts on the outside, but I didn't have much faith in the latter, and fitting the former would have meant taking the gearbox out, I used regular nylocs on the inside. 


I've given up on using the short "kit" manual, it just doesn't have the detail required to put it together, even with a lot of subassemblies pre-built.

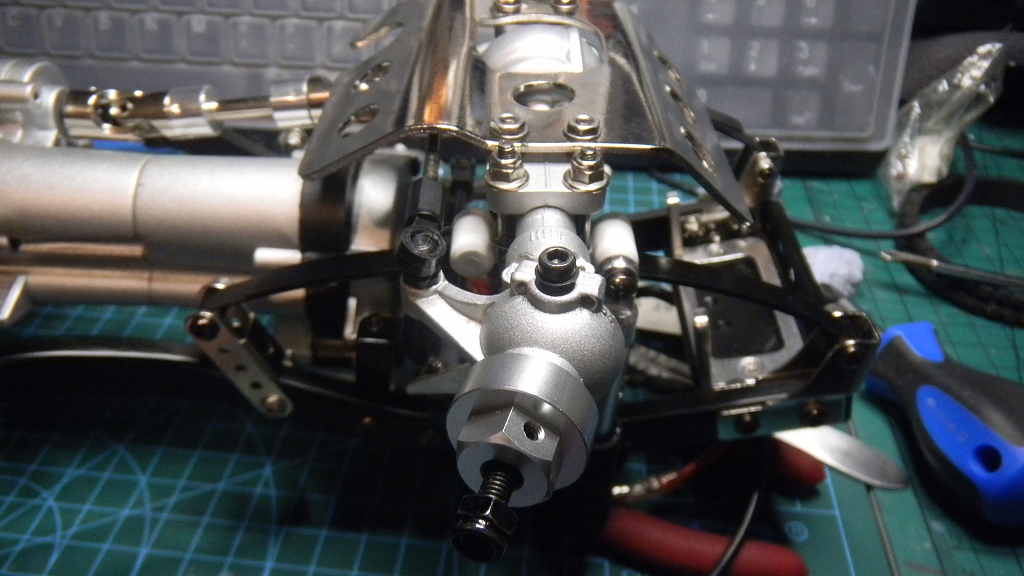
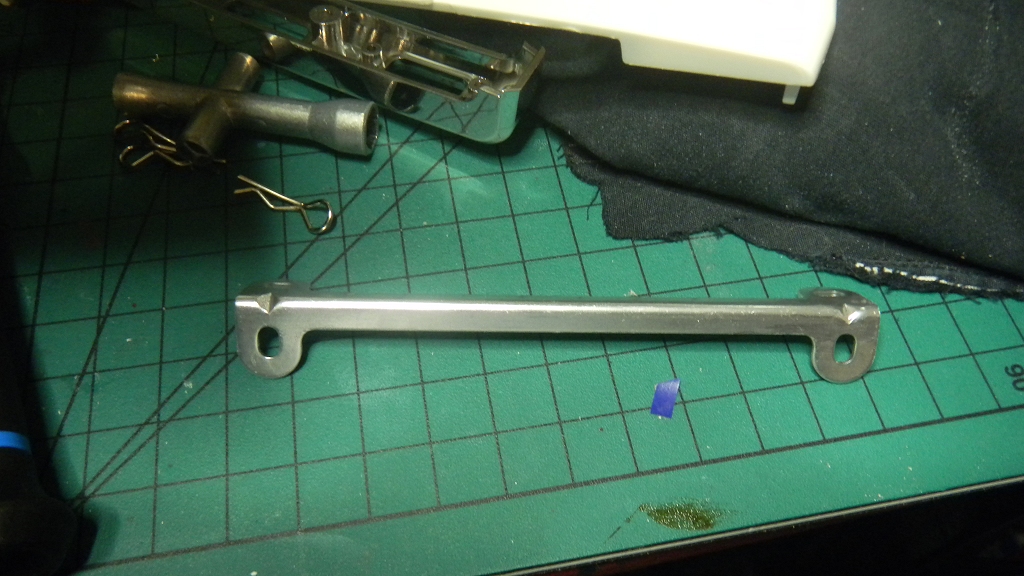
Adjusting the long steering rod to the length specified and the servo in neutral puts the front end in a 60% left turn. Remember that the "correct" drag link length also gave the steering massive toe out :whistle: 

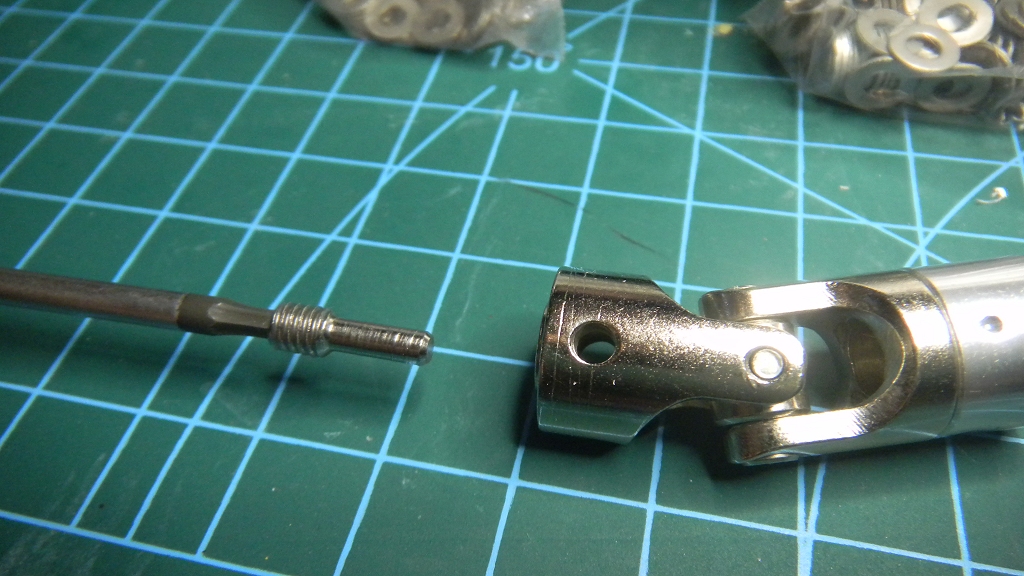
The rods are all of a "semi" turnbuckle design, where (theoretically) turning the rod one way (with the ends fixed in place) causes the rod to lengthen, and turning the other way, shorten. I say "semi", as without a squared off section in the middle to rotate it with, they are entirely useless, and merely complicate things. 

I don't believe this is a holdover from the Tamiya Bruiser, IIRC the steering rods were all of a conventional type - and Tamiya like to keep adjustable turnbuckles for where they are useful (like the top link on double wishbone suspension) and preferably, make it a chargeable hop-up ;)


Once those plastic rod end are on their balljoints, they're not coming off in one piece. This is the result of trying, very carefully, combining slight twisting with leverage. There are no spares in the kit - but leftovers from TL and M chassis fit.


Gearchange adjustment was slightly problematic, servo neutral should put the gearbox in 2nd (2WD), but needed a significant nudge beyond that (like 1 spline - so 14.4 degrees) to engage reliably. The gearbox (running on 6v with no wheels) is possibly a bit quieter than the Tamiya original, but with a significant intermittent WOMMMMmmmmmm ....... WOMMMMmmmmmm ....... WOMMMMmmmmmm resonance. Gears don't seem to go in with a positive clunk, and often take a few seconds to engage.


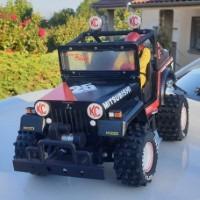
TBH my estimation of the HG P407 has fallen, it's not quite up there with buying a "modern" RC boat kit with a photo of a battleship on the outside & finding a few sheets & block of wood on the inside - but it's definitely a lot more work than the genuine article :)     

 
Attachments:
The following user(s) Liked this: stingray-63, silvertriple

Please Log in to join the conversation.

2012 re-re Bruiser & HG P407 clone builds 2 years 3 months ago #70211

Did you try to contact manobet? They make alloy parts and very nice quality. It's a french brand specialised in rc parts.
The following user(s) Liked this: jord001

Please Log in to join the conversation.

2012 re-re Bruiser & HG P407 clone builds 2 years 3 months ago #70212

I bought this 12kg low profile all aluminium case and metal gears for my DF01 Lunchbox project.
Seems to be a good quality servo.
But it did take 4 week to arrive...

www.ebay.com/it...3774059531
The following user(s) Liked this: stingray-63, jord001

Please Log in to join the conversation.

2012 re-re Bruiser & HG P407 clone builds 2 years 3 months ago #70213

Thanks - looks the part & I like the price, but that feedback :blink:
The following user(s) Liked this: jord001

Please Log in to join the conversation.

2012 re-re Bruiser & HG P407 clone builds 2 years 3 months ago #70216

I bought this 12kg low profile all aluminium case and metal gears for my DF01 Lunchbox project.
Seems to be a good quality servo.
But it did take 4 week to arrive...

rover.ebay.com/...3774059531

I have a few of those, and they are working perfectly, going back to the center and quite fast for the price.
They are consuming around 2.3A under load, so be careful with the ESC you use (or add a Condo on one or the RX ports in order to avoid issue with the consumption at ESC level - which may kill either the ESC either the RX depending on the way the ESC behaves). Other element to take into account is that the 12kg are really working at 6V, it is less under 4.8V load.
For the delivery leadtime: they are time to time on amazon delivered with prime on next day not that much more expensive (not at the moment, however, I got 3 of them that I paid around 20 bucks). You can find them on aliexpress as well, around 15€ (VAT included), but the delivery time is really unpredictable : could be in 10 days as expected but could be as well much longer (make sure you take them with buyer protection because sometime the delivery doesn't happen)...
I buy kits to built and ru(i)n them :-)
The following user(s) Liked this: caprinut, stingray-63, jord001

Please Log in to join the conversation.

Last edit: by silvertriple.

2012 re-re Bruiser & HG P407 clone builds 2 years 3 months ago #70217

Stopped referring to the manual for the official steps, just looking at it for the correct fasteners :) Holes in mechanism box top don't match the Tamiya switch (TBH I thought those were a "standard" across all radios & ESCs - apart from the ones that have to be taped on?) & needed some bits dremelling off the inside to make turning the holes into short slots effective. 


Lid going on ...


Chassis mostly done:


:)

 
Attachments:
The following user(s) Liked this: stingray-63, 1972 LeMansGT Jim, silvertriple, jord001

Please Log in to join the conversation.

2012 re-re Bruiser & HG P407 clone builds 2 years 3 months ago #70218

Front grille brace looks just like a Tamiya one - but is like 1/3 the weight !?


Body screw move away from the black hex button head screws of the chassis, to BZP cross point fasteners. The dot should make them JIS, but I found a PH2 stubby fit much better :whistle: 


I need to fill a few holes & make some more, but this is basically what I have in mind for the body - no extra front bumper, clod rear on the shortened chassis stubs, Hilux High Lift rollbar (lights TBD) because the Mountain Rider one doesn't seem to be available. 

:)


Attachments:
The following user(s) Liked this: stingray-63, 1972 LeMansGT Jim, silvertriple, jord001, Ducksnuts

Please Log in to join the conversation.

Moderators: caprinutstingray-63AndyAus
Time to create page: 0.256 seconds
Cookies are required to make this site work. If you continue to use this site you permit us to use cookies.