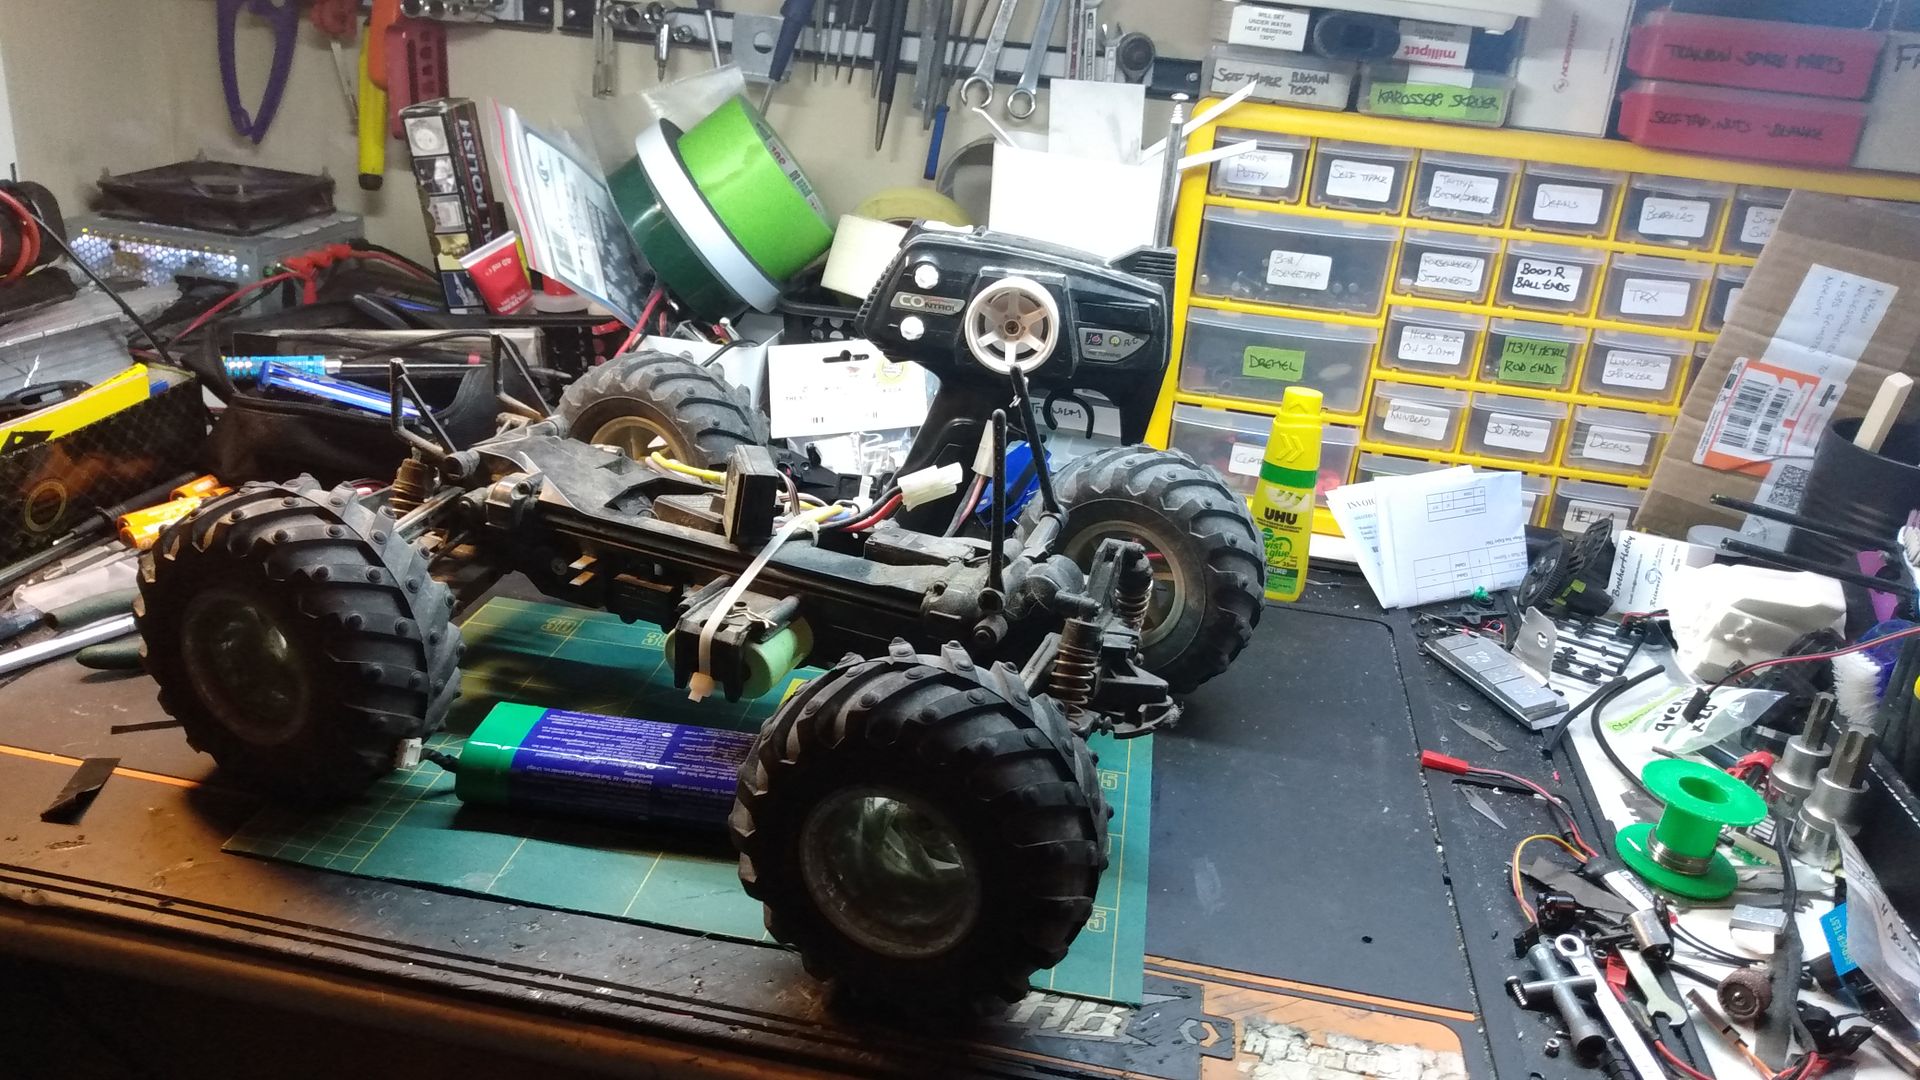
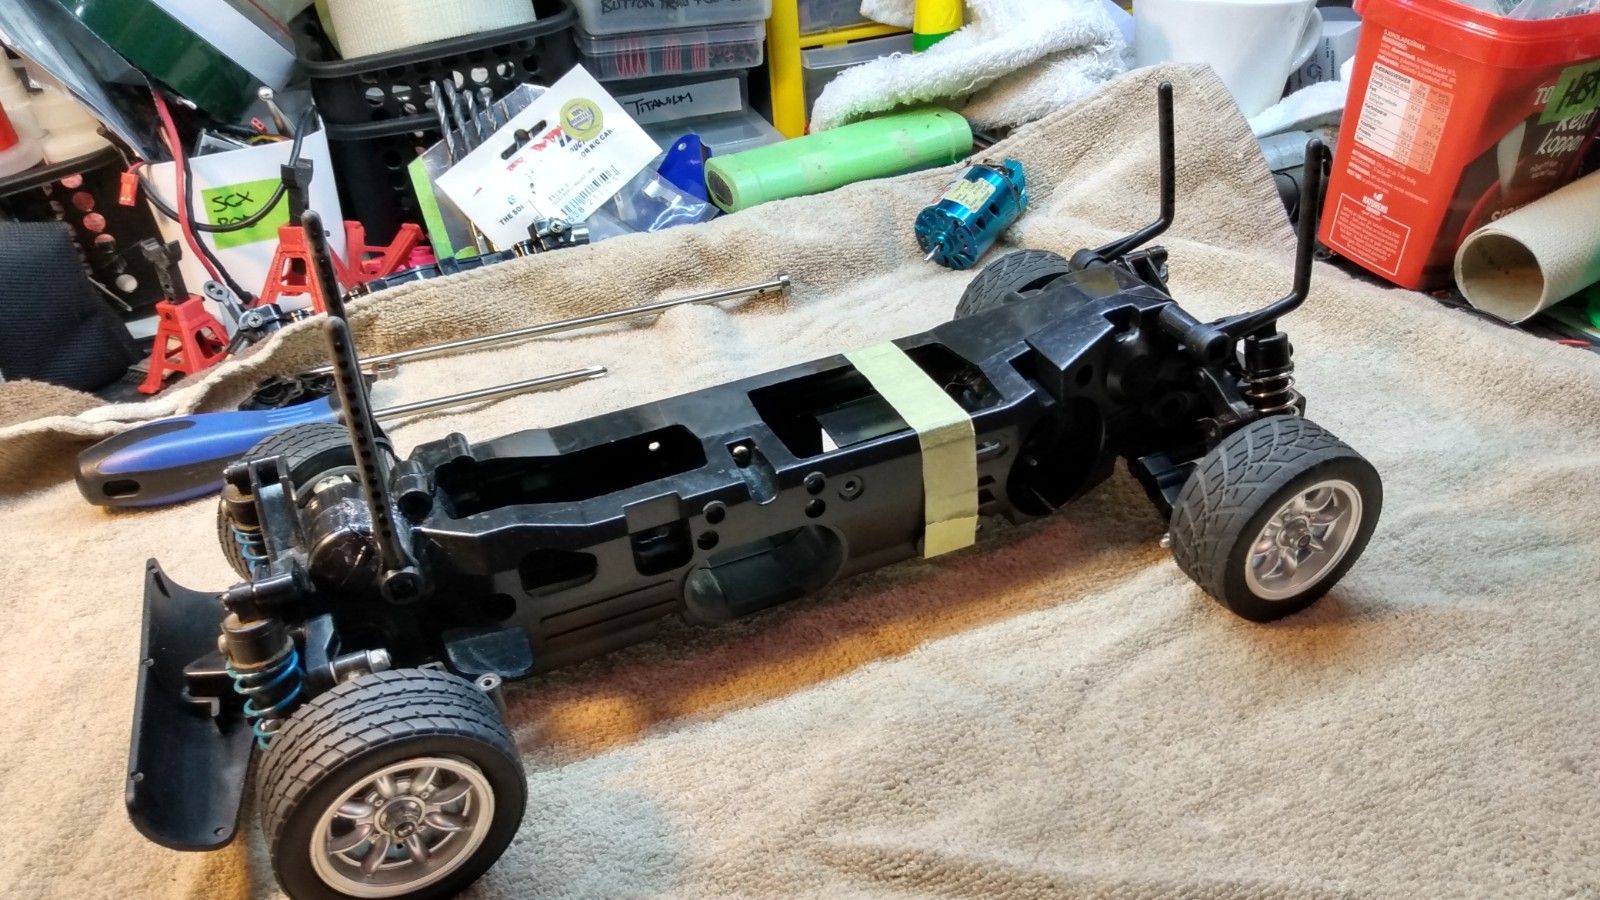
As you may have seen in one of the other threads I got a freebee a couple of days ago.
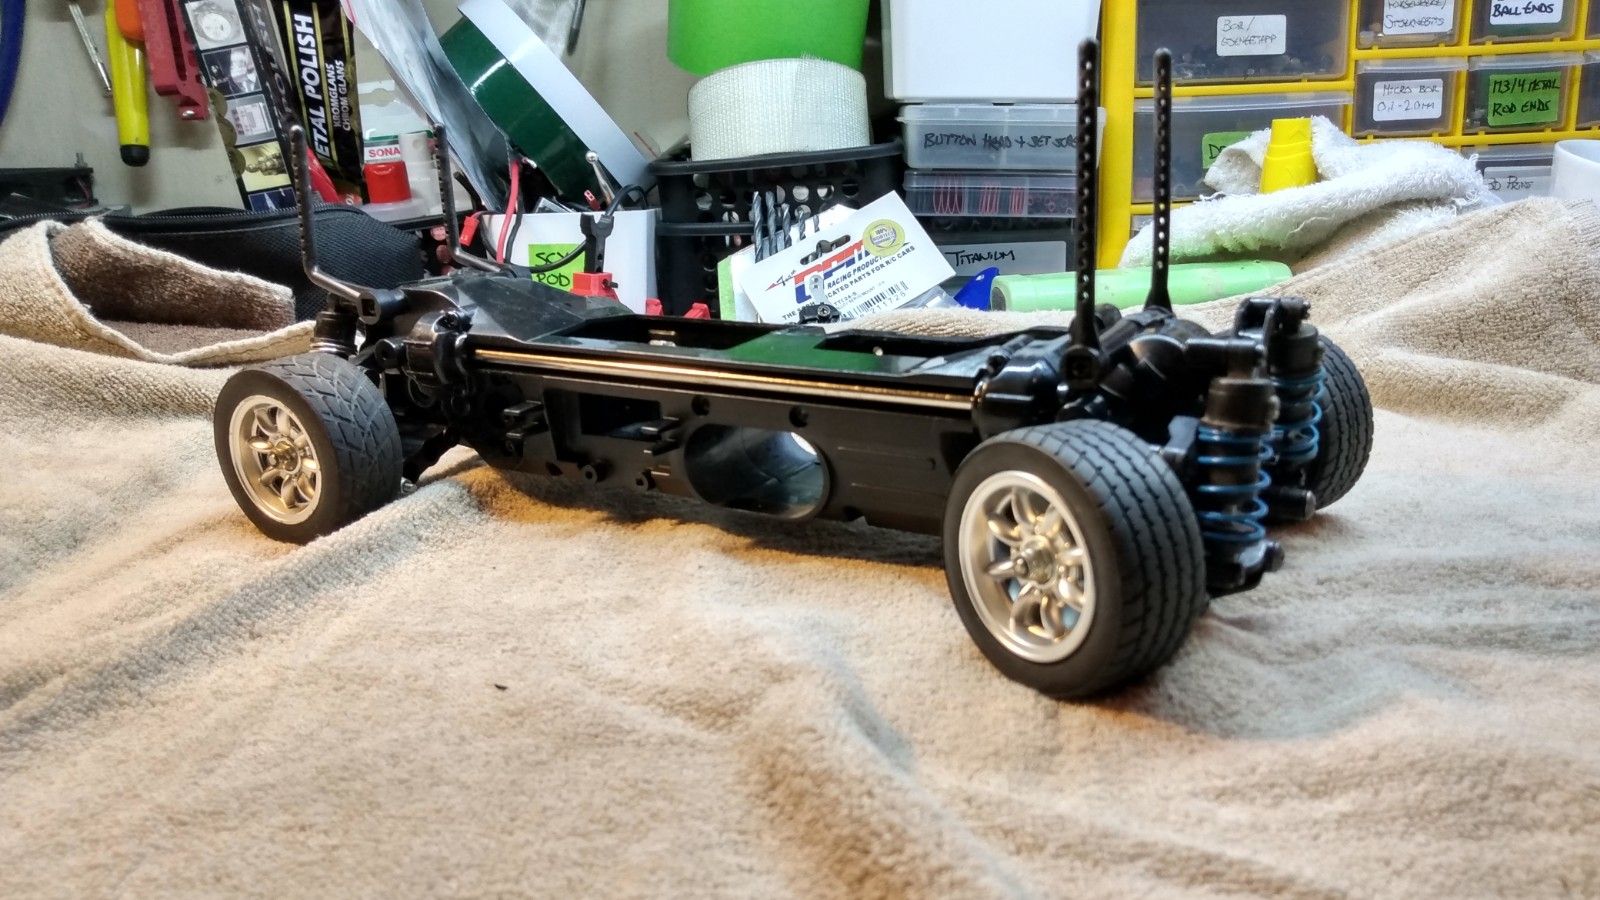
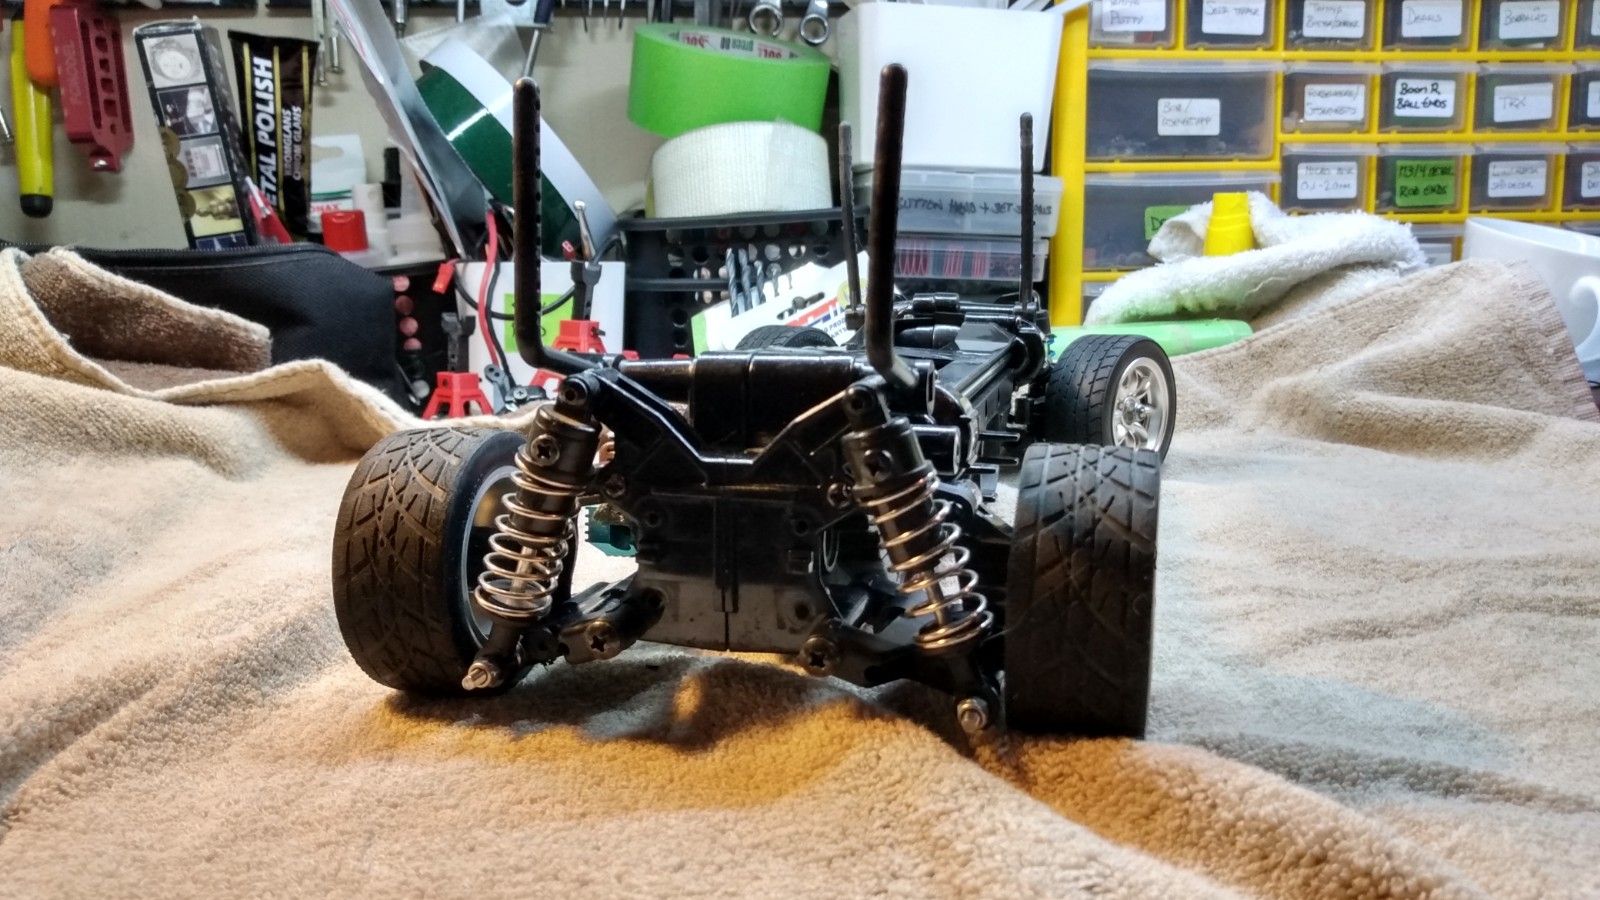
The vehicle is a clone of the TL01 and was orginally a HBX Bonzer, the Monster Truck variant.
Basicly it is a TL01B with Wild Dagger wheels, tires and body.
Since most parts are swapable between this clone and orginal TL01 parts, you can make endless projects with this base.
I also have loads of spare parts from both TL01 and HBX variants, so when I was asked if I could use this vehicle it was a no brainer really.
And best of all it was free, so it won't hurt if I need to modify it.
There is really no rc funds these days, but I do want the new Tamiya Escort MkII body.
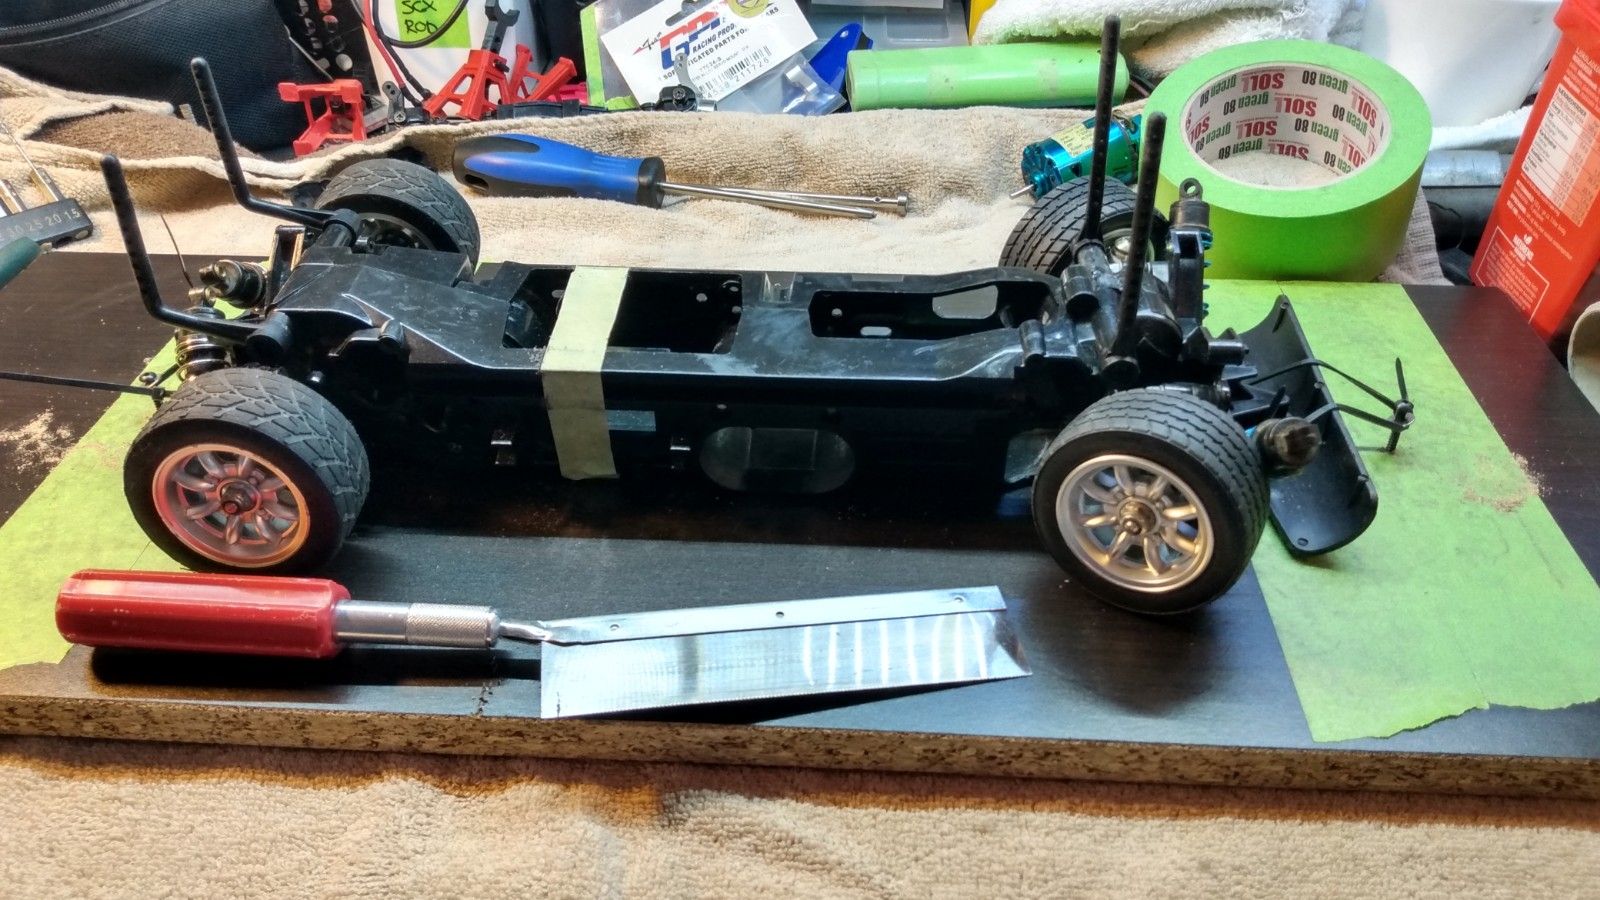
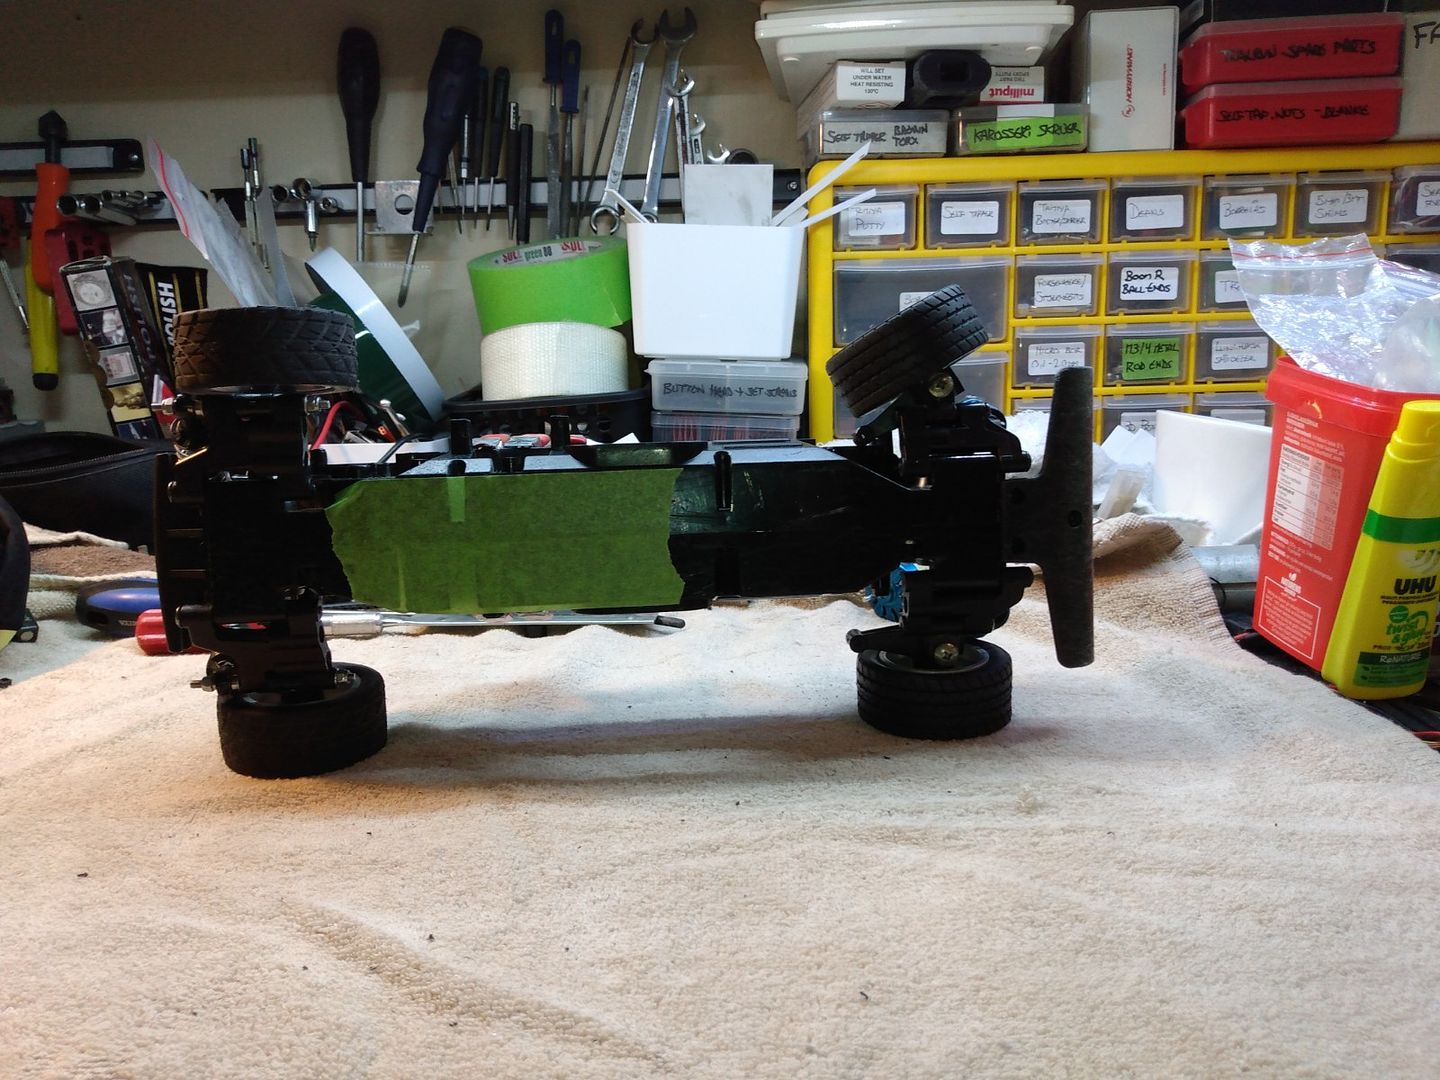
The Escort is of M chassis size so the TL01 chassis has to be both shortned, this has been done several times by remove a section of the chassis.
To get it from buggy width to 165mm M chassis width it simply the matter of fitting M03 suspension parts, which I also happen to have on a spare chassis.
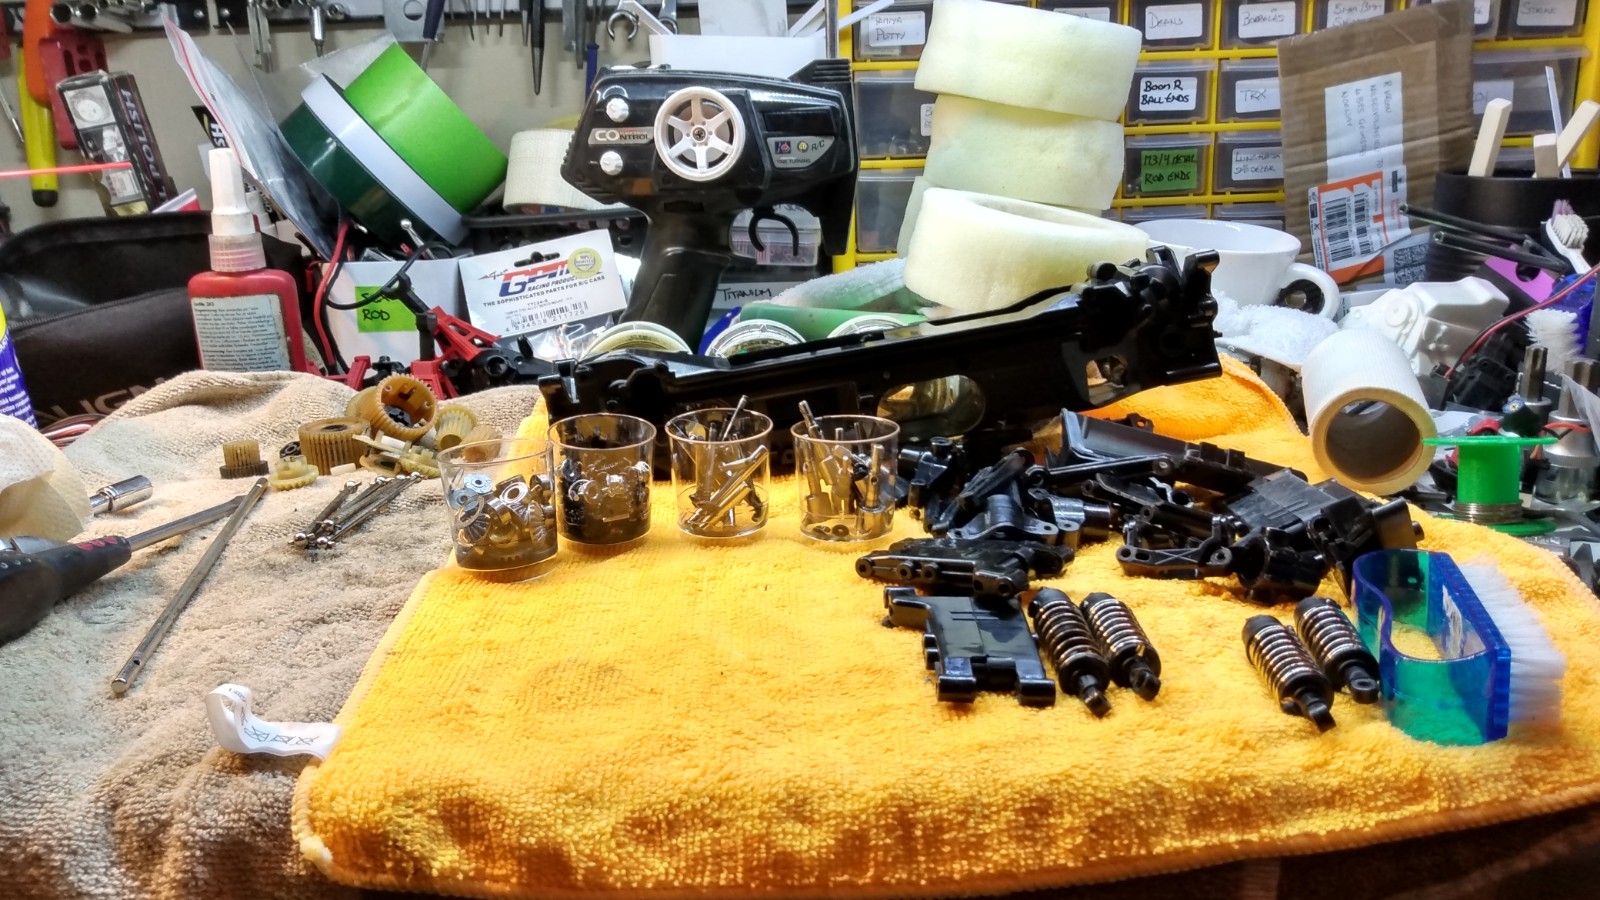
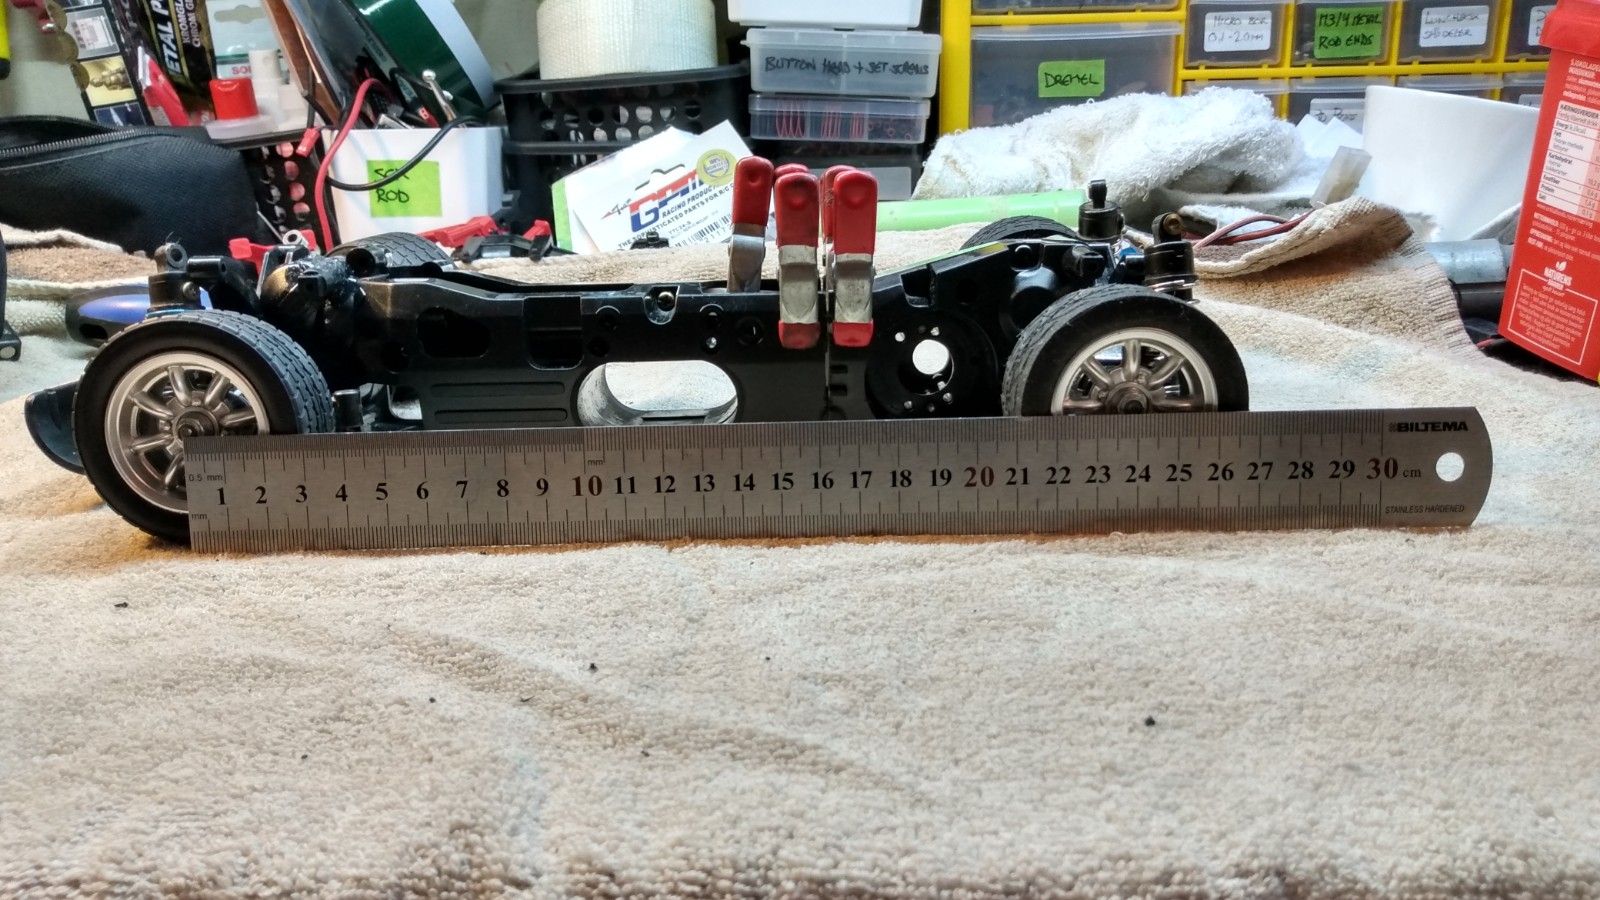
Over to the base of this build.
This is how I got it, very dirty,with cut down rear body posts and missing the body.
But it did come with two batteries and transmitter.
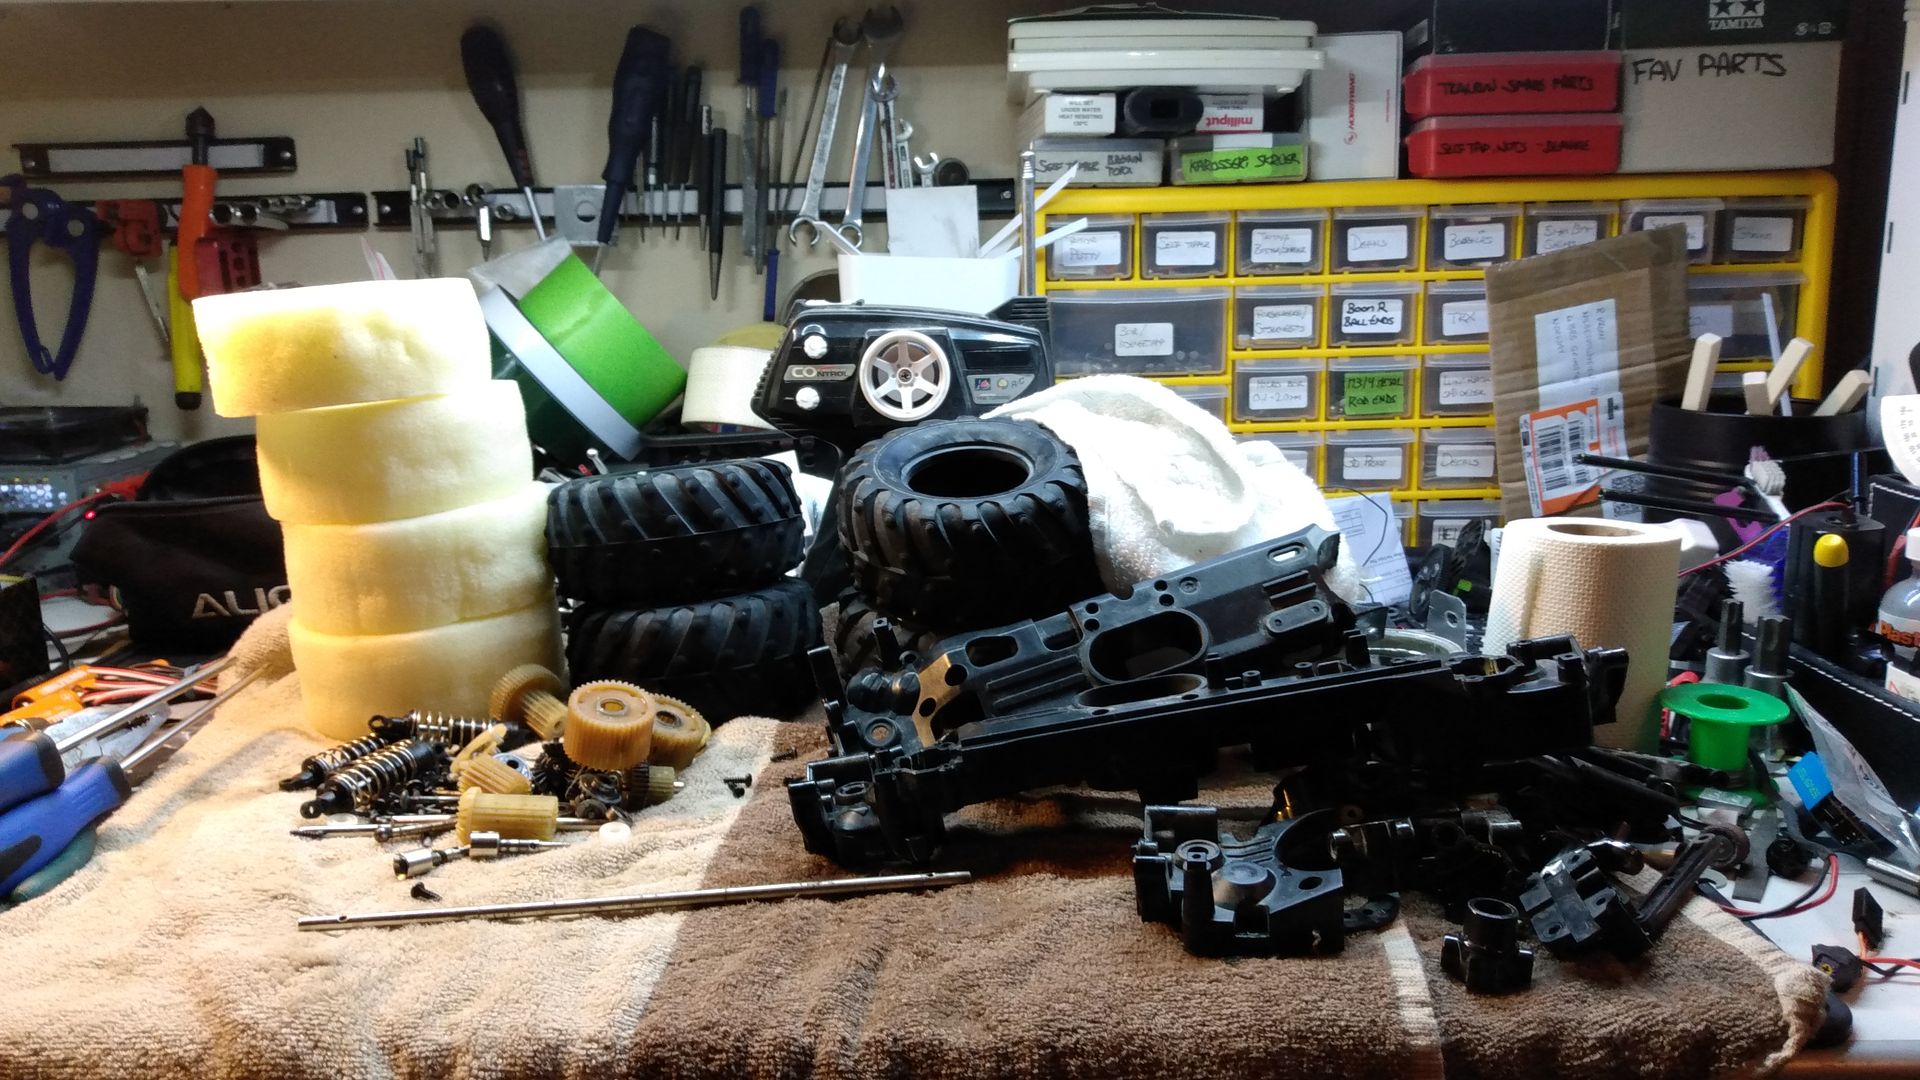
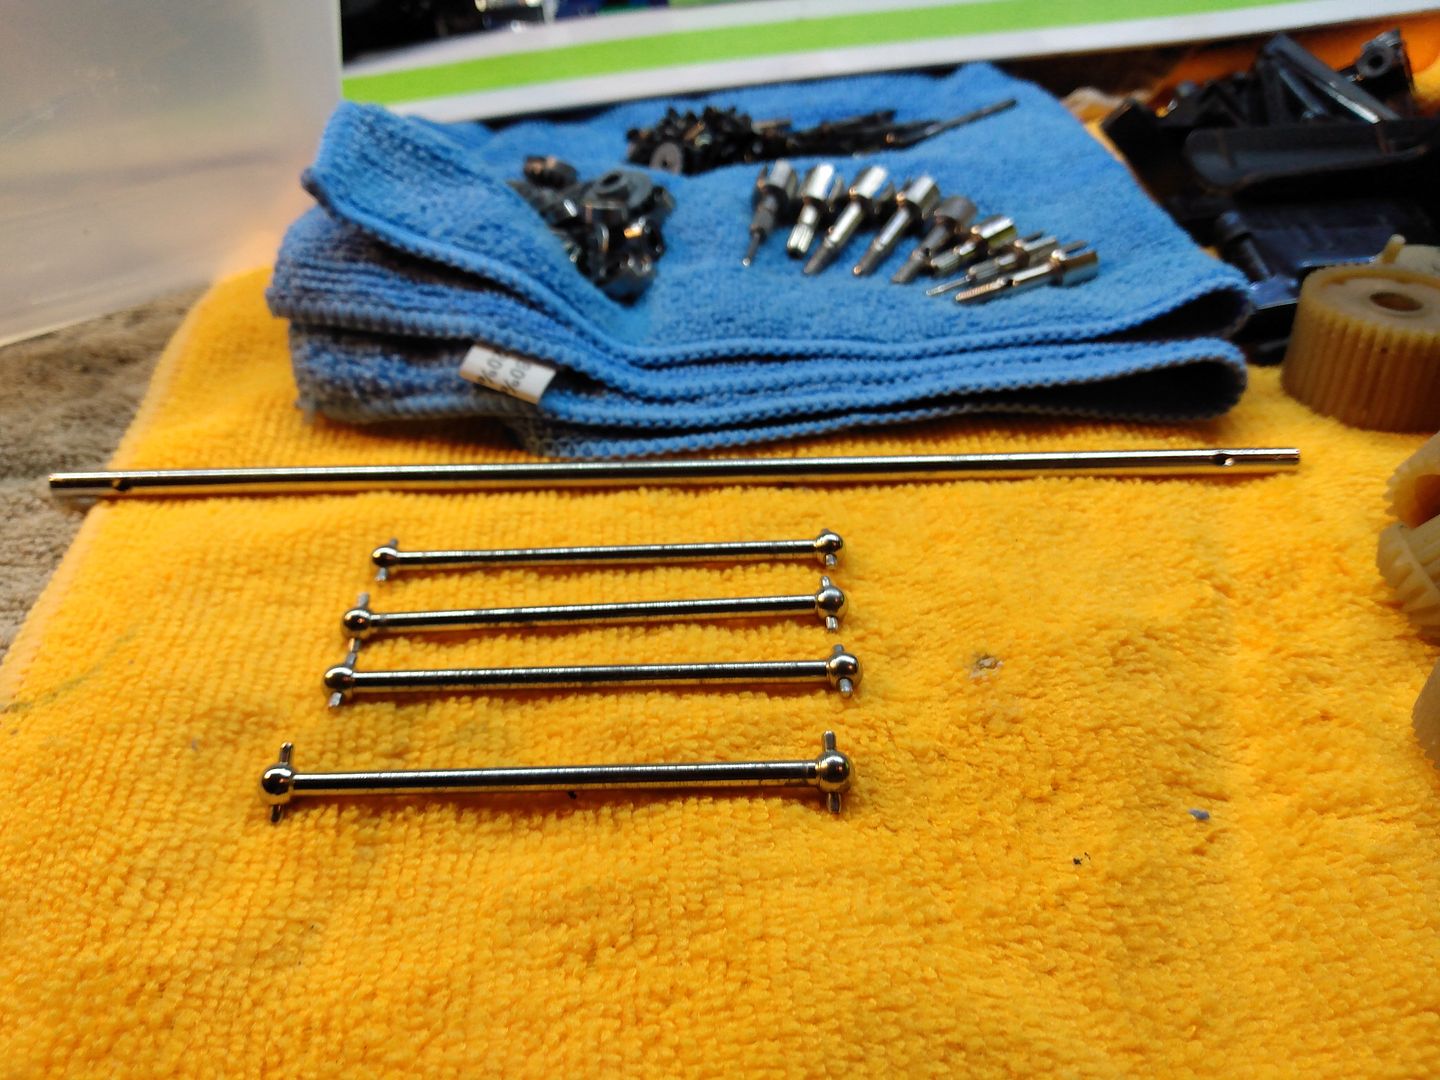
Yesterday I pulled it apart and gave all the plastic parts and tires/wheels a hot bath in soapy water and just let it sit there for hours.
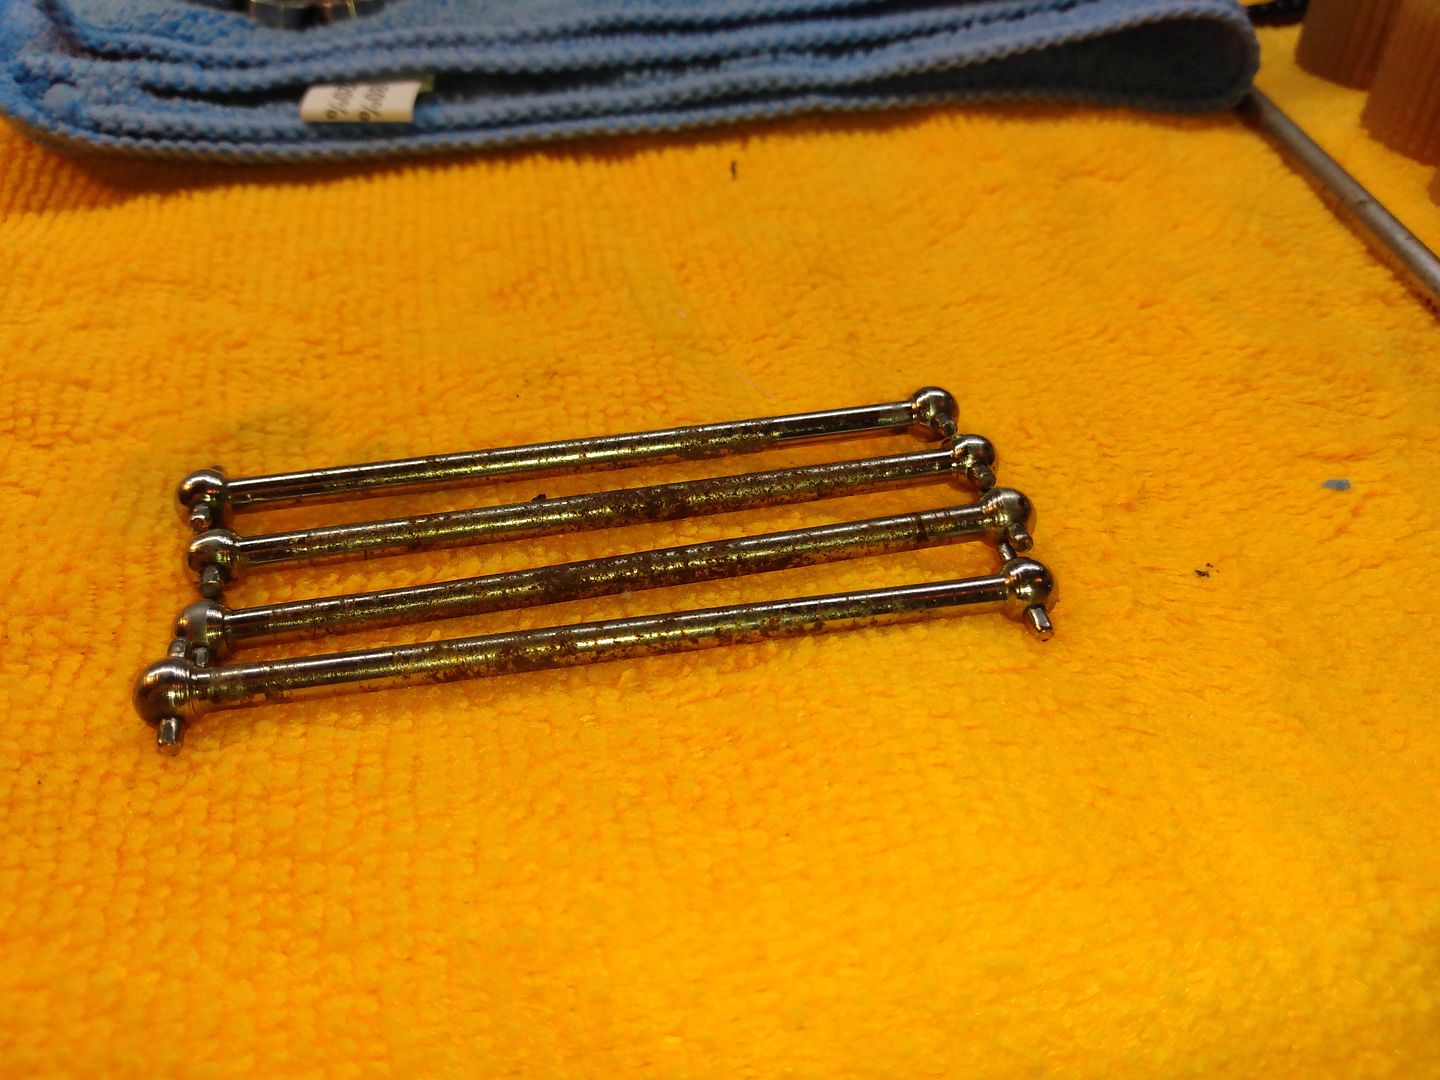
All the metall bits beside the drive dog bones was given a bath in WD40 to remove all the grime and grease.
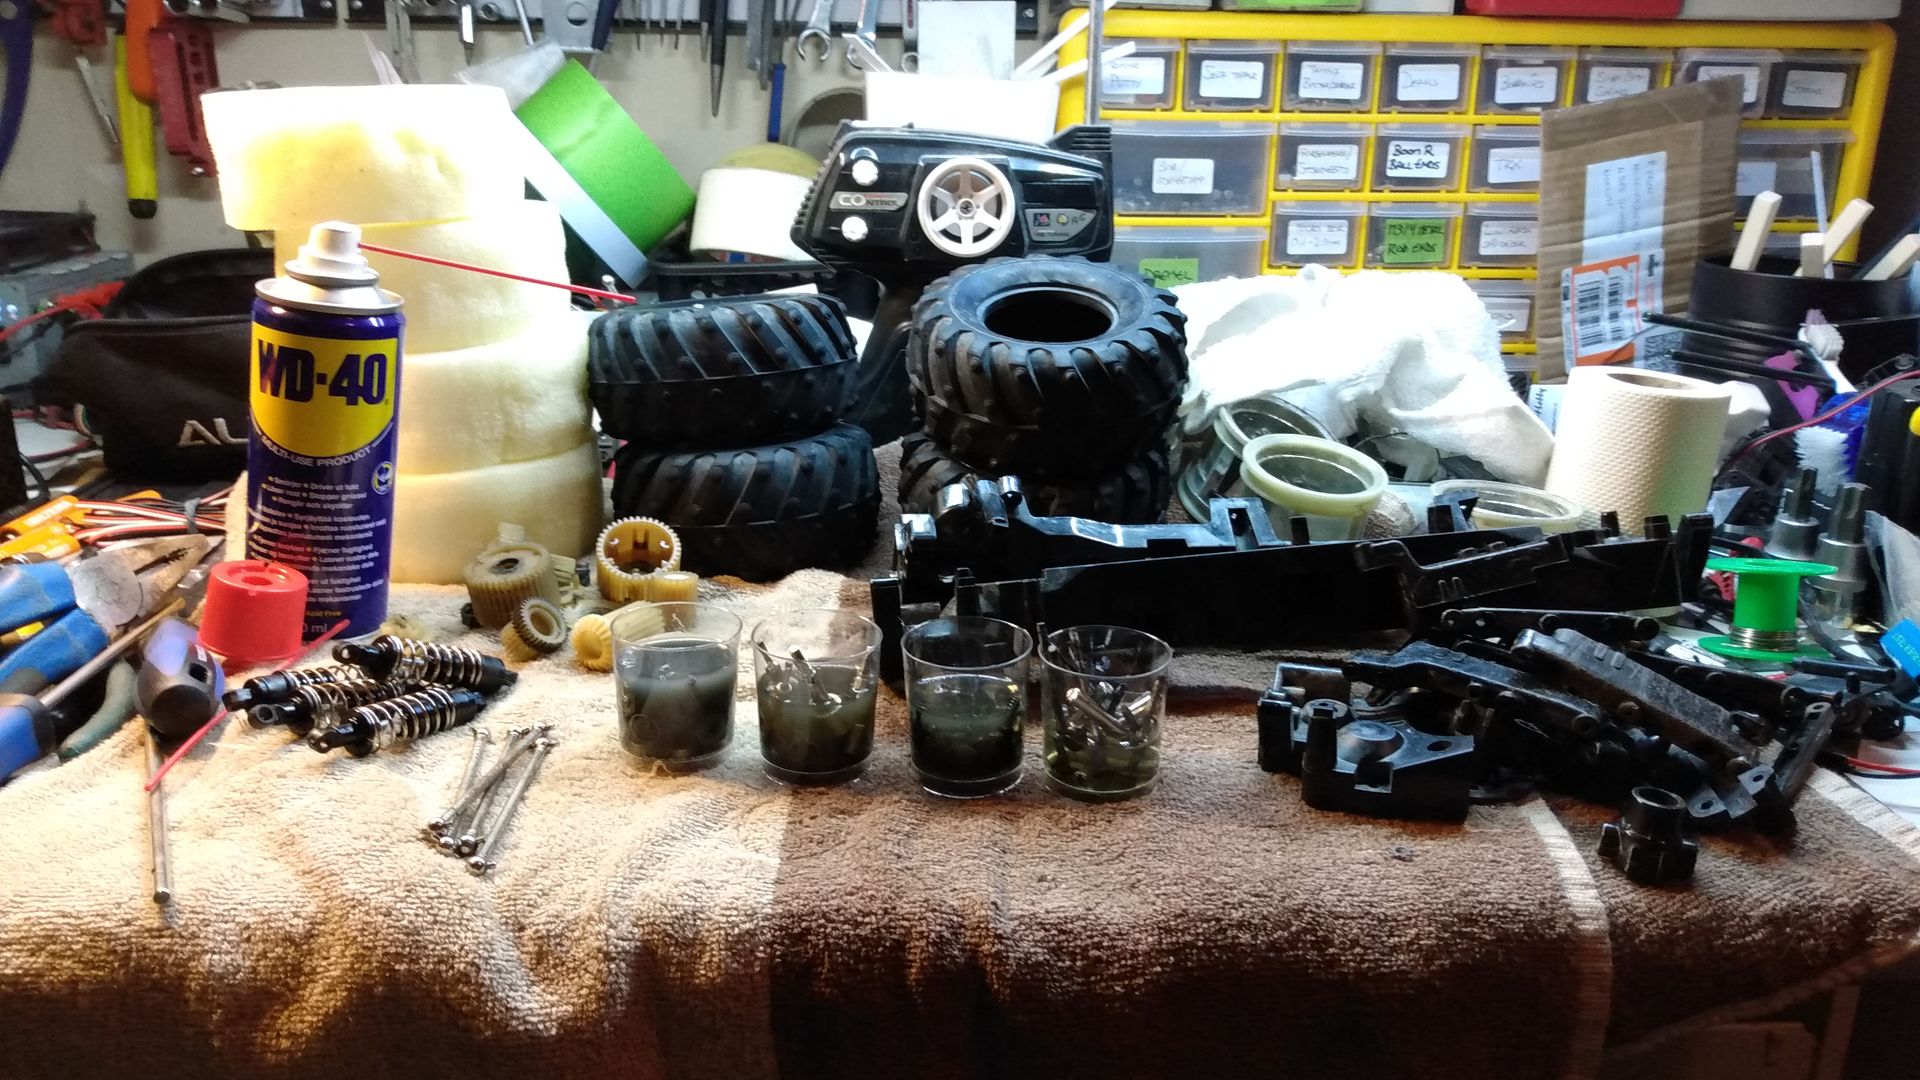
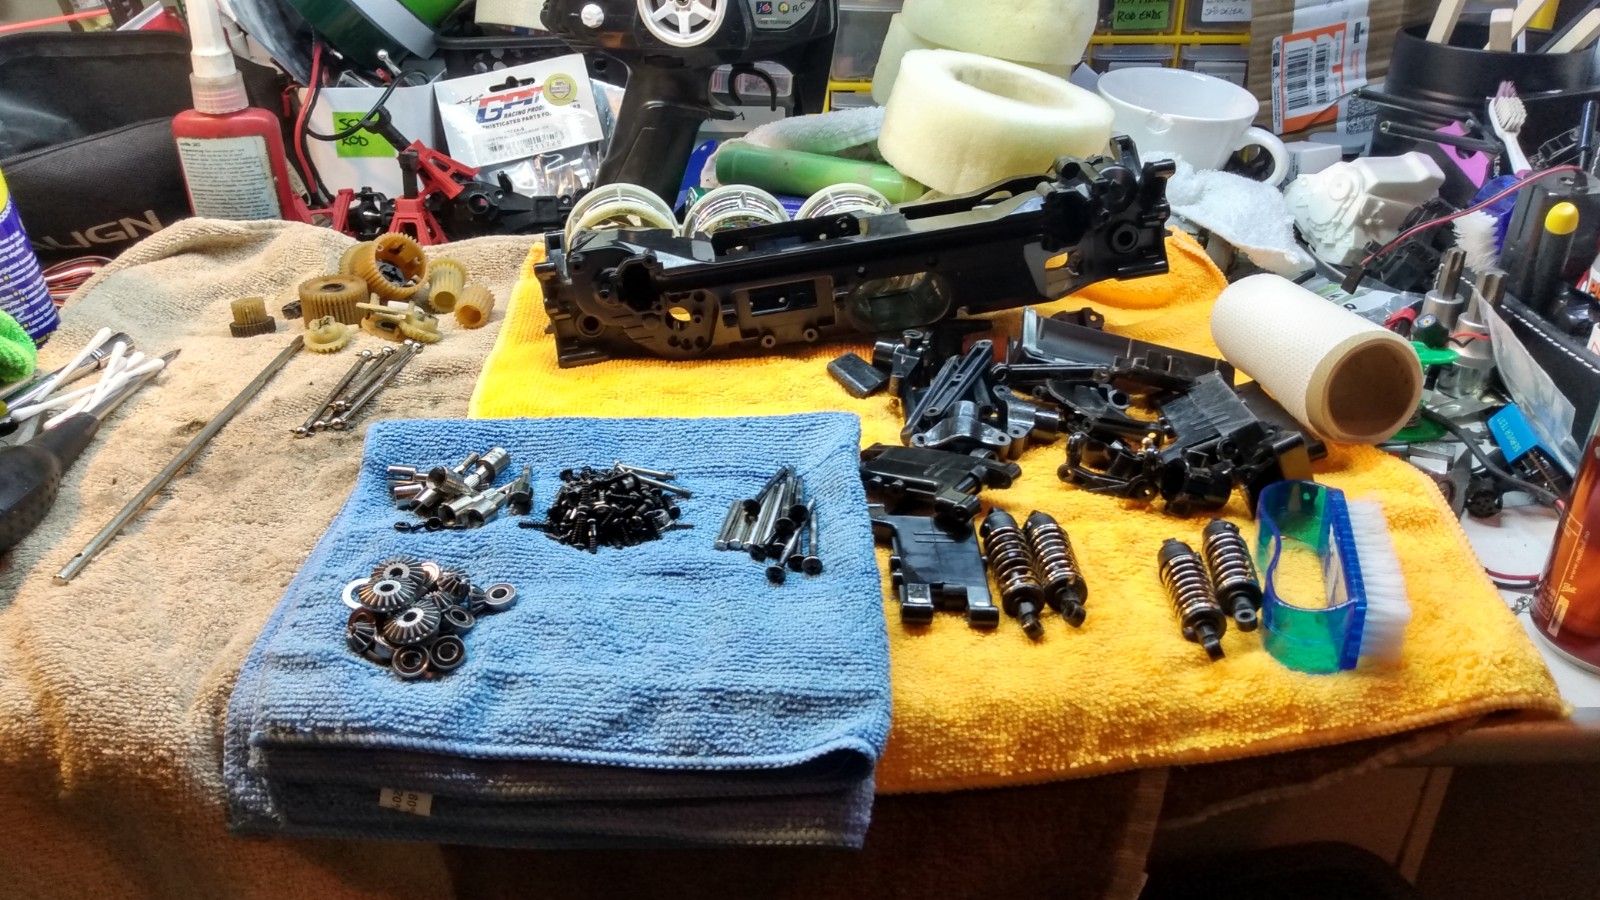
Today I gave all the plastic another soapy bath in hot water, this time they was scrubbed with a little hand scrubber I found in the lady section of one of the shops I go to.
With that done the metal bits was put in other set of shot glasses to rinse on off before being dried with a paper towel.
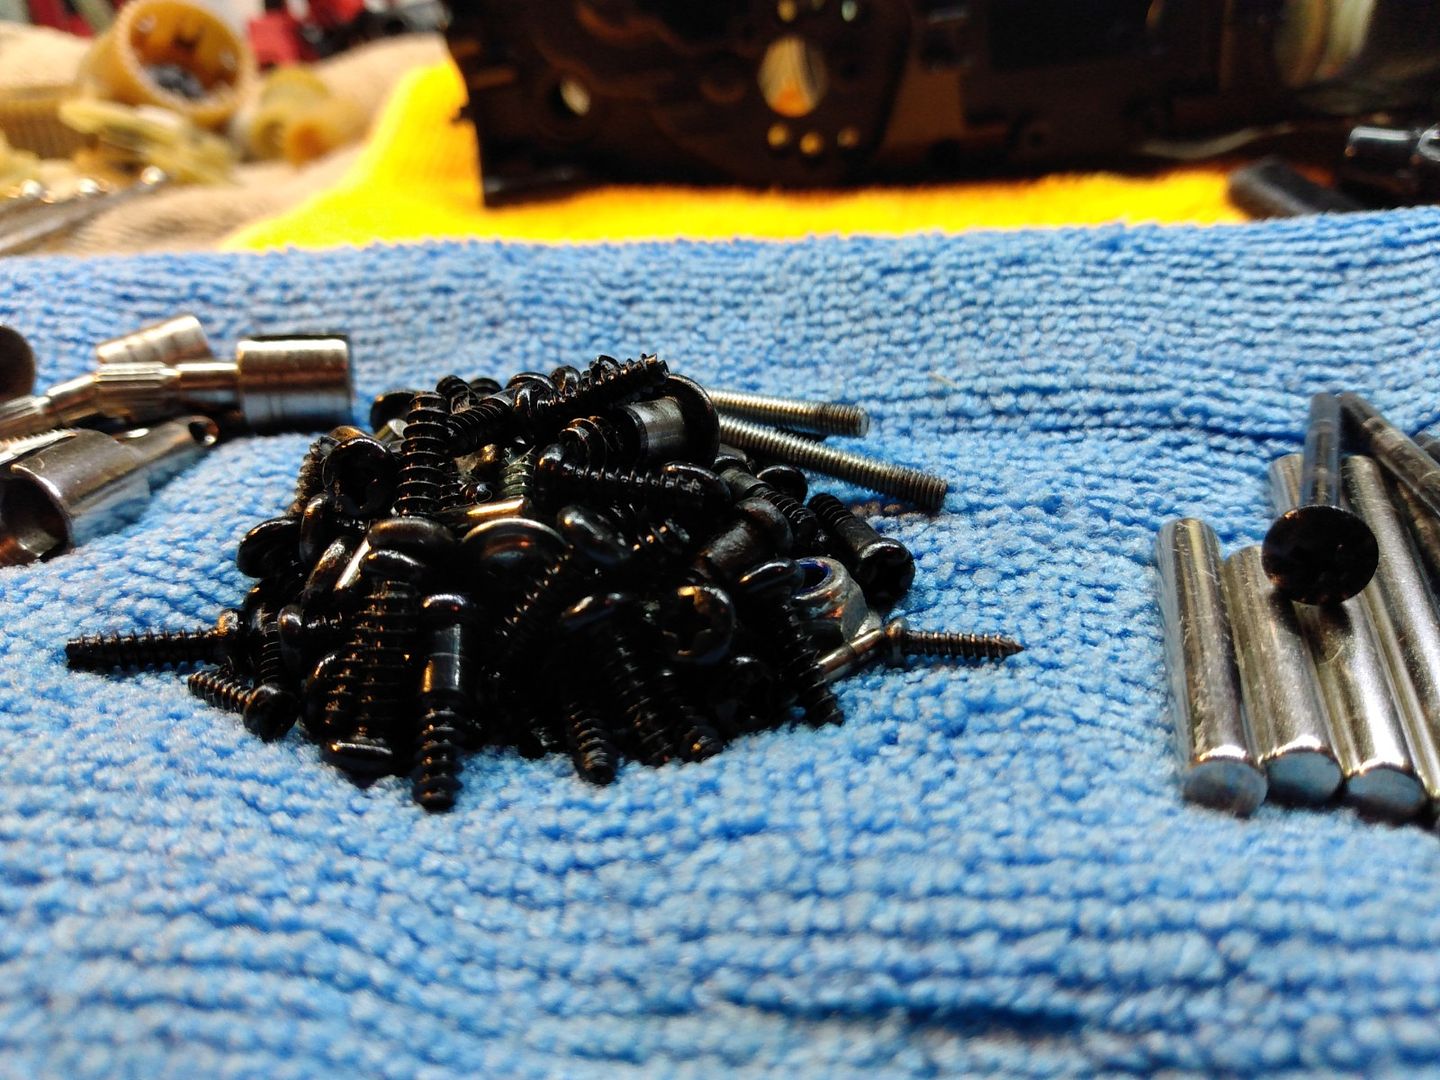
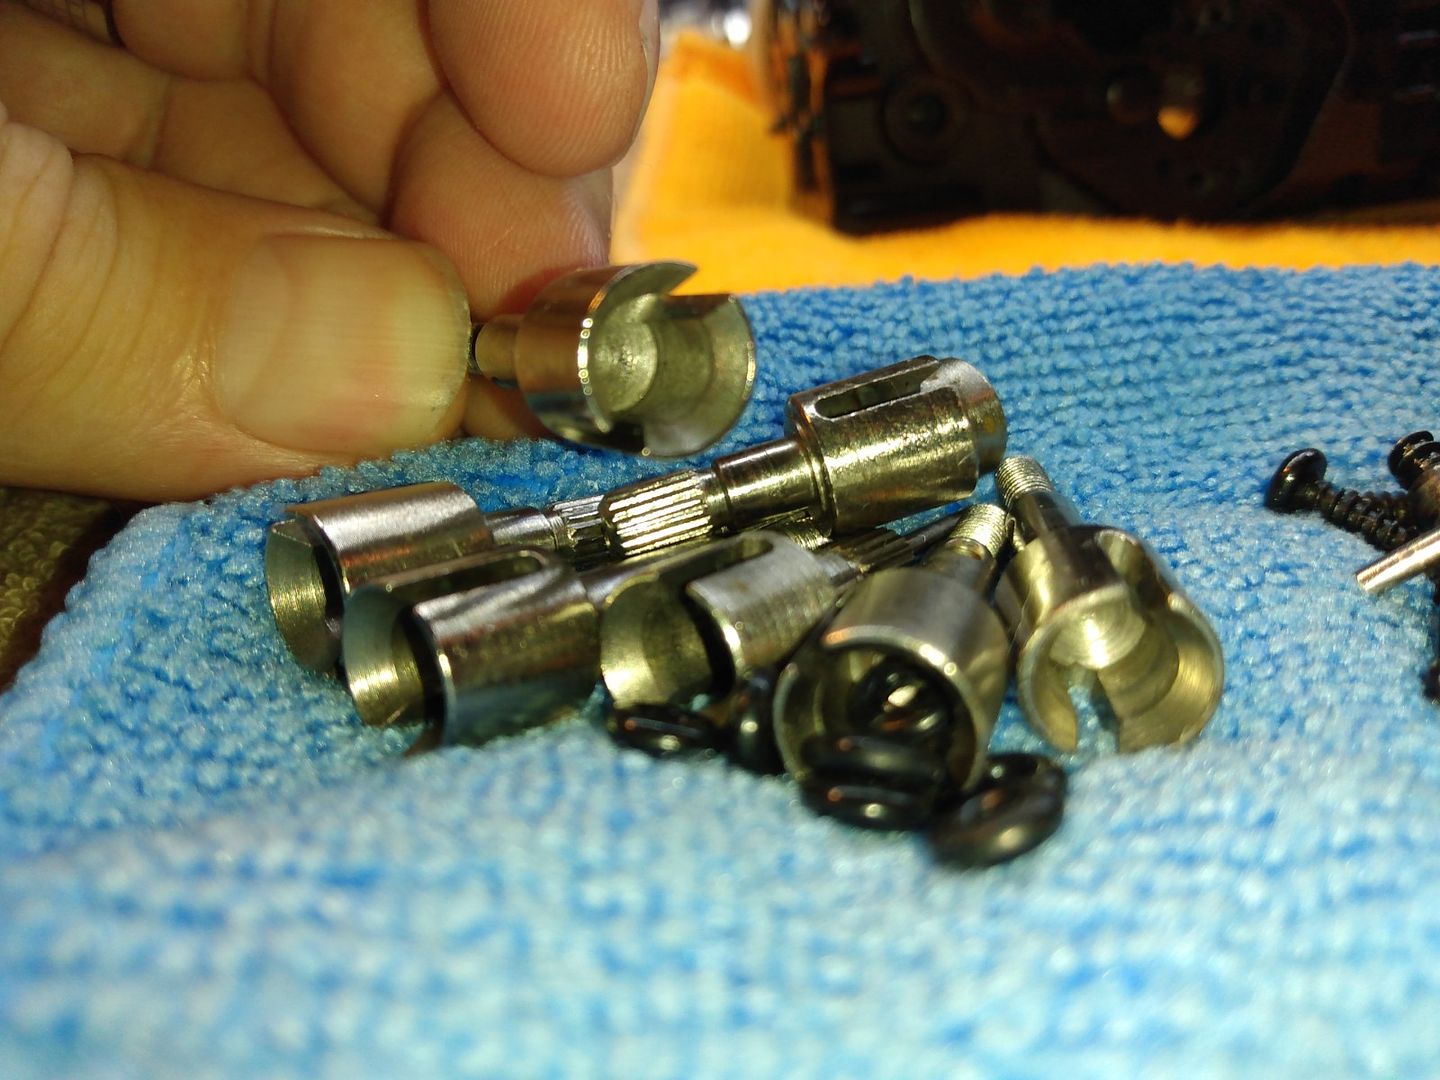
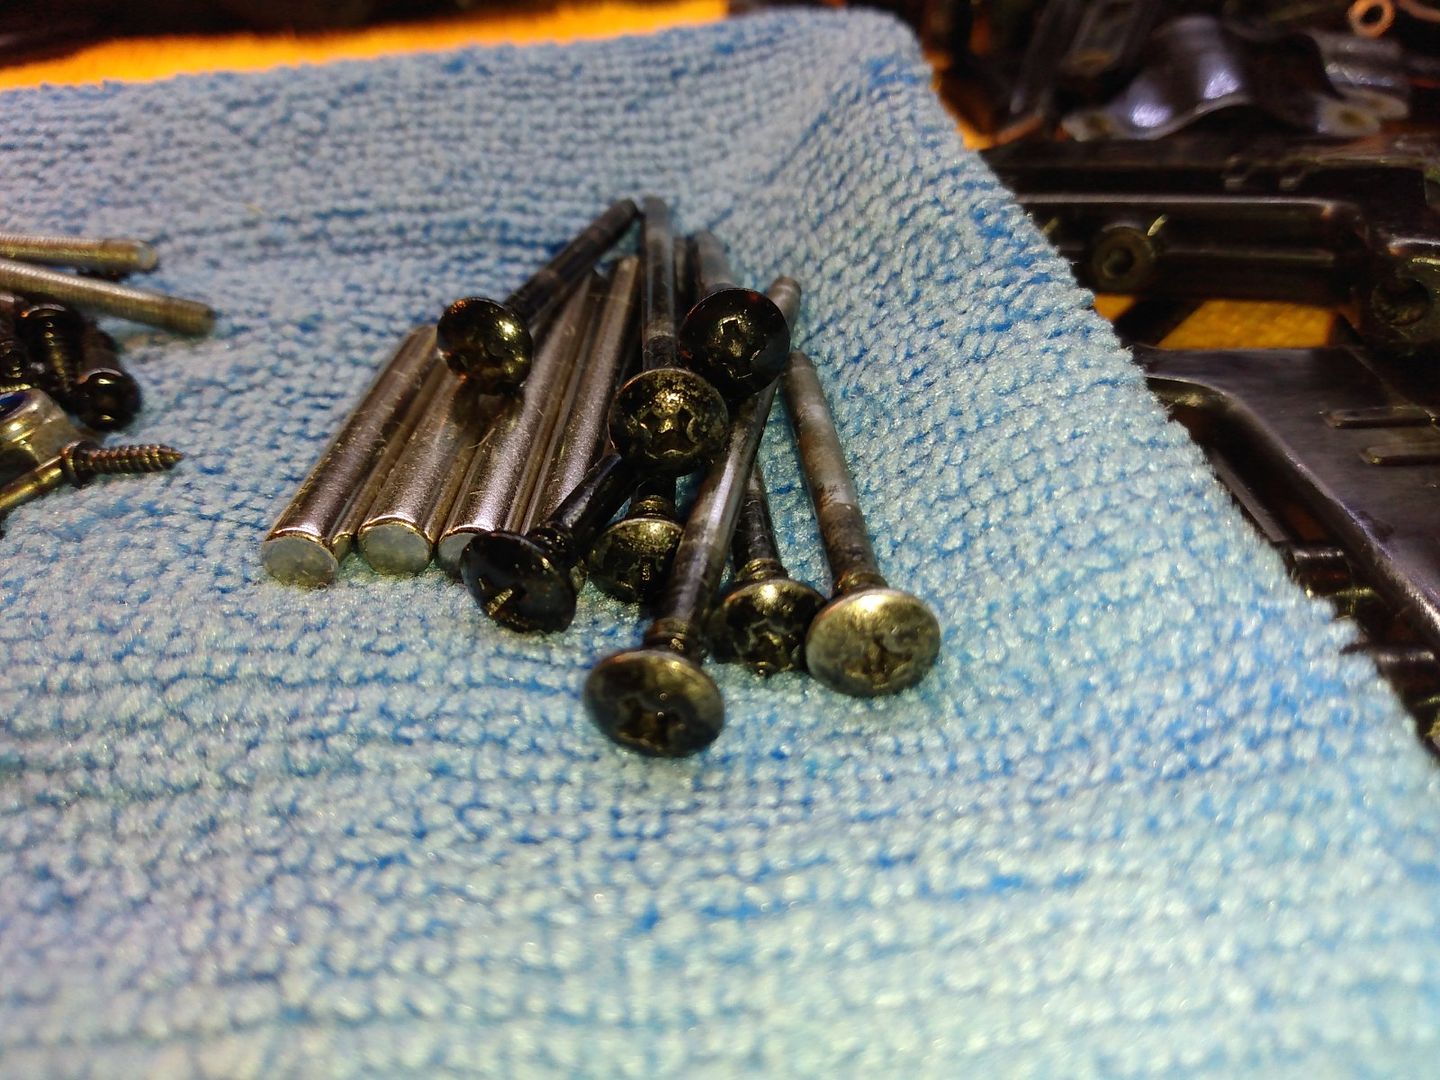
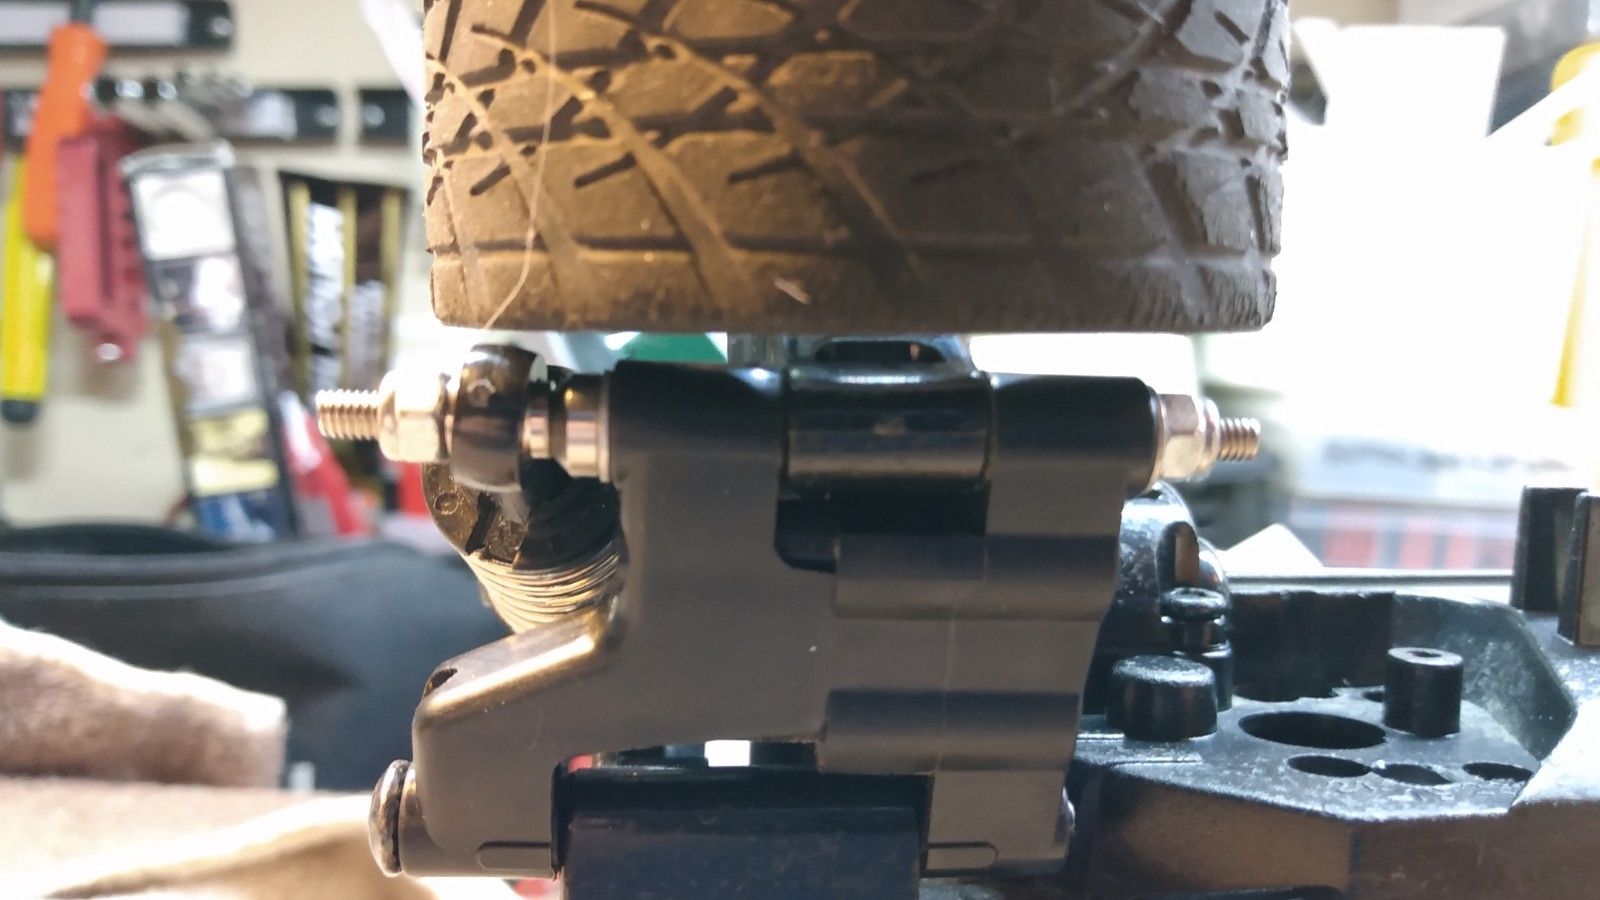
All metal bits got really clean and most of the hardware is useable.
Some of the screw pins are not straight, so those needs to be replaced.
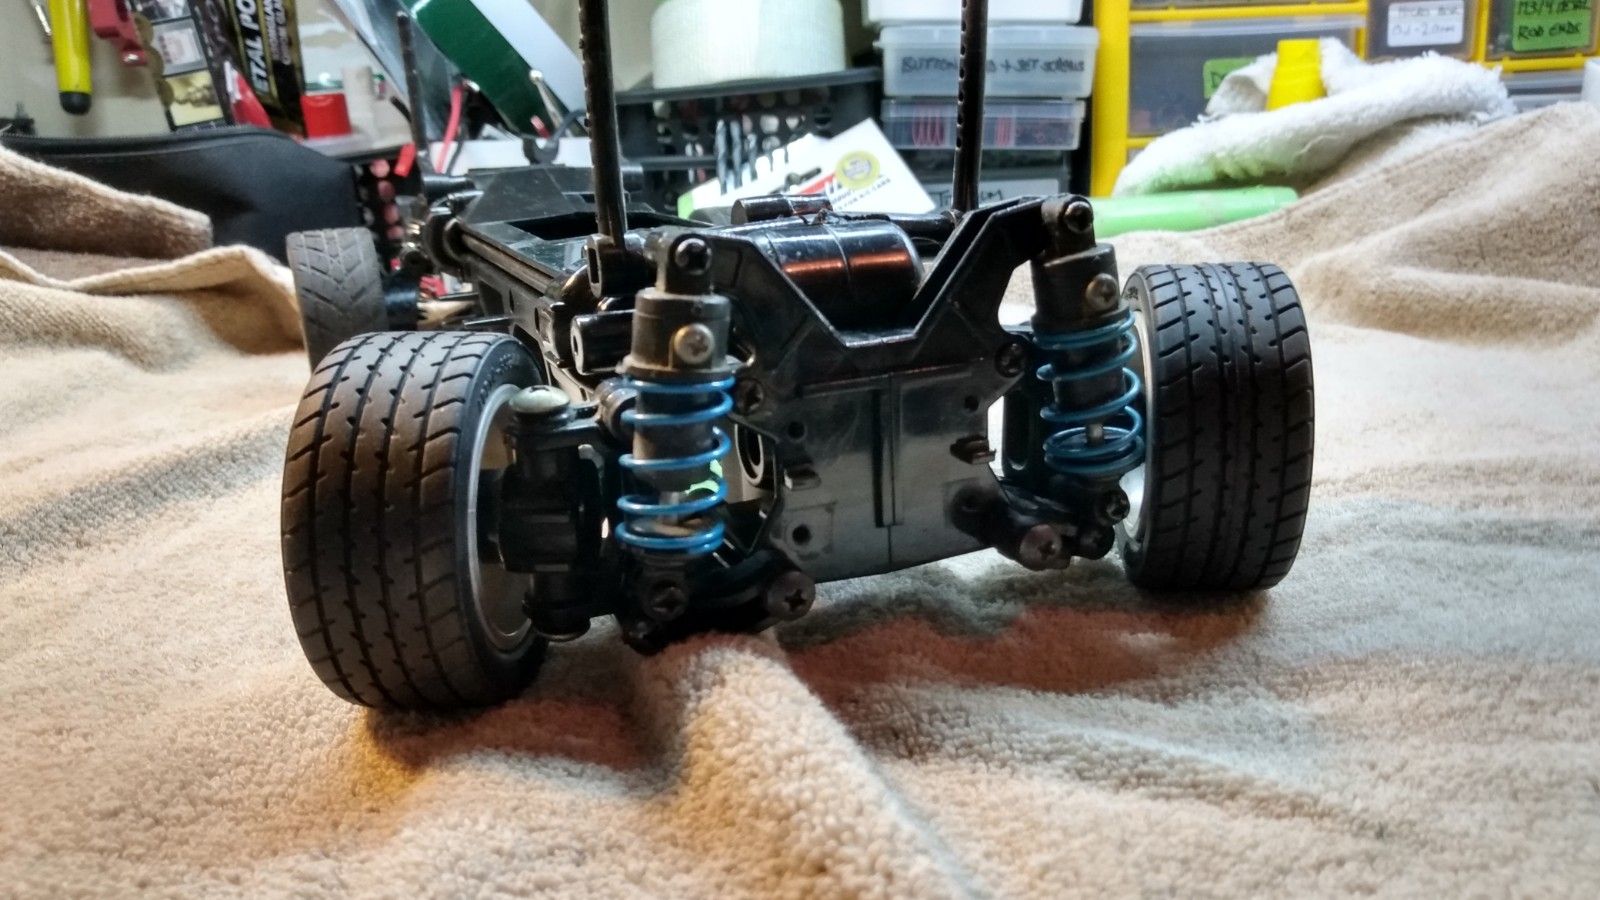
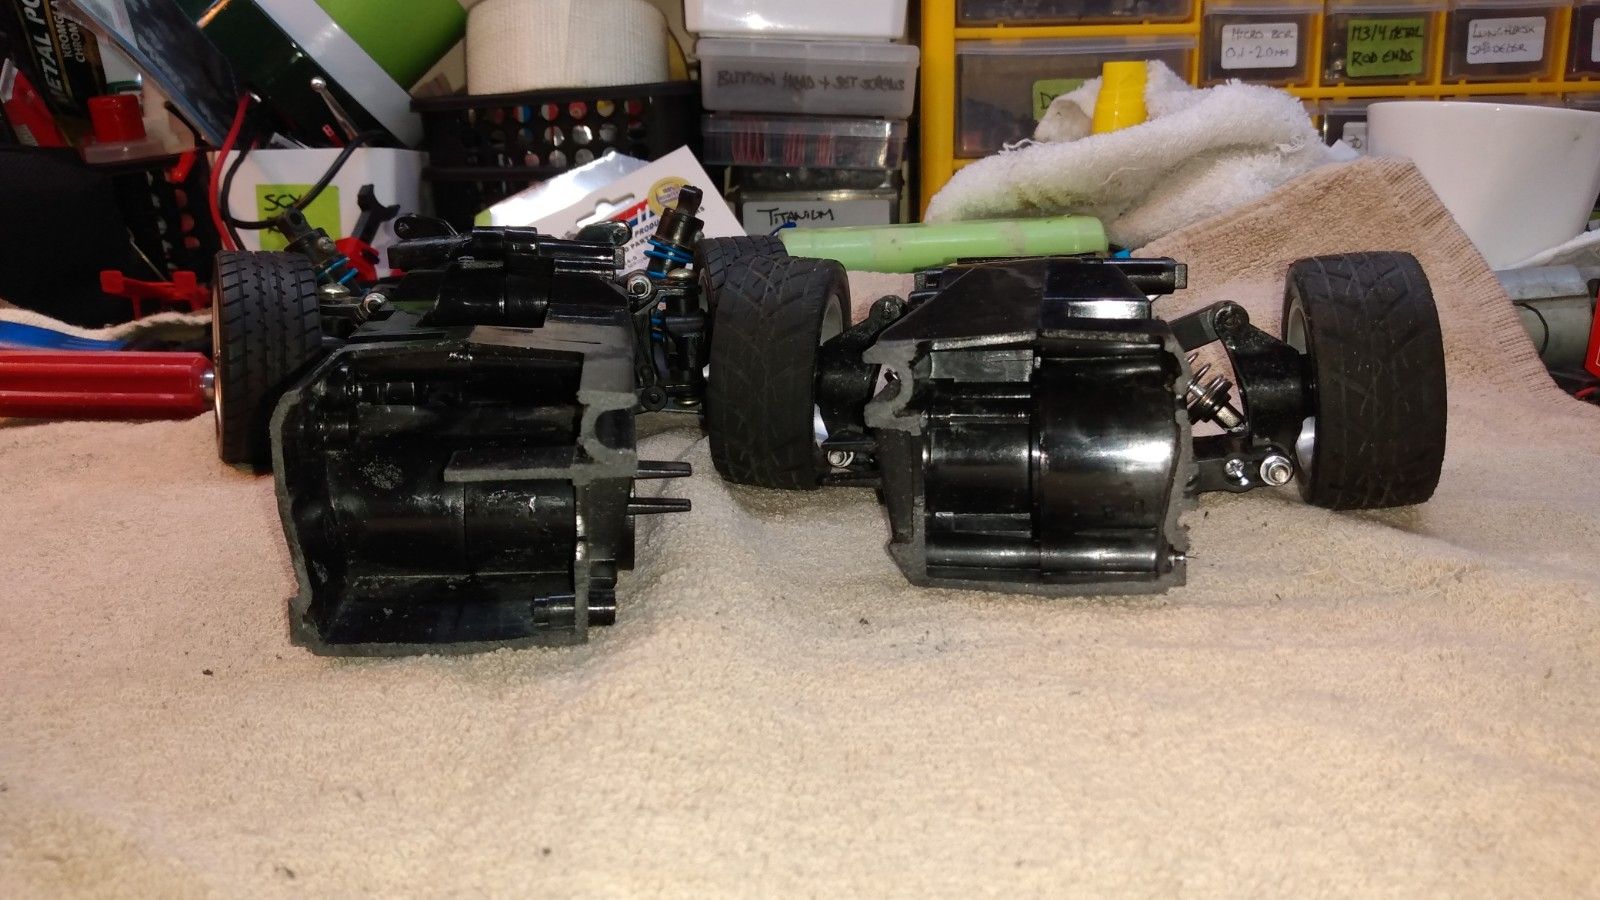
Some of the differences vs a orginal Tamiya TL01.
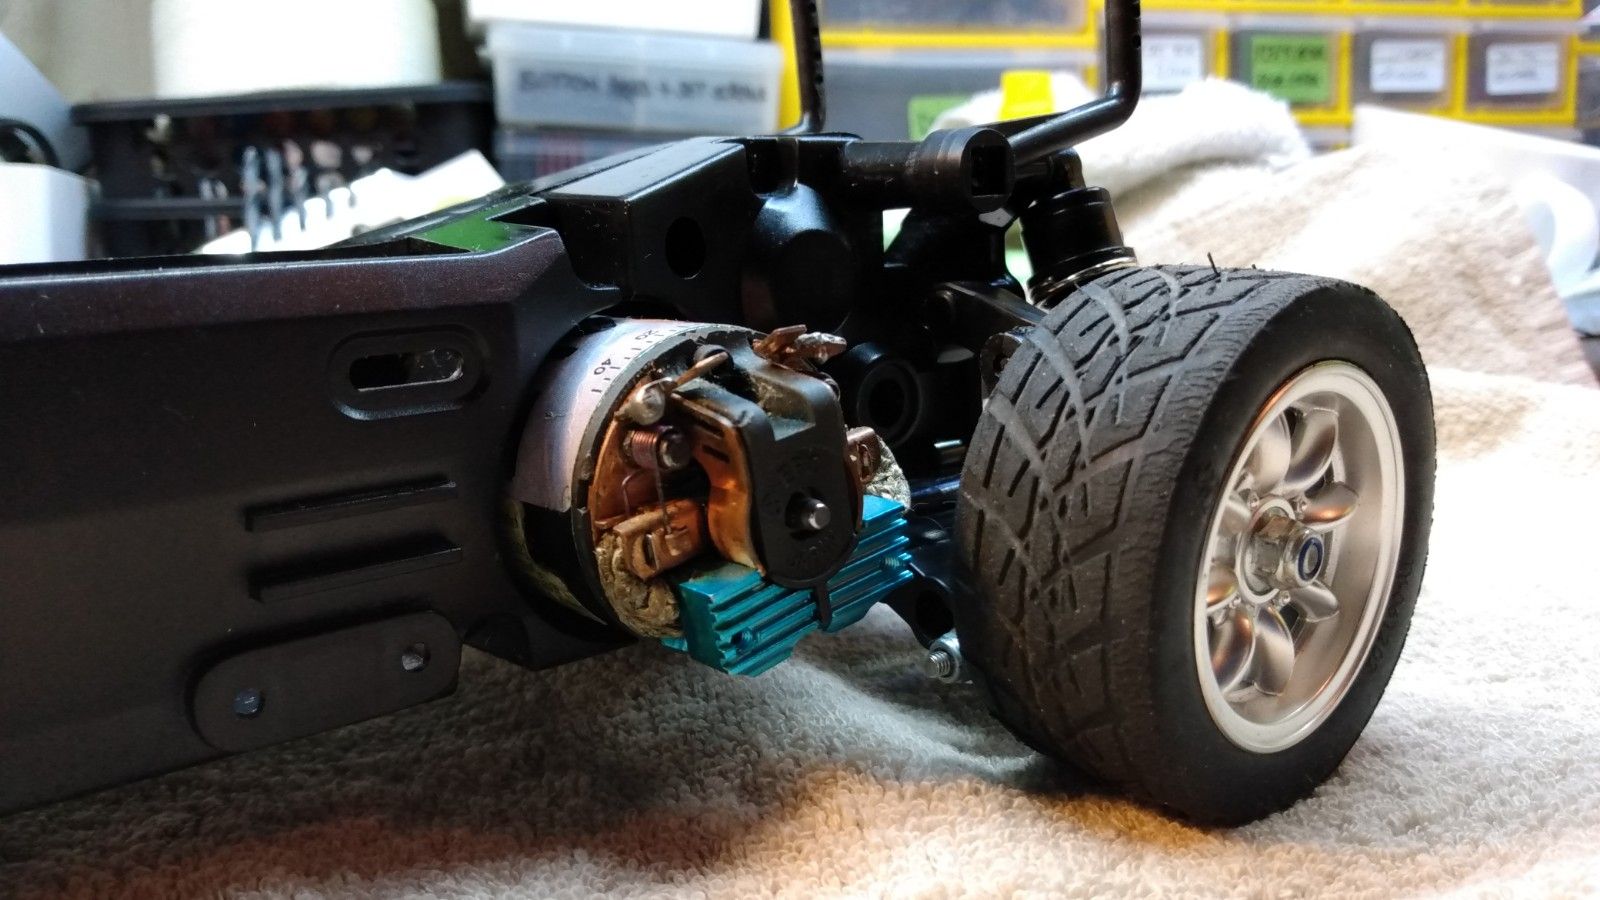
HBX uses black hardware on their chassis.
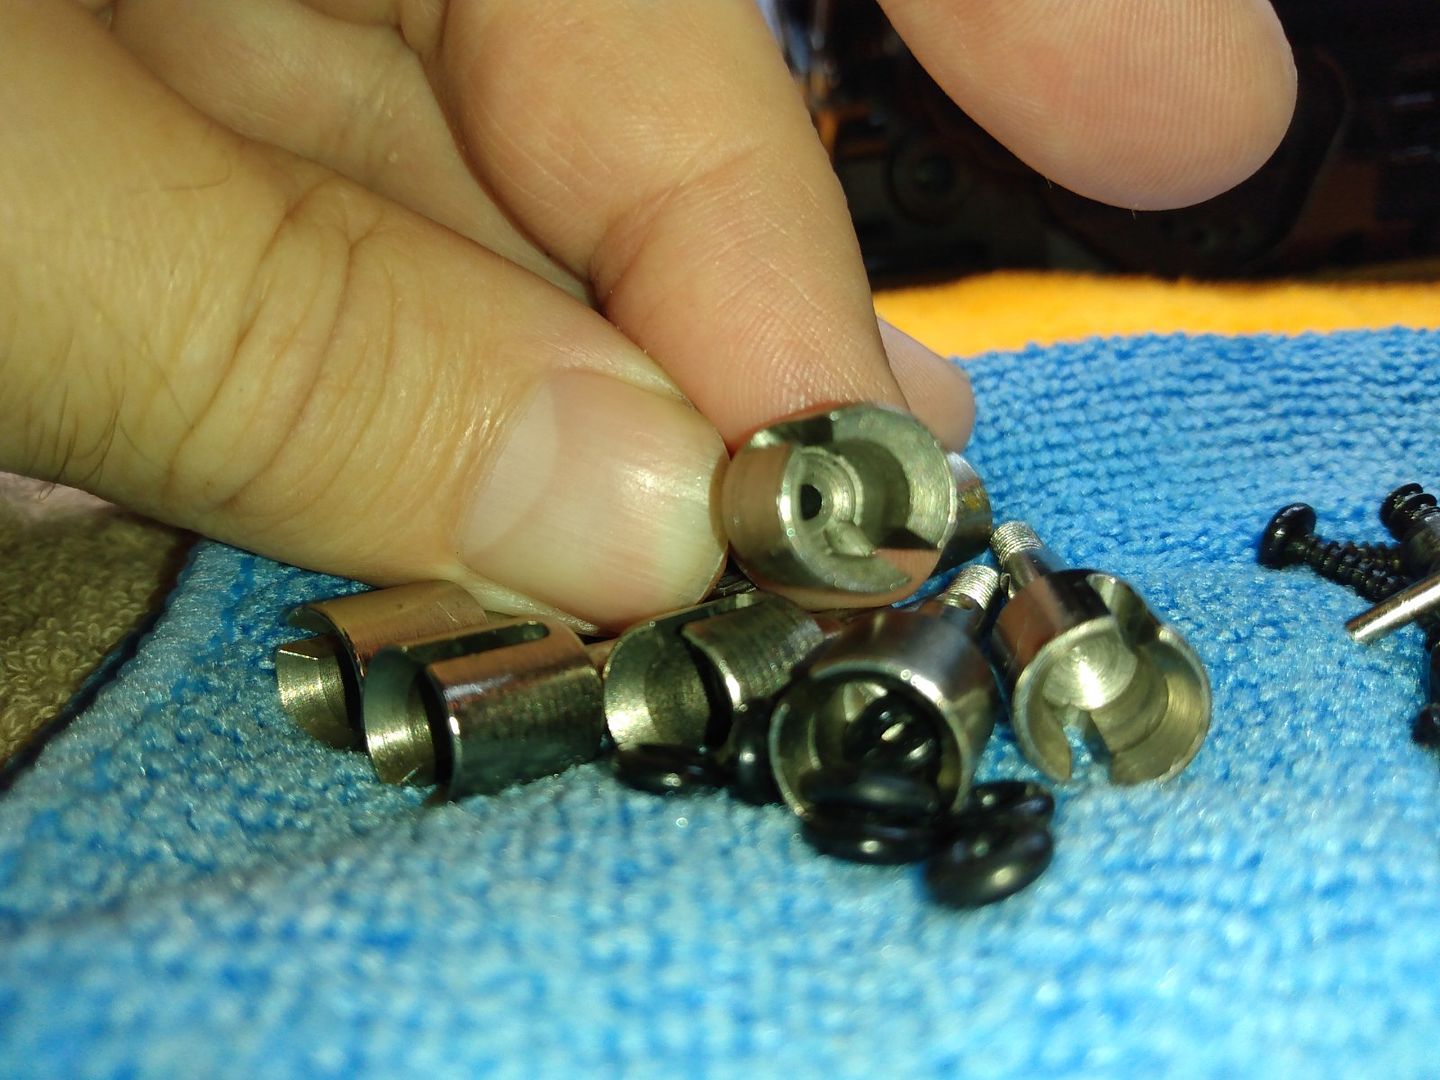
Gearbox drive cups are grey ish on the inside.
So are the wheelaxles
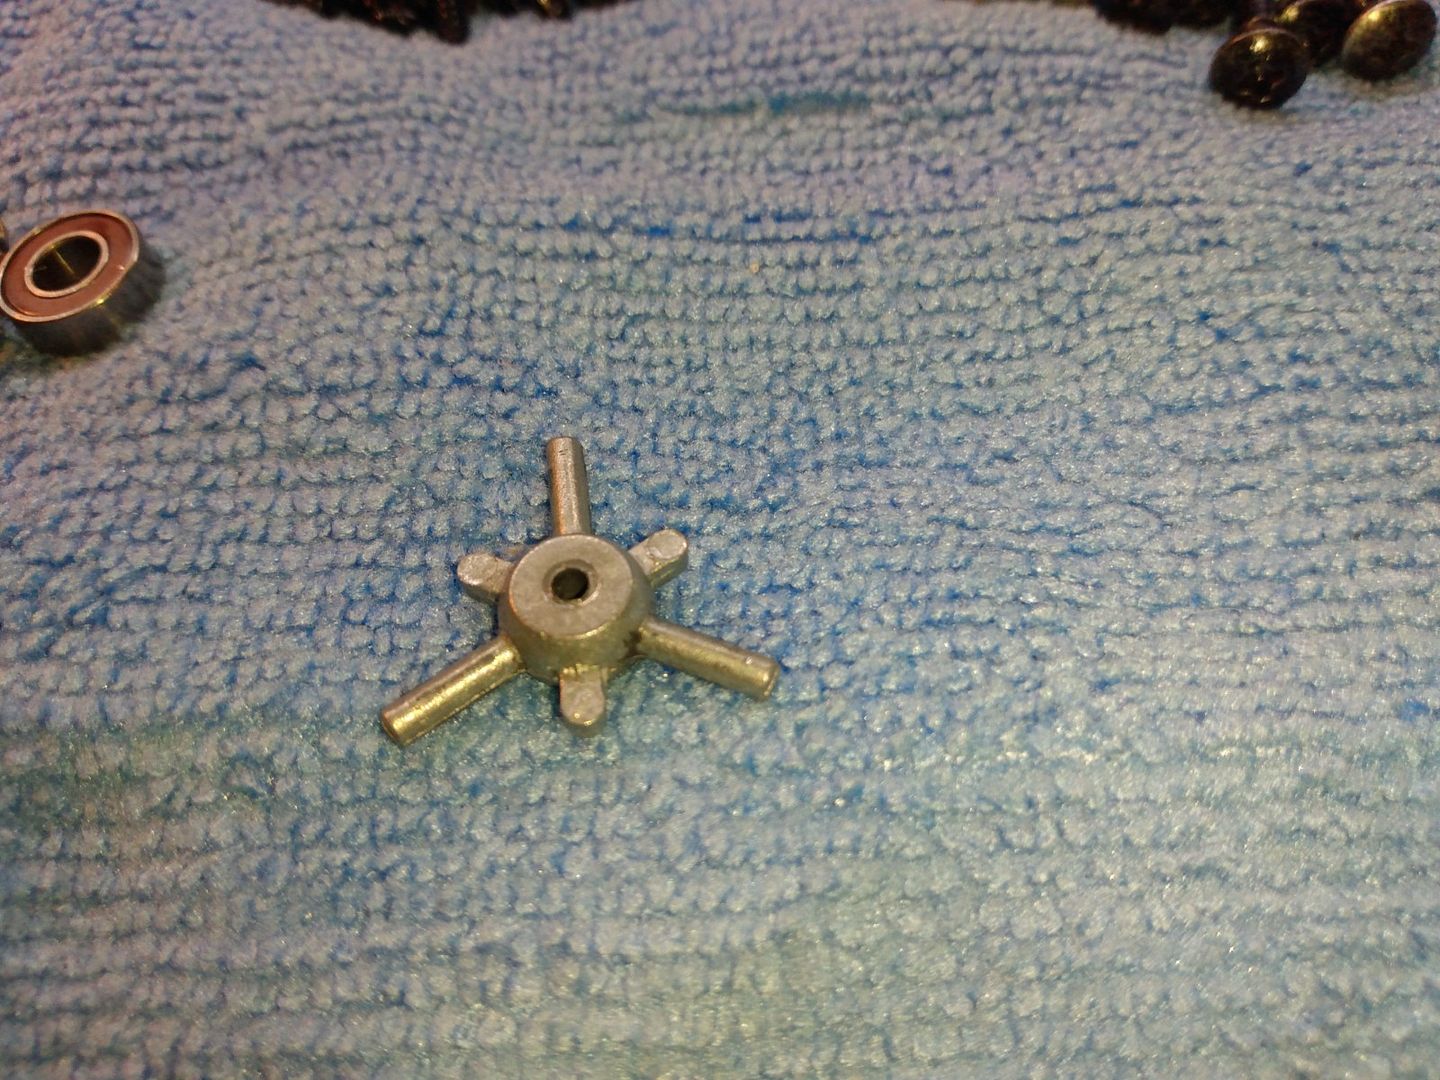
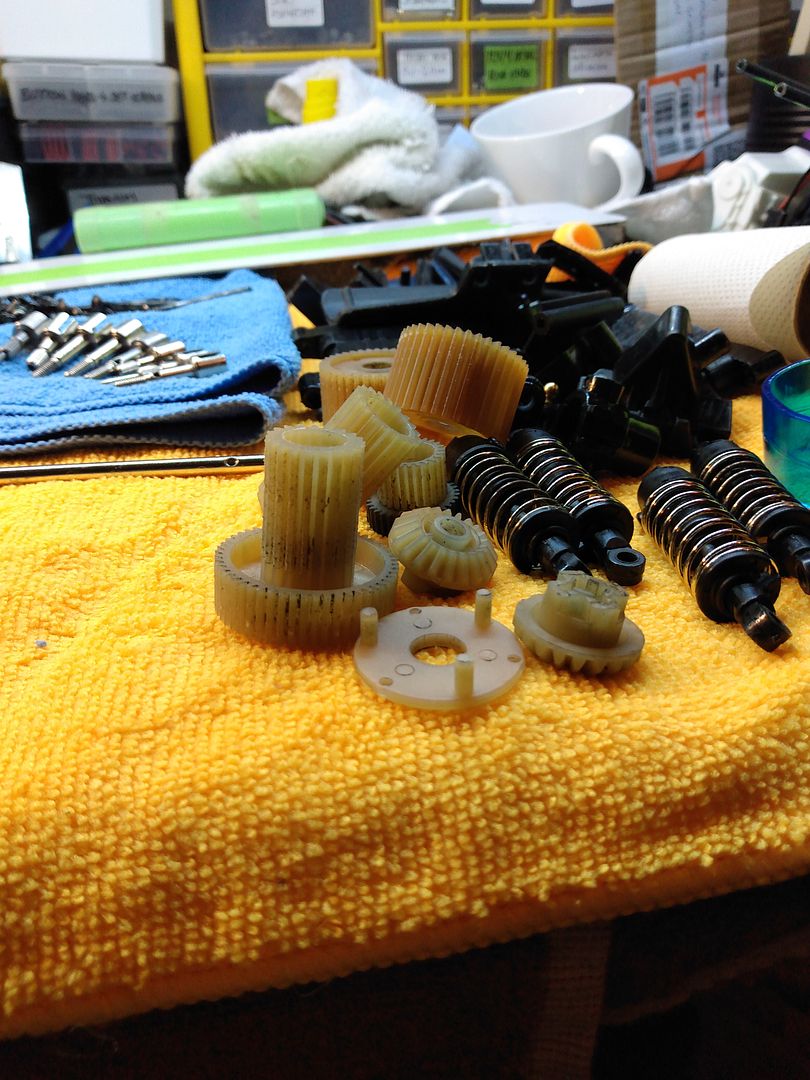
The star inside in the diff has extra fingers on them
And no HBX seems to have ball bearings, bushes fitted to the same place.
I think I had at least 3 of them and non of them was put together in the same manner.
And HBX seems to use the whole specter of bushings and bearings, metal shielded bearings, rubber bearings in 2 colors. brass bushings and plastic bushings.
All came from this vehicle.
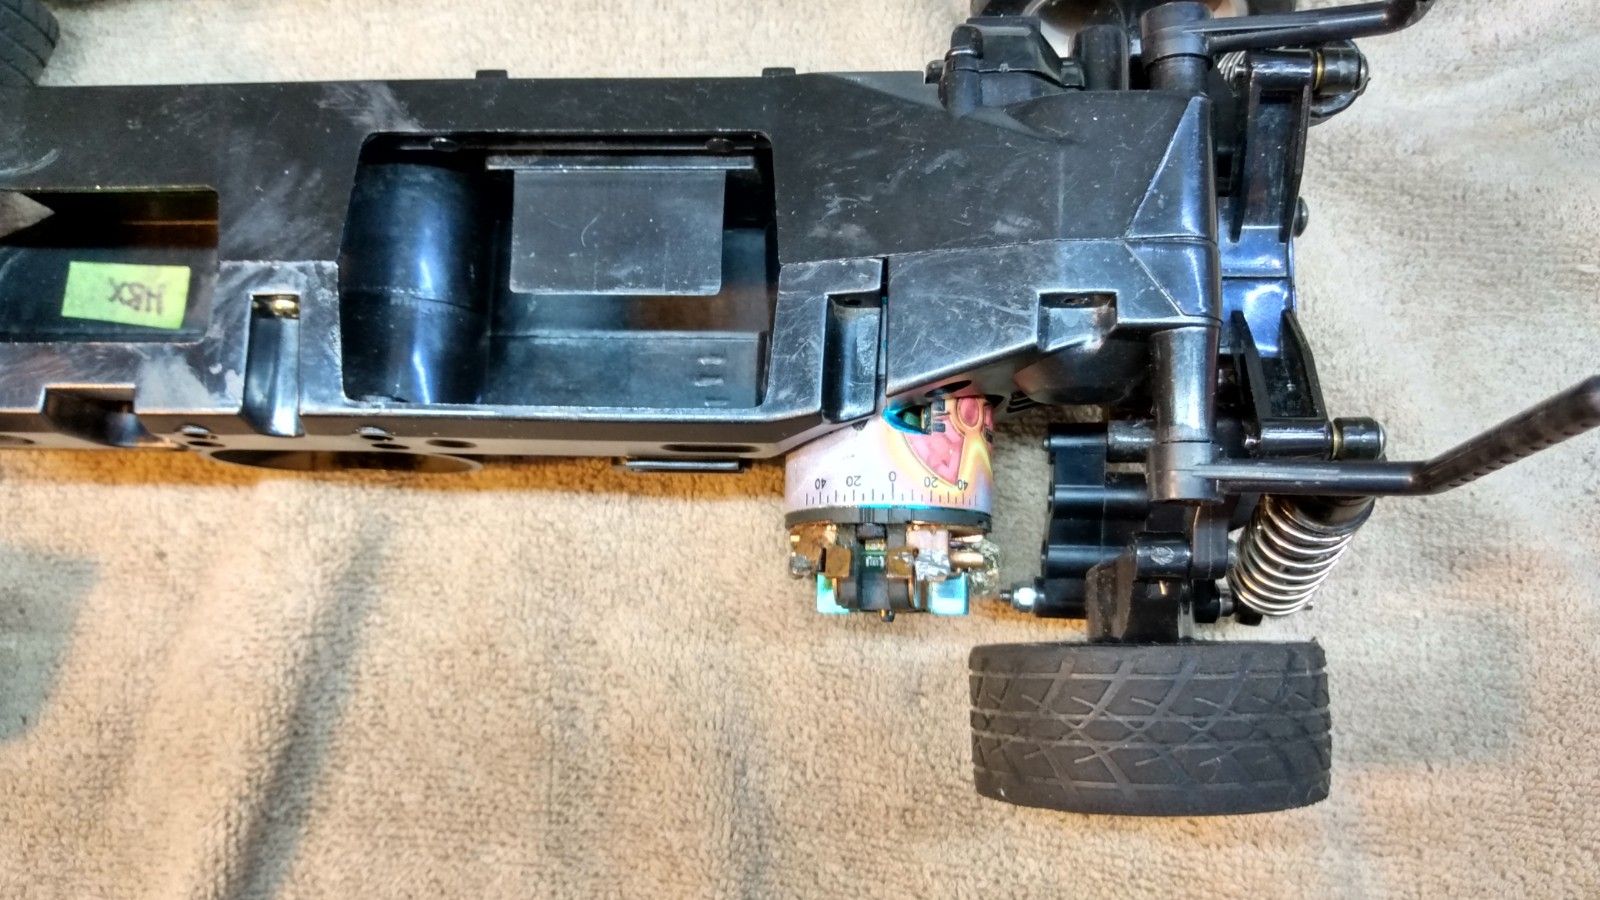
Screw pins on the other side seems to be very similar to the Tamiya ones
Usually HBX TL01 versions has brown gears in them, that feels a bit gritty to them in material.
But this had a combo of both white and brown gears.
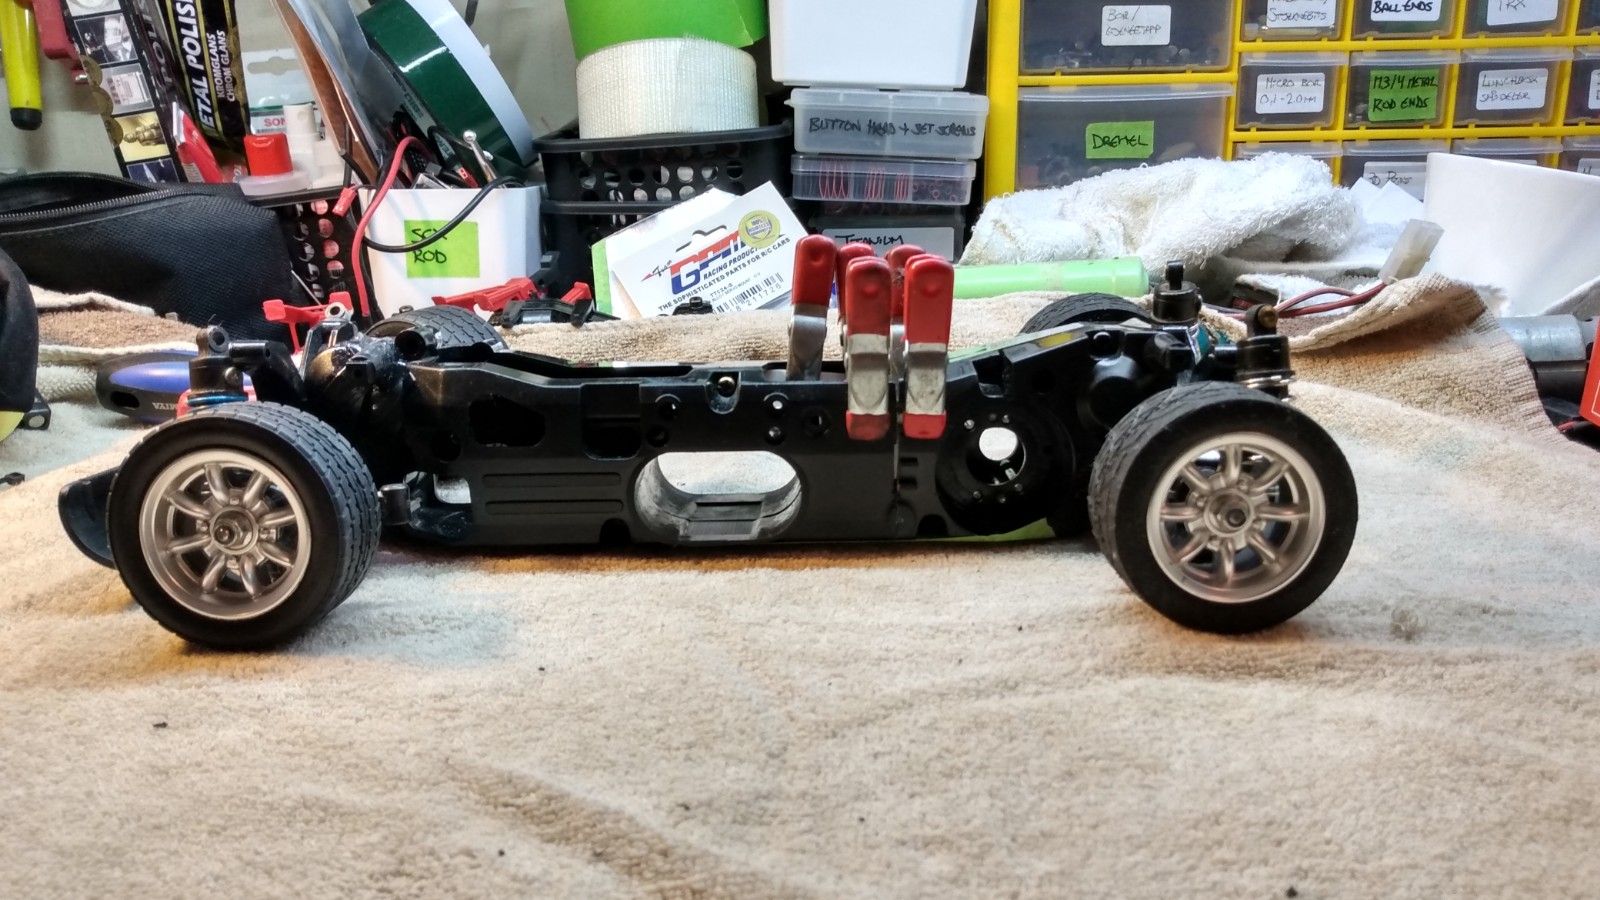
These are still to be cleaned.
The dog bones also needs to be cleaned, these have some rust on them.
Autosol will fix that I think.
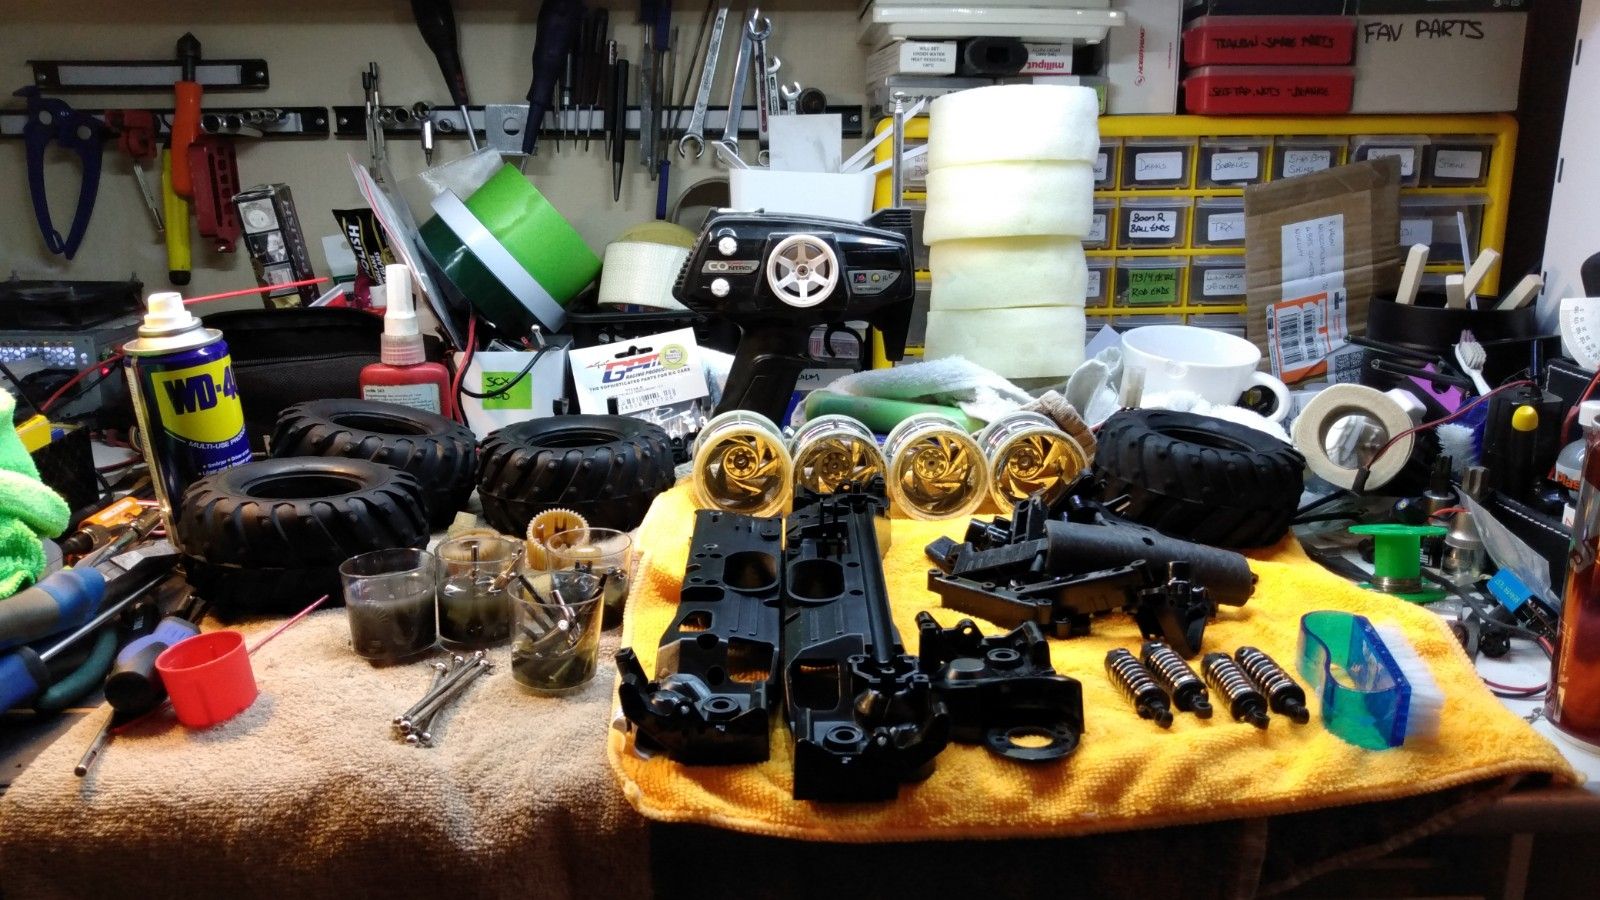
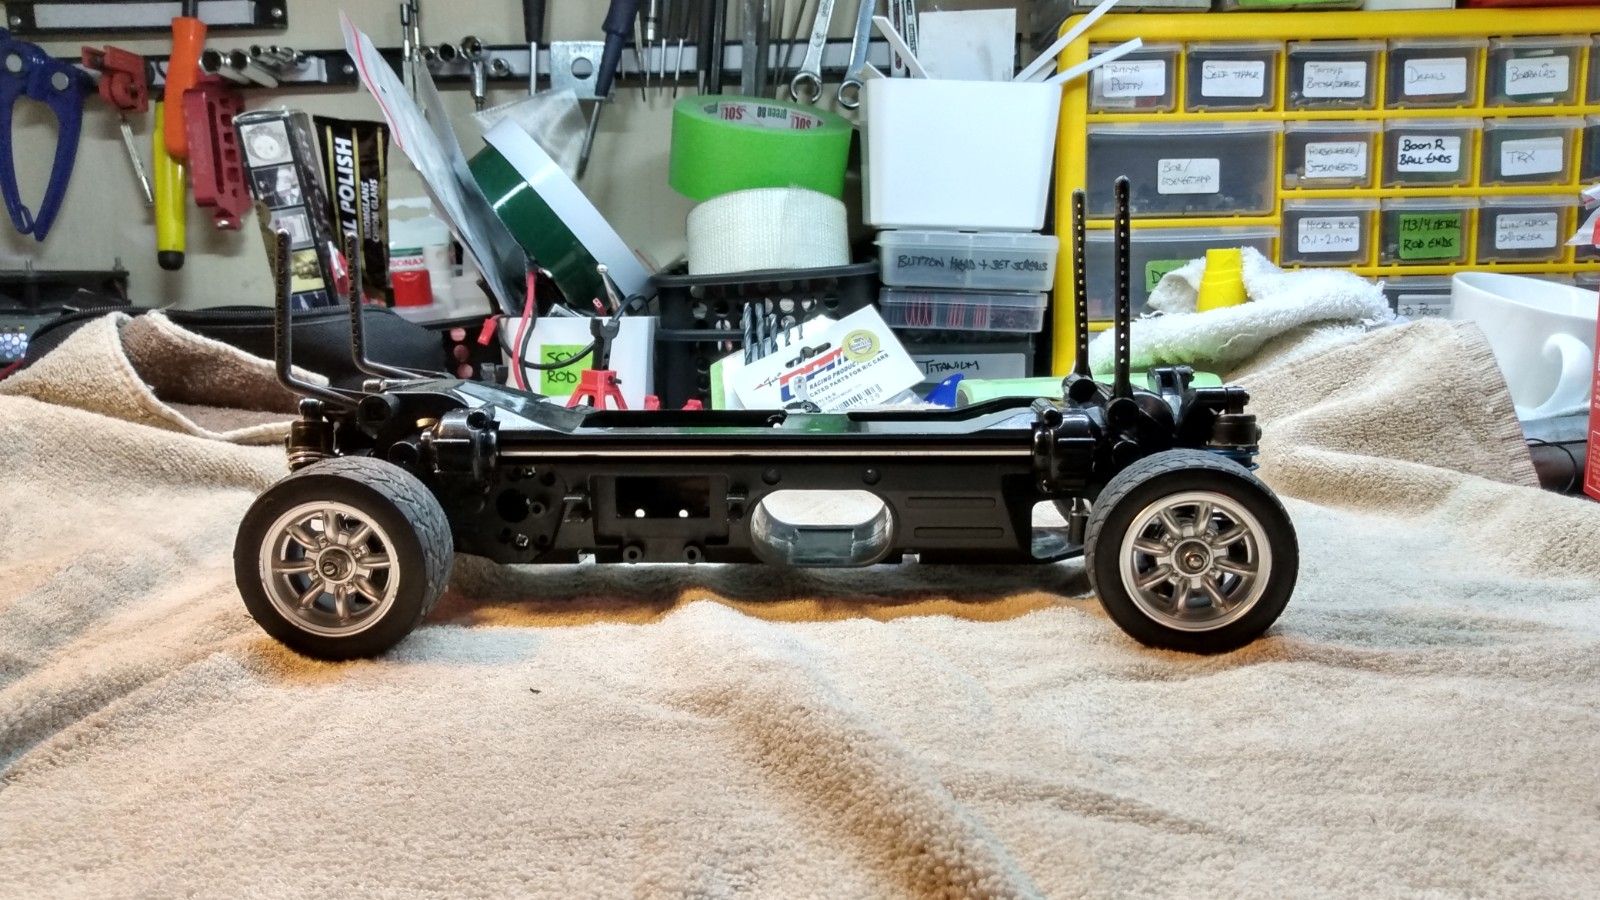
That is how far I have come with this project.
Cons on this paricular chassis:
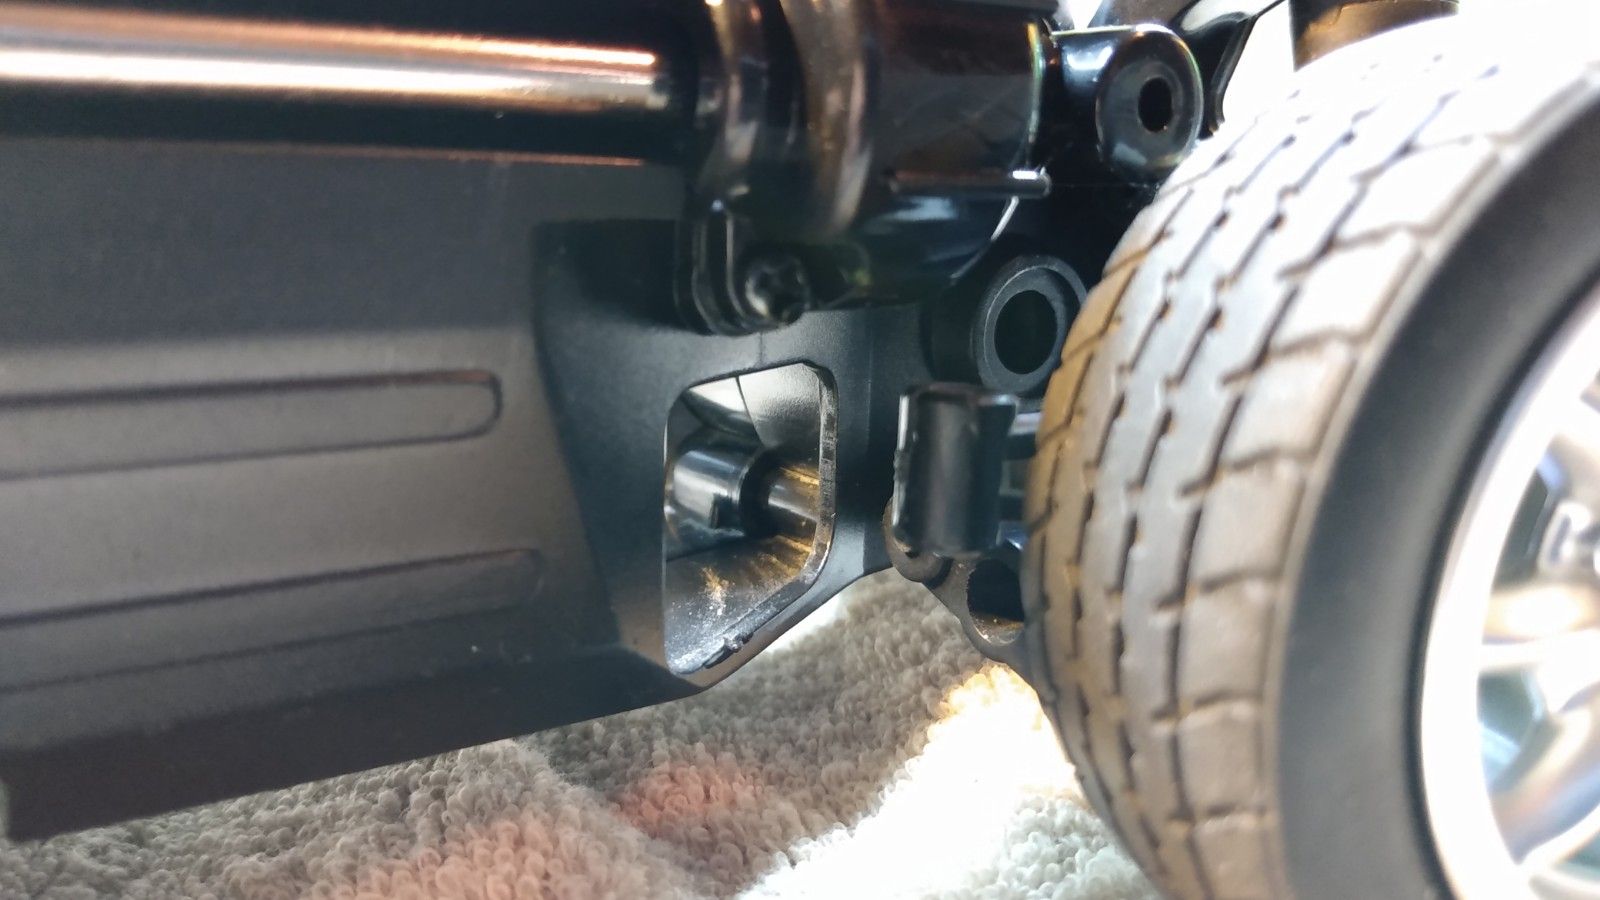
Broken body mount on the chassis left front - no biggie as I will mod the chassis if it can' be glued.
Tires have tears in them - repairable and they are already been set aside for one of my other projets.
Wheeøs are scuffed - not bad, but need the outher lip needs to be sanded off. Have no use for them right now tho'.
Missing body posts - not a problem as I need new ones for the Escortbody anyway.
Chaissis is scratched on the underside - fits this chassis it will be a rally car and it might get a skid plate to made up.
Pros:
Heaps of possibilitys to mod to near any vehicle type you want.
Loads of spare parts still available - and I have loads of spare parts as well.
Easy to mod for fitting bigger capacity batteries.
Pulls apart with few screws.
Nearly bullet proof.
I might order the body very soon.
Same for rally tires as I don't have those in M chassis size.
But I do have minilite type wheels sitting around.