Keyword

TOPIC:

Richard's Escort MkII build - TL01 ish based. 3 years 2 months ago #64706

After a bit google, my shocks seems to be Tamiya 53280 TA03 Super Low Friction Damper Set, which is indeed what they feels, really plush.
And after 13+ years out of commission they are still soft and hold their damper fluid 

Please Log in to join the conversation.

Richard's Escort MkII build - TL01 ish based. 3 years 2 months ago #64709

Yep they appeared on the ta03 pro. And replaced the pink ones.
The following user(s) Liked this: caprinut

Please Log in to join the conversation.

Richard's Escort MkII build - TL01 ish based. 3 years 2 months ago #64710

Fährt der alte Lord fort, fährt er nur mit einem Ford fort!


Please Log in to join the conversation.

Richard's Escort MkII build - TL01 ish based. 3 years 2 months ago #64733

For my own future ref, I need these parts

#54182 M05 Adjustable Upper Arms - To correct the negative camber - Uses 12mm set screw and short rod ends.
#51436 M06 Pro Suspension Arm Shafts with ball 3x34mm - Replaces the current lower bolt on front dampers.
HS1282T including 3x32 rods for steering - LHS
#9804206 Ball Connector Nut 5mm or 9808012 Ball Connector Nut 5mm Short
#9805503 Driveshafts - Needs to be able to drive.
#50855 TL01 E Parts Body Posts
Futaba S3003 Servo Gears - To replace stripped gears -LHS
#51000 Hi-Torque Servo Saver Black or 50473 White
#53345 Rear Toe Uprights - To change the slight toe out due the M03 suspension arms.
 

Please Log in to join the conversation.

Last edit: by caprinut.

Richard's Escort MkII build - TL01 ish based. 3 years 1 month ago #64809

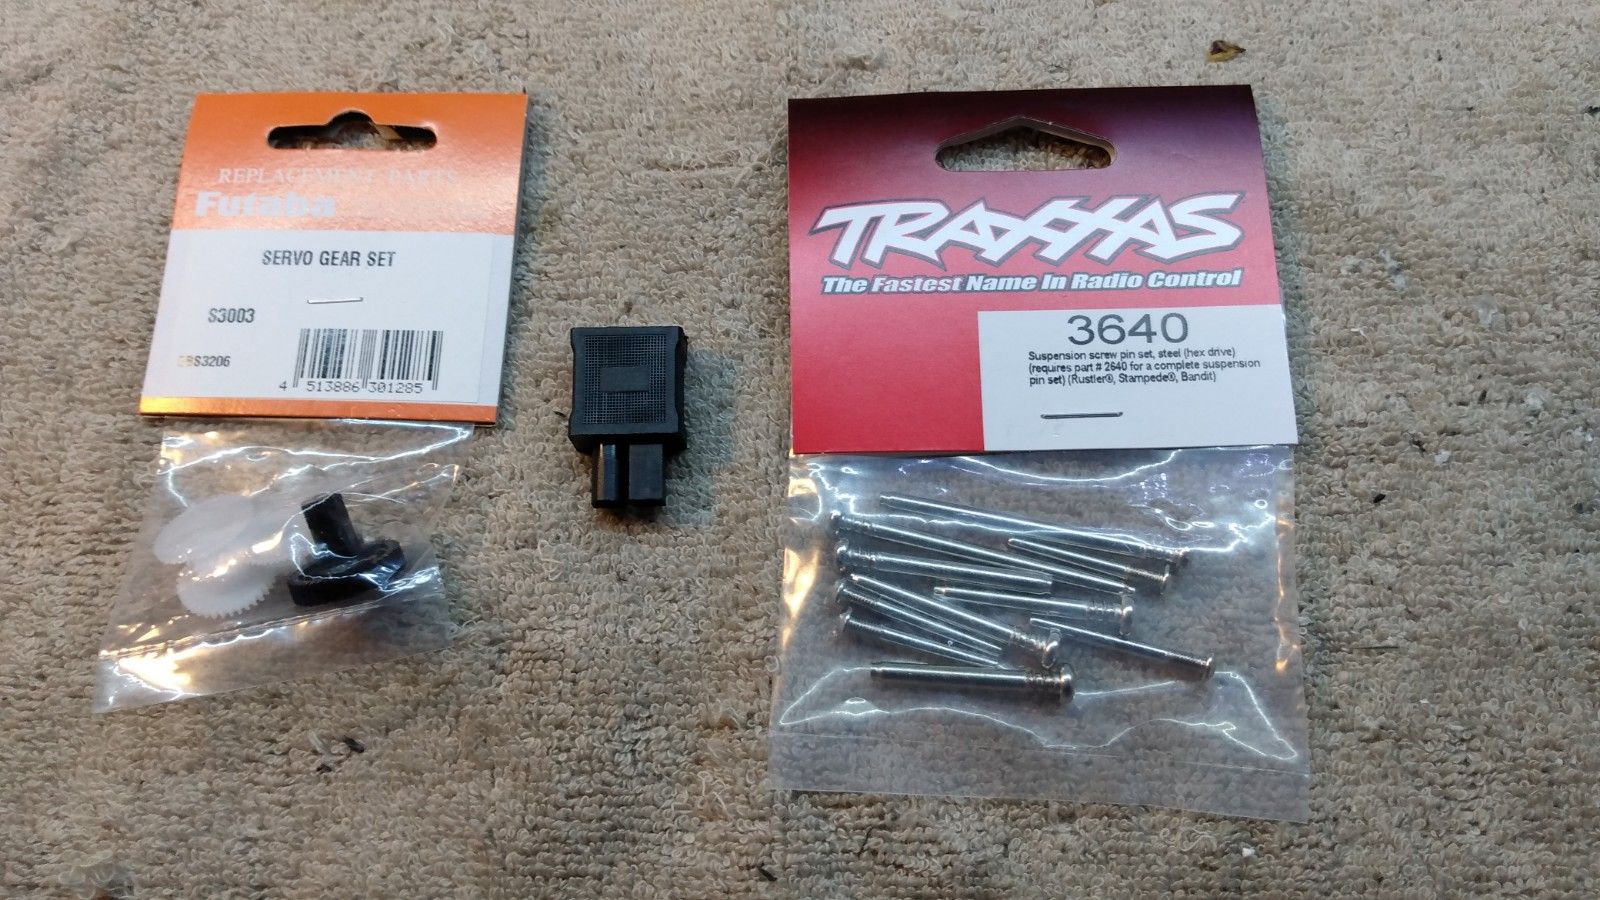
As you may have seen in the mail thread, I got some parts for this project here the other day..


One of them the Tamiya battery connector to Deans adapter which works like so (i only run Tamiya or Deans in my vehicles)


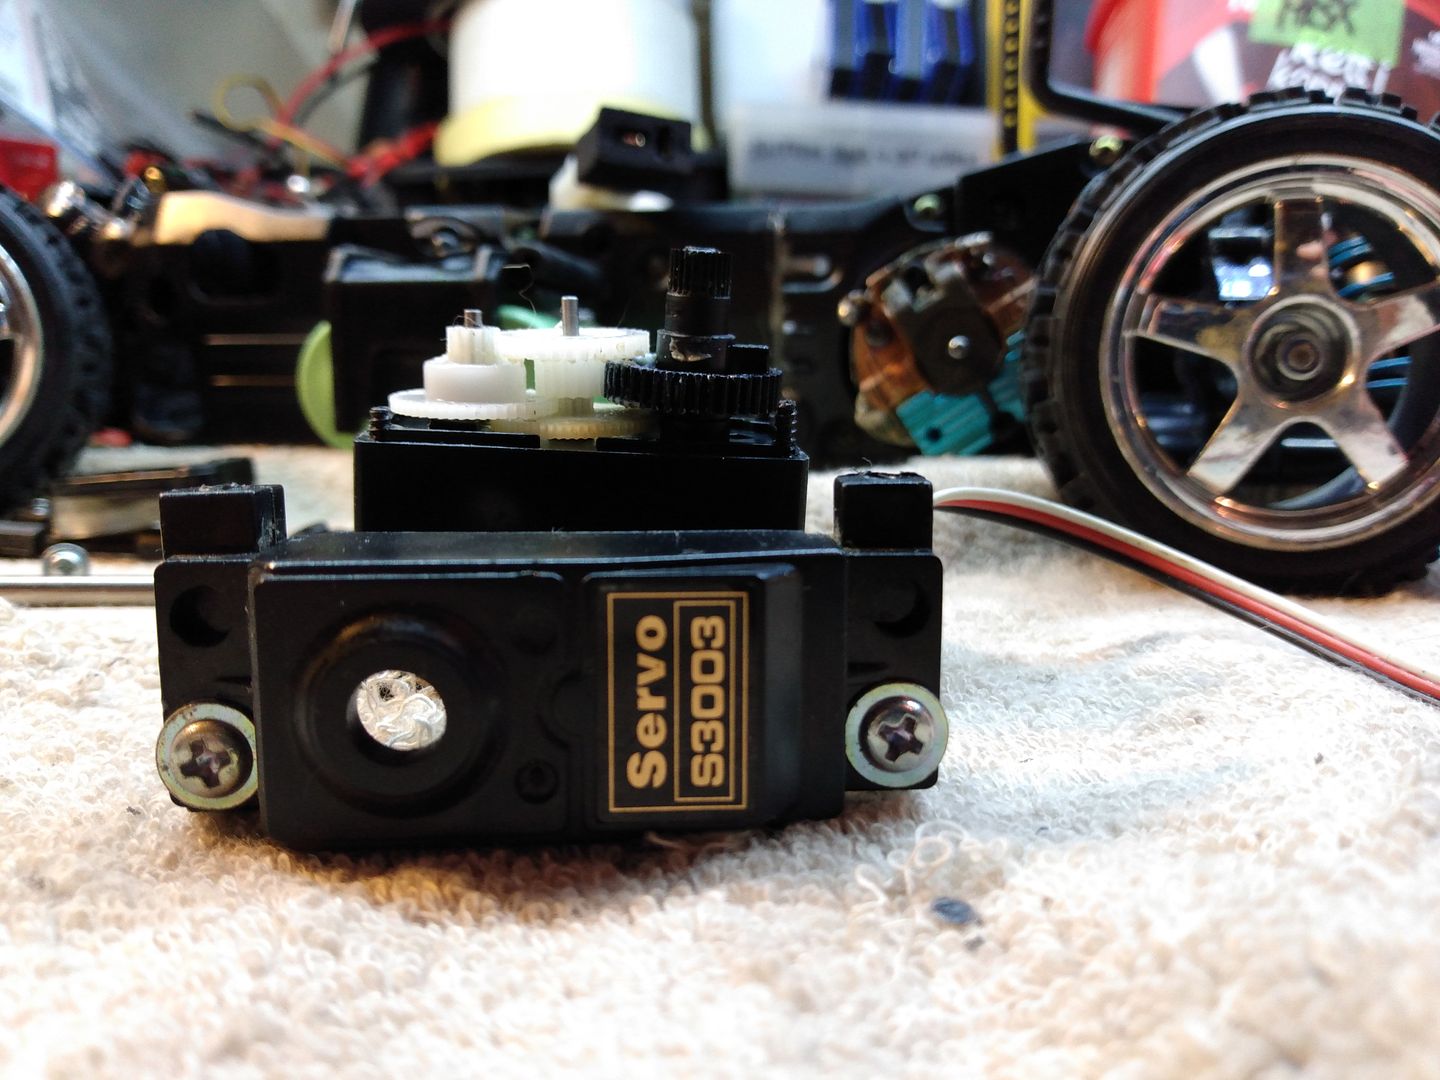
Today I wanted to change out the stripped gears of my Futaba S3003 servo


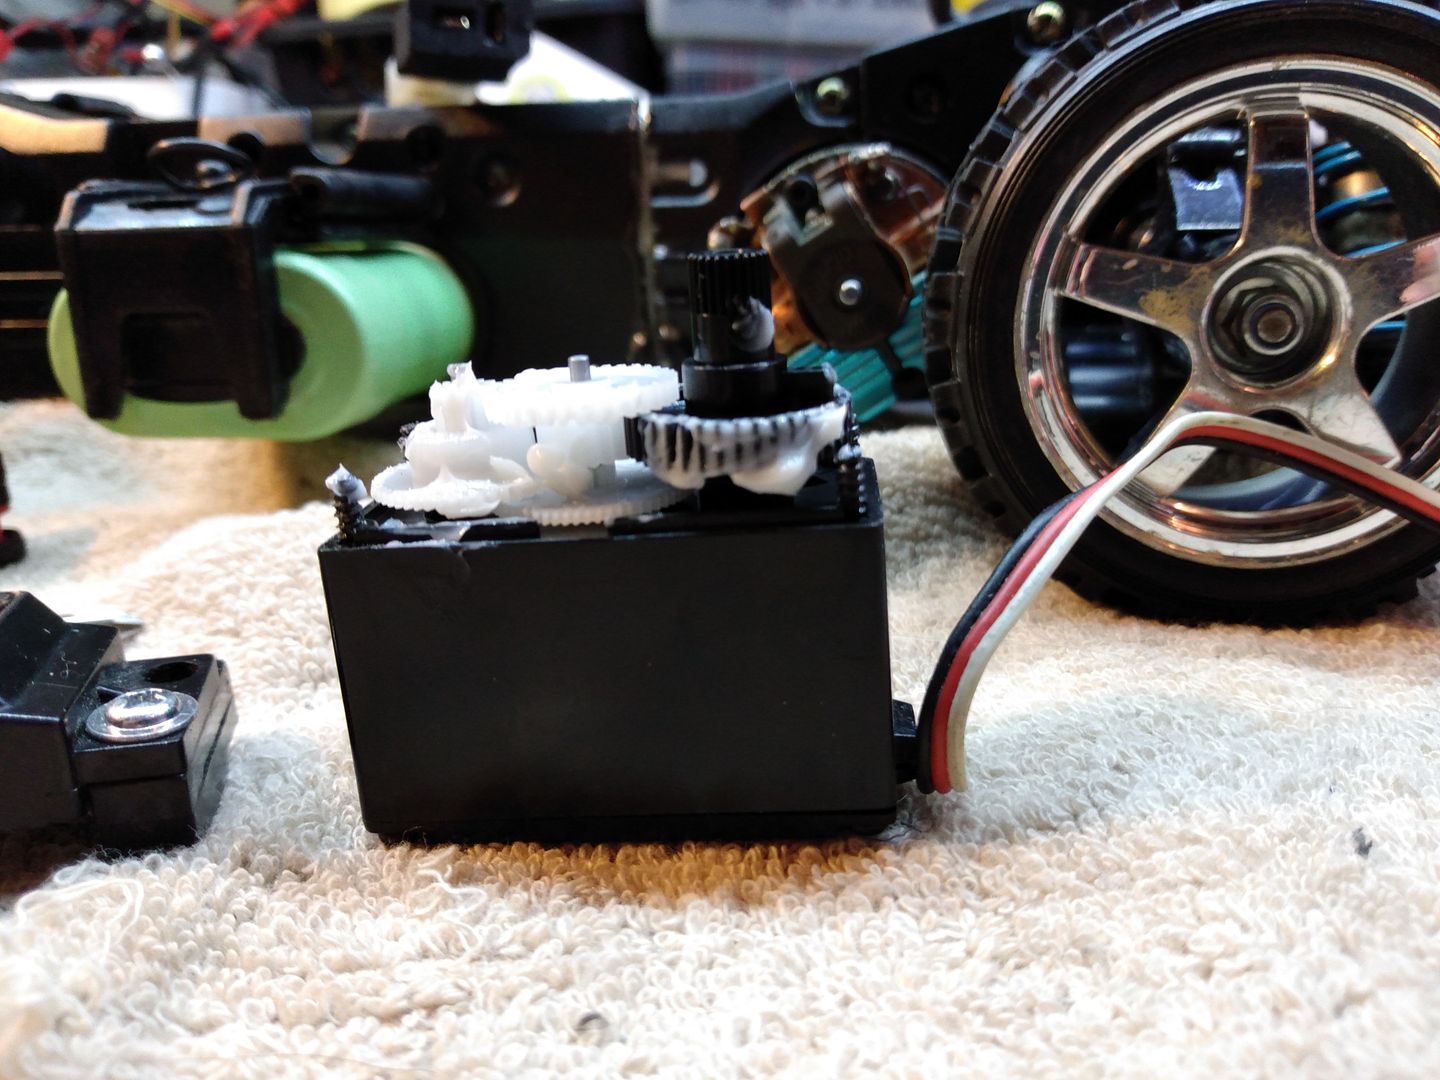
New gears fitted and lubricated, I used Tamiya ceramic grease.
Some have problems fitting gears I've heard.
One this I did like this.
Removed the gears by pulling the pins, removed gears and lastly used a flat screwdriver to pry off the pot meter gear (black).
Refitting: Fitted the pins, followed by the middle lower gear, then the white big gear on the end, then the pot meter gear-make sure the square end of pot meter goes into the pot meter gear and the pin or flat stopper is facing the short side. then lastly fit the top middle gear.


And I highly recomend gitting a servo tester of some kind.
This can set the servo in the center position like when you are fitting your servosaver/horn or swipe the servo in both directions as in this video to make sure the servo is working ok.
To find the center of a servo you can also move the servo to both ends and then find the center between those two poins. But it won't be as accurate as with the power on or with a servo tester. With a servo tester there is no need to pull out you radio gear to set the servo to center pos.


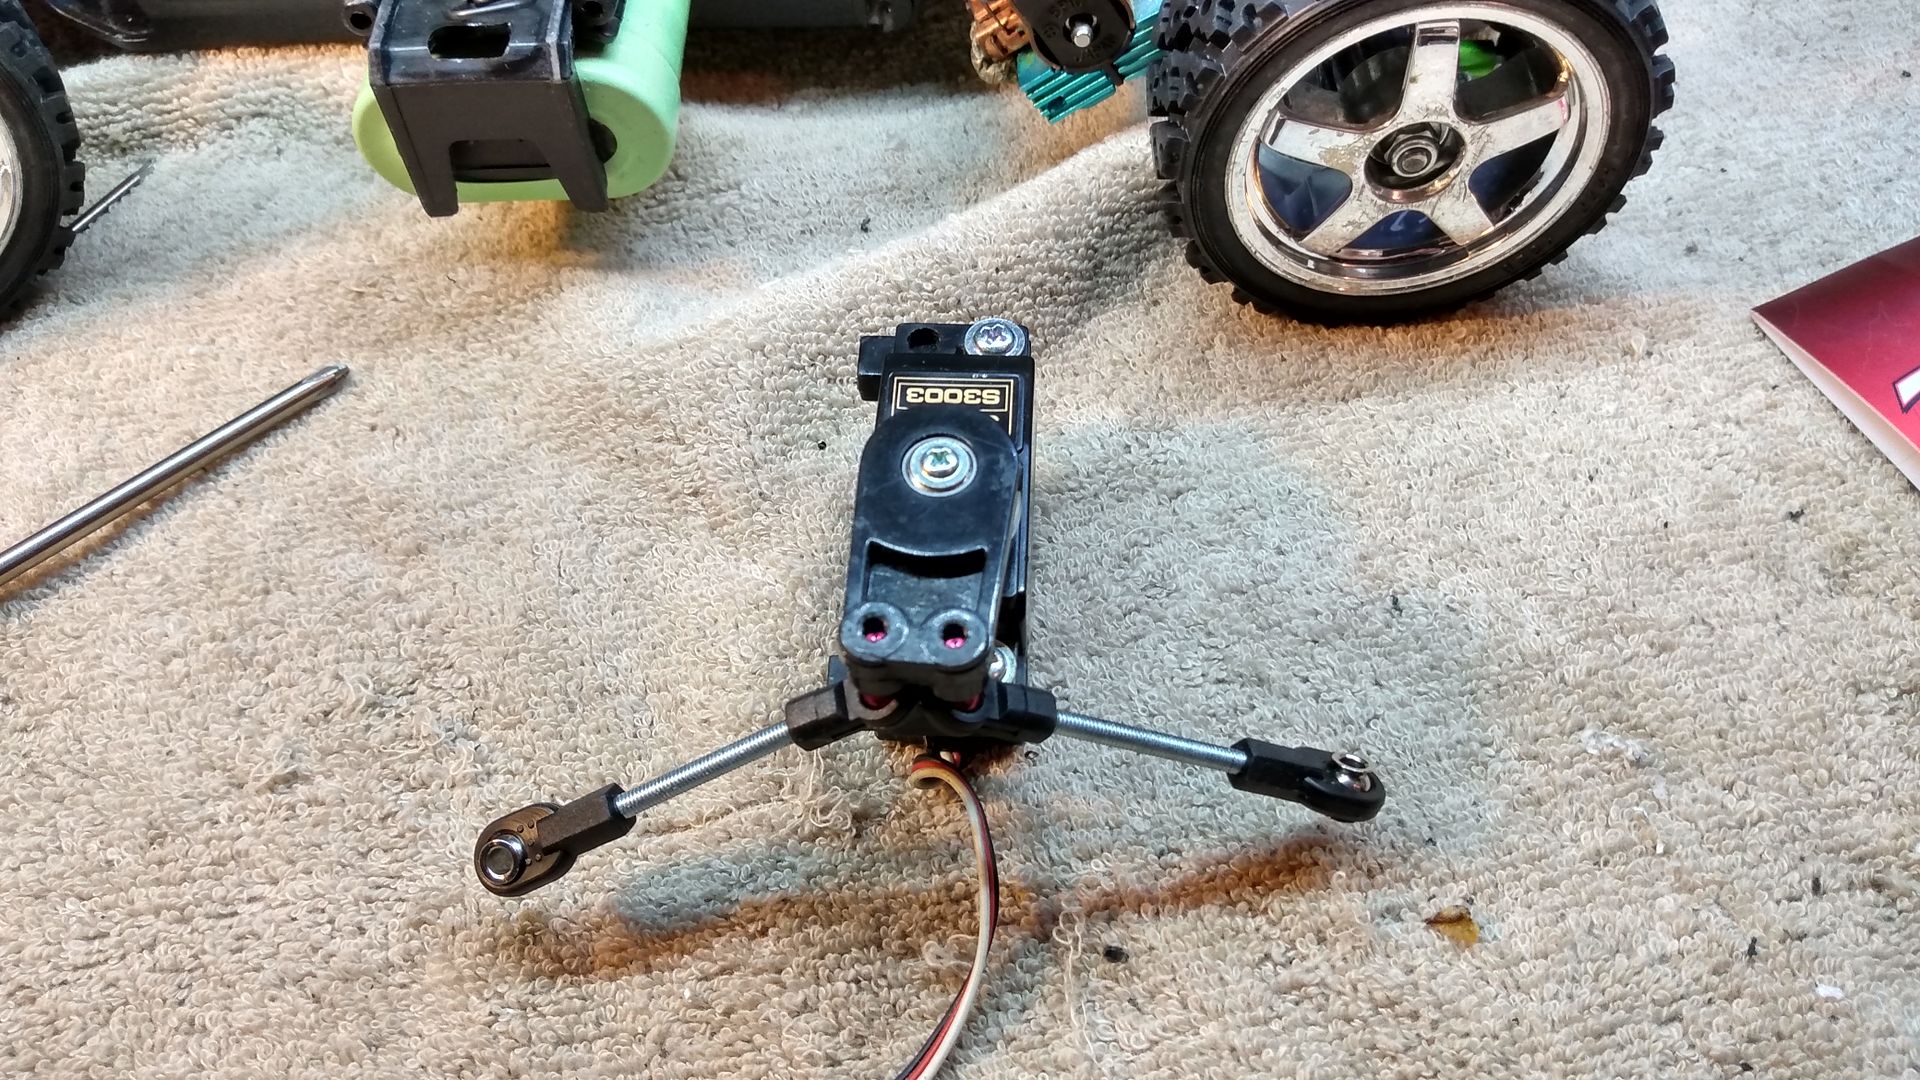
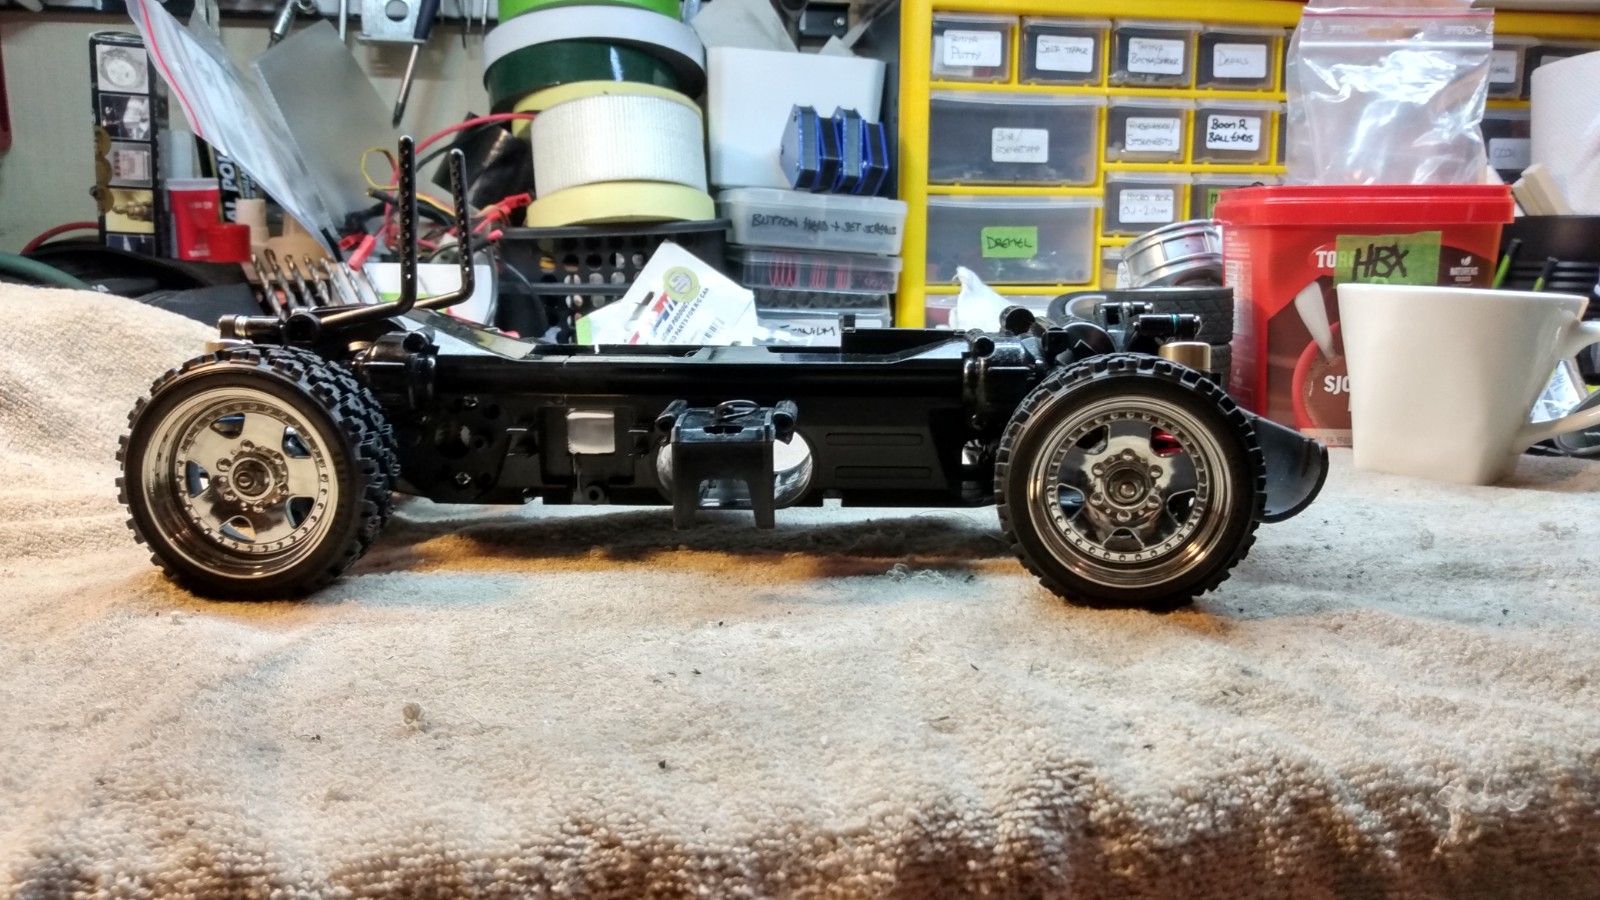
Then I made some new steering rods out of 3mm allthread as I currently don't have 32mm rods in my parts bin.


Installed


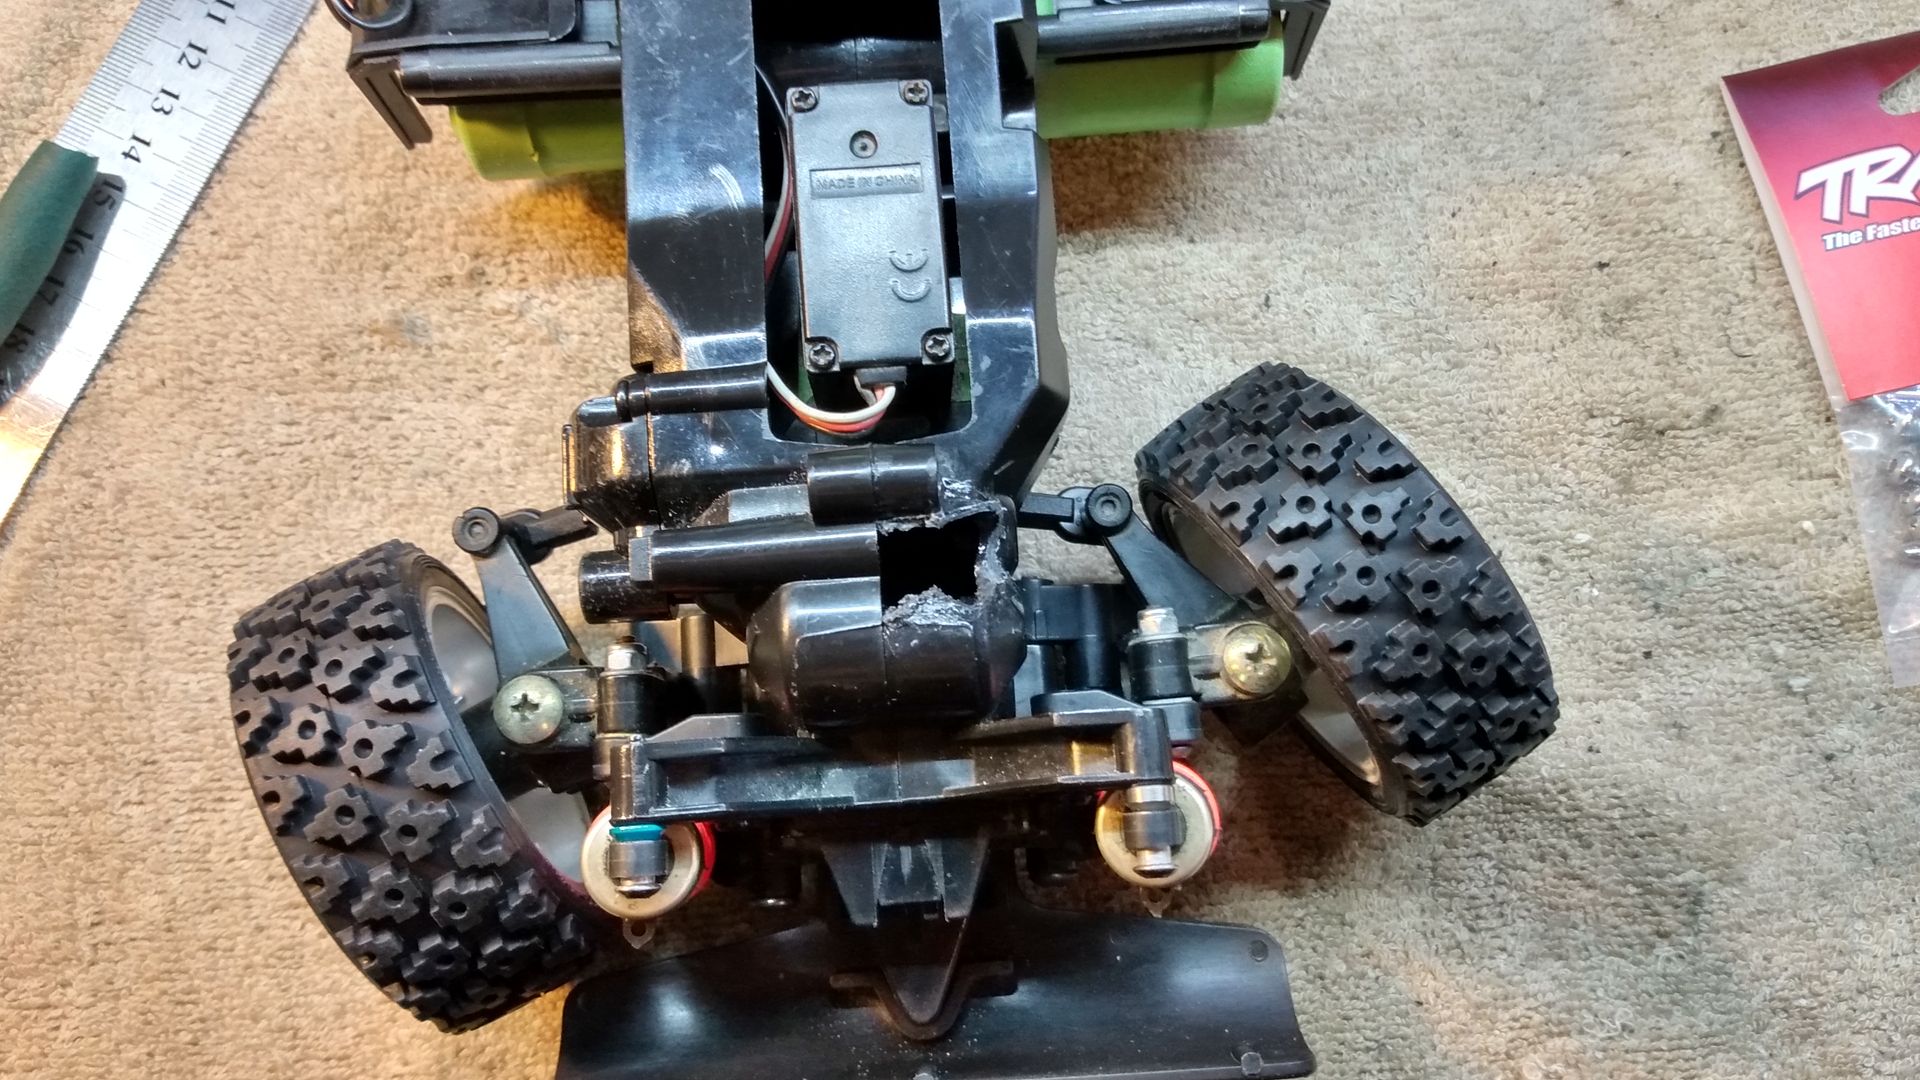
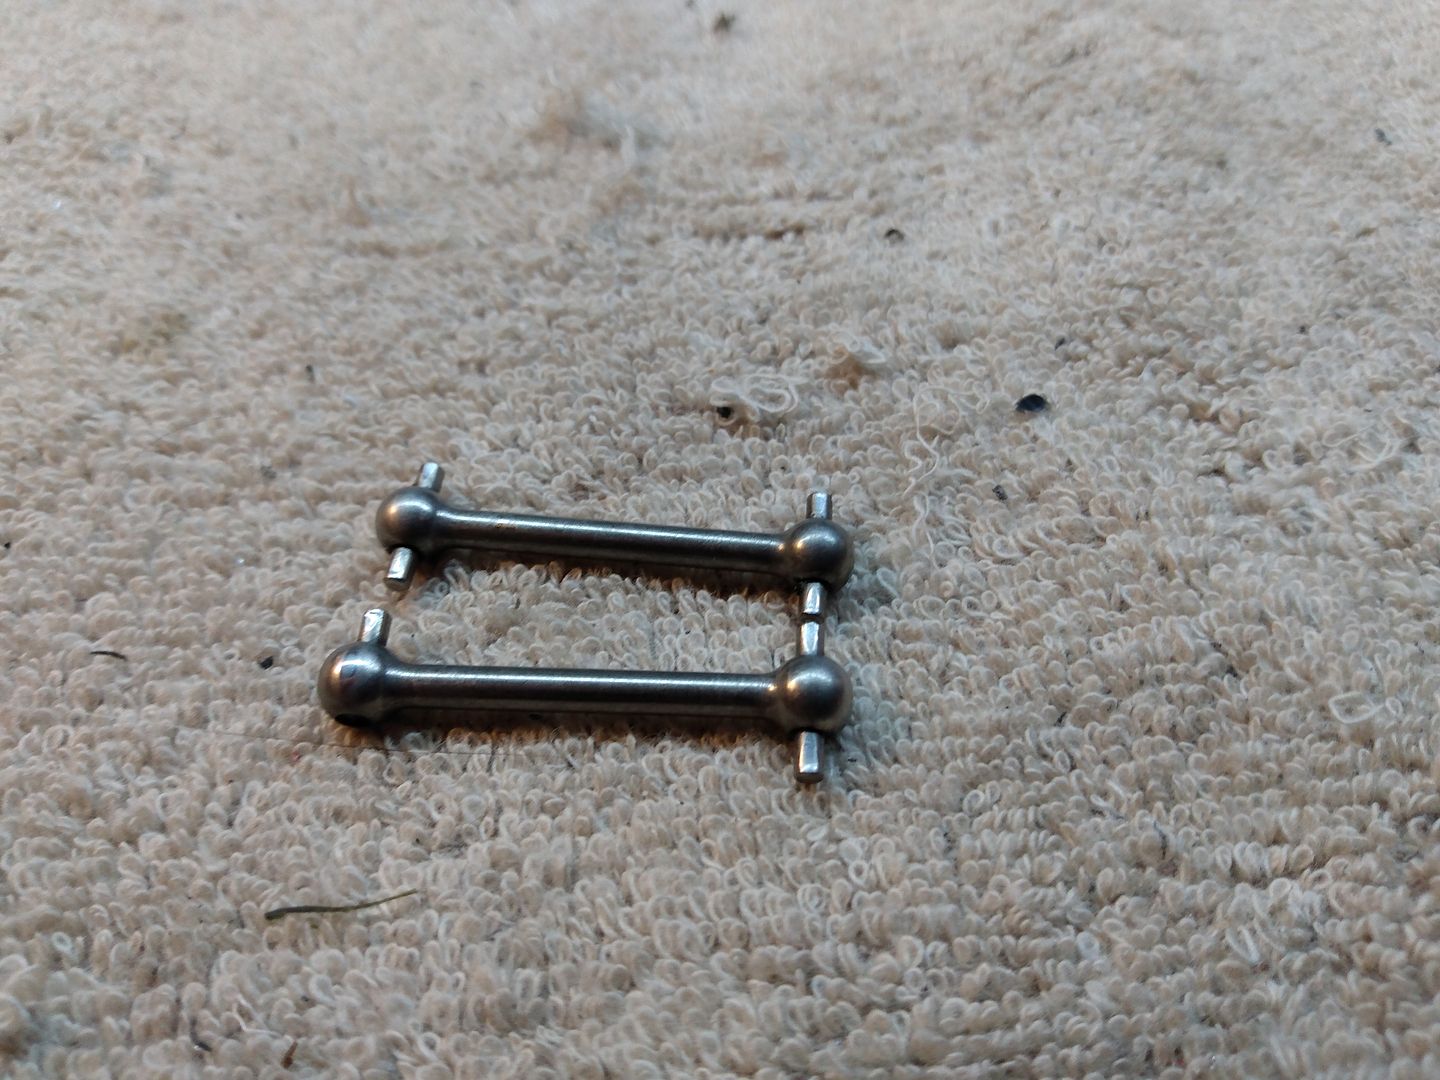
Also pulled driveshafts from my M02 Capri project as it is not in use atm.
As you can see, I need to buy two new sets as one of the dogbones are missing one of the pins on one side.
Btw M chassis ones are 30mm if you need some spare ones..


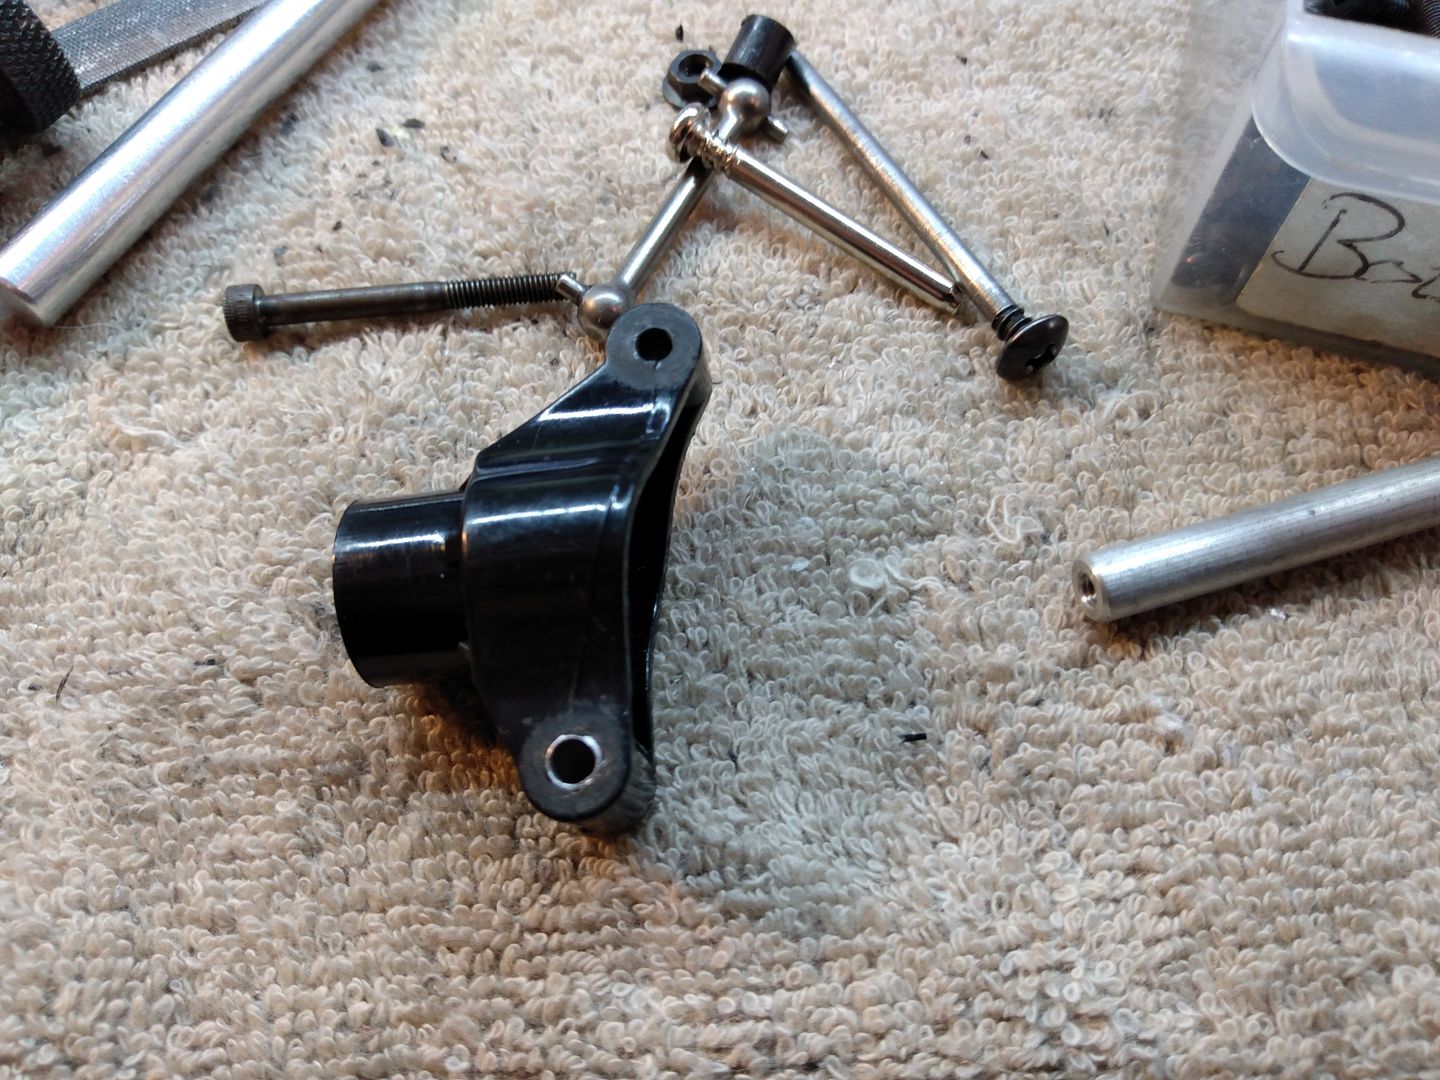
There is lot of slope in the suspension as these comes dry assembled from factory (HBX ones that is), which makes the suspension mount points to get worn out.
Here is the plan.
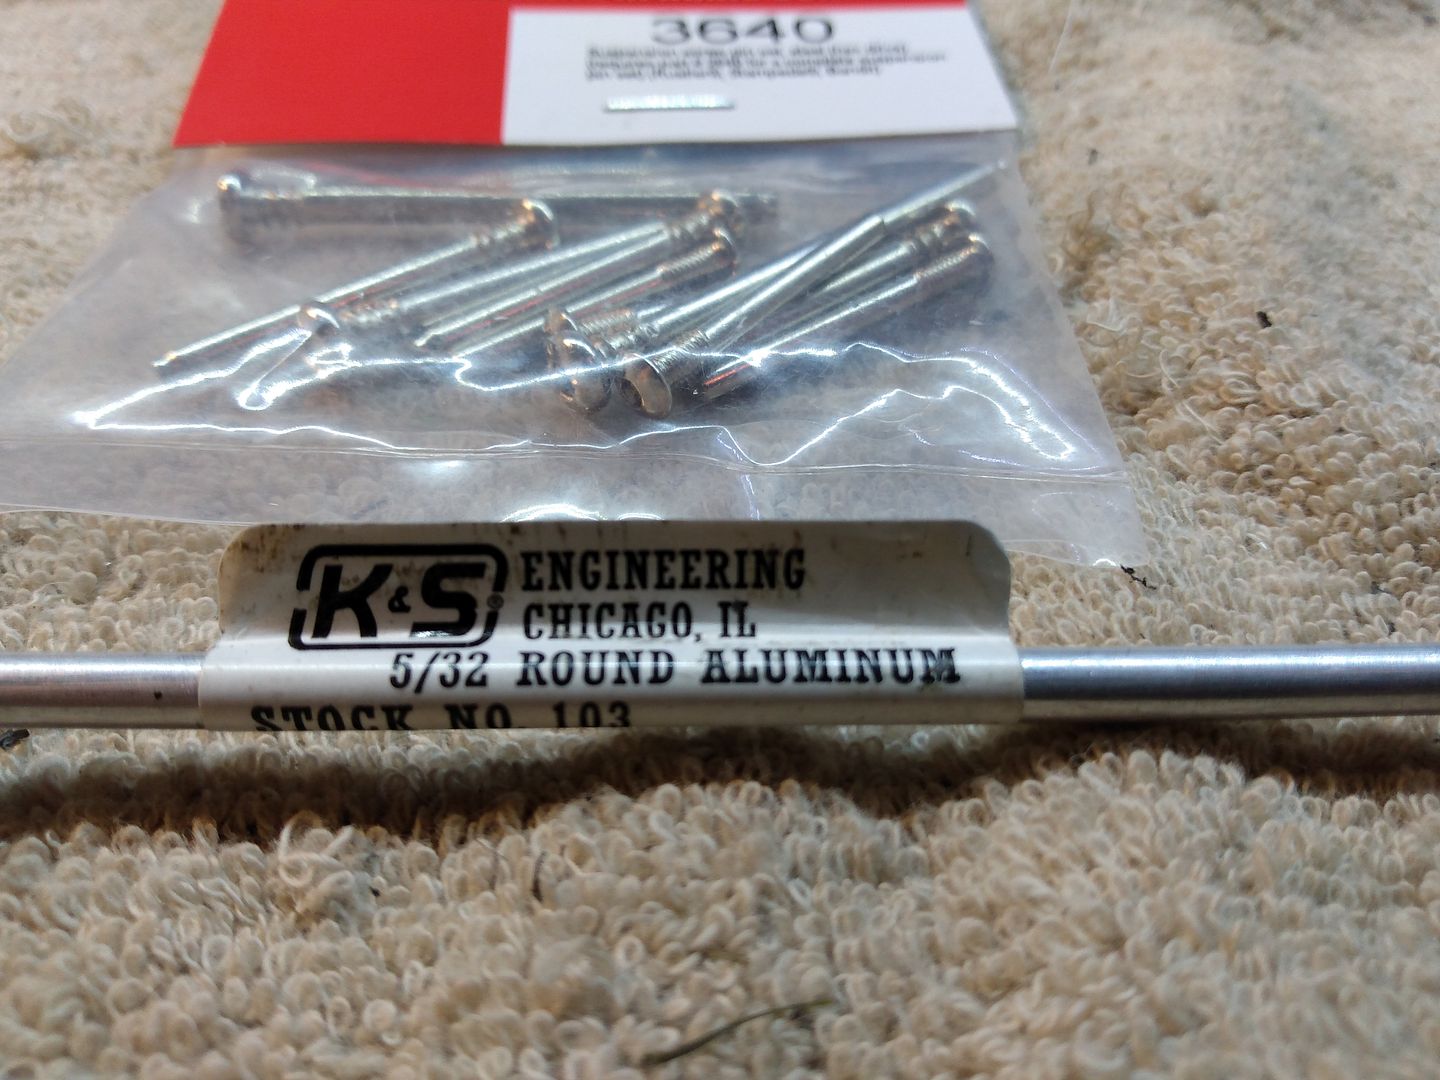
The screws pins you see here are actually 3.15mm in diameter for the shaft, Tamiya ones are 3mm.
The tube pictured tube is 4mm on the outside, but 3.2mm on the inside.
That gives 0.05mm of play, which is perfect for some grease etc.
The tube will also strengthen the mounting points and hinder further slope to developed.


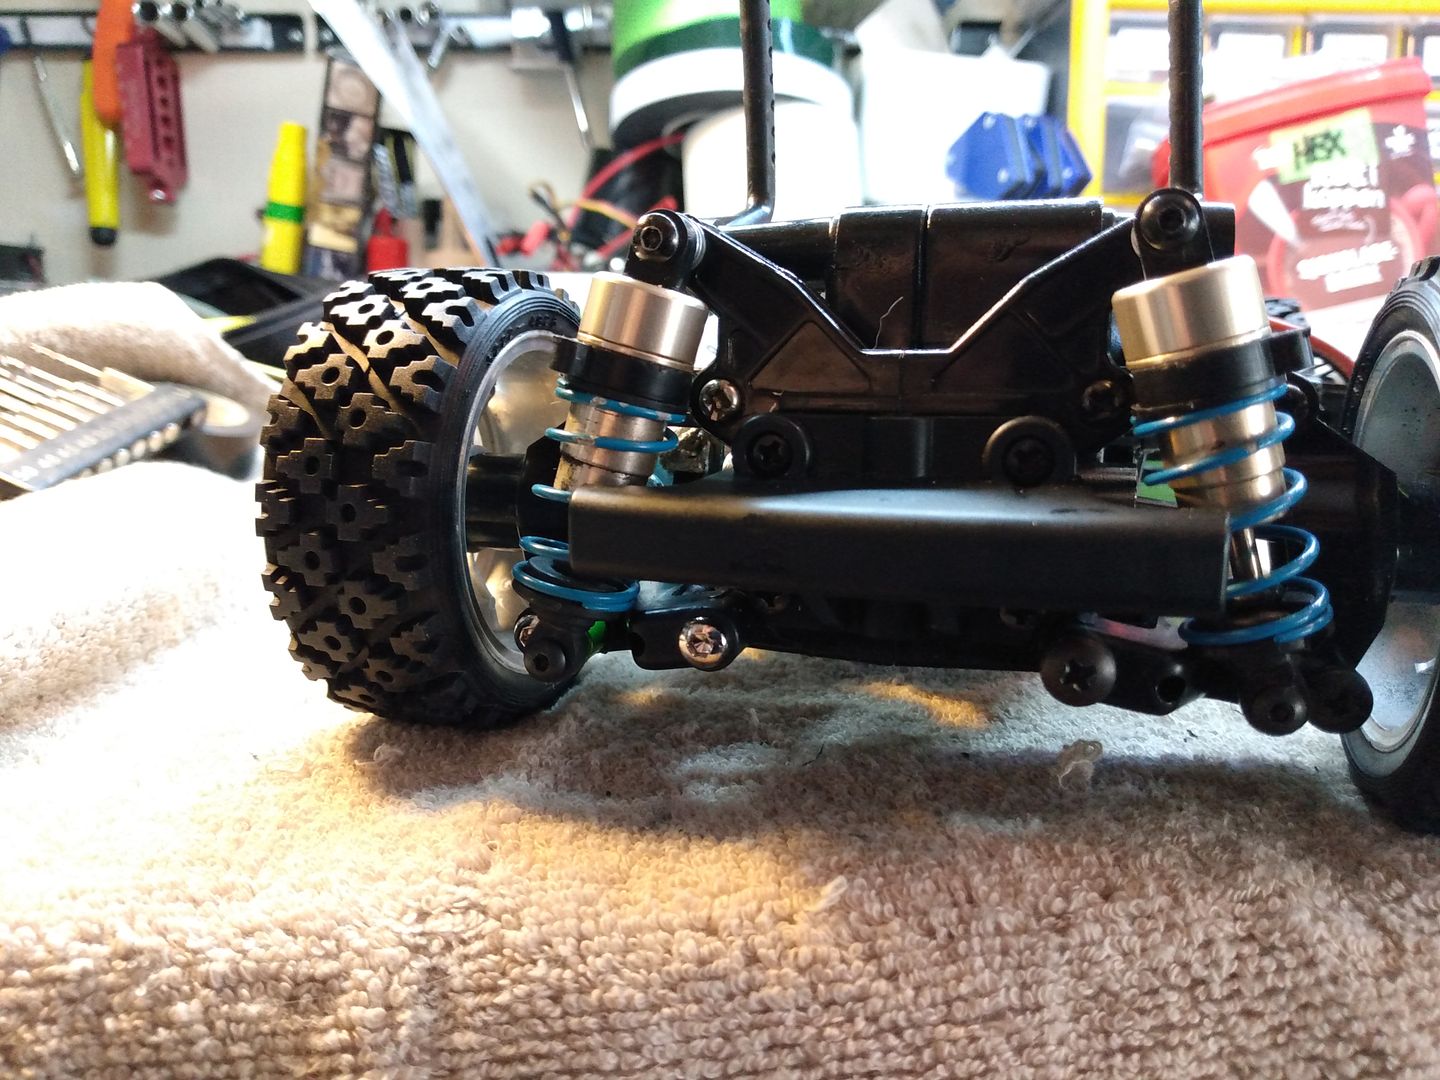
As you can see, there is plenty of slope in the suspension, which I don't like. We can make this a lot better.
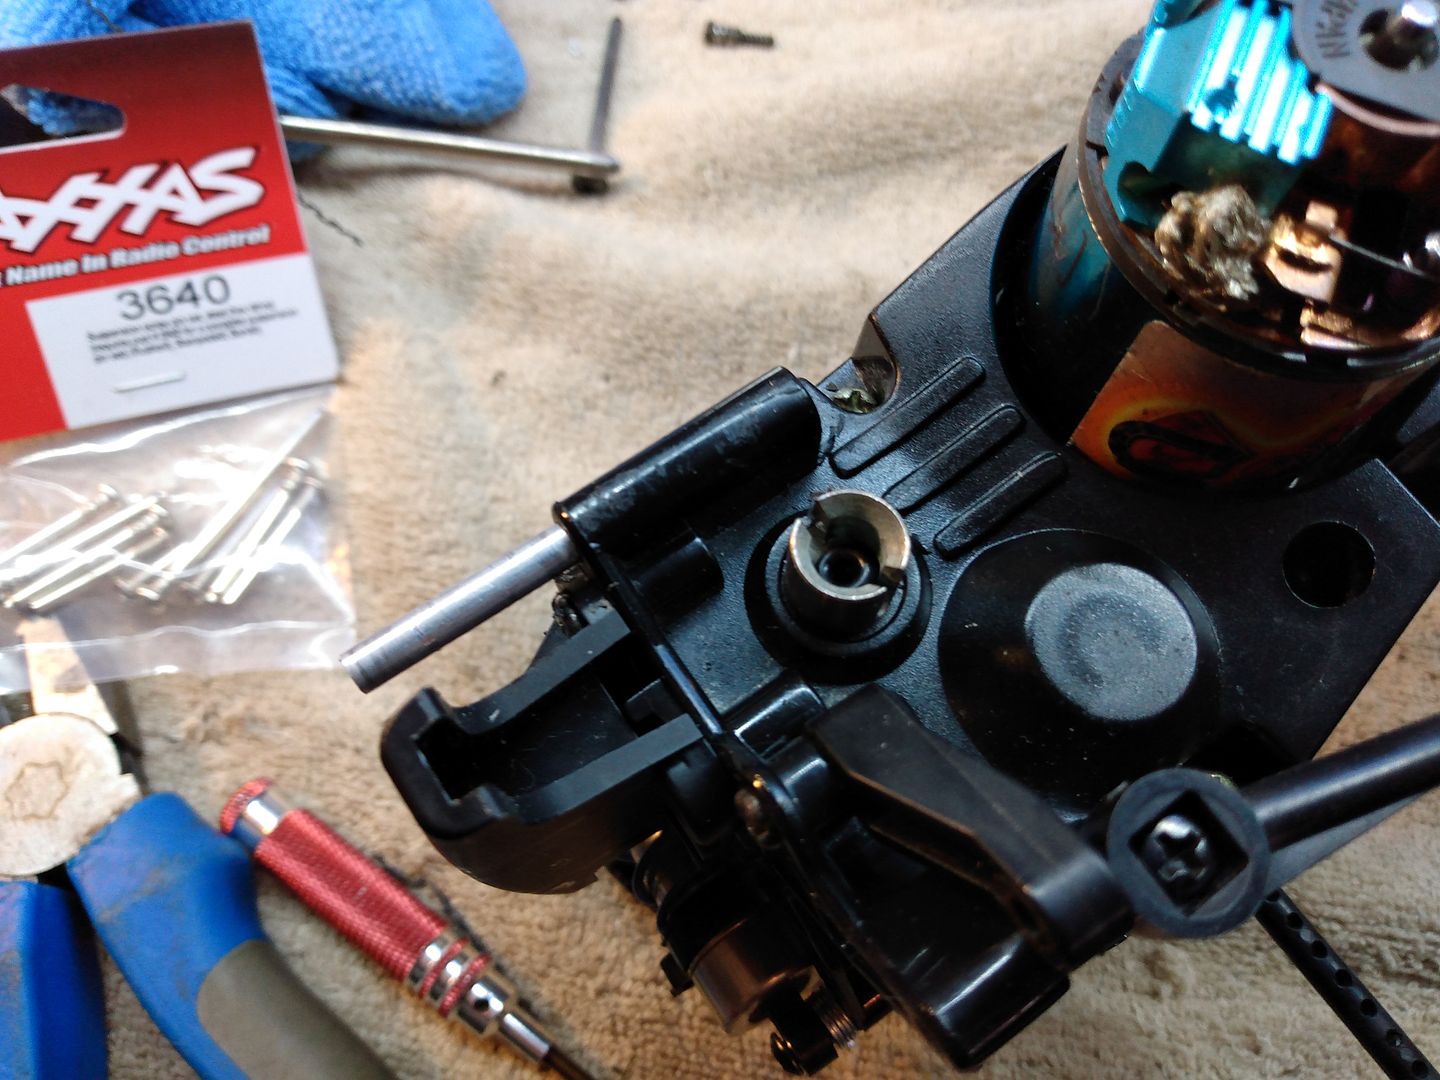
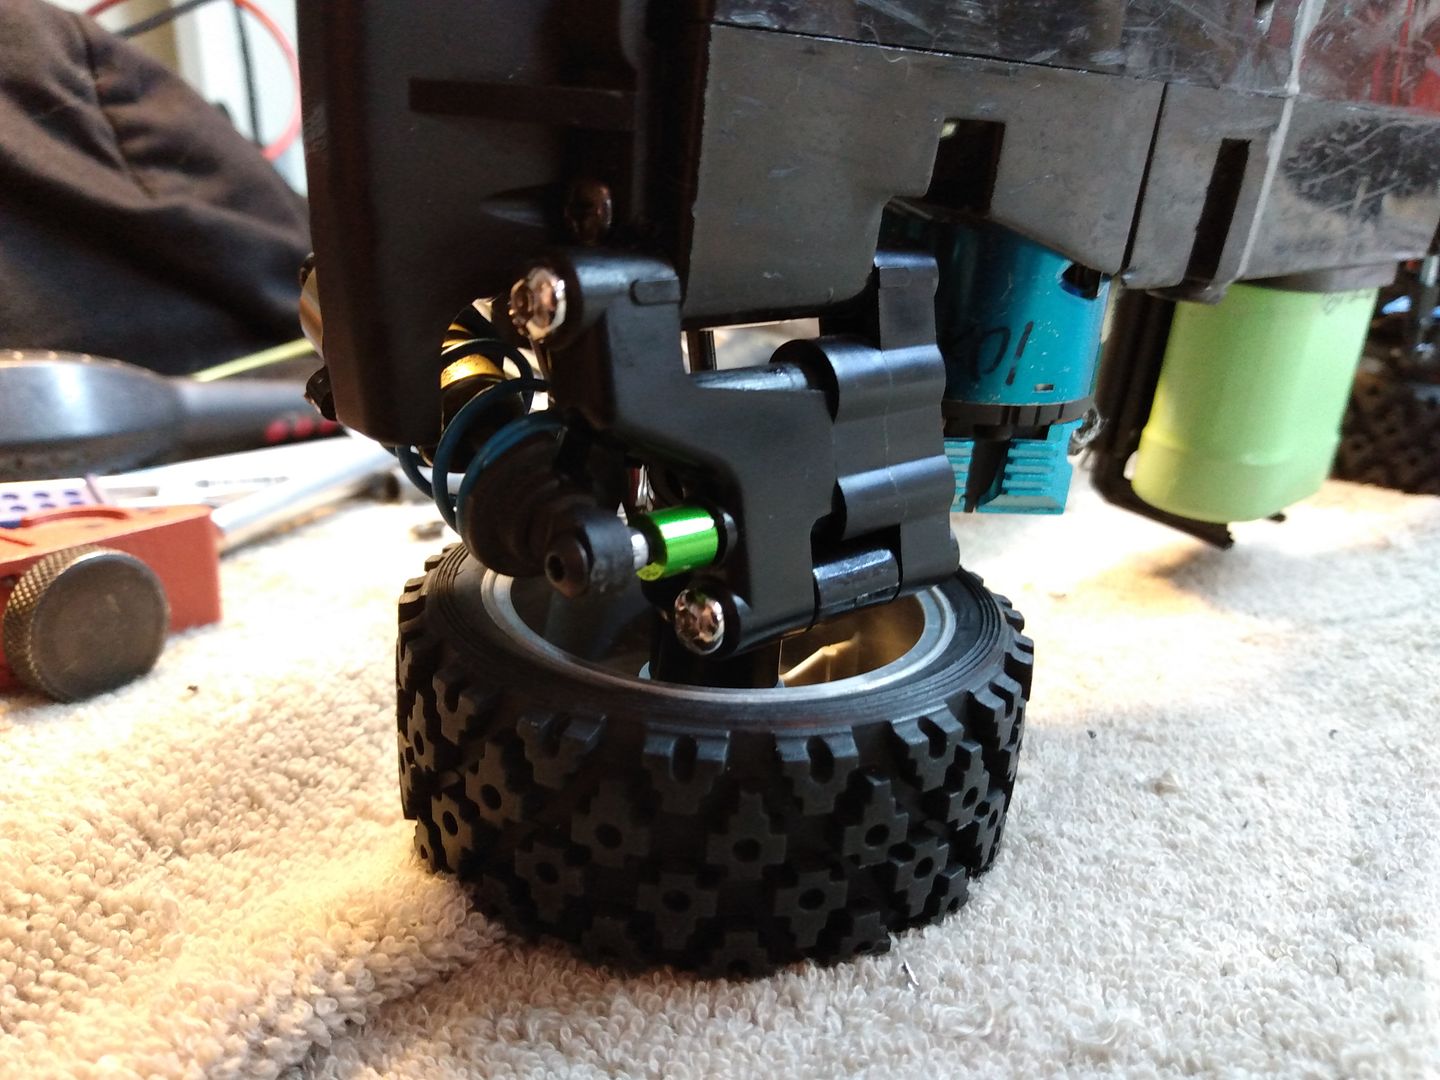
I'm out of the shock brass tubes so I need to come up with a clever way to remove the slack on the upper arms as they use sholder screws.
The tube pictured above is 3.2mm internal and regular 3mm bolt is to sloppy to get rid of the slope.
I need to find a tube with dead on 3mm internal diameter.
[video]
The following user(s) Liked this: stingray-63, Lemsko

Please Log in to join the conversation.

Last edit: by caprinut.

Richard's Escort MkII build - TL01 ish based. 3 years 1 month ago #64811

I have the same servo tester. It works very well
The following user(s) Liked this: caprinut

Please Log in to join the conversation.

Richard's Escort MkII build - TL01 ish based. 3 years 1 month ago #64819

Today I started to fix the sloppy suspension.
The arms was drilled with 3.2mm drill bit and the mounting point in the chassis at 4mm.
Aluminium tube fits really snuggle and had to be tapped in or use bolt and nut method.
Here I'm just started


Did the same thing with the upright


I found a 4mm brass tube with 3.1mm internal in my metal bin so I drilled out the upper arm mounting point to 4mm, and use a regualr bolt to fit the arm to the chassis.
The suspension has now almost zero sloppiness.
Just 3 more corners to go.


From underside


I love when a plan comes together 
The following user(s) Liked this: stingray-63, Lemsko

Please Log in to join the conversation.

Richard's Escort MkII build - TL01 ish based. 3 years 1 month ago #64824

Do any have 2 or 4 spare wheels like the ones I have with the rally tires?
They are the black chrome variants 19335484 that was fitted to the 2012 High-lift Hilux and Black Chrome Pajero.


I have only two of this type of wheel.
 

Please Log in to join the conversation.

Last edit: by caprinut.

Richard's Escort MkII build - TL01 ish based. 3 years 1 month ago #64825

great work

Please Log in to join the conversation.

Richard's Escort MkII build - TL01 ish based. 3 years 1 month ago #64826

Do any have 2 or 4 spare wheels like the ones I have with the rally tires?
They are the black chrome variants 19335484 that was fitted to the 2012 High-lift Hilux and Black Chrome Pajero.


I have only two of this type of wheel.
sorry Richard I haven't this type of rims.

Please Log in to join the conversation.

Moderators: caprinutstingray-63AndyAus
Time to create page: 0.130 seconds
Cookies are required to make this site work. If you continue to use this site you permit us to use cookies.