Keyword

TOPIC:

Truck Project 2 years 3 months ago #70106

I still have to install the servo and the cable for the center differential lock, but I'll do that later.In the meantime I could find a liftable axle set. I ordered it but I had to make a compromise on my idea to use it with a servo. Instead the stepper motor is controlled by a speed controller.Of course, this option saves me the trouble of designing a lifting mechanism and thus the cost of investing in a CAD program.

Here is the kit before assembly


Here it is assembled on a "test frame" 


Proud owner of the Bruiser Family
Attachments:
The following user(s) Liked this: stingray-63

Please Log in to join the conversation.

Truck Project 2 years 3 months ago #70107

Once the location of the components has been determined, the next step is to install the steering axle. This is a feature I'm not willing to compromise on.

Disassembly of the axle on the assembly and taking measurements for machining.


Machining the "steerable" axle


Then I had to make shims to compensate the difference in thickness of the axles.
And finally install the machined axle on the whole mechanism.


Then the adjustment of the test chassis for the installation of it on Optimus Prime


Proud owner of the Bruiser Family
Attachments:
The following user(s) Liked this: caprinut, stingray-63, Ducksnuts

Please Log in to join the conversation.

Truck Project 2 years 3 months ago #70108

To check that all measurements are correct, install the steering knuckles and mount the wheels.


Fortunately everything seems to be in order as the wheels do not touch any component.

The next step is to place this servo


somewhere in here 


Proud owner of the Bruiser Family
Attachments:
The following user(s) Liked this: stingray-63

Please Log in to join the conversation.

Truck Project 2 years 3 months ago #70109

I installed the steering rod for test and as the steering knuckles offset is quite important, the steering rod touches the damper. 


I've tried a lot of steering rod shape combinations, but every time the damper is in the way. So I asked myself how to find the best solution for this function.
The shock absorber is too much trouble for me, and as the other axles are not equipped with shock absorbers, I decided that there was no reason for the last one to be equipped with one. So I removed them and the steering rod now has enough room.


I still need to find a solution to install the steering servo and make the steering functional.

Thanks for looking.

More progress soon


Proud owner of the Bruiser Family
Attachments:
The following user(s) Liked this: caprinut, stingray-63, 1972 LeMansGT Jim, Ducksnuts

Please Log in to join the conversation.

Truck Project 2 years 3 months ago #70110

Wahhhooo manu this project is just crazy. I hope to see a video very soon. It's awesome.

Please Log in to join the conversation.

Truck Project 2 years 3 months ago #70132

All I can say is wow, you have patience and a great working mind. I wouldn't be able to do it, I overthink everything
Regards

Lee

Please Log in to join the conversation.

Truck Project 2 years 3 months ago #70242

Next step.... It's time to give Optimus a steering servo for the rear axle.

I made an off-center servo mount for installation between the frame rails.


Then i made a steering test

Center:


Left:


Right:


Once everything is installed, here is a short video:


Proud owner of the Bruiser Family
Attachments:
The following user(s) Liked this: stingray-63, 1972 LeMansGT Jim, silvertriple, jord001, Ducksnuts

Please Log in to join the conversation.

Last edit: by Manotas.

Truck Project 2 years 3 months ago #70248

Awesome manu
The following user(s) Liked this: 1972 LeMansGT Jim, jord001

Please Log in to join the conversation.

Truck Project 1 year 10 months ago #71835

It's been a while since I last updated this post...
Since my last post there has been some progress, slow but there has been some.
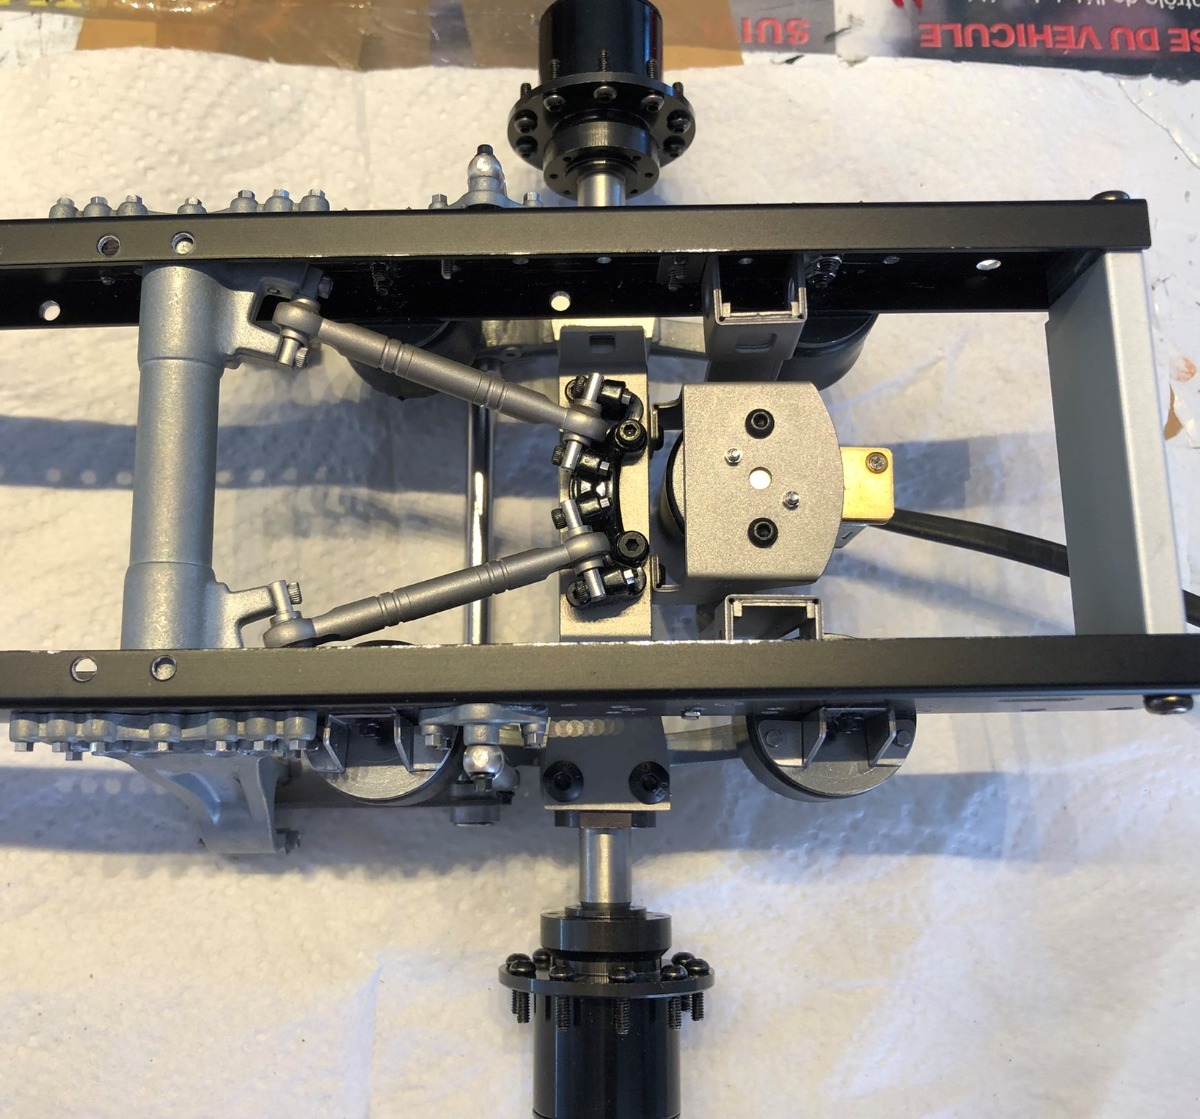
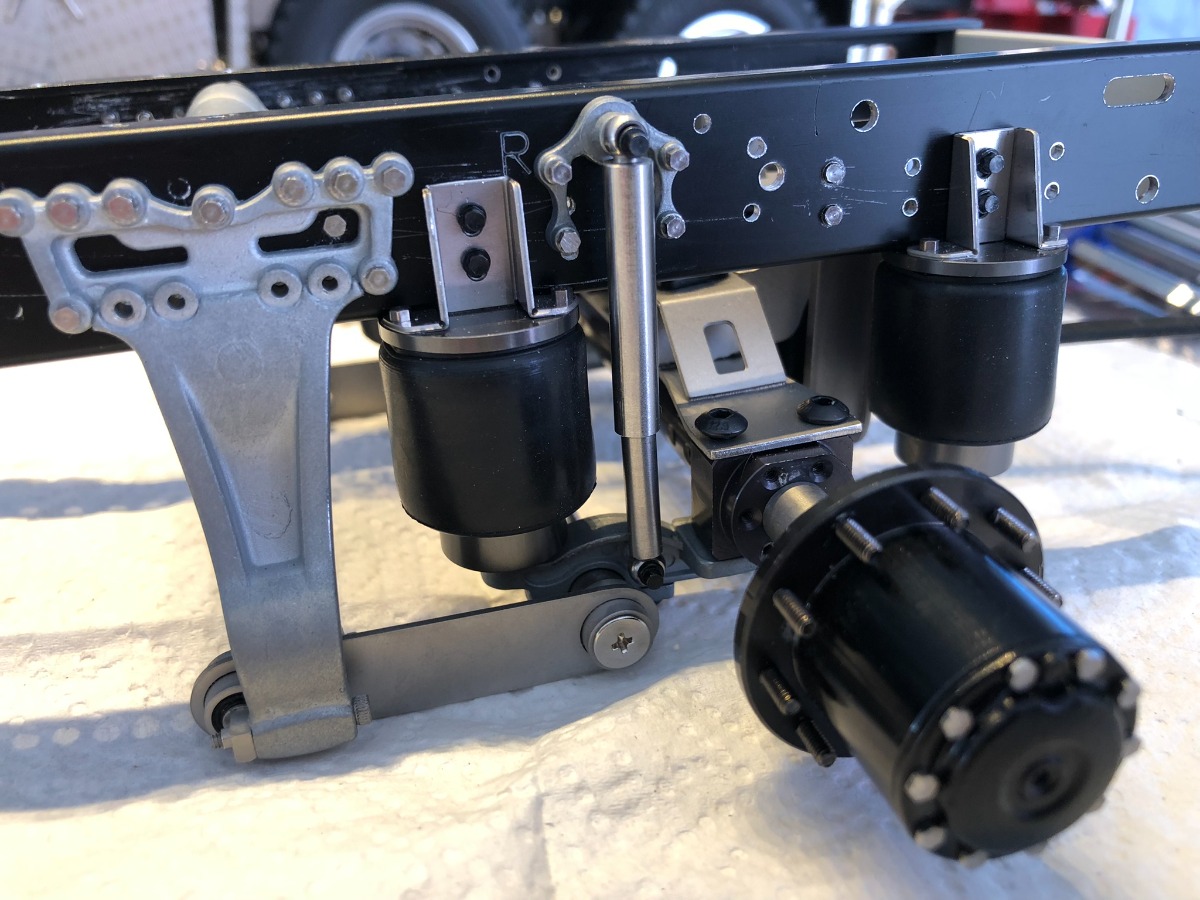
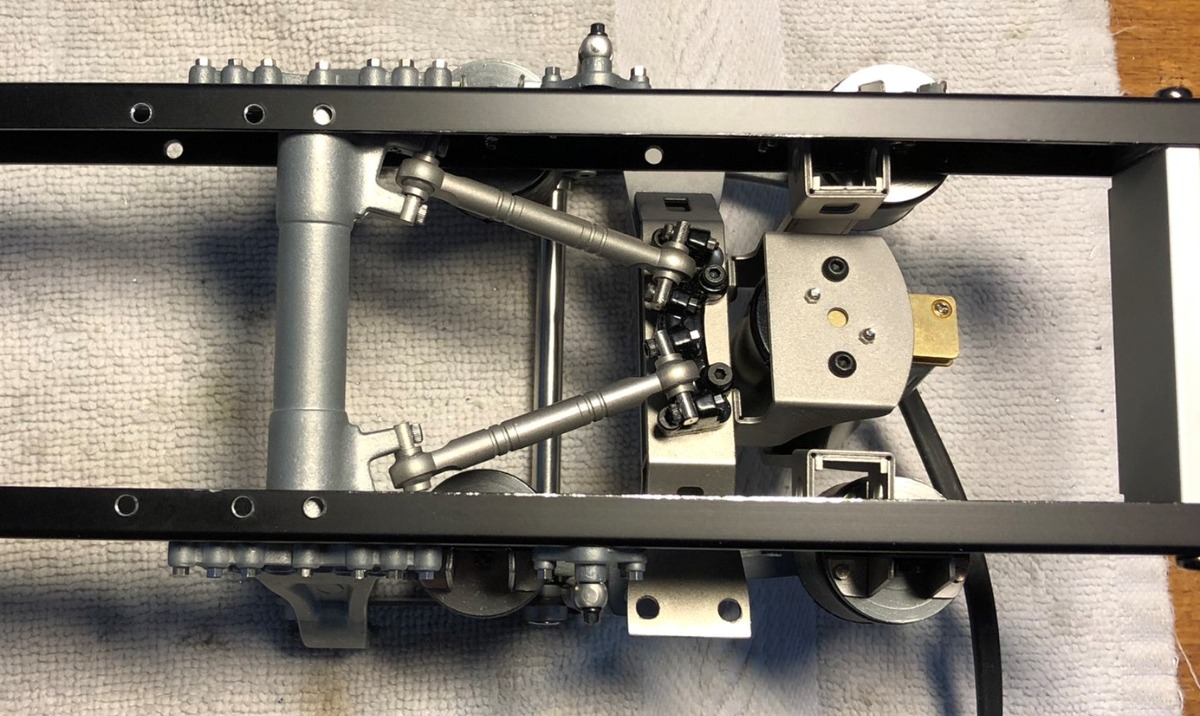
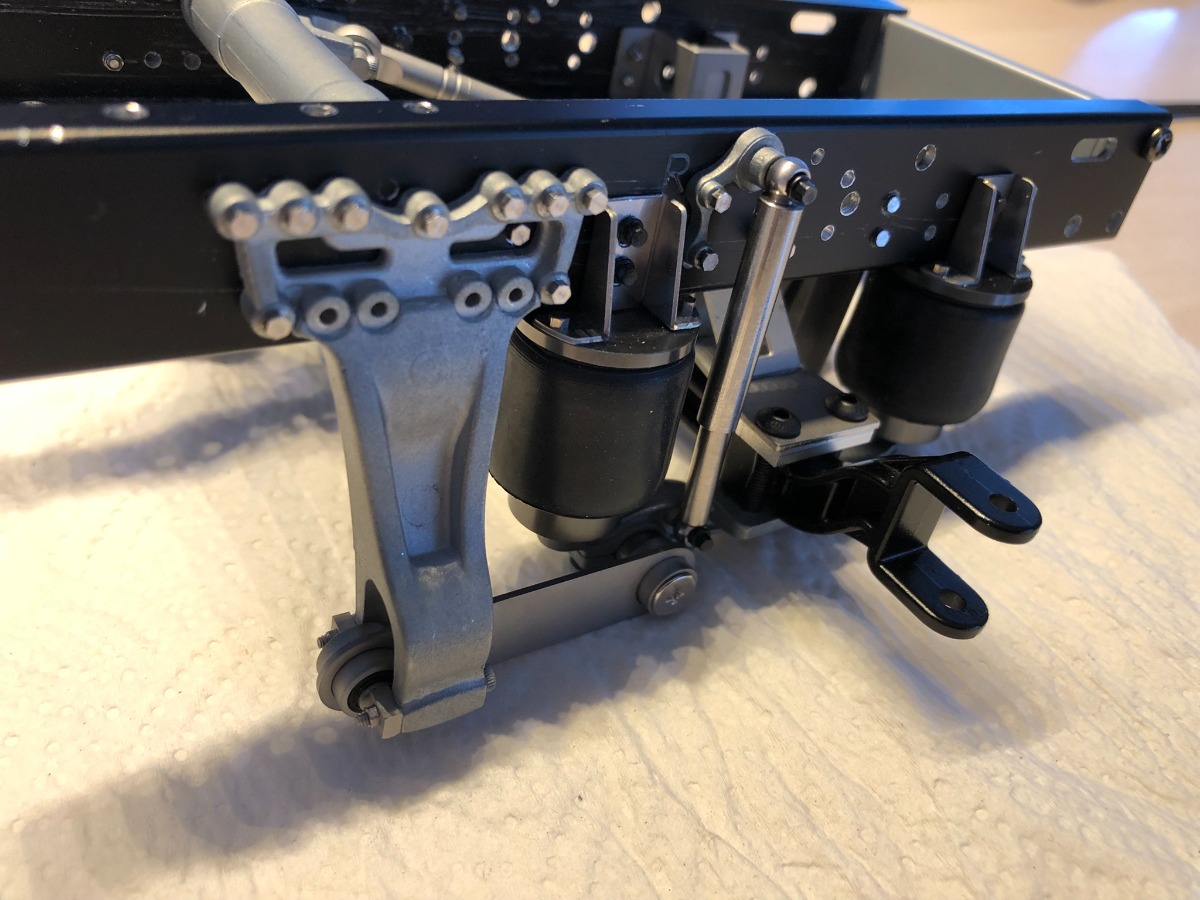
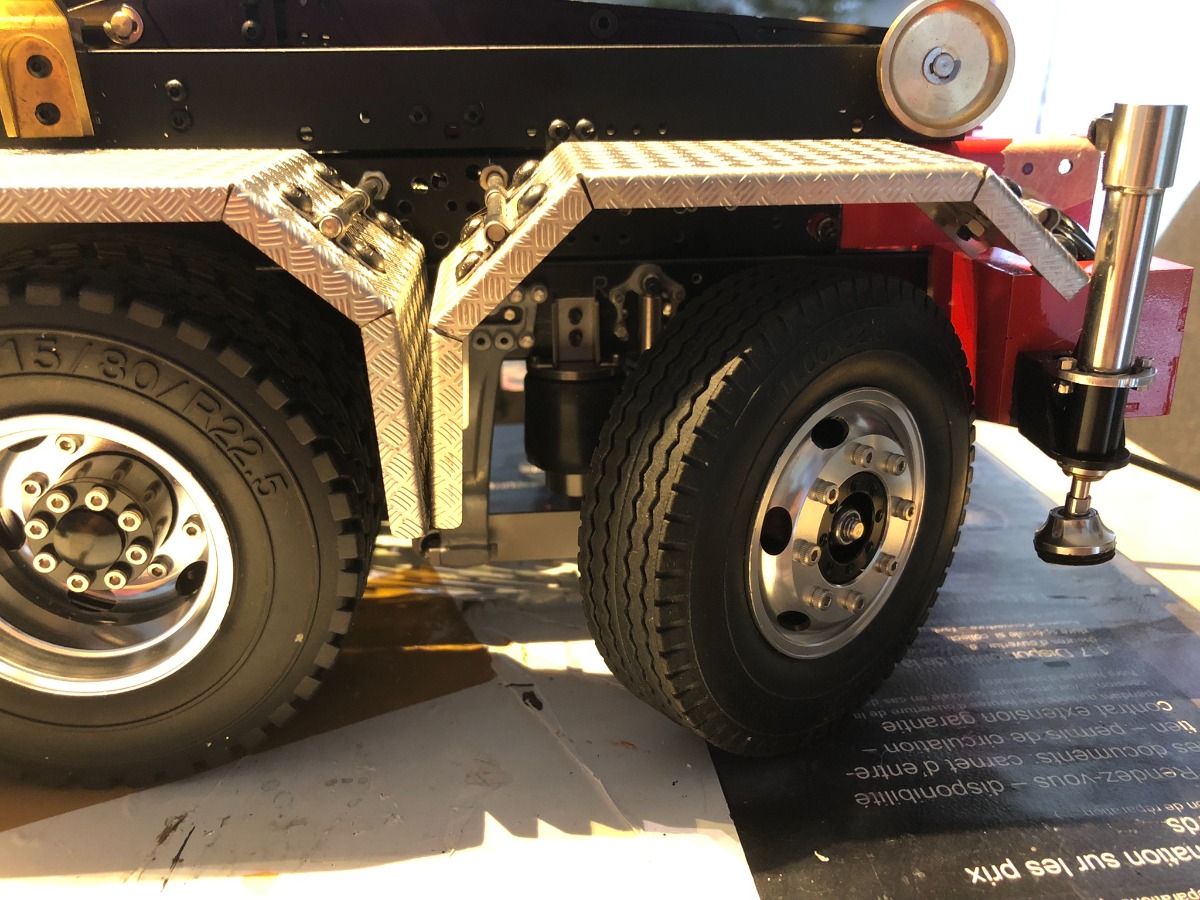
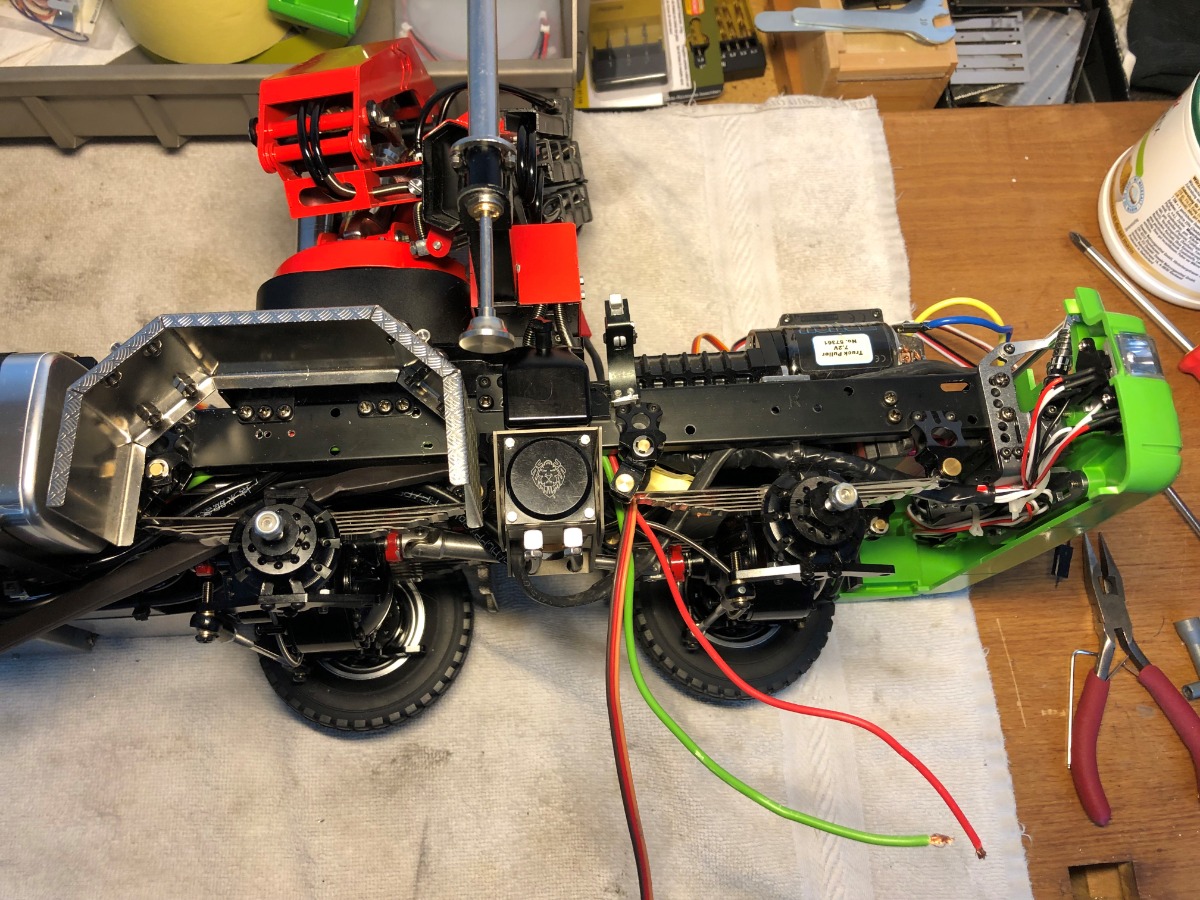
Once the rear axle was in place I looked at the lighting.

My initial idea was to use the Tamiya MFC to save channels. This idea was not the best solution for two reasons:
1) I use a Truck Puller motor from LRP which doesn't work properly with the MFC ESC
2) Since my remote control has electronic trims, sometimes the controls don't work properly.

However, it was the ESC problem that bothered me the most. I really wanted to keep this Truck Puller because of the torque.
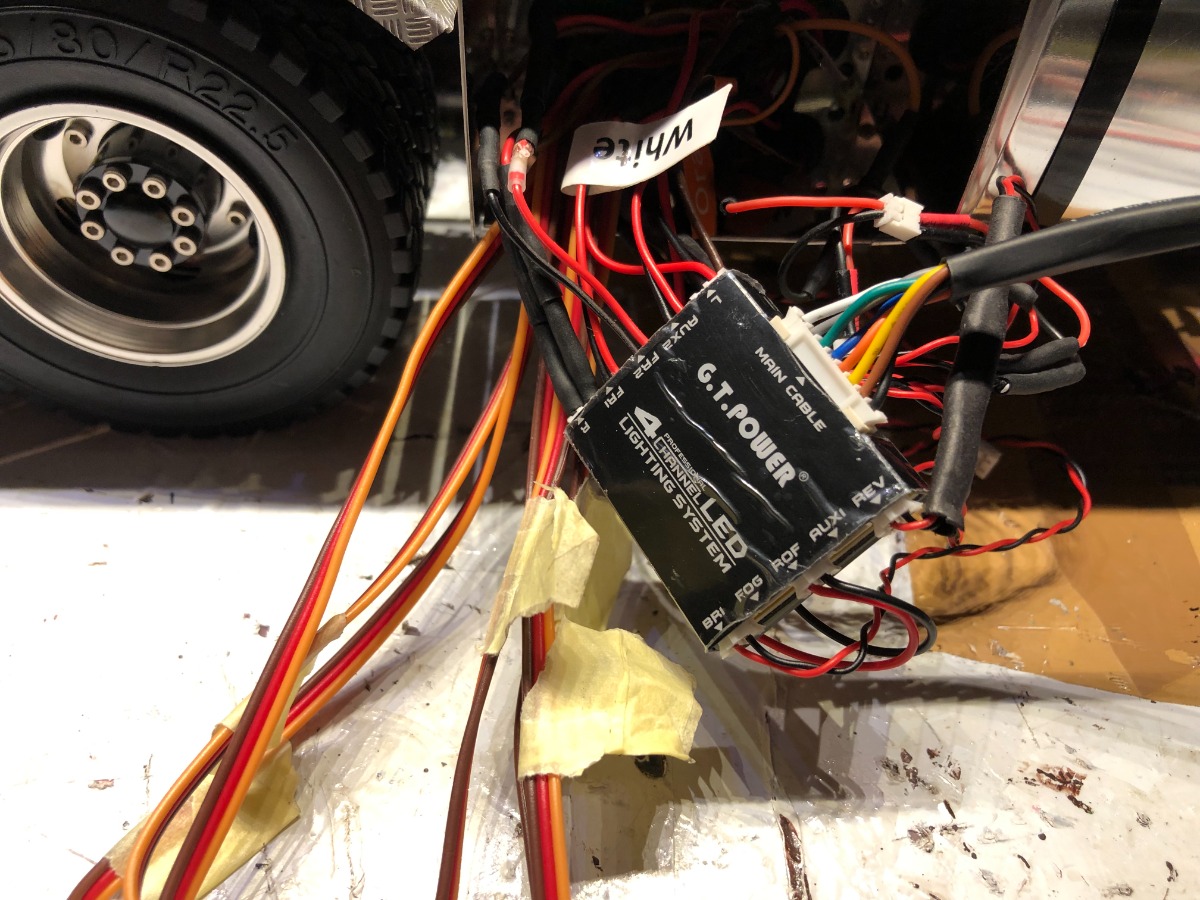
So I just had to find a light module as complete as possible.

I found what I was looking for at GT Power. Of course it's a very basic module but this one fulfills all the requirements I set for myself.
I could have chosen a Servonaut module, much more complete and sophisticated, but it's the price factor that finally guided my choice.


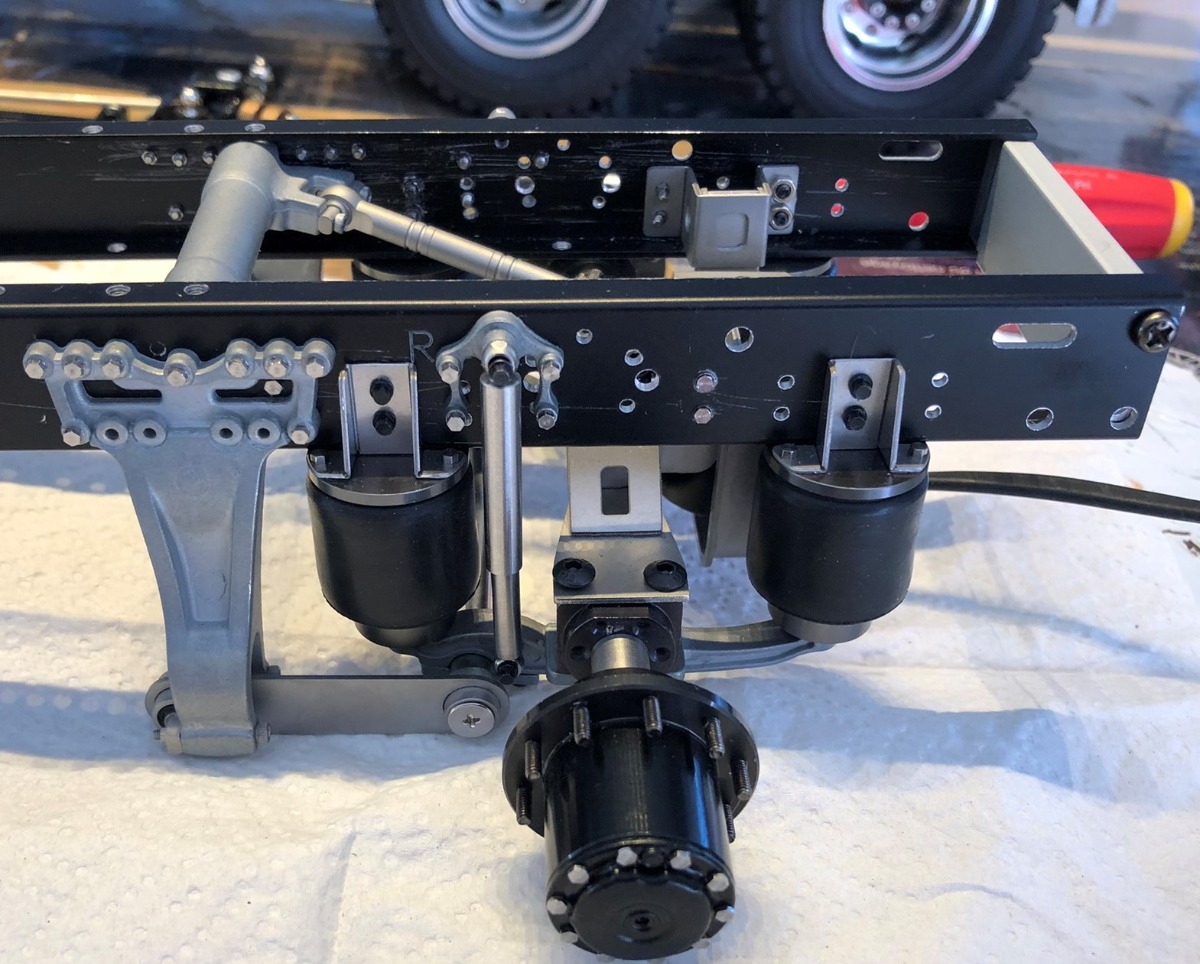
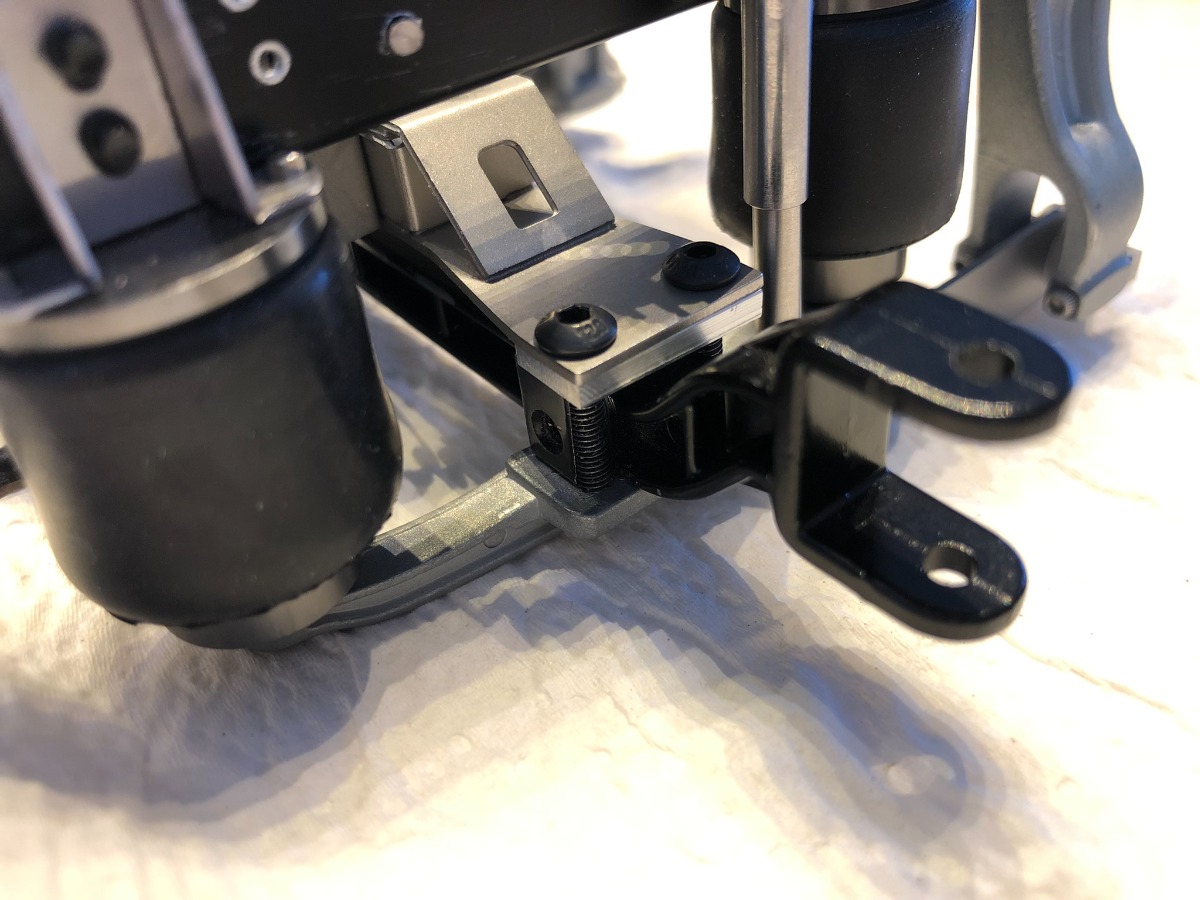
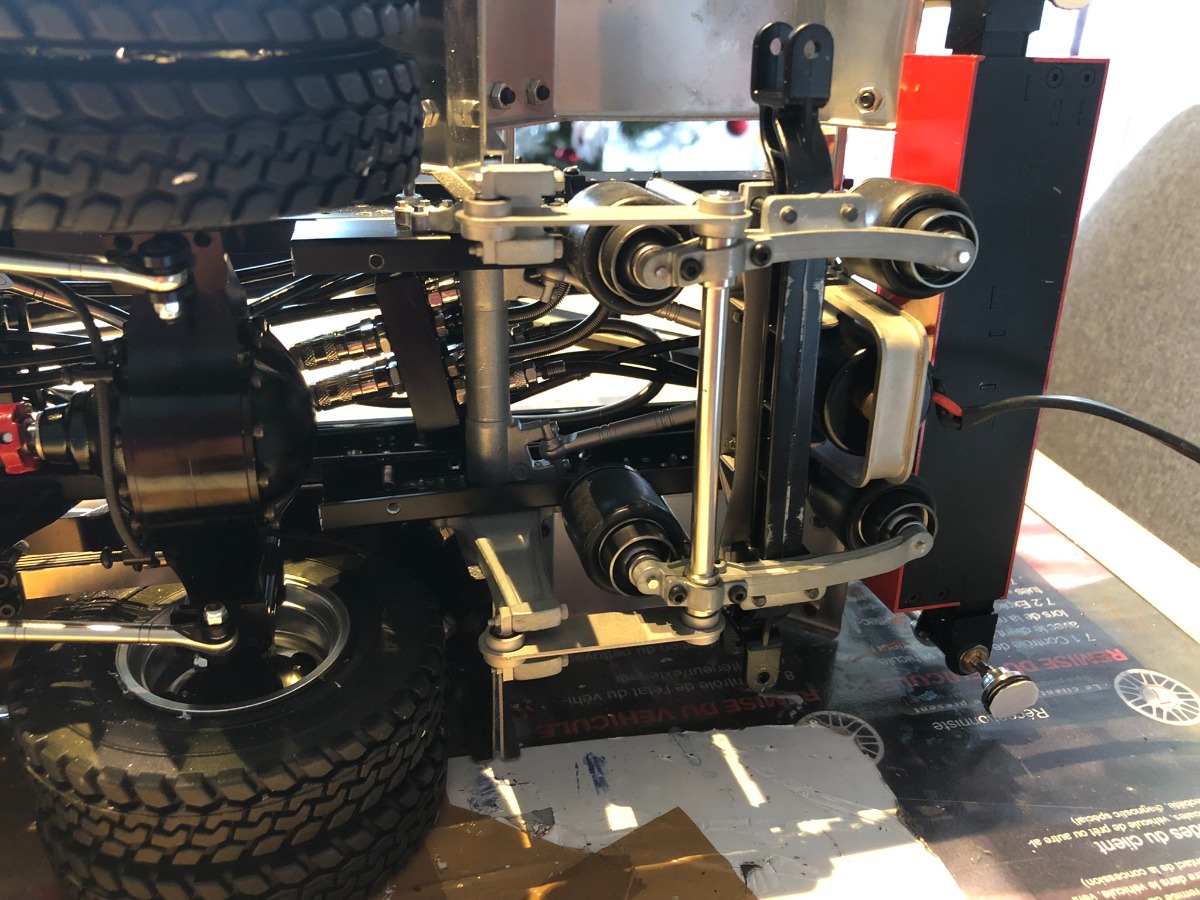
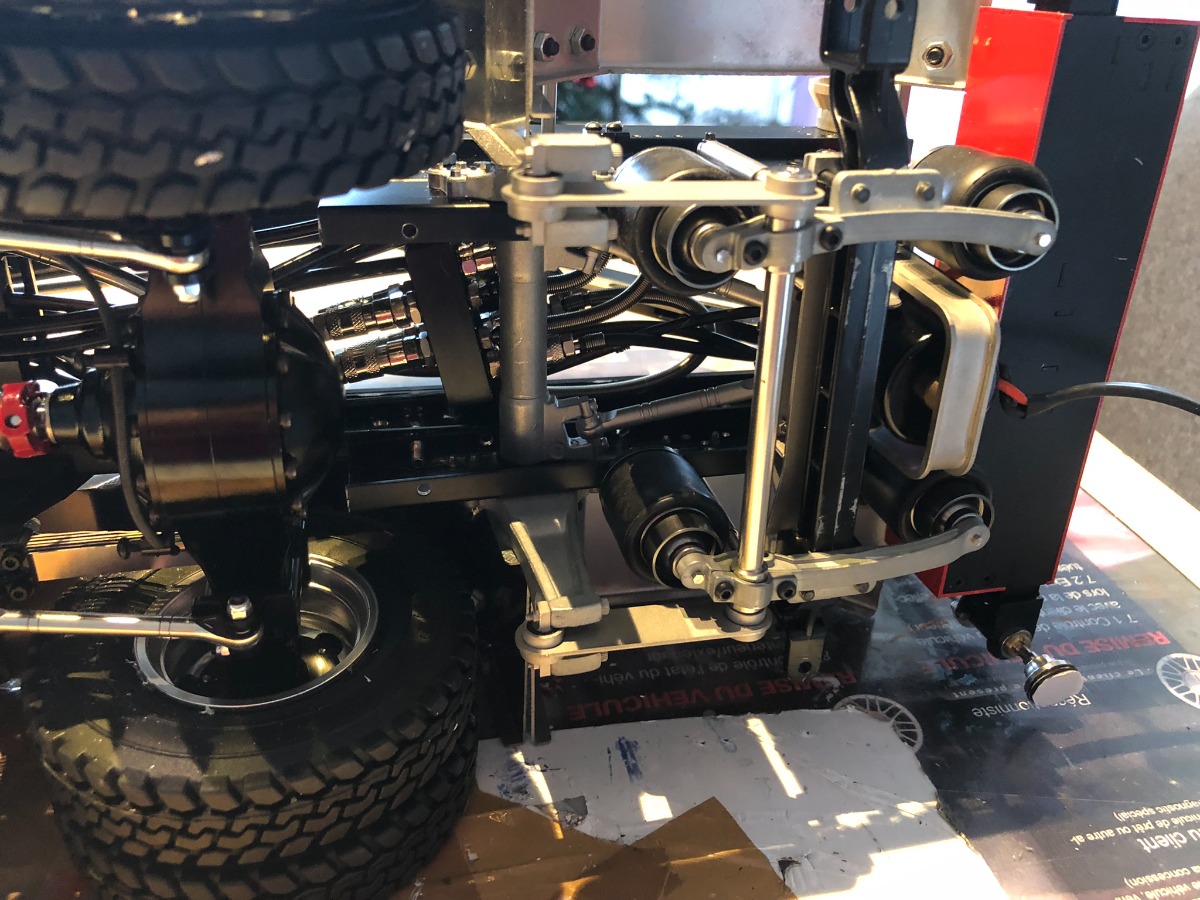
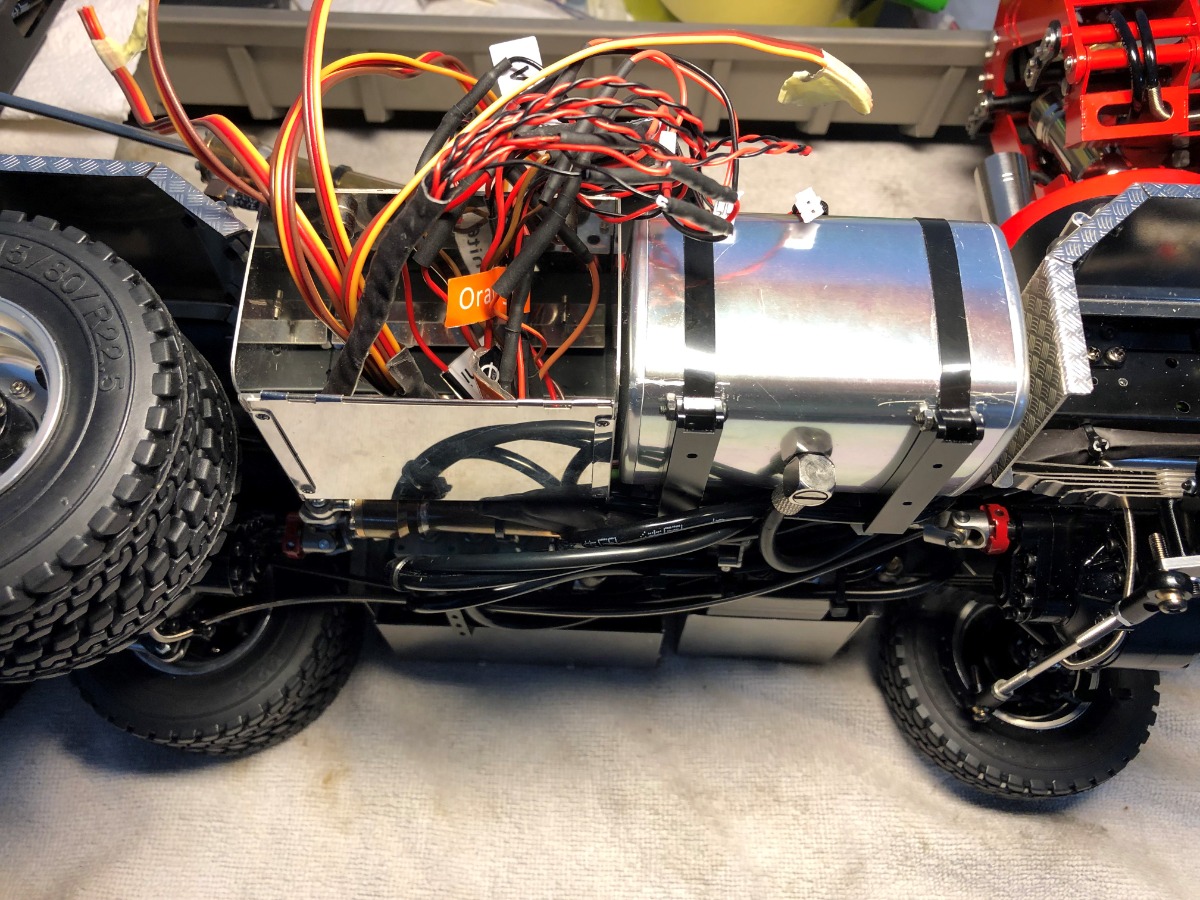
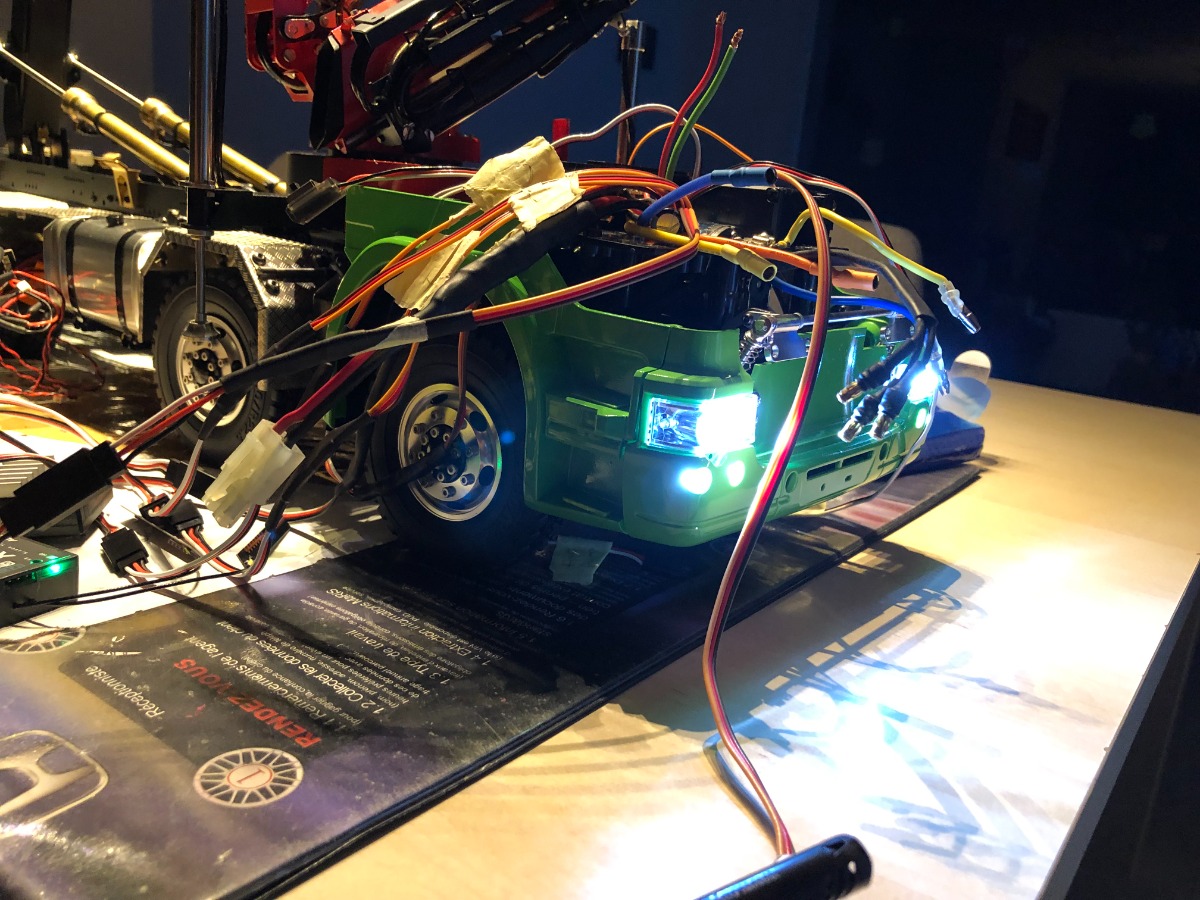
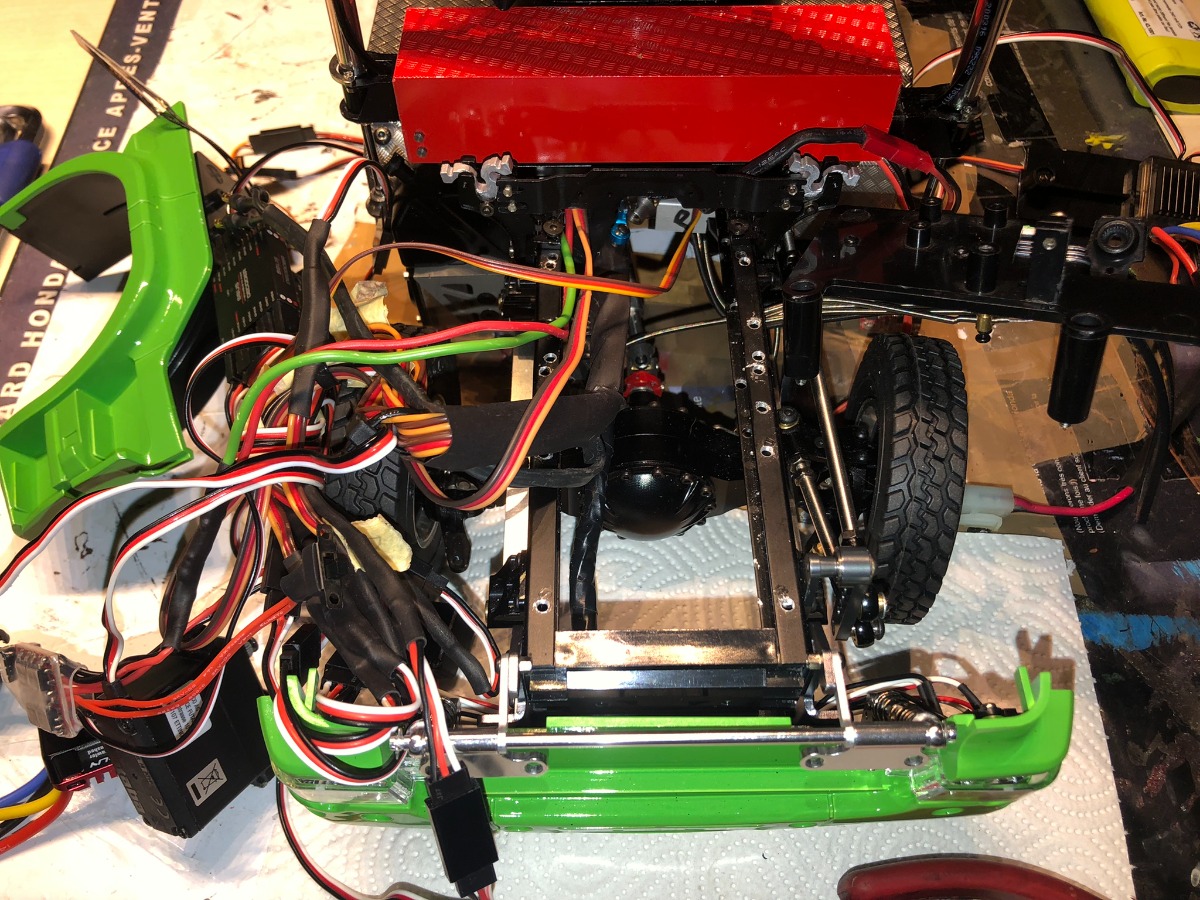
So I put all the cables of the front and rear lights in the chassis to guide them in the metal box on the side.


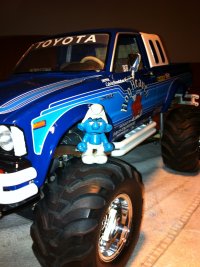
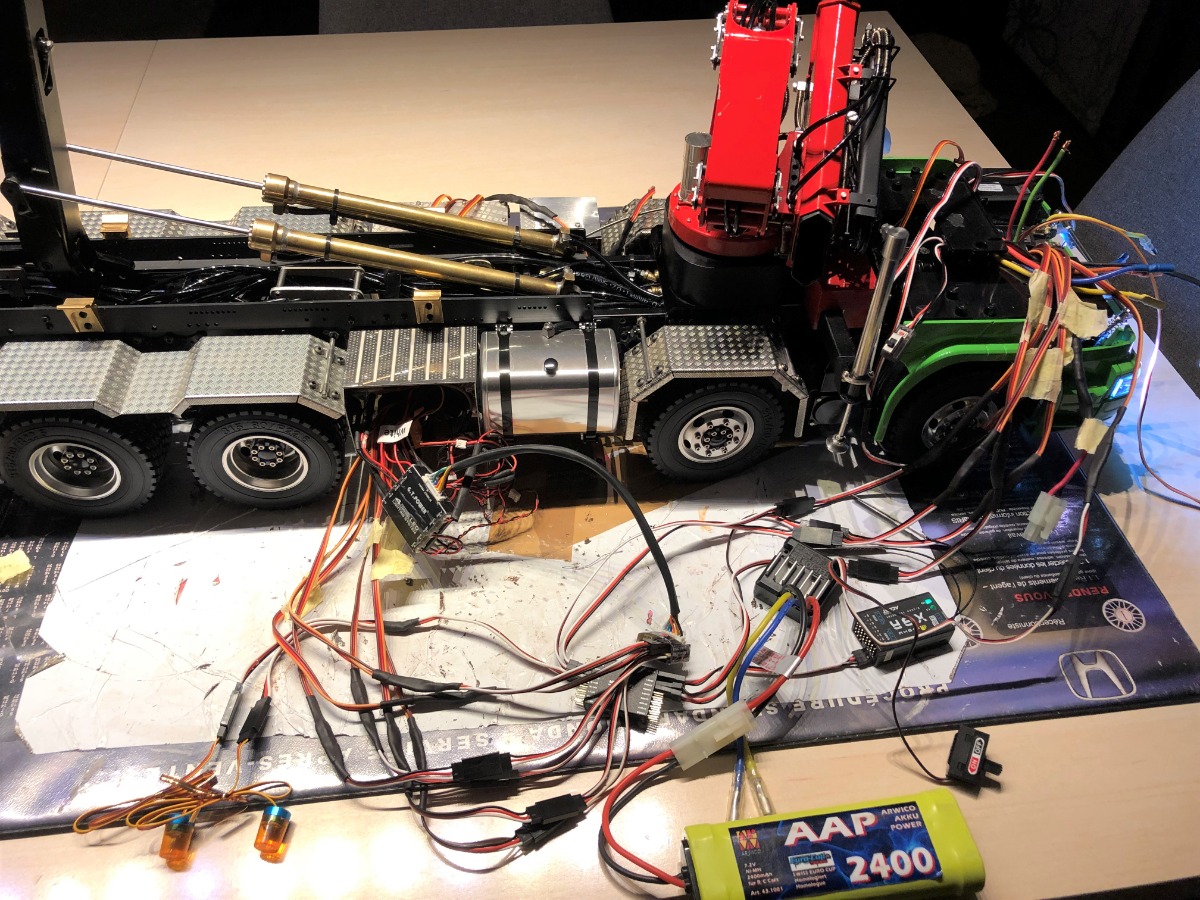
In the meantime the cabin has been painted green, I'll come back to that later, and the lights installed in the front bumper.


Once all this is in place and working the way I want it to, I'll tackle the electrical part of the hydraulic system.

More to follow

Manotas


Proud owner of the Bruiser Family
Attachments:
The following user(s) Liked this: Jonny Retro, stingray-63, AndyAus, 1972 LeMansGT Jim, Lemsko, Ducksnuts

Please Log in to join the conversation.

Truck Project 1 year 2 months ago #74200

Oh wow, already 7 months since my last post here.
In those 7 months there has been progress, sometimes invisible and hard to take pictures of. The point of the lighting being solved I tackled the one of the MSC. 
I found an MCS capable of controlling the Truck Puller and installed it. The truck works now, certainly it does not go fast but at least it advances.
When shifting gears, I realized that the servo location was not otpimal. The lever arm was not big enough, the gear change was not precise and worked one time out of three.

I looked into this problem and inquired about the Transmission and it is possible to change the shift lever. So i changed it so it can be shifted from the front.


So after removing the transmission, I started taking it apart.
On this point I can say that the resemblance with the Bruiser transmission is amazing.
Once the selection rod replaced for the other one that came with the transmission, the reassembly operation in the truck can continue.


This is how the truck looks like after removing the transmission


Proud owner of the Bruiser Family
Attachments:
The following user(s) Liked this: Jonny Retro, stingray-63, 1972 LeMansGT Jim, Lemsko

Please Log in to join the conversation.

Moderators: caprinutstingray-63AndyAus
Time to create page: 0.215 seconds
Cookies are required to make this site work. If you continue to use this site you permit us to use cookies.