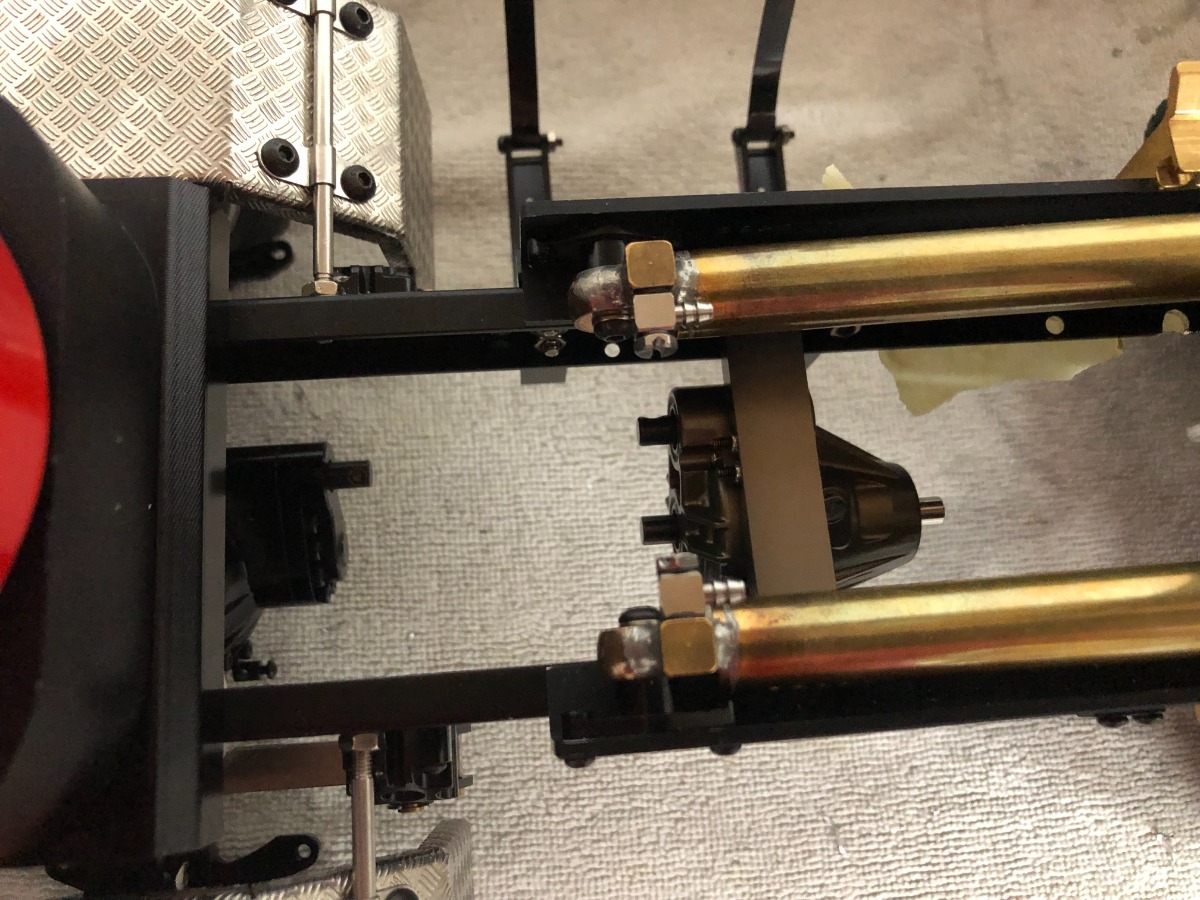
While waiting for my driveshaft order to arrive, the installation of the hydraulic blocks had to start.
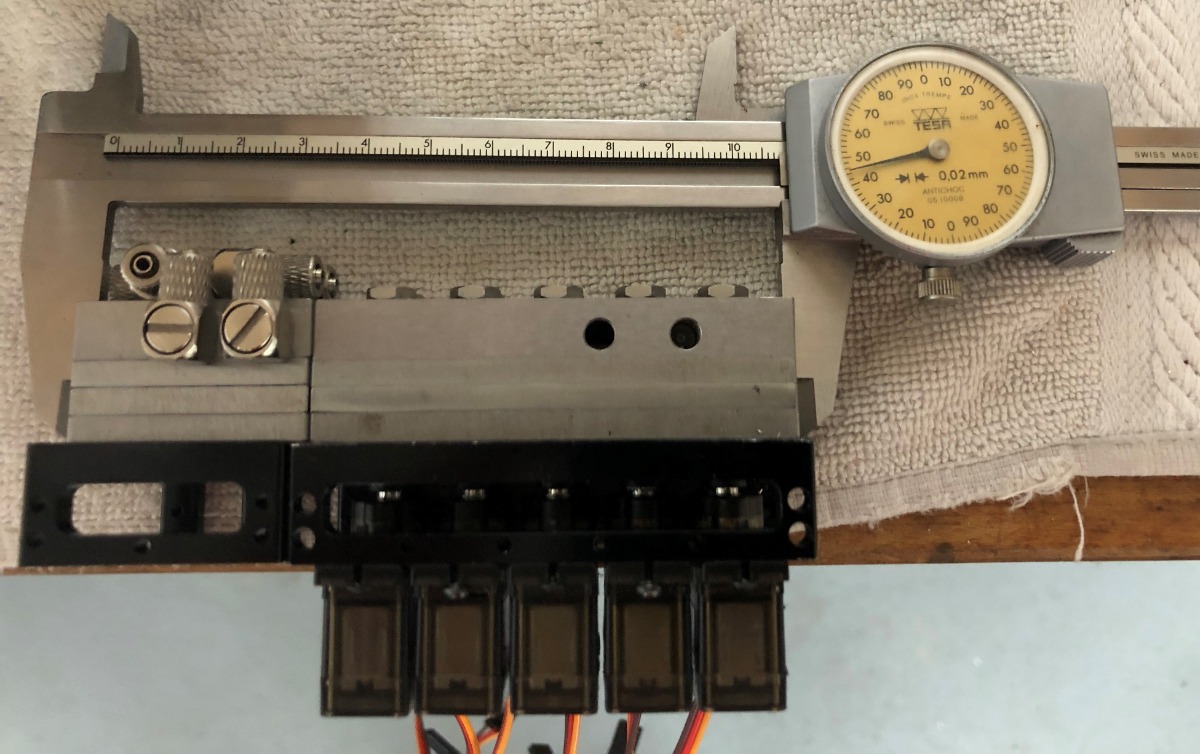
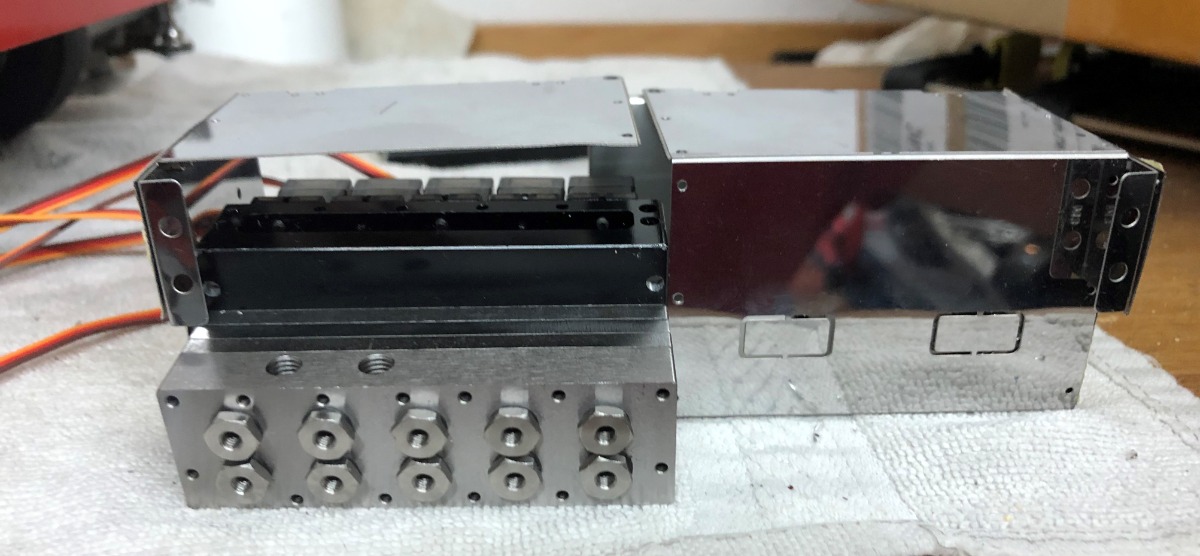
The 5 valve block is for the crane and the 2 valve block is for the tipper.
Ideally these two blocks should not be visible and should, for obvious reasons of connection, be together.
Their total length is 157.5 mm.
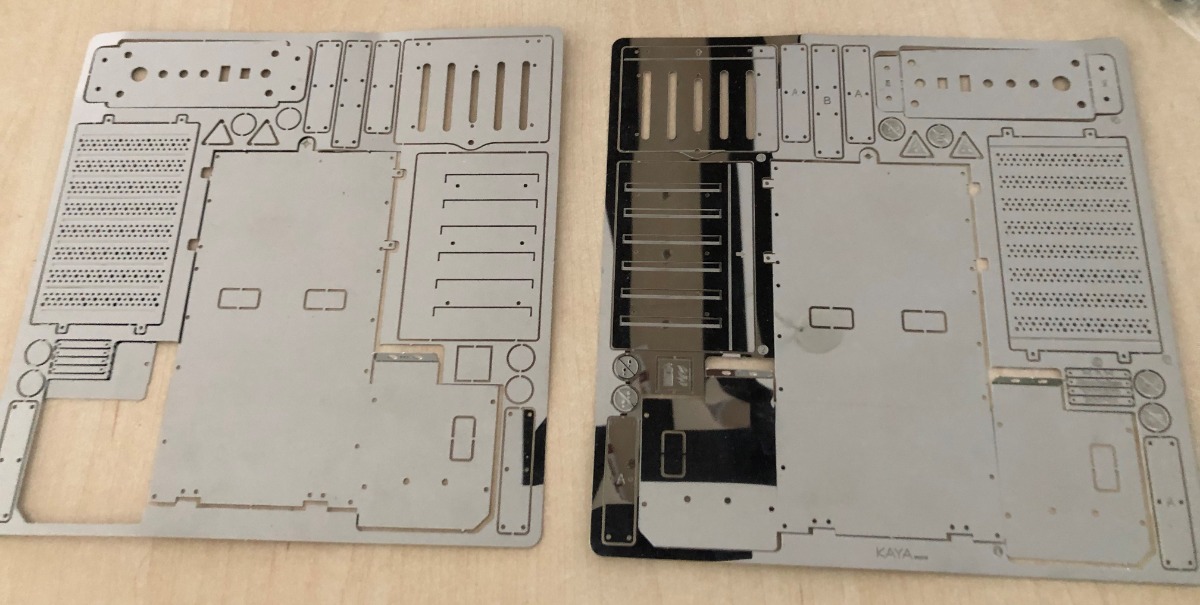
Until now I have not found any metal box corresponding to the length I like.
The ones I like have a maximum length of 105mm...not enough to hide the hydraulic blocks. While searching I found a metal box corresponding to the exact length between the front and the rear axle, so 150 mm.
This box is in chromed sheet metal and not in riffle sheet as I would like.
I ordered it with the intention of modifying it later so that it corresponds to my expectations.
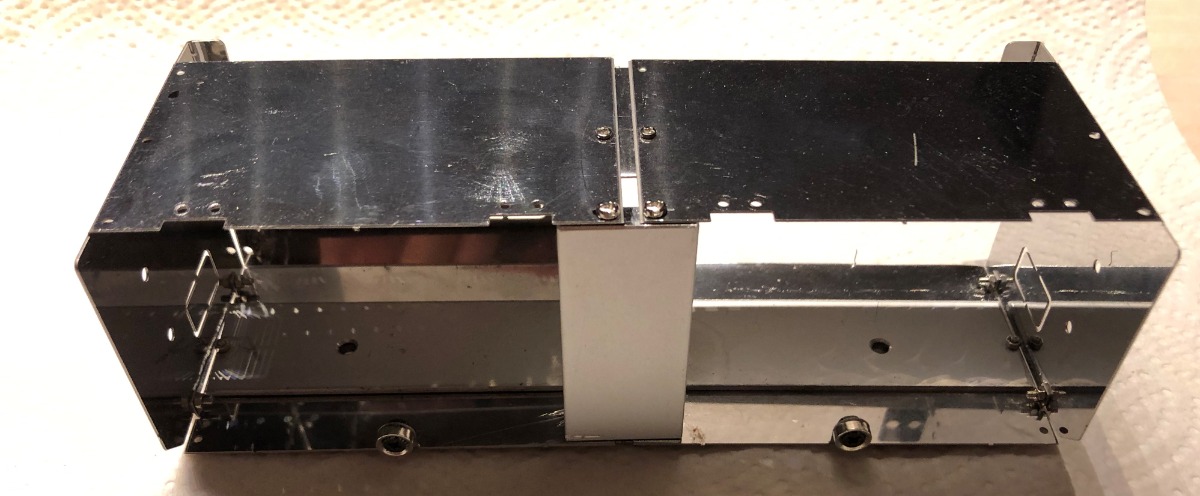
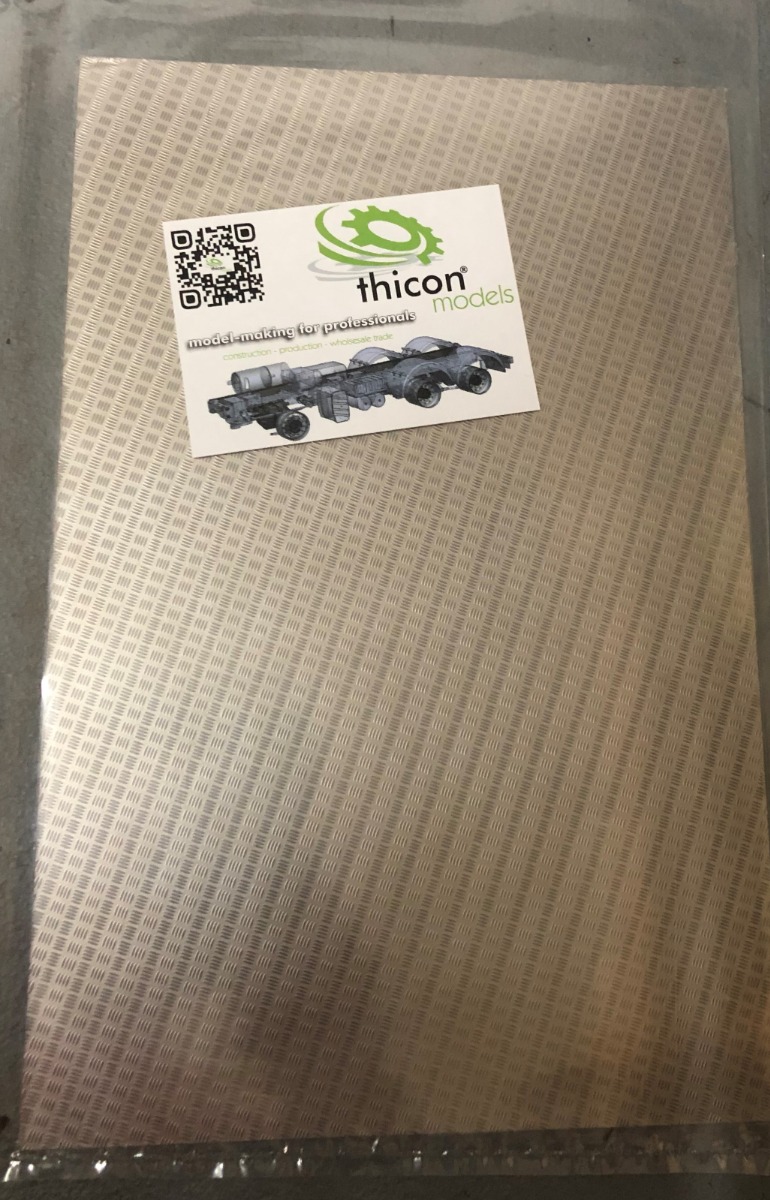
This is how the box looks like
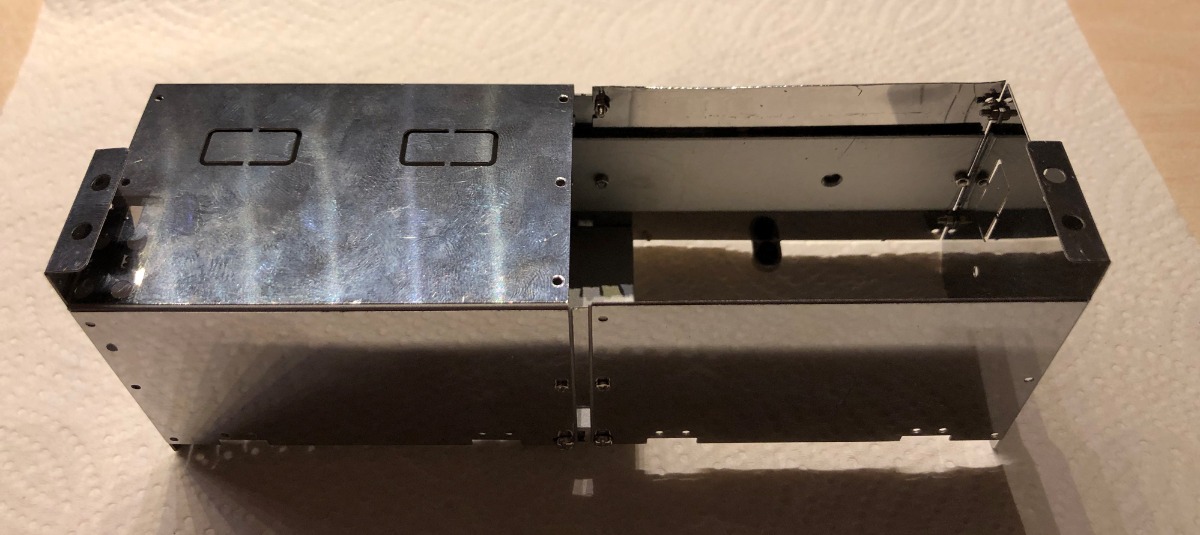
So I put it together and the length fits perfectly. I have to admit that the finish is not what I expected but that's not a surprise.
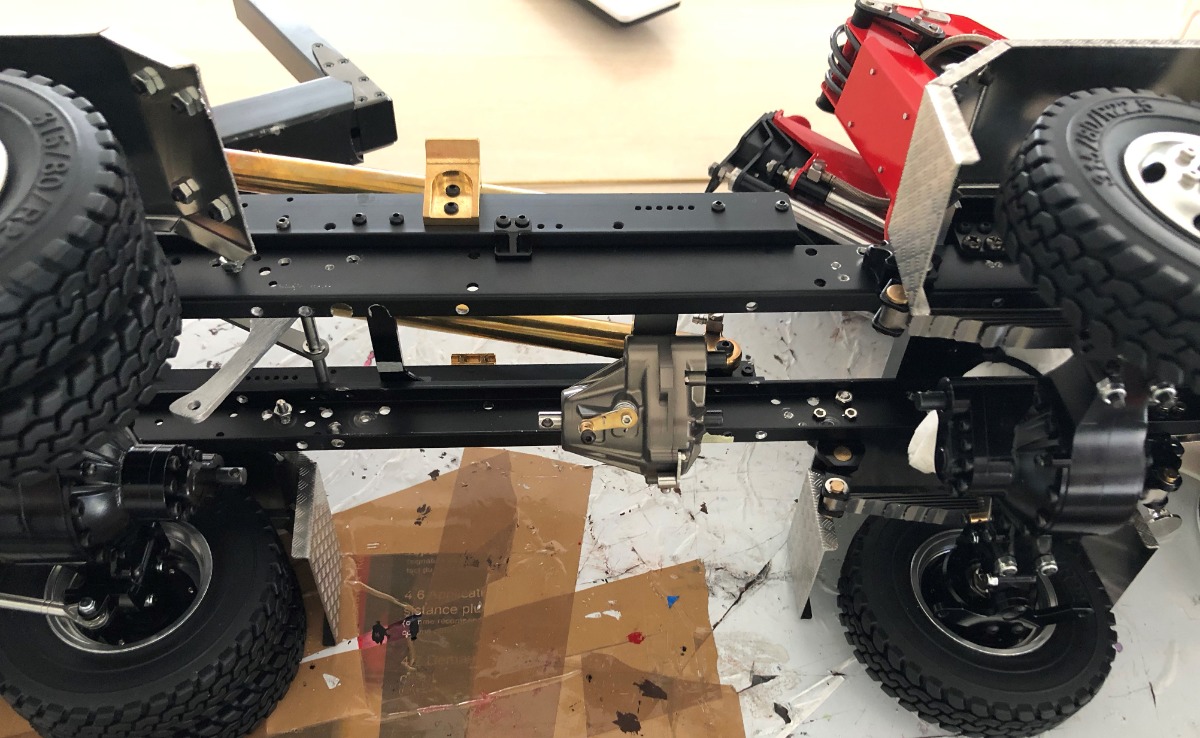
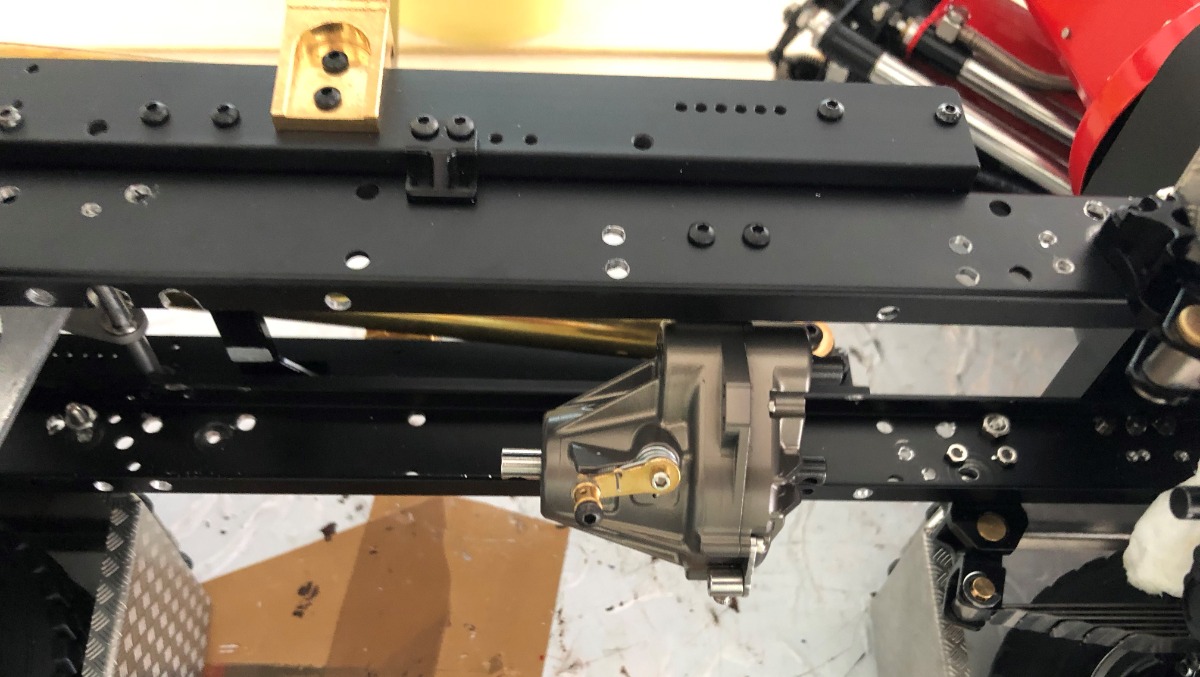
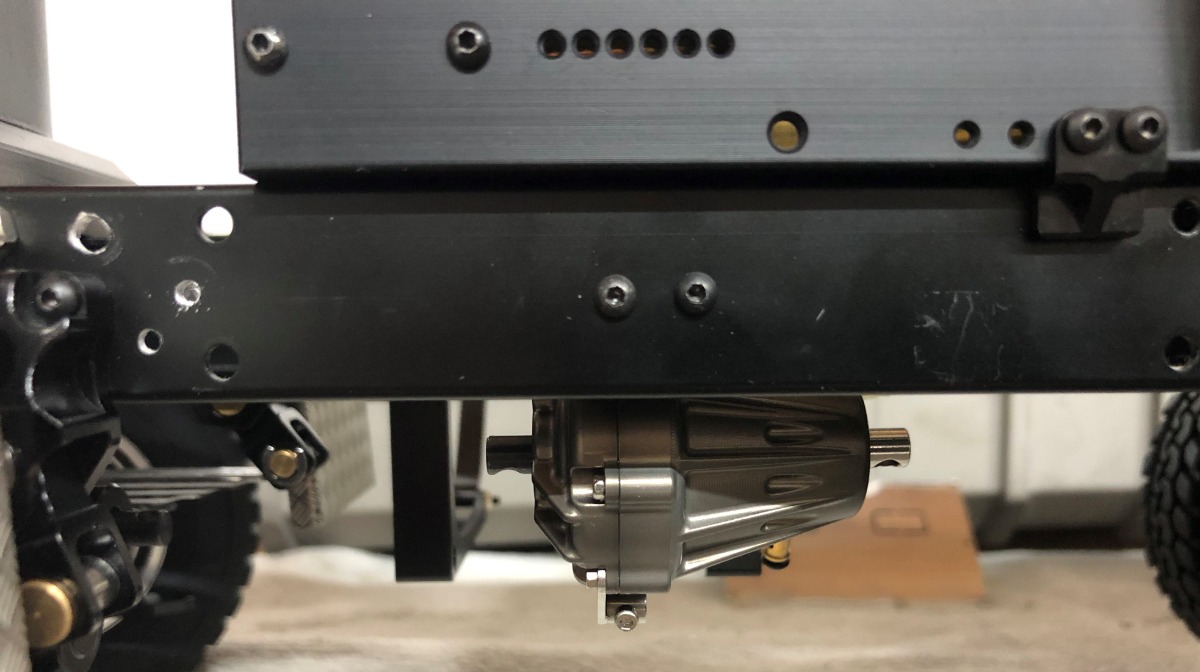
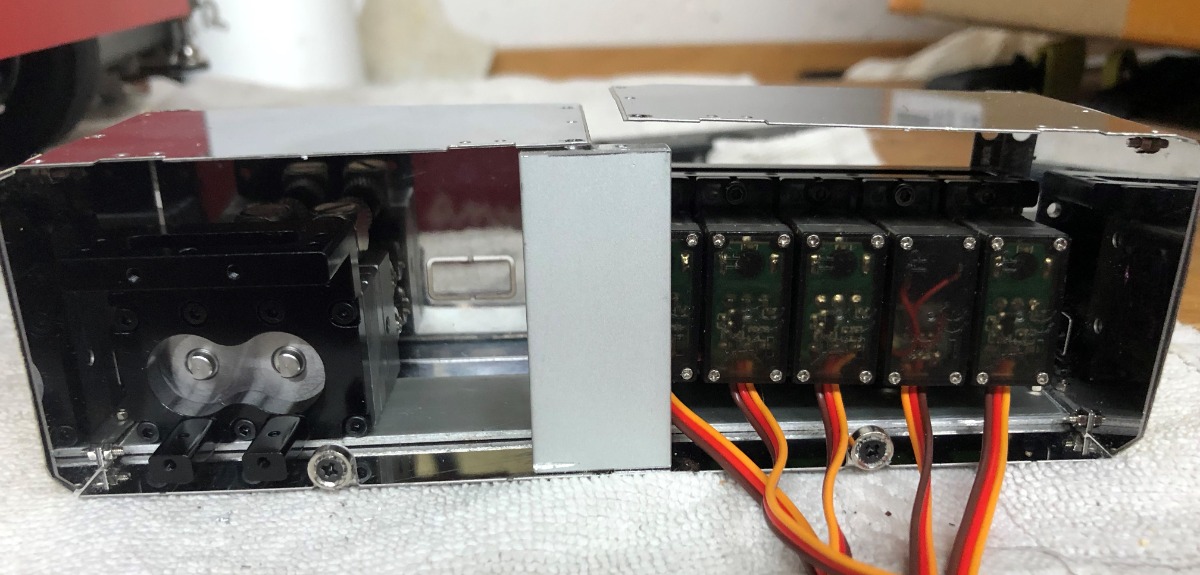
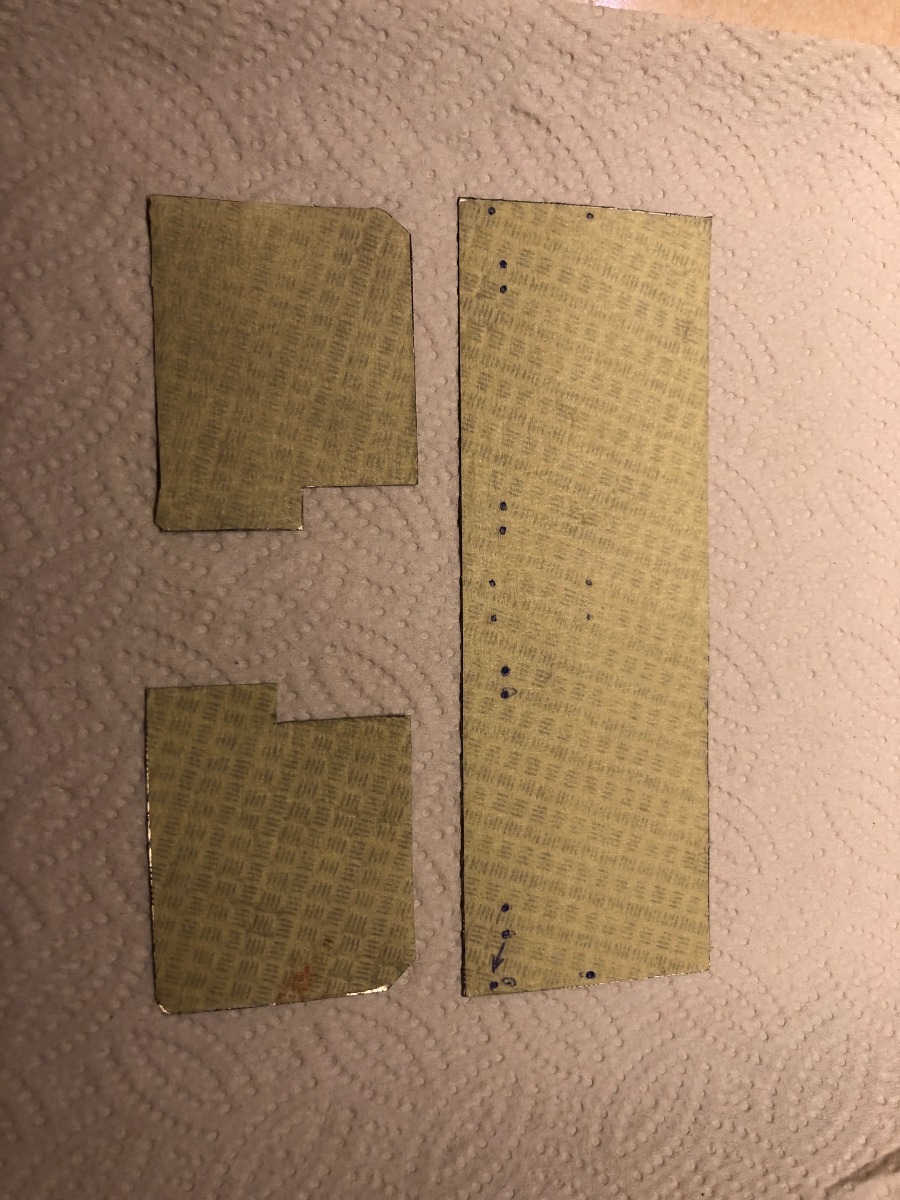
I had to cut the rear spar to allow the attachment of the hydraulic blocks to the chassis. Unfortunately the walls are part of the rigidity and I prepared some inner reinforcements to keep it stable.
So I put it together and the length fits perfectly. I have to admit that the finish is not what I expected but that's not a surprise.
I had to cut the rear spar to allow the attachment of the hydraulic blocks to the chassis. Unfortunately the walls are part of the rigidity and I prepared some inner reinforcements to keep it stable.