|
You could burn lightly the wood surface for the walls. That's cosey. I saw that in a tv show it's nice.
The following user(s) Liked this: jord001
|
Please Log in to join the conversation. |
|
Honestly can't think of a barn that's had anything other than a dirt, clay or concrete floor, depending on age/location. Only sheds have planked floors
For the boarded walls, I would chop your material something like 60/40 and use the bits in a pseudo random pattern - some runs will have two boards, some three and so on. Also think about windows to break it up a bit, even if you have to fake them with a drawing, photo, or board them up. You're ceiling is really, really low so I'd caution against going too dark anywhere except forcing perspective a little in the corners.
The following user(s) Liked this: jord001
|
Please Log in to join the conversation. |
A typical barn here in Norway looks like this, and deffo if it is in upper floor.
Most barns I have been into usually have 10-12" wide floorboards, if we talk 50 years or older barns which most of them are. A typical norwegian barn looks like this more or less High end garages or display showroom garage in US can look like this Another example My vision is something like this, combined with the norwegian look and the look in the picture down below this picture. The latter is more of the style I'm going for. Another barn style garage I've found I might tape up the planks first to see if my vision can work. Als have a few wood finishes stains I can try out. But I do know I want this type of barndoor I'll take your tips JR and see how I can make them work. Windows is something I have been thinking of making anyway to break things up.
The following user(s) Liked this: Jonny Retro, stingray-63, 1972 LeMansGT Jim, Lemsko, silvertriple, jord001
|
|
Please Log in to join the conversation.
Last edit: by caprinut.
|
|
It's making more sense now
As is having your own slipway when you have that many canoes
The following user(s) Liked this: caprinut, stingray-63
|
Please Log in to join the conversation. |
Did a quick mockup by fitting the planks by fold over a wide masking tape.
I think I will swap the floor for the light ones, and the dark for the walls. There is plenty of planks left that is for sure! Or should I fit the dark ones as floor since they have burn marks on them, making burnout marks??? |
|
Please Log in to join the conversation. |
|
Perfect. Just a window is missing for the instant.
The following user(s) Liked this: jord001
|
Please Log in to join the conversation. |
I have a plan...
Will fit 10x10mm beams at the edge of the planks and then 10x10mm beams up under the roof. A solid beam of 3-3.5cm will just lower the roof visually. 
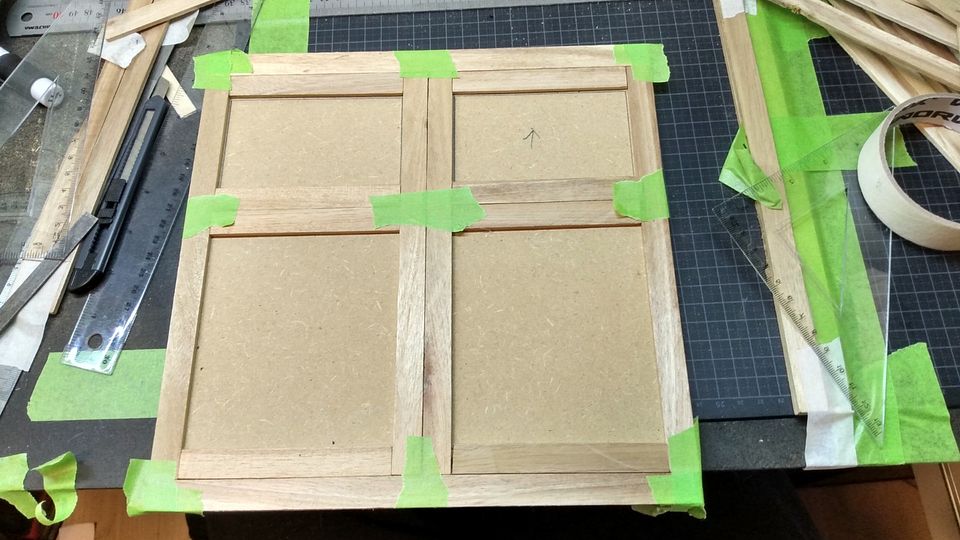
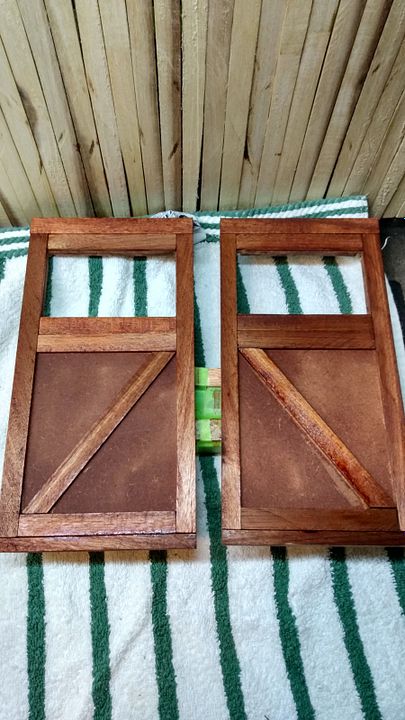
Today I continued on the barn doors I started on last time. After the barndoor main construction was done and glued, I cut out the wall to match the window size in the doors. 
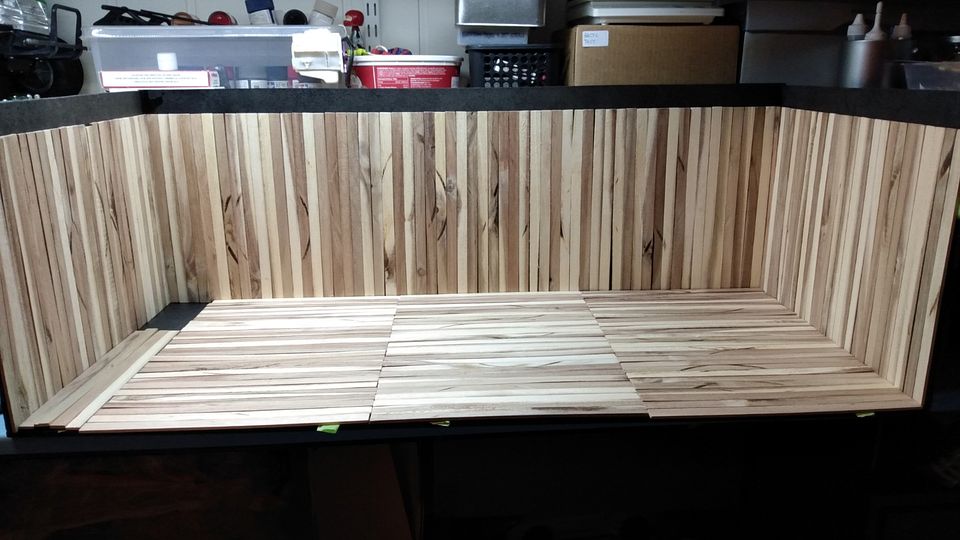
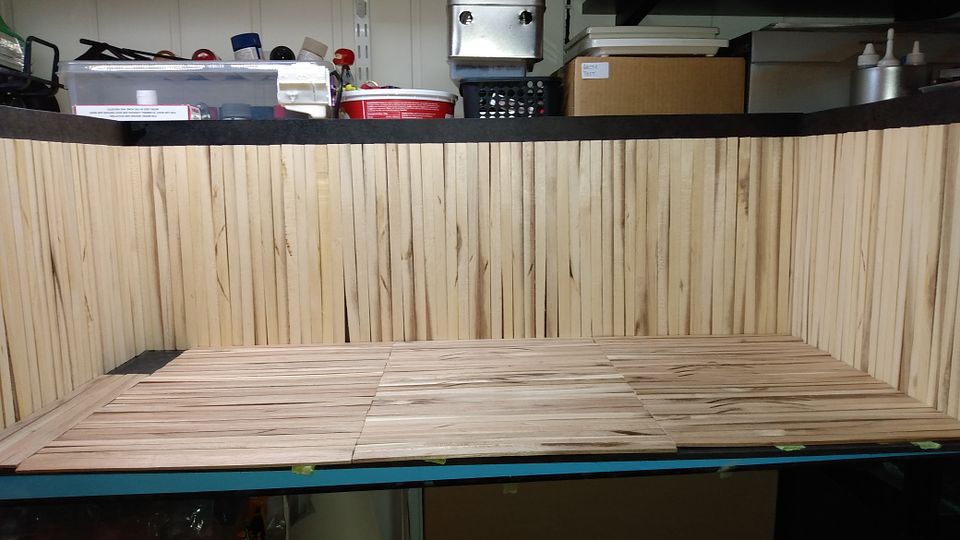
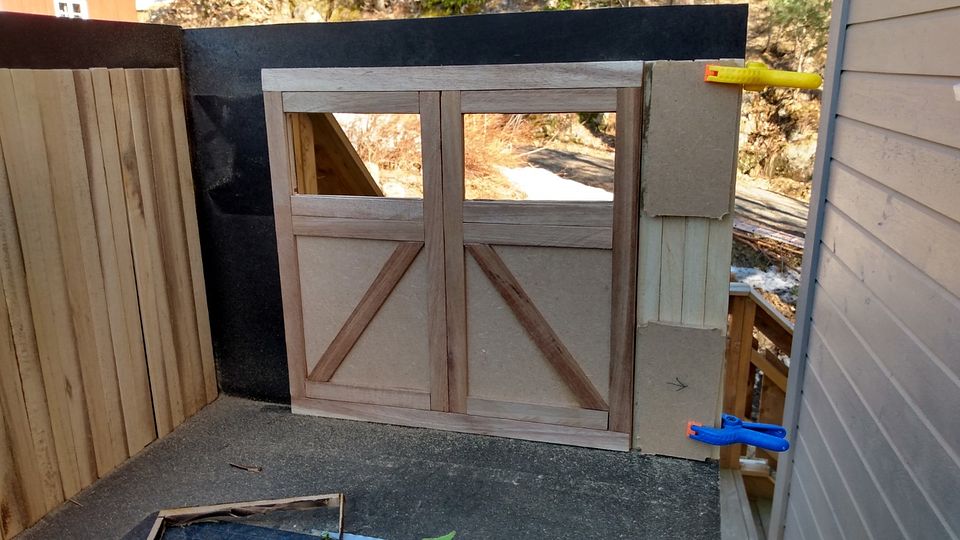
The barndoor wall planks have been glued down. Top of the planks is a bit uneven, but it does not matter as it will be hiding behind a 10x10mm beam. I cut down the barn doors slightly so the beam that will hide the seam between the long on short planks can be fitted above the door. Barn doors are approx 26cm wide and 25.5cm high. 
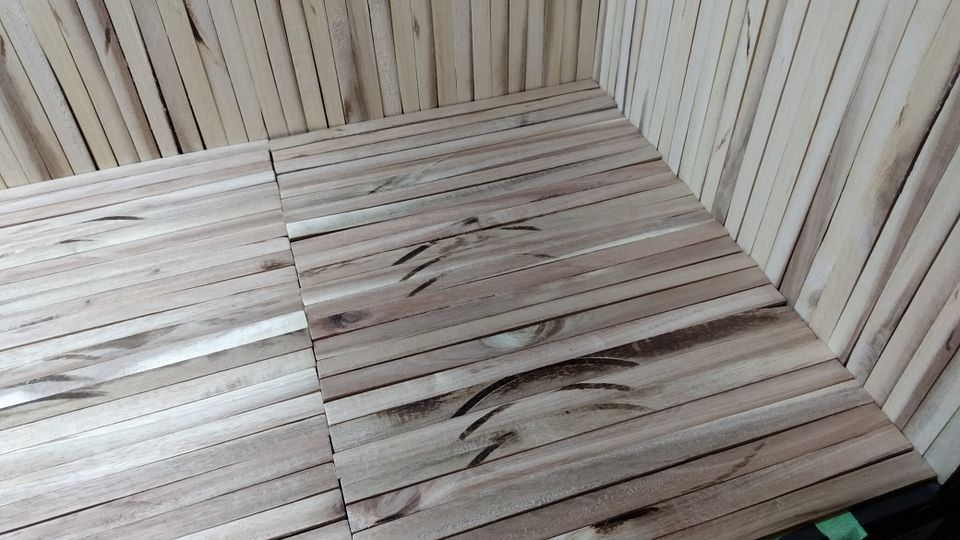
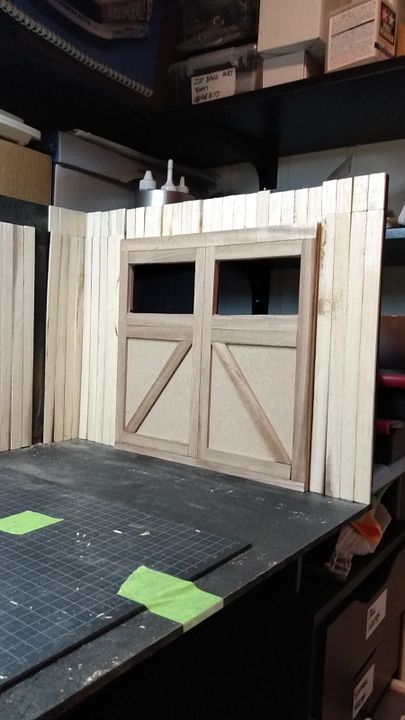
The last thing I did today was to give the doors one coat of mahogany wood stain. MDF piece did not take the stain as good as the planks. I will give them several coats to see if it helps. As you can see I also decided to cut between door halves to make it more real. Doors are made of one piece of 6mm mdf, and a few of those 3x15mm planks. I was planning on use some 10mm wide balsa, but I did have not enough material to do the doors. There will be black window bars and some sort of glass. I've have also been thinking of back lightning the windows. We will see how that goes.. And I've found the solution for my lightning system which I have already bought and tested. I ended up buying 2m of 550lumen pr meter led kit complete which was complete with everything needed. The kit has warm white leds and it was exactly as I wanted them to be! I have a idea of hiding the 12v transformer inside one of the scale work benches, to make it more handy to move and to clean up some of the clutter. That means one more hole in the wall. Next time I think I want to make some cardboard templates to see how my planned work benc, windows etc work out. 
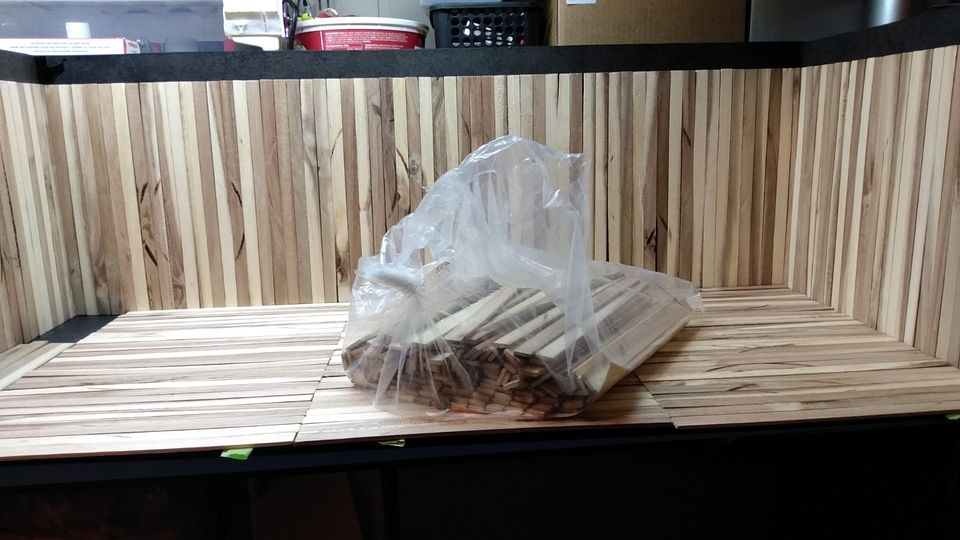
I have limited amound of the light planks for the walls, so I better to cut once then twice. |
|
Please Log in to join the conversation.
Last edit: by caprinut.
|
|
Awesome Richard. I love that. And give me ideas.... I hate you😁😁😁😁
The following user(s) Liked this: jord001
|
Please Log in to join the conversation. |