TOPIC:
Richard's adventure in scale garage and related items. 2 years 2 weeks ago #70964
|
The following user(s) Liked this: stingray-63
|
|
|
Please Log in to join the conversation. |
Richard's adventure in scale garage and related items. 2 years 2 weeks ago #70966
|
I can't wait to see the result. How you'll do for the tools?
|
|
Please Log in to join the conversation. |
Richard's adventure in scale garage and related items. 2 years 2 weeks ago #70967
I have a few dollhouse tools for the workbench. Need either to make more or buy more. Engine crane (cherry picker), engine stand etc will be out of styrene.
The following user(s) Liked this: stingray-63, Lemsko
|
|
|
Please Log in to join the conversation. |
Richard's adventure in scale garage and related items. 2 years 2 weeks ago #70968
|
I love that. 👏👏👏
The following user(s) Liked this: caprinut
|
|
Please Log in to join the conversation. |
Richard's adventure in scale garage and related items. 2 years 2 weeks ago #70980
|
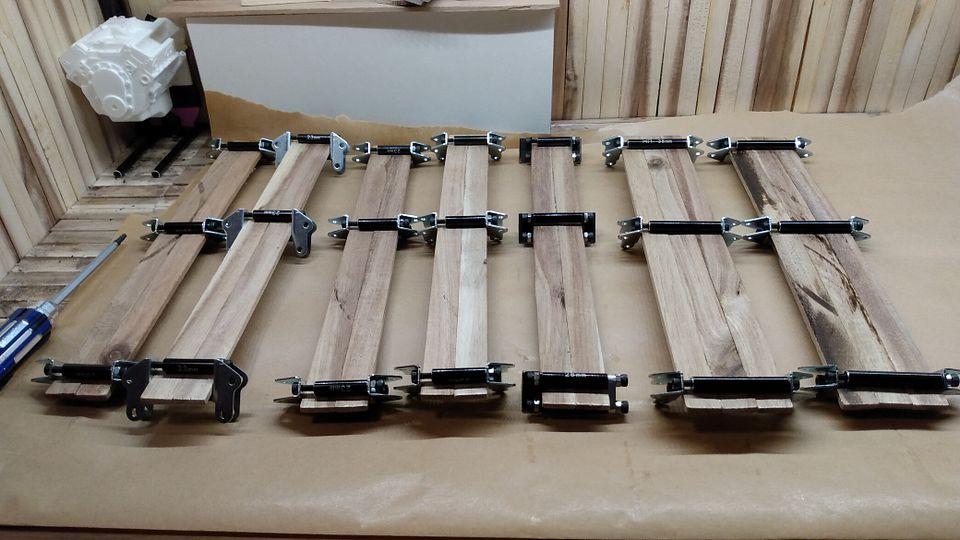
After the clamps was removed this morning I visited my mate down the road and borrowed his da sander.
I have learned that the parts with glue on won't take stain so I sanded them smooth as I could. Planks also varies in thickness so the DA sander made a quick work with 180 paper. Next I cut the planks to lengt and then gave them one coat of mahogany on both sides and wiped off with a sponge to get the coat even. After these has dried I will give them a coat of clear. 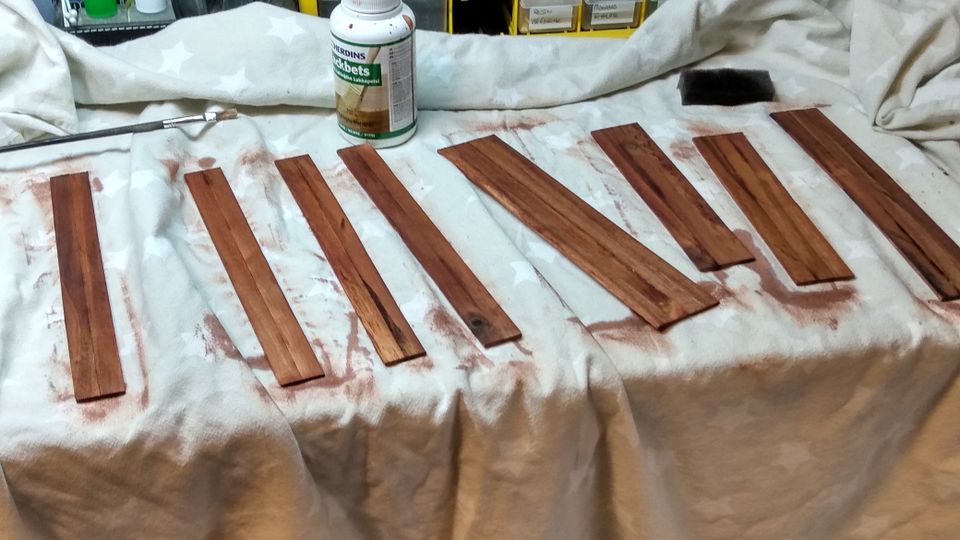
Ofcourse one of the 3 wide planks I had glued earlier ended on the floor and the glue decided to come apart. So that bit needs to cure to tomorrow before I can cut, stain and clear coat it. |
|
|
Please Log in to join the conversation. |
Richard's adventure in scale garage and related items. 2 years 2 weeks ago #70997
|
More progress has been made..
Gave the planks one layer of clear coat and let them fully cure on each side. 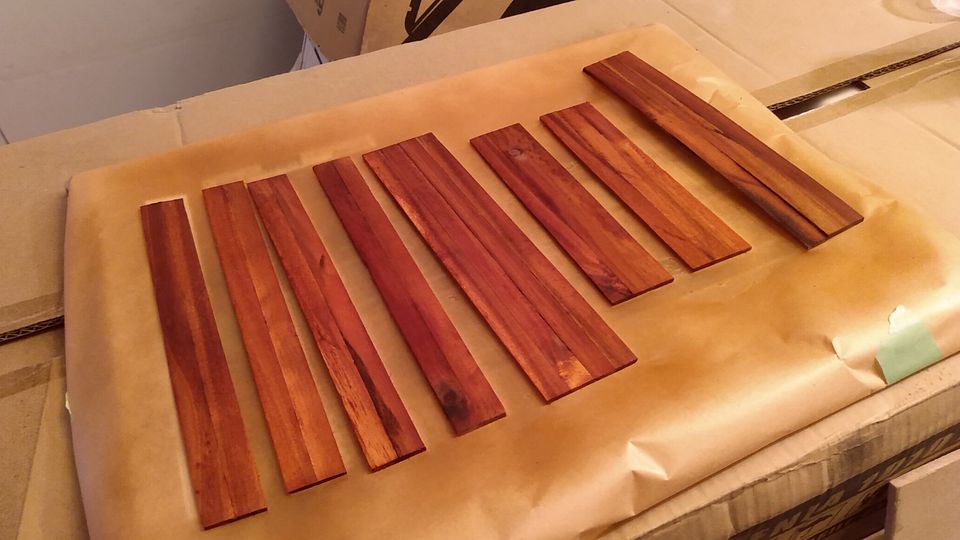
The bottom piece came out really bent. My orginal plan was to glue the whole shelf rack together. But only solution was to screw down the planks to some aluminium. In hindsight I should have used 2mm bolts front and rear. The 1:6 Hornet fit well on the 3 plank wide piece. 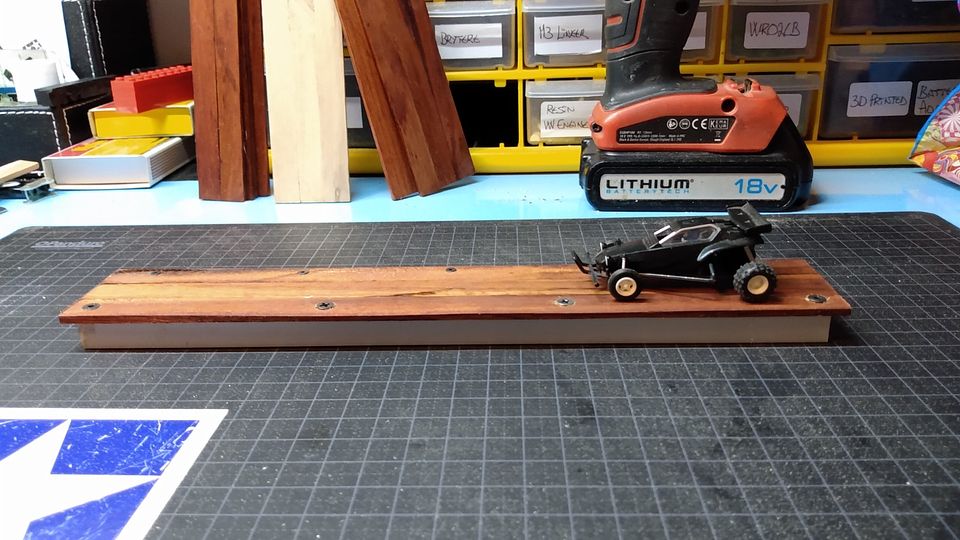
Made it so the wires for the backlit can go under the planks 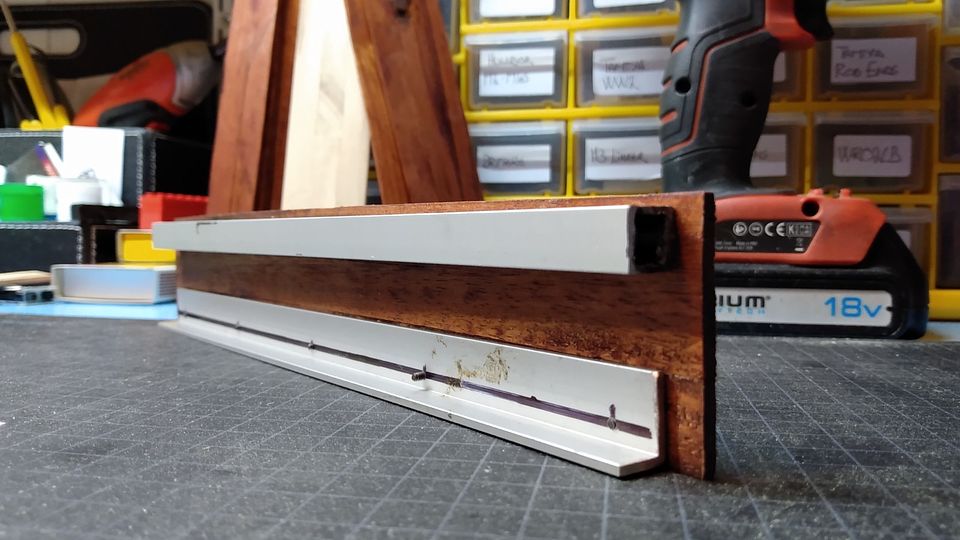
Starting on the rack... Heavy objects to keep it in place. Canopy glue worked like a charm. They said 3 hours, but pieces was rigd after one... 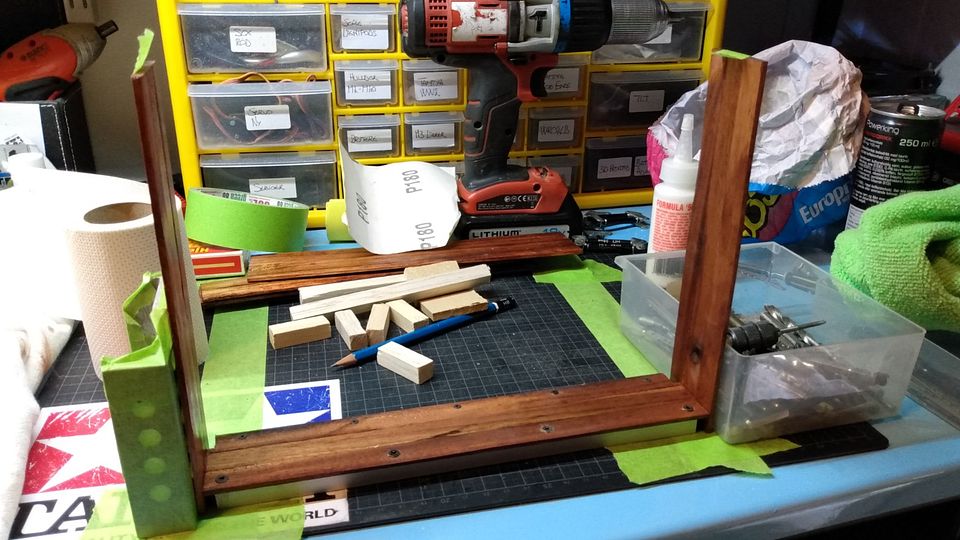
Pre-view of my shelf and some of the models (have more mini Tamiya ones on the way (3 vehicles) and some more HO models is planned to be bought. Next is to make the lights. 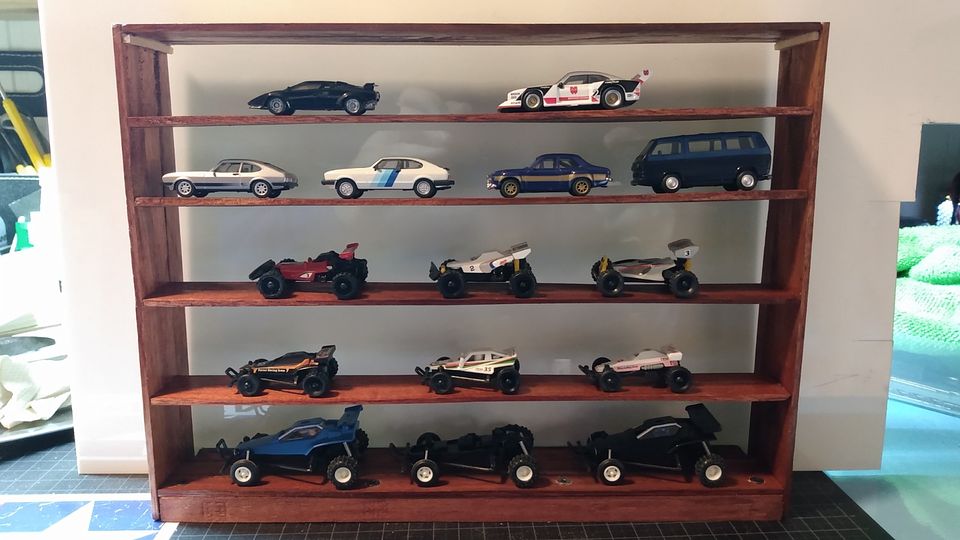
The following user(s) Liked this: stingray-63, 1972 LeMansGT Jim, Lemsko, silvertriple, jord001, Ducksnuts, johndoubleday
|
|
|
Please Log in to join the conversation.
Last edit: by caprinut.
|
Richard's adventure in scale garage and related items. 2 years 2 weeks ago #70998
|
I love that
The following user(s) Liked this: jord001
|
|
Please Log in to join the conversation. |
Richard's adventure in scale garage and related items. 2 years 1 week ago #71018
|
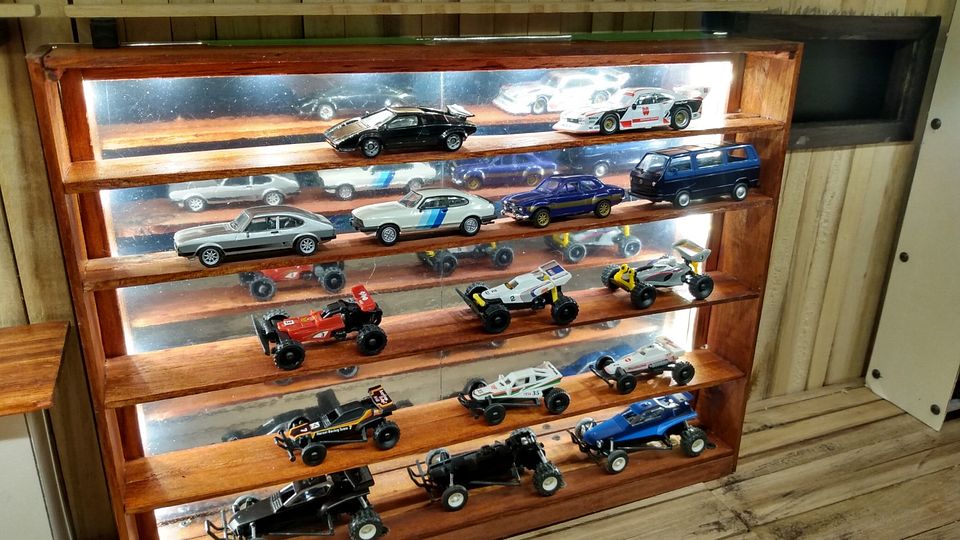
Today I did the rest of the shelf rack, including backlit and backwall.
I wanted something else for the backwall so chrome wrapped styrene wall it is. Backwall needs a good clean before it gets glued on for good. I might try to make a diffuser to reduce the glare. 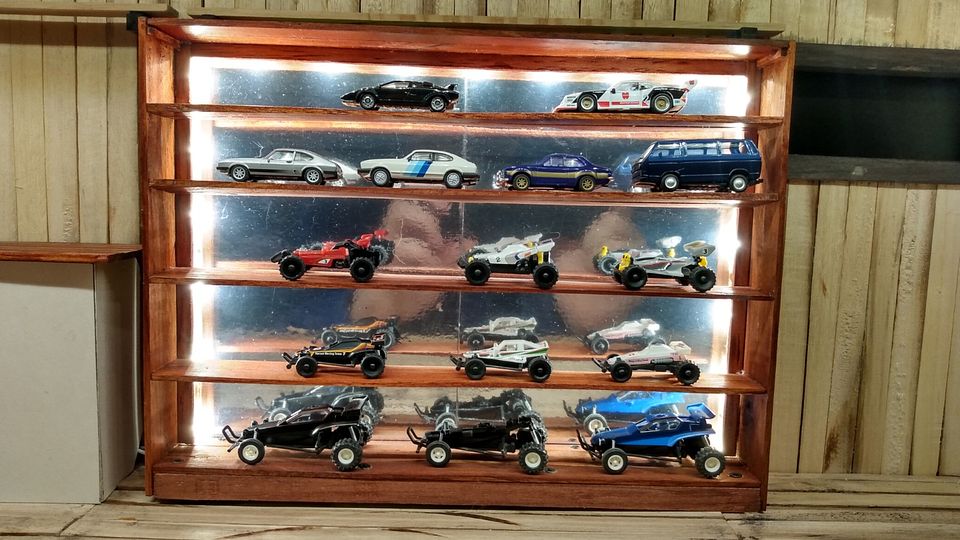
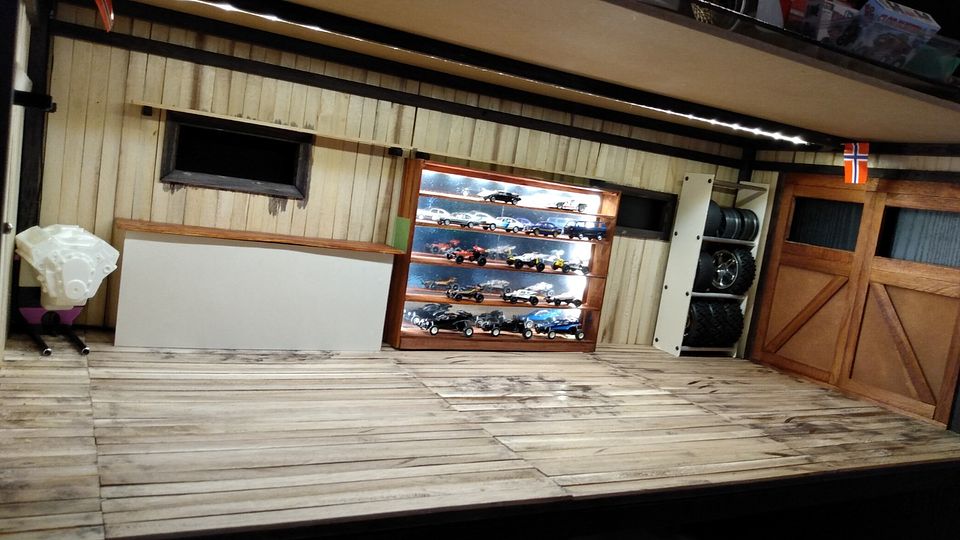
With a bit more bits added 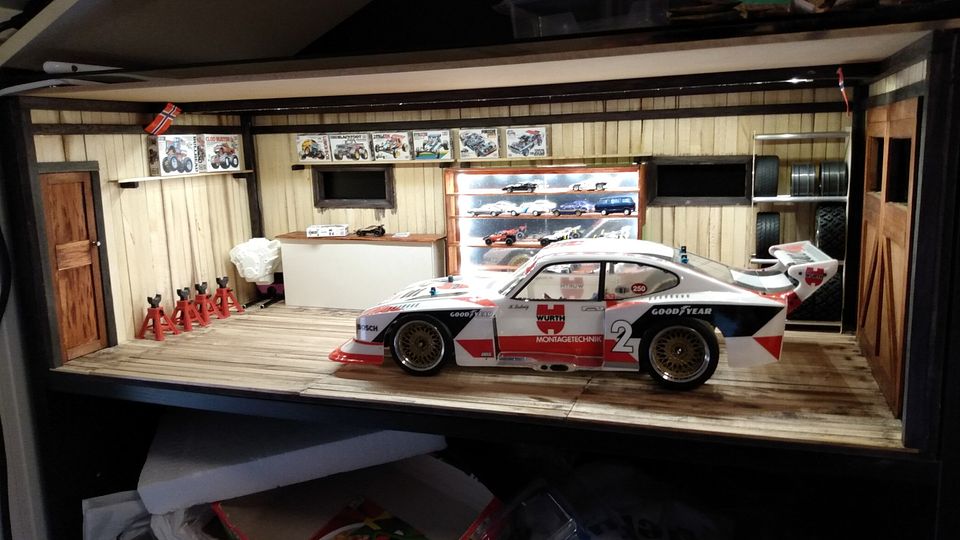
Whoever lives here has built a Hornet 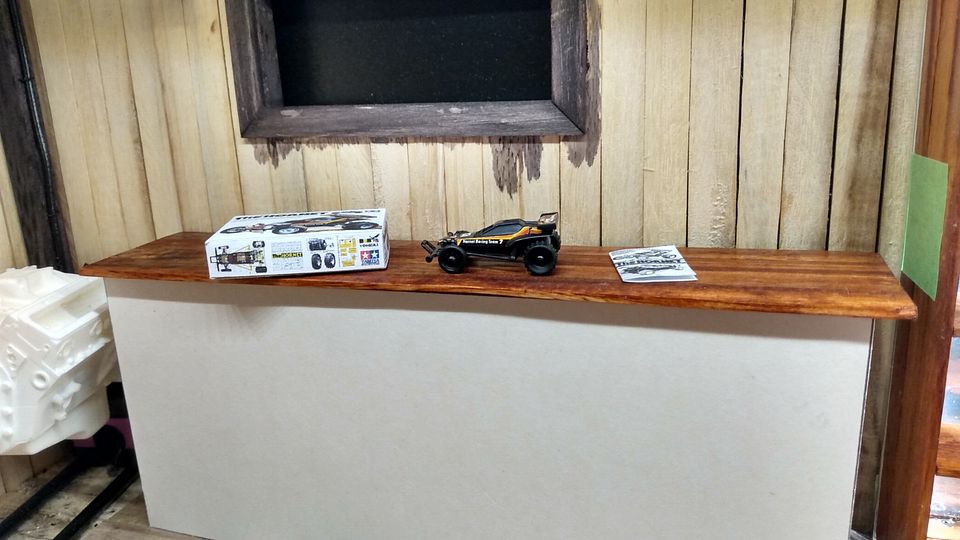
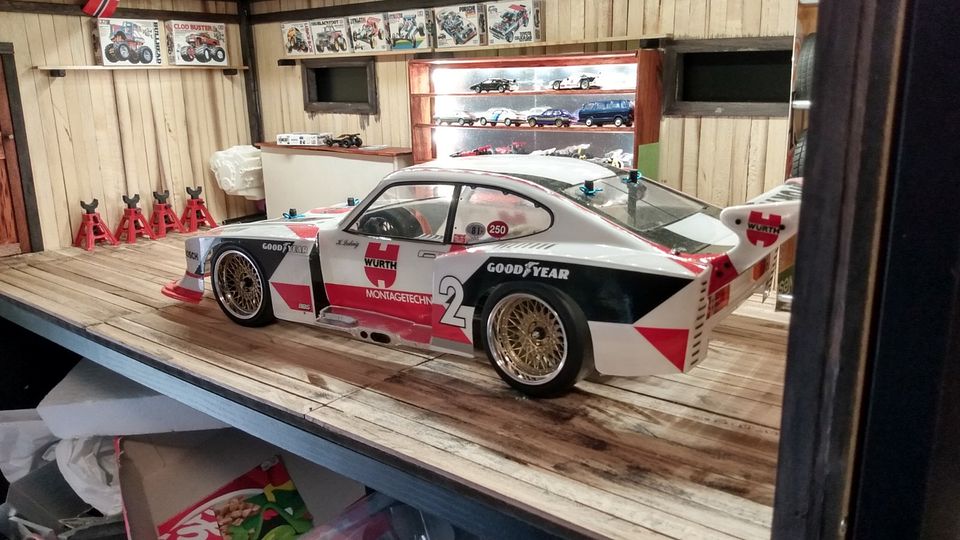
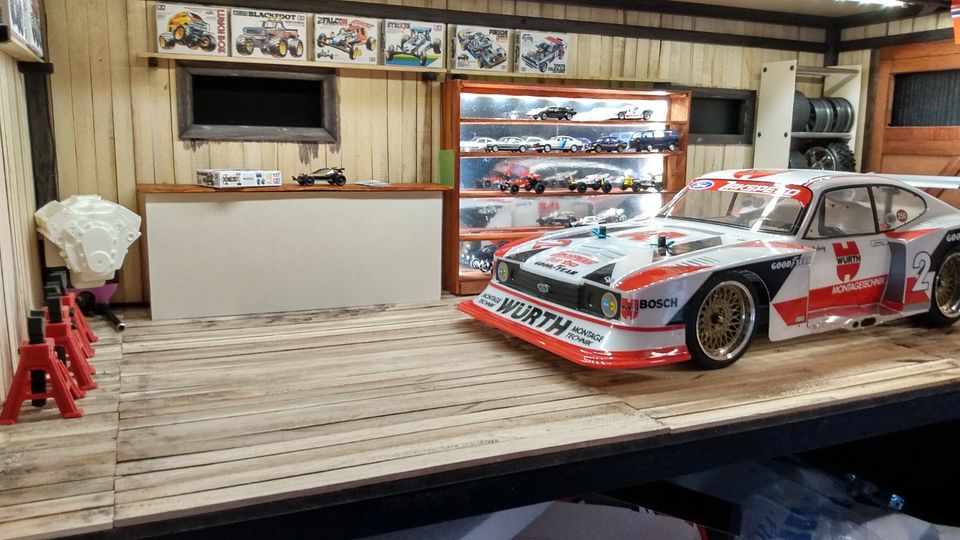
The following user(s) Liked this: Jonny Retro, yogi-bear, stingray-63, 1972 LeMansGT Jim, Lemsko, jord001, Ducksnuts, johndoubleday
|
|
|
Please Log in to join the conversation. |
Time to create page: 0.213 seconds
