TOPIC:
Driver Figure Painting for Dummies 1 year 5 months ago #72875
|
Attachments: |
|
Please Log in to join the conversation. |
Driver Figure Painting for Dummies 1 year 5 months ago #72913
|
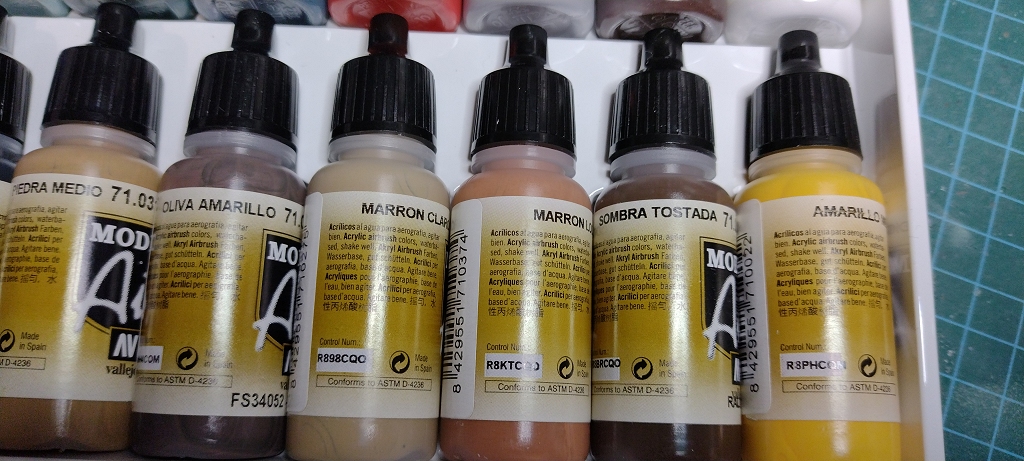
Got the Vallejo clear on, can't say I like it as much as the Tamiya X-22 clear TBH, it's too thin to be able to trust brushing it on in any thickness, and a second coat doesn't really improve things.
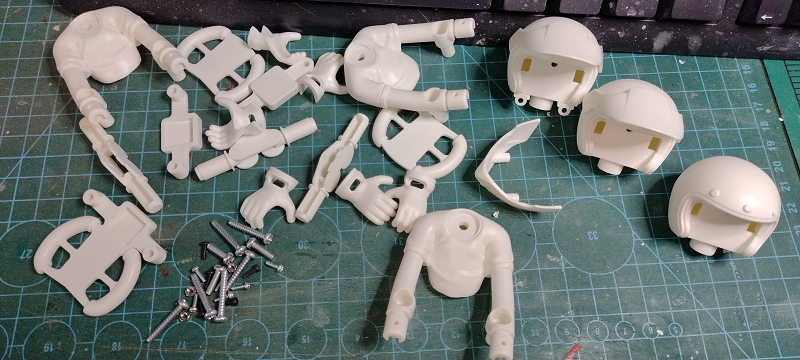
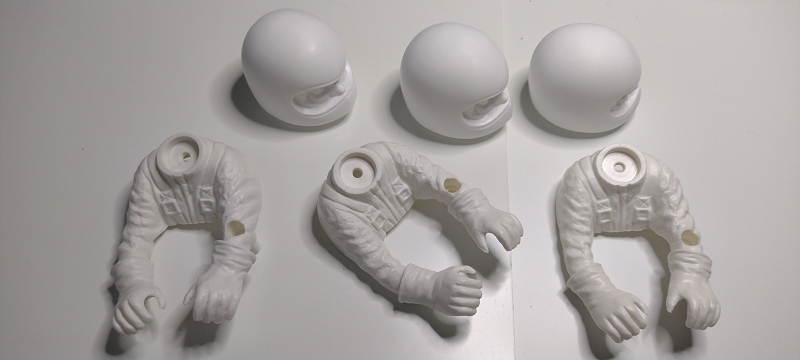
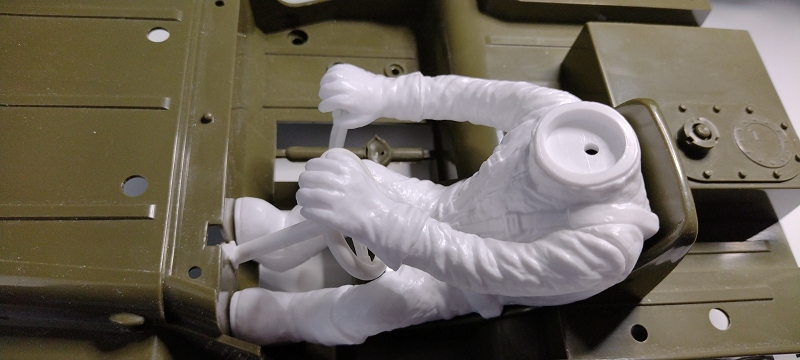
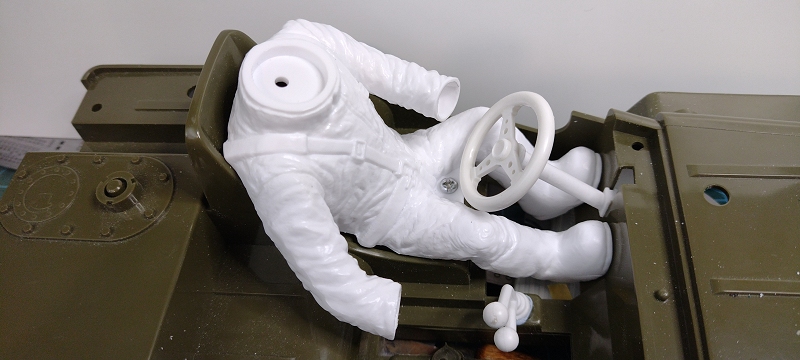
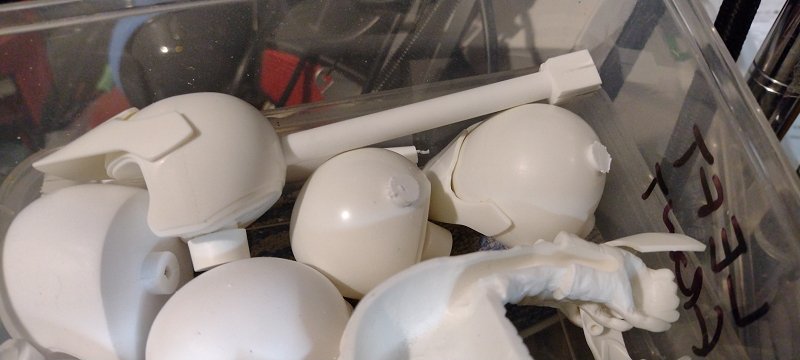
I've also got some primers & metallics to try, I'd also like to get an idea of compatibility with Tamiya X/XF paints, clear, and Halfords Clear Lacquer - I've only tried the Vallejo products with themselves, and on Hycote acrylic aerosol primer. To do a proper test would mean 28 permutations ATM, so I’ll have to streamline it. I just don’t like the “Multipurpose” driver body, it’s meant to be configurable but I can’t see me ever wanting to use it any way round. I had some Willy drivers in my stash – which I think will work, once I’ve fitted the smaller hands. The Multipurpose heads have a gaping hole in the back, I’ve stuck three 3mm thick, 9mm wide strips of styrene together to turn some plugs from later. Attachments: |
|
Please Log in to join the conversation. |
Driver Figure Painting for Dummies 1 year 5 months ago #72914
|
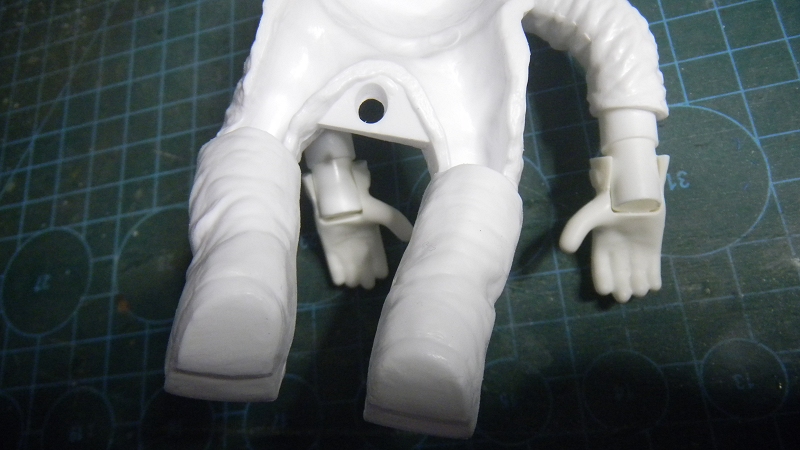
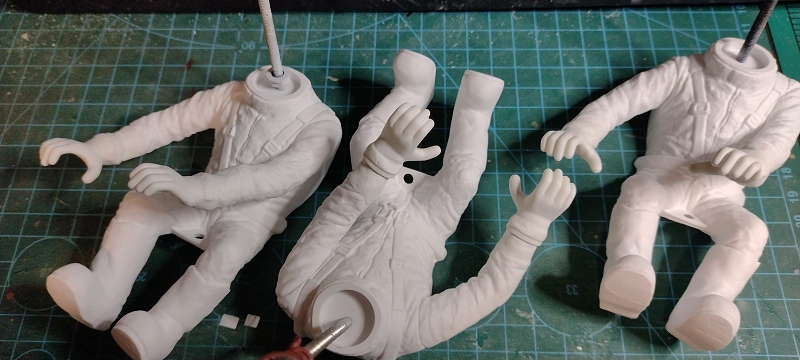
I’ll have three Willy heads spare, I’ve prepped them & will prime them so I can try out my 2nd Vallejo Face Painting set. I had 3 “torso” type bodies so might as well do them at the same time. I have many already painted steering wheels too.
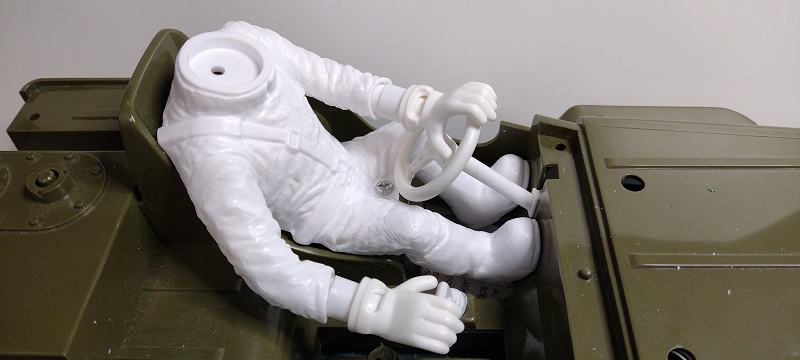
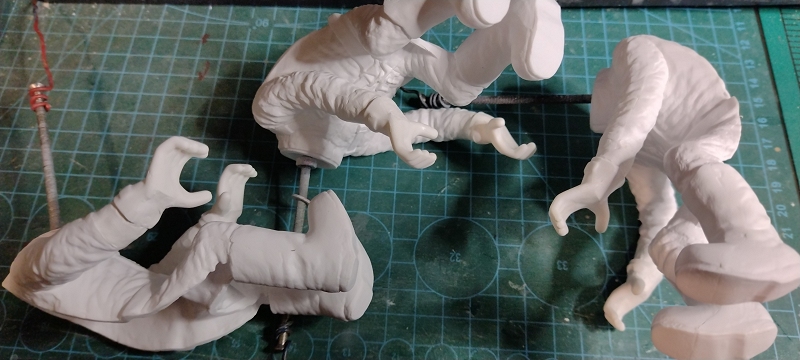
Step one on the Willy bodies – assemble them to get the arm position correct. Step two – cut the existing gloves off. Step three – fit gloves from Multipurpose driver using a 41mm length of Evergreen 230 (5/16” / 7.9mm tube) & 6mm bit of 232 (3/8” / 9.5mm tube) for the left arm, and 32mm / 6mm bits respectively for the right. Bond & wait to fully set. Step 4 will be to use Milliput to sculpt the transitions a bit better. I’ve got two done so far, I hope to get the other one in the body fixture later. Attachments: |
|
Please Log in to join the conversation. |
Driver Figure Painting for Dummies 1 year 5 months ago #72915
|
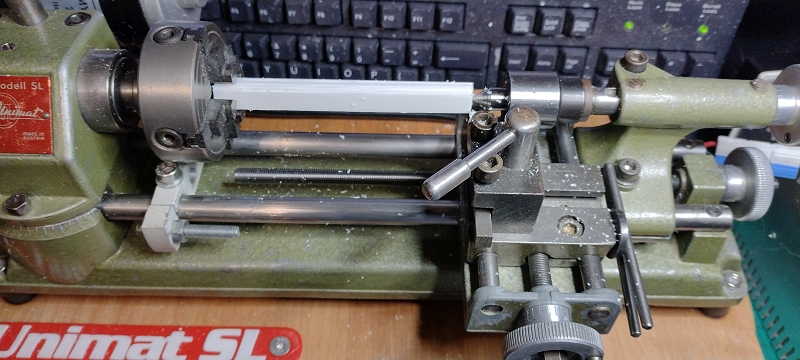
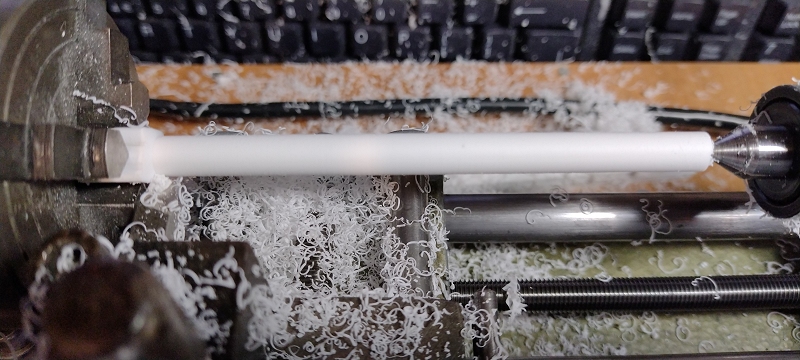
Setup for turning the square to round … I had to cut the beam in half to fit.
A while back I bought a brass widget to align the headstock with the tailstock, I was a little disappointed with it at the time, but I have to same this is probably the squarest I’ve even turned anything on the Unimat: 7.3mm all the way along, usually there’d be some unwanted taper … I’ve plugged the heads so I can finish the shaping tomorrow. Attachments: |
|
Please Log in to join the conversation. |
Driver Figure Painting for Dummies 1 year 5 months ago #72951
|
Attachments: |
|
Please Log in to join the conversation. |
Driver Figure Painting for Dummies 1 year 5 months ago #72986
|
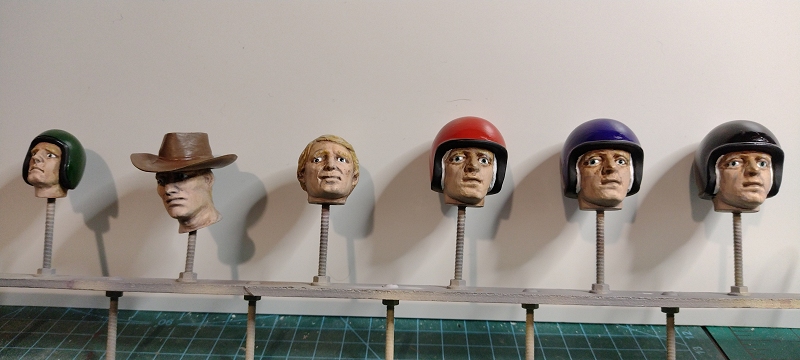
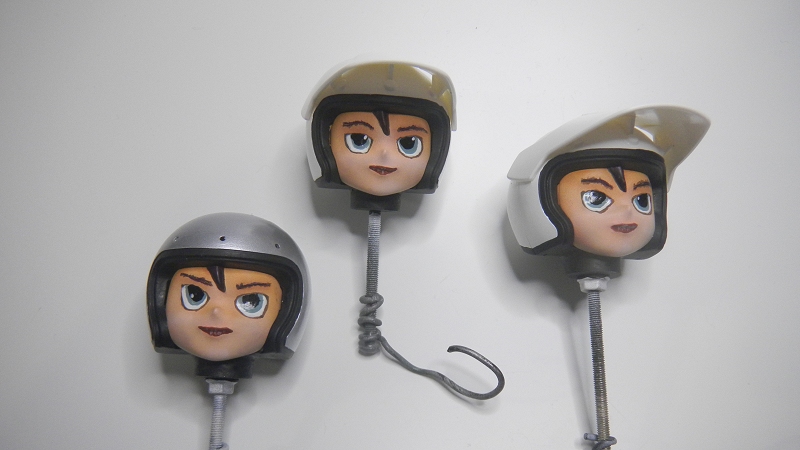
Painted the Multipurpose driver helmets - I'm thinking I should have gone with more interesting shades on the white two
- so I could fit the faces.
Overall I'm very happy with the Vallejo paints, having accepted that the "air" formulated shades really aren't suitable for brush painting more than the smallest details, and that the "Color" (brushing) shades need thinning. I need more patience, less psi & more practice with their "Gloss Varnish" though, I'm finding it very difficult to get a coats light enough that it doesn't run or shun, but wet enough that I get some shine. I also did some experiments with Tamiya X/XF paint compatibility. Tamiya paints go fine over the Vallejo primers, but Tamiya paint (and Clear) over Vallejo paints seem to stick & drag, leaving a substandard finish. I wouldn't chance it one anything I had time or money invested in. Vallejo paints over Tamiya paints seem to work just fine. I didn't try mixing any products across the brands, and I don't use Tamiya TS sprays so couldn't test for compatibility there. I do have some off-brand "synthetic lacquer" primers & paints but I don't know that the formulation is even close to Tamiya, so that wouldn't prove anything. I've already used Vallejo paints over Hycote acrylic primers so will assume that they're ok with the Hycote (and Halfords) acrylic paints & clears I usually use for bulk coverage - until proved otherwise. Not really the season for spraying some test panels, but I can probably try it on some unobtrusive areas of previously painted stuff. TL;DR - I like the Vallejo paints a bit better than Tamiya acrylics - but they are more of a faff Also getting on very well with the "cheap" Harder & Steenbeck gravity fed DA airbrush & am thinking it might soon be time to upgrade my Chinese Siphon feed airbrushes too Attachments:
The following user(s) Liked this: stingray-63, Al
|
|
Please Log in to join the conversation. |
Driver Figure Painting for Dummies 1 year 5 months ago #72990
|
I didn't read all 13 pages. so forgive me if this was covered...
The biggest loss of 'realism' in smaller scales is due to the action of light itself. As we scale down, light doesn't act the way we're used to at 1:1. Shadows are diminished, as are highlights. In 1:1. someone's skin tone may be the same from chin to forehead, but if we use one tone to paint an entire 1/10 scale face, it's not going to generate the same range of shade (lightness or darkness) found in 'real life'. Atoms, particles, and light waves are 10X the size we're used to when modeling. They have to act differently. Plus, the chemical composition of paint is different from skin, and the light and color we see with our eyes is the remaining light waves that haven't been absorbed by the surface we're seeing... in other words, we need to make adjustments if we want scale figures to seem realistic to the 1:1 eye. My suggestions would be to pick an average tone for a face/torso/helmet, and paint those as such. Then, divide your paint, adding white (warm or cool) to some, and a tiny amount of brown, warm or cooler. Lighten every up-facing surface and darken those that face downward. And if you really want to be advanced, consider adding a cool color (blues, from the sky) to the upward, while tinting the downward-facing surfaces a little warmer, brown for off-road, or perhaps neutral(asphalt) or even greener (grass) for on road. Every surface reflects the light around it, and in scale, these need to be exaggerated somewhat. If your buggy interior is green, add a tiny amount of green to the paint you use on the undersides of your figures. I hope this helps some folks. My parents paid 6 million dollars for my design education, and I want it to go to good use
The following user(s) Liked this: stingray-63, Lemsko
|
|
Please Log in to join the conversation.
Last edit: by Tamiyandmyshadow.
|
Driver Figure Painting for Dummies 1 year 5 months ago #72992
|
|
|
Please Log in to join the conversation. |
Driver Figure Painting for Dummies 1 year 5 months ago #73018
|
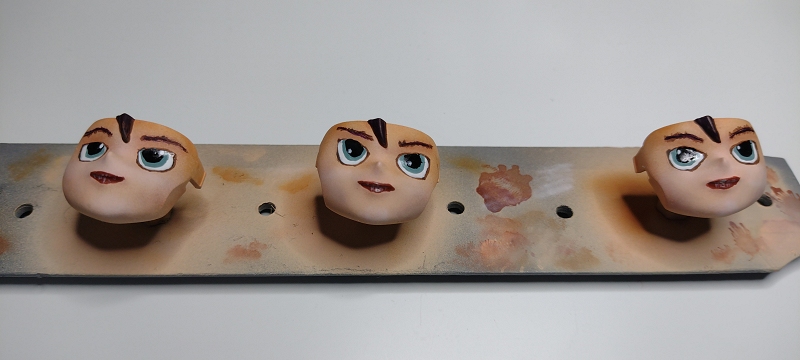
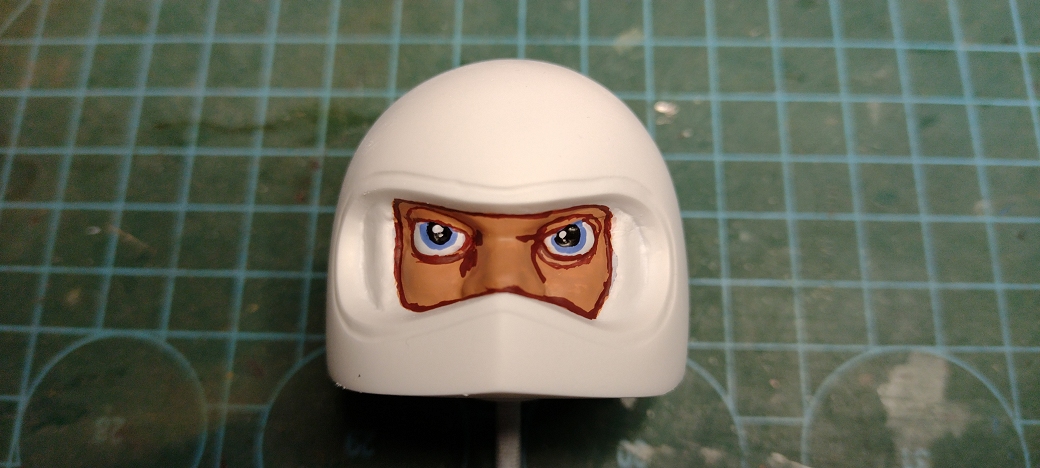
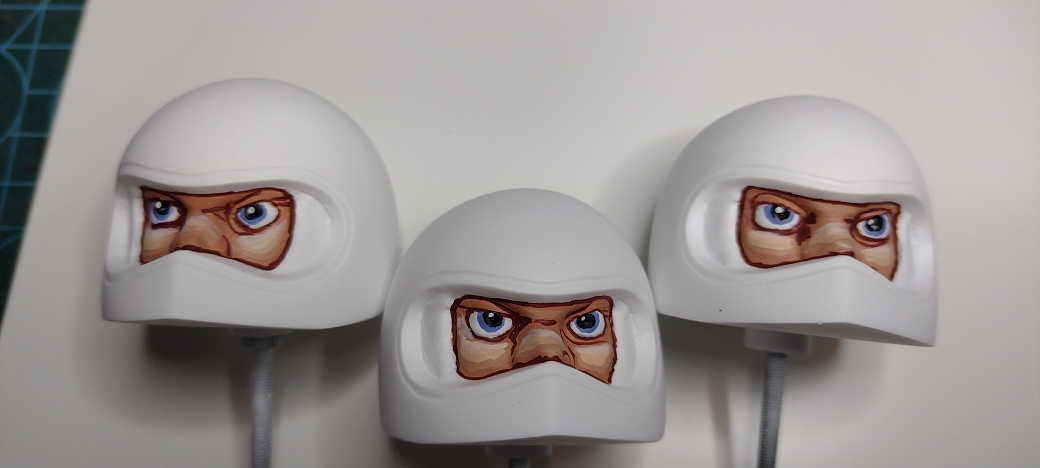
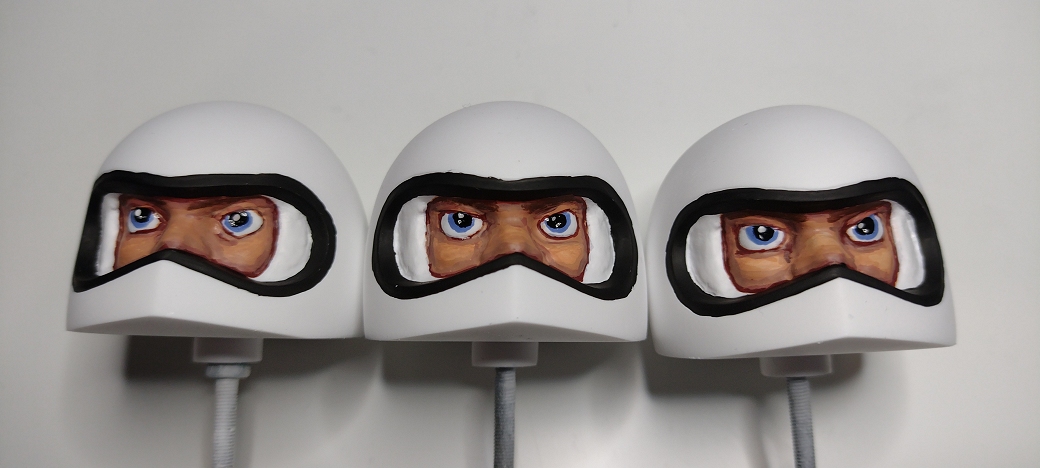
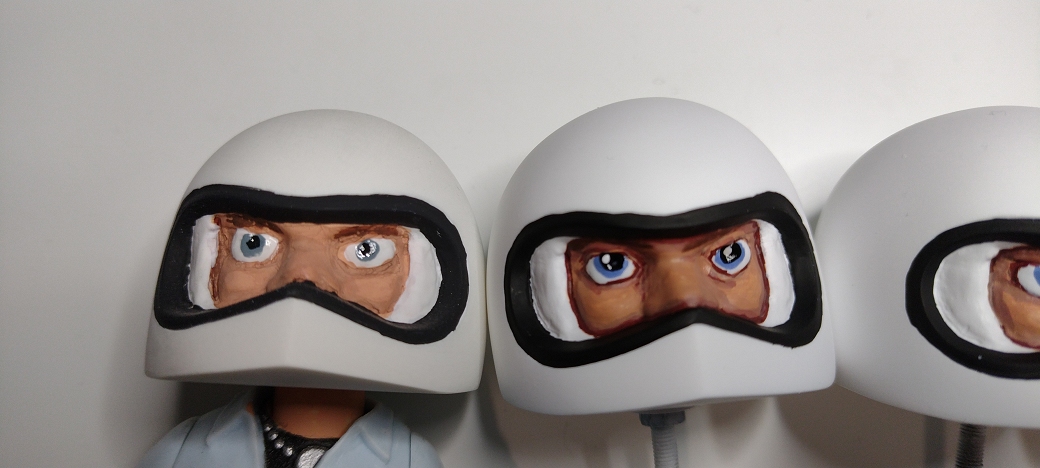
I've been using the "Face Painting" Model Color (for brushes) set, TBH in some ways after the first few steps (first pic) I think I could have got away with a wash & called it done, as after a few intermediate stages (pic 2) I really felt things were going backwards ...
As Willy only has a partial face it wasn't possible to follow all the steps, so my "done" pic (#3) isn't as good as they could/should be - I also need to develop a lighter touch. It was a lot of faff, and I'm not sure entirely worth it - but if you compare the results to my previous state of the art, there is an improvement Attachments:
The following user(s) Liked this: stingray-63
|
|
Please Log in to join the conversation. |
Driver Figure Painting for Dummies 1 year 5 months ago #73020
|
Very nice result Jonny.
|
|
Please Log in to join the conversation. |
Time to create page: 0.226 seconds

