Keyword

TOPIC:

Richard's journey in 3d printing 1 year 6 months ago #72730

Yes i know both are different things. The brim is used to have more surface area to get a bond with the bed.
I think a raft will be a waste of material.
Taping the brim onto the bed would solve the problem, since the part has nowhere to go even if it loses the bond to the bed.
 
The following user(s) Liked this: jord001

Please Log in to join the conversation.

Richard's journey in 3d printing 1 year 6 months ago #72732

So far so good with brim.


Not so good.... (Broken parts is because I tested the strength. Surpricing strong with 20% infill)
These are my first failed prints. One before that because the filament was not rolled on properly from factory.
The following user(s) Liked this: Lemsko, jord001

Please Log in to join the conversation.

Richard's journey in 3d printing 1 year 6 months ago #72733

Grrrrrrrr, aother failed print!!! 

Next time will be with raft.

Looked closer on my print and I think it got knocked over because of those burnt pices from a leaky hotend.
Sobefore anything I will need to cleen my hotend and nozzle and then try again.
I really need to order a new Micro Swiss nozzle to replace the current one.
The following user(s) Liked this: stingray-63, Lemsko, jord001

Please Log in to join the conversation.

Richard's journey in 3d printing 1 year 6 months ago #72736

I remember having failed print that I could not explained until I removed the fans from the hot end to see à the top of the hot end below the heat breaker level : there was an accumulation of filament on top of the hot end as my nozzle was not completely seated with the bowden tube... Learning curve to understand where to search is sometimes long and very complex... Good luck for the search...
I buy kits to built and ru(i)n them :-)
The following user(s) Liked this: caprinut, stingray-63, Lemsko, jord001

Please Log in to join the conversation.

Richard's journey in 3d printing 1 year 6 months ago #72737

Have already seen this so I have an good idea of what it is and how to solve it.


This is possible the best how to clean all metal hotend video I've seen so far.
Very easy to follow.

The following user(s) Liked this: stingray-63, Lemsko, jord001

Please Log in to join the conversation.

Richard's journey in 3d printing 1 year 2 weeks ago #74818

Now about 6 months later I got my 3d printer fixed.
Has not be able to work on it due my health this winter.
But now I'm better I could finally take a look.

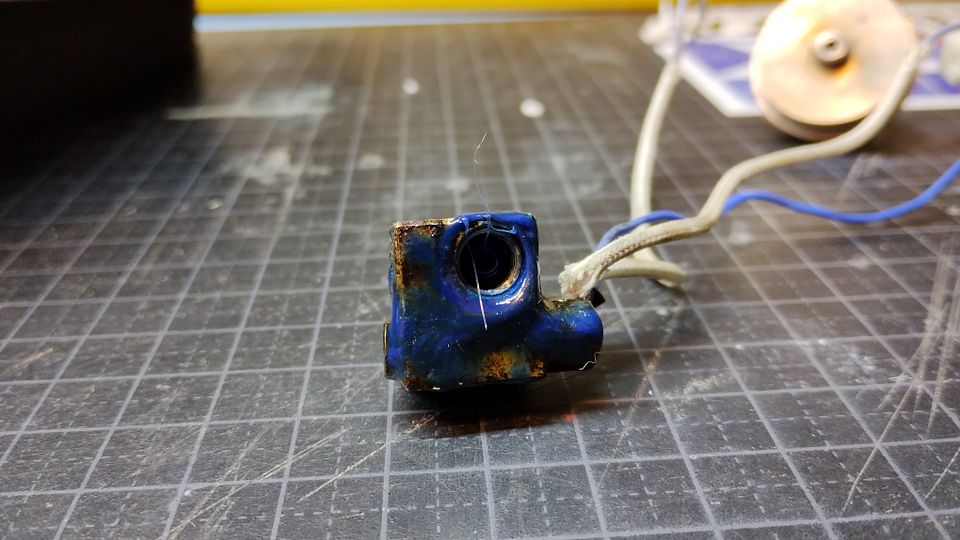
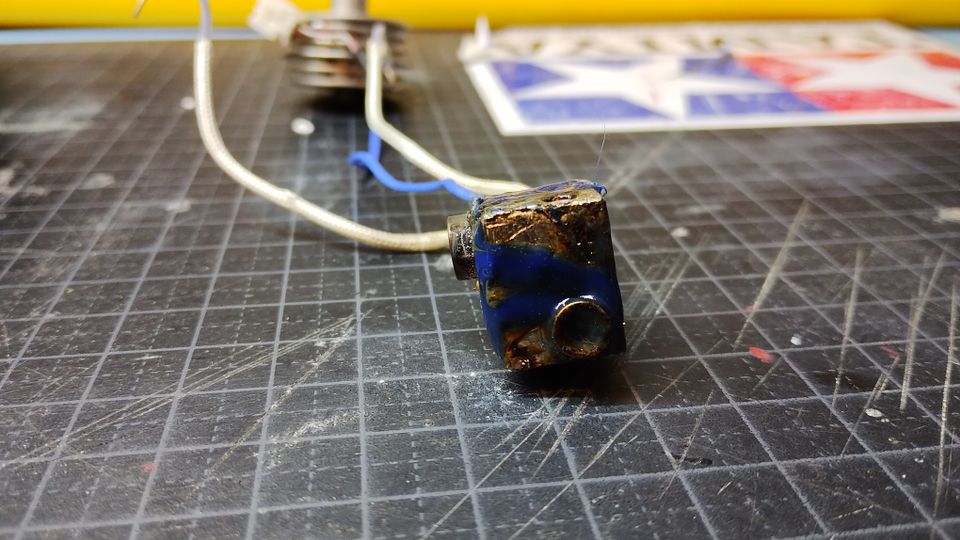
And oh dear, the heater block did not look good from all the filament leaking..
Found the parts not sitting tight, which would had a lot to say.
And the nozzle I was using was the wrong one due to parts availabillity.
Now I have a correct one as I'm using a Microswiss hotend on this printer.

Ughh


Sadly no pics of the finished product as I was focused to make it work again.
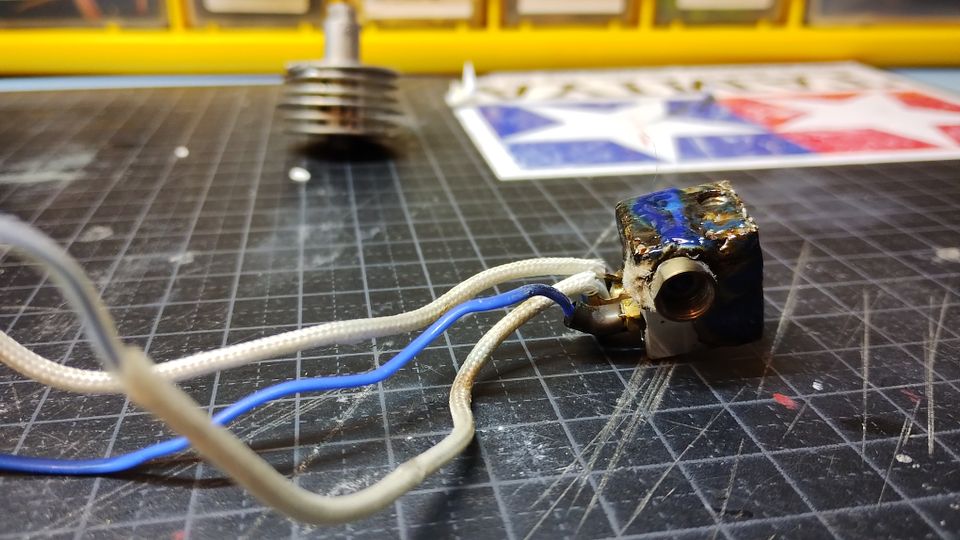
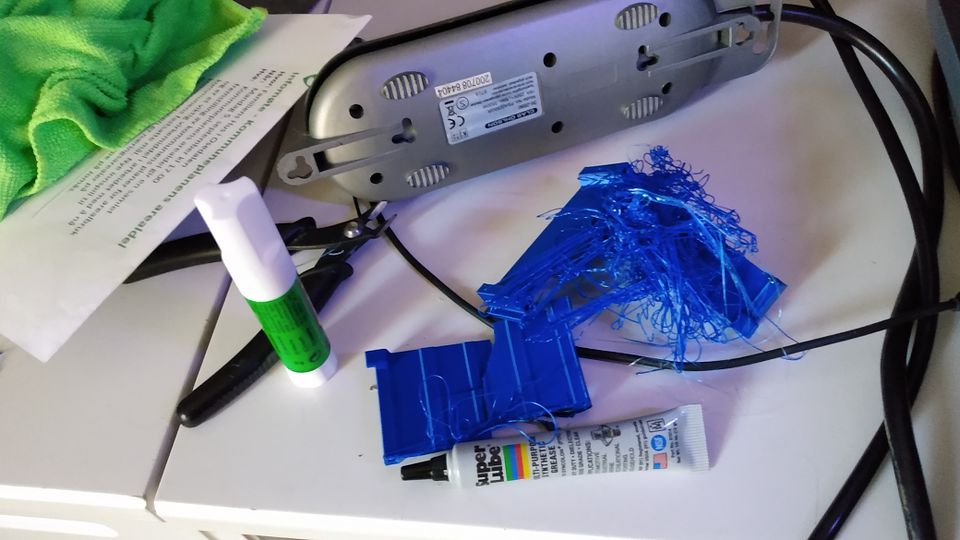
But with a heat gun and brass wire brush I was able to remove most of it.
Stubborn bits was removed by Dremel and wire brush attachment.
In the process I also damaged some of the small boxes of my parts cabinet due the heat from the heat gun. Oh well...
Also I had to fix a few wires with heat shrink due the brush had gauged the wires a bit under the cleaning process.

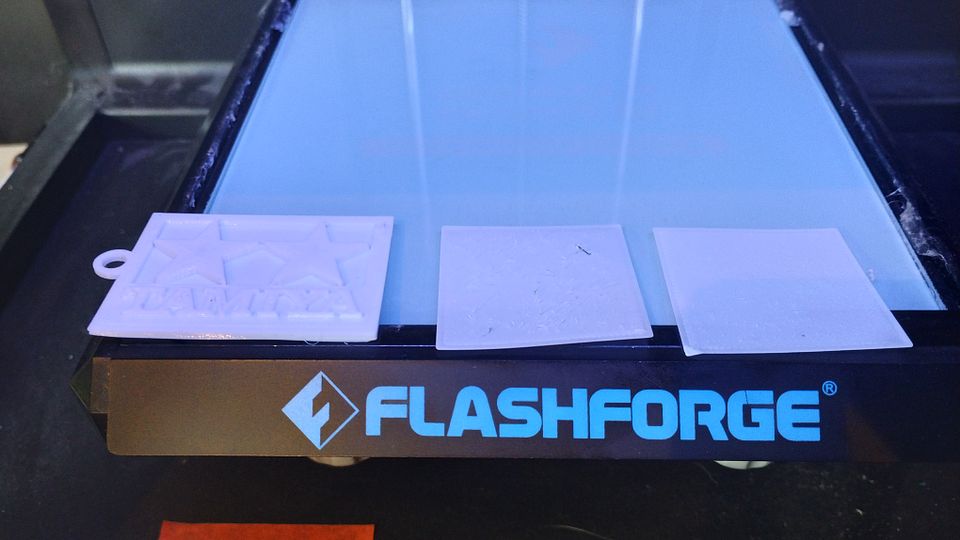
I still have not printed anything yet, but it is now back together and bed is leveled so it is ready to go.

Not sure I will get time to print anyting as the landlord wants to sell the house this summer, so there will be a guy visiting here in the middle of next week.
Need a bit tidy up and cleaning of the apartment before that. Due been ill for so long, most places in my apartment is a mess right now.
Hopefully I can live here a bit longer with new owners, as I'm not prepared to move that soon.

But that's another story..
The following user(s) Liked this: stingray-63

Please Log in to join the conversation.

Richard's journey in 3d printing 1 year 2 weeks ago #74821

I'm crossing fingers for you Richard. 🤞

Please Log in to join the conversation.

Richard's journey in 3d printing 1 year 1 week ago #74962

I can now happily report that my 3d printer is working again! 

Right out of sortt of fine tuning was the Tamiya key holder, then I printed a 0.2mm test piece, needed a bit tuning and the second fine tuning to the right.
Now I have it how it should be.

The following user(s) Liked this: stingray-63

Please Log in to join the conversation.

Richard's journey in 3d printing 1 year 1 week ago #74964

I like it.

Please Log in to join the conversation.

Richard's journey in 3d printing 9 months 1 week ago #75779

Fixed the printer again as it just got messy and failed prints.

So a while ago I ordered some new nozzles.
Today I cleaned the messy hotend and it was also very clogged.
Due the leaking nozzle previous times, this time I cranked down both the nozzle and the other part to the hotend while I had it in the vice.
Auto adjusted the bed, then manually adjusted it with paper method, and then made the first test print, the 0.2 first layer test as previous.
Happy with that!


Then I printed a Ultima front bulkhead as my spare chassis has a broken one that seems to be impossible to get hold of unless you donate your kidney.
Very happy with the outcome. Feels smoother in real life than on pictures.
Printed with PETG (Fllashforge) @ 220c. Print time was a tad over 2 hours.
No stringing, no sag or no burnt bits.


Very happy bunny now my printer is fixed. 
Have loads of files ready to be printed when I'm in the mood.
Also need to make a small item for my real car (round cover for the wiper arm nut cover).
The following user(s) Liked this: stingray-63, Al, 1972 LeMansGT Jim, Lemsko

Please Log in to join the conversation.

Moderators: caprinutstingray-63AndyAus
Time to create page: 0.132 seconds
Cookies are required to make this site work. If you continue to use this site you permit us to use cookies.