


Well I thought I would put together a step by step guide on lengthening a Tamiya CC01 driveshaft. In the standard format, the SWB the driveshaft is fine. But if you want to extend your wheelbase for a different body, more than likely the driveshaft won't be long enough.
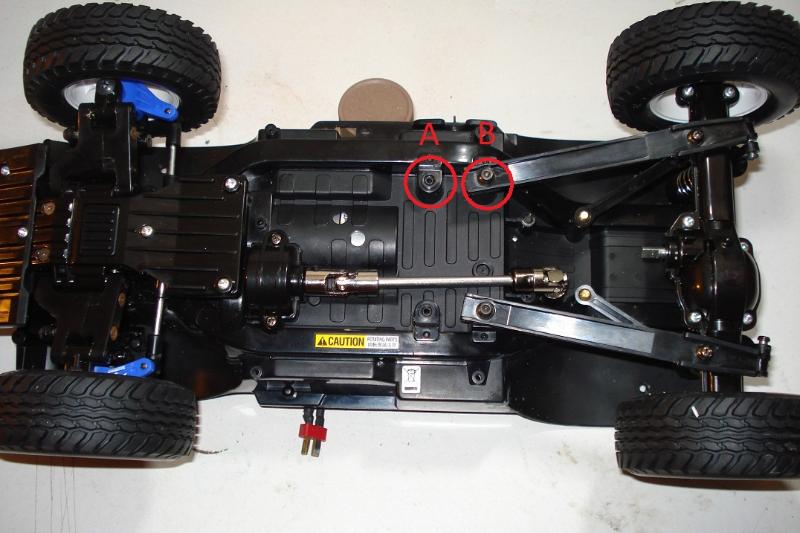
So here we have the chassis.
As you can see, I've marked the two positions with A and B. A being the SWB, B being the LWB. And you can see the SWB driveshaft is too short for the LWB setting.
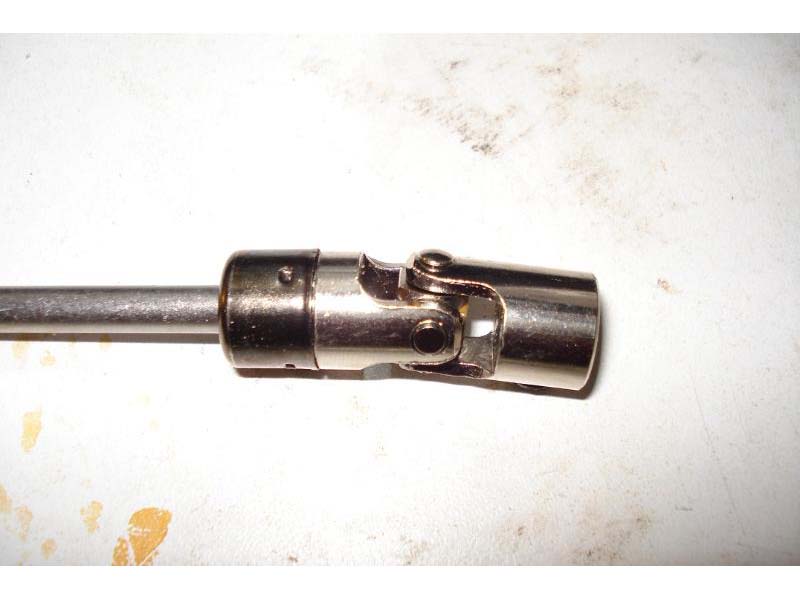
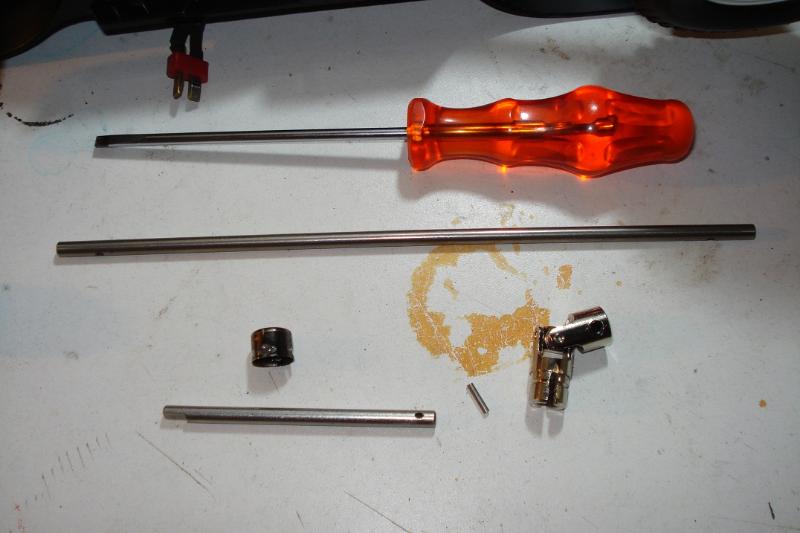
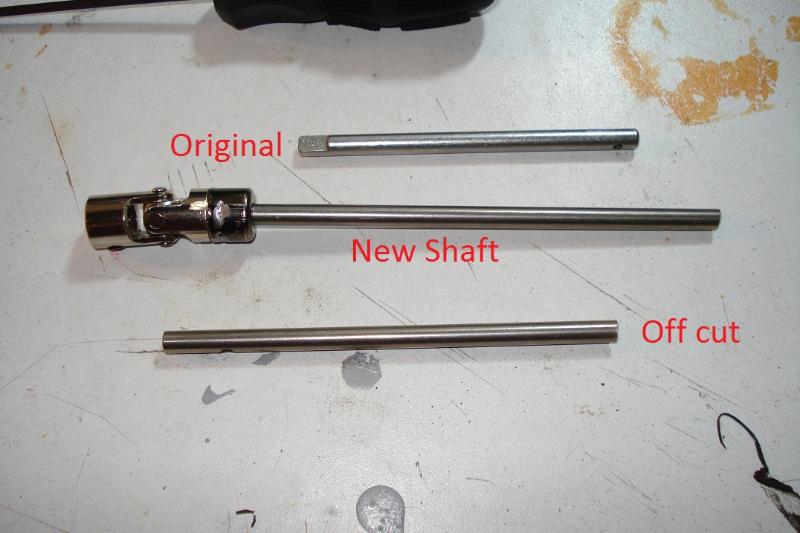
So what I have here is the CC01 driveshaft, and a TL01 centre driveshaft.
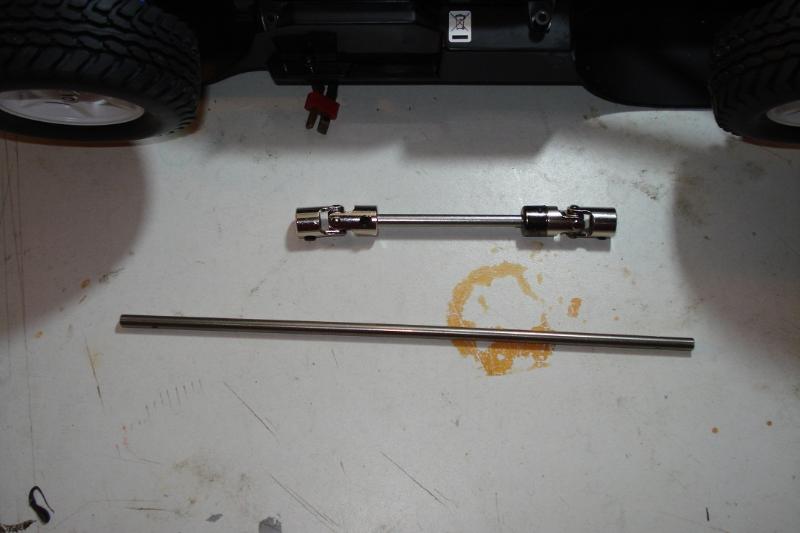
The one end comes off with a grub screw.
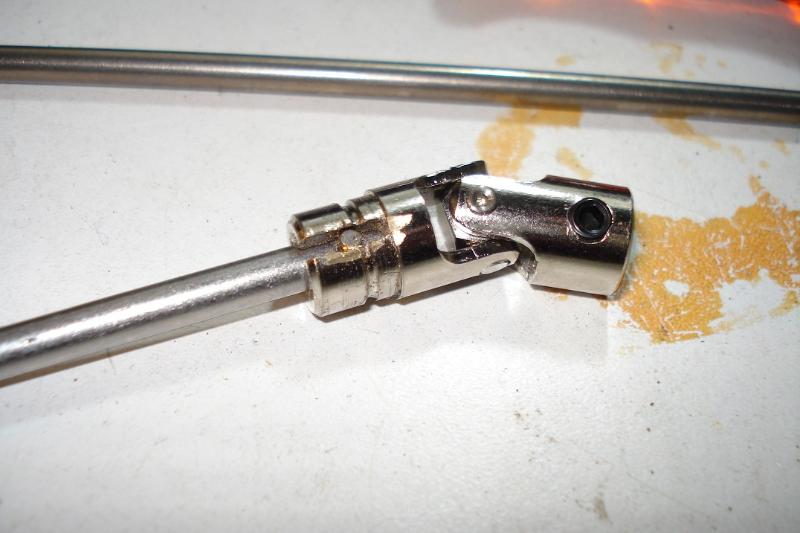
And on the other end, is the universal joint that slides up and down on the shaft.
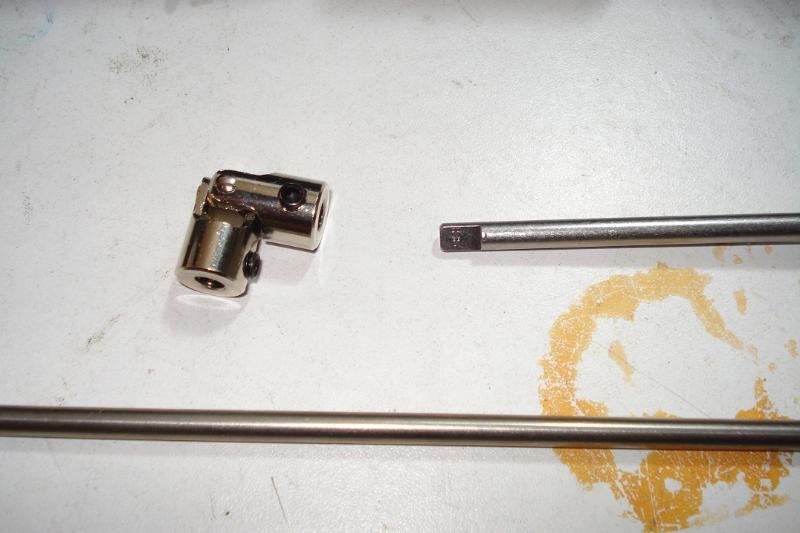
This is the side that needs the work. Start out with a cutting disc on your Dremel.

And cut the black shield down the one side.

Revealing the groove and pin.

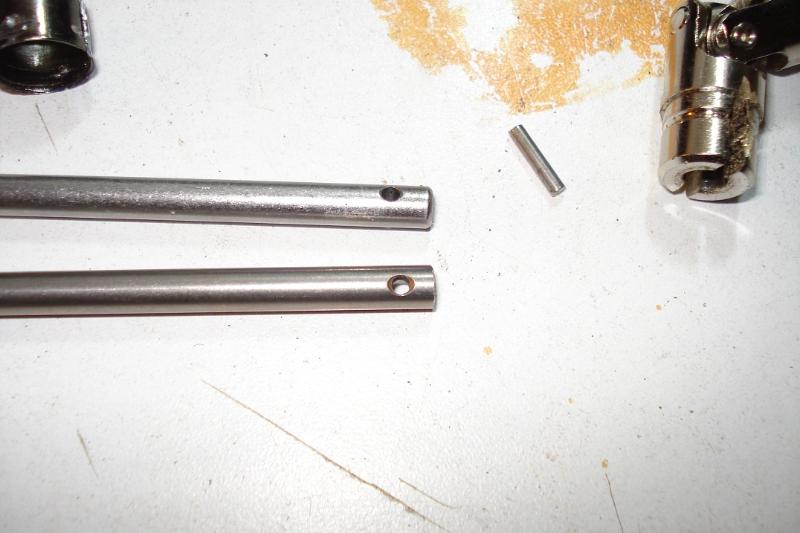
Now in this picture, you can see the TL01 driveshafts length compared to the CC01.
The hole in the 5mm shaft for the pin, is closer towards the end on the CC01 driveshaft. This is so the shaft doesn't hit the universal joint under full travel.
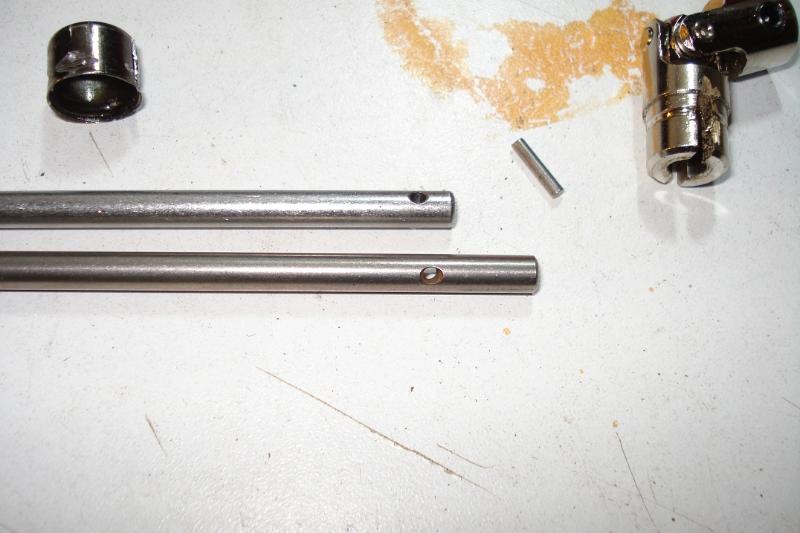
So cut the TL01 shaft the same length as the CC01 shaft.
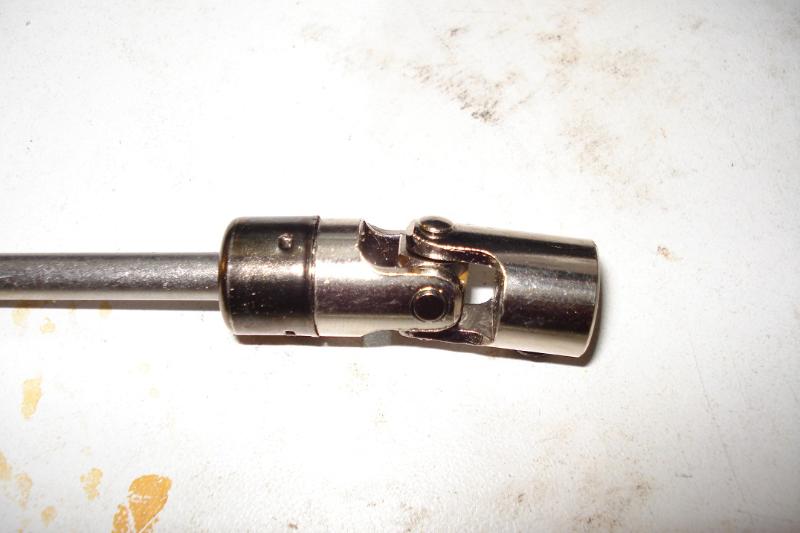
Reassemble the pin and universal joint, and slide the black metal cover back over the assembly, and slide a piece of heatshrink over it, to prevent it from coming off.
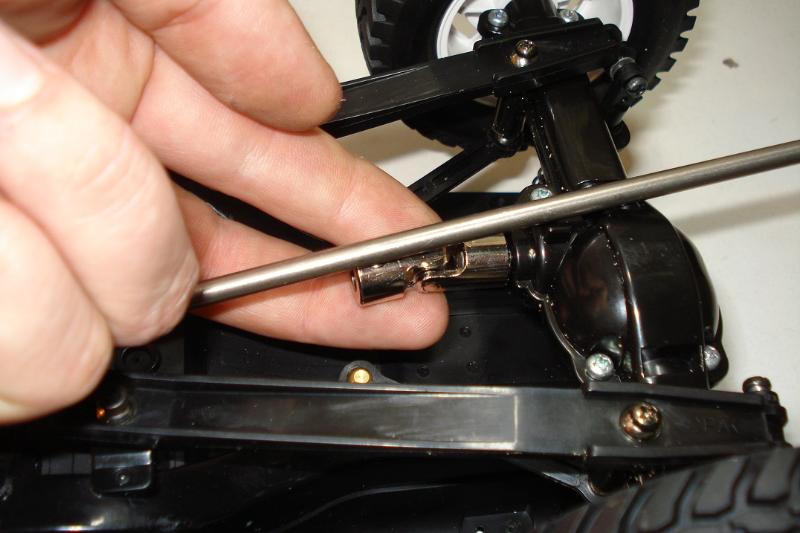
Now that the universal joint is back on, tighten the grub screw onto the front output shaft

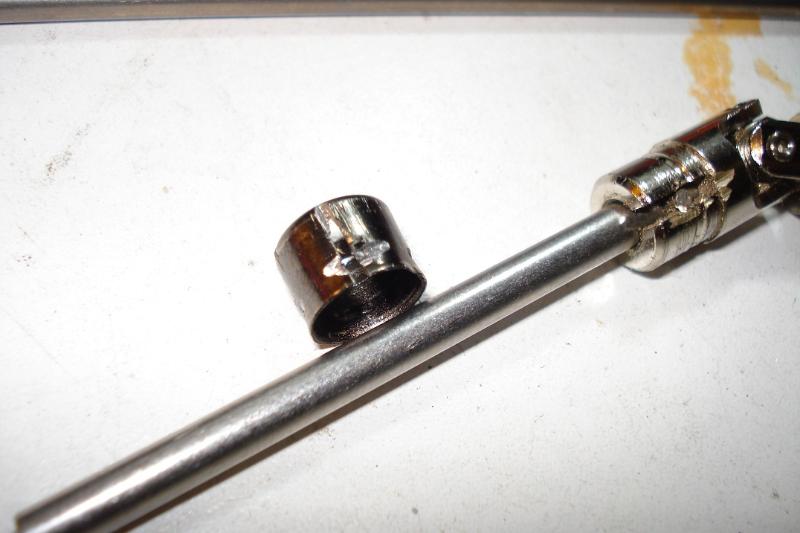
Fit the other universal to the rear diff, and measure the shaft to the universal and cut it off there.
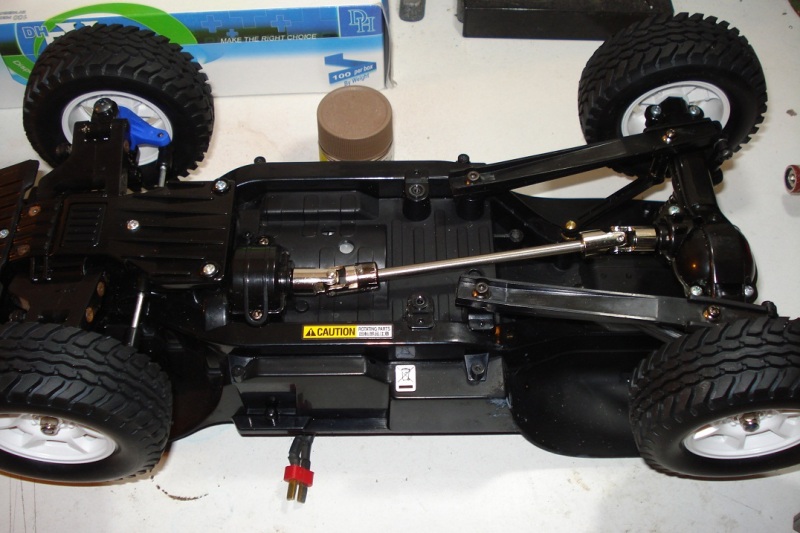
So now you should have this.
And there you are, just tighten the grub screw of the rear universal joint to the newly cut shaft, and you now have a longer drive shaft.
The one thing I haven't shown, is the end of the shaft must be ground down to create a flat for the grub screw to fix to. This just prevents the universal joint spinning around on the shaft after a few miles....
Hope this helps. I find it a little easier than joining two shafts together. It worked great on my CC01 crew cab...
________________________
Written by TB member Louisbaby