


We’re coming to the end of this series on painting & I’ve already churned out over 14,000 words – so you’ll have to forgive me if this part is a little terse :)
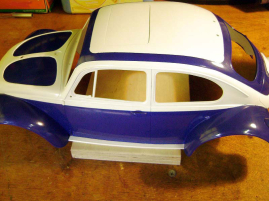
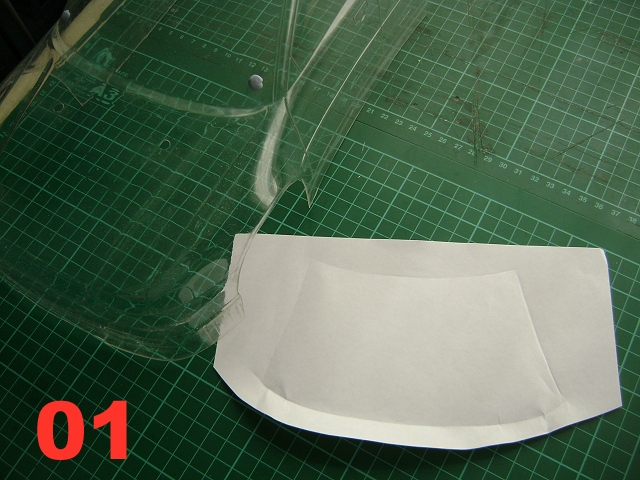
Make paper templates for each window – I use paper held on the outside of the car with Blu Tac. In this example I just used a fingernail to mark the paper in the folds & grooves on the shell ... a pencil might be more practical ;)
Trim the template & check for size – you may need to make adjustments or try again ... possibly even several times. Patience is a virtue here.
Repeat for the other windows, then use a fat marker pen (going over the edges) to get a hard, very visible edge.
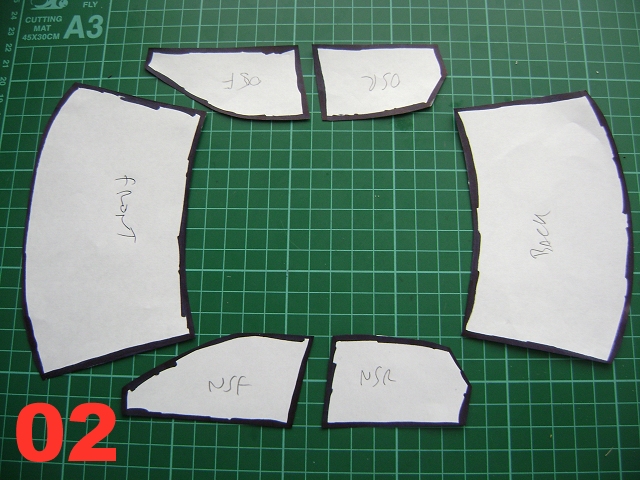
Scan your individual templates; the resolution can be low (e.g. 96dpi) and in greyscale, but the “target size” does need to be “original” / 100% so they will print the correct size.
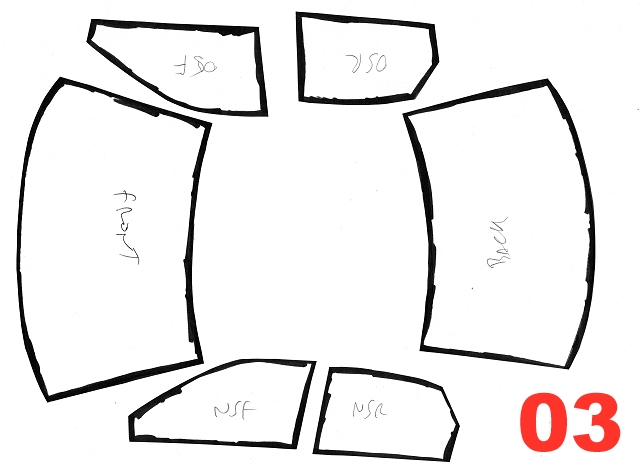
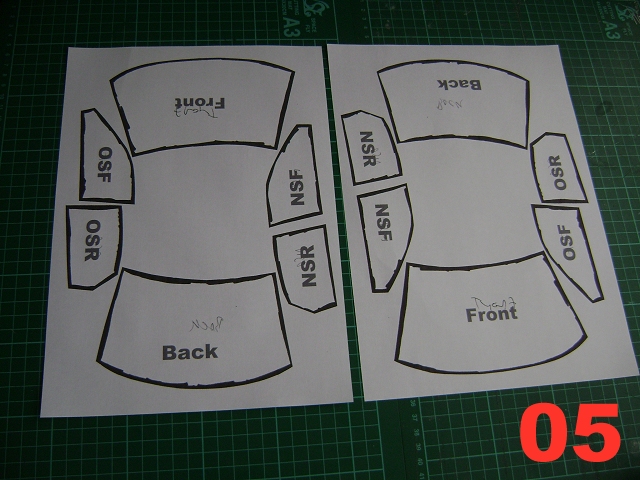
Create a mirror image of the scan, relabeling the windows:
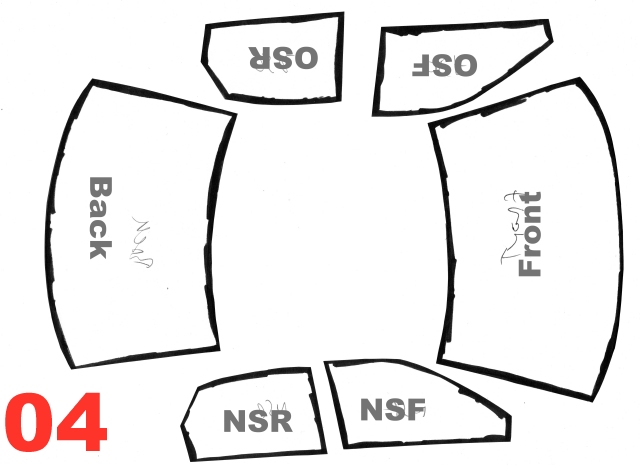
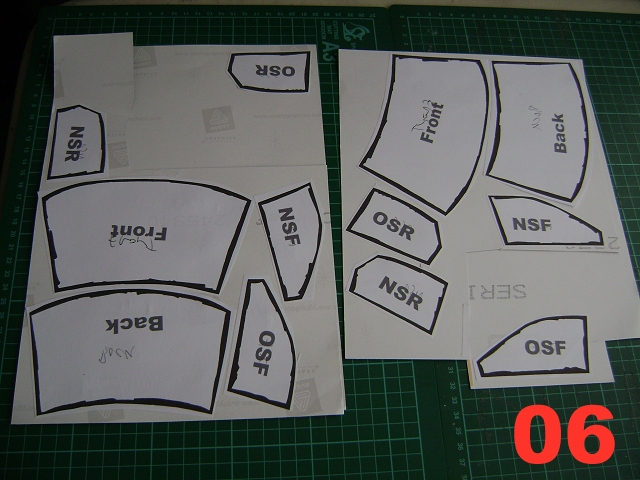
Print out two copies ..
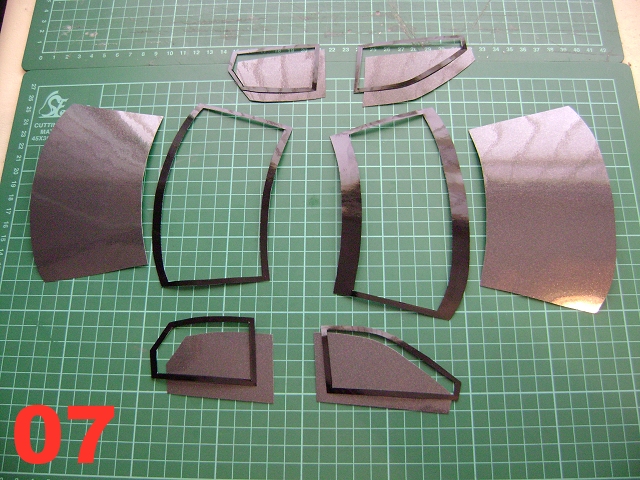
Roughly cut out all the windows, lightly gluing (I used a Pritt Stick) a set to each of your chosen colours of self adhesive vinyl - I used a metallic look dark grey & black.
Cut out the window backgrounds (the grey bits in this pic), then the borders (black here) – you can use the background bits to help with the curvy bits.
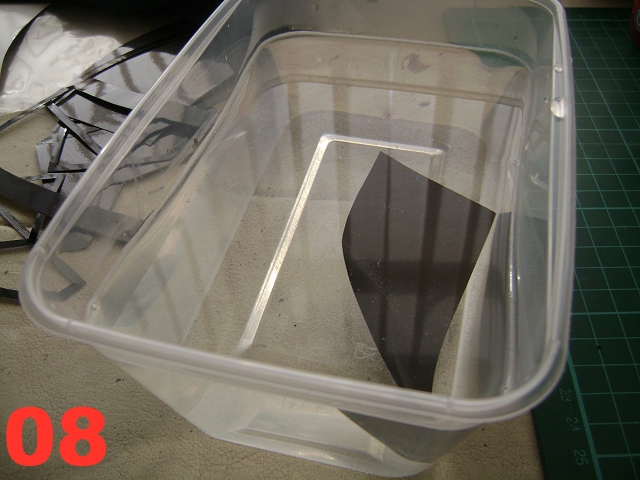
Peel & dunk the window panels one at a time in water, very lightly soaped with washing up liquid.
Place the window background on the car; the water shouldn’t be soapy enough to let you slide the decal around to adjust the position, but it should be enough to peel & reposition without tearing or stretching.
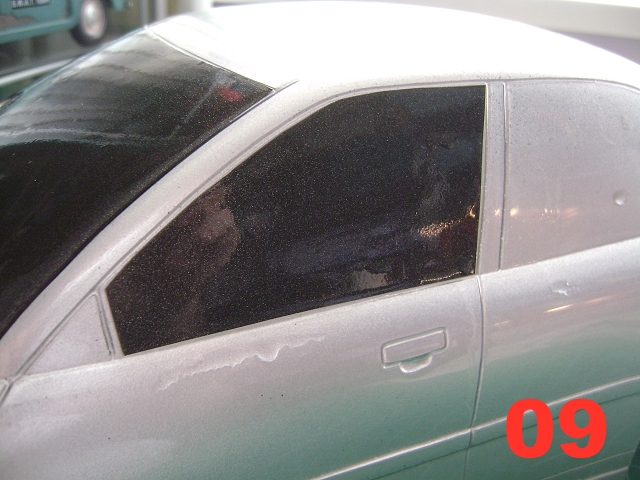
Starting at the centre of the window, use a lint-free cloth to squeeze out & collect the water.
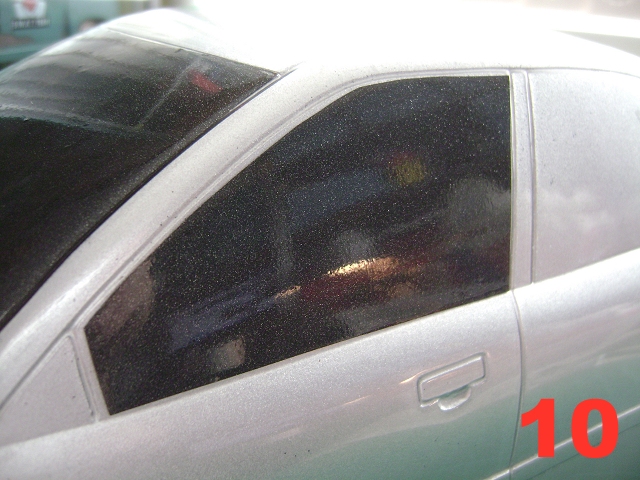
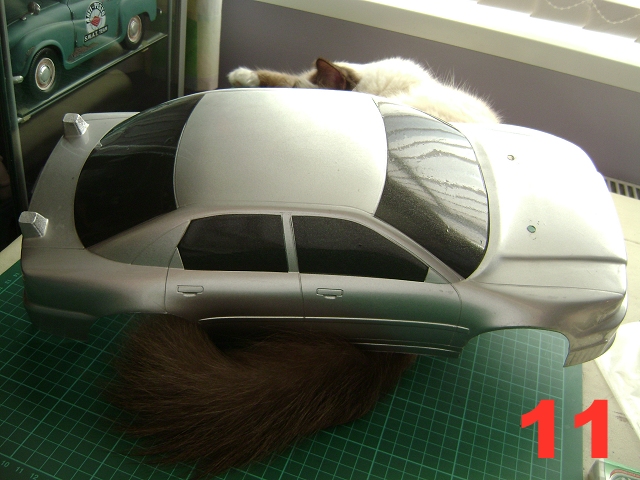
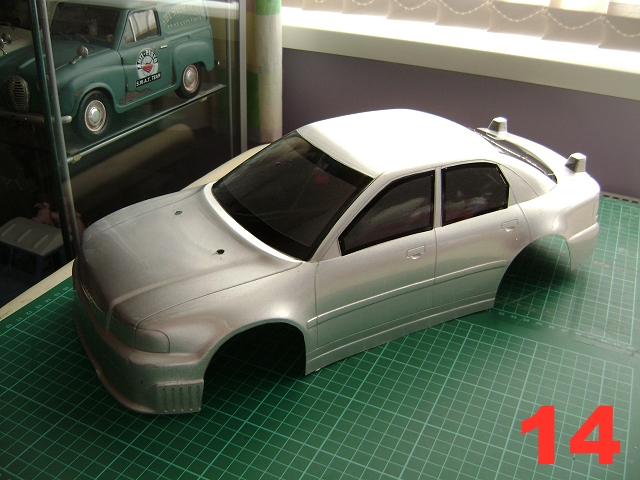
Repeat for the other window backgrounds ... try not to get any debris – including pet hairs – in there ;)
Repeat the process for all the surrounds: dunking ...
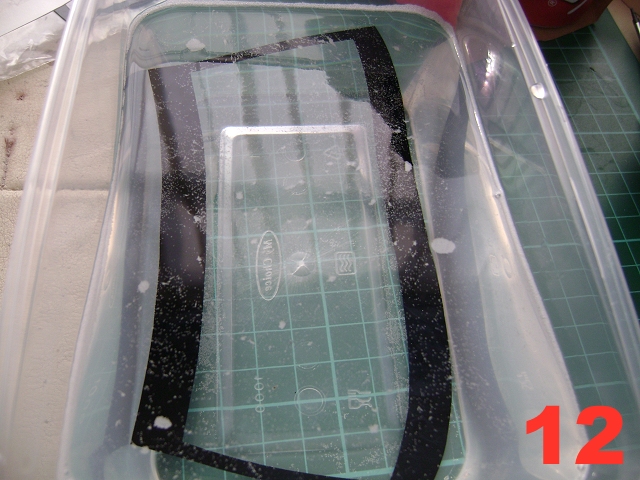
... applying ...
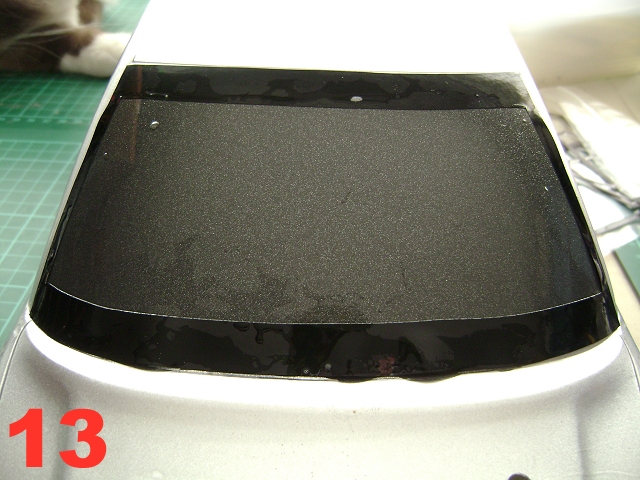
.... and squeezing out the water.
________________________
Written by TB member Jonny Retro