Keyword

TOPIC:

Re: 58046 FAV build, I just cracked my NIB :-0 13 years 6 months ago #131

Ok, after the break, I am back with further steps on the FAV build, steps 5 and 6:

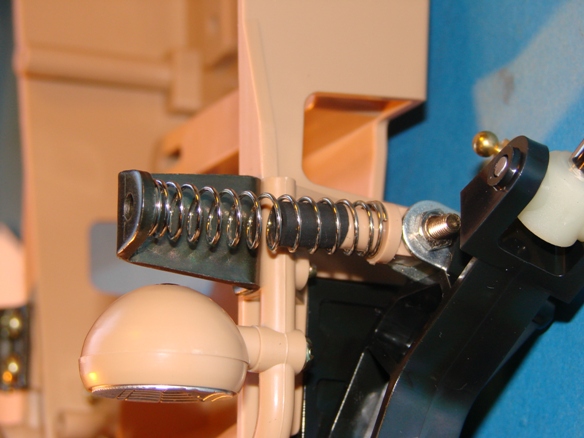
Step 5: Attaching front suspension shaft.
Actually a quite fidley step as the small ring "A15" is.. well,.. fidley to position. Also, this must be one of the few models that does not screw the front bumper directly to the chassis, but into the front suspension.

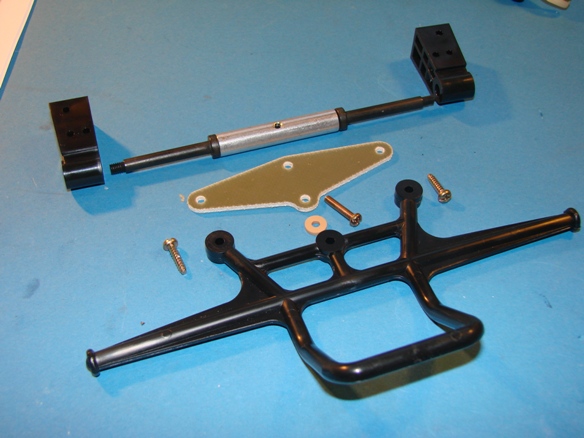
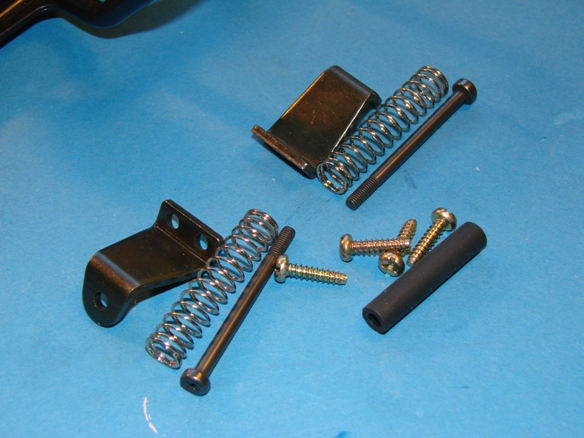
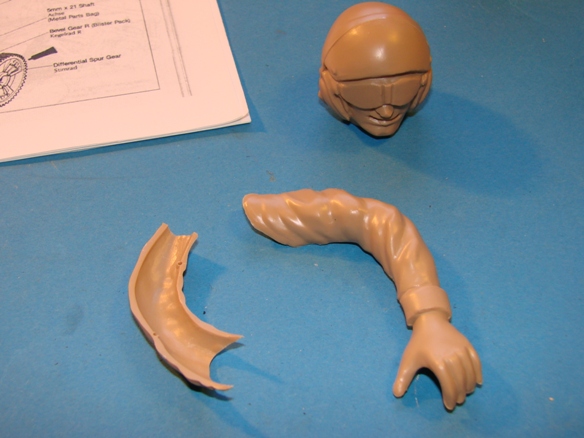
Here are the parts for step 5:


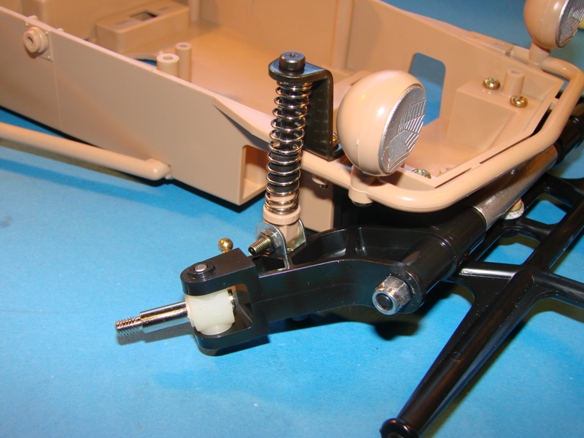
and here it's all assebeled:


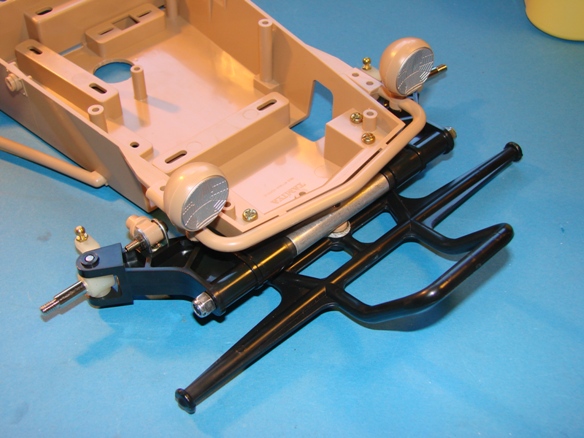
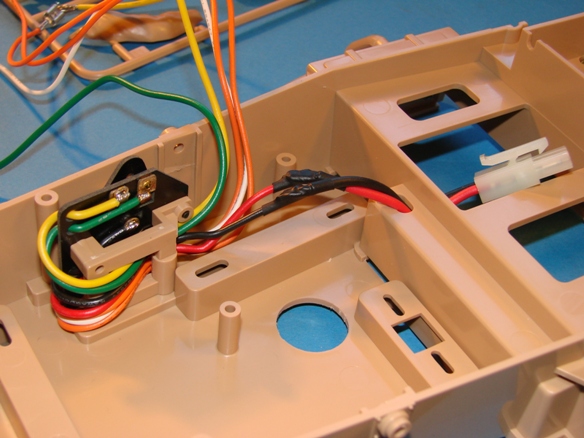
Step 6: Attaching front arms.
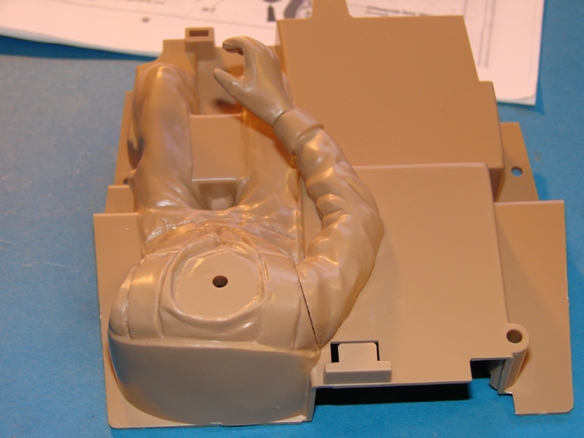
In step 6 the parts from Step 4 and 5 are assembeled onto the main chassis.

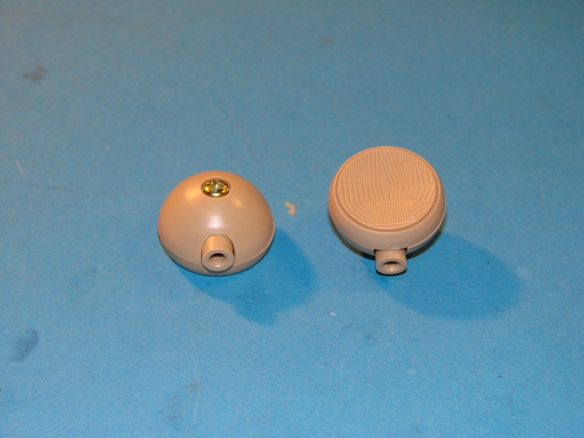
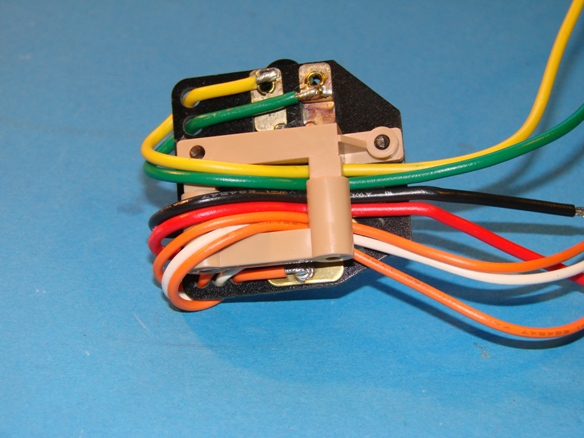
First the front headlights have to be painted:
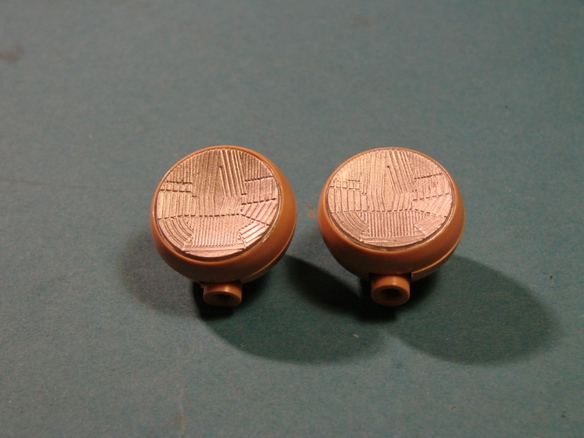

Done:


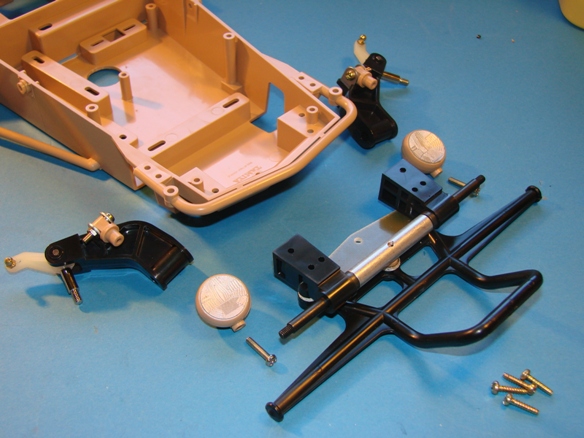
And here are the parts, ready for assembly.
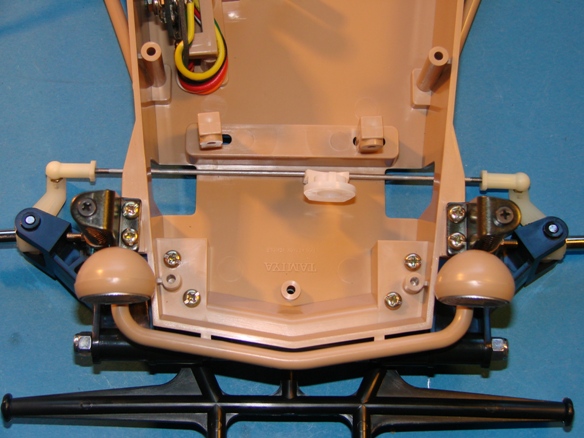
Make sure the front arms are positioned on the correct side. They are marked "R" and "L" for right and left, but can be swapped if you don't pay attention...


And all done and assmbeled:


Ok, that's all for now, more to come :-)

-Lars
Signature now gets correct formatting if you edit it in your Profile. Use normal BBcode if you want.
www.tamiyabase.com was formatted automatically.
The topic has been locked.

Re:58046 FAV build, I just cracked my NIB :-0 13 years 5 months ago #238

Re: petroleum based oils/grease - it WILL attack ABS plastic parts long term, but not nylon, don't know about delrin (Gears will be nylon or delrin if they're not metal). The supplied Tamiya greases are silicone based & safe for plastic. To be safe, I use silicone greases (Food grade) - RS sell BIG tubes of the stuff for a few quid. You have to watch threadlock that isn't Tamiya's own too, as again, some of them attack styrenes
The topic has been locked.

Re:58046 FAV build, I just cracked my NIB :-0 13 years 5 months ago #239

OK! I'm back, with step 7 in the manual...
Things are going slow in the build these days, mainly because of theis site :laugh:

Step 7 is Attaching front coil Springs.
There is not mucgh to it. It is a typical Tamiya front end (like Grasshopper/Hornet ands others).
These are the parts:


And after asssembly of right side:


Here is a trick to help keep the rupper piece in place: Place the spring and rubber in place, without the bolt, then insert the bolt and tighten.


-Lars
:woohoo:
Signature now gets correct formatting if you edit it in your Profile. Use normal BBcode if you want.
www.tamiyabase.com was formatted automatically.
The topic has been locked.

Re:58046 FAV build, I just cracked my NIB :-0 13 years 5 months ago #240

eddrick wrote:

Re: petroleum based oils/grease - it WILL attack ABS plastic parts long term, but not nylon, don't know about delrin (Gears will be nylon or delrin if they're not metal). The supplied Tamiya greases are silicone based & safe for plastic. To be safe, I use silicone greases (Food grade) - RS sell BIG tubes of the stuff for a few quid. You have to watch threadlock that isn't Tamiya's own too, as again, some of them attack styrenes


Thank you for the tip, I'll keep an eye out on my plastic, and hope they don't disintegrate too soon :ohmy:

-Lars
Signature now gets correct formatting if you edit it in your Profile. Use normal BBcode if you want.
www.tamiyabase.com was formatted automatically.
The topic has been locked.

Re: 58046 FAV build, I just cracked my NIB :-0 13 years 4 months ago #299

This build is really dragging out in time, but hey, a slow build is better than no build...

I've reach step 8 in the manual: Attaching speed controller stay.

Nothing much to write about, just remember to use the special screws:


And, make sure to tuck the cables right, there is not much room in the radio box unless it's done right.


And step 9 is mounting the speedo in the chassis:(remember to install the washers)


-Lars
Signature now gets correct formatting if you edit it in your Profile. Use normal BBcode if you want.
www.tamiyabase.com was formatted automatically.
The topic has been locked.

Re: 58046 FAV build, I just cracked my NIB :-0 13 years 4 months ago #300

Step 10 to 15:
I will not be installig radio gear in this one, so these steps are more or less skipped.
I have installed the steering rods and the needed piece of the servo saver to keep the front wheels in a descent position:


Next up is the driver, which involves painting :)

-Lars
Signature now gets correct formatting if you edit it in your Profile. Use normal BBcode if you want.
www.tamiyabase.com was formatted automatically.
The topic has been locked.

Re: 58046 FAV build, I just cracked my NIB :-0 13 years 3 months ago #311

Oh thats nice, I had a Wild One back in the 1980's, it was great but it suffered from gearbox problems, never got to the bottom of it. Looking forward to seeing the finished model
The topic has been locked.

Re: 58046 FAV build, I just cracked my NIB :-0 13 years 3 months ago #330

Step 16:
Assembly of driver:

I try to take care when building the driver, and in this case, the interior. For the FAV the interior and driver is a central area of the model, so I try to do my best.

First up is the head:
I always glue first and then trim down the edge between the two halves. I use a model knife for the rough cutting.


Next ut is doing the arms. The right arm is in one piece which I glue to the body straight away.
The left arm is in two pieces, and must be glued into one first. Same treatment as the head; cut the raised edges to make room for the putty.


And here are the pieces glued and first layer of putty on.

Note that sanding putty on figures like this takes patience, so make sure you do not use unescessary much putty.
Also, I have put a layer of flat black on the interior.


Stay tuned!

-Lars
Signature now gets correct formatting if you edit it in your Profile. Use normal BBcode if you want.
www.tamiyabase.com was formatted automatically.
Last edit: by larbut.
The topic has been locked.

Re: 58046 FAV build, I just cracked my NIB :-0 13 years 3 months ago #341

Still on item 16 in the manual:

I have sanded the putty used in last post. I do sanding by hans, not using any kind of "block". I find it easier, but you have to be careful not to perss too hard. Fold the sanding paper to access the creases and hard to get places. I usually sand with 280-400 grit paper before hand painting.


Also started painting the driver. The plan is to do the uniform in camouflage as in the manual. Never done this before so I hope it turns out ok.


More to come later...
-Lars
Signature now gets correct formatting if you edit it in your Profile. Use normal BBcode if you want.
www.tamiyabase.com was formatted automatically.
The topic has been locked.

Re: 58046 FAV build, I just cracked my NIB :-0 13 years 3 months ago #348

I built a NIB wild one a few years back and it looks so much better built than stuck in the box! I still havnt plucked up the courage to run it yet tho ;)
The topic has been locked.
Moderators: caprinutstingray-63AndyAus
Time to create page: 0.270 seconds
Cookies are required to make this site work. If you continue to use this site you permit us to use cookies.