Keyword
  • Page:
  • 1
  • 2

TOPIC:

Mercedes-Benz C11 Body build... 9 years 4 months ago #32489

This is just a quick summary of the body I just finished for a C11 Group C chassis I did many months ago.

These bodies (lexan, single color)are usually plain sailing, but I managed to make it difficult for myself... more on that later.

Anyway, from the start:

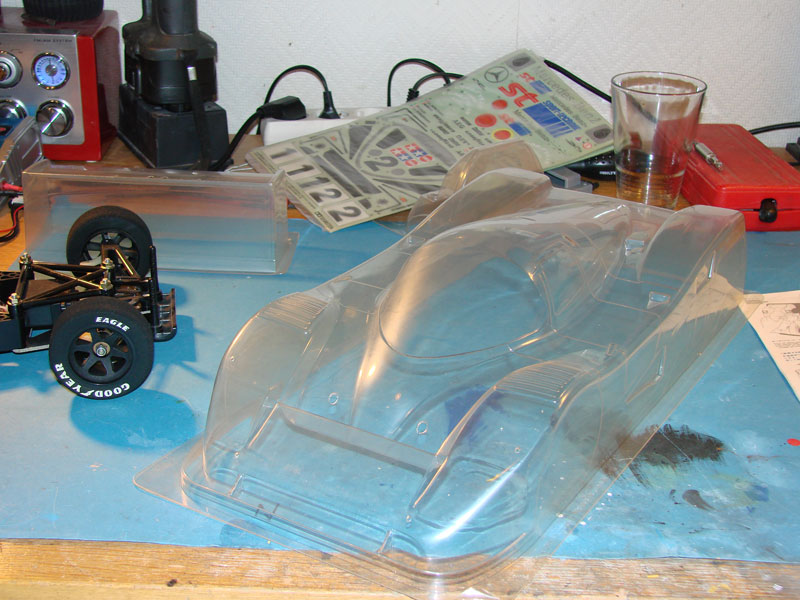
Uncut shell. The sharp eyed reader may notice the protective film, hence it's a reissue body. I could not get myself to crack open the NIB vintage body set I have... (although it's not rare or particularly valuable)


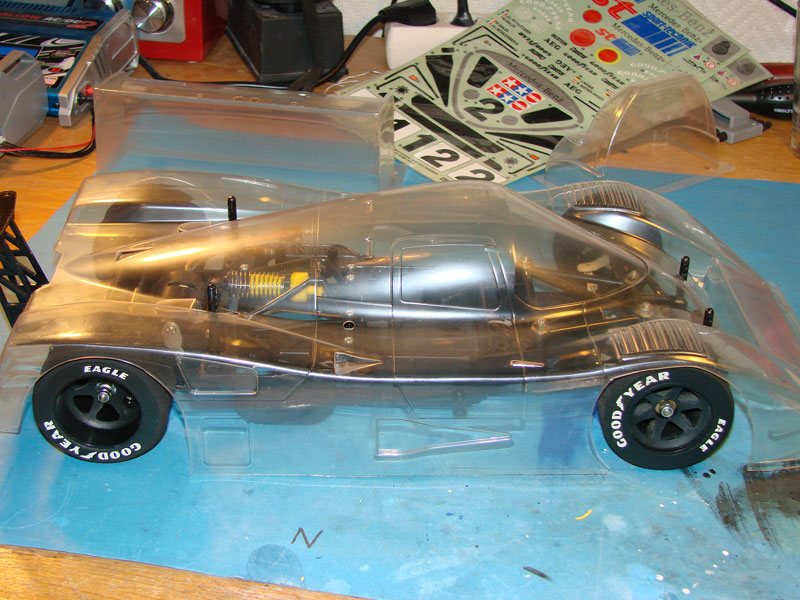
And here is the shell cut and test fitted to the chassis.
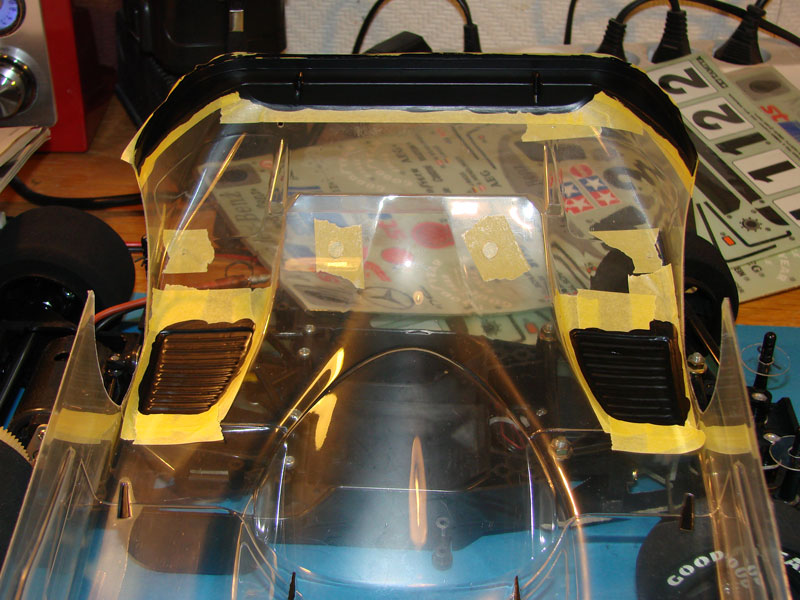
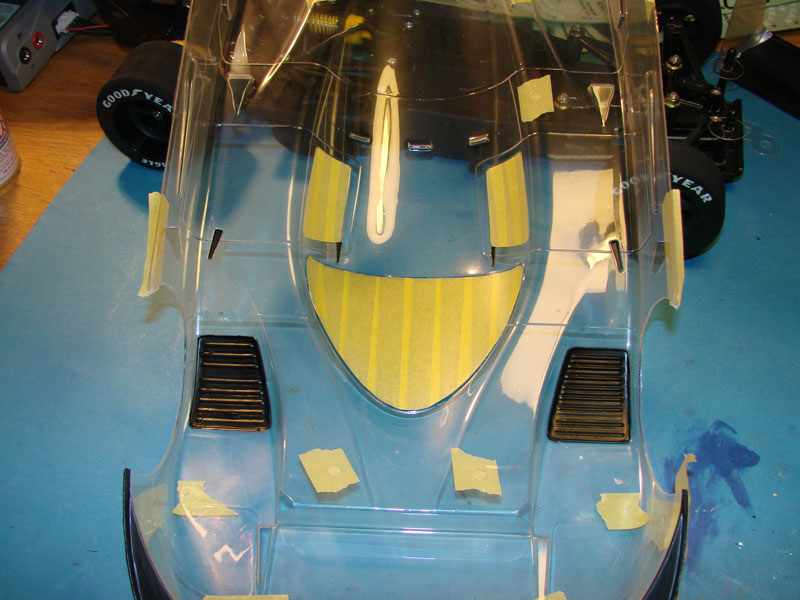


Next up is masking.
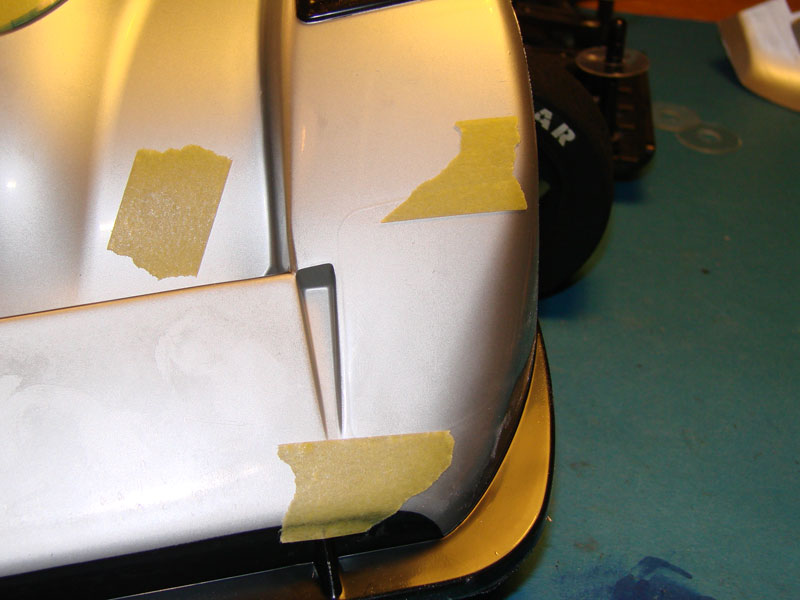
First masking for the three black areas on the body, the lower front spoiler and the two vents above the front wheel. Particularly the vents are hard to mask due to the double curved edges.


Also the horizontal parts of the rear wing is painted black.
All the black was brushed on.

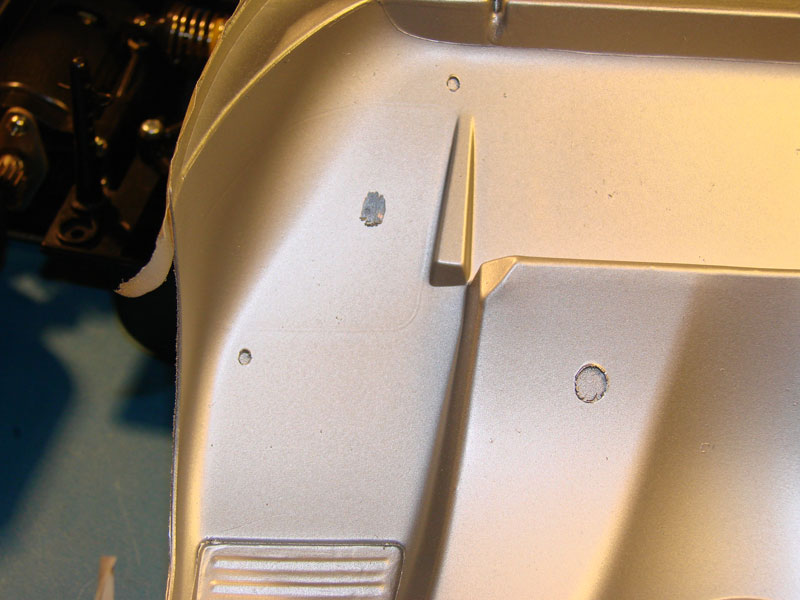
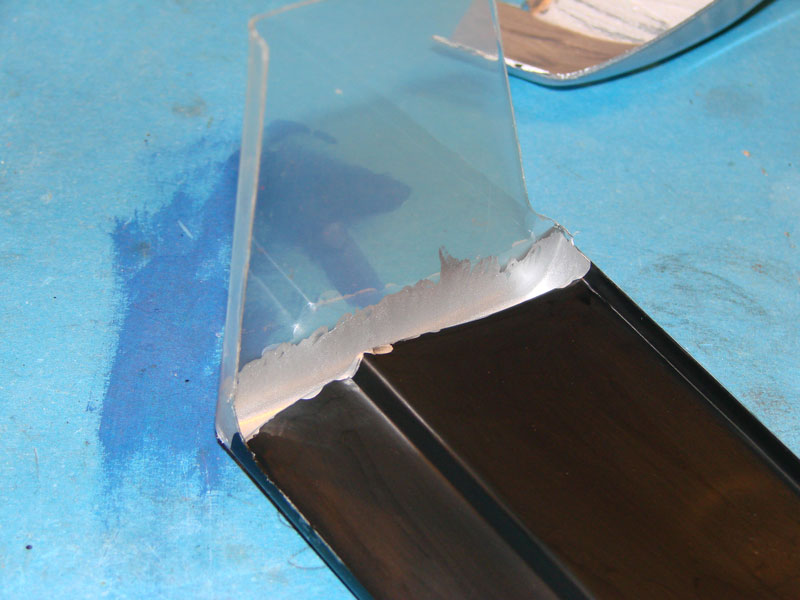
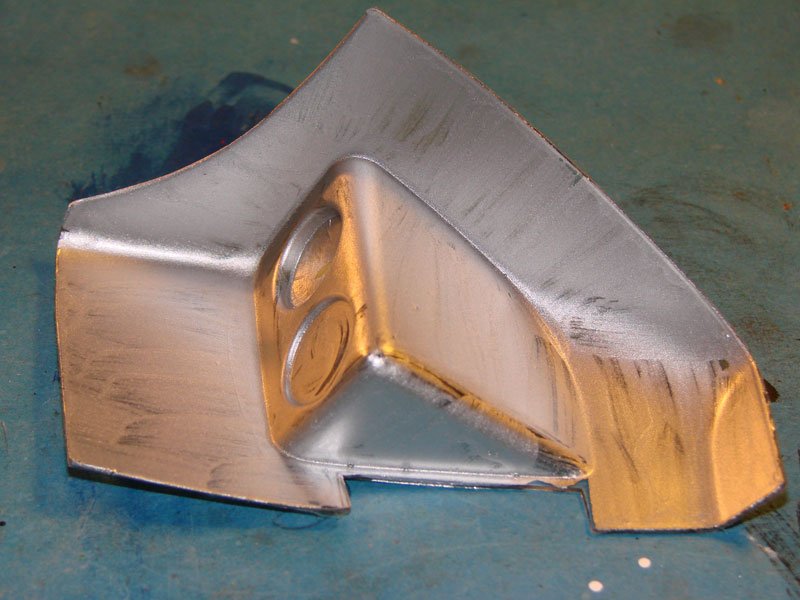
From experience, I know that it's hard to get the spray paint into smaller cracks like these on the rear spoiler, so I brush painted these before spray painting the rest of the silver color.


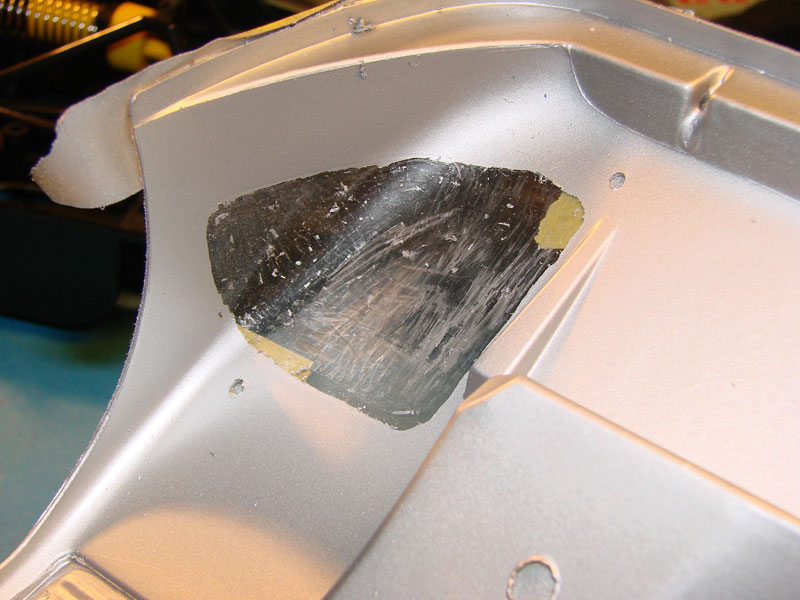
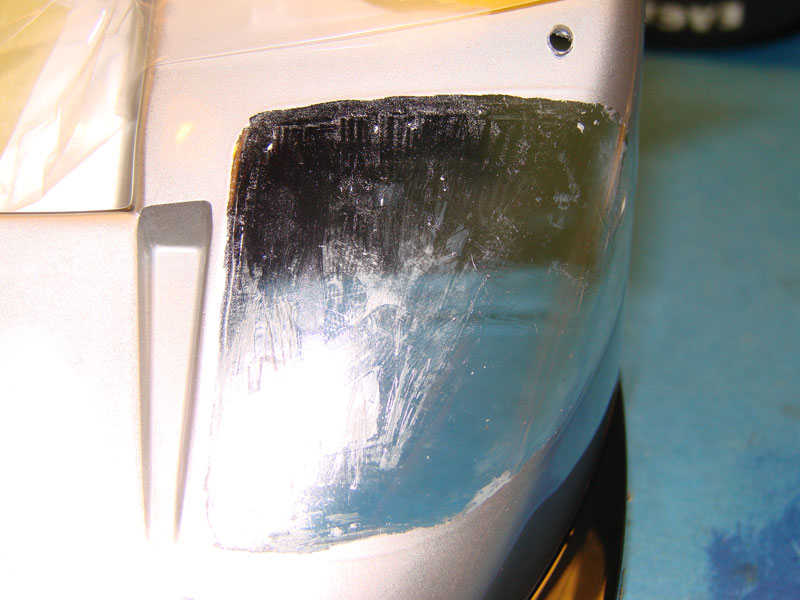
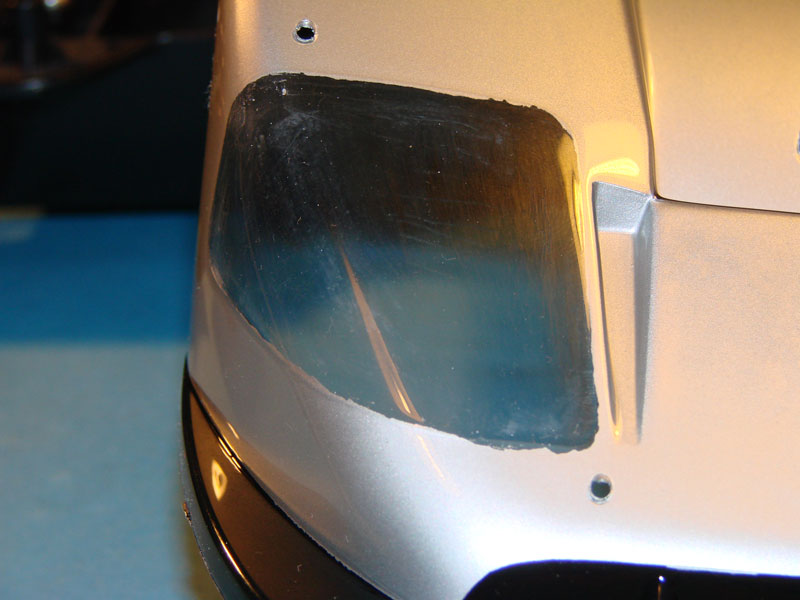
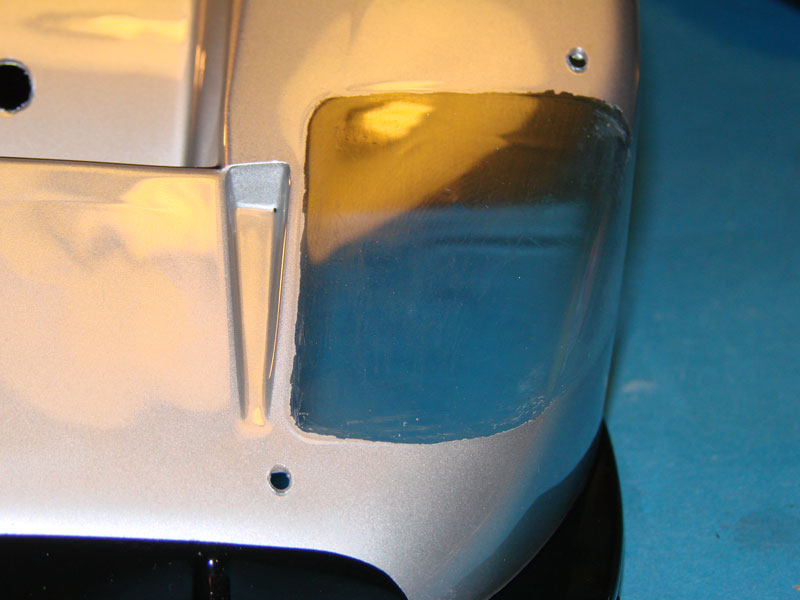
And, first mistake, I thought it was a good idea to brush paint the front light inserts as well. To put it short: NEVER, brush paint silver PS (lexan) color...


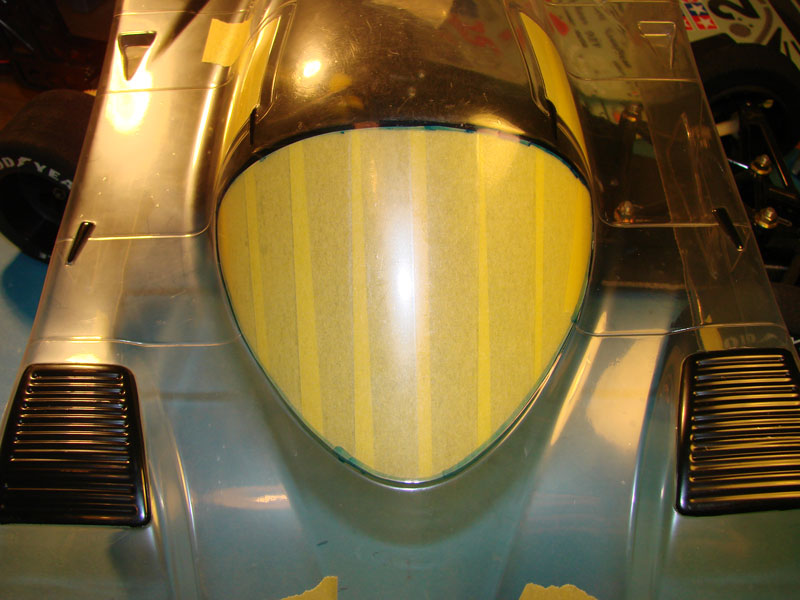
Onwards with masking for the silver color.
To make it easier to trace the front window, I marked the edge with a felt pen which I could see through the masking tape.


And here the masking is done, before painting of silver...
Anybody spot the BIG mistake??? (it's not the small patches of masking tape, here and there...)

Signature now gets correct formatting if you edit it in your Profile. Use normal BBcode if you want.
www.tamiyabase.com was formatted automatically.
The following user(s) Liked this: Edou, stingray-63

Please Log in to join the conversation.

Last edit: by larbut.

Mercedes-Benz C11 Body build... 9 years 4 months ago #32490

I'd keep the light buckets clear but it's not a mistake until you start painting. :)

Please Log in to join the conversation.

Last edit: by Edou.

Mercedes-Benz C11 Body build... 9 years 4 months ago #32492

Mmm no reply yet, think Lars is still trying to remove the paint. :whistle:

Led there be light :evil:

Please Log in to join the conversation.

Mercedes-Benz C11 Body build... 9 years 4 months ago #32493

Mmm no reply yet, think Lars is still trying to remove the paint. :whistle:

Led there be light :evil:


NOT FUNNY! :blush: :whistle:

More on that this afternoon...
Signature now gets correct formatting if you edit it in your Profile. Use normal BBcode if you want.
www.tamiyabase.com was formatted automatically.

Please Log in to join the conversation.

Mercedes-Benz C11 Body build... 9 years 4 months ago #32494

About the small parts, if you don't have a airbrush it could help to let a mist fall down from your spraycan, it will bite into the lexan providing a good base to apply another layer with a brush, it works like a primer then.
Lexanpaint from a jar is less agressive then the versions from a spraycan like the Tamiya ones, missing the 'bite' makes the paint act like your example, sometimes a hairdryer helps and there's also a difference between colors, some have a stronger pigment.

Please Log in to join the conversation.

Mercedes-Benz C11 Body build... 9 years 4 months ago #32496

If you can't fix it with a hammer, you've got an electrical problem mate :)
Attachments:
The following user(s) Liked this: stingray-63

Please Log in to join the conversation.

Mercedes-Benz C11 Body build... 9 years 4 months ago #32501

About the small parts, if you don't have a airbrush it could help to let a mist fall down from your spraycan, it will bite into the lexan providing a good base to apply another layer with a brush, it works like a primer then.
Lexanpaint from a jar is less agressive then the versions from a spraycan like the Tamiya ones, missing the 'bite' makes the paint act like your example, sometimes a hairdryer helps and there's also a difference between colors, some have a stronger pigment.


Thank you for the good tip, I will try that next time. :y:
I have also noticed that the Silver for Lexan is very sensitive for impurities on the lexan. Fingerprints on the inside of the lexan becomes visible after the silver spray. I have not seen that with other colors.
Signature now gets correct formatting if you edit it in your Profile. Use normal BBcode if you want.
www.tamiyabase.com was formatted automatically.

Please Log in to join the conversation.

Mercedes-Benz C11 Body build... 9 years 4 months ago #32503

I got a nice XB painted C11 shell, interested? :P (minus some scrathes)


:whistle:

Please Log in to join the conversation.

Mercedes-Benz C11 Body build... 9 years 4 months ago #32505

Good luck Lars because the PS cans are harder to remove than the PC bottles

Please Log in to join the conversation.

Mercedes-Benz C11 Body build... 9 years 4 months ago #32510

Yeah, yeah,yeah... of course I forgot to mask the headlights :angry:

So, I had to solve it somehow, and decided to try and remove the paint where needed...
Note, I did this within 20-30 minutes after the painting.

First scratch on the inside:


How it looked on the outside:


Using a screwdriver (checked for smoothness to try and not scratch the plastic) I gently removed the paint the best I could:


Then on with q-tips and Nitro:


Then using "Autosol" (slightly abrasive chrome polishing compound)


And finally some plastic polishing compound (non abrasive)


Although far from perfect, something I can live with for now... :blush:
Signature now gets correct formatting if you edit it in your Profile. Use normal BBcode if you want.
www.tamiyabase.com was formatted automatically.

Please Log in to join the conversation.

  • Page:
  • 1
  • 2
Moderators: caprinutstingray-63AndyAus
Time to create page: 0.276 seconds
Cookies are required to make this site work. If you continue to use this site you permit us to use cookies.