Signature now gets correct formatting if you edit it in your Profile. Use normal BBcode if you want.
www.tamiyabase.com was formatted automatically. |
|
Please Log in to join the conversation. |
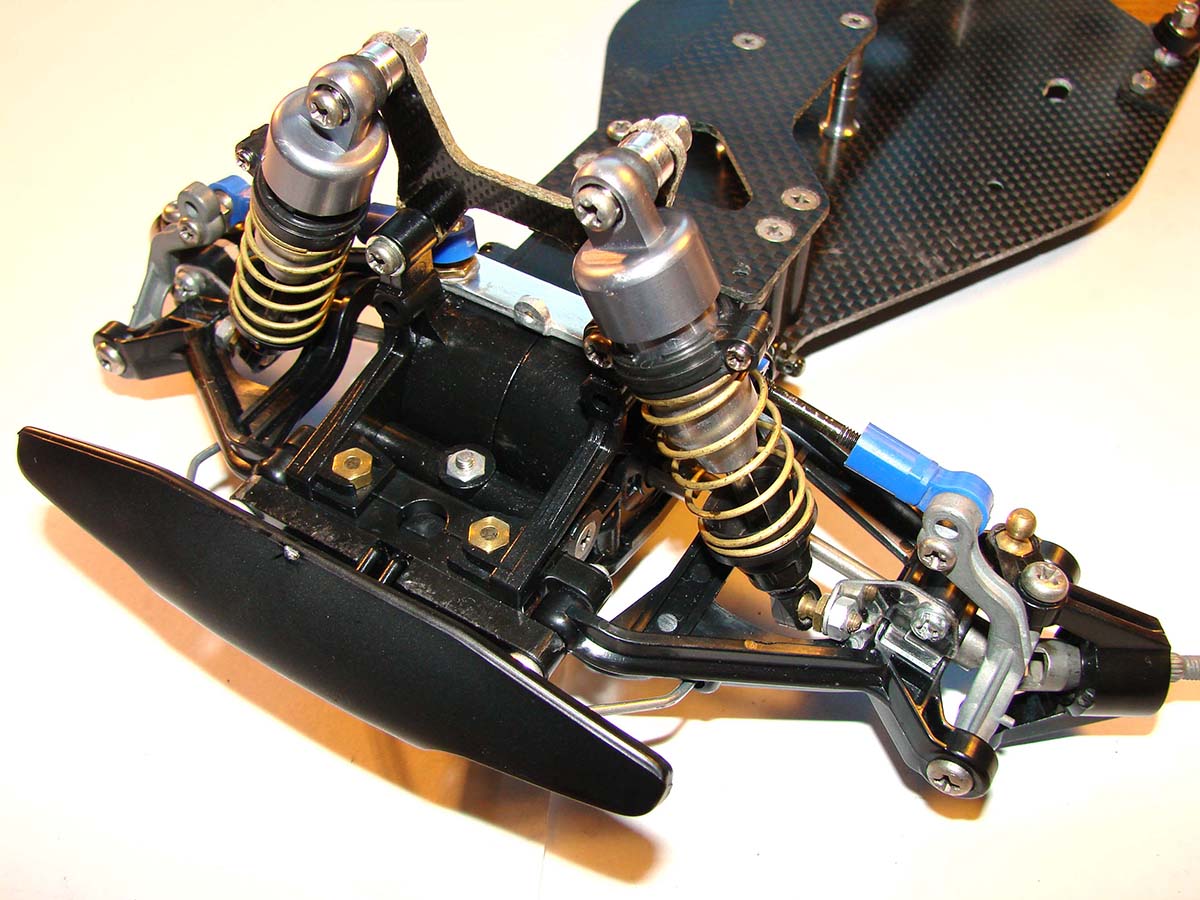
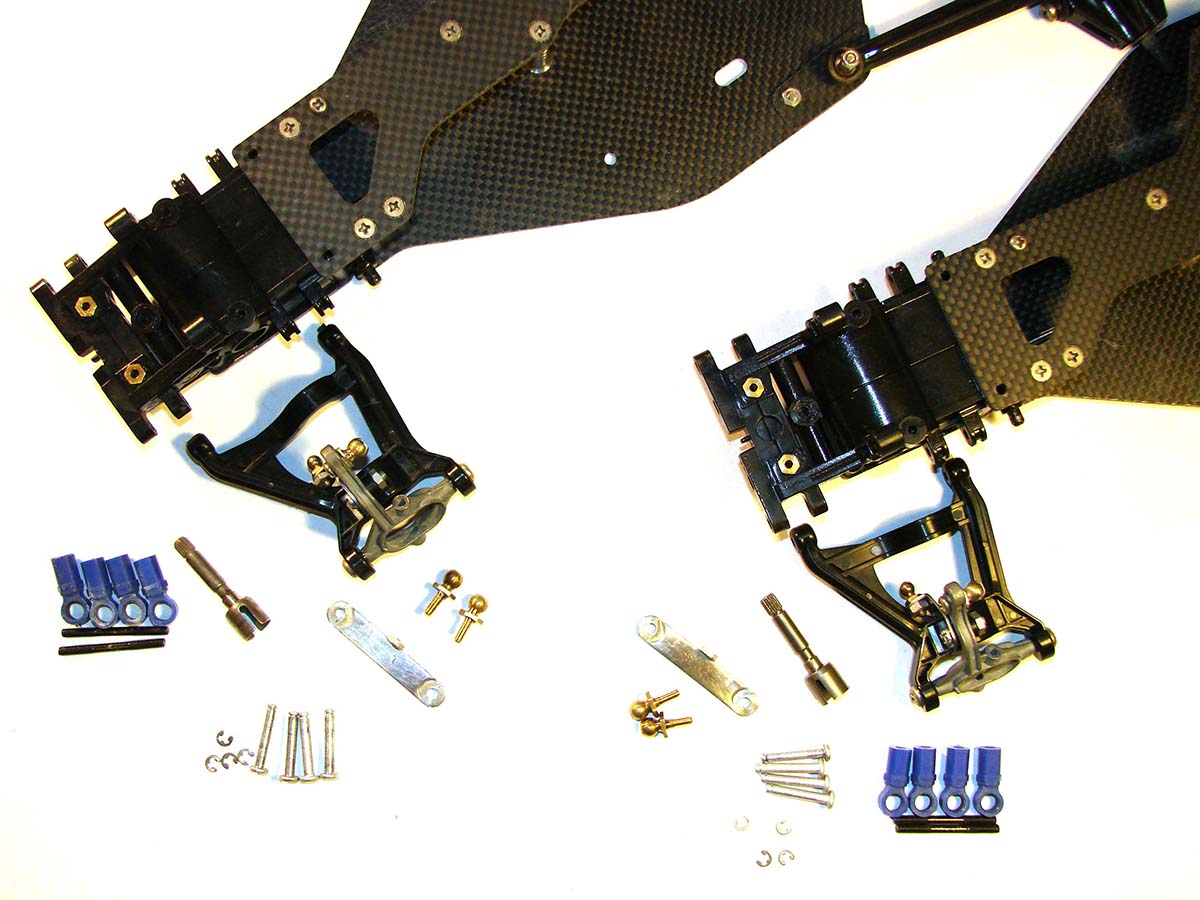
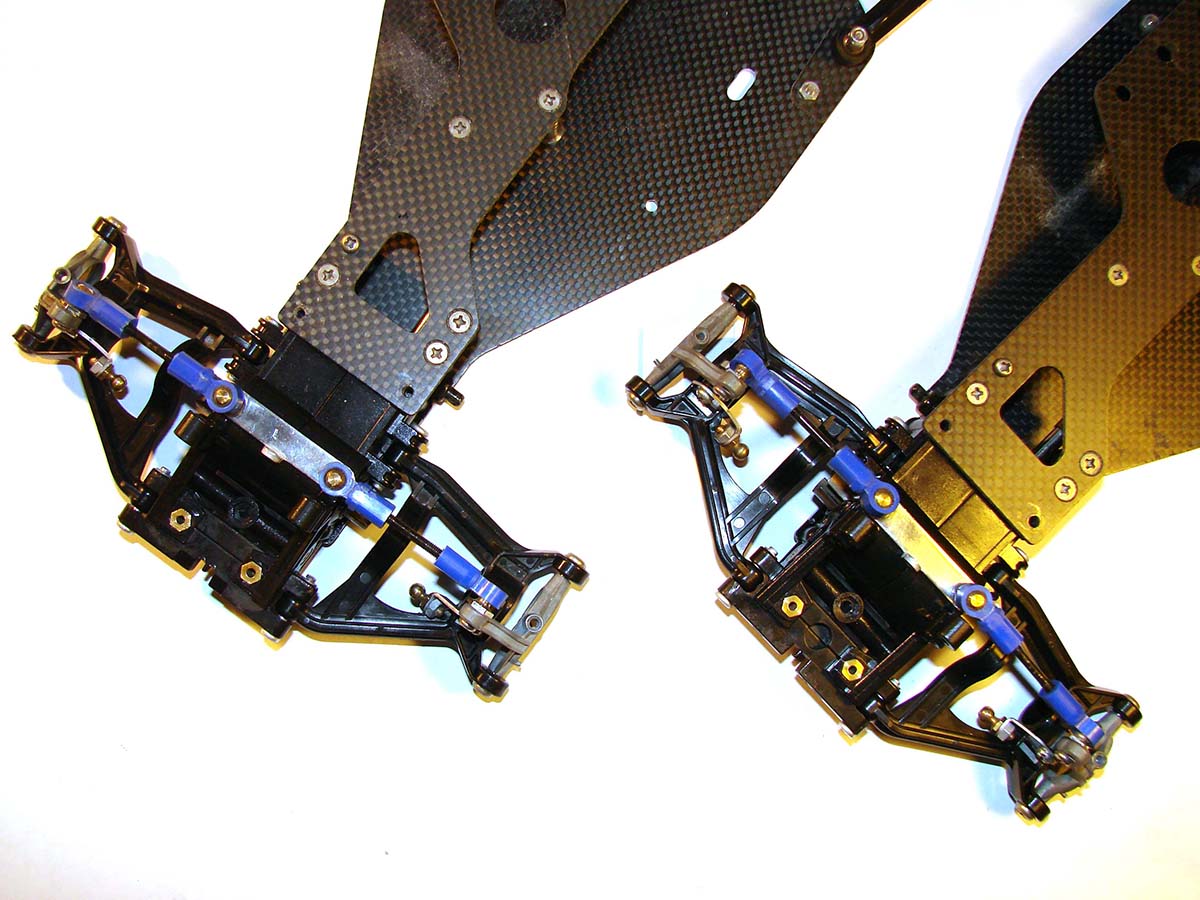
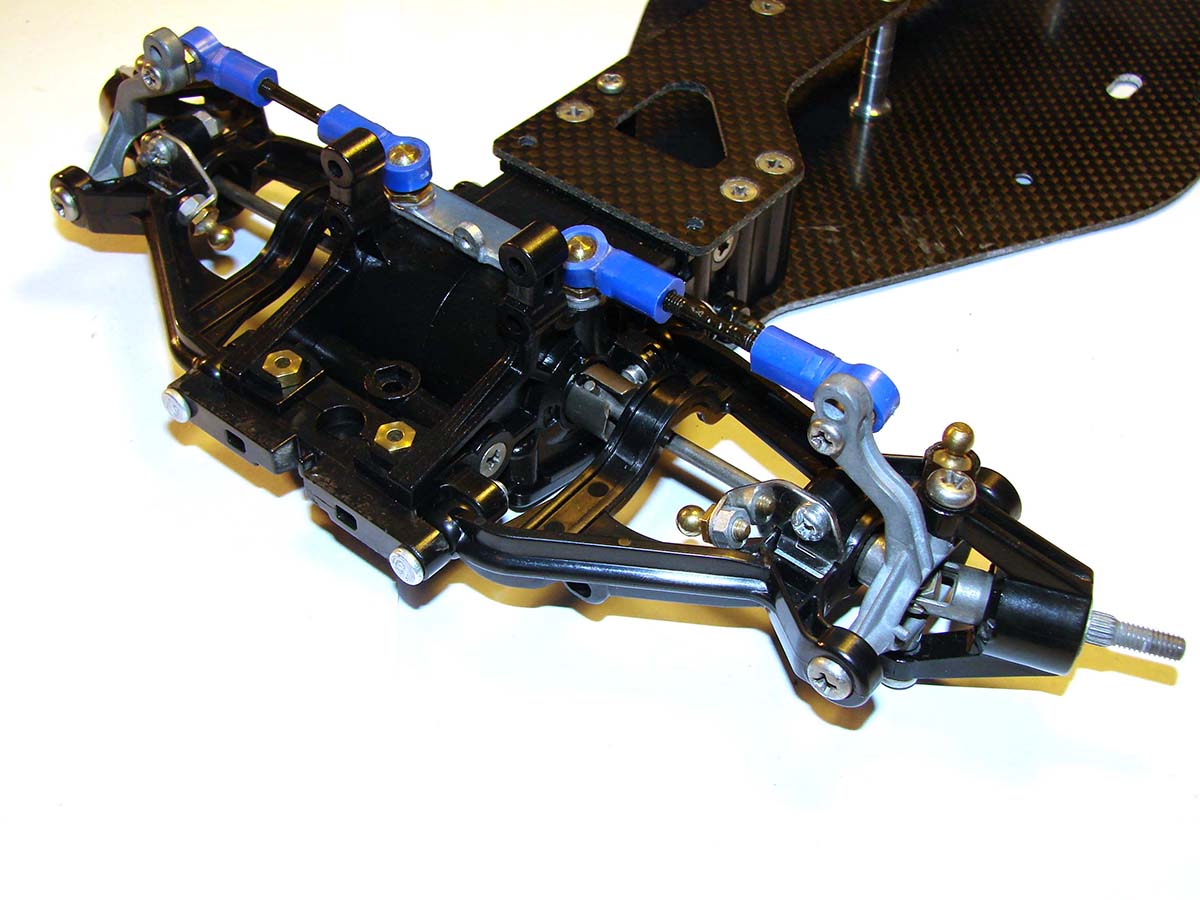
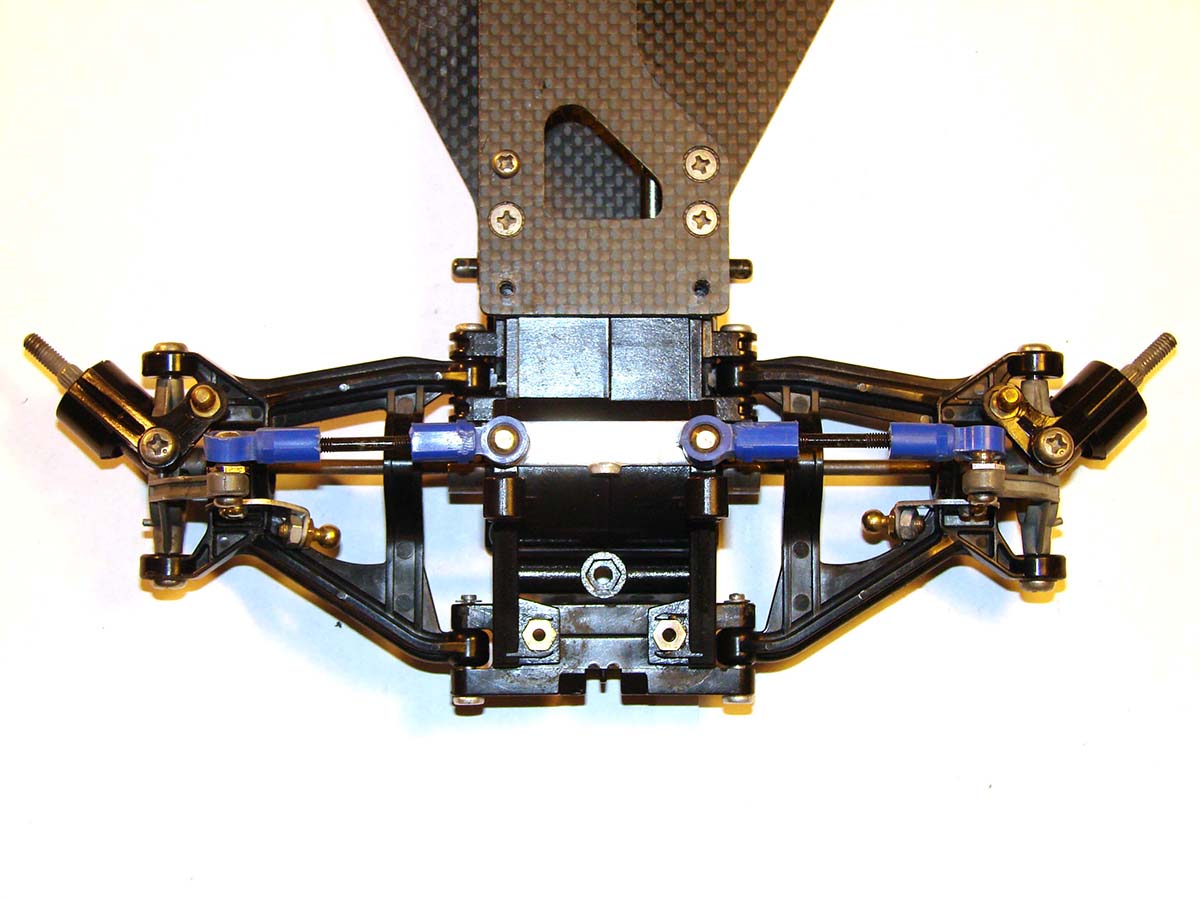
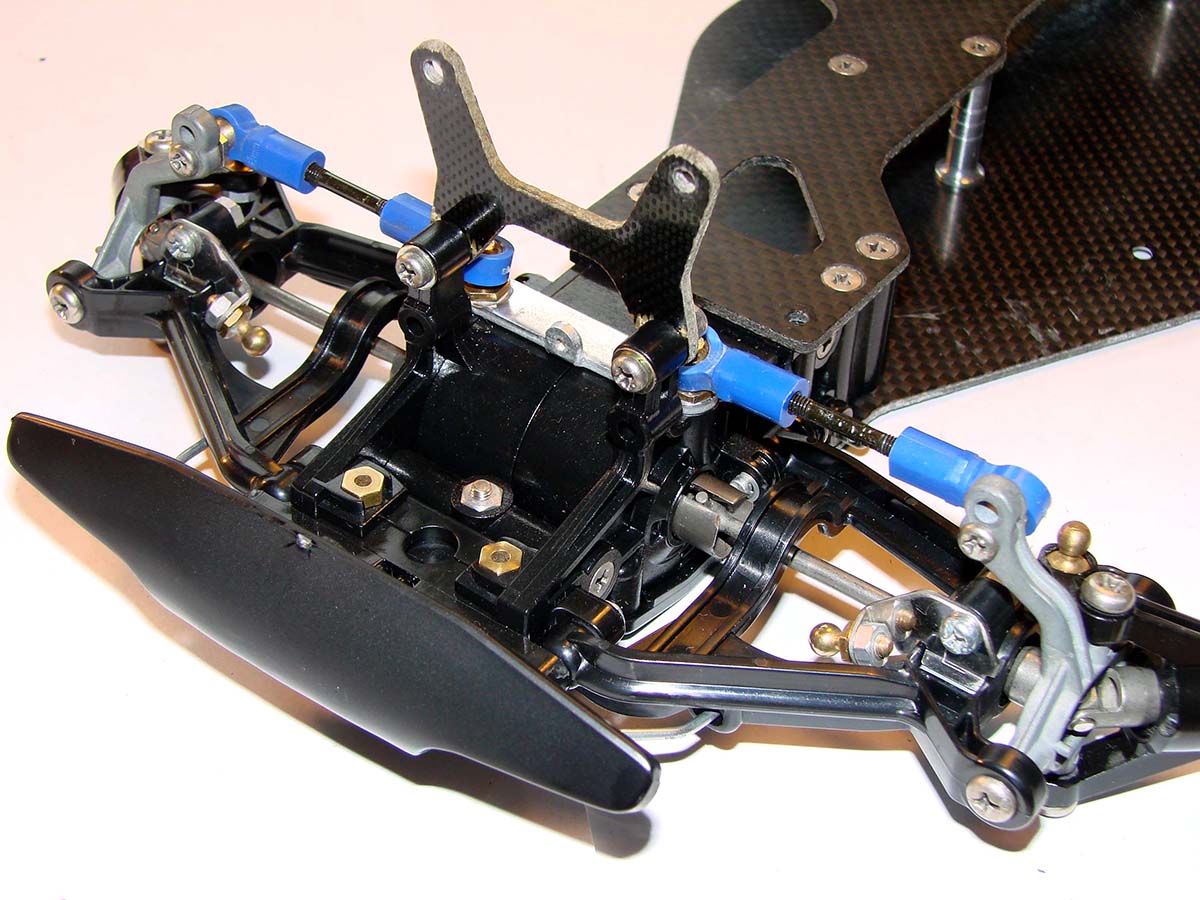
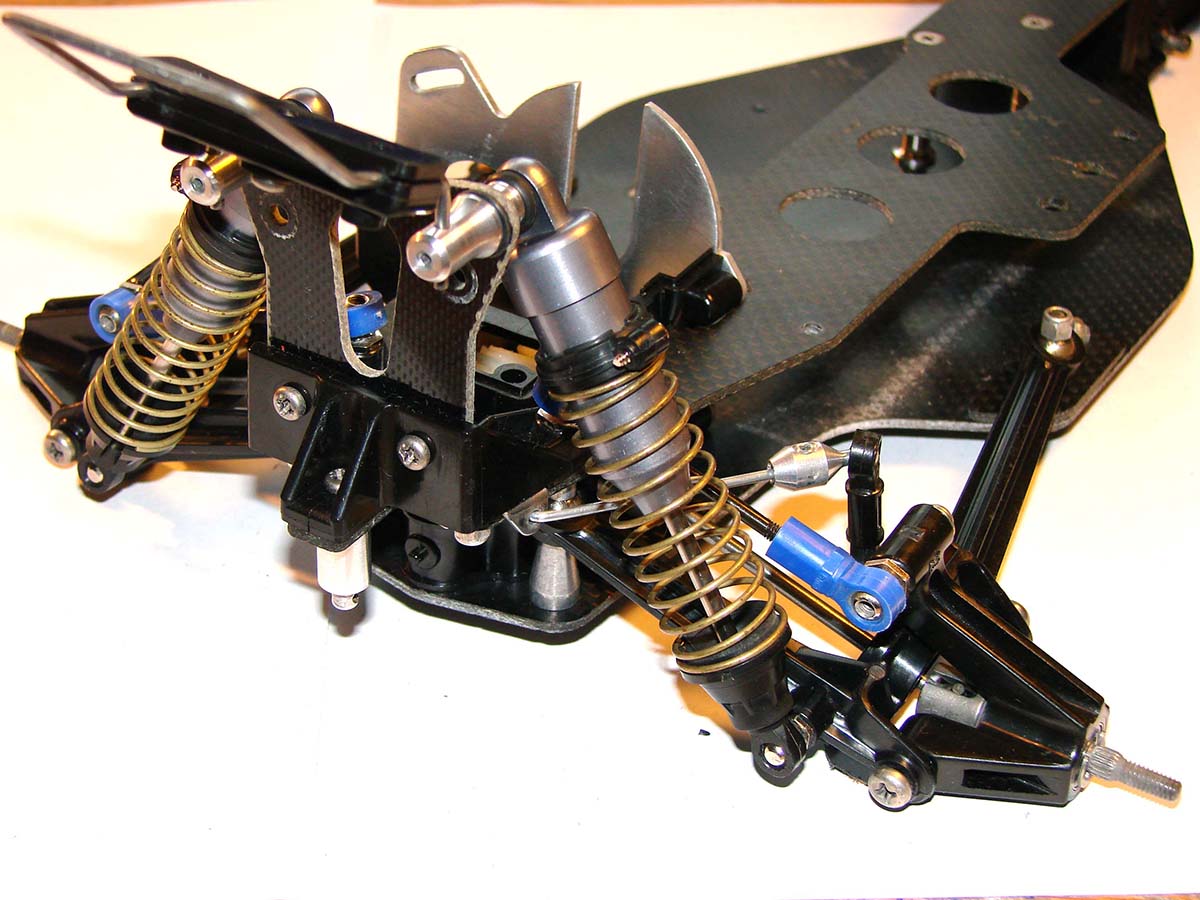
Step 18, front a-arms
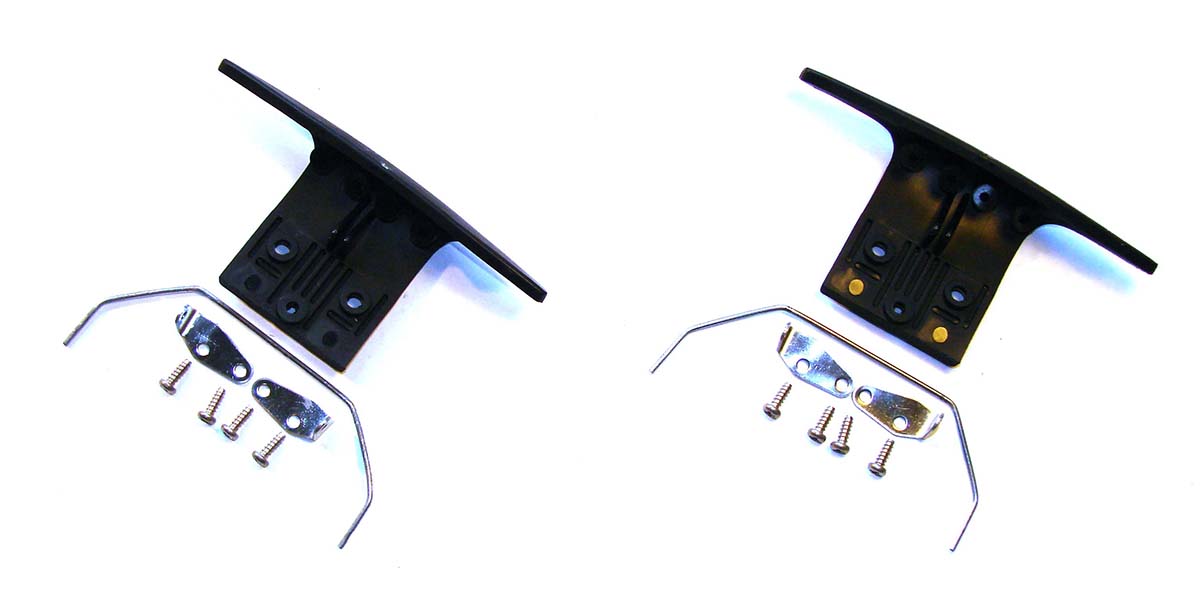
The new chassis gets new plastic again, and as with all plastic on the best chassis, only vintage parts are used. (so far both models have only vintage parts)
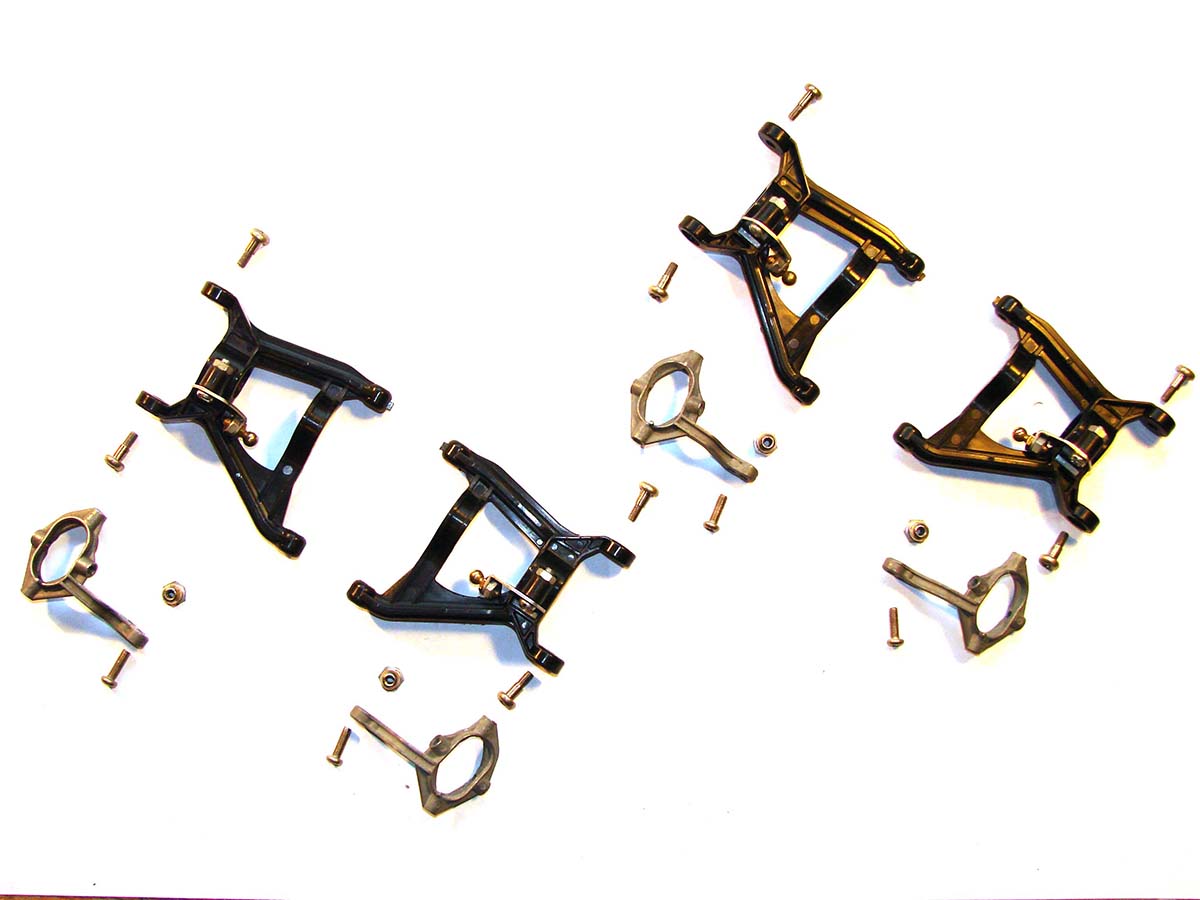
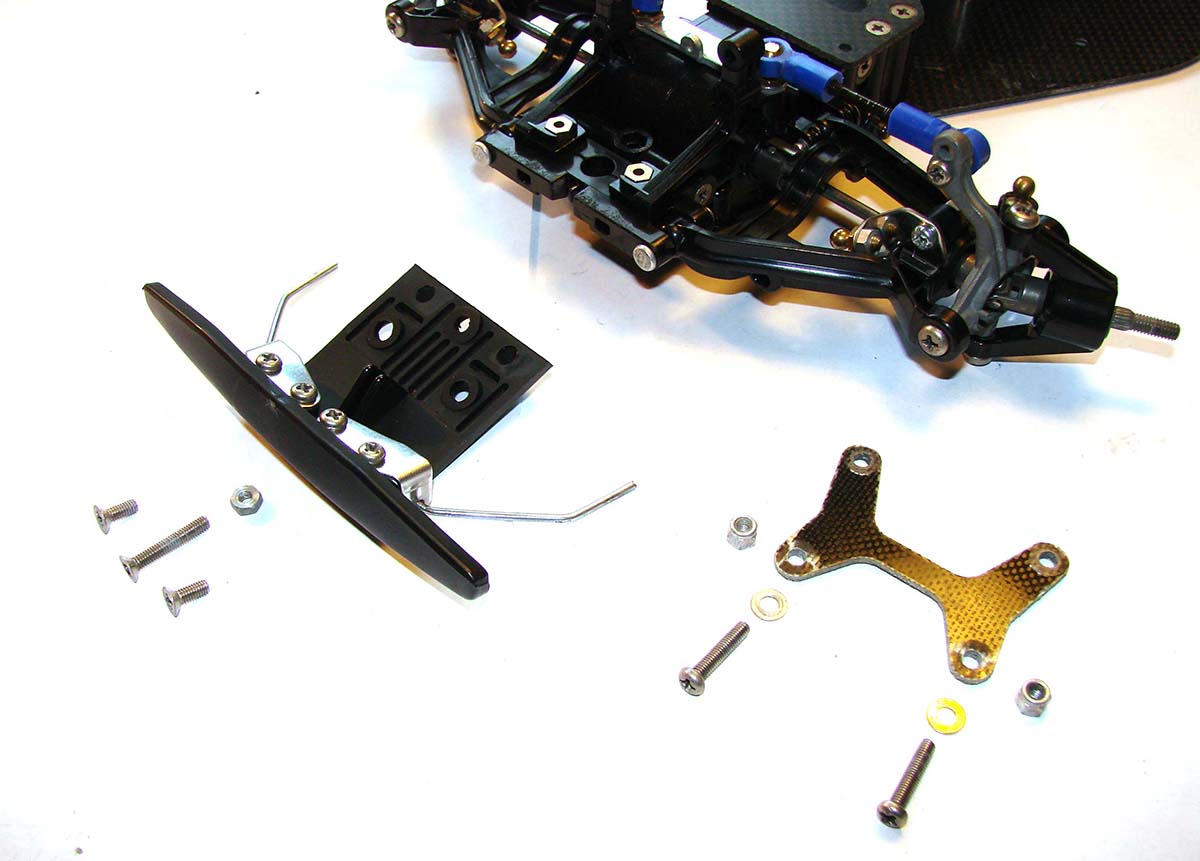
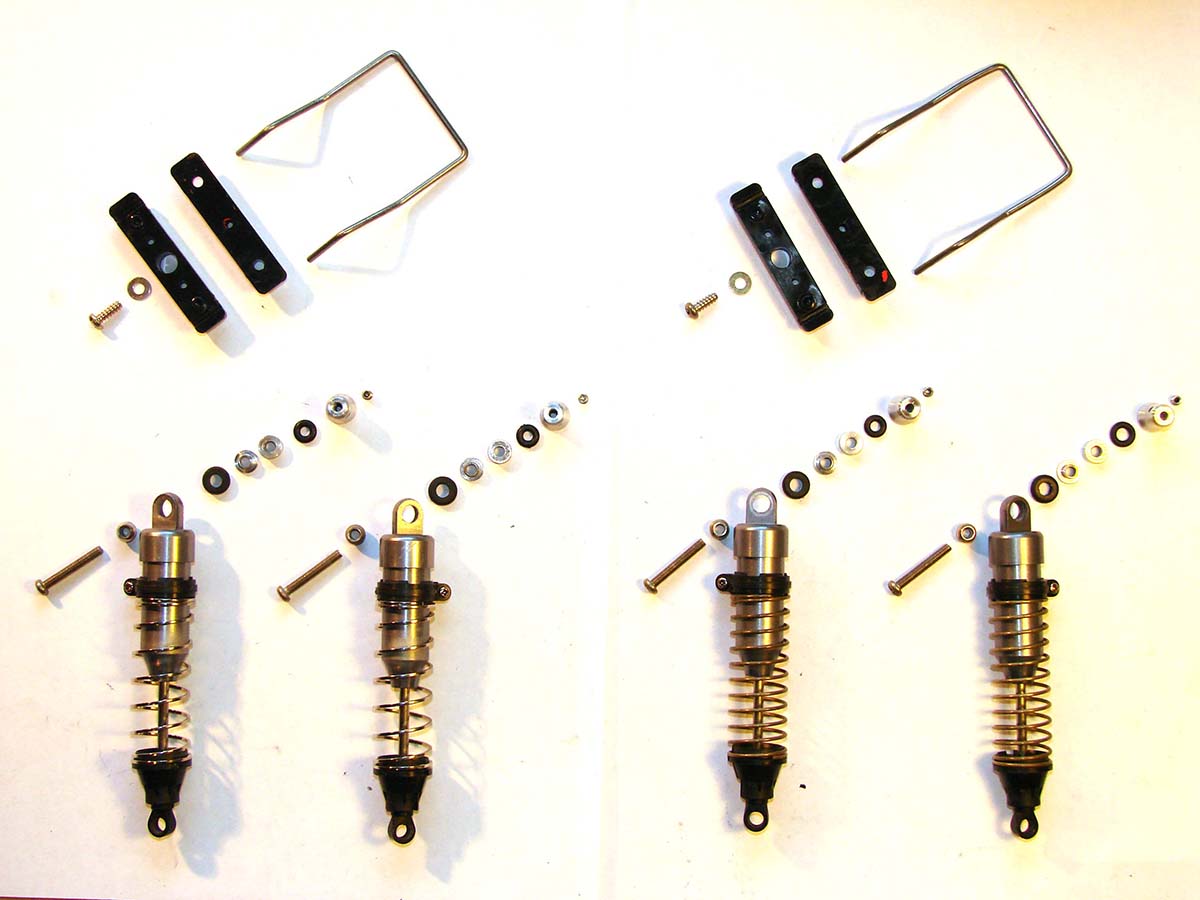
 Parts New plastic parts assembled: 
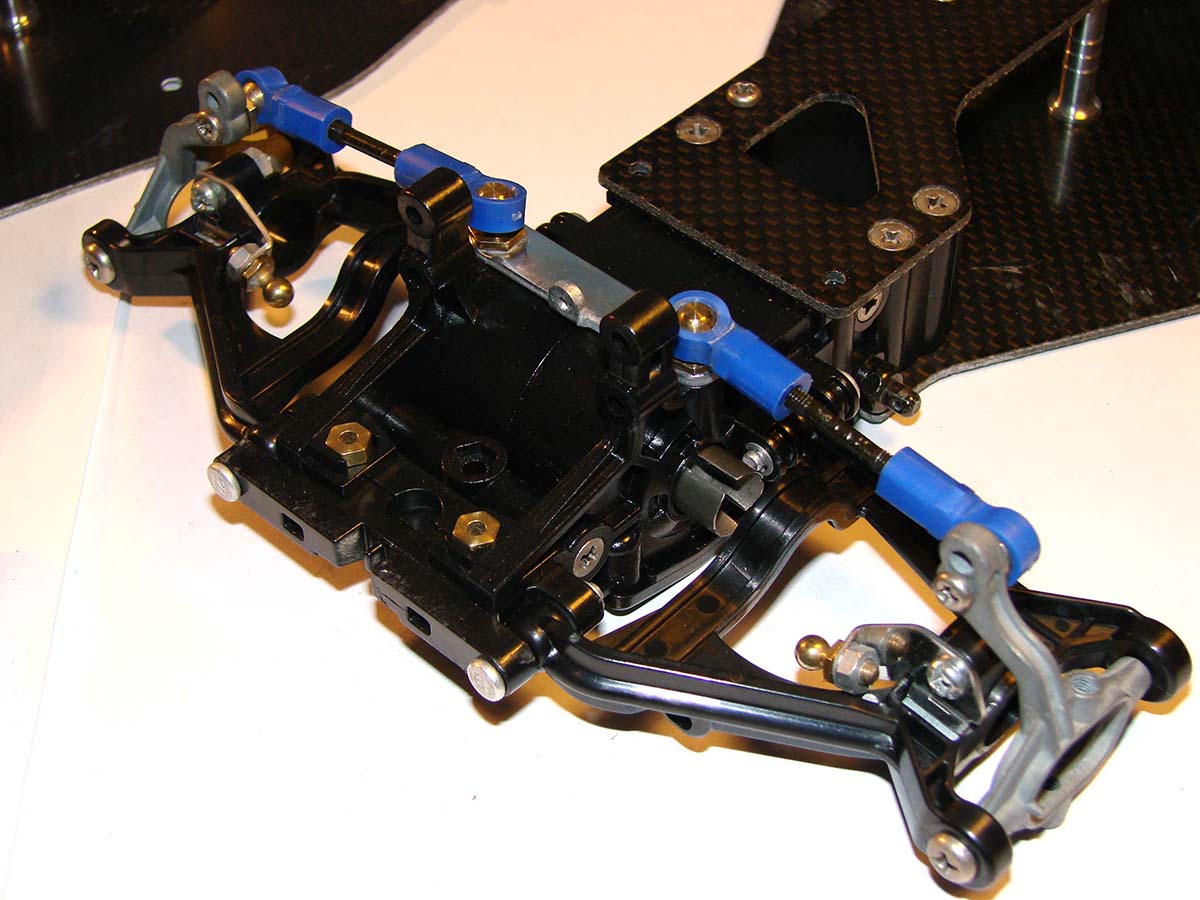
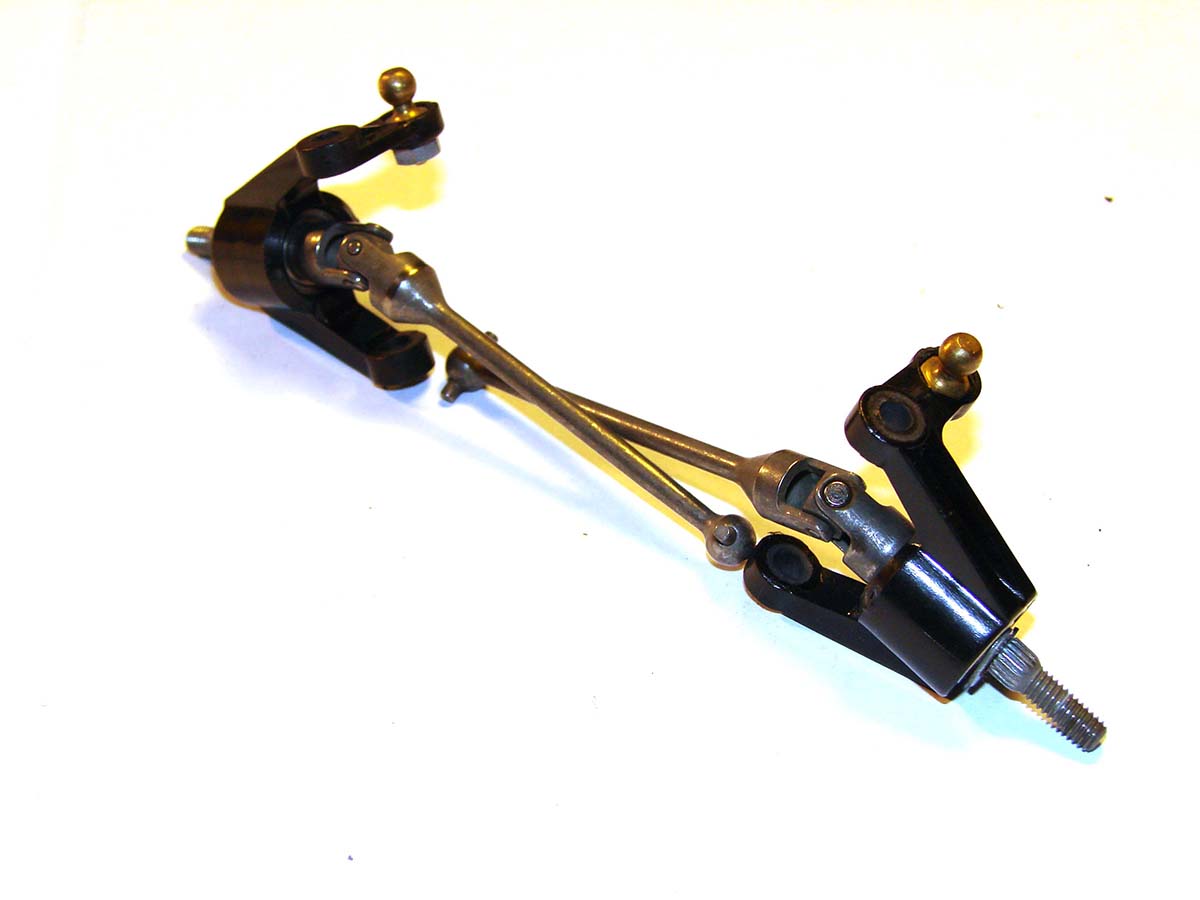
Step 19, mounting the front uprights. 
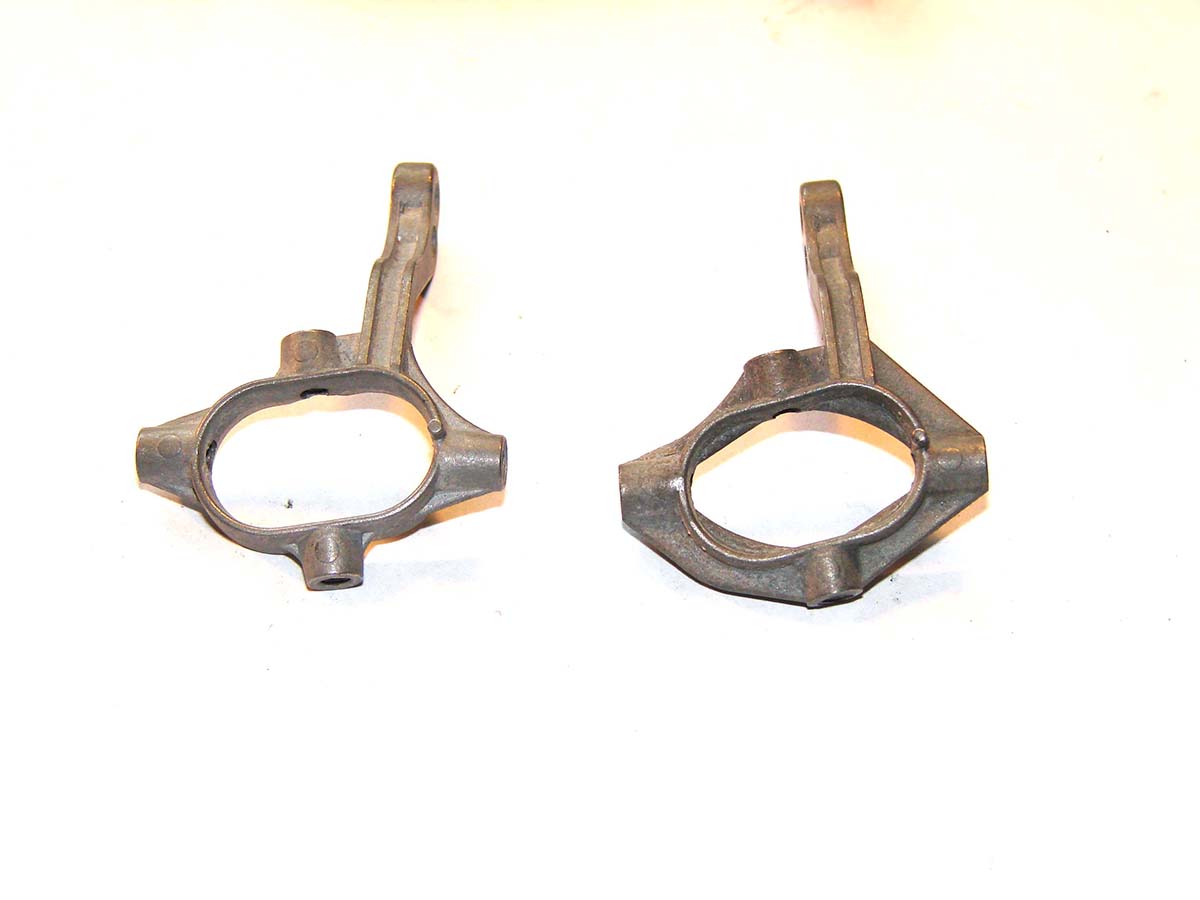
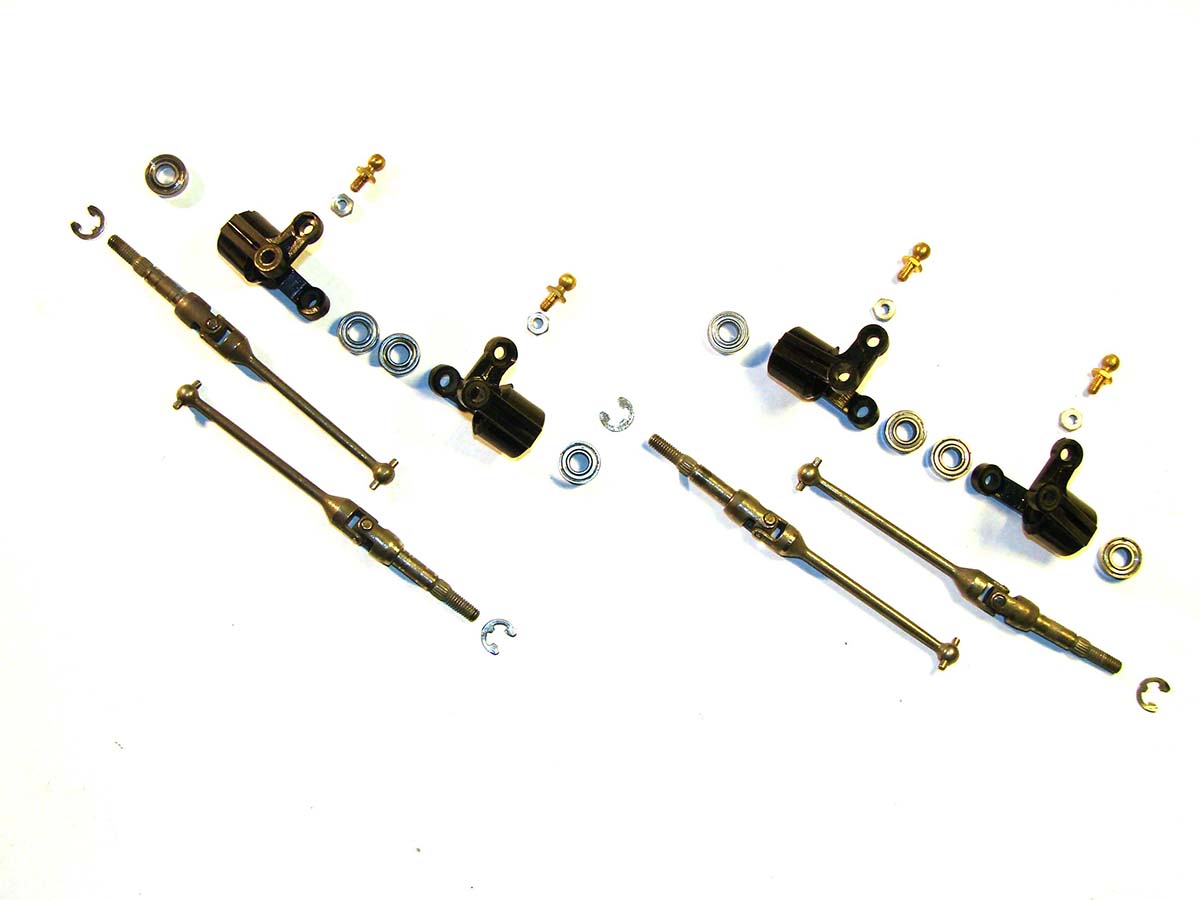
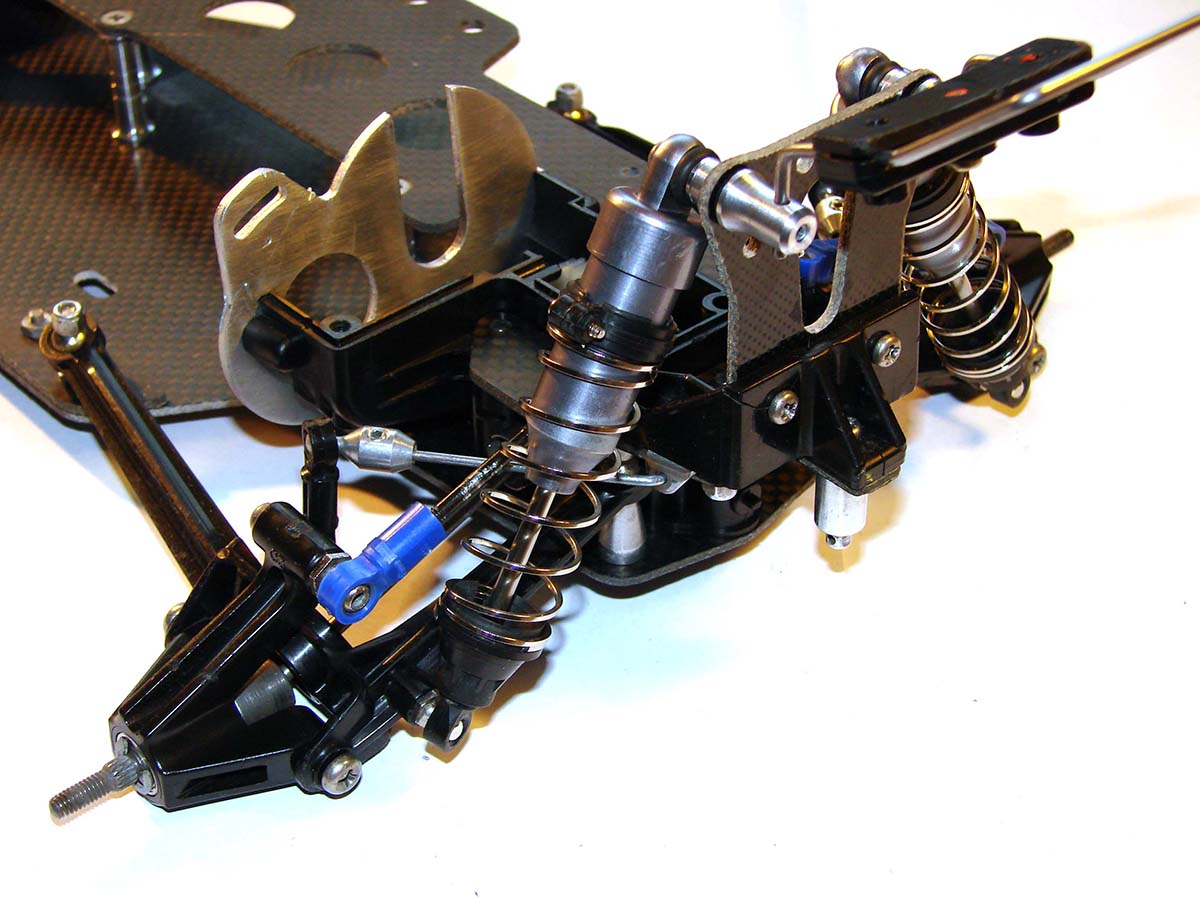
One of the front uprights turned out to be an early version from the Avante, so I had to change it to the same as the rest. Nothing else to do than to pull one from my runner Avante 2001, clean it and mount it to the second chassis. 
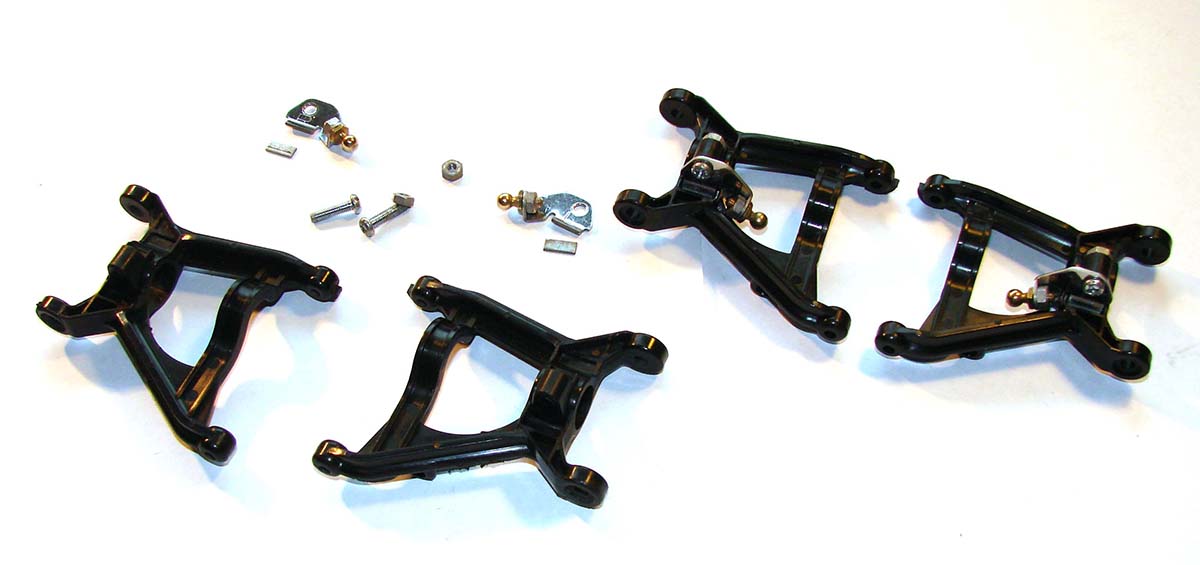
The to types of uprights:
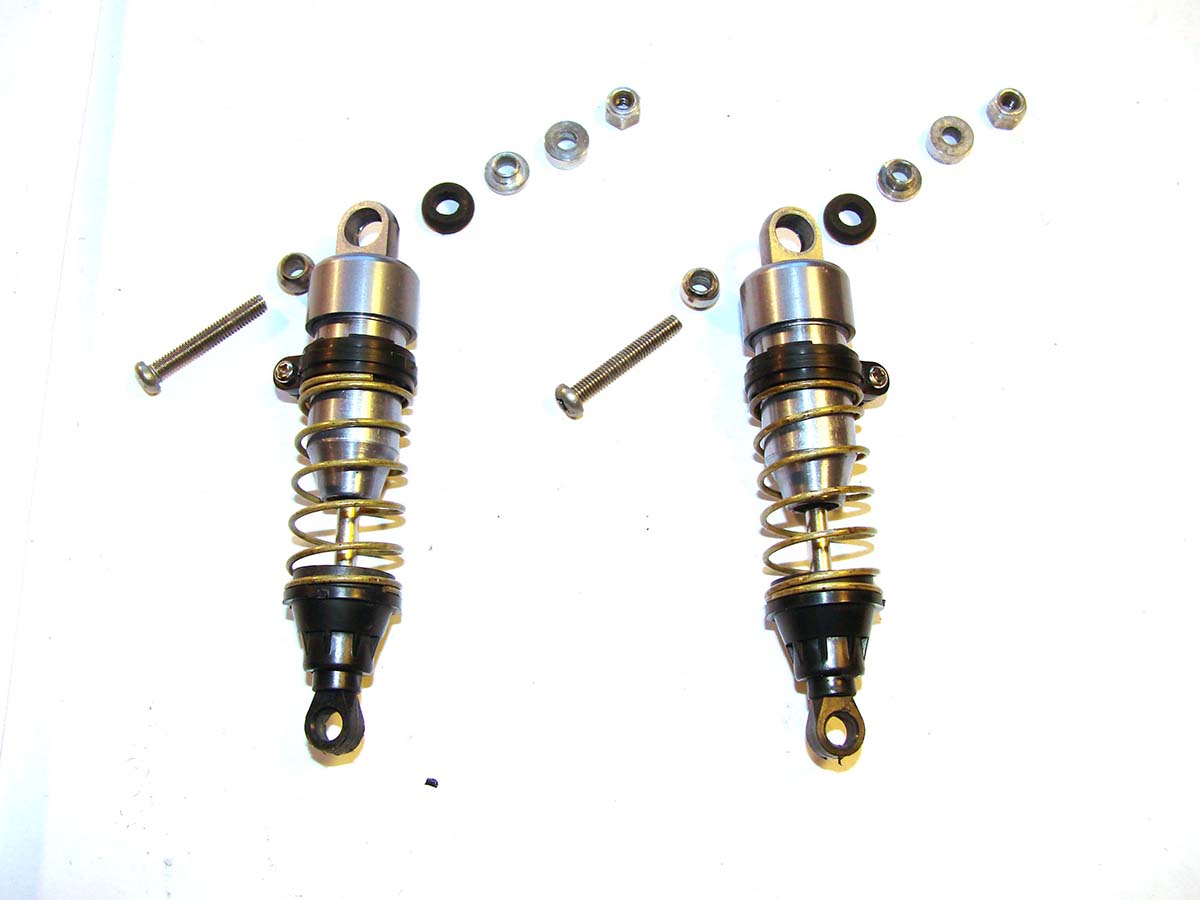
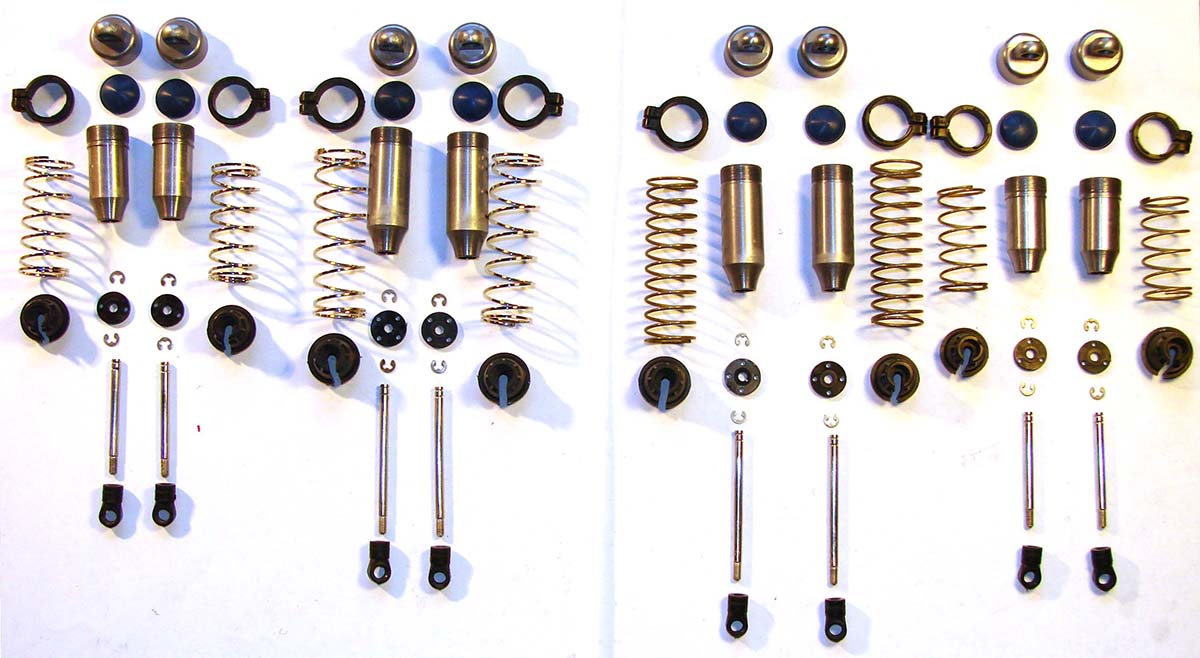
 All the parts: 
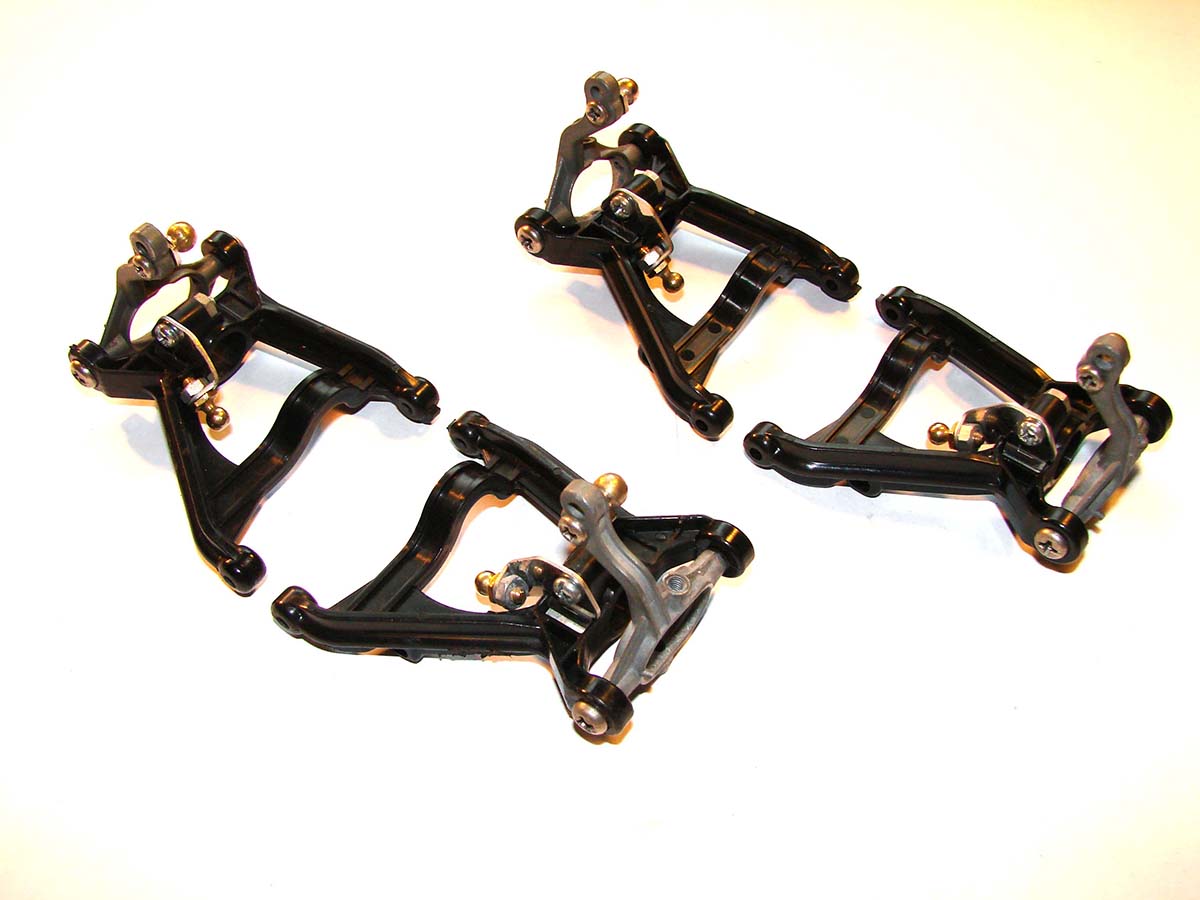
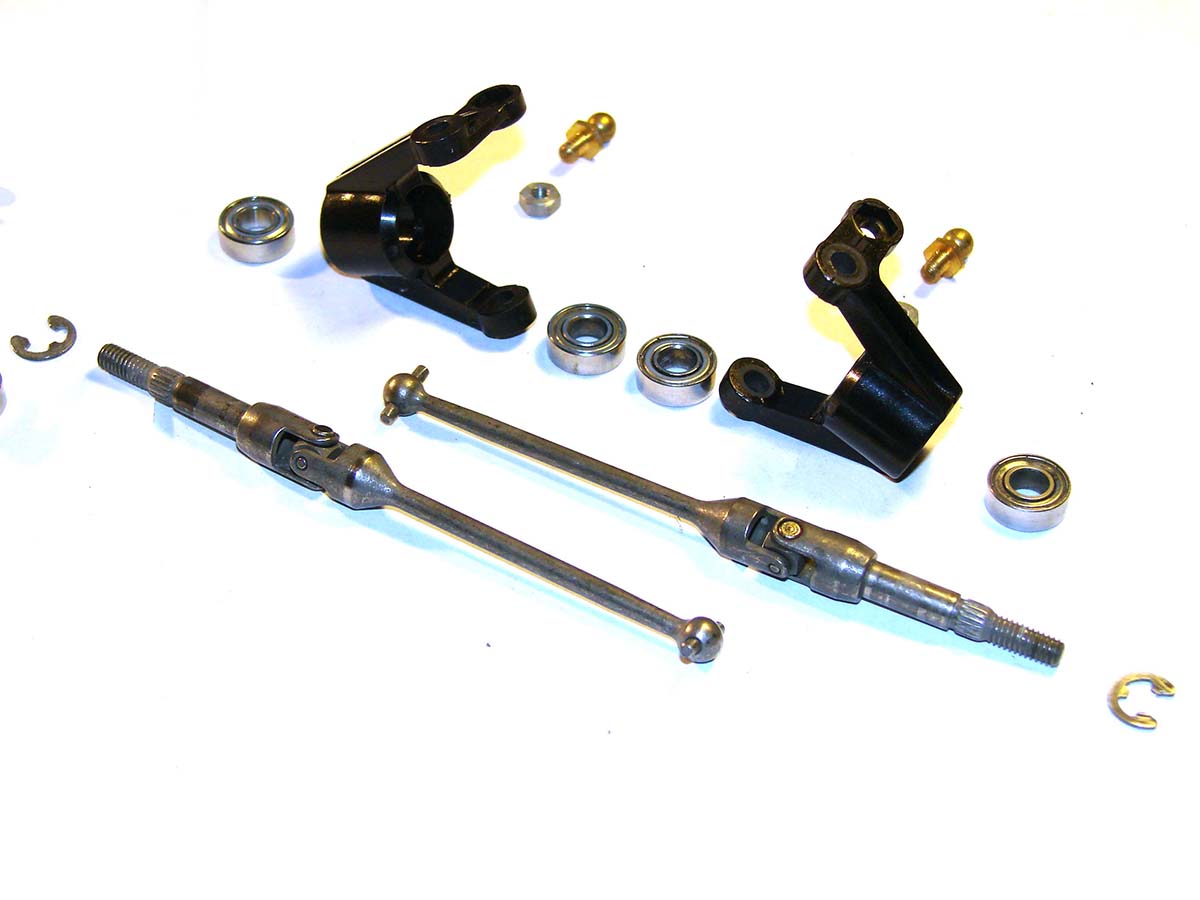
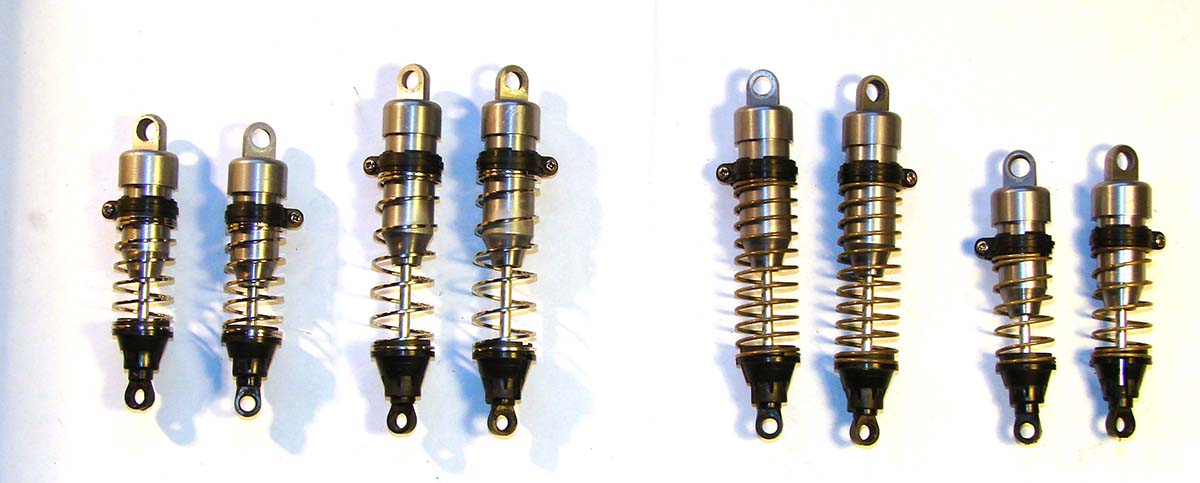
All four assembled and ready for installation: Signature now gets correct formatting if you edit it in your Profile. Use normal BBcode if you want.
www.tamiyabase.com was formatted automatically. |
|
Please Log in to join the conversation. |
Signature now gets correct formatting if you edit it in your Profile. Use normal BBcode if you want.
www.tamiyabase.com was formatted automatically. |
|
Please Log in to join the conversation.
Last edit: by larbut.
|
And finally for tonight, step 20 and 21, building and mounting the front uprights.
The UJ's make this build special. It just looks so right compared to most models with dog-bone type. All the parts Parts for the best chassis Best chassis uprights done Best chassis assembled Second-best chassis front suspension done Signature now gets correct formatting if you edit it in your Profile. Use normal BBcode if you want.
www.tamiyabase.com was formatted automatically.
The following user(s) Liked this: Edou
|
|
Please Log in to join the conversation.
Last edit: by larbut.
|
Good question! I don't know and I would also like to know because the "second-best" Egress from this build will be sold when it's done. -Lars Signature now gets correct formatting if you edit it in your Profile. Use normal BBcode if you want.
www.tamiyabase.com was formatted automatically. |
|
Please Log in to join the conversation. |
|
I want to make an offer this summer to a friend for a big lot of rc vintage including an egress a ff01 mint, tamtechs, 1 stadium blitzer, a nib lumina kyosho, several motors radios gears and wheeles. But no idea of a good price for us...
|
Please Log in to join the conversation. |
A little bit more done today, but I was stopped because of missing parts.
Step 23, assembling the front stabilizer and the bumper. Not a lot to it, but fiddly, even more so because the Titan screws are not magnetic... All the part: Then step 24 assembling the bumper and front damper mount to the chassis. And presto! Signature now gets correct formatting if you edit it in your Profile. Use normal BBcode if you want.
www.tamiyabase.com was formatted automatically. |
|
Please Log in to join the conversation. |
Signature now gets correct formatting if you edit it in your Profile. Use normal BBcode if you want.
www.tamiyabase.com was formatted automatically.
The following user(s) Liked this: Edou
|
|
Please Log in to join the conversation.
Last edit: by larbut.
|
Part 28, mounting rear dampers to chassis.
I can't recall any chassis with this many parts just to mount a damper. It looks like Tamiya took whatever parts they could find and made them fit. The wing support is also the securing nut for the upper damper bolts. Not very convenient when changing dampers? Best chassis: Second best chassis: Signature now gets correct formatting if you edit it in your Profile. Use normal BBcode if you want.
www.tamiyabase.com was formatted automatically. |
|
Please Log in to join the conversation. |
Part 32 front damper mounting
Due to a missing damper oil seal, I will only mount the dampers for chassis no. 1. The other two will wait until I receive the kind gift from Waterbok. But, here are the dampers and mounting hardware A closer look at the kit for chassis no.1 And the dampers mounted on chassis no 1 Signature now gets correct formatting if you edit it in your Profile. Use normal BBcode if you want.
www.tamiyabase.com was formatted automatically. |
|
Please Log in to join the conversation. |