|
|
Attachments:
The following user(s) Liked this: stingray-63, GToddC5
|
|
Please Log in to join the conversation.
Last edit: by mirrorman.
|
First step - wash and paint the body .
I'll build some other bits like the gear box and get the servo set up while I'm eating for the paint to dry. No, I didn't go for box art - too much like battle ship grey for my liking. I went with French Blue , so should make that yellow wing and other yellow parts POP!! We're in the French airforce (AAE) now. Attachments: |
|
Please Log in to join the conversation.
Last edit: by mirrorman.
|
|
I like your color choice. Definitely an unloved model nut I will enjoy the build thread, very different.
PS: Heard about a few complete kits from Tamiya but never saw a box, kind of cool. Too bad the radio stuff was missing... |
Please Log in to join the conversation. |
We'll see how the paint goes. I like the colour too.
I figured out why I was having a bit of a paint adhesion problem. I thought I was using the new dish sponge when I washed the body (the one I had just used on the Midships build) . Nope, stupid me was using the one that's been used to wash the dishes a few times already. DOH!! |
|
Please Log in to join the conversation. |
|
🤞🤞🤞
The following user(s) Liked this: mirrorman
|
Please Log in to join the conversation. |
Attachments:
The following user(s) Liked this: 1972 LeMansGT Jim
|
|
Please Log in to join the conversation. |
Steps 9 to 11 :
Are building and fitting the front dampers - I'll do all of the dampers at once , when I build the rears .. so I'm skipping ahead. Steps 12 & 13: 2 steps just for attaching the front bumper .. so far I'm loving the simplicity of the instructions. ** I'm enjoying myself too much , plus this is a very simple build , so I'm not taking photos of every step. Steps 14 to 18: Build the gear box and attach the motor to same - then attach the rear cage section to the motor/gear part. Step 19: Attach the gear box/motor/rear cage section to the under chassis. BTW - The silver can motor included in this kit was made a Johnson , not Mabuchi Attachments: |
|
Please Log in to join the conversation.
Last edit: by mirrorman.
|
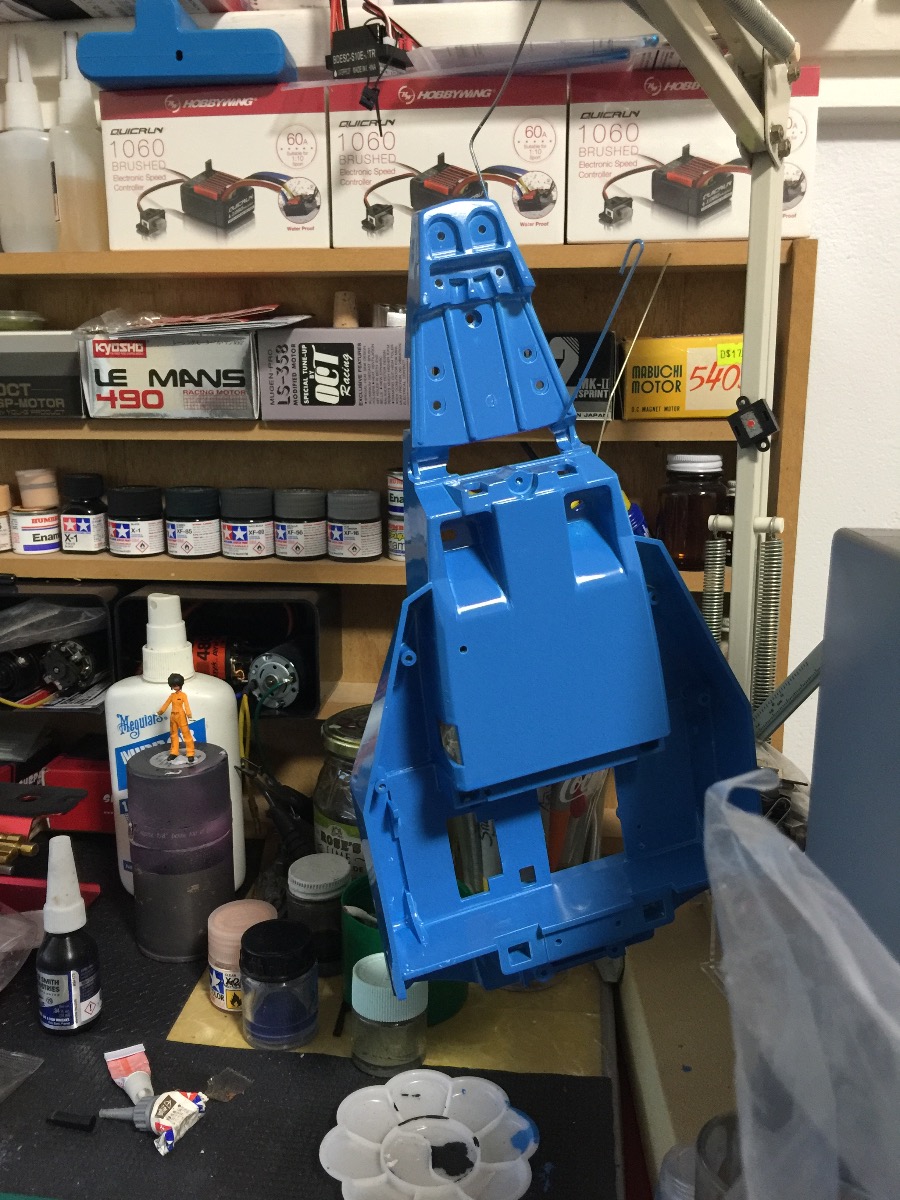
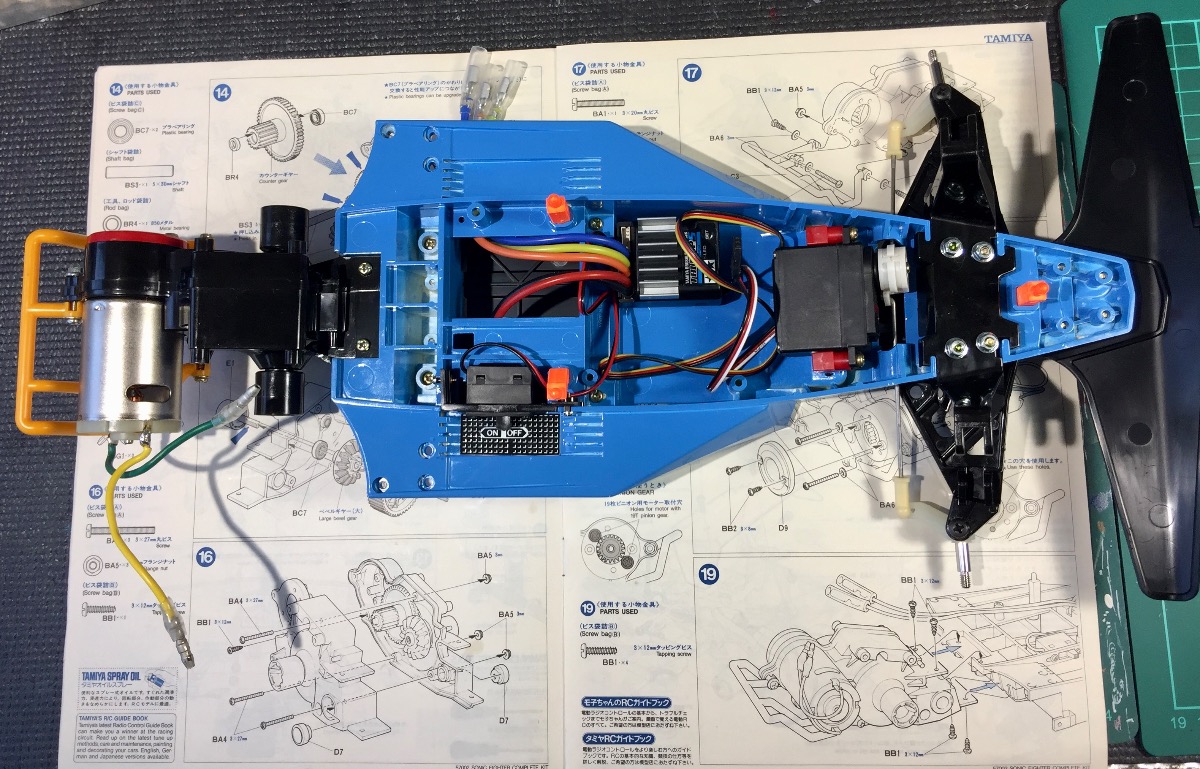
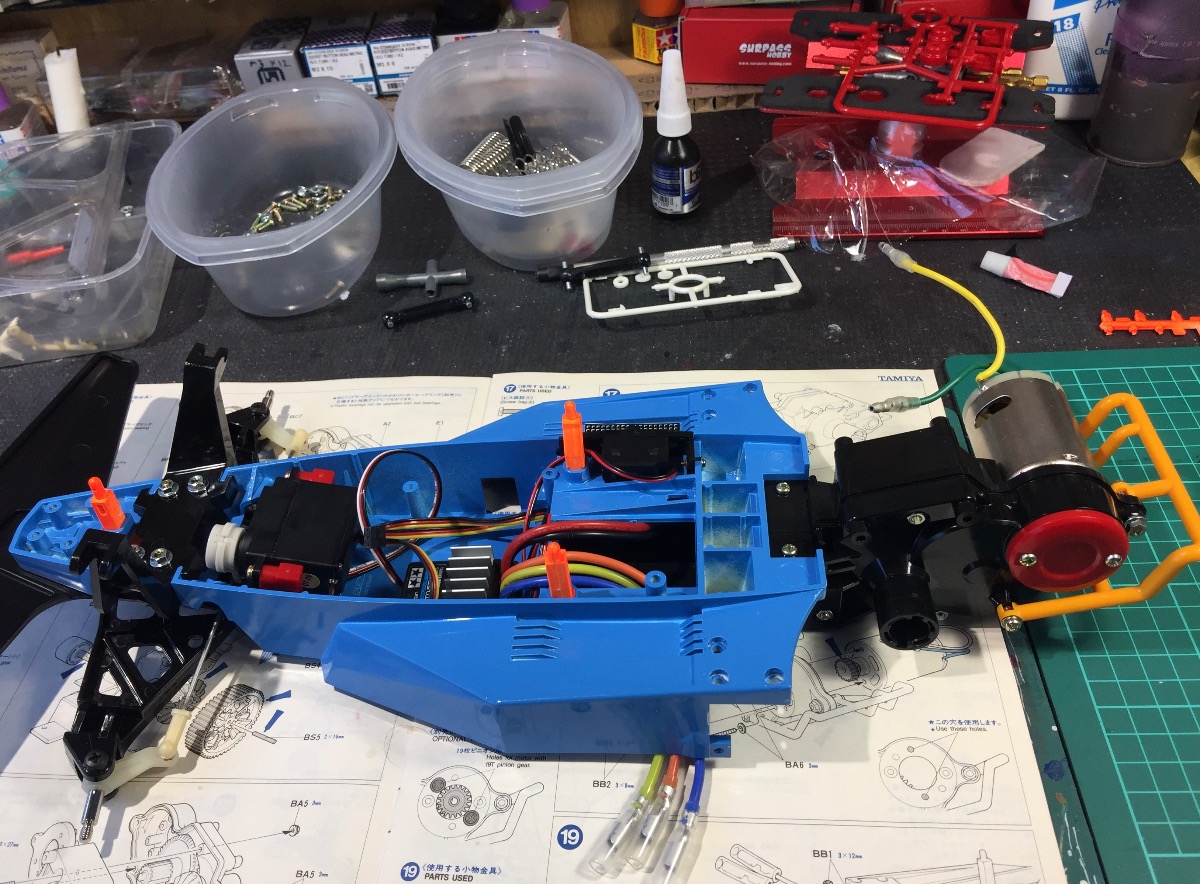
With that piece of the Sonic Fighter puzzle completed, we call it quits for the day.
Thoughts so far: 
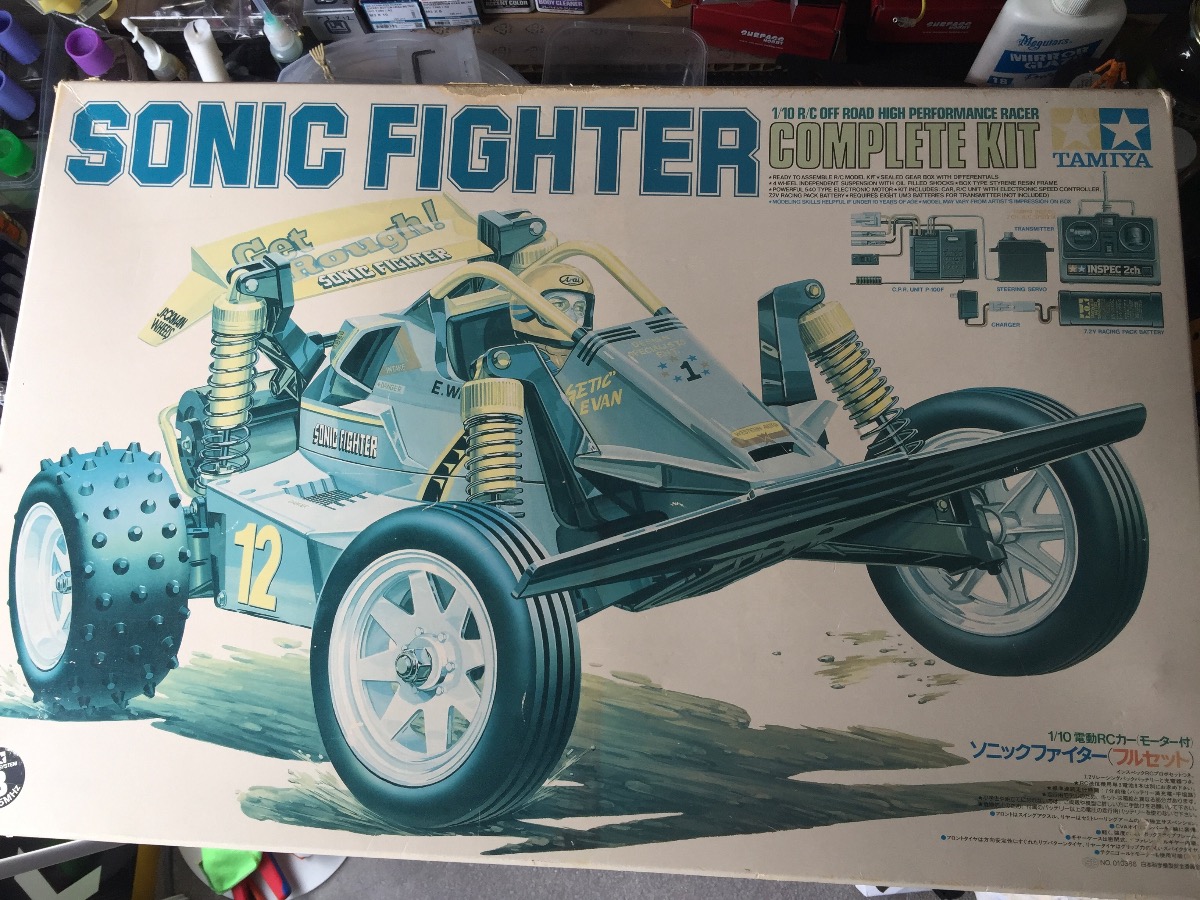
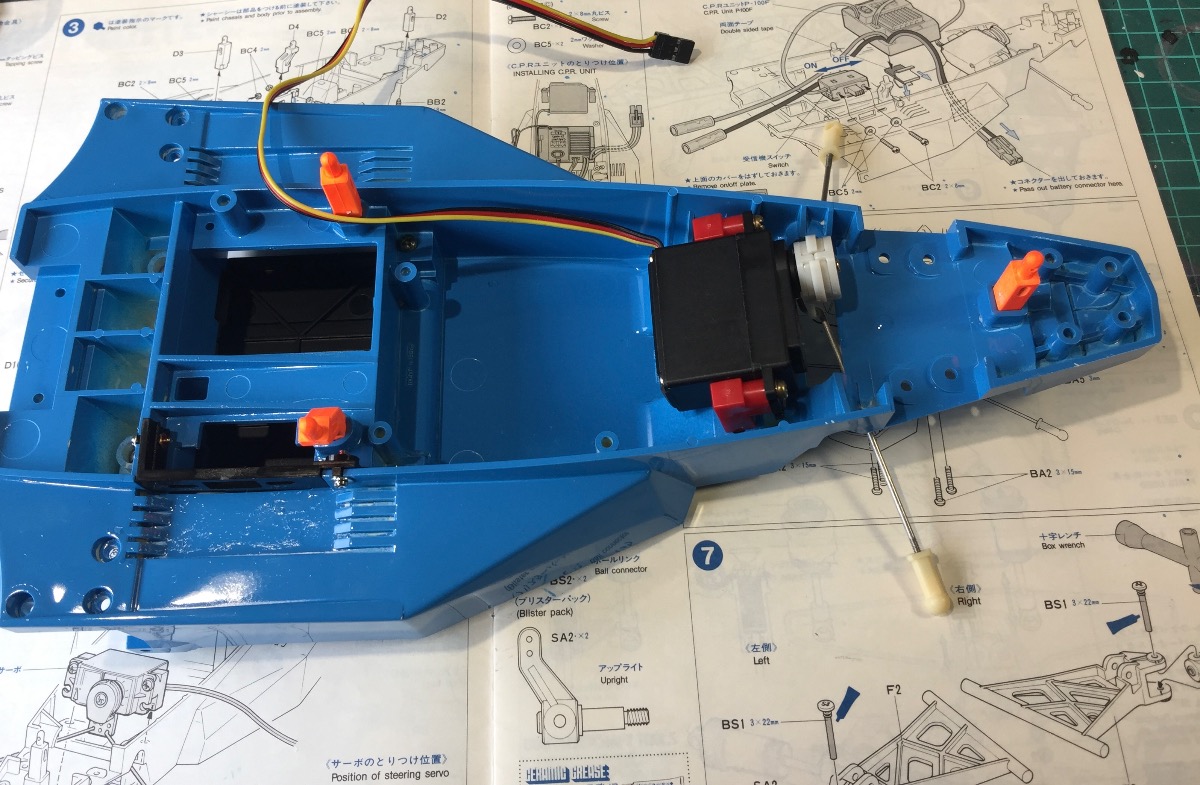
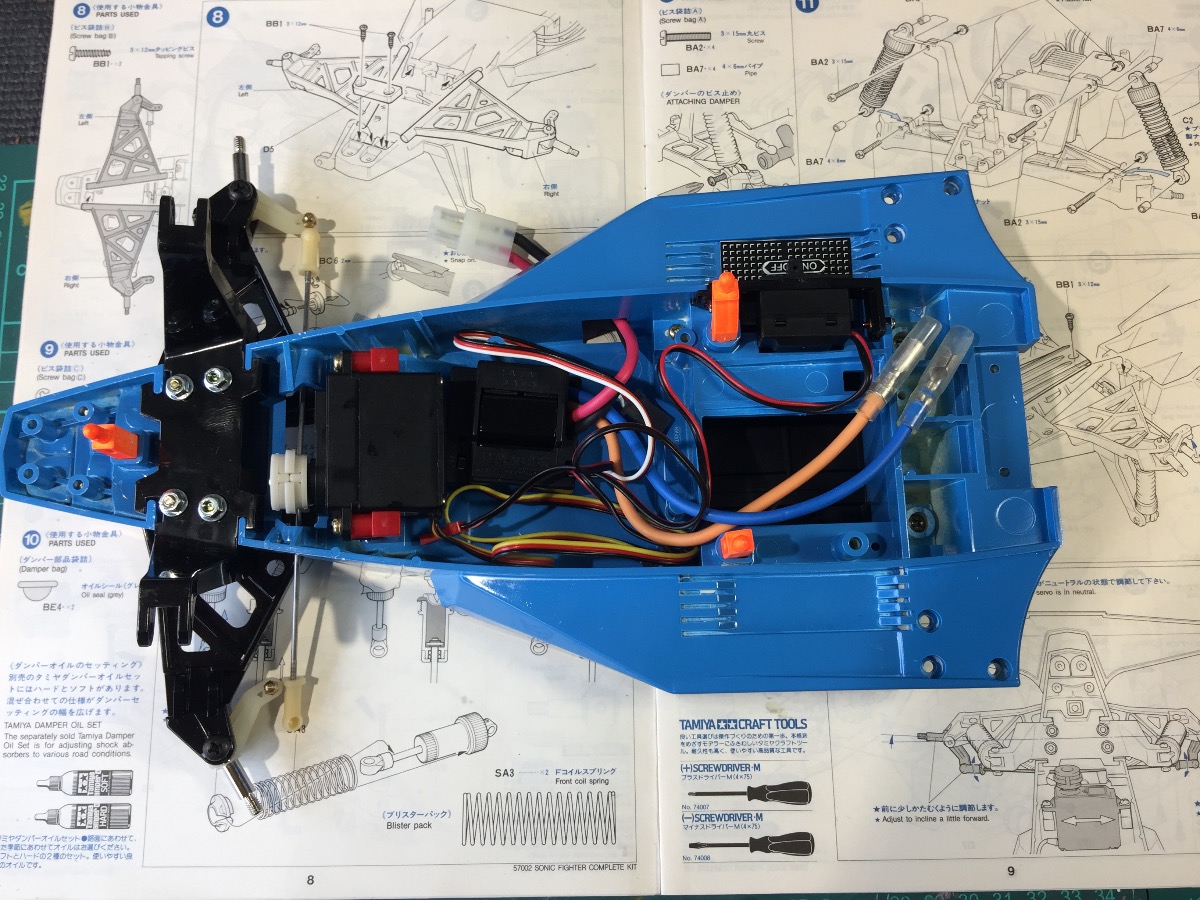
A wonderful , simple kit to build . So nice , as a break from some of the more complicated RCs we get now. 
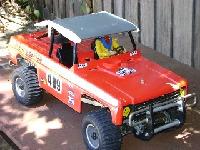
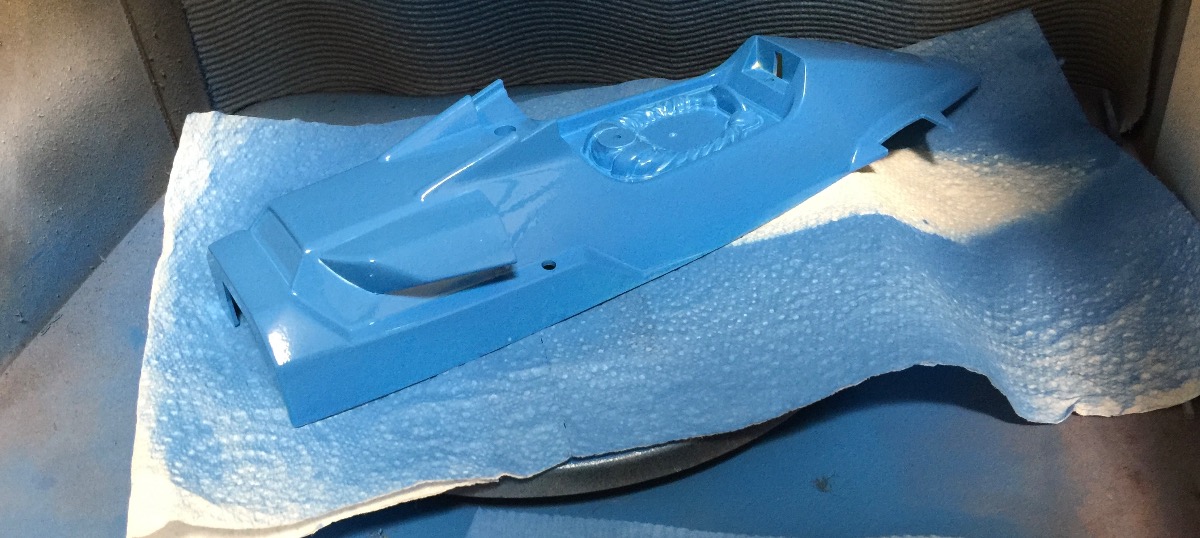
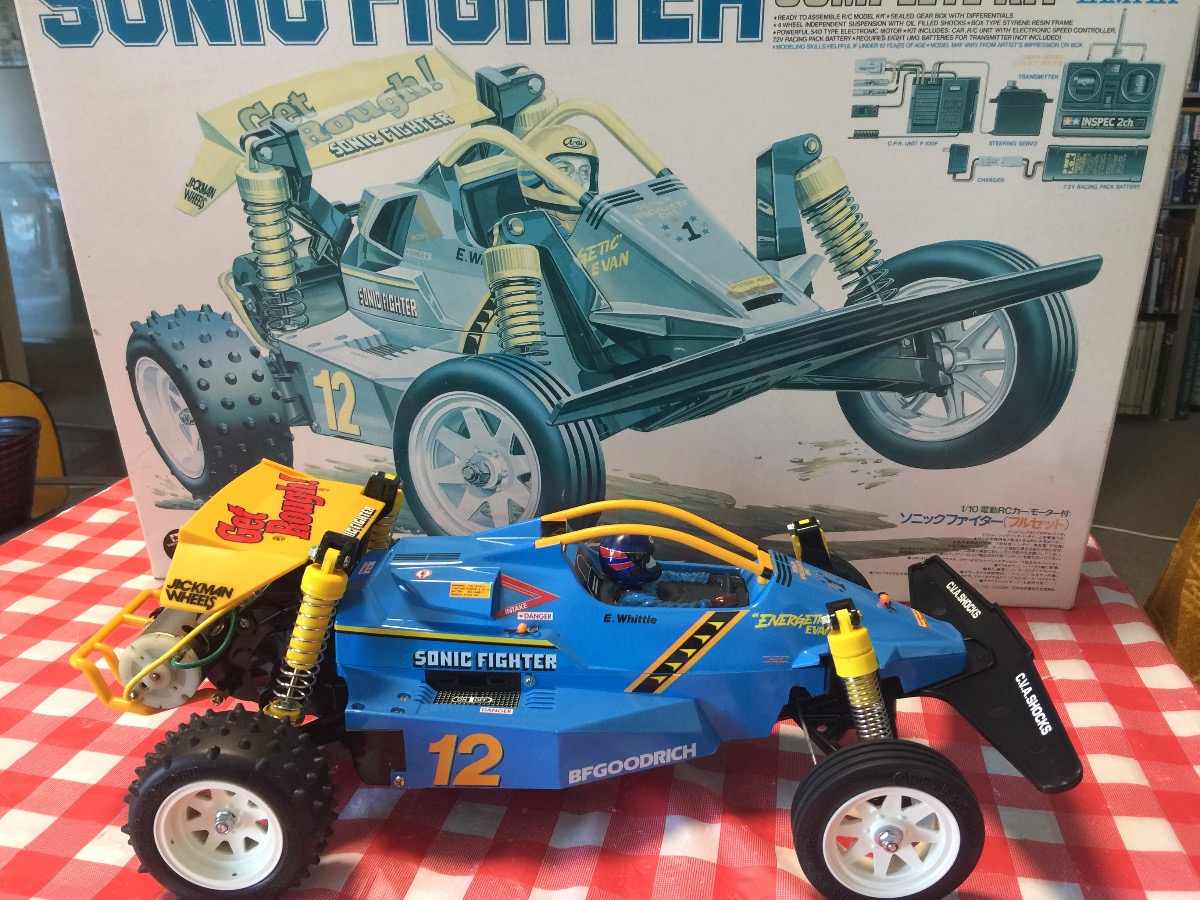
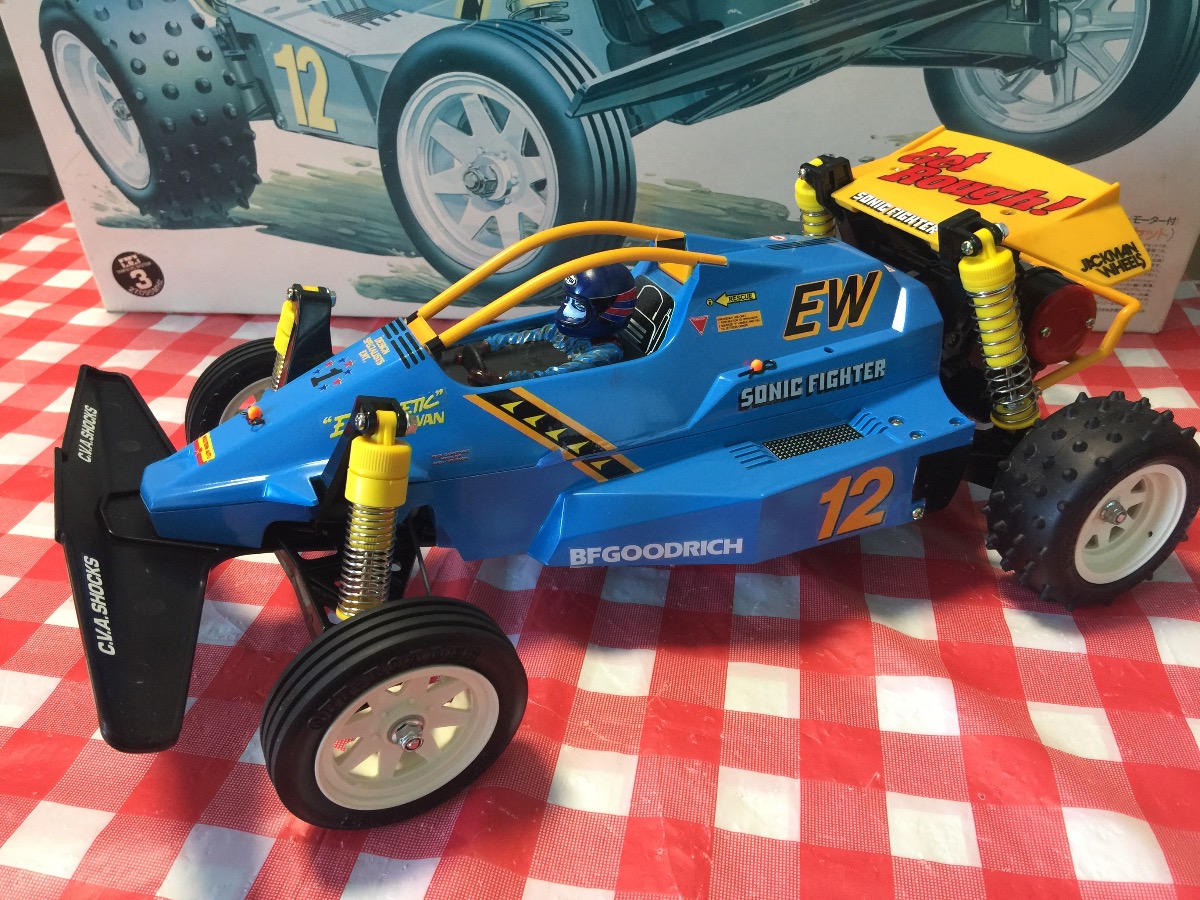
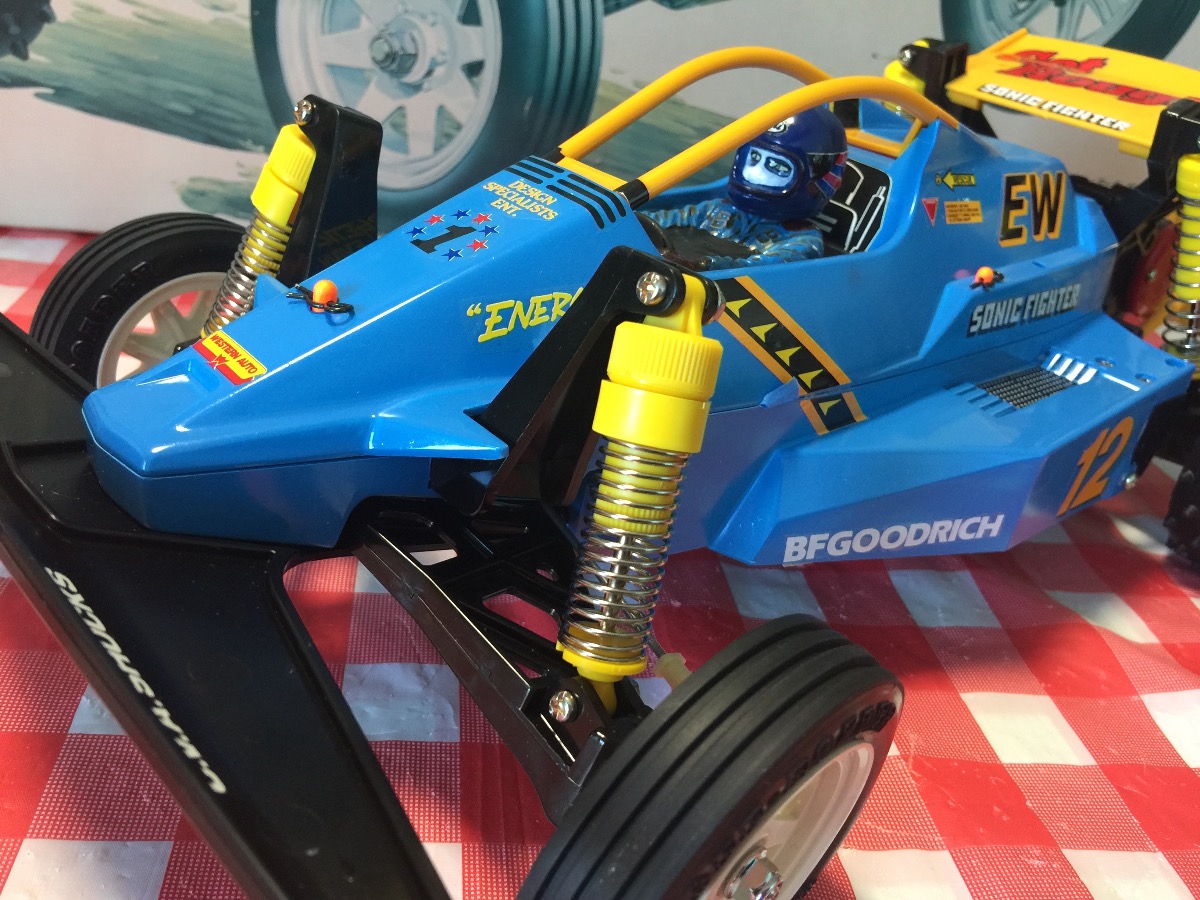
And this this is certainly going to be a colourful buggy. ** 
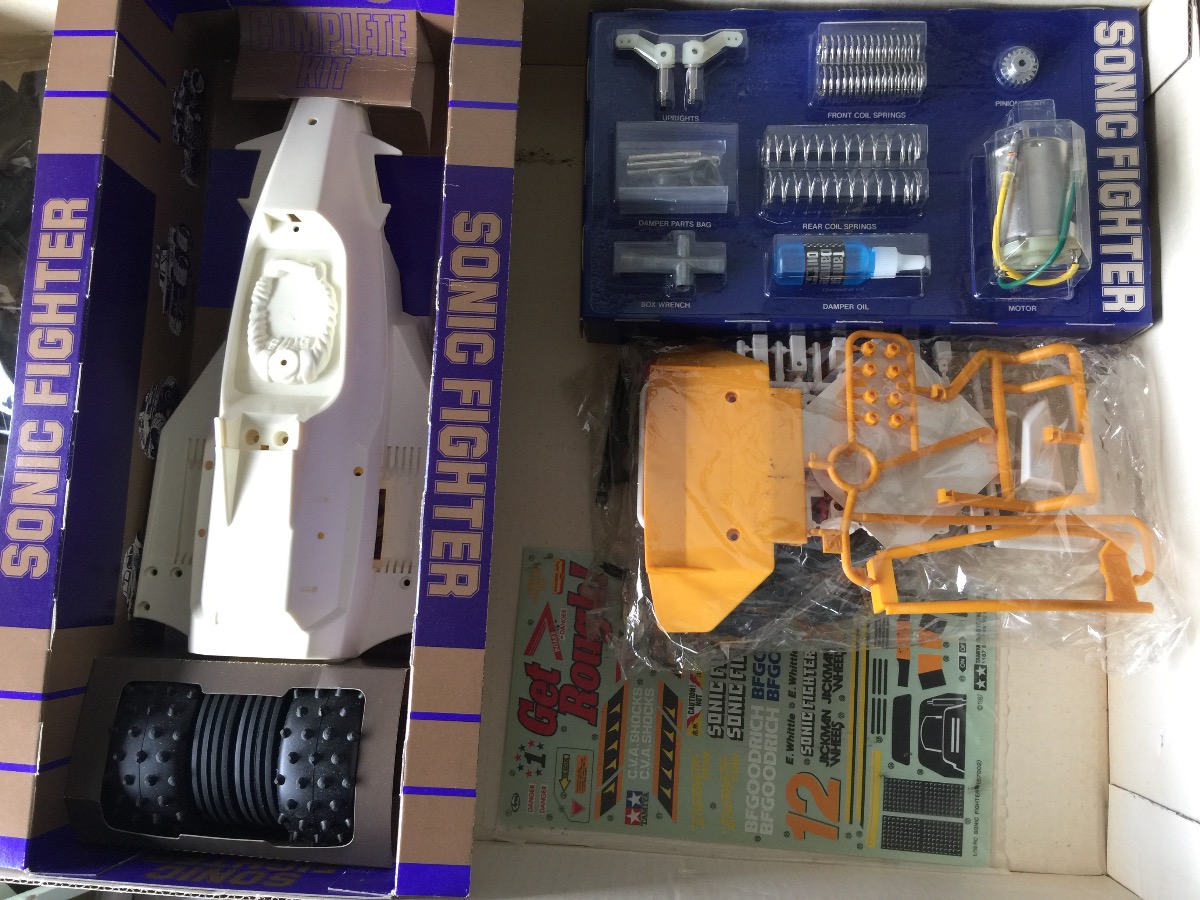
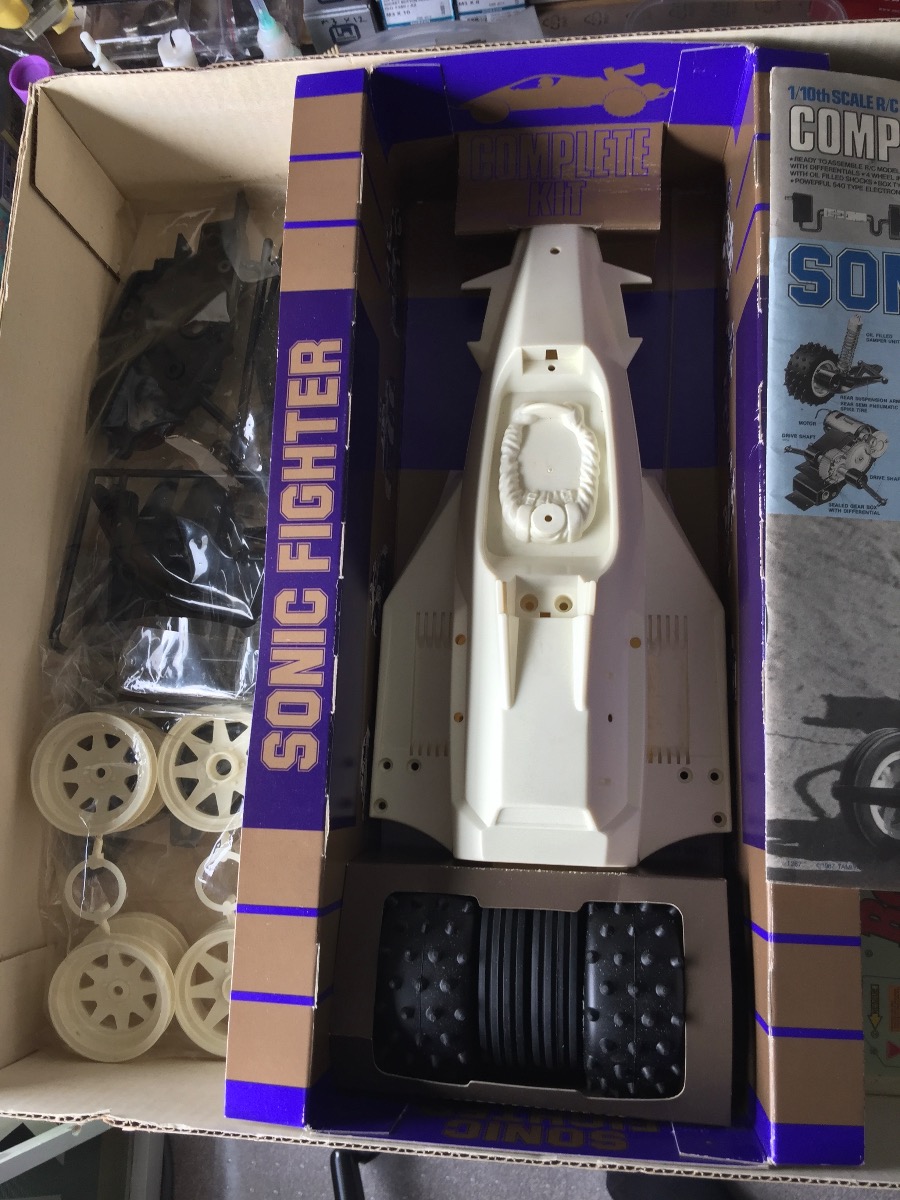
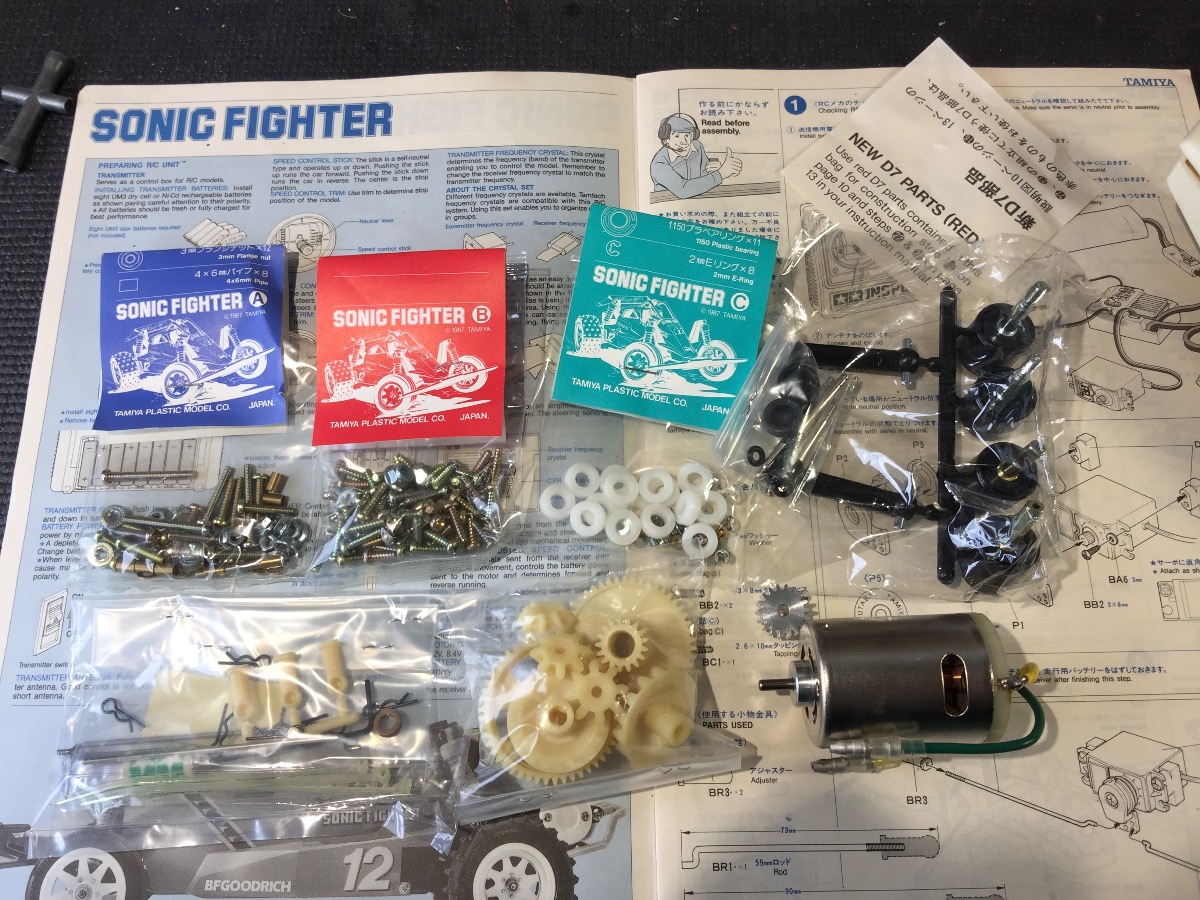
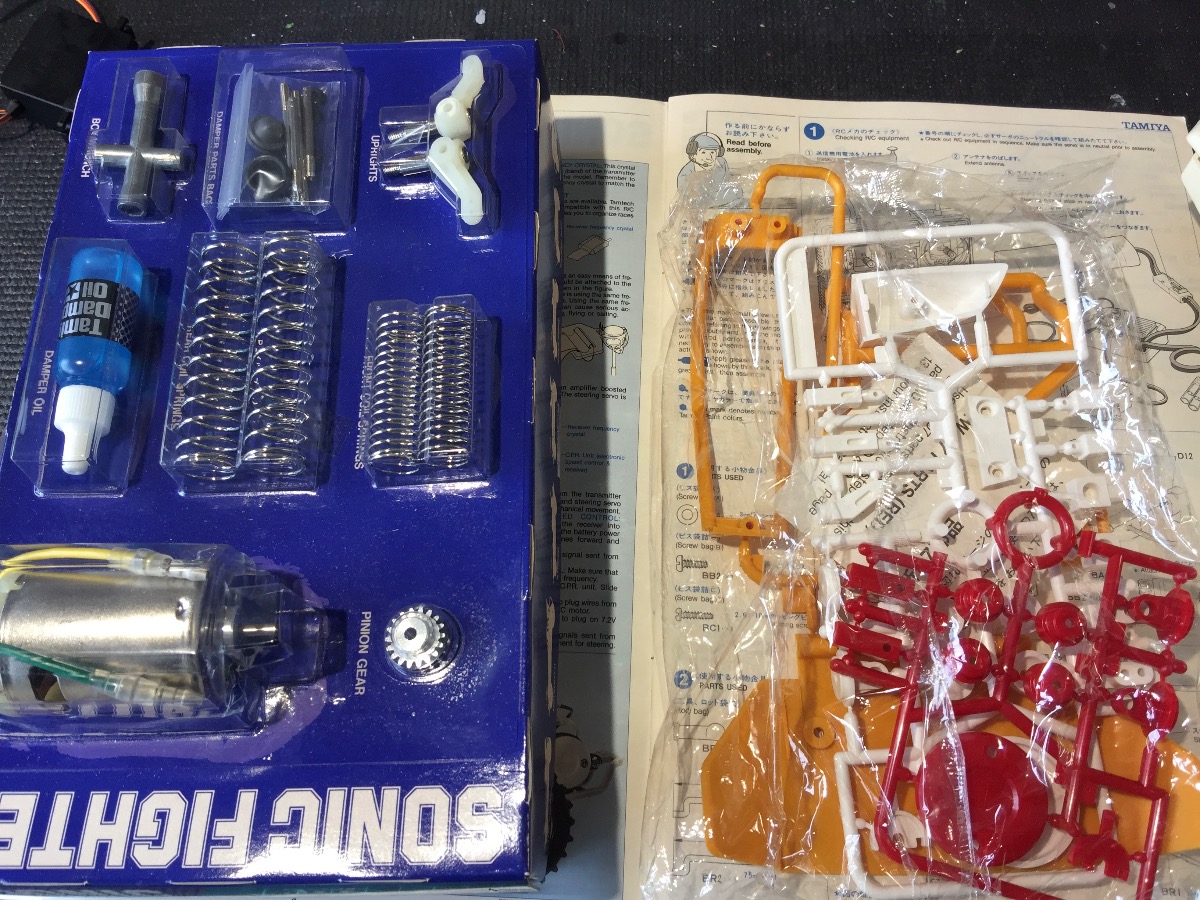
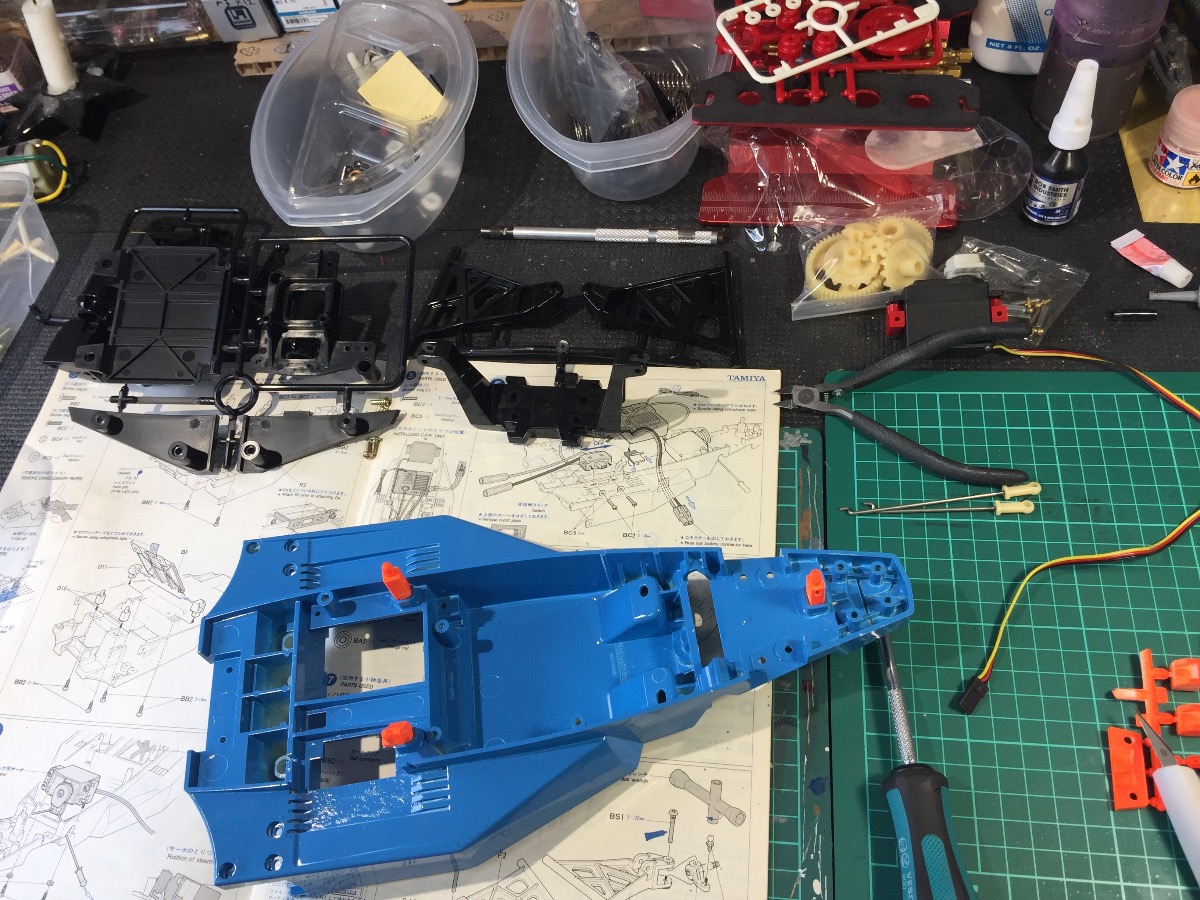
I'm not sure if this was normal for the Sonic Fighter kit, but the leaflet included in the instructions asks the builder to replace a large part of WHITE D sprue , with a RED D sprue which is included with the kit. Hence the red servo stays and motor cover.
The following user(s) Liked this: stingray-63, 1972 LeMansGT Jim
|
|
Please Log in to join the conversation.
Last edit: by mirrorman.
|
|
I never saw these red parts before.
The following user(s) Liked this: mirrorman
|
Please Log in to join the conversation. |
|
|