Keyword

TOPIC:

58111 Mountaineer resto 10 years 2 months ago #27970

Hello,

It's been a while since i got this boxed Mountaineer off E-bay for a good price.
Even if i have an ongoing resto thread (WW SWB) i decided to start with this one. I decided to start working on the body of this one in order to apply the primer coat simultaneously with the WW body.
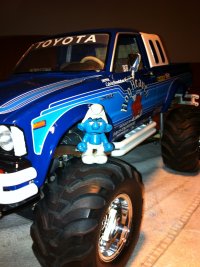
Just a small reminder of how i got it :


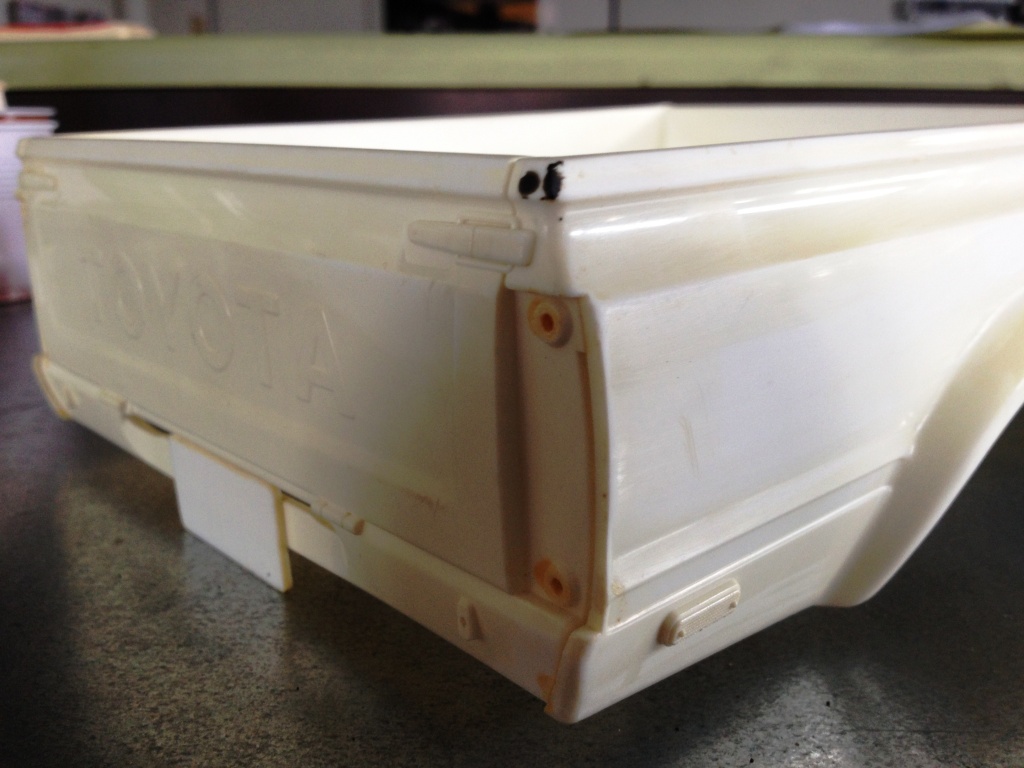
Check the hole in the box caused by the front body mount :angry:


The body has several cracks on it, but on the other hand it has never been painted


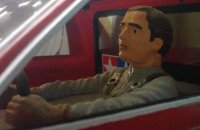
Cracked cockpit holder


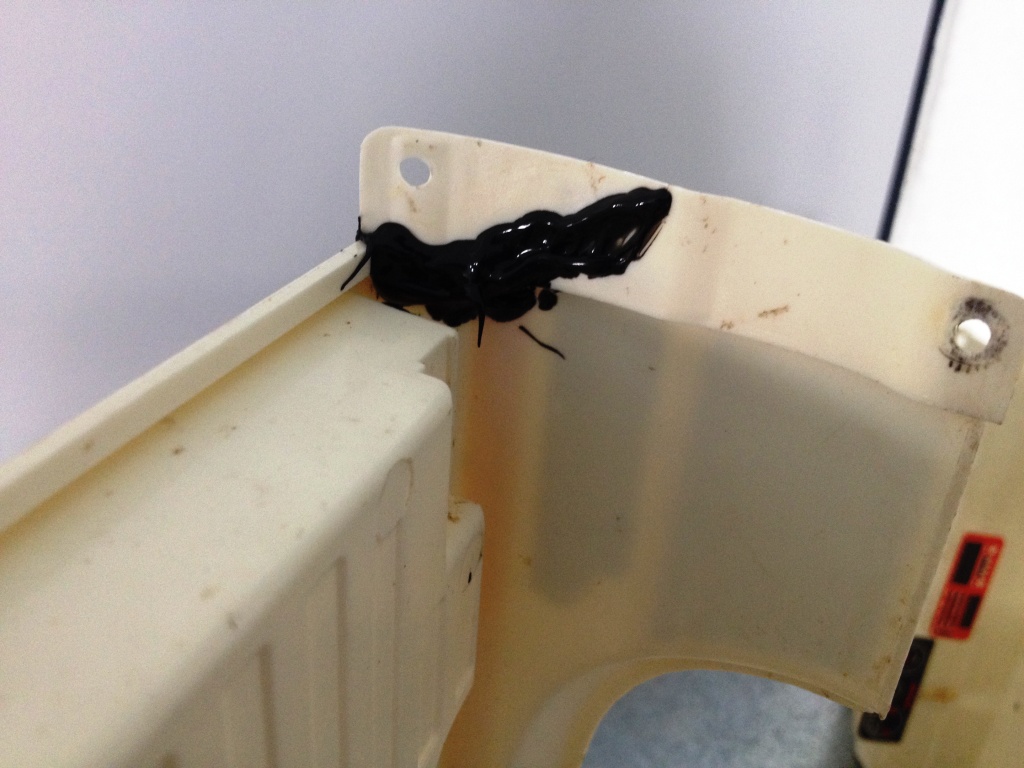
Cracked rear cab and broken Rollbar mount, fortunately the broken piece is still on the rollbar


Those are the worst parts that require speciall attention/work.
The next steps are removing the decals and think about how i'm going to repair the dammaged parts.
Proud owner of the Bruiser Family

Please Log in to join the conversation.

Last edit: by Manotas.

58111 Mountaineer resto 10 years 2 months ago #27971

I decided to start with the front cab...

I had to heat up a bit the roof to bend it a bit so that he recovered the right place/shape. After that i applied my 2 compound "plastic repair" kit, everything held in the right position with tape.


I also covered all the rollover marks that the poor front cab had in it..


Also repaired the rear cab holder


And one of the cockpit holders


In the next few days i'll have to sand everything and get it ready for the first coat of primer.
Luckily the weather conditions are getting better :y:

I will update this real soon
Thanks for looking
Proud owner of the Bruiser Family
The following user(s) Liked this: achmedachmed

Please Log in to join the conversation.

Last edit: by Manotas.

58111 Mountaineer resto 10 years 2 months ago #27974

:woohoo: :woohoo: :woohoo: :woohoo: :woohoo: :woohoo:
And the chassis??? picts picts picts!!!!!! :evil:

Please Log in to join the conversation.

58111 Mountaineer resto 10 years 2 months ago #27977

I know this feeling :D, Restoring vintage kits are more fun than the NIB kits, a lot more work but also more rewarding when it is 100% as you want it to be. Even the search for missing or beyond repair stuff is fun!

Have fun

Feraz (I didnt mention the wallet on purpose :P )

Please Log in to join the conversation.

58111 Mountaineer resto 10 years 2 months ago #27992

Sweeeet :y: Looking forward to this :y:
If you can't fix it with a hammer, you've got an electrical problem mate :)

Please Log in to join the conversation.

58111 Mountaineer resto 10 years 2 months ago #28036

Hello,

Small progress on the body of this Mountaineer....
It took me a while to sand everything and give the right shape to the "gutters".
As i'm writing this, i had to fill again a few parts of it, because my first attempt wasn't satisfiying. I will keep you updated


I'm still working on the rear bed....i had a few surprises and had to fix many parts of the rear bed...it had a few cracks i did not see.

@ Stingray,
The chassis pictures will follow soon :lol:

Thanks for looking
Manotas
Proud owner of the Bruiser Family

Please Log in to join the conversation.

58111 Mountaineer resto 10 years 1 month ago #28106

A small update on this one...

I've been very busy last week with work, but i found some time to keep this project ongoing.

I worked on the rear bed, sanding the cracks the rear bed had and sanding all the marks all around it.


Rear bed mount on the front cab, sanded and fixed


Rear right corner also filled and sanded


Glued right rollbar mount, it looks better in real than on the picture :silly:


That's it for now....
I'm still working on small details, sanding minor scratches here and there and still need to reconstruct the front left window moulding


Thank you for looking
Manotas
Proud owner of the Bruiser Family

Please Log in to join the conversation.

Last edit: by Manotas.

58111 Mountaineer resto 10 years 1 month ago #28113

Nicely done :y:
If you can't fix it with a hammer, you've got an electrical problem mate :)

Please Log in to join the conversation.

58111 Mountaineer resto 10 years 1 week ago #28567

I thought that working in paralell with 2 ongoing projects would take less time...unfortunately i was completely wrong !
The only advantage is that the paint job can be switched from one body to another without having to clean the desk each time :lol:

Anyway, i managed to finish sanding the front and rear cab, apply the first coat of white Tamiya primer and repeat thos steps 2-3 times.


As i'm writing this, i applied the first coat of red....but ran out of it and my local hobby shop has to order them :cry: :cry:

The good news is that i found an origila decal sheet and it should be arriving real soon !

thanks
Manotas
Proud owner of the Bruiser Family

Please Log in to join the conversation.

58111 Mountaineer resto 10 years 1 week ago #28579


Oh I love it when I run out of spray :blush:
If you can't fix it with a hammer, you've got an electrical problem mate :)
Attachments:

Please Log in to join the conversation.

Moderators: caprinutstingray-63AndyAus
Time to create page: 0.179 seconds
Cookies are required to make this site work. If you continue to use this site you permit us to use cookies.