|
Not so much a restoration tip ... but it’s close enough
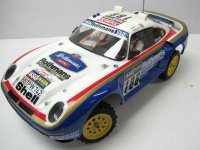
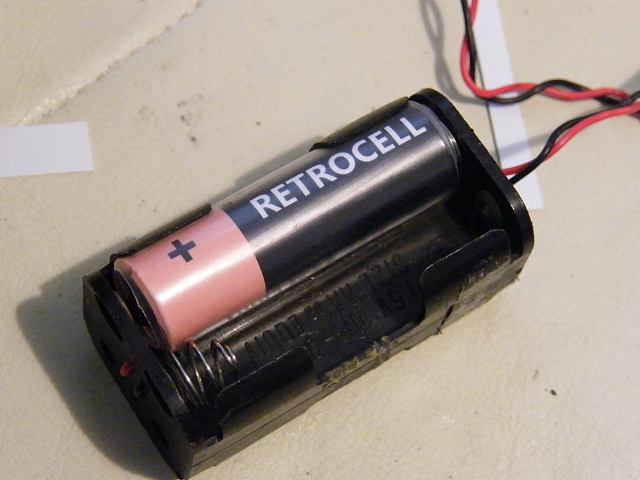
I like to maintain the illusion that all my cars are ready to go – that I could just switch them on & drive them ... in cars with ESCs or BECs that’s ok, but in older cars where the radio needs it’s own 6v source, I don’t like to see the four AA holder empty ... Putting in dead batteries isn’t an option as they’ll leak, putting in fresh batteries is wasteful, and eventually they become dead batteries ... and the dummy cells I’ve seen on eBay are either for use in tandem with Lipo AA cells, and look very boring, and are in Hong Kong, or are expensive “stash” holders in a very unconvincing livery ... so, I asked myself, “how hard can it be?” Bits needed: Suitable bar material – e.g. 14mm Aluminium Short M3 button head machine screws (stainless would be better) Clear heatshrink tube & a hot air gun Vice, Hacksaw, Files, punch & hammer Drill & bits (I used 1.5, 2 & 2.5mm Titanium bits) Stuff for making your own labels ... I used white inkjet vinyl, an Epson printer & Paint Shop Pro ... self adhesive plastic sheet would do ... or you could just use coloured heatshrink ... - and –this is the expensive/specialist bit – set of M3 thread cutting taps & holder ... - or: 3mm drill bit & epoxy or cyanoacrylate glue 
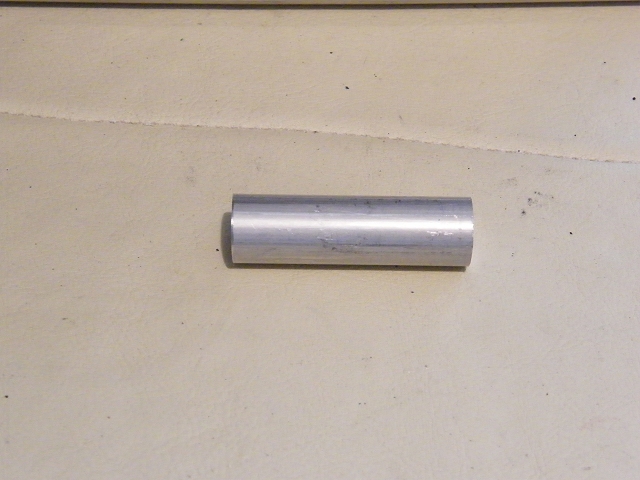
Cut & file the bar to length – AA cells are 49mm in length, I marked out at 50mm & only just got away with it due to the saw wandering & blade thickness ... I’d go a gnats wider if I were you ... 
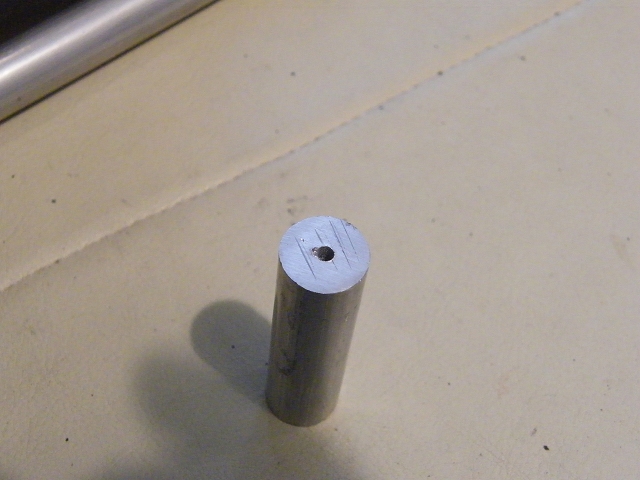
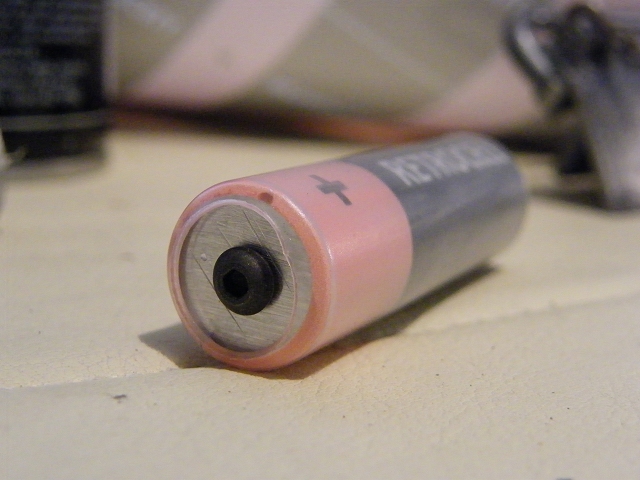
Find the centre spot on one end & punch it so your drill doesn’t wander ... try & get it right first time, unlike me ... 
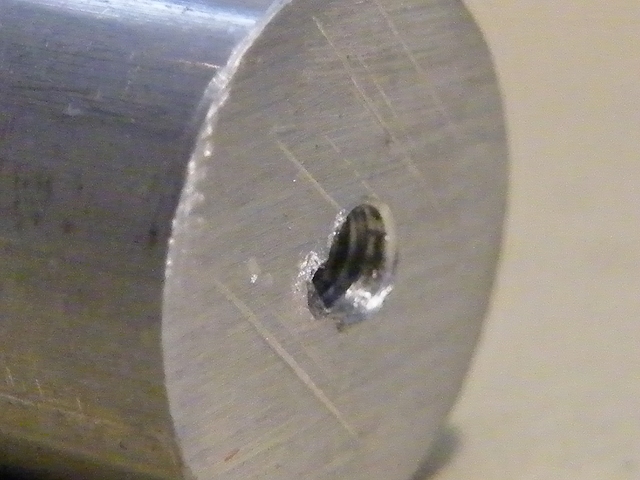
Using the 3 taps in succession (1st cut/long taper, 2nd cut/medium taper, 3rd cut/short taper), cut the thread ... Aluminium is very soft, but the M3 taps are quite delicate & I didn’t want to risk breaking one, so I went forward 1 turn, back 1/2 ... note the ragged edge to the hole, thanks to getting the centre punch wrong in the first place ... 
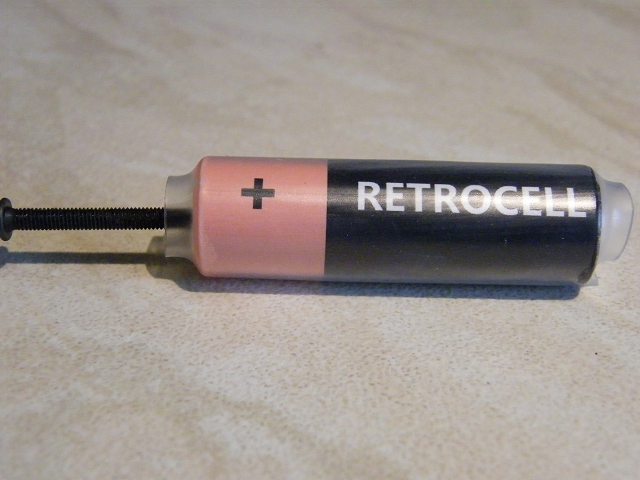
Apply your decal of choice ... 
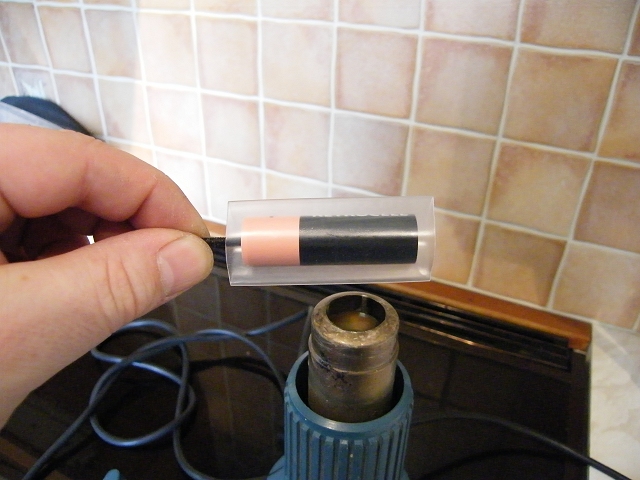
Apply heatshrink & heat – a hot air gun is a sound investment, the only colour you can really get away with shrinking with a naked flame is black ... Allow to cool... note use of long M3 screw for handling – a length of studding would be better... Trim off any excess & fit short M3 screw ... Fit & repeat process for however many you need |
Please Log in to join the conversation.
Last edit: by larbut.
|
This is a very good idea!
I always try to make my restored chassis as close to "RTR" as possible, and these dummy batteries will take it a new step up. I just might get myself a couple of meters of aluminum rod and start fabricating. Thank you for sharing -Lars Signature now gets correct formatting if you edit it in your Profile. Use normal BBcode if you want.
www.tamiyabase.com was formatted automatically. |
|
Please Log in to join the conversation. |
I love to see people making things like this! A couple of pointers - when drilling/tapping aluminium, particularly the really soft stuff, it's much easier & you get a much better finish if you lubricate the tap with WD40 or paraffin, diesel or similar (Even spit works!). If your tapped hole is deeper than a few mm, keep backing the tap all the way out & clear the swarf out of the flutes (Otherwise it can bind or jam in the thread, & possibly even tear the thread out). As an alternative to tapping & fitting a cap screw, there are small "drive rivets" available that would look the part for this project. You've probably seen them before but not realised what they are - They are usually small, dome-headed rivets, with a fast helix up the shank & are usually used for holding metal plates to machinery. To use, you drill an appropriately sized pilot hole, then tap the rivet in with a small hammer. The helix makes the rivet "turn-in" & secure itself without the need for special tools or deforming the rivet. Most engineering suppliers can get them if you ask, RS used to sell them but I'm not sure if they still do. I'll have a dig about & see if I can find one to post a pic of...
Custom F2
...
Hilux crossmember drawing
...
F2 axle drawing
...
Quattro radio lid
...
Holiday Buggy motor bracket drawing
...
Quattro resto
...
HitnMiss engine
...
Wild Willy resto
...
Mardave Cobra resto
...
Thunder Dragon resto
...
Grasshopper resto
...
XR311 resto
...
Modded XR311
...
Carbon 25th scratch build
|
|
Please Log in to join the conversation. |
Gave up trying to get a decent pic of one, so see www.indiamart.c...-nuts.html "Nameplate rivets" & Ebay(uk) 250956238702.
They come in all sorts of materials & sizes, the ones I have here look nearly identical to the +ve pip on a AA battery
Custom F2
...
Hilux crossmember drawing
...
F2 axle drawing
...
Quattro radio lid
...
Holiday Buggy motor bracket drawing
...
Quattro resto
...
HitnMiss engine
...
Wild Willy resto
...
Mardave Cobra resto
...
Thunder Dragon resto
...
Grasshopper resto
...
XR311 resto
...
Modded XR311
...
Carbon 25th scratch build
|
|
Please Log in to join the conversation. |
Now placed in the new build category . |
|
Please Log in to join the conversation.
Last edit: by Edou.
|
|
HI!... J/R :
I am going to be making a ton of these "DUMMY" batteries for all my shelf queens. I have everything to make them except the labels. Would you be willing to make me some? I would need about 50. PM me if u don't want to discuss it here on the forum. Thanks : Neal |
Please Log in to join the conversation. |
|
If I were to do these again, I'd either find much, much thinner heatshrink - or do without it.
|
Please Log in to join the conversation. |
|
HI!... Ya mine will be 95% going into 4 AA receiver packs. Did yours fit tight into those with the clear shrink tubing?
|
Please Log in to join the conversation. |