|
|
Hi everyone,
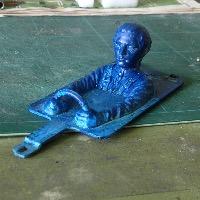
Returning from a hiatus due to health problems I'm now eager to start a new project. Last week I received a vintage Rough Rider which is in need of considerable restoration. I'm really pleased to finally aquire this model as it holds so many great memories. Although when I returned to RC over a year ago, I wasn't prepared for the demand, and consequently the high price, these cars fetched. And even though my Rough Rider needs substantial attention & refurbishment, it was still pricey. 
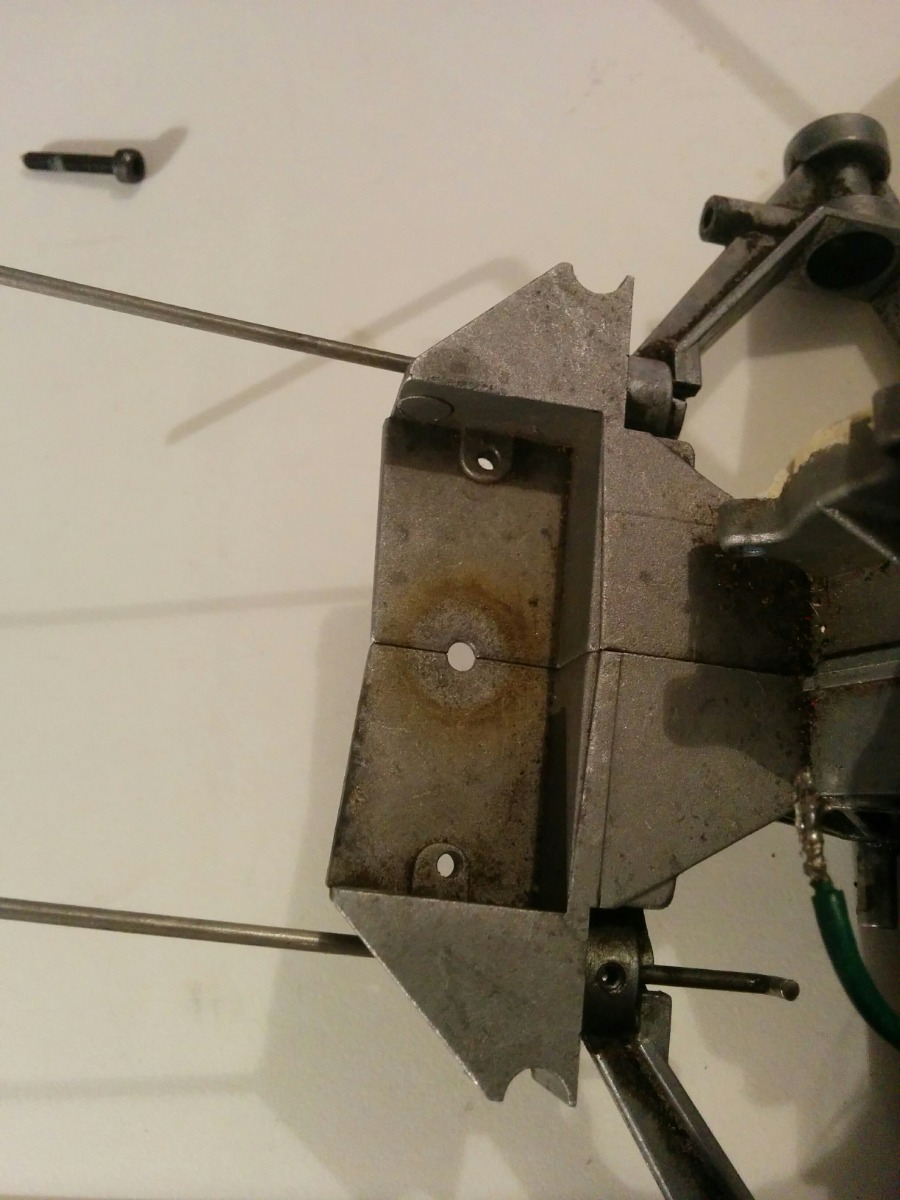
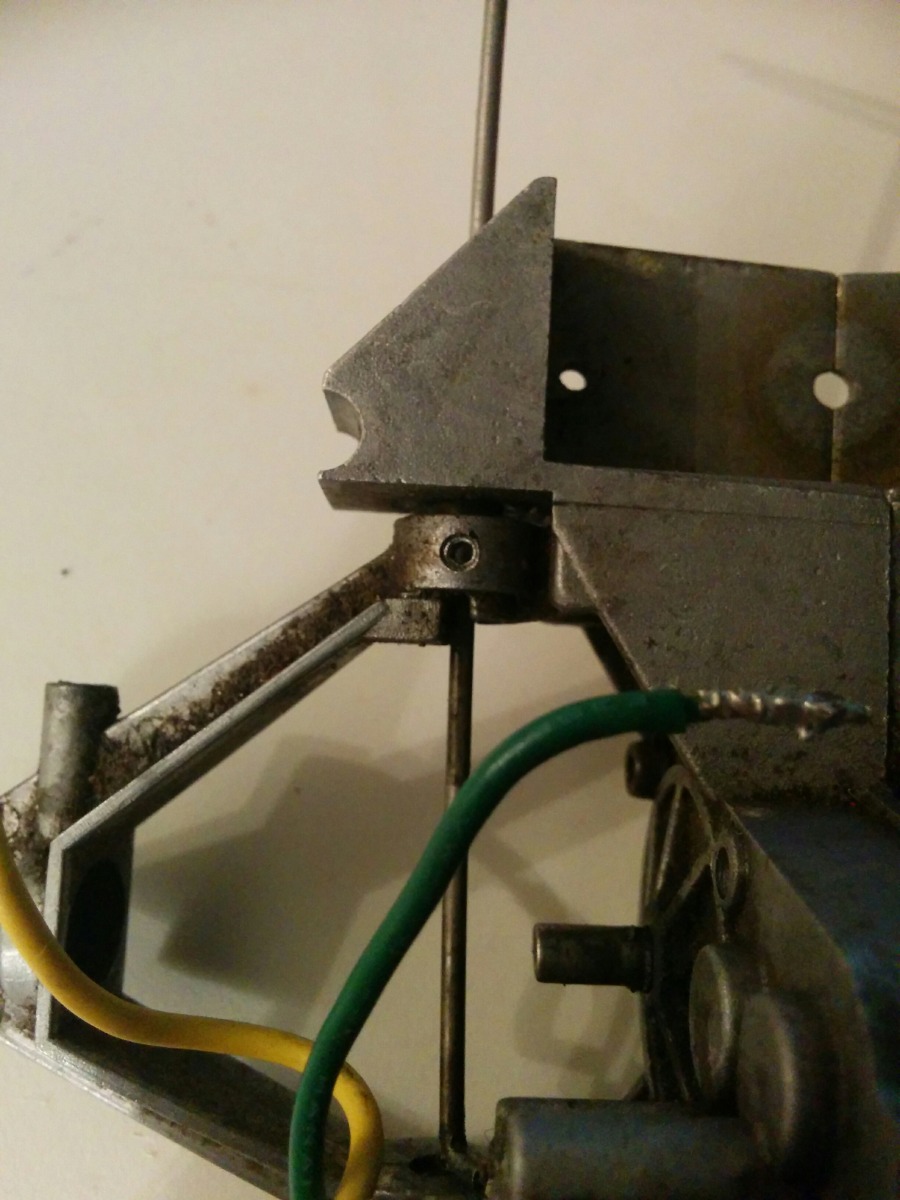
So, on to the strip down phase and I've encountered an immediate problem. The little grub screws on the rear suspension & pinion gear are all threaded and seemingly impossible to remove. I've considered drilling them out, but I'm worried about damaging the housing threads. Any advice would be greatly appreciated. Hope you're all keeping well. |
|
Please Log in to join the conversation. |
|
Welcome back The screws were probably put in with threadlock as per Tamiya's instructions BITD ... Assuming you mean the hex pattern in the top of the screw is no longer hex shaped, a few options spring to mind: 1 - get a decent quality 1.5mm hex driver (Wera, for example), tap it in & try tightning the screw a tiny bit first in the hope that breaks the bond. You could also try solvent or heat to hopefully soften the threadlock first (Acetone, or boiling water respectively); 2 - get some T-6 (1.5mm) Torx bits & bang them into what remains of the hex innthe hope the points grip; 3- more extreme, but get a load of 3mm drill bits & an M4 helicoil type kit & a load of M4 grubscrews.
The following user(s) Liked this: stingray-63, Sam
|
Please Log in to join the conversation. |
|
Like said Jonny, I would try a torx wrench, with ca bond to be sure. And heat the parts before unscrew.
The following user(s) Liked this: Sam
|
Please Log in to join the conversation. |
Thanks Stingray. I'm going to try the Torx wrench method as I tried a Hex driver after using some Acetone but I can't seem to get sufficient grip to loosen the screw.
Looking over the car, it appears I've bought a heap of trouble lol |
|
Please Log in to join the conversation. |
|
You need to pass it by the arm hole by the long angle if I remind.
The following user(s) Liked this: Sam
|
Please Log in to join the conversation. |
|
From memory I don't think you can until you've got the grubscrews out, which lock in a brass ferrule on the torsion bar on the front & a stub on the rear. Once you've got the rear stub out you can sort of wangle the suspension arm backwards & upwards, that and a bit of twist should see the long end of the torsion bar pass through the 1/2 gearbox casting, and once the suspension arm is off you'll have more room to manouvre ... much like Stingray's answer, only much less concise
Persevere with it - most cars of this age will have similar problems, the Wild Willy/Wheeler etc gearbox for example when "correctly" assembled 30+ years ago is much worse to get apart,and some of the fasteners are irreplaceable.
The following user(s) Liked this: stingray-63, Sam
|
Please Log in to join the conversation. |
|
SRB chassis are really fun to restore. Expensive but aloy casted parts are so nice. And screws are metric (easy to find in France) that is one of mt favourite châssis
The following user(s) Liked this: Sam
|
Please Log in to join the conversation. |
Hi Sam,
Jonny is correct. You need to have both grub screws out of the trailing arm. Pull the rear most part up and out. The torsion bar you need to turn as it slots out of the trailing arm, but you need to make sure the brass rod ( which is part of the torsion bar ) is pushed out of the trailing arm. So you should be able to look through the hole. If anything proves stubborn. Leave it with some WD40 soaking into the part. Be patient. And if you damage a part, they are one of the easier cars to get replacements for. Keep going they are a great build.
The following user(s) Liked this: Sam
|
|
Please Log in to join the conversation. |
|
|