Keyword

TOPIC:

Restoring a Road Wizard 9 years 2 months ago #33399

The Road Wizard , the forefather of all Tamiya F1 RC models.

Ok, that's the grand opening, the rest is pictures and text from my recently finished Road Wizard :ohmy:

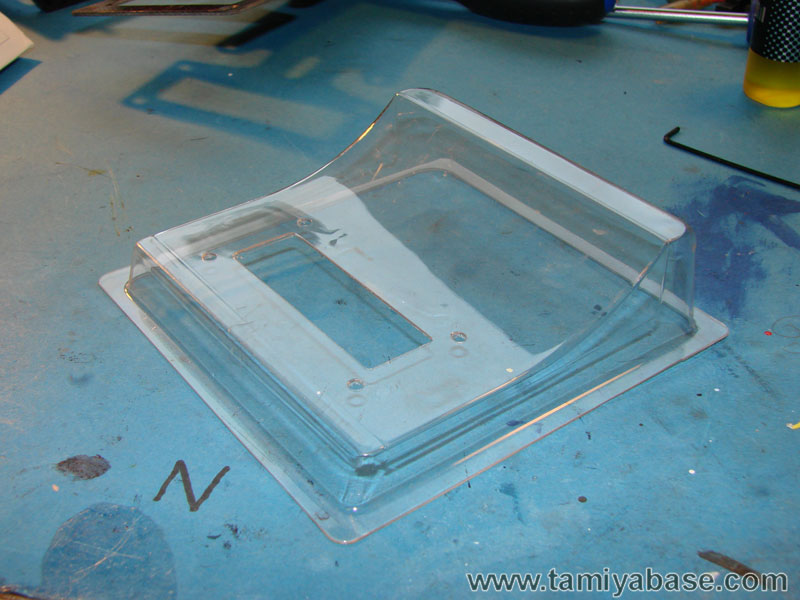
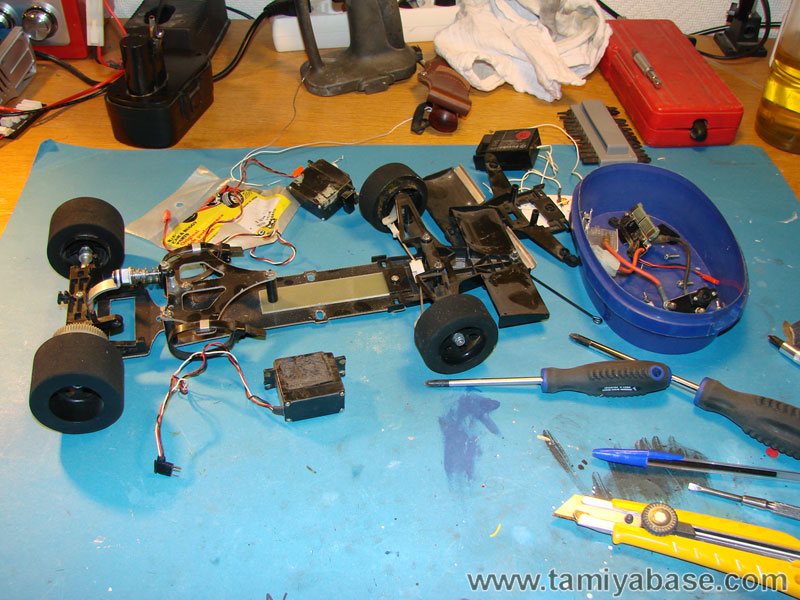
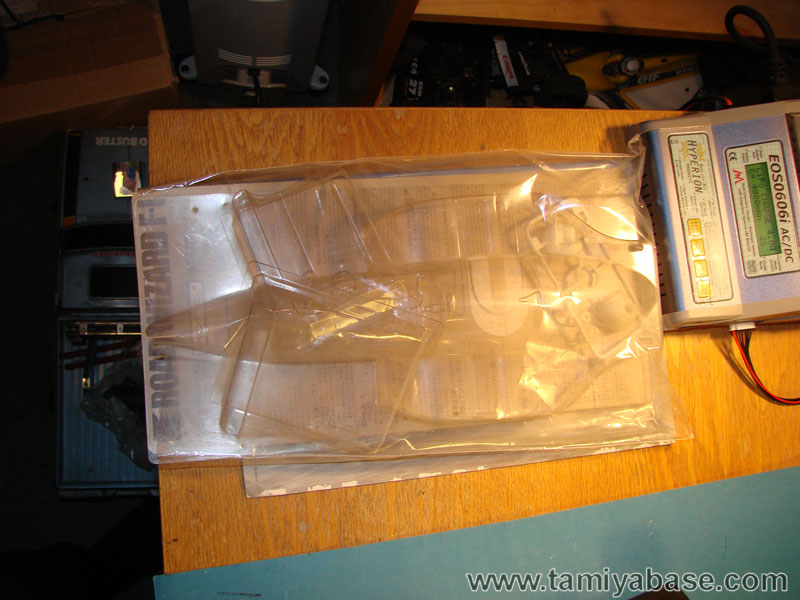
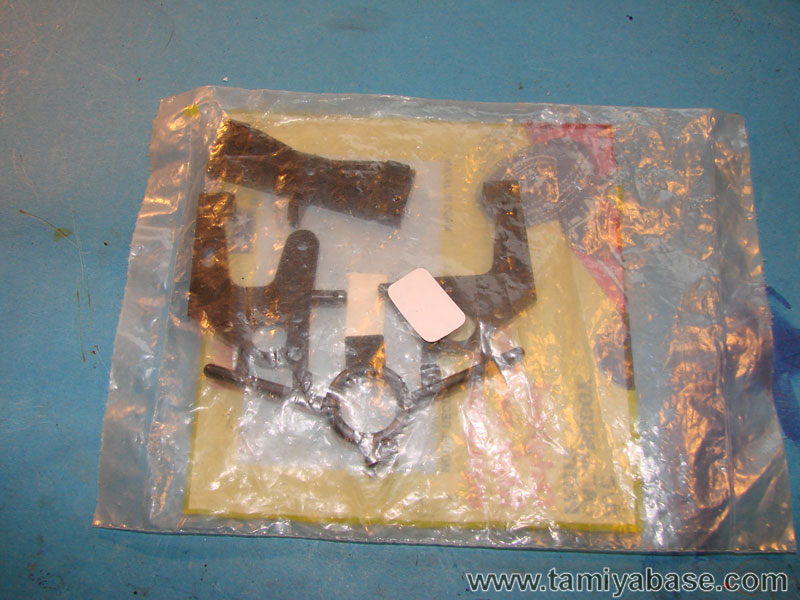
I've had this Road Wizard chassis for several years, and just figured it was time to get it done. Somewhere along the line I also picked up a "Nearly NIB" body set, all NIB except for the vent-holes behind the driver somebody made and forgot to mention in the ebay listing...

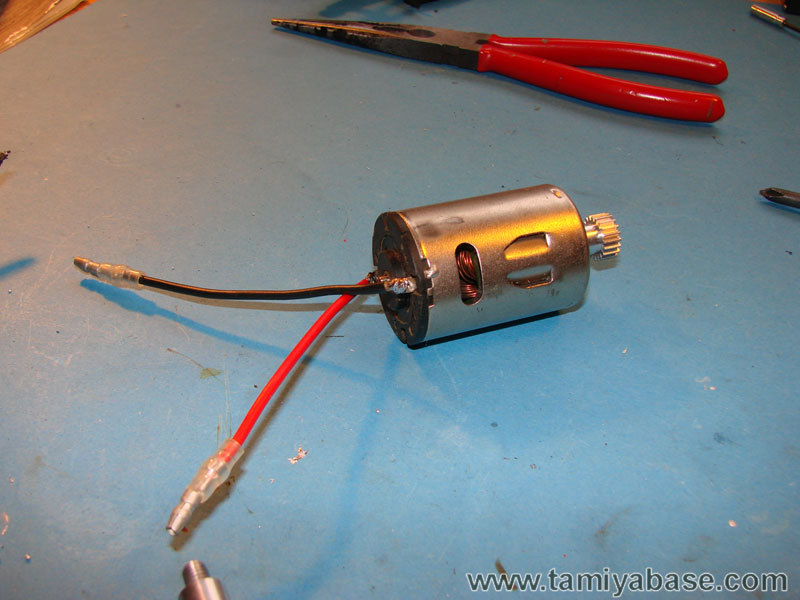
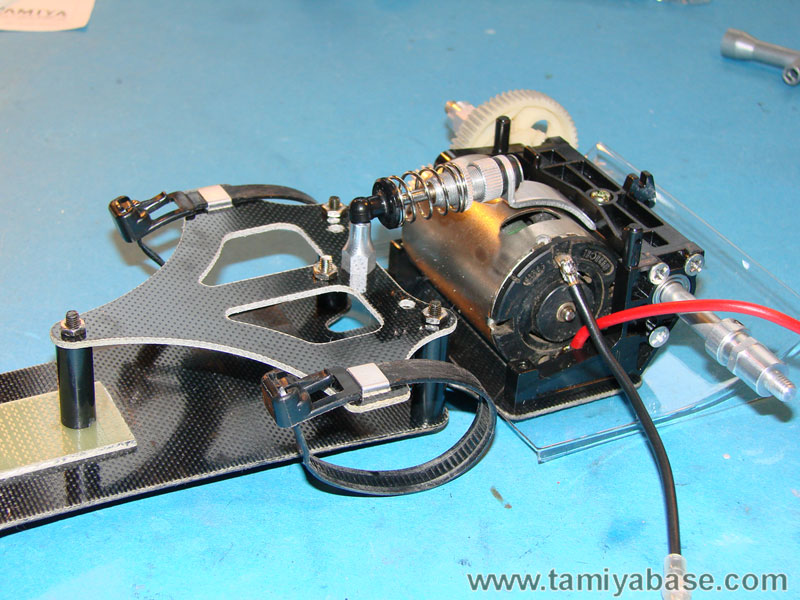
Anyway, this is where I started:


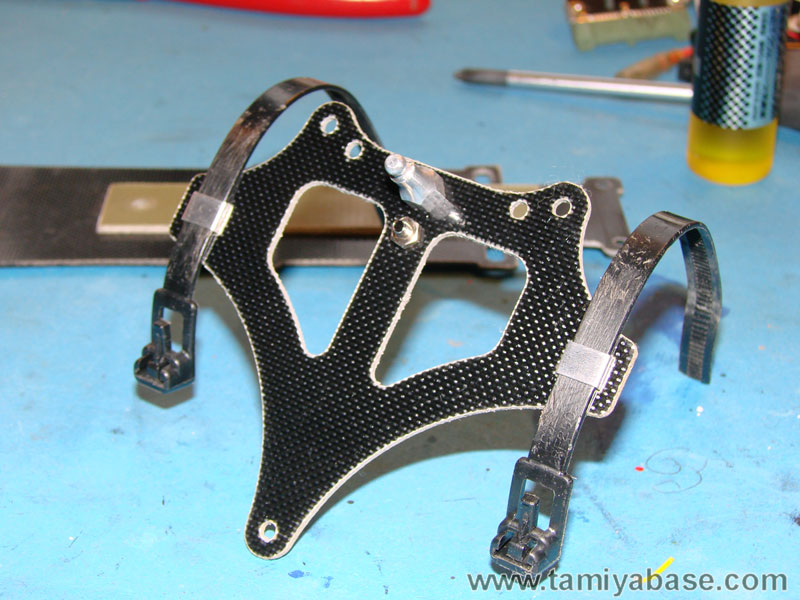
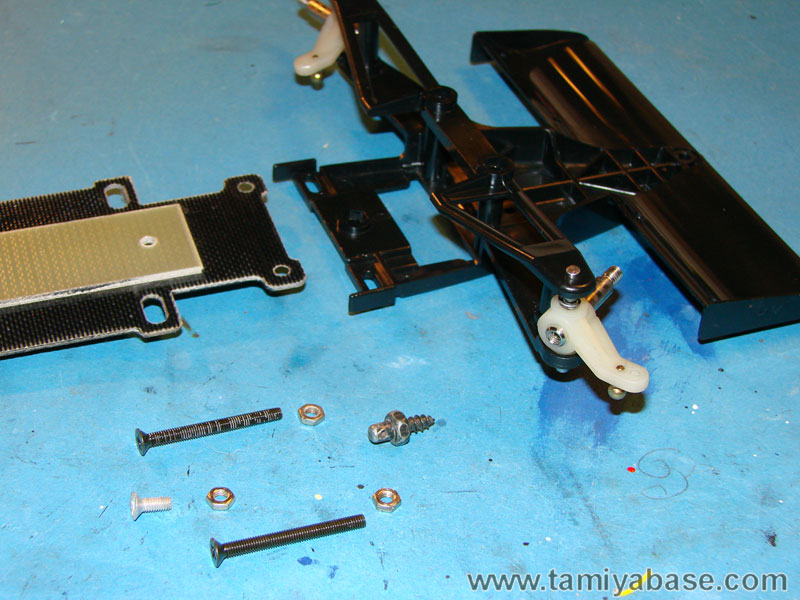
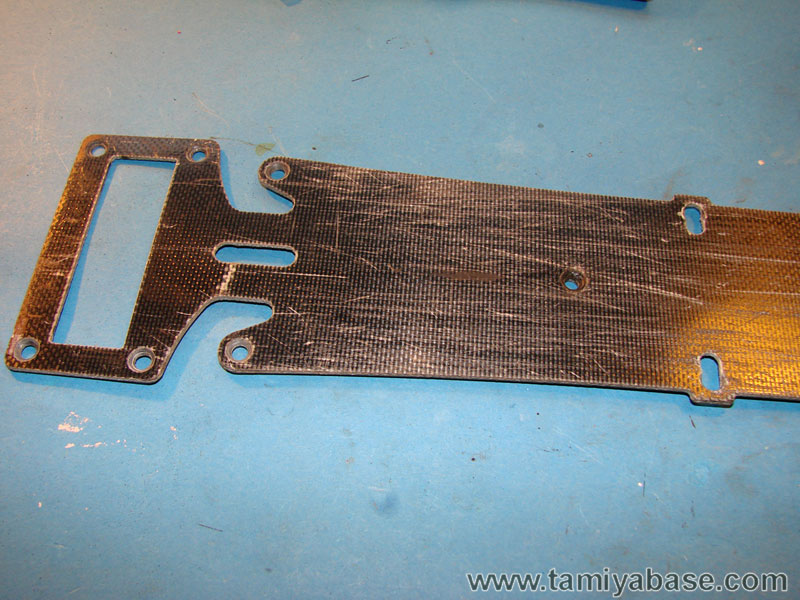
The first taks, after tearing it down and cleaning, was to mend the chassis plate as good as possible. It had the usual scratches on the underside, and I did not want to get a new one. So I decided to try out shoe polish. The FRP is black, hence black show polish was used :blink:

Before:


After:


The sharp eyed reader might notice that the shoe polish really didn't help that much... :S

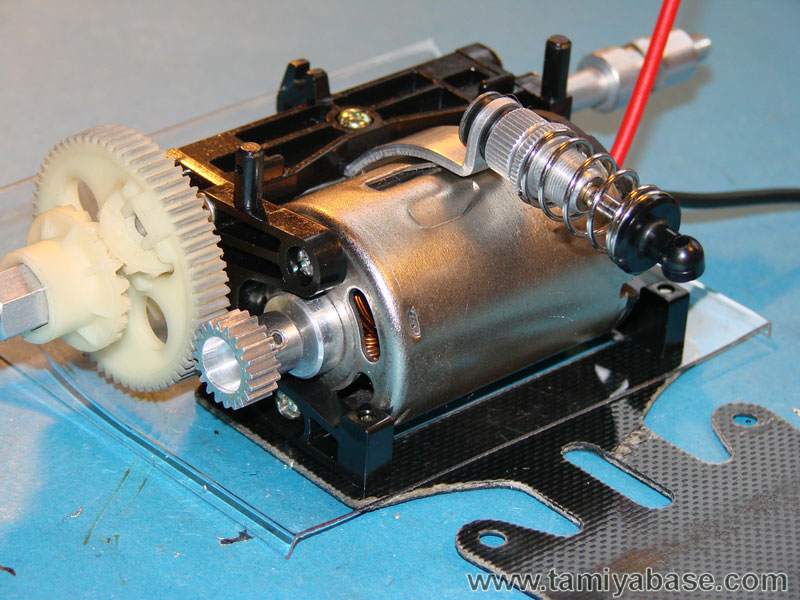
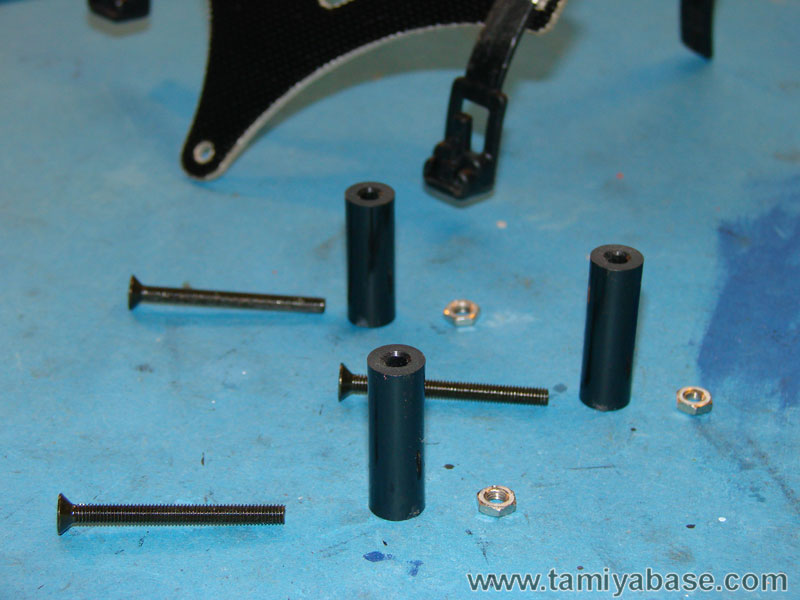
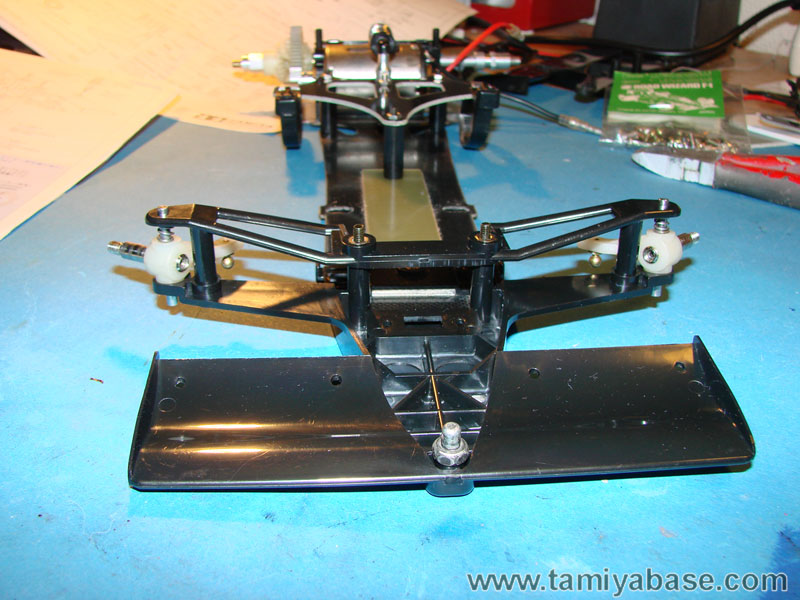
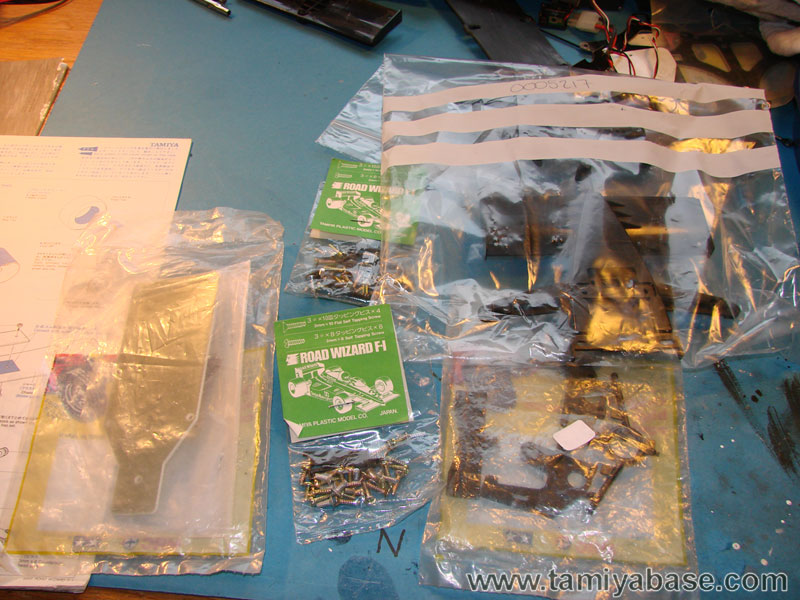
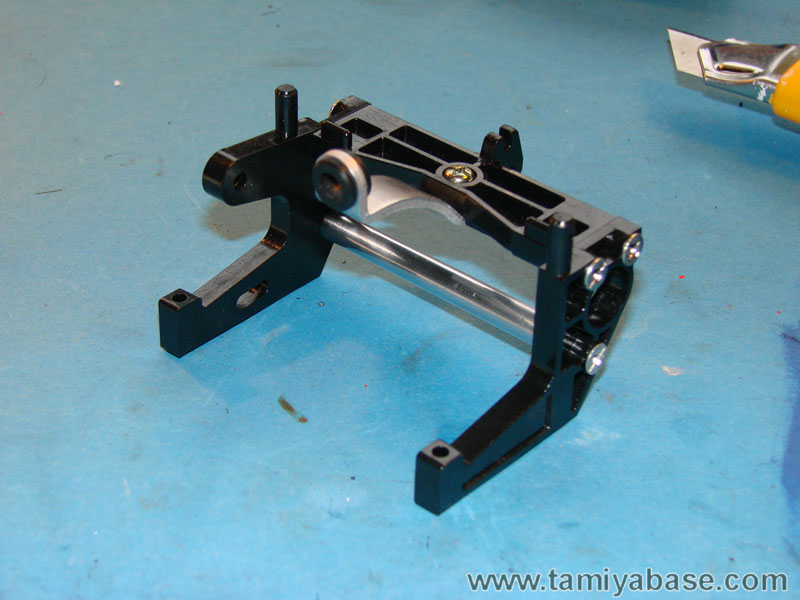
Anyway, next is to start assembly of the chassis!
Signature now gets correct formatting if you edit it in your Profile. Use normal BBcode if you want.
www.tamiyabase.com was formatted automatically.
Attachments:

Please Log in to join the conversation.

Last edit: by larbut.

Restoring a Road Wizard 9 years 2 months ago #33400

For the build, I had to get some new parts:
A- and B-parts , some screw bags and a Lotus T99 Pressed Parts Bag . (for the rear wing stay.)

The Road Wizard chassis is basically the same as the Lotus T99 and Williams FW-11B (58068 and 58069)


First item to build is the rear gearbox. Using the new plastic B-parts and refurbished metal parts gave this result:


The Damper is next. For it's age, it's a quite advanced, metal, oil filled damper. Tha damper is unique for the Road Wizard. The T99 and FW-11B has plastic CVA minis:

The parts:


Filling oil:


Adding the spring:


Mounting to the gearbox:
Signature now gets correct formatting if you edit it in your Profile. Use normal BBcode if you want.
www.tamiyabase.com was formatted automatically.
The following user(s) Liked this: Edou, stingray-63

Please Log in to join the conversation.

Last edit: by larbut.

Restoring a Road Wizard 9 years 2 months ago #33401

:y: very interesting Lars. top :)

Please Log in to join the conversation.

Restoring a Road Wizard 9 years 2 months ago #33402

Nice B)
If you can't fix it with a hammer, you've got an electrical problem mate :)

Please Log in to join the conversation.

Restoring a Road Wizard 9 years 2 months ago #33416

Thanks guys!

Next job is to mount the gearbox to the chassis plate and add axles, diff and motor.

First the diffusor had to be cut:


And then installed, in between the gearbox and the chassis plate.


Axle, and diff is next, with ball bearings as standard:


The chassis I bought did not come with a motor, but I had the correct one in spare. A bit rough, but a some polishing, cleaning and new wires was all it needed.


And then just install it. The pinion on the picture is not correct. It's a 20T and but the manual calls for 18T, which I did not have...


Next is the upper chassis...
Signature now gets correct formatting if you edit it in your Profile. Use normal BBcode if you want.
www.tamiyabase.com was formatted automatically.

Please Log in to join the conversation.

Restoring a Road Wizard 9 years 2 months ago #33417

The upper deck is quite easy...
Luckily the chassis came with the battery straps intact, although quite scuffed. Also one of the metal strap retainers was a hand made copy, but luckily I had a spare waiting :-)

The top assembly:


The distance pieces, ready for mounting.


Mounted, including attaching the damper to the damper mount.
Signature now gets correct formatting if you edit it in your Profile. Use normal BBcode if you want.
www.tamiyabase.com was formatted automatically.
Attachments:

Please Log in to join the conversation.

Restoring a Road Wizard 9 years 2 months ago #33418

On to the front end:

Here are the upper and lower arms already mounted, together with the uprights. The uprights are spring mounted, with a small spring on top of the upright giving some flex in the suspension.

The bottom arms comas in one piece together with the front wing and the chassis plate mount.


Just add some hardware:


And it's mounted:


Next is the radio gear and MSC.
Signature now gets correct formatting if you edit it in your Profile. Use normal BBcode if you want.
www.tamiyabase.com was formatted automatically.
Attachments:

Please Log in to join the conversation.

Restoring a Road Wizard 9 years 2 months ago #33419

It's an interesting chassis. Speed for the next step :silly: :lol:

Please Log in to join the conversation.

Restoring a Road Wizard 9 years 2 months ago #33420

Like the Newmans Porsche I rebuilt I like the simplicity of these models which allow for a quicker restore B) Good work Mate :y:
If you can't fix it with a hammer, you've got an electrical problem mate :)

Please Log in to join the conversation.

Restoring a Road Wizard 9 years 2 months ago #33424

Looking good B)


I don't know what you can do to restore GRP, I've only ever cleaned it & sealed the edges ... you can't sand it back to remove scratches in the same way you can on plastic, but I suppose theoretically you could add a very thin layer of epoxy then sand back to an even thickness but even that has problems - the stuff I used on my boat deck forms a very thin liquid, but even that formed rounded edges. Masking on all the edges would make the menisci concave rather than convex but would increase the sanding time ... a thin smear of something thicker (like araldite) might work instead. TBH shoe polish isn't too bad an idea :)

Please Log in to join the conversation.

Moderators: caprinutstingray-63AndyAus
Time to create page: 0.208 seconds
Cookies are required to make this site work. If you continue to use this site you permit us to use cookies.