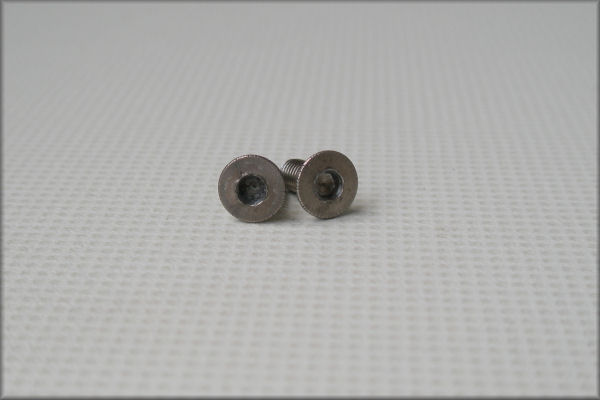
These used to be
hex head titanium screws.

I won't discuss the hassle and reassembly because I couldn't get them unscrewed anymore.
And the fact that I had to use pliers and force on the aluminium chassis mounts...
I prefer to go into denial and summarize : repeated (and a variety of) badword!

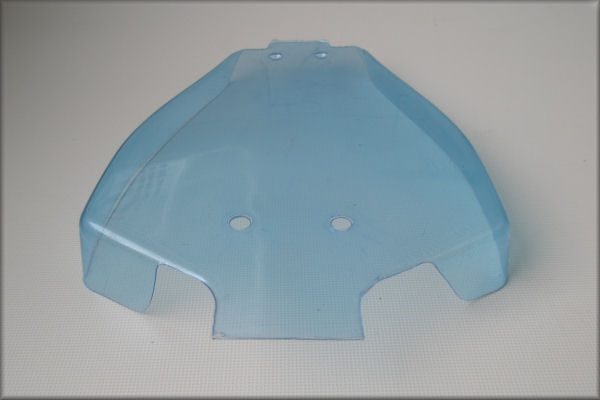
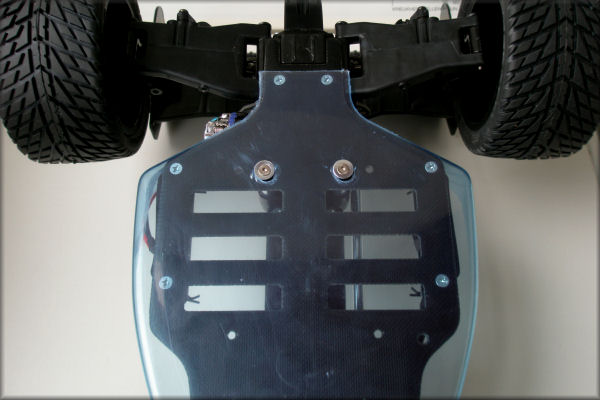
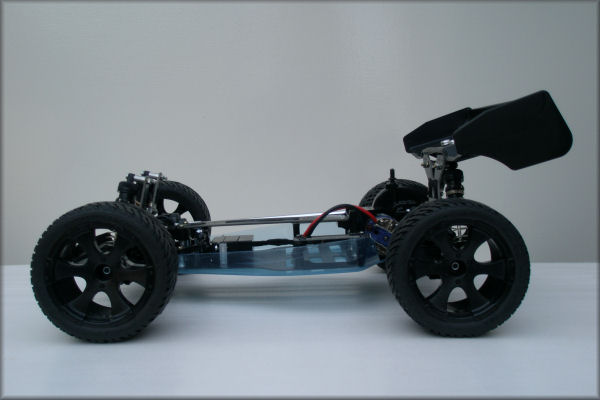
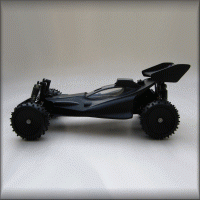
The Mark 1 TBG undercowl after cutting :
Nevermind mind the rough looking edges and apparent scratches - that is just the blue protection foil.
It is not exactly cut as one is supposed to - I've left a little more meat on it.
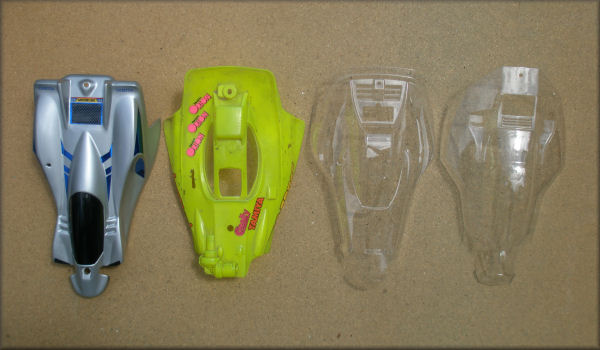
Fits like this (although not with the Terra Conquerer body yet) and why cut more than necessary?
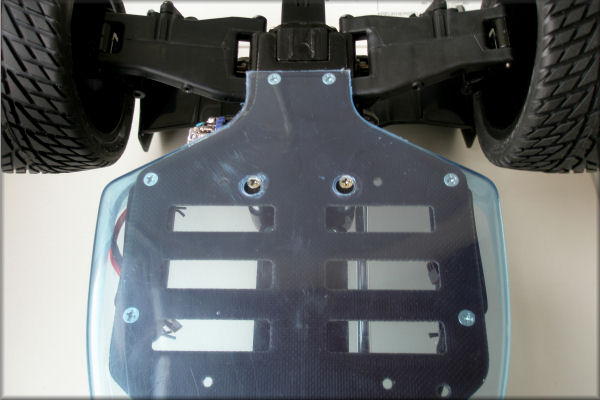
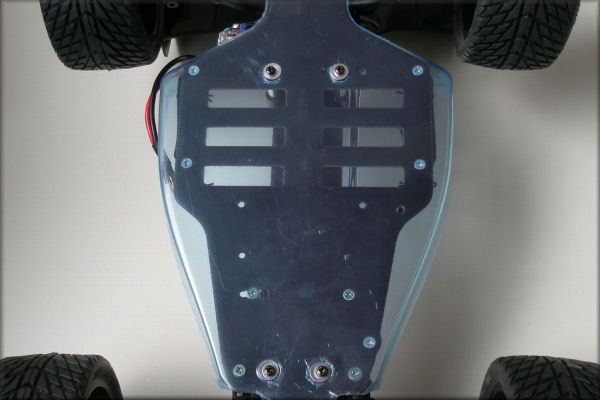
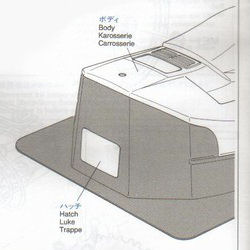
Because the dimples in the lexan where the holes should go did not aligh with the chassis, I had to dremel two of them.
That gave just enough room to expose the designated place on the chassis :
But it's quite the compromise...
Still too much dimple material on the front too because a gap was showing there :
Only thing is that if you take away more material, the holes will be too big for the screws to hold the thing down.

So you're going have to washer 'em up all round.
Which in turn means the crews need to be longer and an even bigger compromise with double washer setup and round head screws instead of countersunk. Meaning I gonna have to come up with something better.
Nothing in stock for that though.
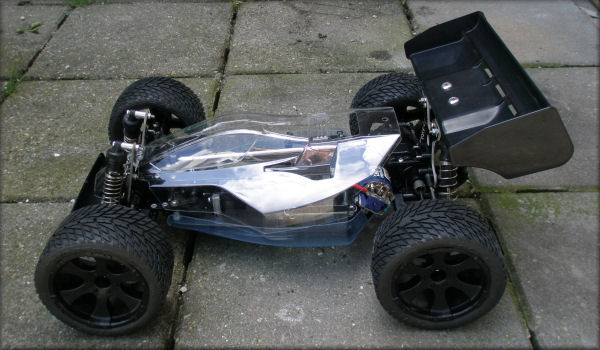
Oh well, this undercowl is for running the car and it does look pretty slick.
And probably even better when it's painted black...
")

")