|
|
This stated out as an experiment and also an opportunity to practice my modelling skills. I'll post up the build properly, but I just wanted to stick this down as a place holder. 
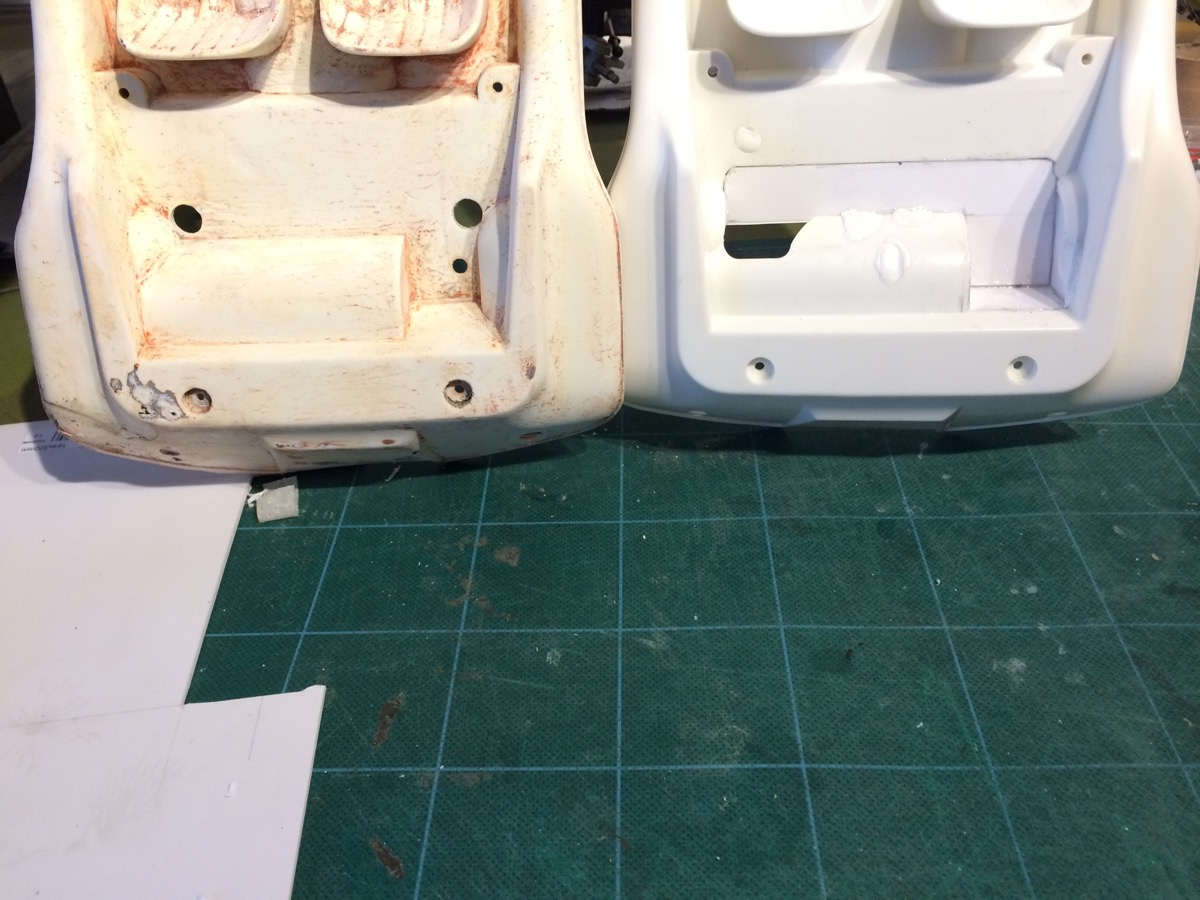
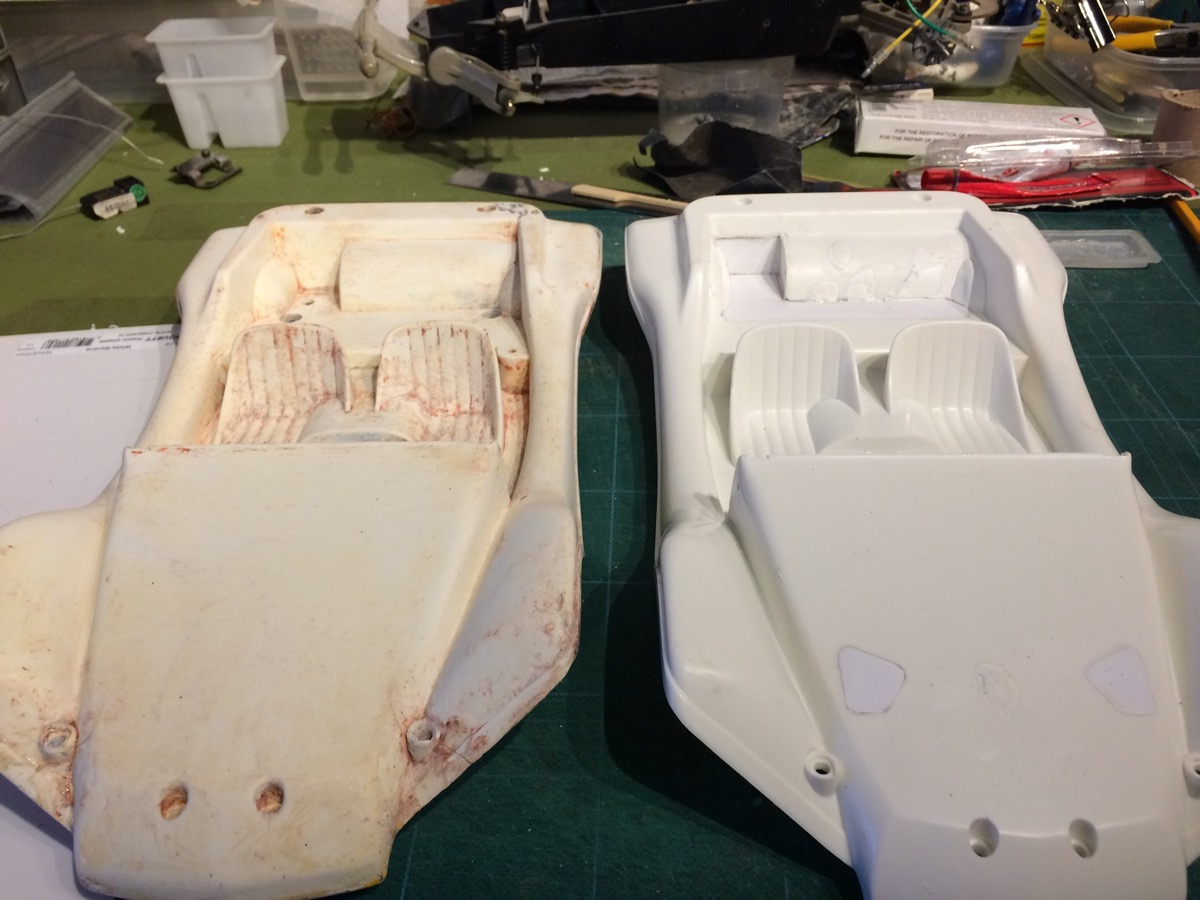
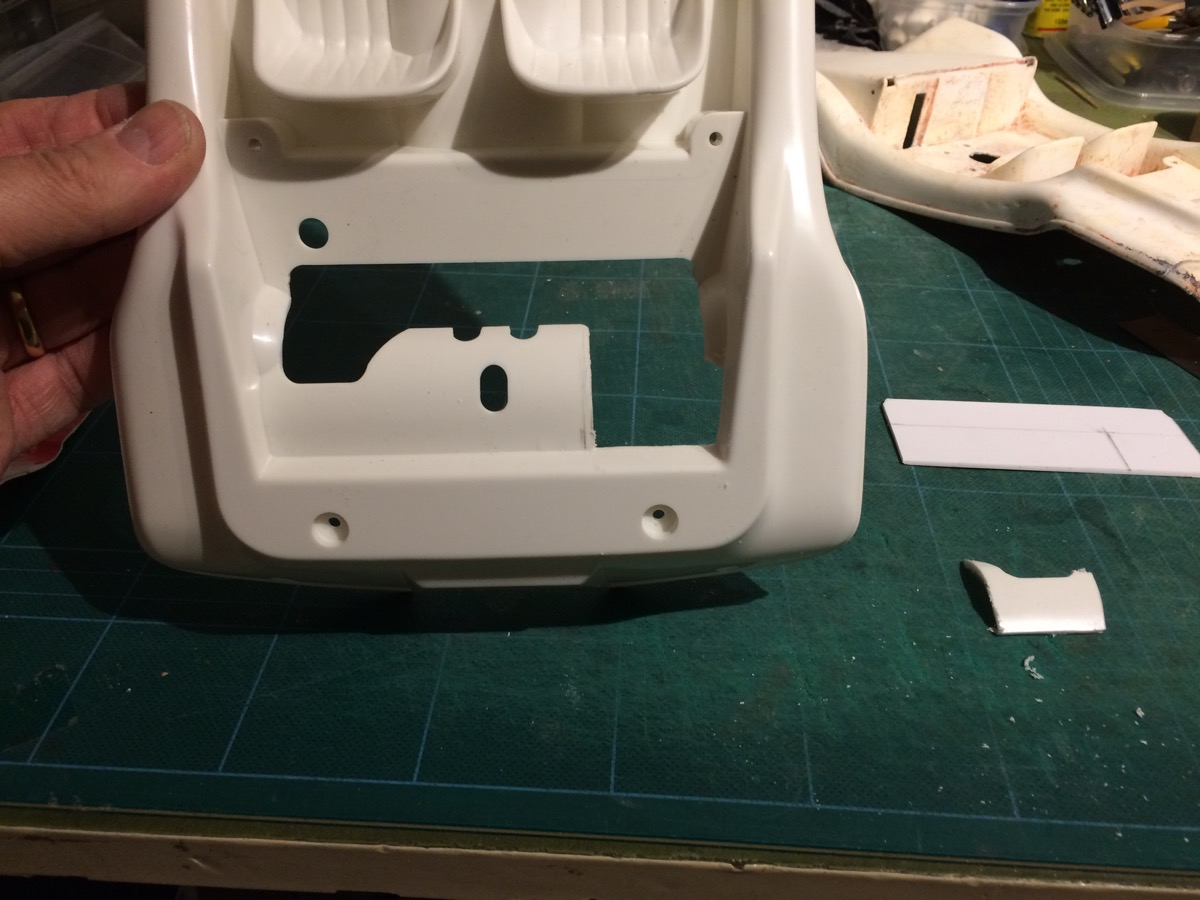
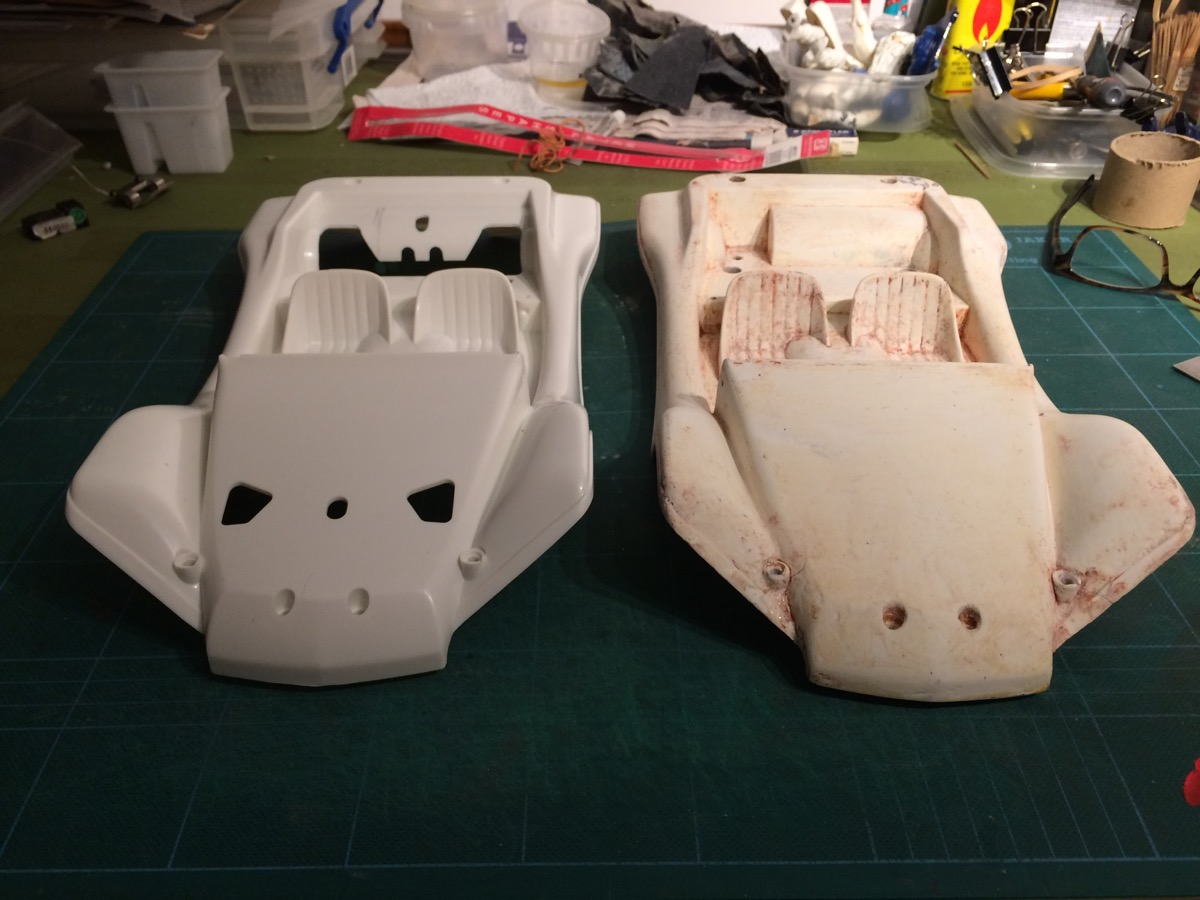
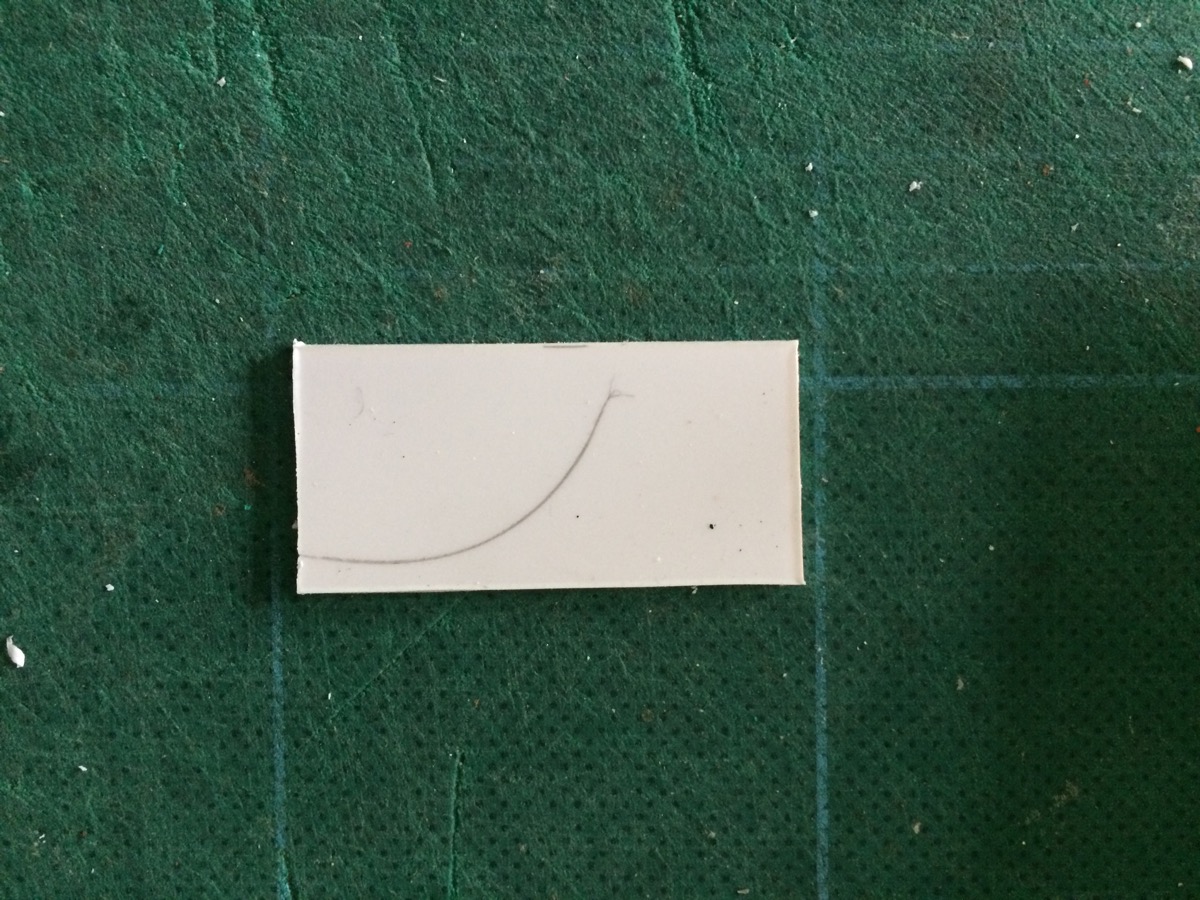
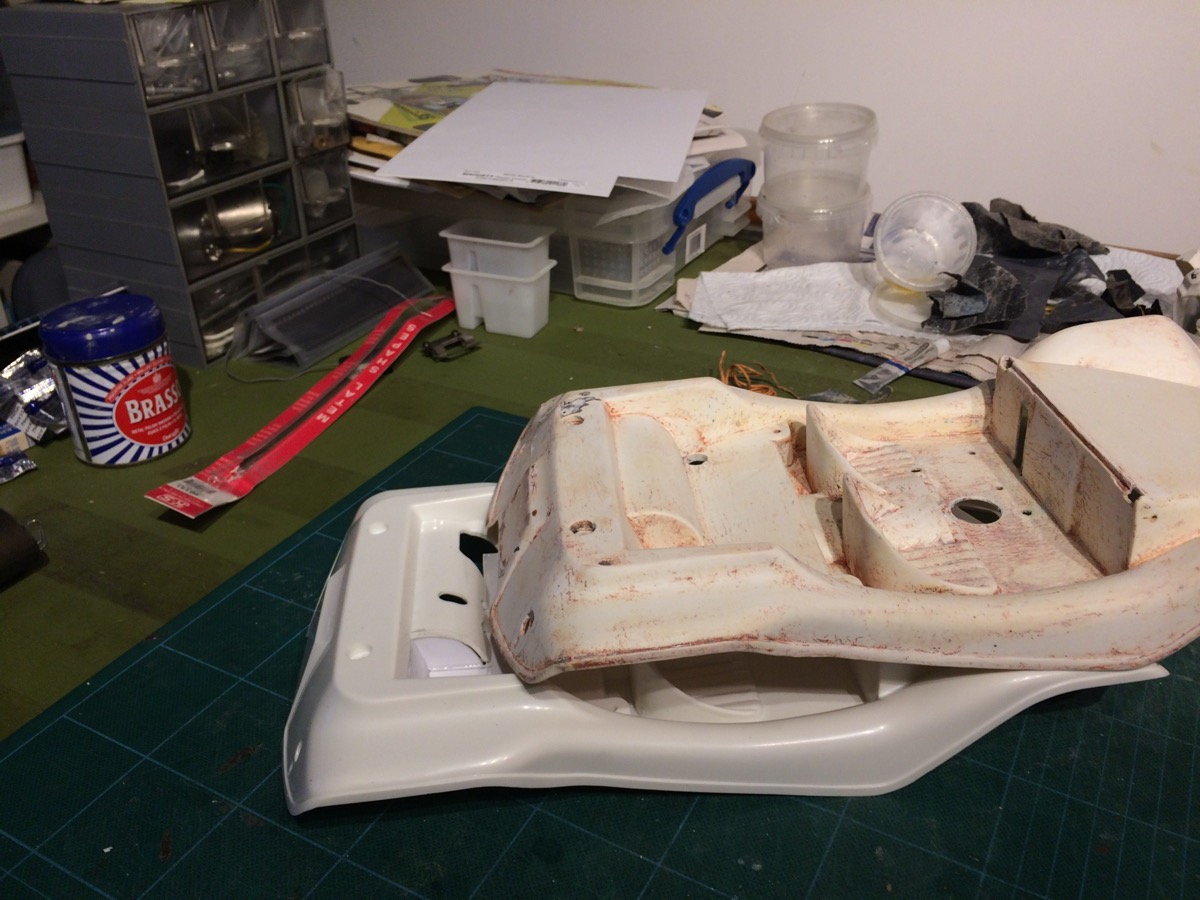
The Sand Rover body should never have had those hole hacked out of it. So I bought a re-release body to see if it was possible to fill them all back in and return one of my favourite Tamiya shells back to how it should be. This has been in some ways a long project. I started on the body a couple of years ago and I was happy to leave it in a box. During this time I'd been gathering a lot of Sand Rover / Holiday Buggy parts together for some restorations. Now that I have 2 Sand Rovers and 1 Holiday Buggy mid resto, I'd been looking at moving on some of the spares. The chassis under this was in an unwanted sale. Well half of its potentially sold ( body, wheels and tyres ). 
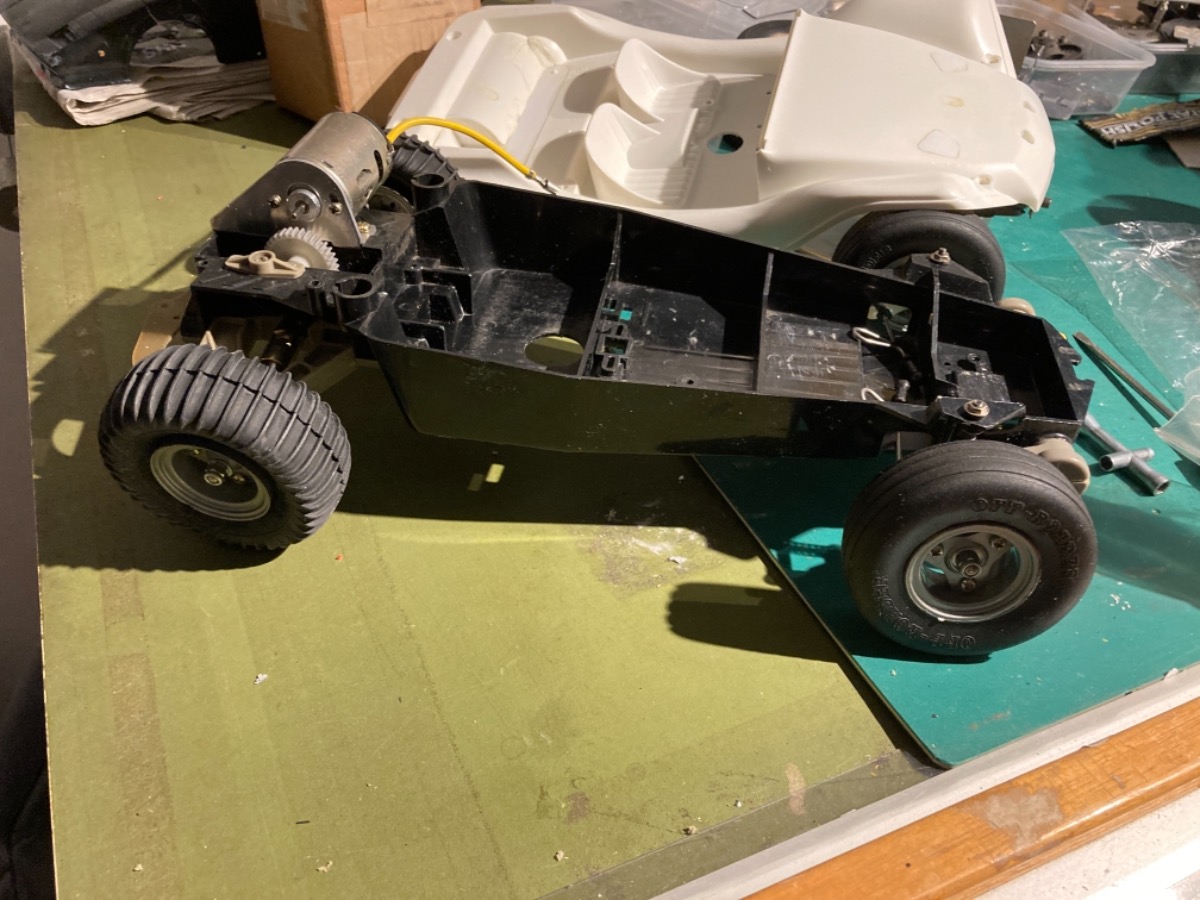
So having a chassis and all the bits just sitting there I put it together on Saturday. On Sunday I dug out the body, which was closer to being finished than I remember. And it's all held together very well. 
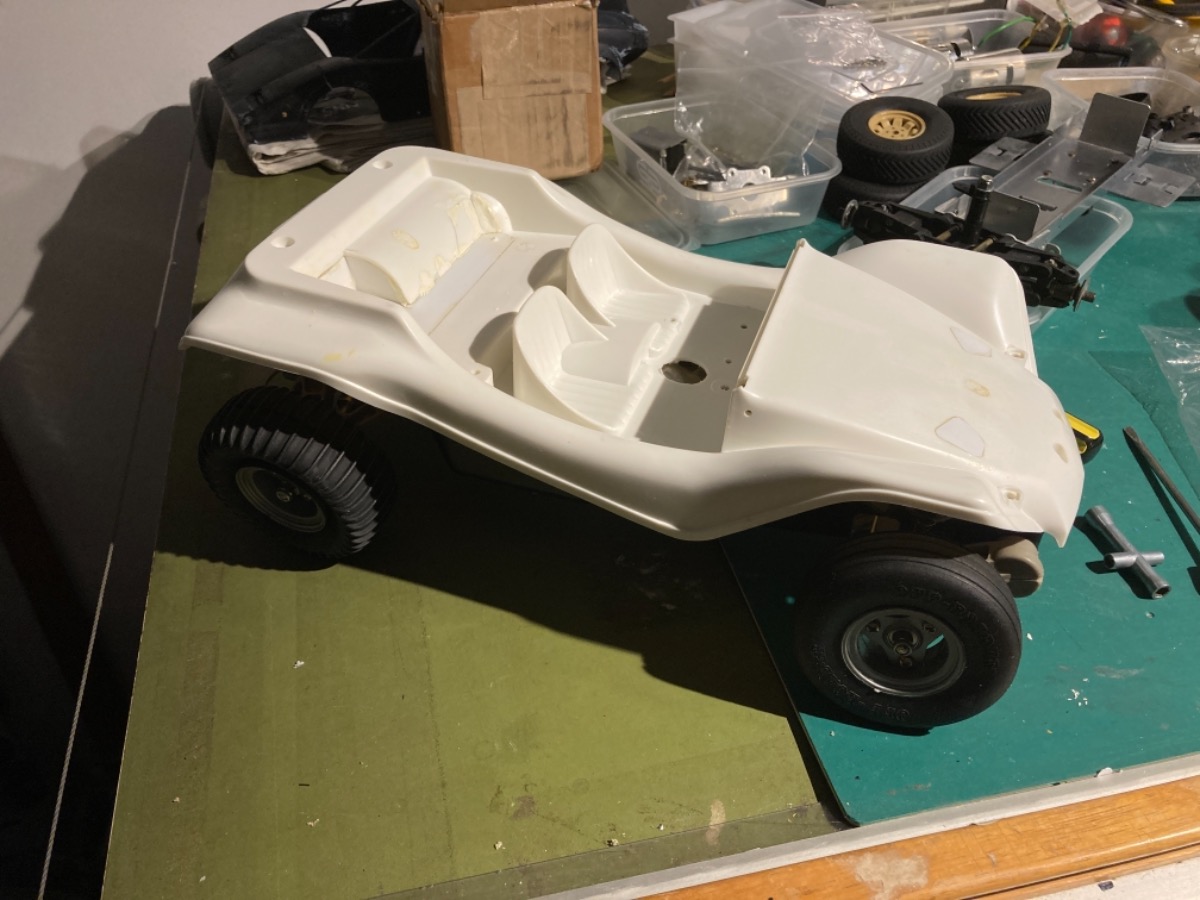
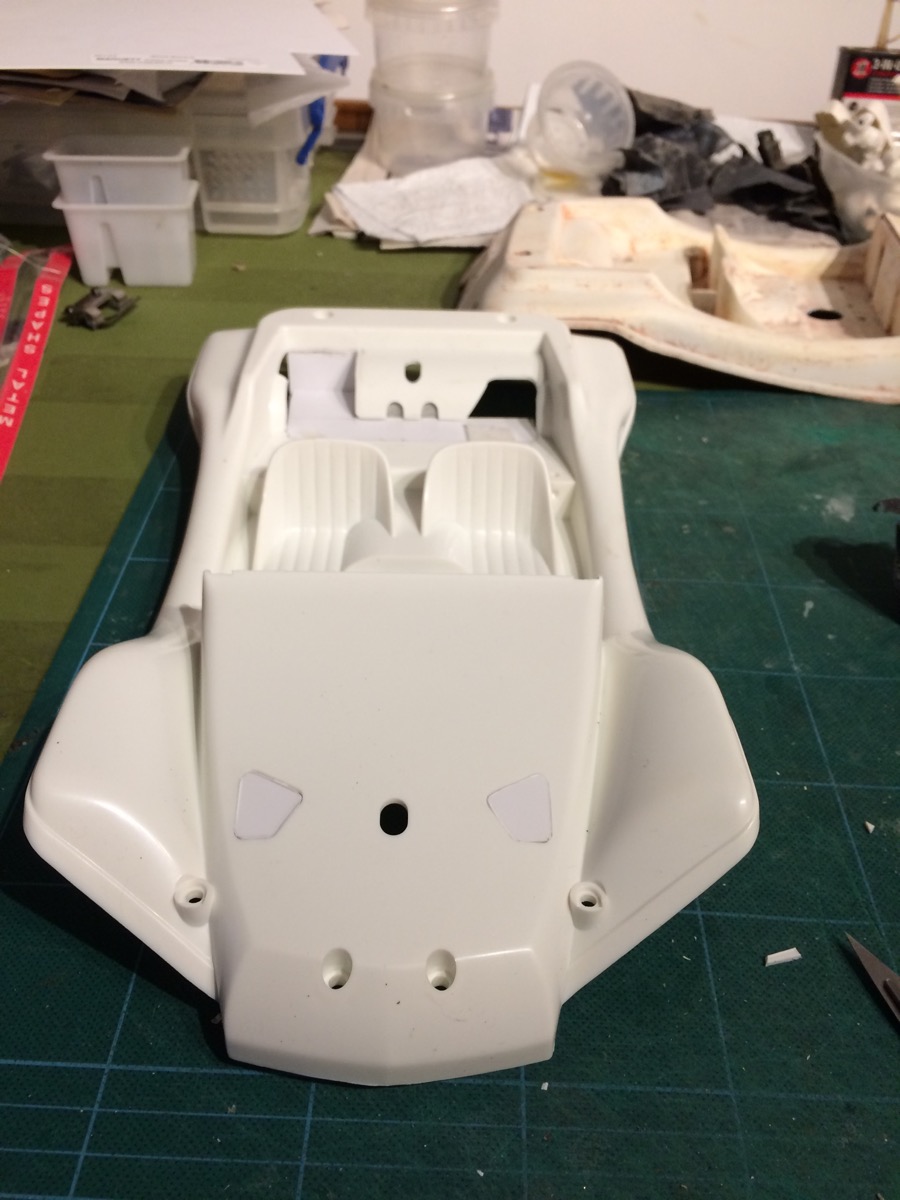
So tonight I stuck some wheels on and sat the body in situ. Im waiting for a reamer to drill out the holes on the body. But I'm keen to push this on and see how close it looks when finished to the original. Thanks. Attachments:
The following user(s) Liked this: stingray-63
|
|
Please Log in to join the conversation. |
|
Nice project. I love the sand rover
The following user(s) Liked this: Al
|
Please Log in to join the conversation. |
Once I'd measured and cut off the extra piece above the motor, again I was able to put a piece of styrene in place and draw the shape I needed to fill in the end of the motor cover section. I kept placing the 2 shells together so I could judge if it was looking alright. So with the extra floor and the motor part squared off. Attachments:
The following user(s) Liked this: stingray-63
|
|
Please Log in to join the conversation. |
|
Looking good
The following user(s) Liked this: Al
|
Please Log in to join the conversation. |
So the body got this far, at this point I was worried how I would fill in the final gap. This is where after a bit of head scratching and considering trying to heat up styrene and curve it was what I thought I'd need to do. I tried the off cut that had been over the motor. But I guess obviously due to the curve being the same, it fitted perfectly. So the back end was getting close. And here's how it's looking underneath. Attachments:
The following user(s) Liked this: stingray-63
|
|
Please Log in to join the conversation.
Last edit: by Al.
|
So the extra bits I'd replaced and all the fiddling meant I needed to start tidying it up. I've started adding in some filler and I've been gradually tidying it up.
To bring this up to date, at the weekend I finally decided to work out cutting the holes for the rear body mounts. I used some clear acetate to make a template from the original body. I marked the bottom of the re-re and marked were to drill. Im now waiting for my reamer to drill the correct diameter. |
|
Please Log in to join the conversation. |
|
|