Keyword

TOPIC:

Richard's 4x4 Lunchbox with DF01 drivetrain. 2 years 11 months ago #65981

Gears will go this week Richard. I can't wait to see the 4x4 lunchy. 
The following user(s) Liked this: caprinut, jord001

Please Log in to join the conversation.

Richard's 4x4 Lunchbox with DF01 drivetrain. 2 years 11 months ago #65982

Gears will go this week Richard. I can't wait to see the 4x4 lunchy. 

Awesome buddy 
The following user(s) Liked this: stingray-63, jord001

Please Log in to join the conversation.

Richard's 4x4 Lunchbox with DF01 drivetrain. 2 years 11 months ago #66458

Today I fitted the 5x12x4 bearings in the front upright on this build.
Had to do a easy job today because of fatigue/aching in my arms, but still wanted to do something rc related.


DF01/TA01/2 gears are taking a WD40 bath as we speak.
Later today I will order a few parts, mainly a sticker sheet, TA02 aluminium motor mount and propeller shaft.
Still can't order dampers before my new suspension arms arrives and are fitted.
Do the WR-02 and WR-02CB use the same shock length?
Any happens to know the length of those?
I guess I can order driveshafts as I know I will be using WR-02CB suspension arms on this. Those are a bit longer than regular TL01 ones.
The following user(s) Liked this: stingray-63, silvertriple, jord001

Please Log in to join the conversation.

Richard's 4x4 Lunchbox with DF01 drivetrain. 2 years 11 months ago #66478

Finally we can get somewhere as the suspension bits arrived today 
Several reasons I went for the WR-02B parts.
Firstly this was the cheapest available.
Secondly, and most important is the length of the arms as I think this will give me stock Lunchbox width ish give or take a few mm.
The body posts can be used on TL01, and I have several of those which are in need of a set.


First task was to screw together the suspension arms.


Another advantage of these are the multi placement options for the dampers, can be handy.


This is how far I came today. 
Missing the left rear corner to do.
Had to redo the steering system as it came in contact with the arms.


Spacers was fitted to the inside of the front arms to take up the difference in width of the arms vs gearbox spacing.
C hub is further back than the previous arms I used, I would prefer the c-hub would have been 2-3mm more forward.
I can cut the arms in either inside or the the outside and use spacer. but I rather not regarding the life span of the arms.


The supplied front upper arms was too long, giving a lot of positive camber.
Instead I used Traxxas #1942 rod ends and a short setscrew to make my own links.
Full down travel it has postive camber as stock Lunchbox and negative camber at full travel. I can live with that 


And how is the width now you may ask?
It's almost spot on at 287mm   Stock Lunchbox is 290mm.


If you look at the rear suspension, you will notice the upright is more forward than the old setup by a good bit.


Because of the upright both at front and rear now has moved 10mm closer to the center of the chassis. the Lunchbox has now 10mm too short wheelbase at 197mm, vs 207 for a stock Lunchbox.


Looks more like a Lunchbox now width wise.


Regarding the wheelbase I think I will mod the rear suspension arms.
Basicly the front hinge part is about 10mm thick.
If I chop that off and make a plate to replace that, and then fit a 10mm spacer at the rear hinge part, the suspension arm will then be moved 10mm towards the rear.
This elimates the need for making a new chassis and adjust bunch of things.

When that is done I can measure for dampers, and I think I will go for 65mm ones to match the travel of the arms.

Motormount and propeller shaft is ordered so it is getting there to be able to complete the drivetrain.
And I must not forget to order driveshafts for this.
The following user(s) Liked this: Jonny Retro, stingray-63, silvertriple, jord001

Please Log in to join the conversation.

Last edit: by caprinut.

Richard's 4x4 Lunchbox with DF01 drivetrain. 2 years 11 months ago #66479

The color is fine on the chassis. 
The following user(s) Liked this: caprinut

Please Log in to join the conversation.

Richard's 4x4 Lunchbox with DF01 drivetrain. 2 years 11 months ago #66502

After thinking for a good while, I think I've come up with an solution regarding the wheelbase problem.

Take one rear suspension arm, pull it apart.
Fit some washers under the pegs where the screws goes through, and voila, we have a 10mm wider arm between the hinge points.
Will either get someone to print a spacer to cover the area in the middle, or make one out of styrene.


You can now see the upright is now 10mm further back on the right side.


A closer look.
All I needed to do was to fit 10mm spacers in front of the upright and behind the mounting point on the chassis.
And bolt it to the chassis with a long rod with threads in each end, those will be replaced with hinge pins with e clips in the end.


Now the rear line up with the wheelarch


At full travel (won't be this much with proper dampers on it)


Now the wheelbase is right, I can move on to other things.
Have to make new upper links for the rear as the supplied ones are too short to use, giving loads of negative camber.
This is not a stance machine 
The following user(s) Liked this: stingray-63, silvertriple, jord001

Please Log in to join the conversation.

Richard's 4x4 Lunchbox with DF01 drivetrain. 2 years 11 months ago #66527

Today I finished the other rear suspension arm and fitted it.


Just for the sake of fun I wanted to weight it.
Oh, man it is a heavy pig!
1770g so far and I still have to fit:
# All the gears, shafts, ball bearings and drive cups and not forgetting a new propeller shaft.
# New all metal gear servo.
# Radio gear.
# New front shock tower in aluminium I have to make.
# New rear shock tower I have to make.
# Front shocks and probably rear ones too.
# Custom wheelie bar.
# Glass is missing on the body along a new paintjob.
# And small bit's and pieces.


I bet it will weight above 2.5kg when done.
Might make new chassis plated in plastic sometime in the future.
The following user(s) Liked this: stingray-63, Al, silvertriple, jord001

Please Log in to join the conversation.

Richard's 4x4 Lunchbox with DF01 drivetrain. 2 years 10 months ago #66582

Today I finished cleaning the gears and bushings I got from Flo a week ago.
First they had a WD40 bath, rinse and then cleaned in soapy water.
So stubborn bits had to be done multiple times, in the end they ended up very useful 
As long as the sides and the hole in the bushings are clean, it does not matter if there is still some dirt in the grooves on the sides.


Think I have enough bushings for mock ups and spacers for a while 


I'm waiting on these parts:
Tamiya 54613 Stainless Steel Susp Shaft M-05 Ver.II. These turned out to be the right lengt for my needs on this build, with space to make hinge pin braces.
Tamiya 19808012 5mm Ball Nut M3 Short. There is very little space behind the shock towers for the upper links so these is needed. I need them for my TL01 Escort build as well.
Tamiya 50593 6x4 Flanged Tube. Completly out of those. Handy to convert 4mm hole to 3mm bolt.
3x6x2.5 Flanged Bearings. I like to fit bearings to the c-hubs to free up the steering.
HPI 101223 Servo Saver Post 5x35mm. My homemade shafts the the bellcrank rides on is not as perfect as I want them to. These will have a perfect 5mm outer diameter for the bearings and have 3mm internal threads.

Still waiting one the servo which has taken 4 weeks now.
Should be here tomorrow or next week. Does not help we have only post delivery 2 or 3 days a week depending which week it is. 
The following user(s) Liked this: stingray-63, Al, jord001

Please Log in to join the conversation.

Richard's 4x4 Lunchbox with DF01 drivetrain. 2 years 10 months ago #66642

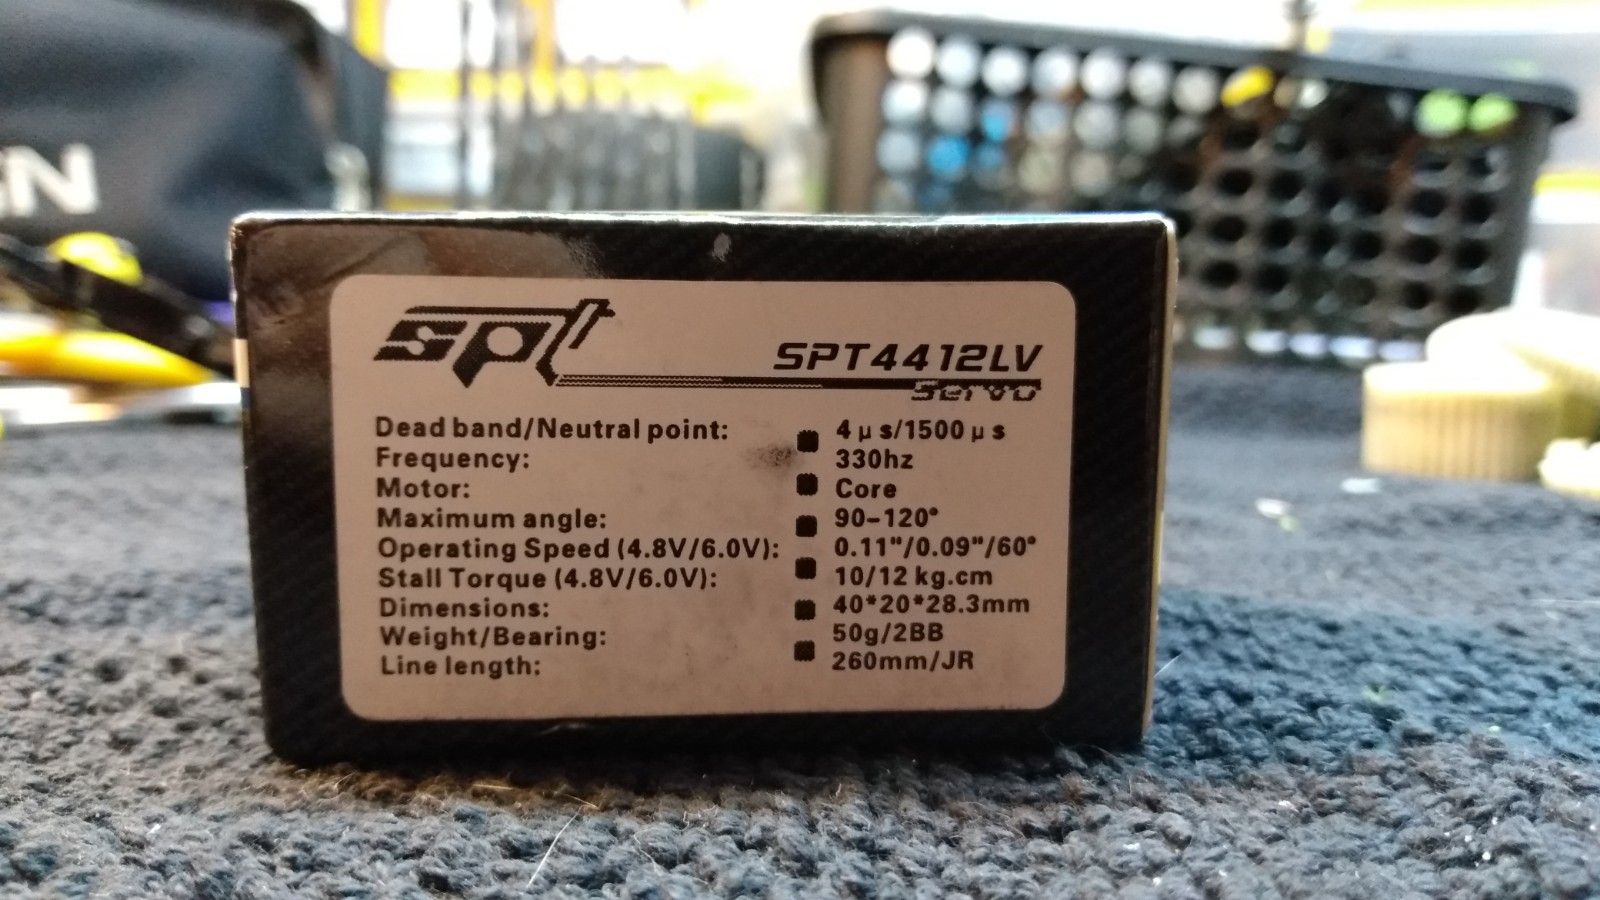
My servo arrived yesterday, took only 4 weeks and two days from China lol.
But the spec seems nice.


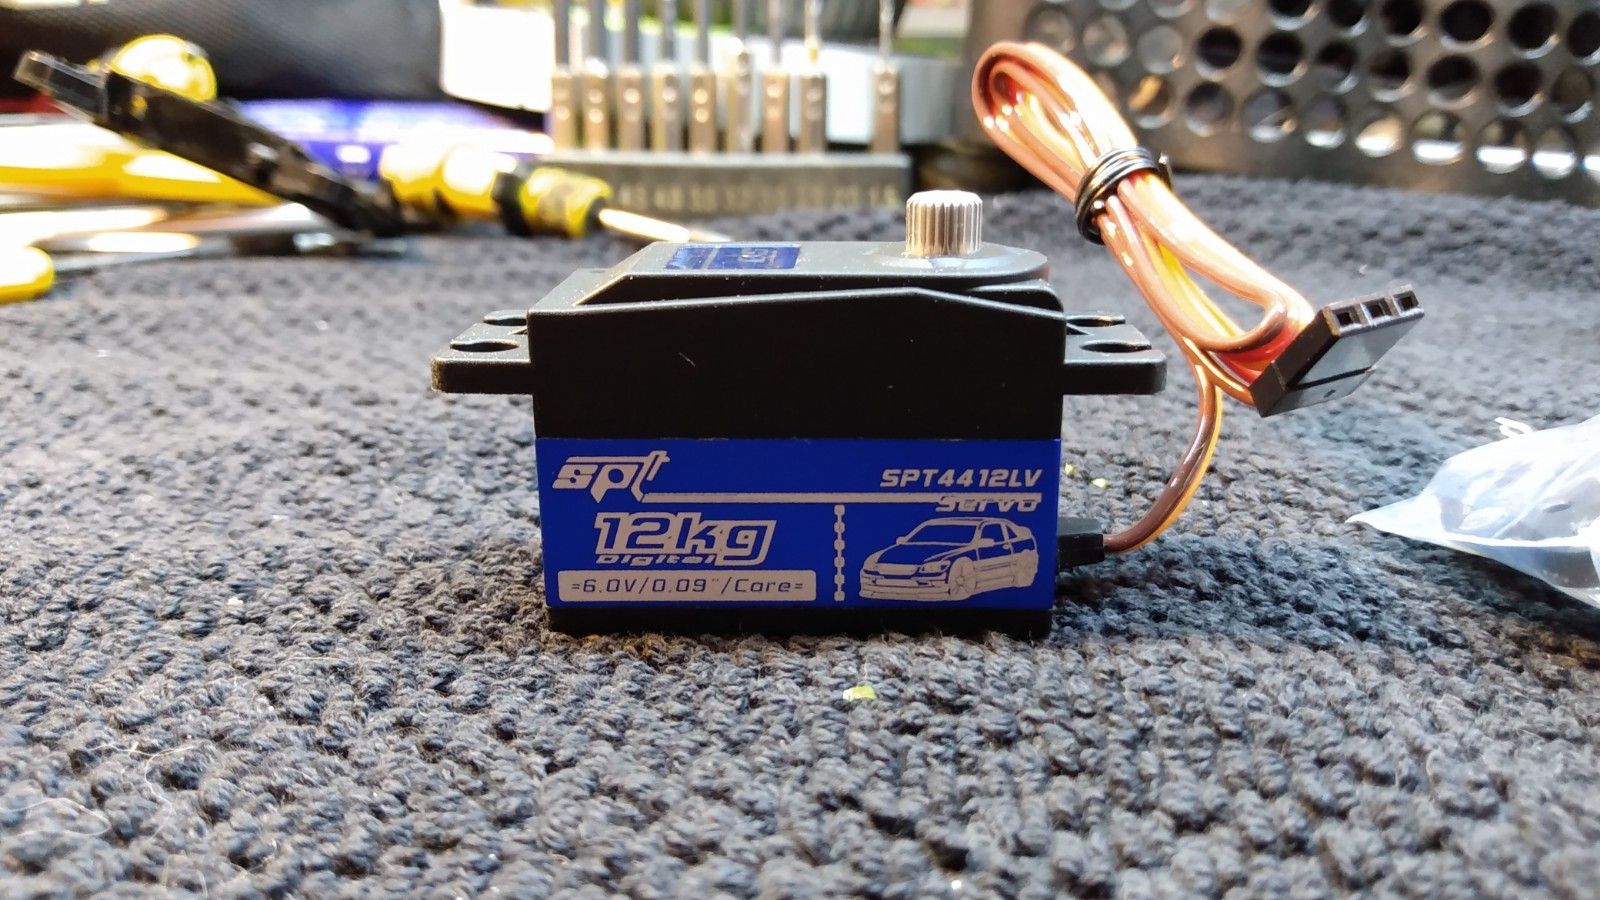
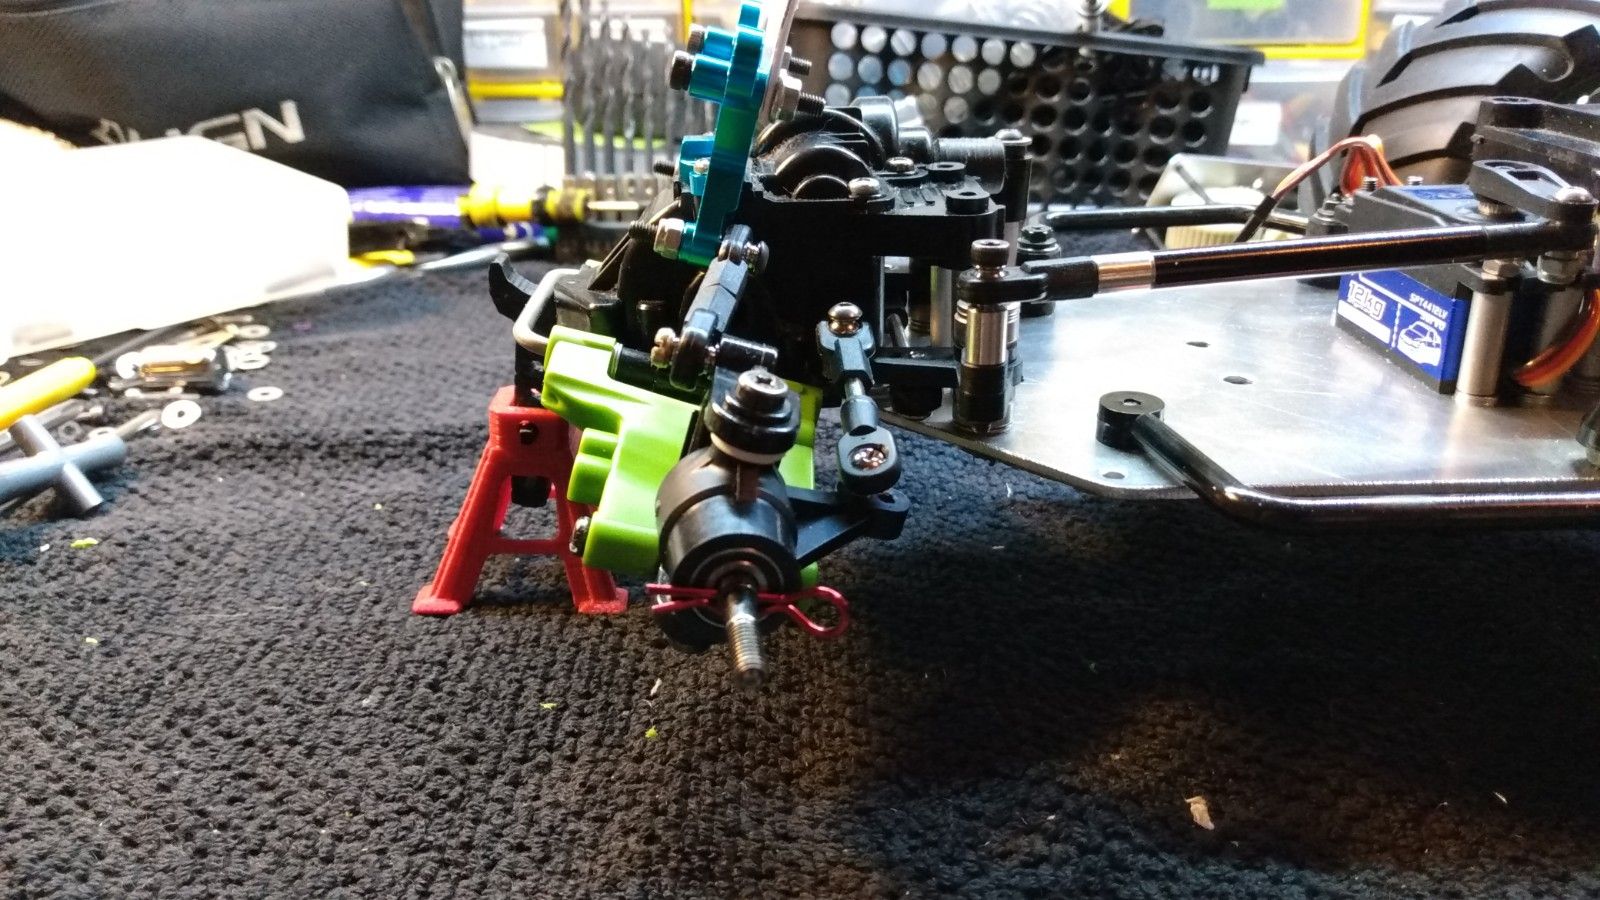
Looks good too if I may say so myself..


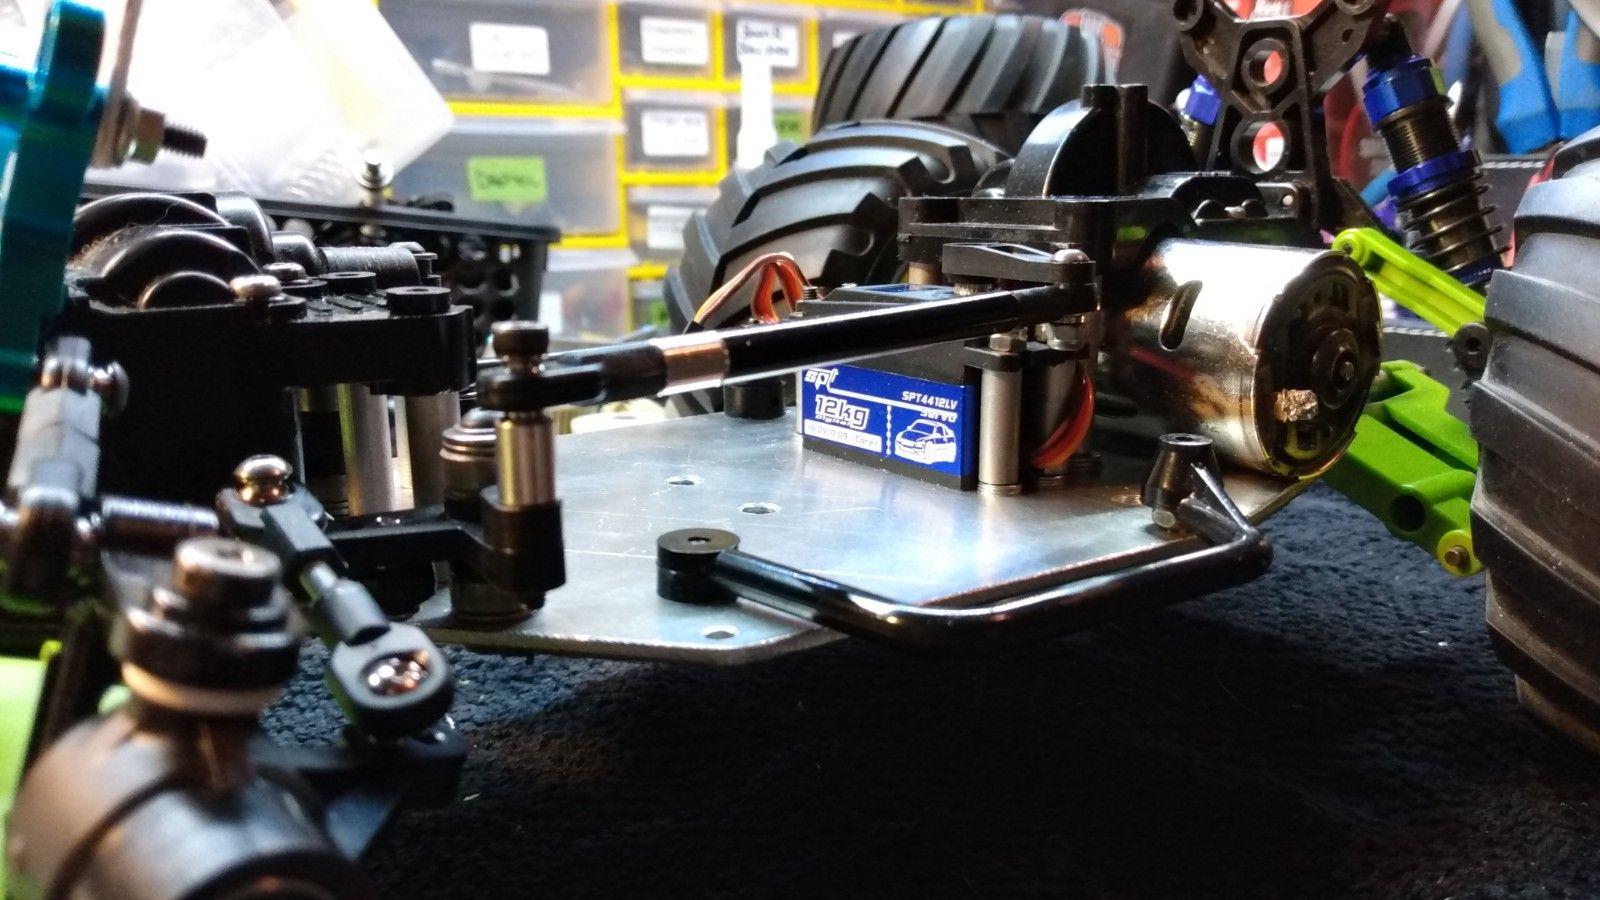
Servo was higher from bottom to the mounting flanges than my mock up servo, but the servo splines was lower than the former one so all in all, the servo arm is sitting lower than before.
I just used some longer bolts and some washers as spacer to fit it up.
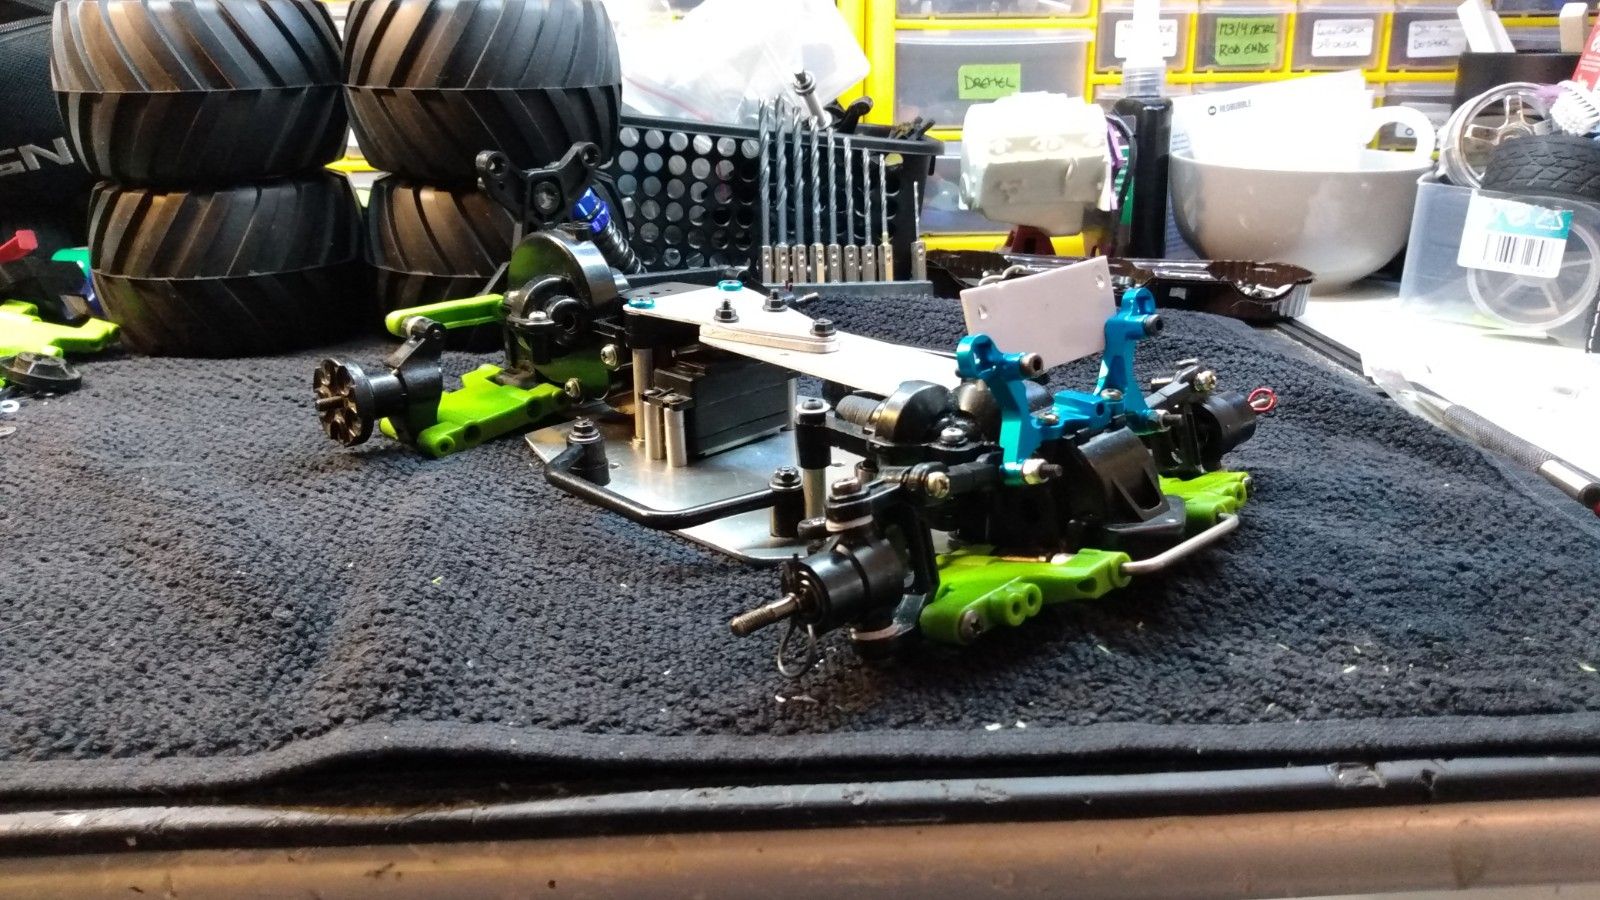
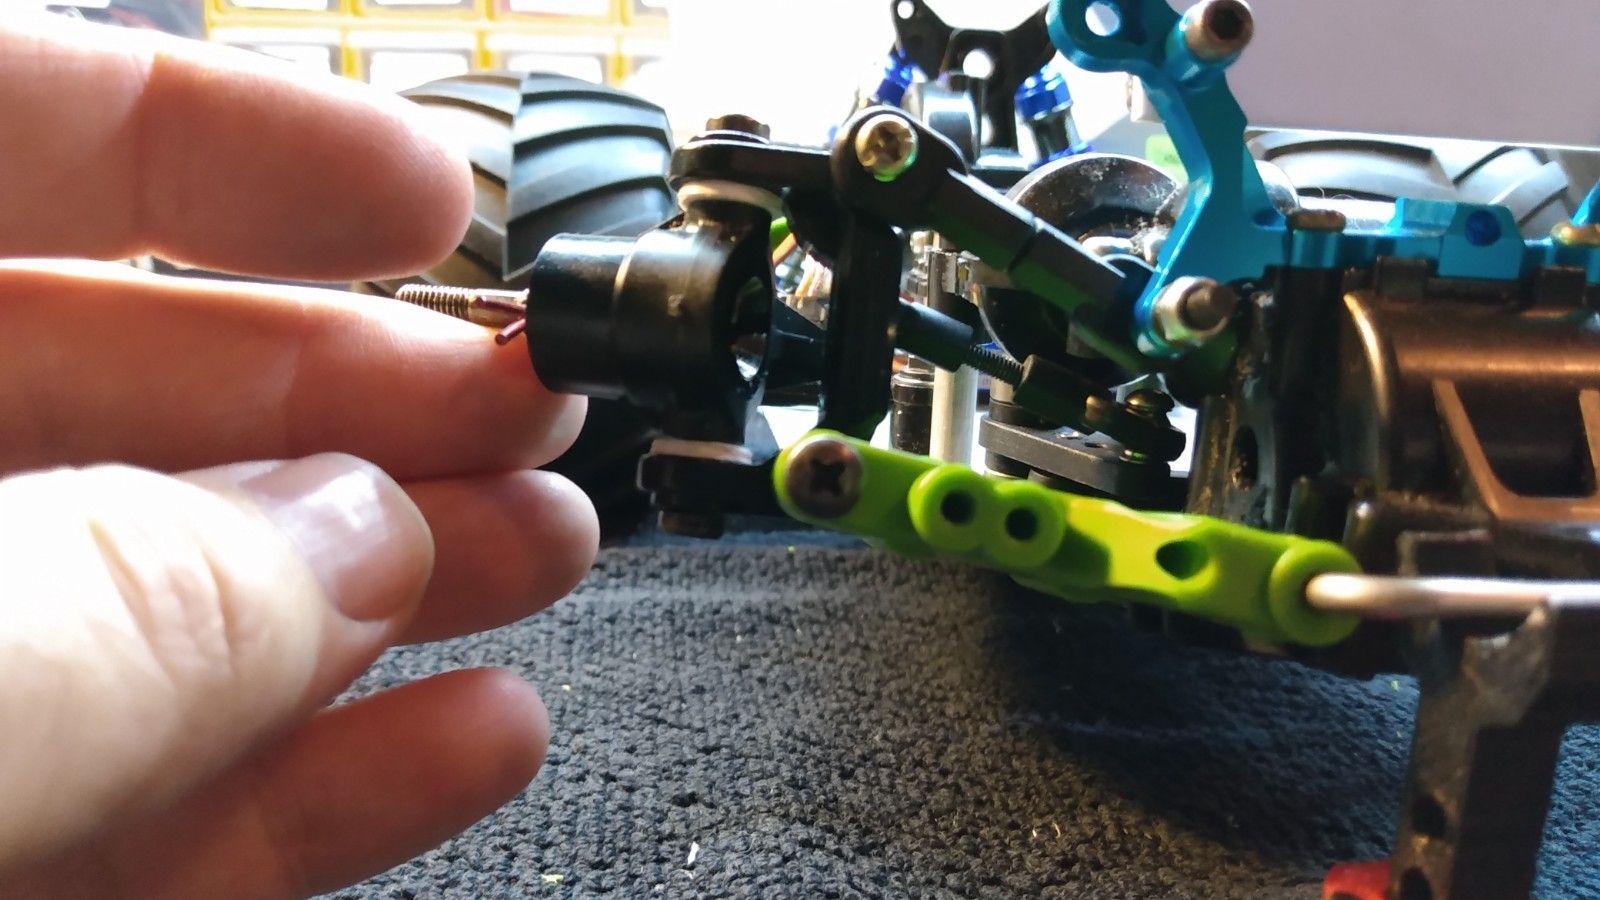
Redid the steering system again...


Steering now works like I want it to.
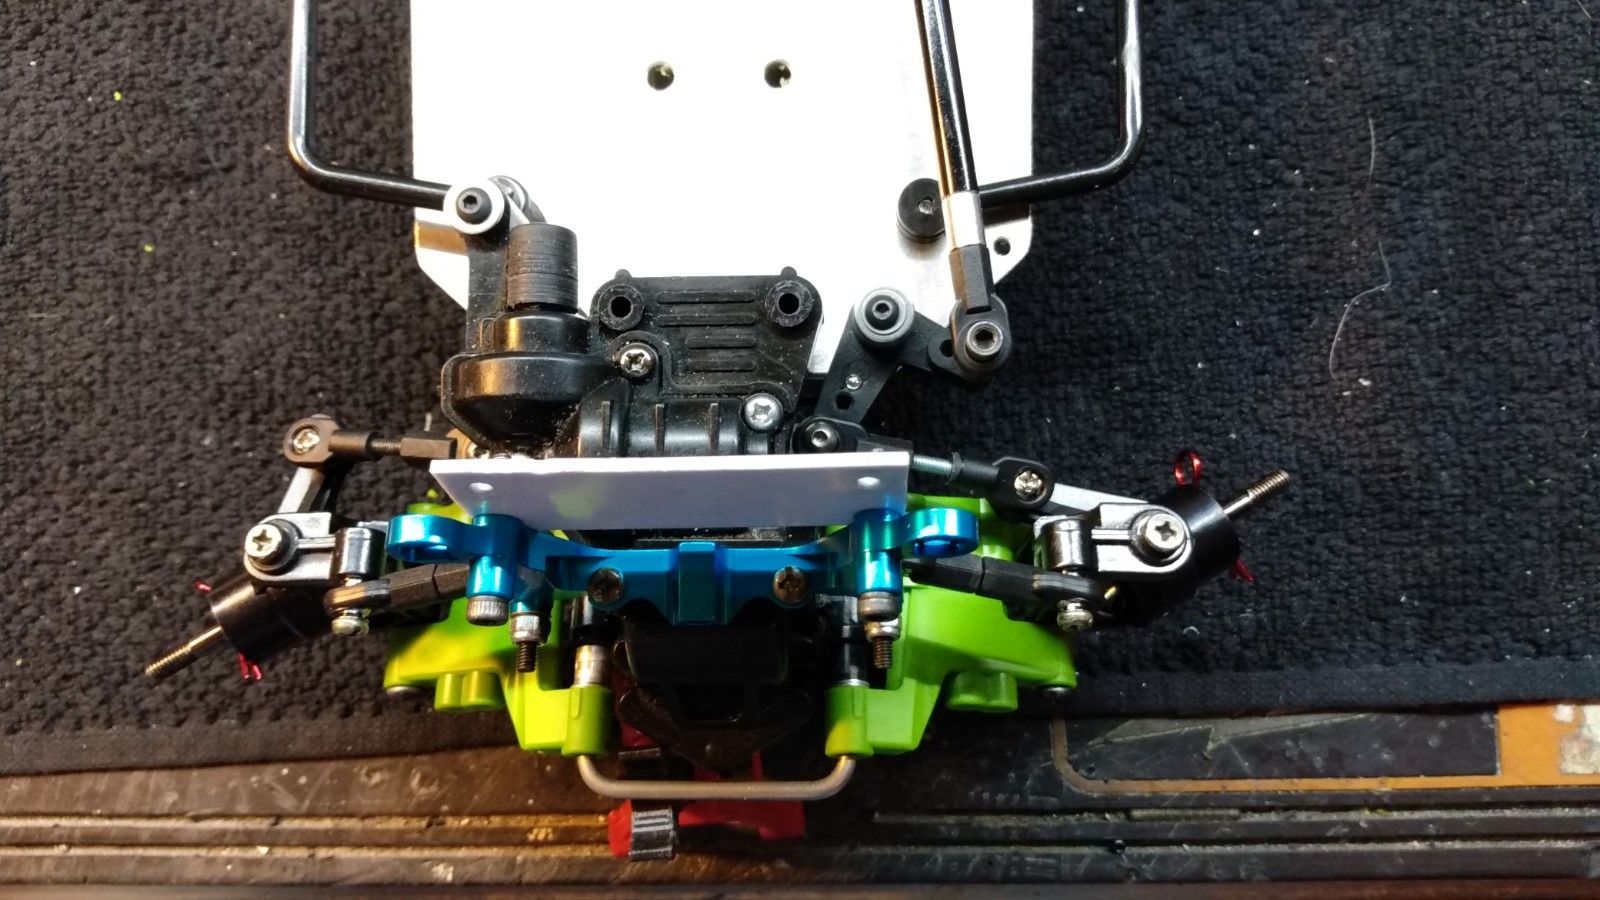
Moved the tie rods to the inner hole of the steering arm to have a more direct angle of the rods to help steering.


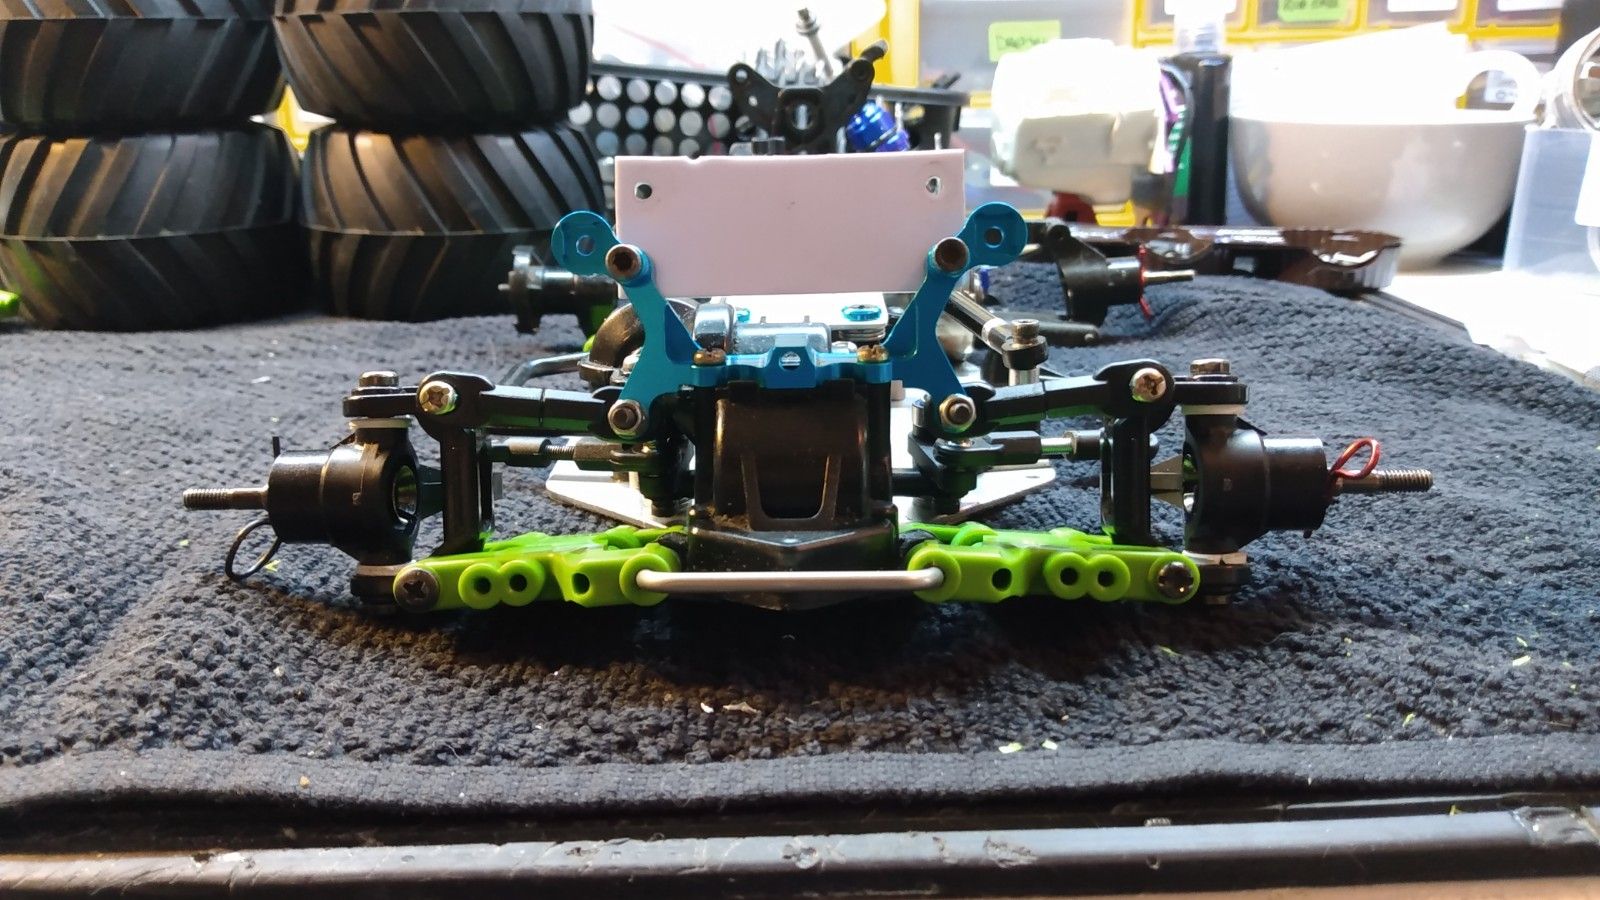
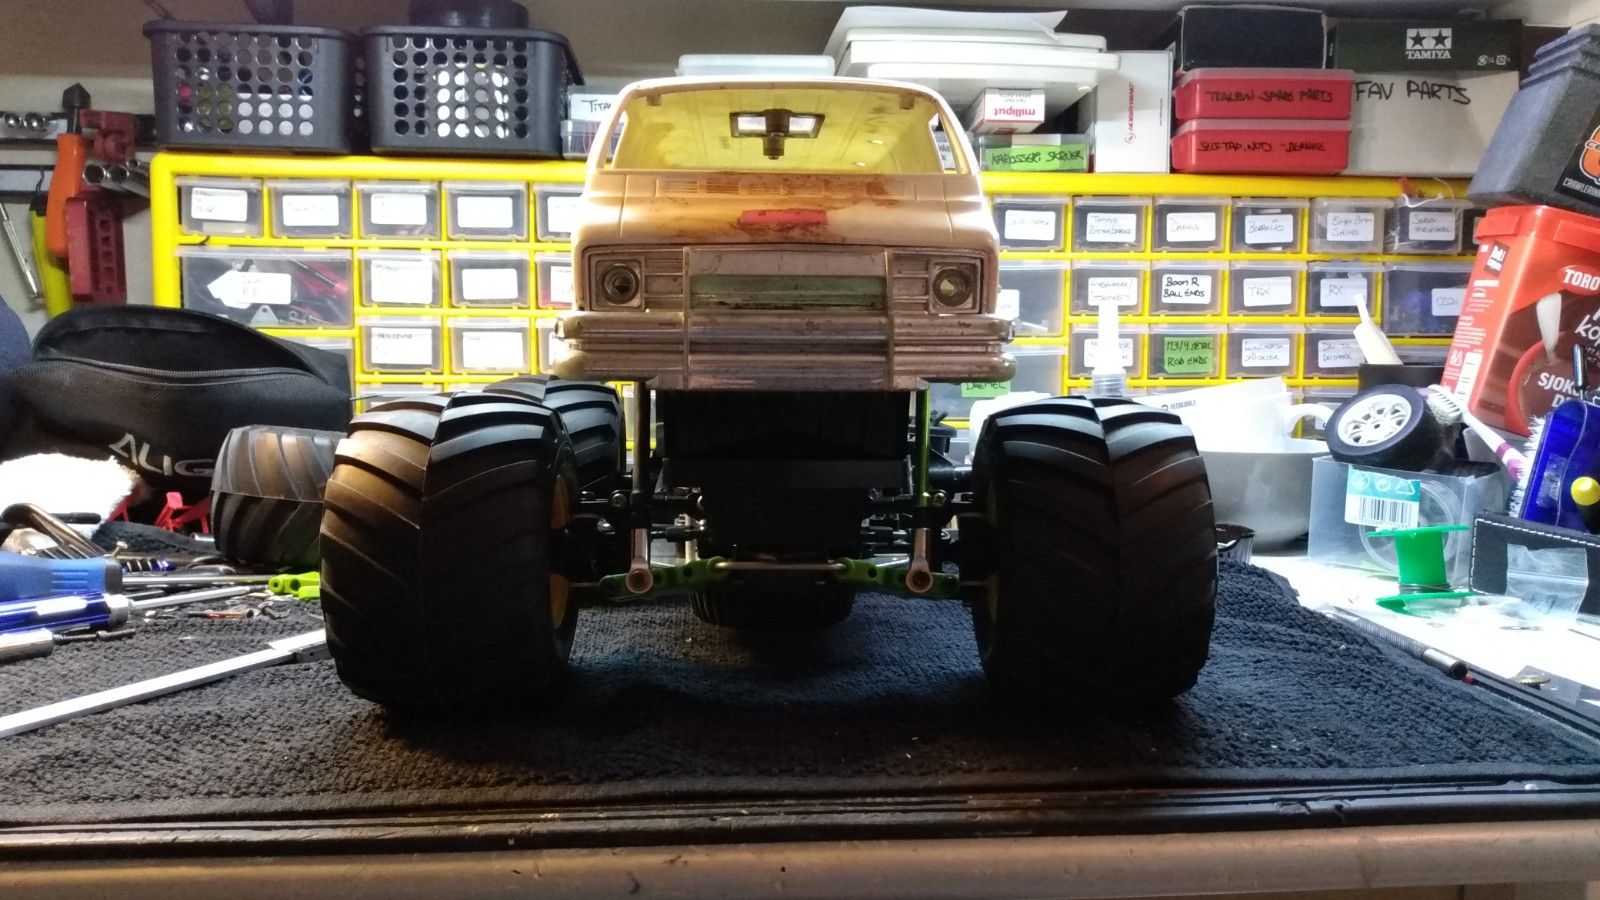
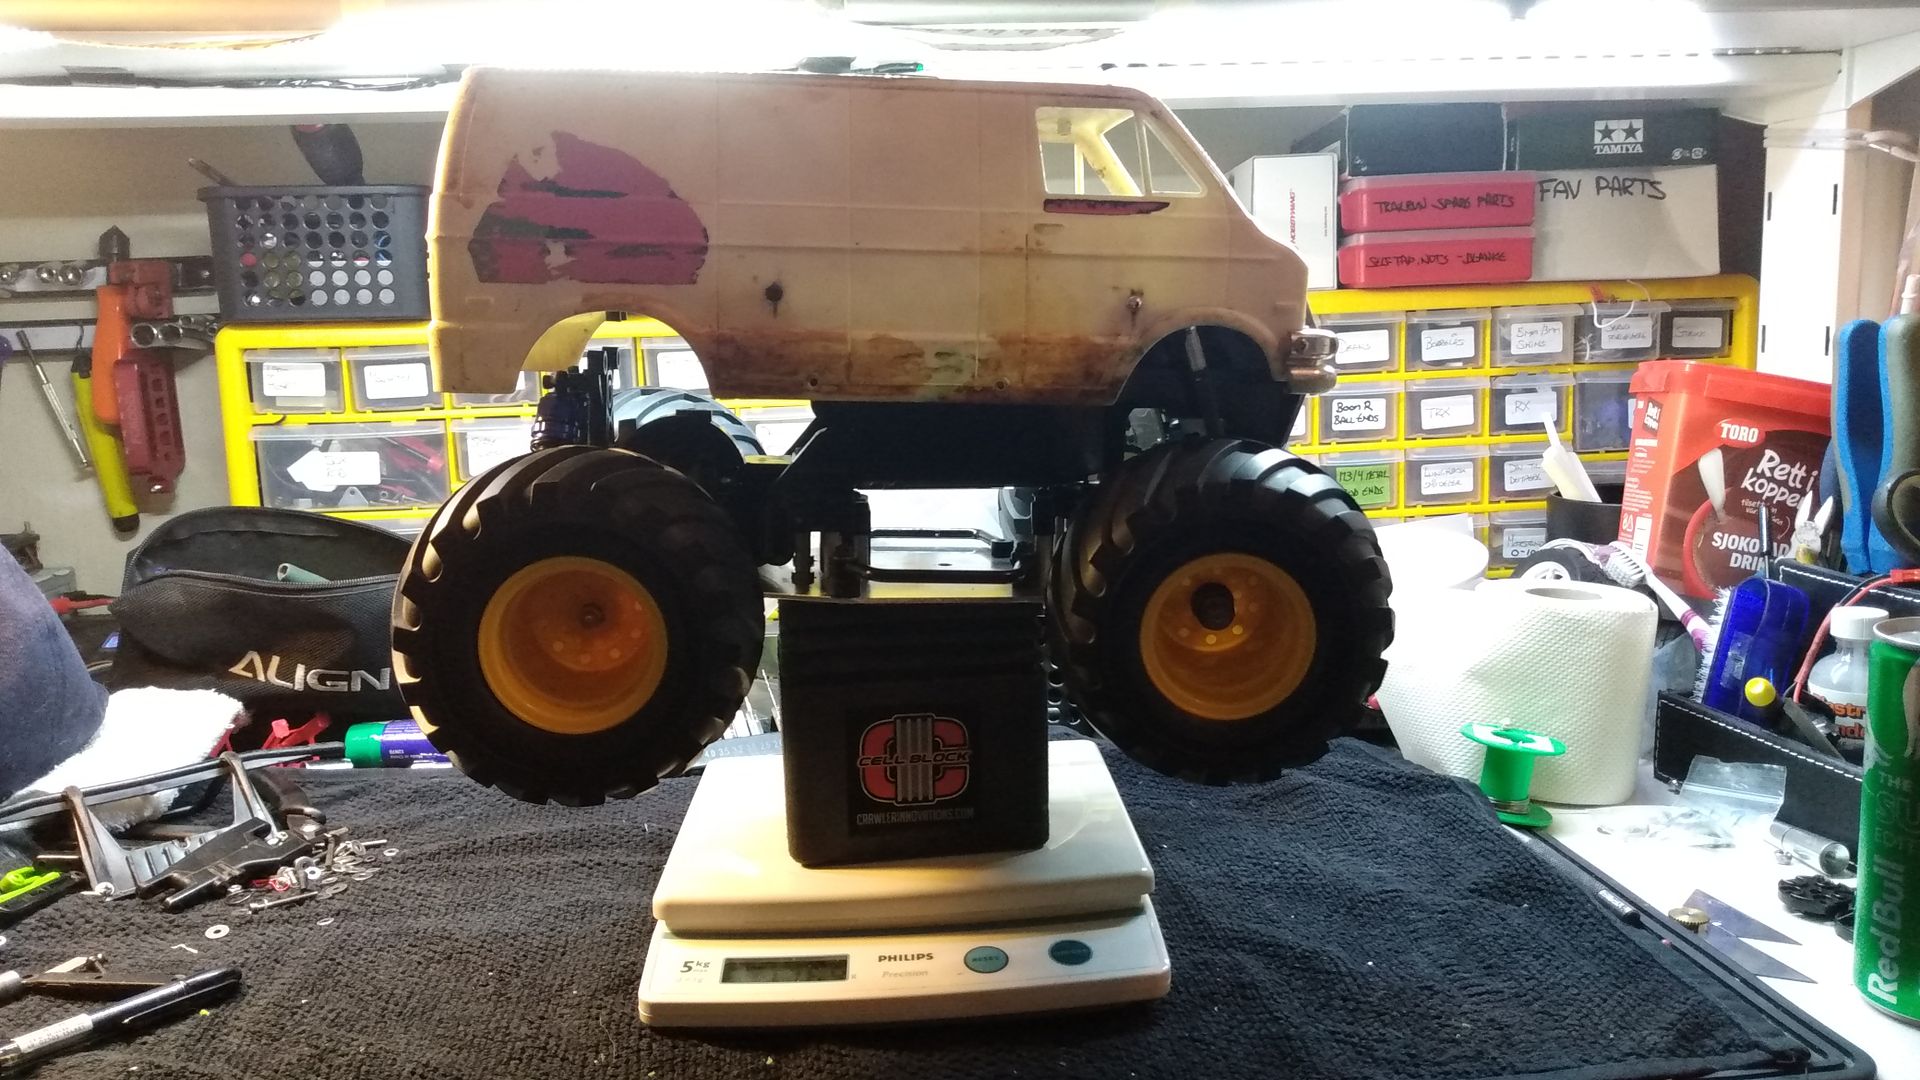
Think this is plenty of steering angle for a Lunchbox


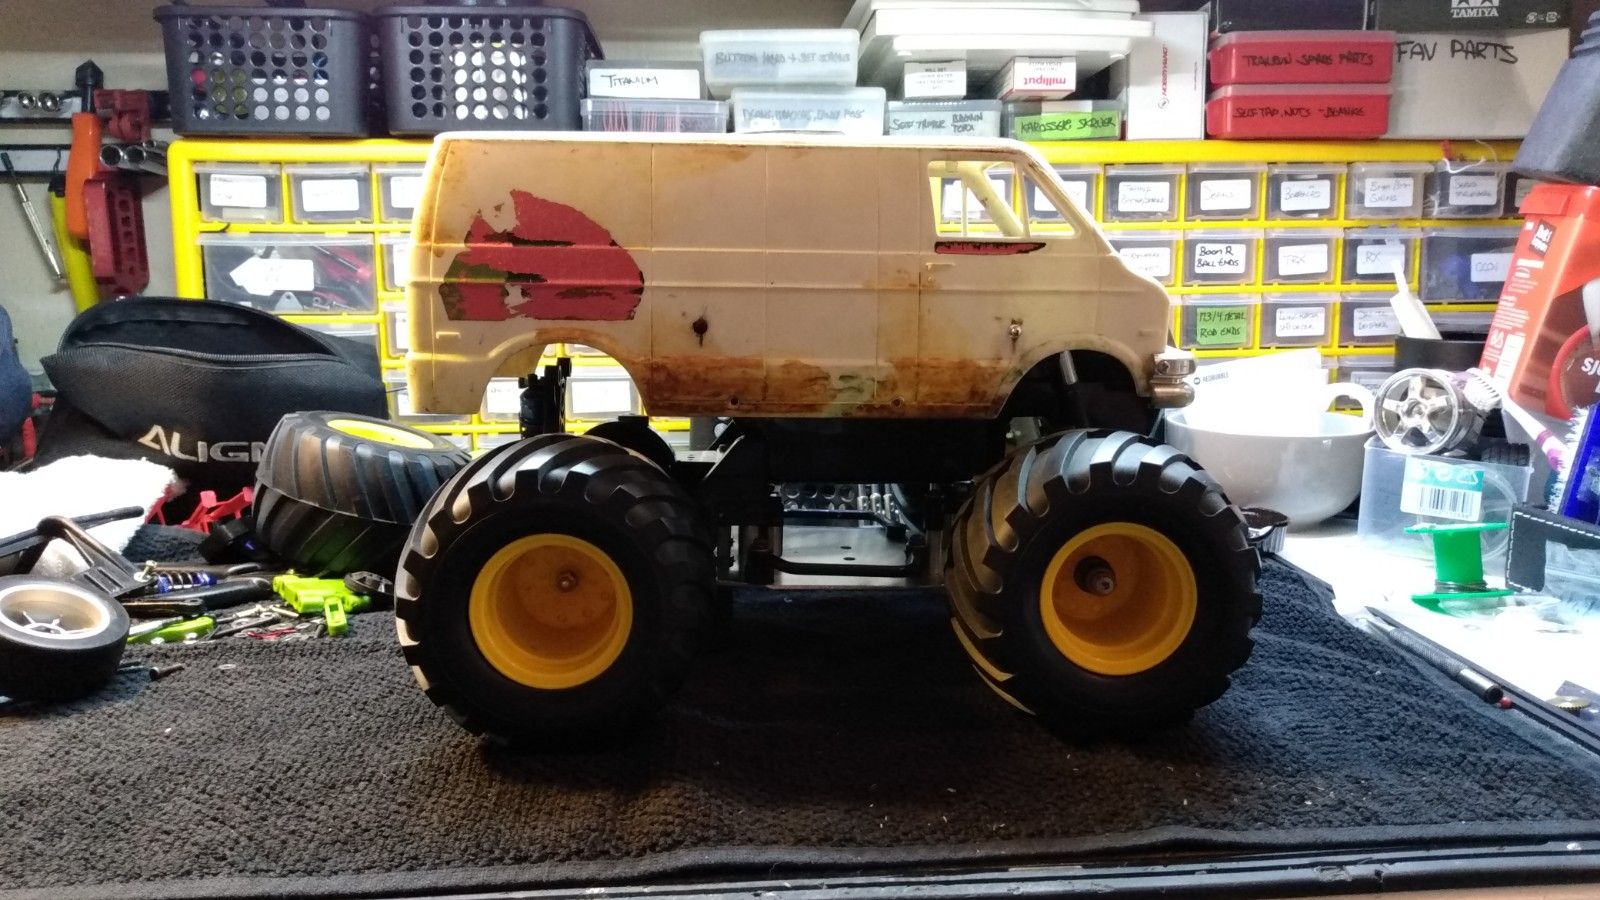
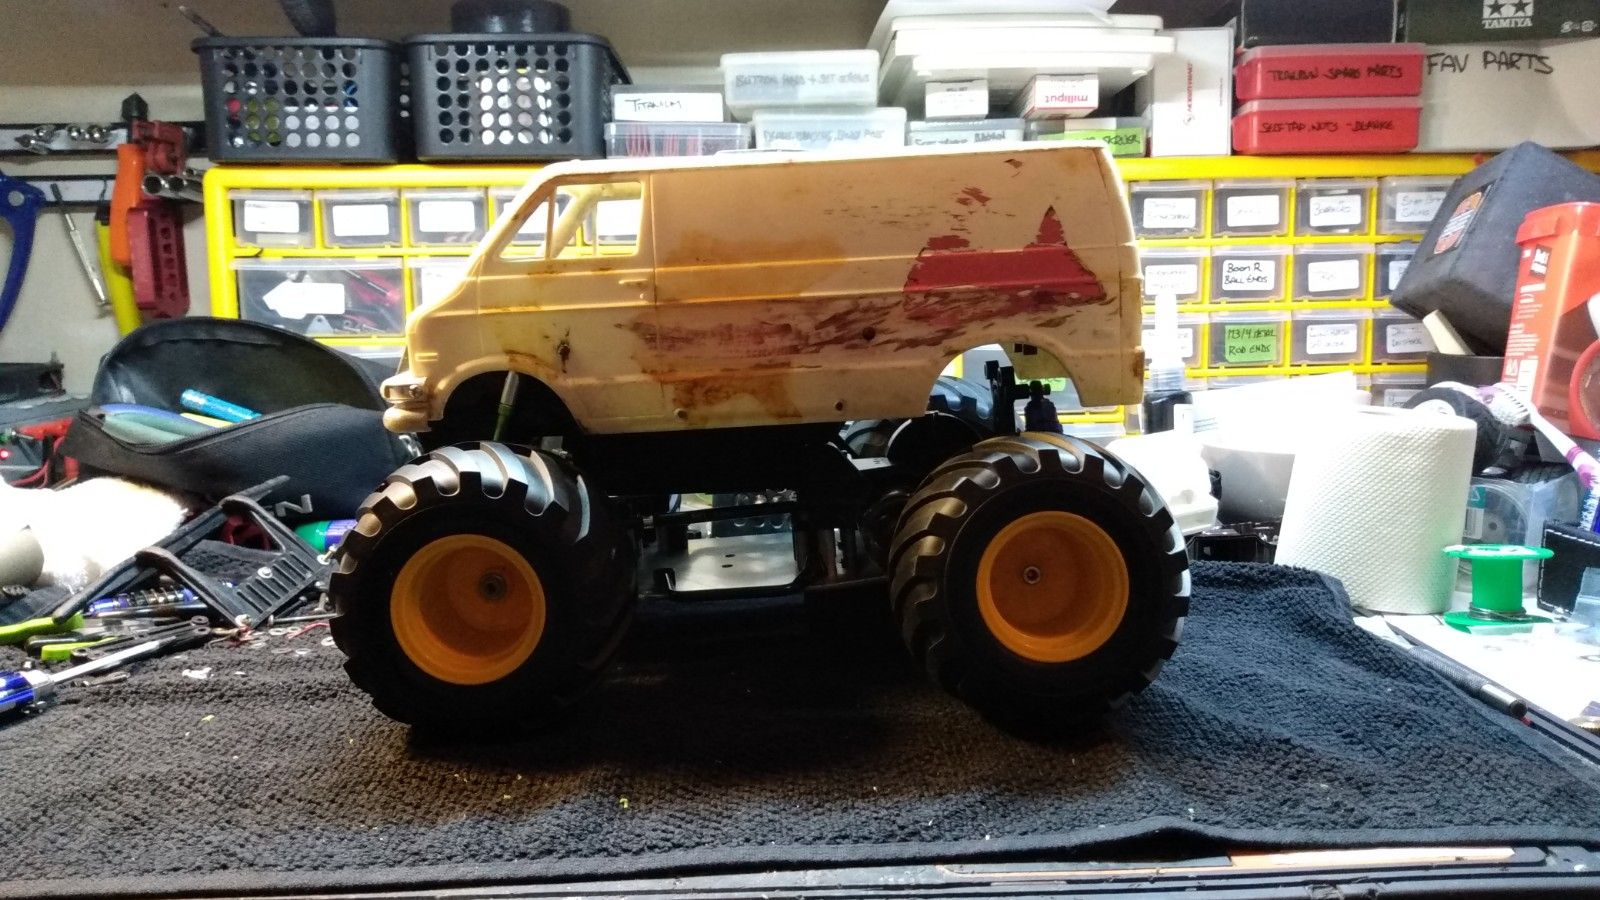
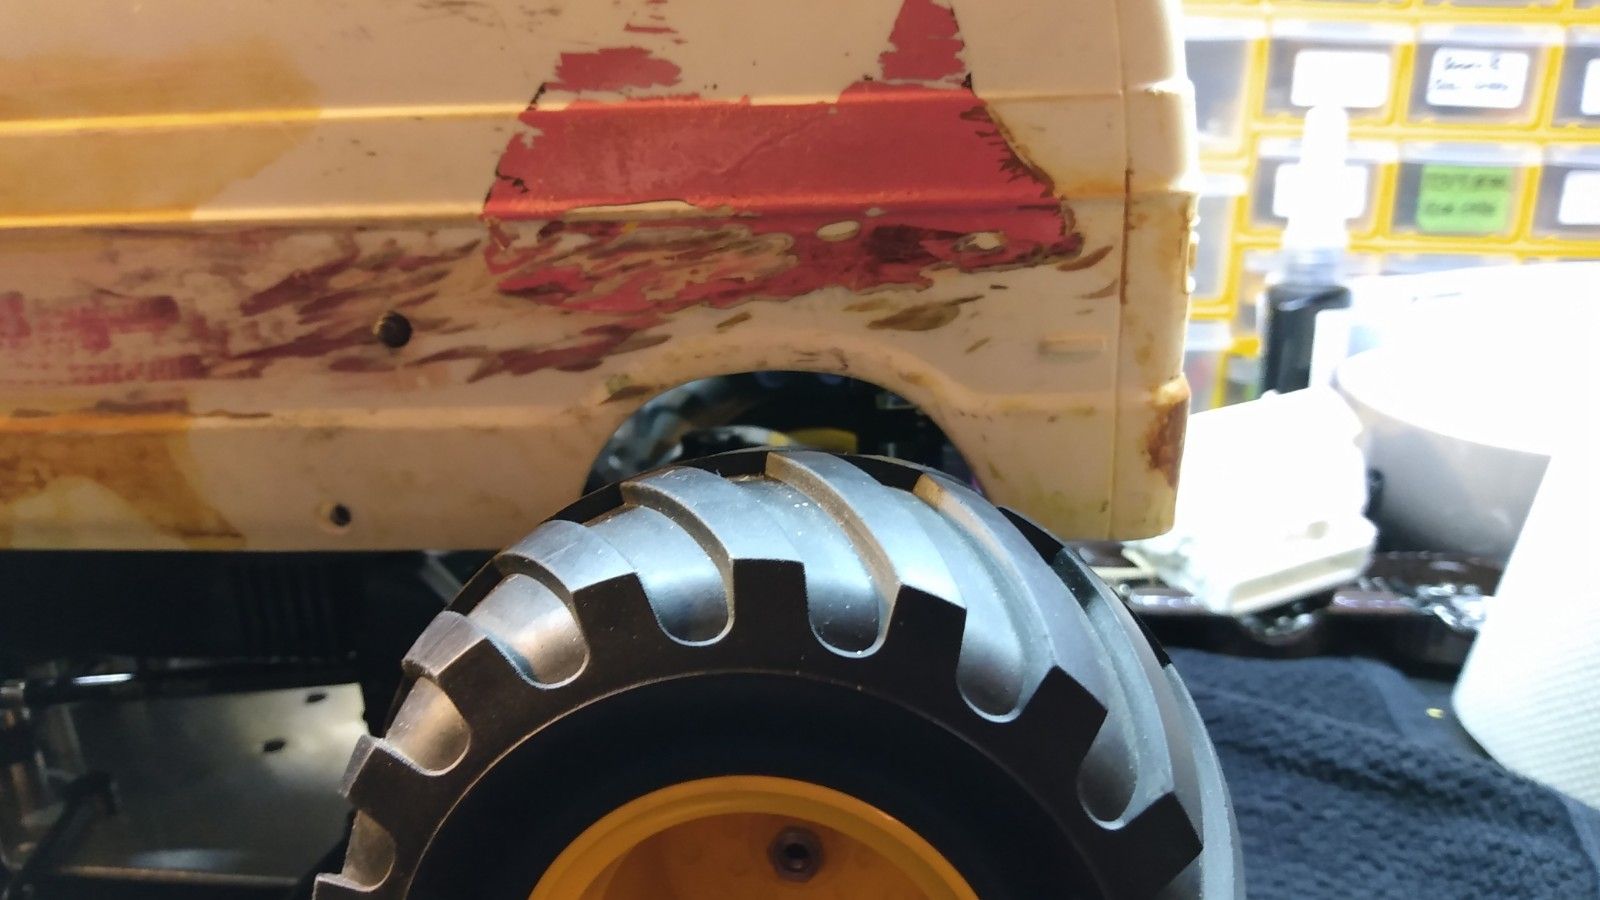
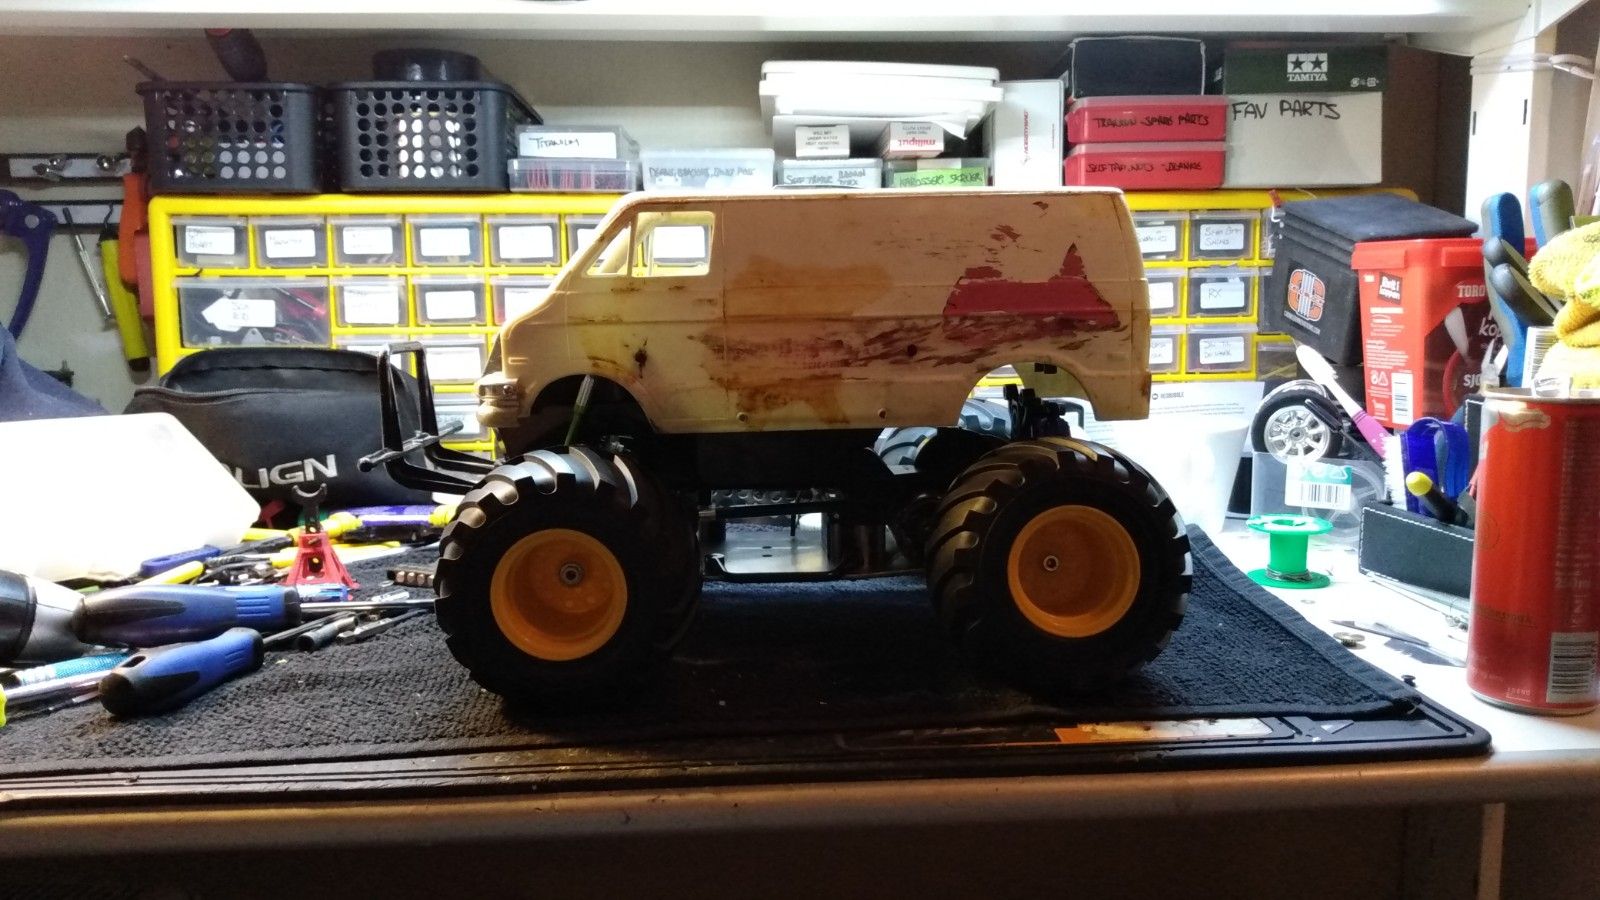
With Lunchbox tub fitted along with wheels.
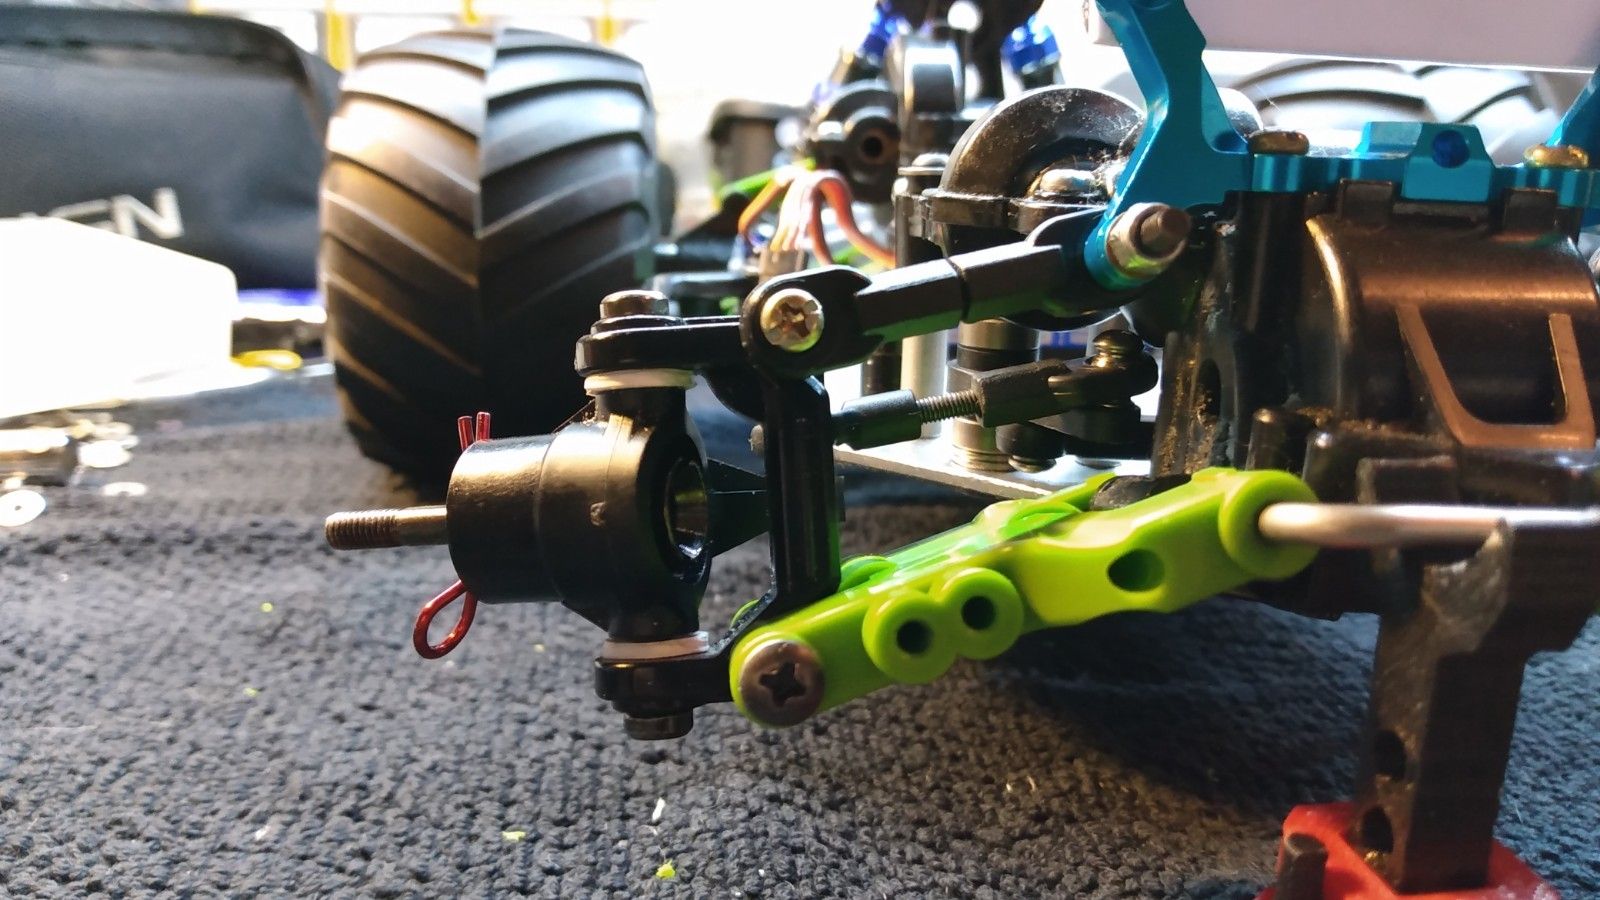
Scrub radius is horrendus, but noting I can do with massive negative offset wheels and short suspension arms,


Full down travel and steering to the left.


Fully to the right.


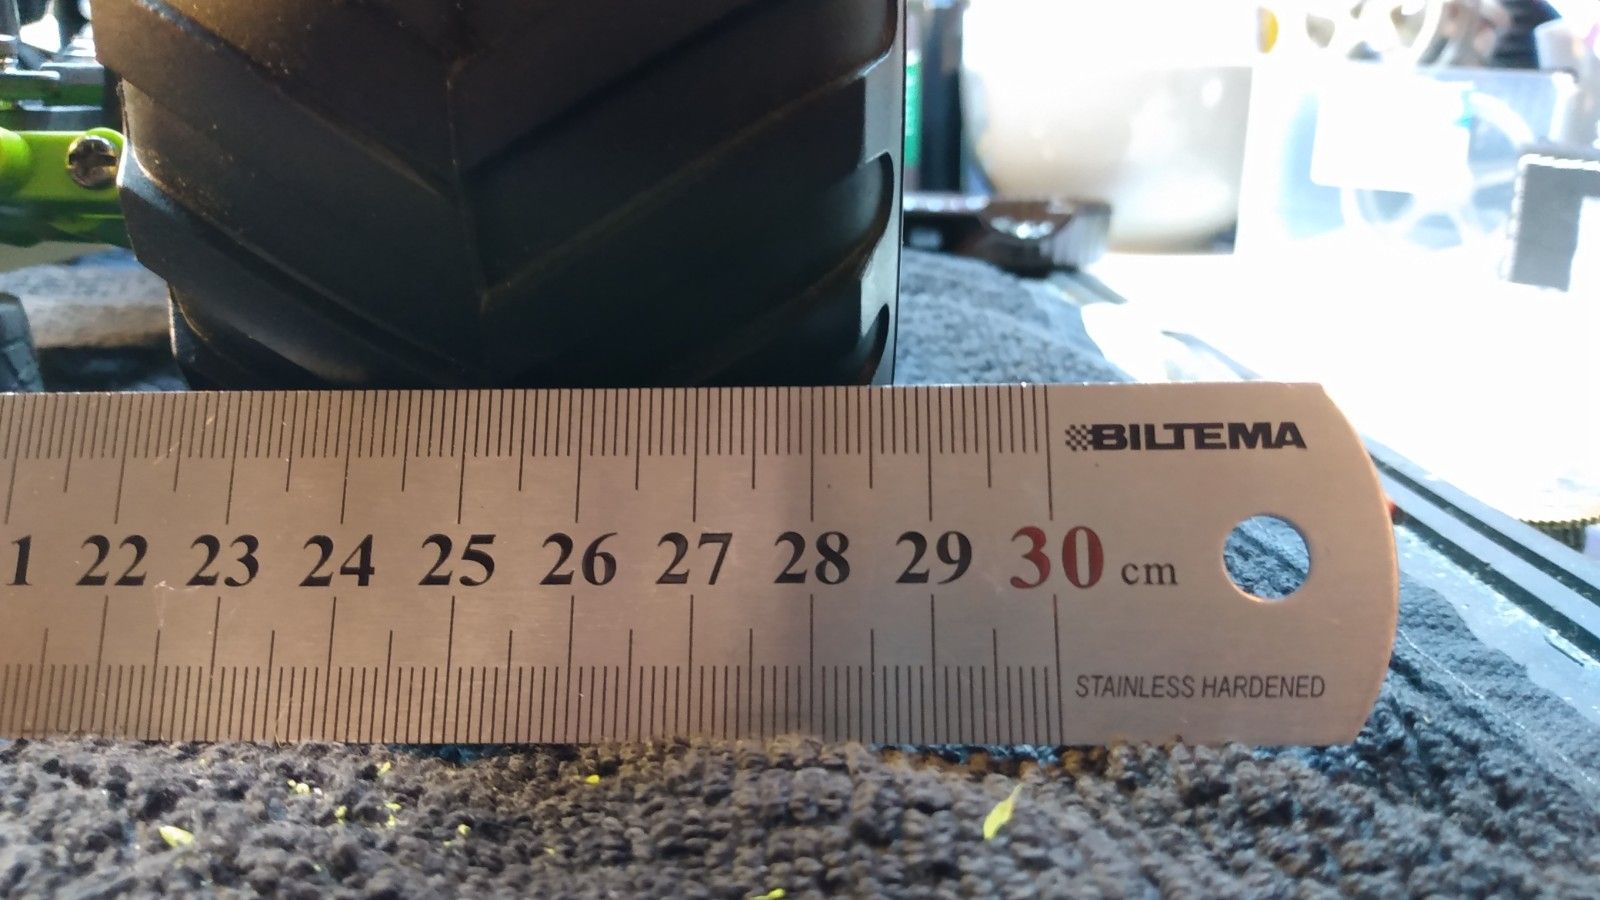
Full up travel. Measured it to be 16mm between max down to max up travel at the outer damper mounting hole.


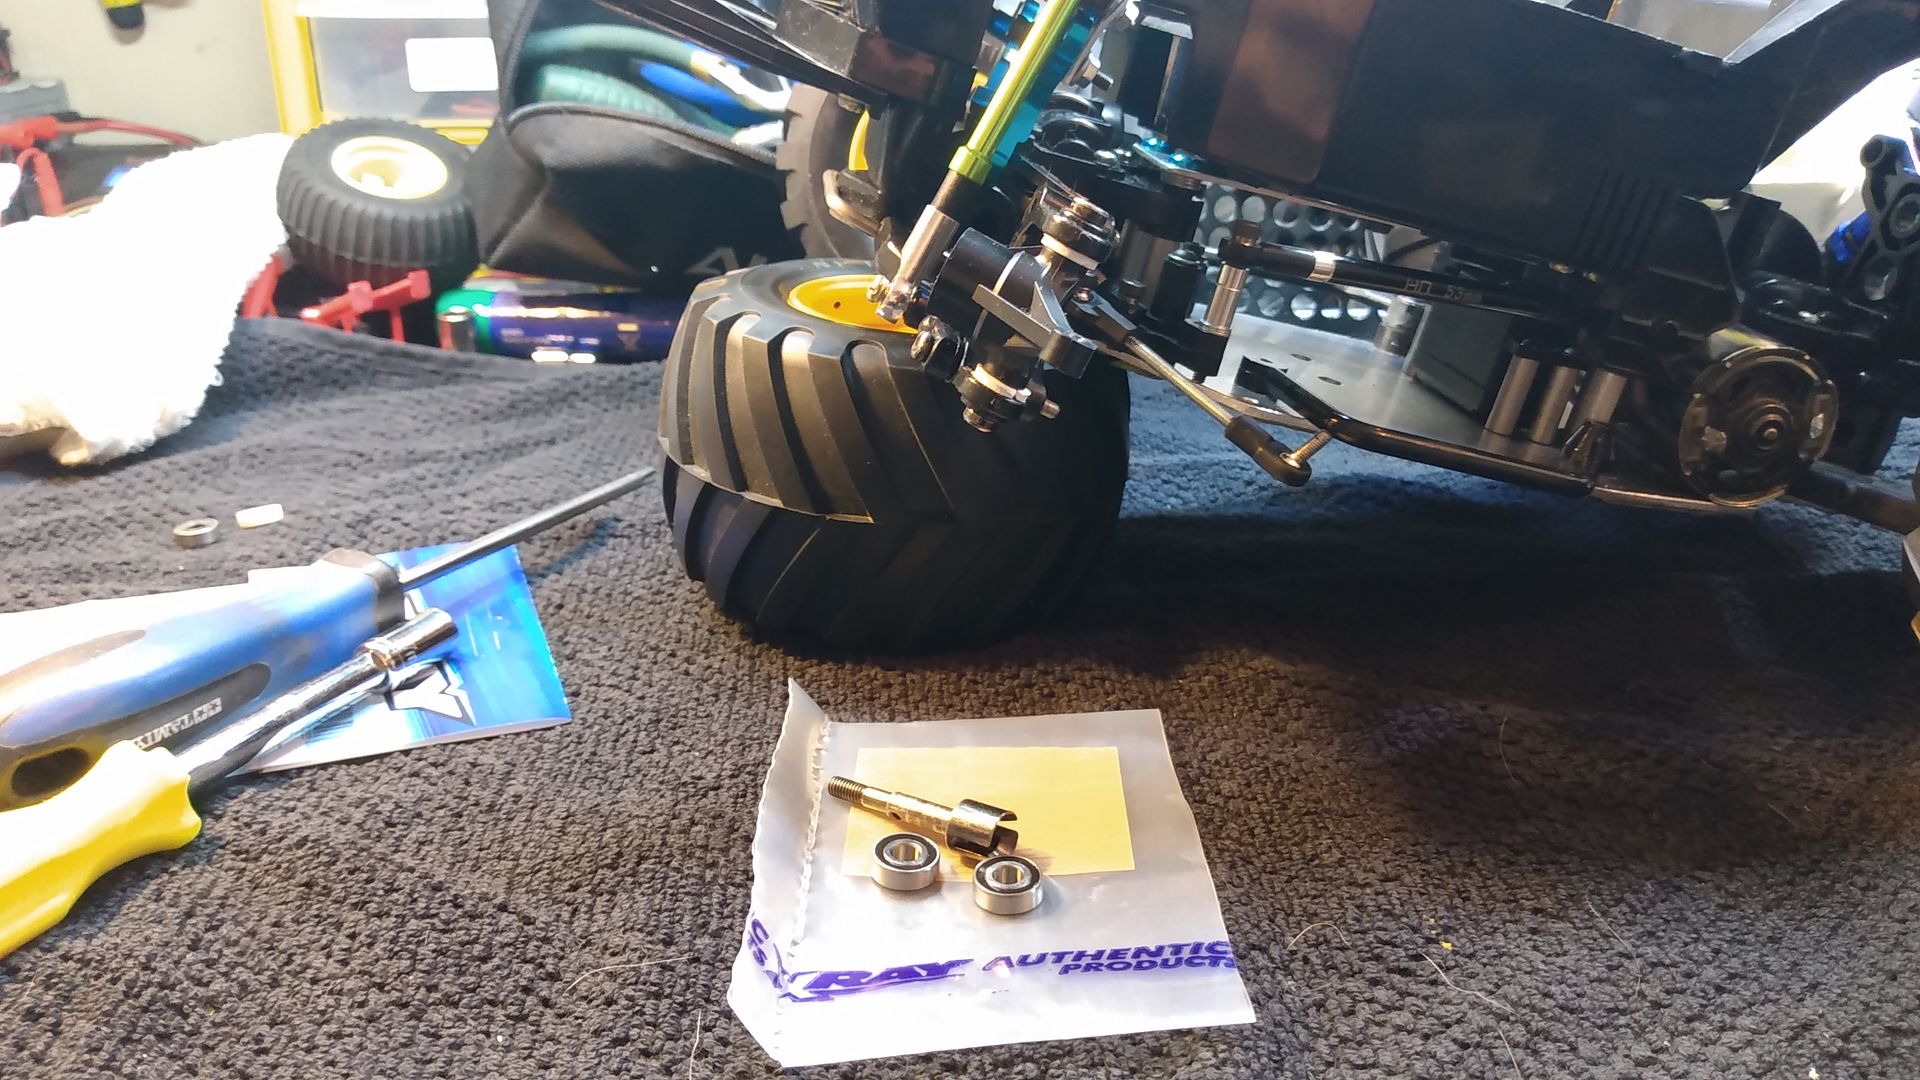
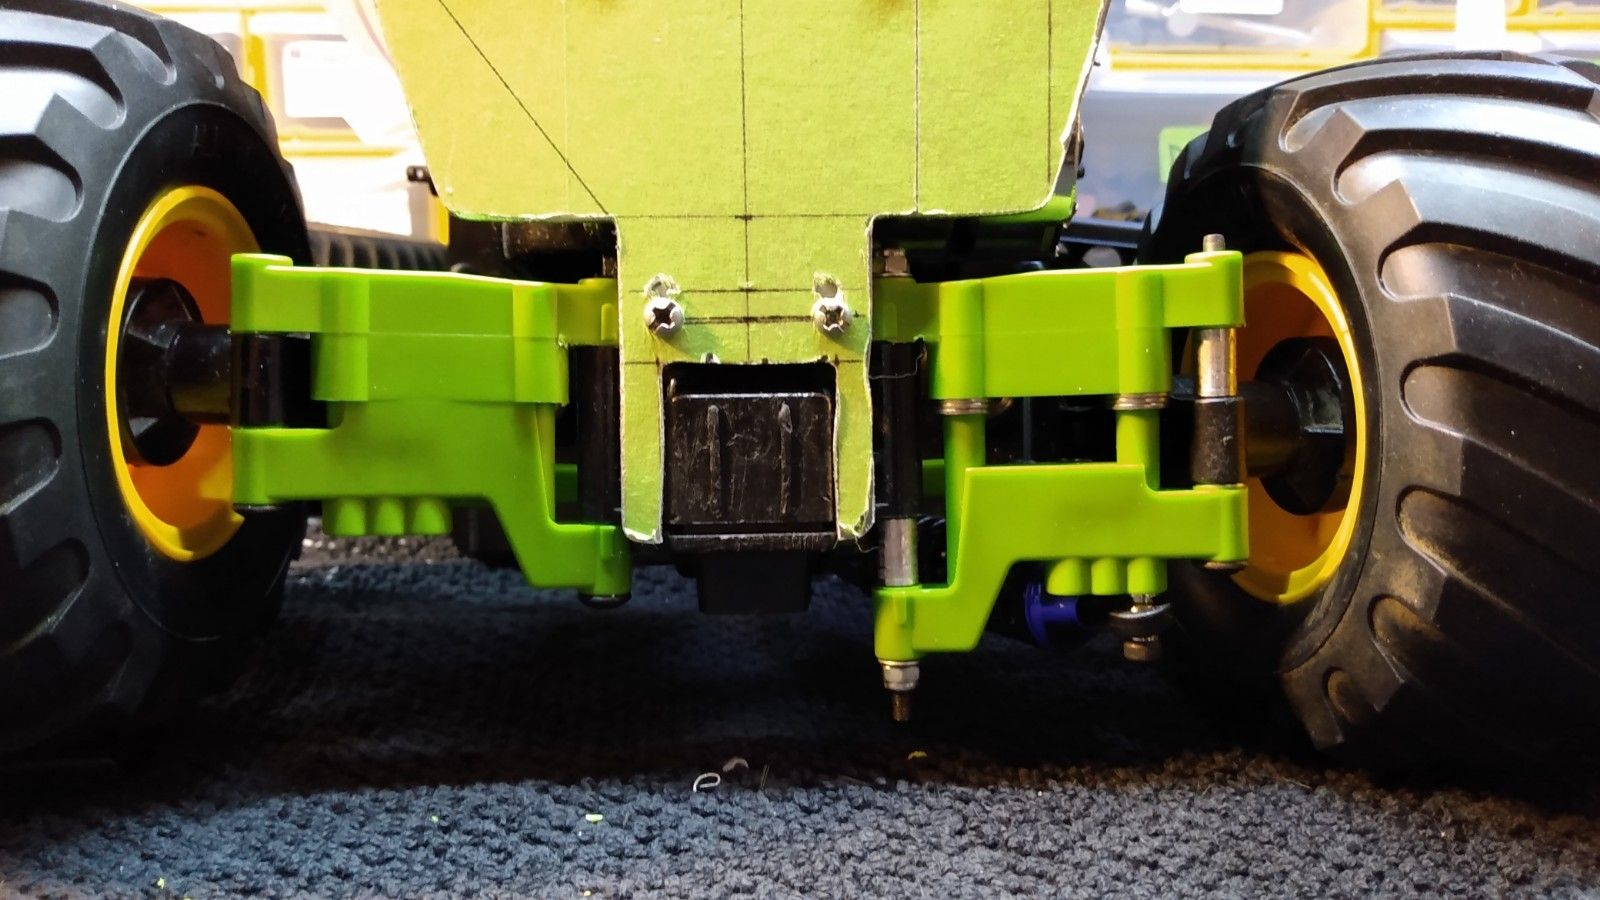
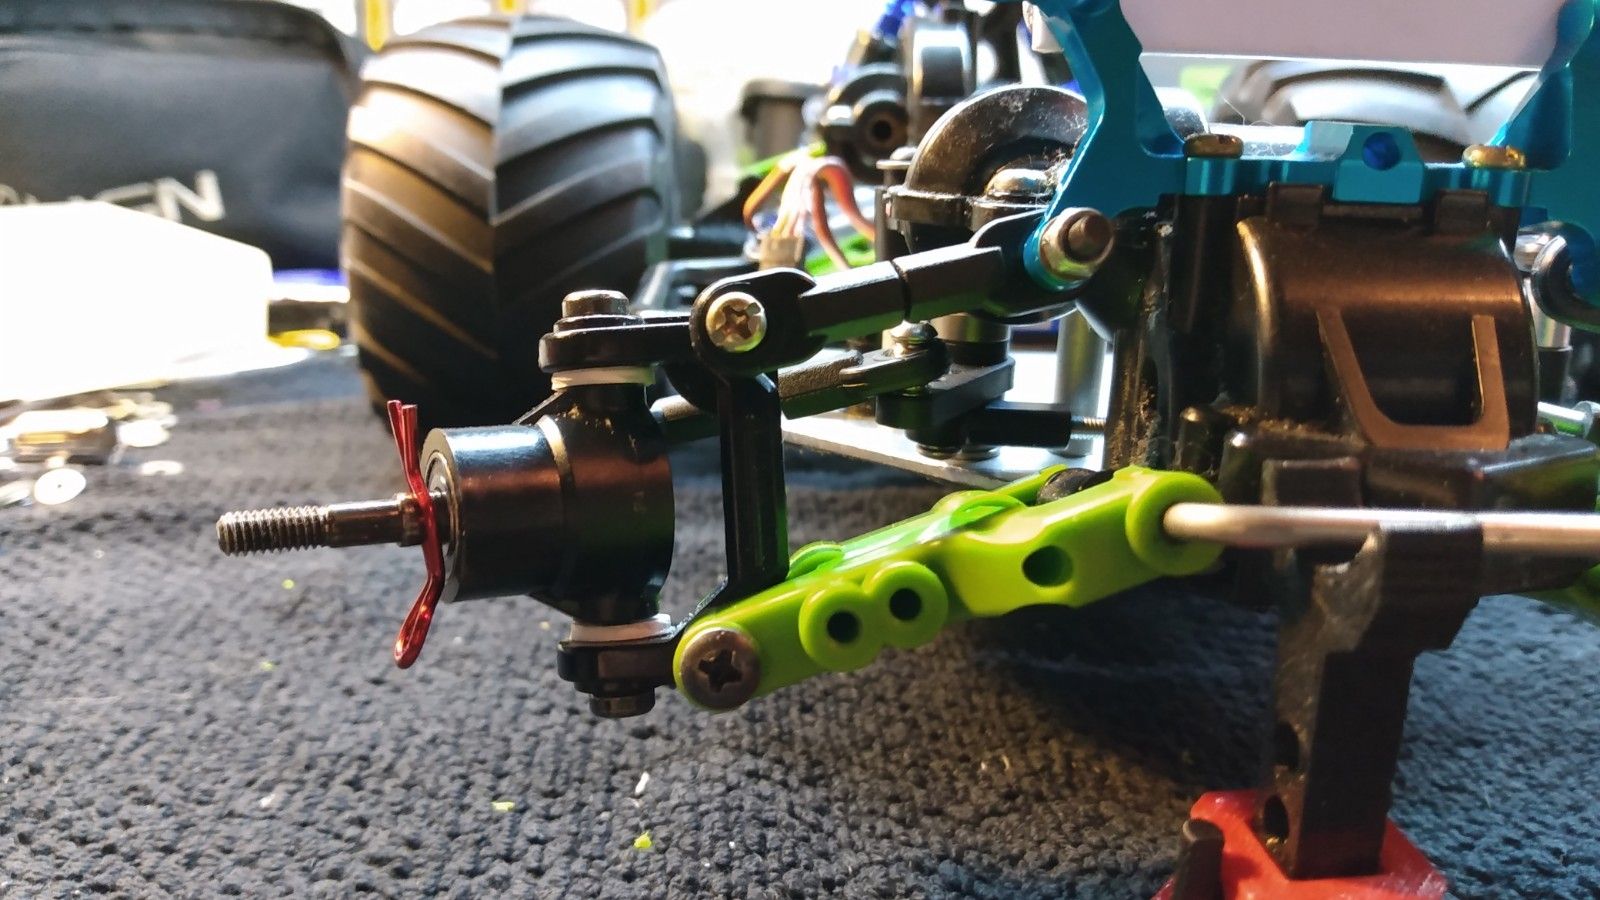
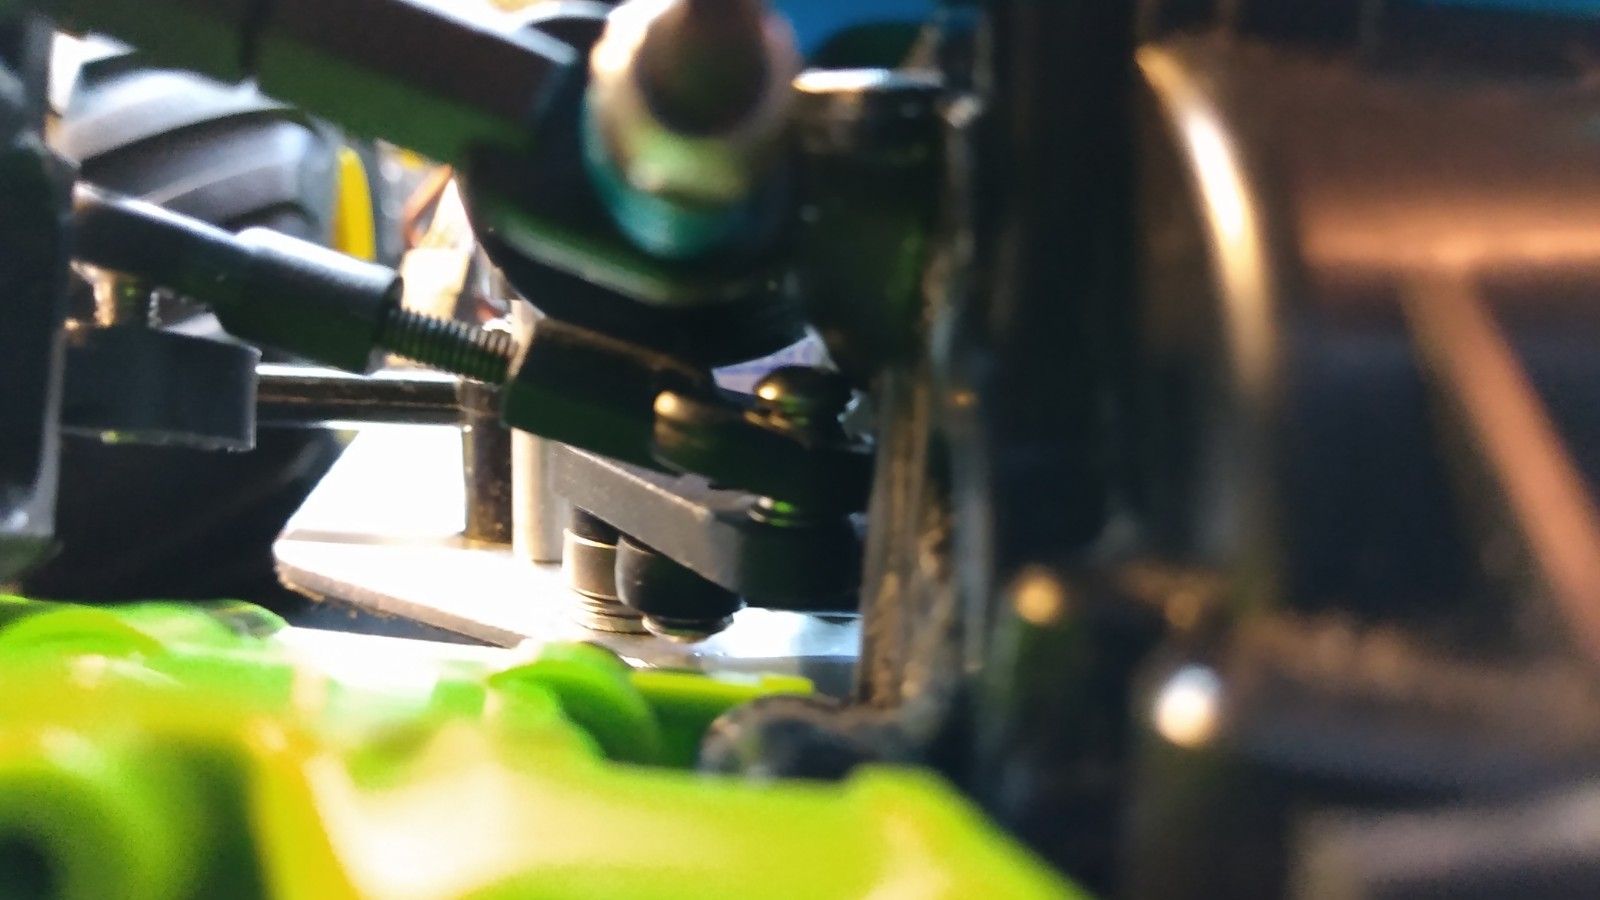
There is a slight problem however.
Head of the bolt for the ball end hits the propeller shaft housing before max steering angle.
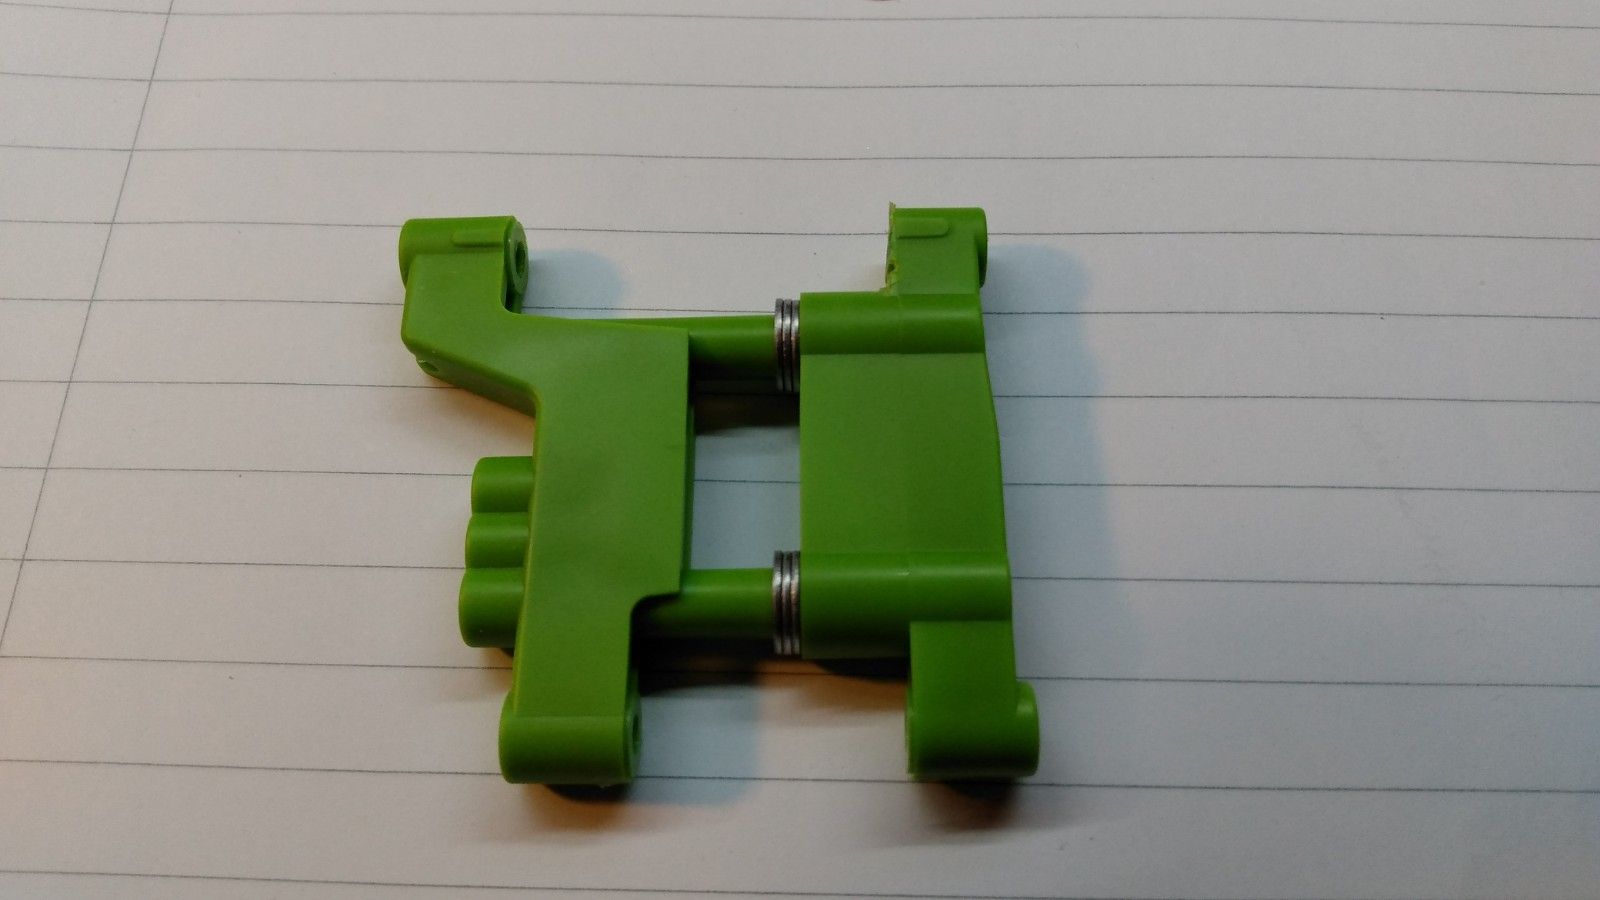
Due the design of the arms and the placement onto the chassis and surrounding areas, the bellcrank arm have to sit here, or else the draglink will hit something, steering rods hits the suspension arm, and bellcrank arm will hit the suspension arms, and any highe up there will be no space for the rod end to fit.
The solution is therefore to use short 5 ball nuts that are secured by the bolt from the underside.
I have those coming in the mail.


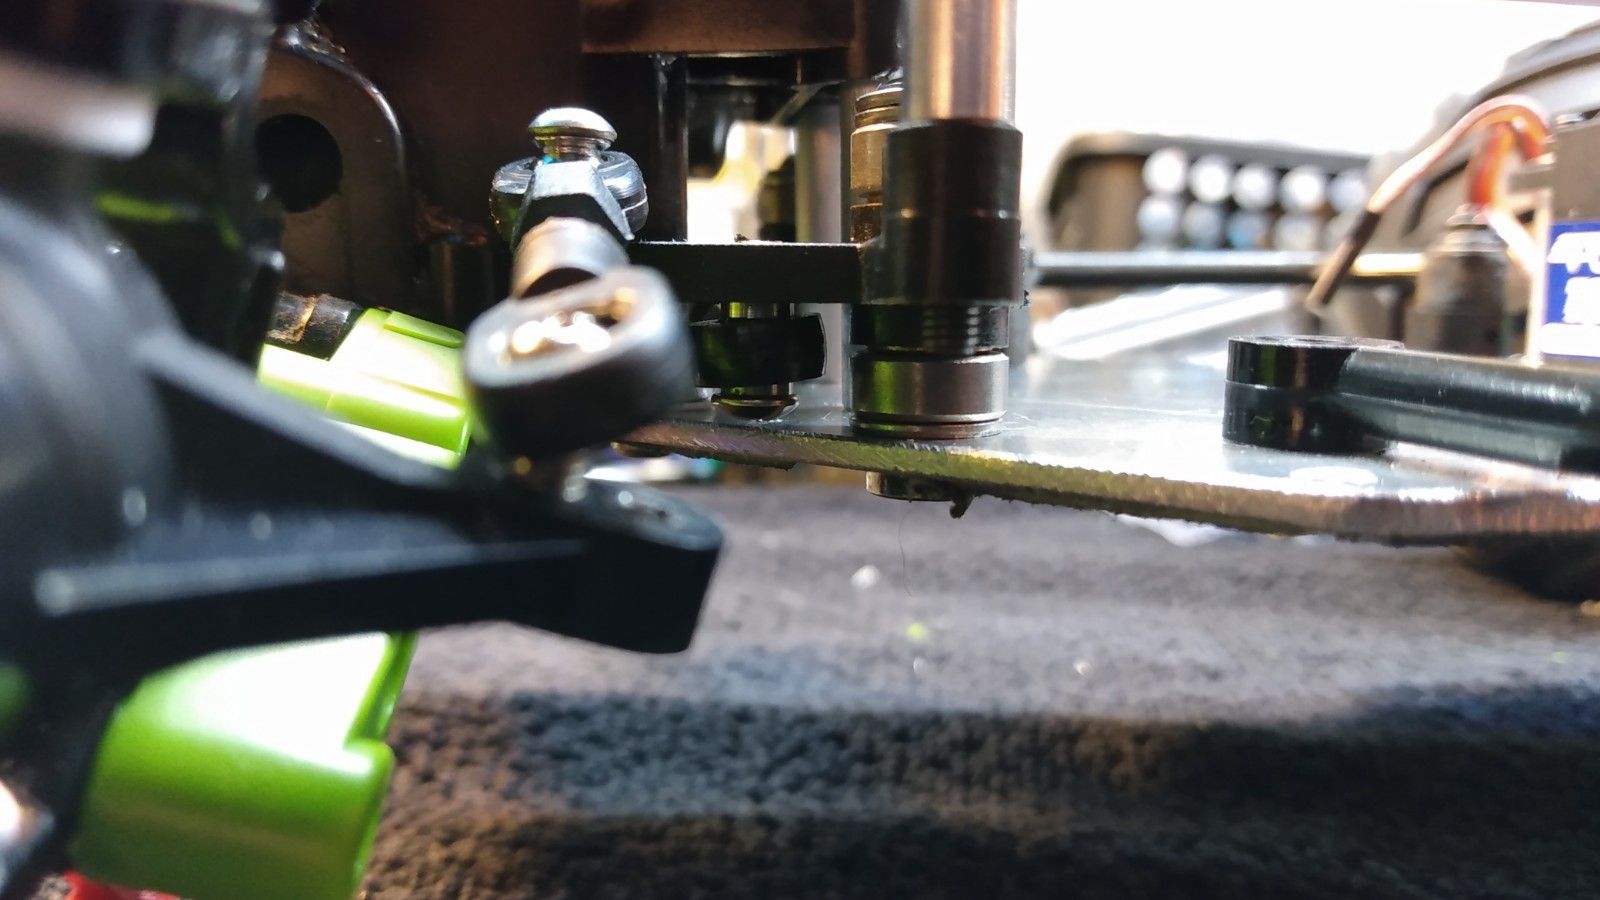
How tight is the clearance you may ask? 
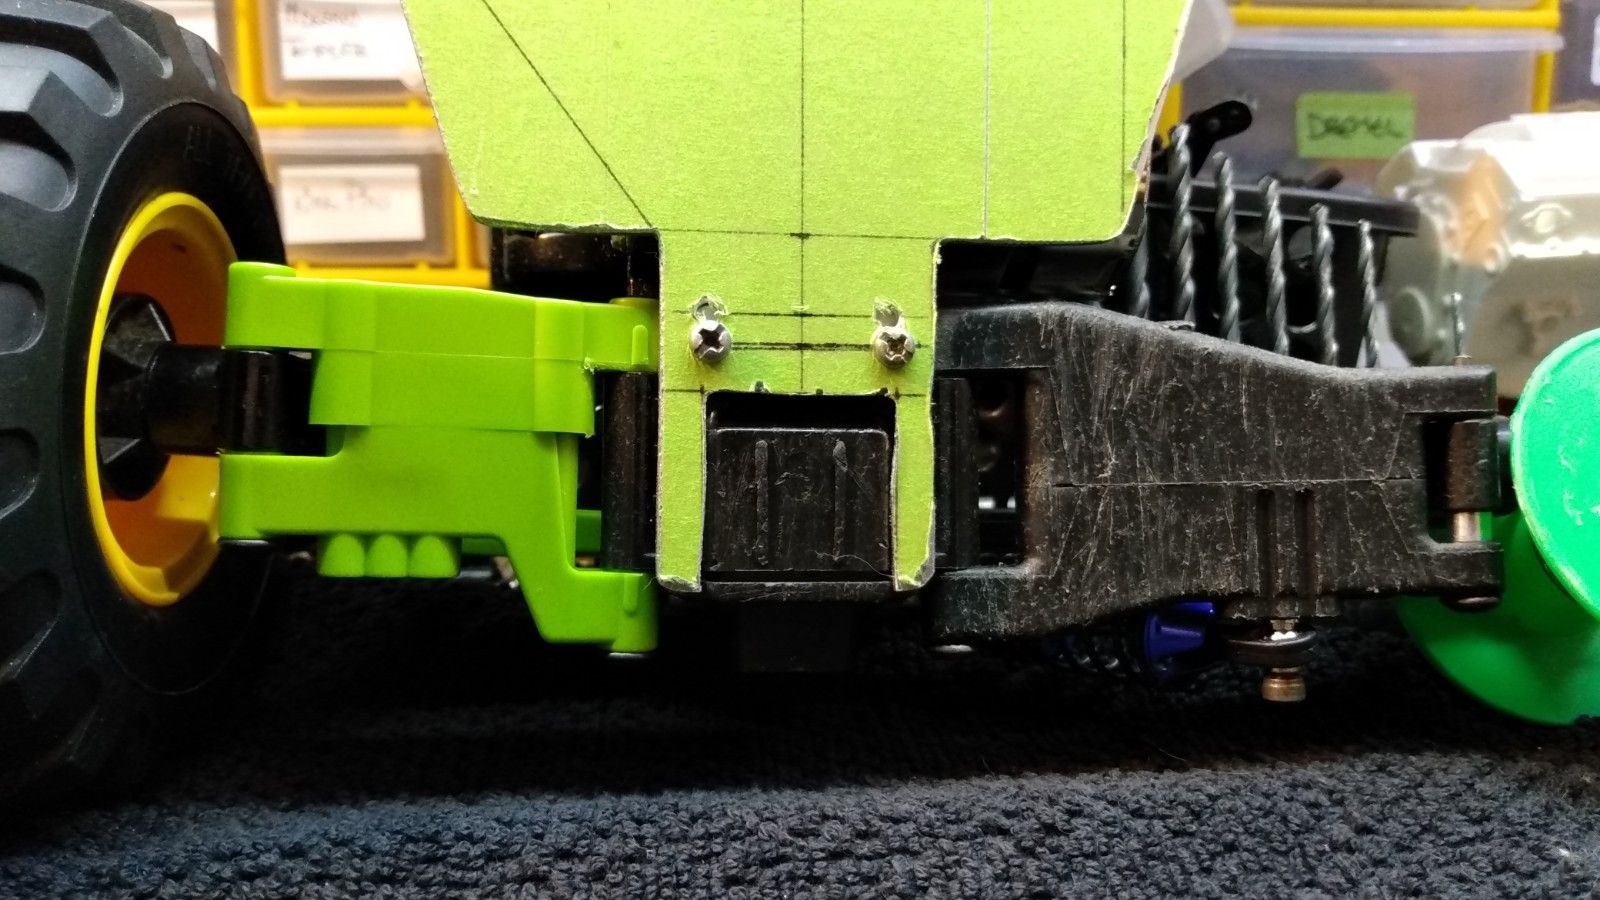
Well, see the bolt that holds the draglink and are fitted up side down?
This was a cap head bolt and it would hit the chassis so I had to swap those for some button heads which I need more of as I'm out of 8,10,12mm ones.


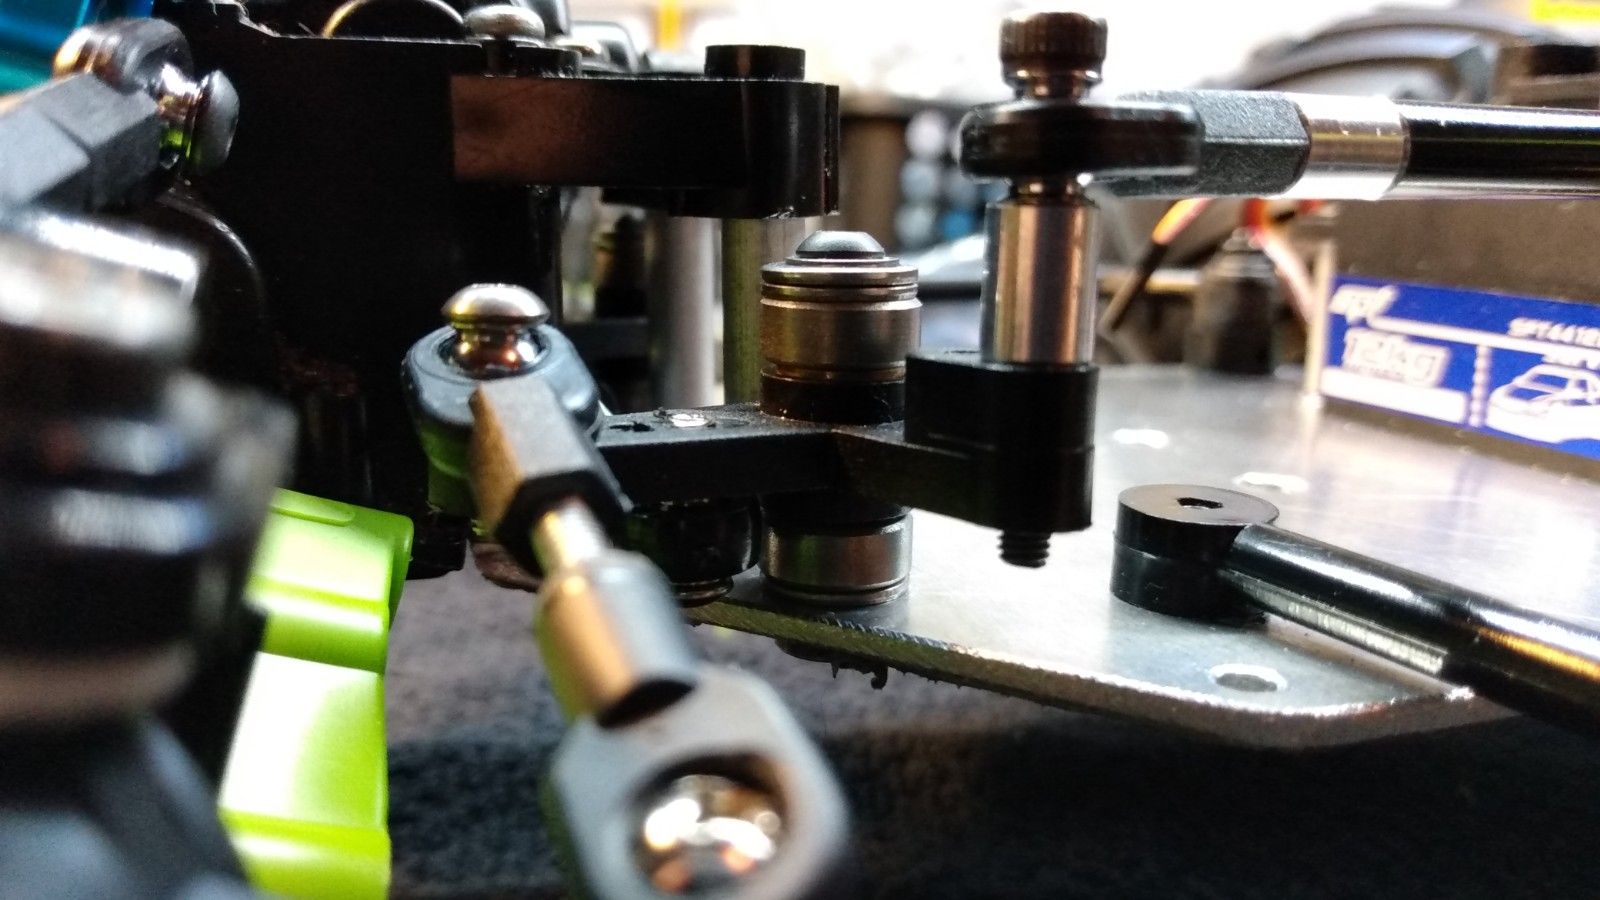
I have yet to cut down the bellcrank shafts as I play around what would work, 
For the current setup it was spaced by 2z4mm thick spacers and 3x 5mm washers.
I played with all sort of arrangement of combo between those, and I landed on one 4mm washer and 1x washer on the bottom.
Now I know the lengt so I can cut them when the final shafts arrive.


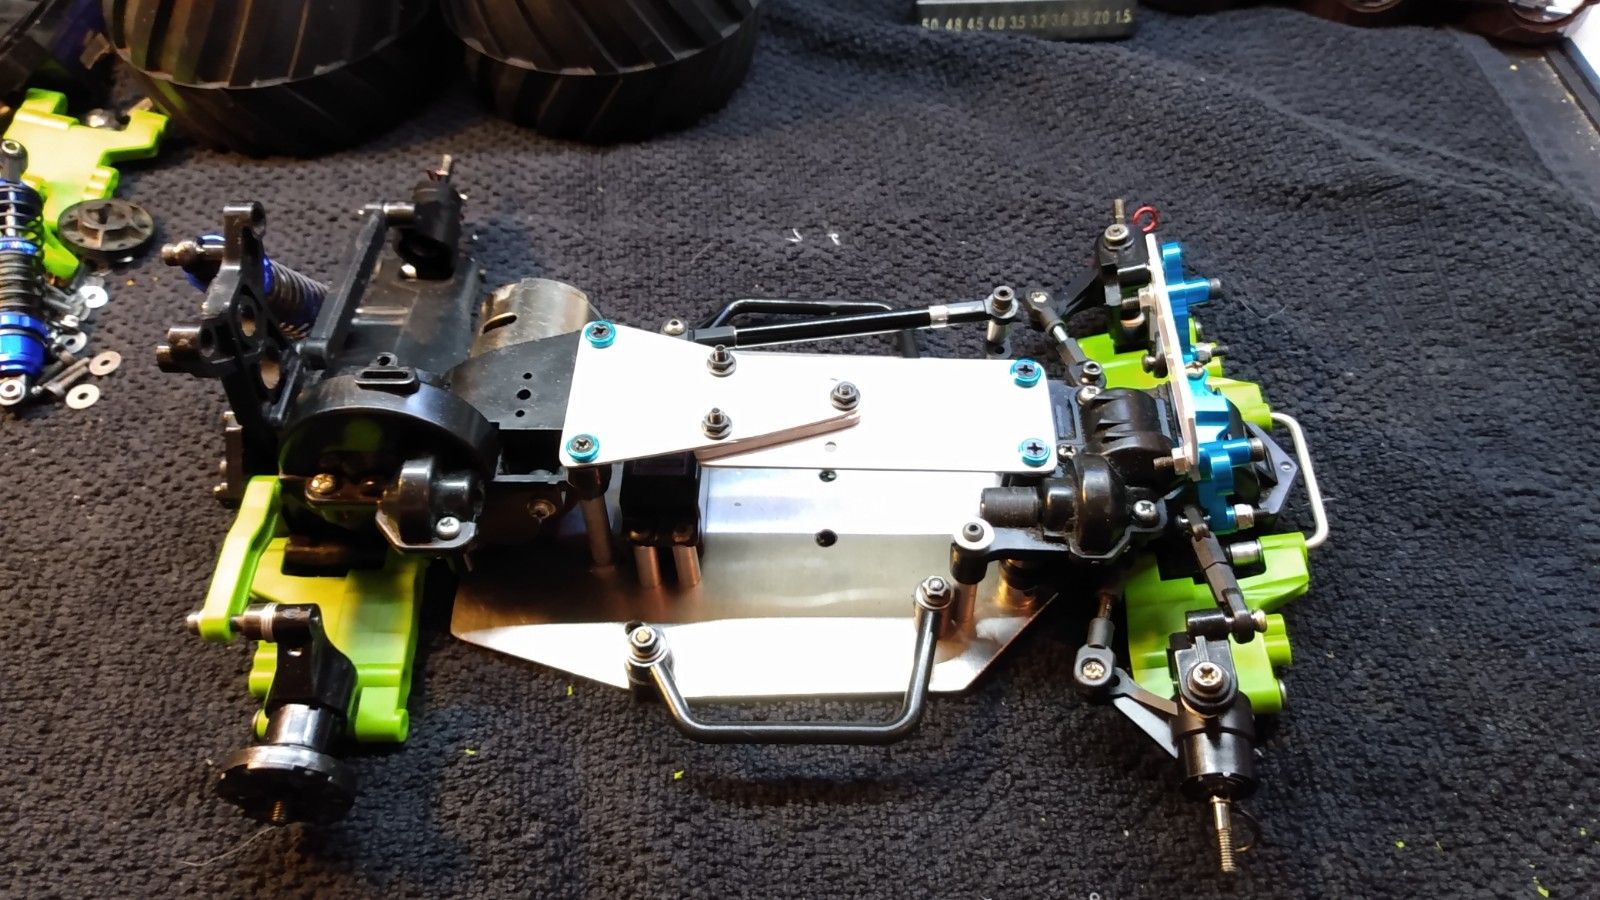
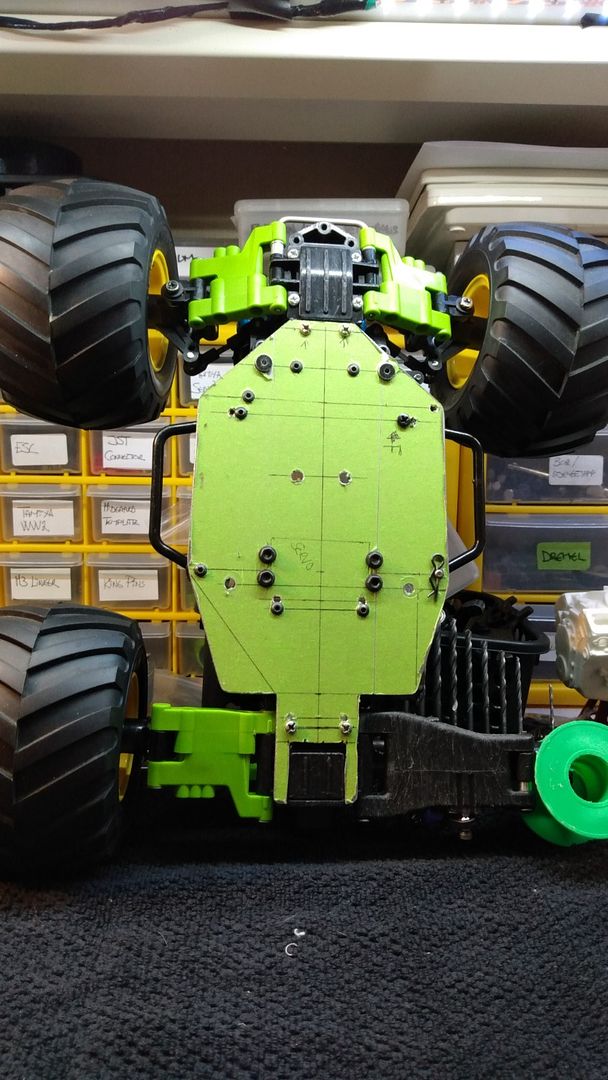
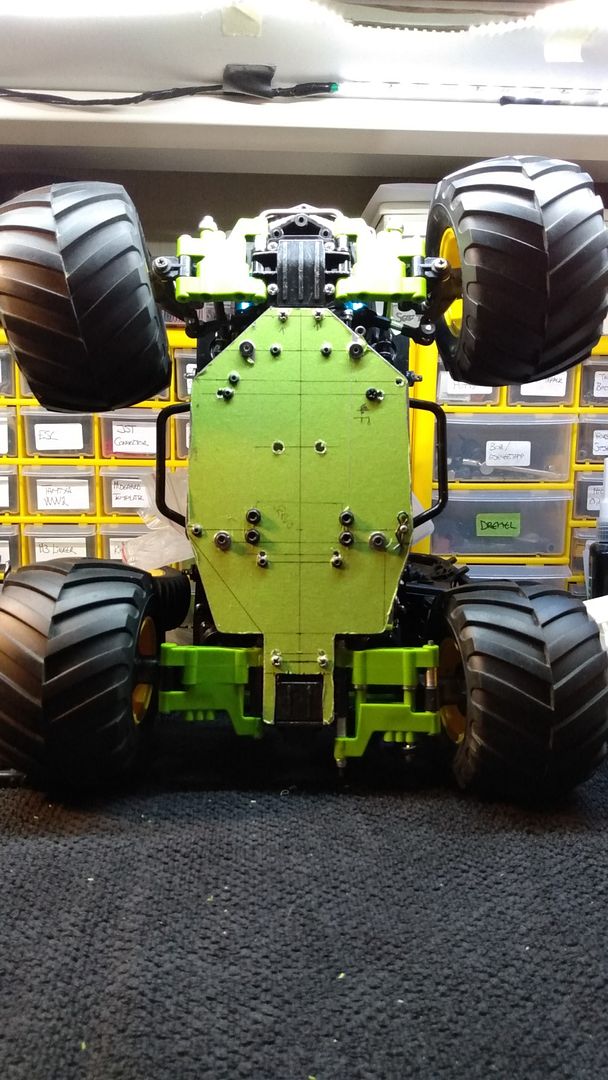
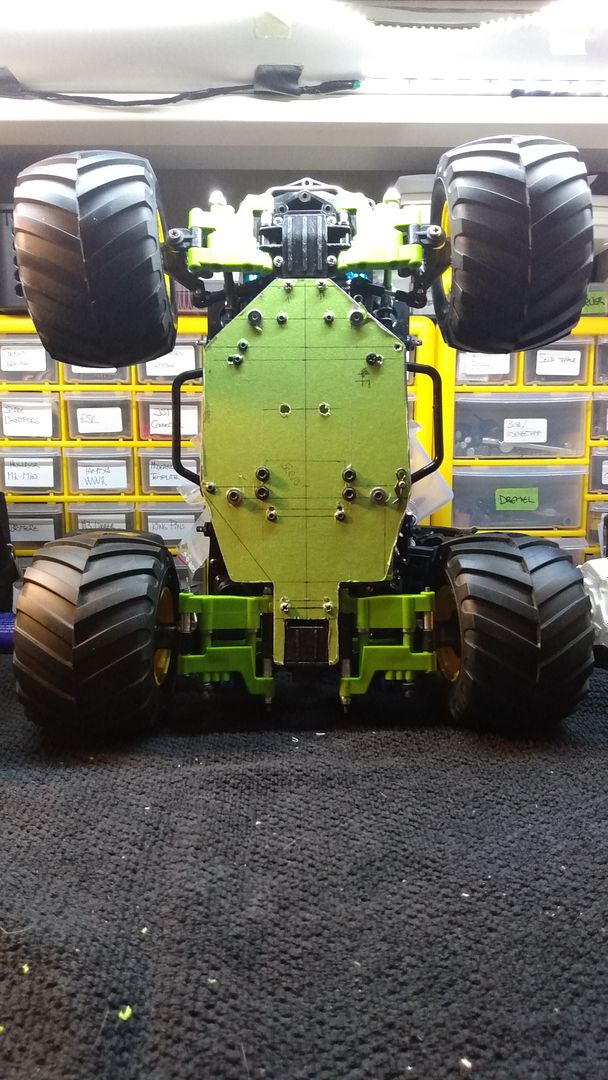
And I have landed on the final axle locations.
The complete chassis is now about 2mm further forward, and behind the stock servo location in the tub, there is a plate that holds the front of the new chassis to the tub.
On that spot there used to be 4x washers between the servo location and the plate, now it only needs two.
The front of the gearbox is now as far forward it will go behind the tub bulkhead block thingy (where the bumper is bolted to).
I'm happy with the current outcome.


Due the bank holiday on Monday, I think will receive the next parts on Tuesday at earliest.

As the travel of the front suspension arms are 16mm, I think 65mm dampers with limiters will fit the best.
I might make a new front tower next for 65mm shocks I think.
Depends on the weather as it is forecasted rain for the most part of the next week.

I may borrow my Pumpkin chassis to do a side by side comparison 
 
The following user(s) Liked this: Edou, stingray-63, Al, jord001

Please Log in to join the conversation.

Richard's 4x4 Lunchbox with DF01 drivetrain. 2 years 10 months ago #66647

That's not a so easy custom design. Congrats Richard. Woohoo :y:
The following user(s) Liked this: caprinut, jord001

Please Log in to join the conversation.

Moderators: caprinutstingray-63AndyAus
Time to create page: 0.227 seconds
Cookies are required to make this site work. If you continue to use this site you permit us to use cookies.