TOPIC:
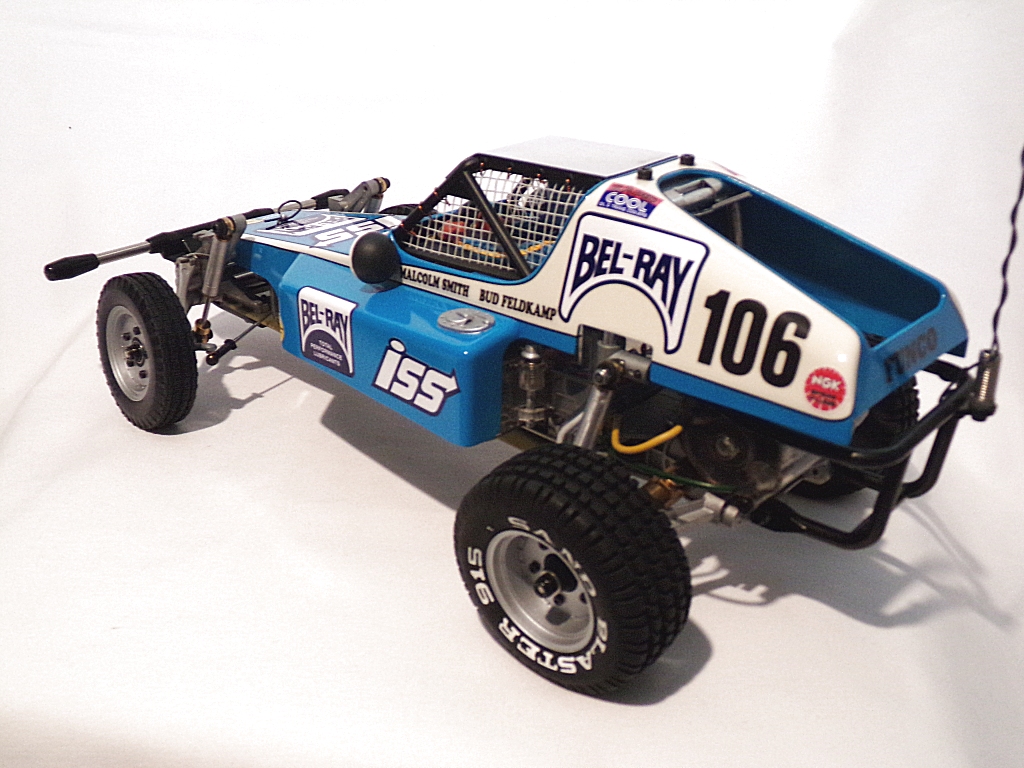
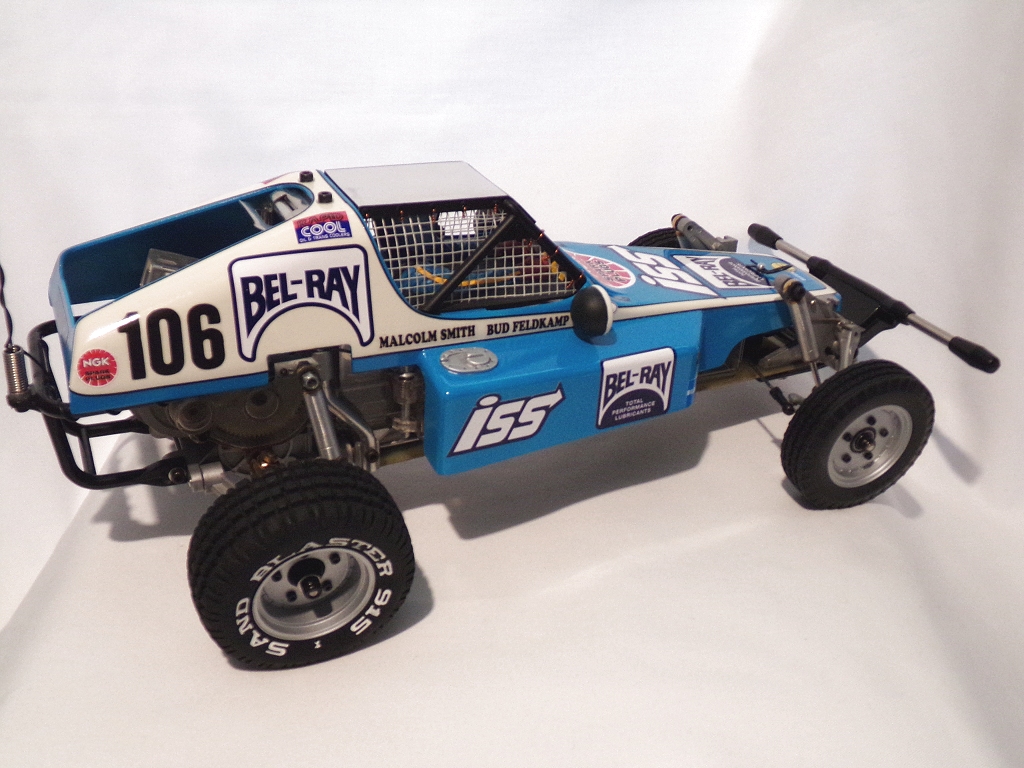
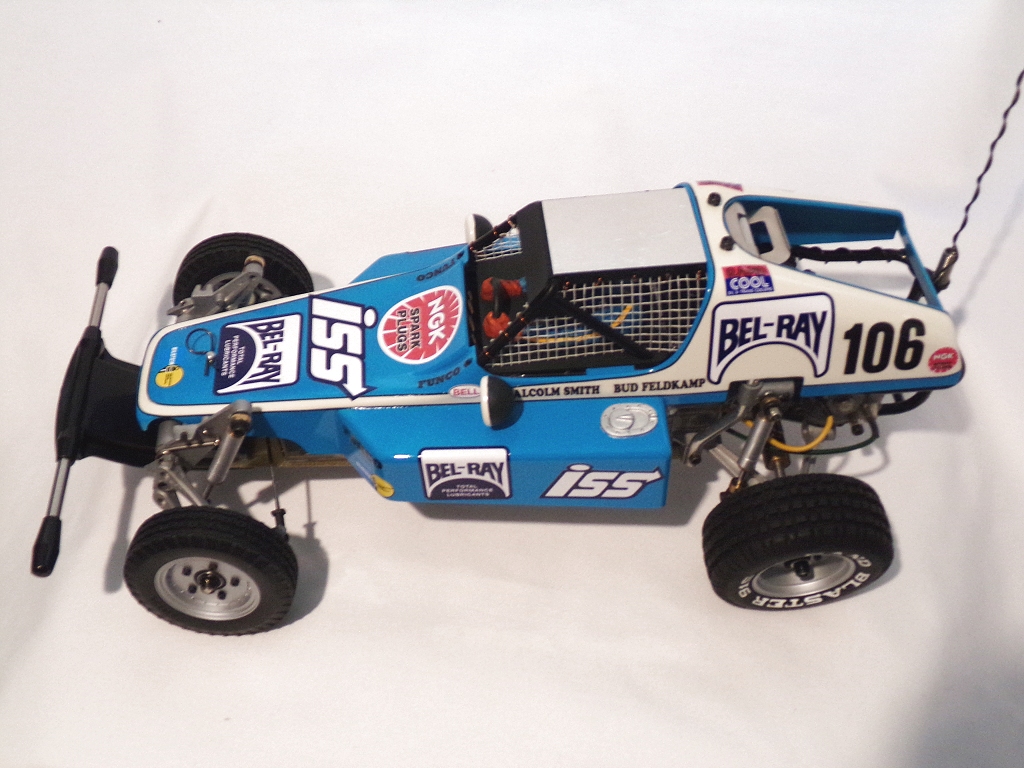
The Other SRBs: Bel Ray Bullet, Super Brat, Kubelwagen, VW Thing/Trekker 6 years 5 days ago #50101
|
|
Please Log in to join the conversation. |


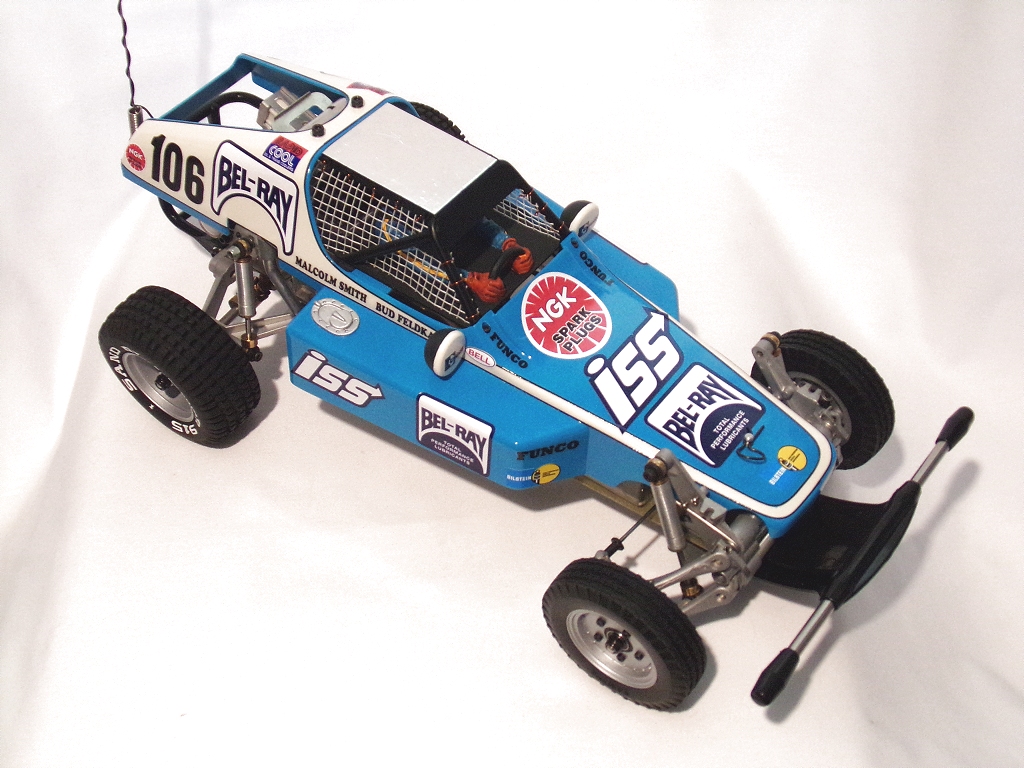
The Other SRBs: Bel Ray Bullet, Super Brat, Kubelwagen, VW Thing/Trekker 6 years 5 days ago #50105
|
|
Please Log in to join the conversation. |

")
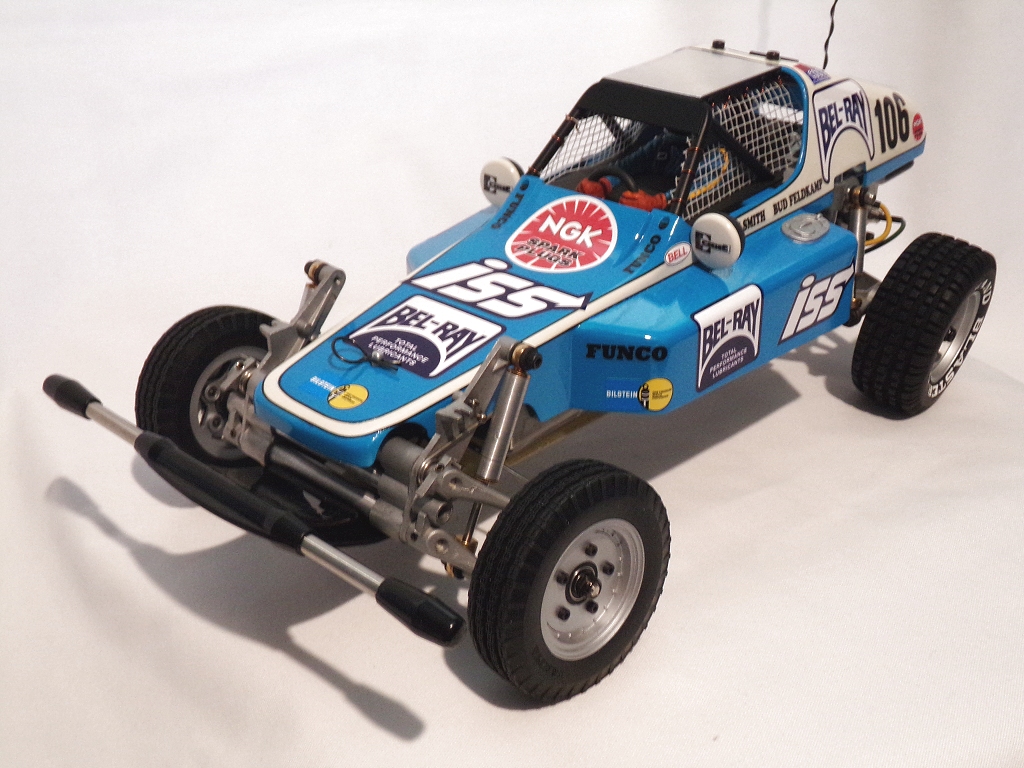
The Other SRBs: Bel Ray Bullet, Super Brat, Kubelwagen, VW Thing/Trekker 6 years 5 days ago #50107
|
|
Please Log in to join the conversation. |
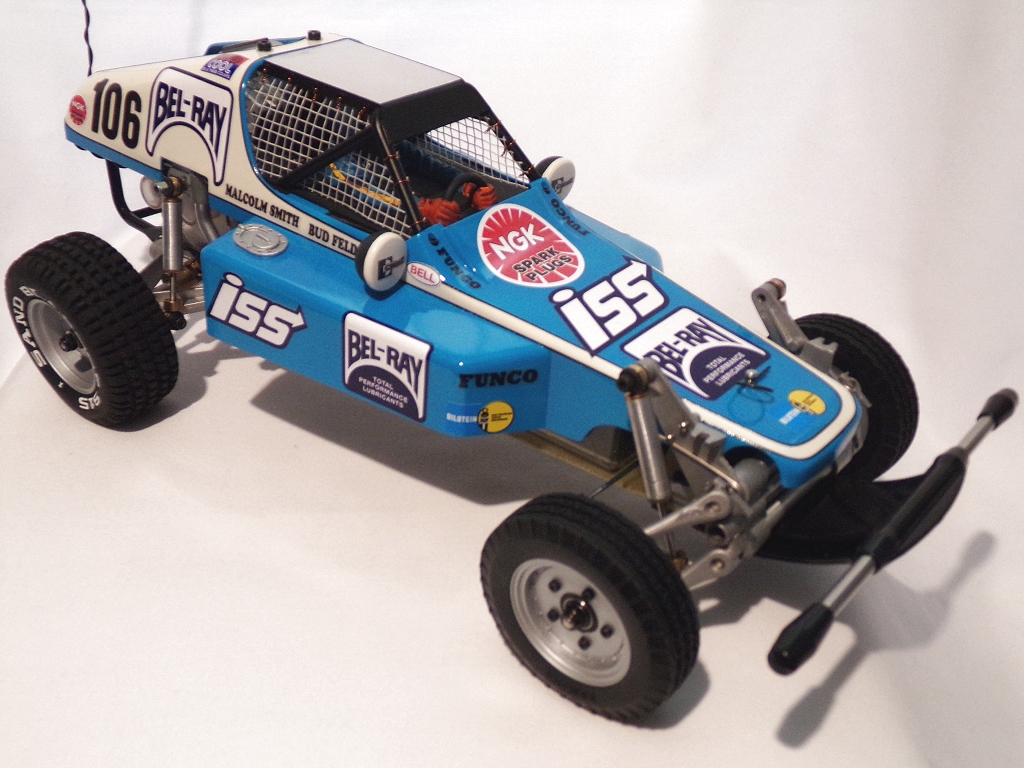
The Other SRBs: Bel Ray Bullet, Super Brat, Kubelwagen, VW Thing/Trekker 6 years 4 days ago #50108
|
|
Please Log in to join the conversation. |
The Other SRBs: Bel Ray Bullet, Super Brat, Kubelwagen, VW Thing/Trekker 6 years 3 days ago #50142
|
|
Please Log in to join the conversation. |
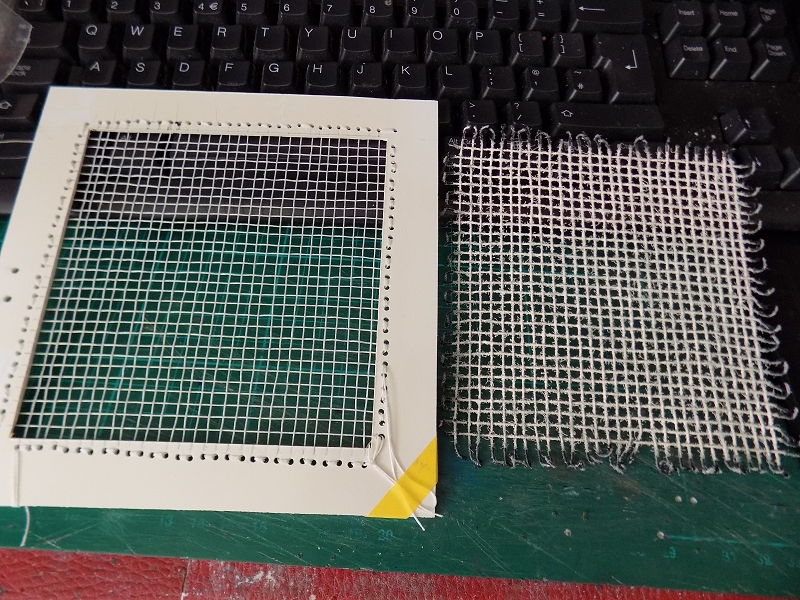
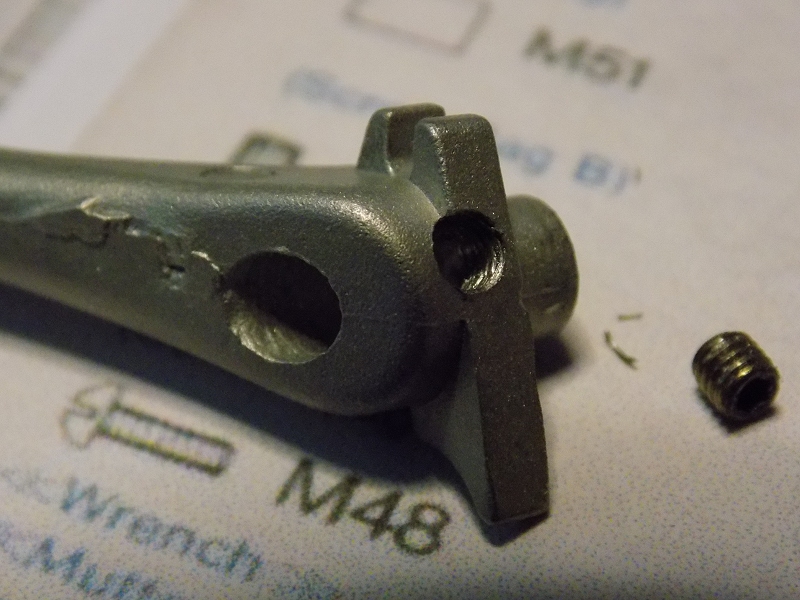
") ) I think i've found some the right OD (8mm) - they should arrive tomorrow so I'll know then whether they're a valid replacement or if I'll have to fork out for a genuine vintage (and hard/perished
) I think i've found some the right OD (8mm) - they should arrive tomorrow so I'll know then whether they're a valid replacement or if I'll have to fork out for a genuine vintage (and hard/perished  ) one.
The Other SRBs: Bel Ray Bullet, Super Brat, Kubelwagen, VW Thing/Trekker 6 years 1 day ago #50177
|
|
Please Log in to join the conversation. |
The Other SRBs: Bel Ray Bullet, Super Brat, Kubelwagen, VW Thing/Trekker 6 years 1 day ago #50182
|
|
Please Log in to join the conversation. |

The Other SRBs: Bel Ray Bullet, Super Brat, Kubelwagen, VW Thing/Trekker 6 years 1 day ago #50183
|
|
Please Log in to join the conversation. |
Time to create page: 0.191 seconds