|
|
|
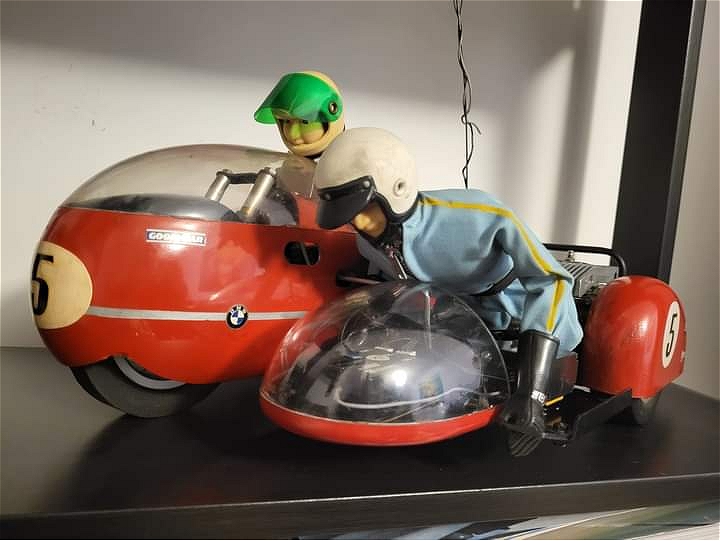
I’ve been interested in the B2B Racing Sidecar for some years - I think it’s mostly the appeal of painting large figures that aren’t Wild Willys – but when it came to buying one, they seemed to have suddenly got really expensive. I think I was bidding on some of the same cars as Al (see
tamiyabase.com/...6050#78807
) and also missed out to buyers with much deeper pockets.
Instead of opting for patience like Al, I clicked Buy It Now on bought an NIB body kit thinking it would come in handy, then a decent looking complete & boxed outfit. This meant I had a spare body, but rather than sell that on (probably for a small loss) I bought a bare chassis. Not at all logical, but I don’t know if that ever really applies to RC economics. Besides, unless I suddenly trip over a couple of bricks of cash, or the price of vintage Blazers and Toyota 4x4 Pickups suddenly plummet, these will probably be the last vintage RC vehicles I buy. The body set would have been very disappointing to an NIB collector, but as I was always planning to use it, it’s not a problem. 
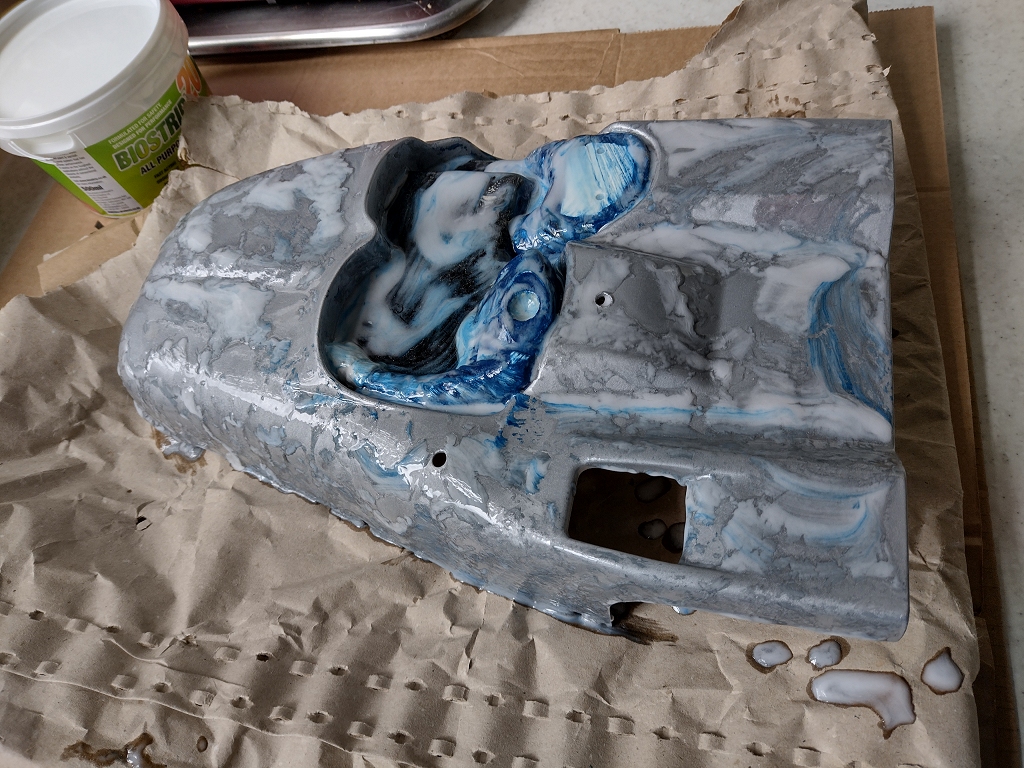
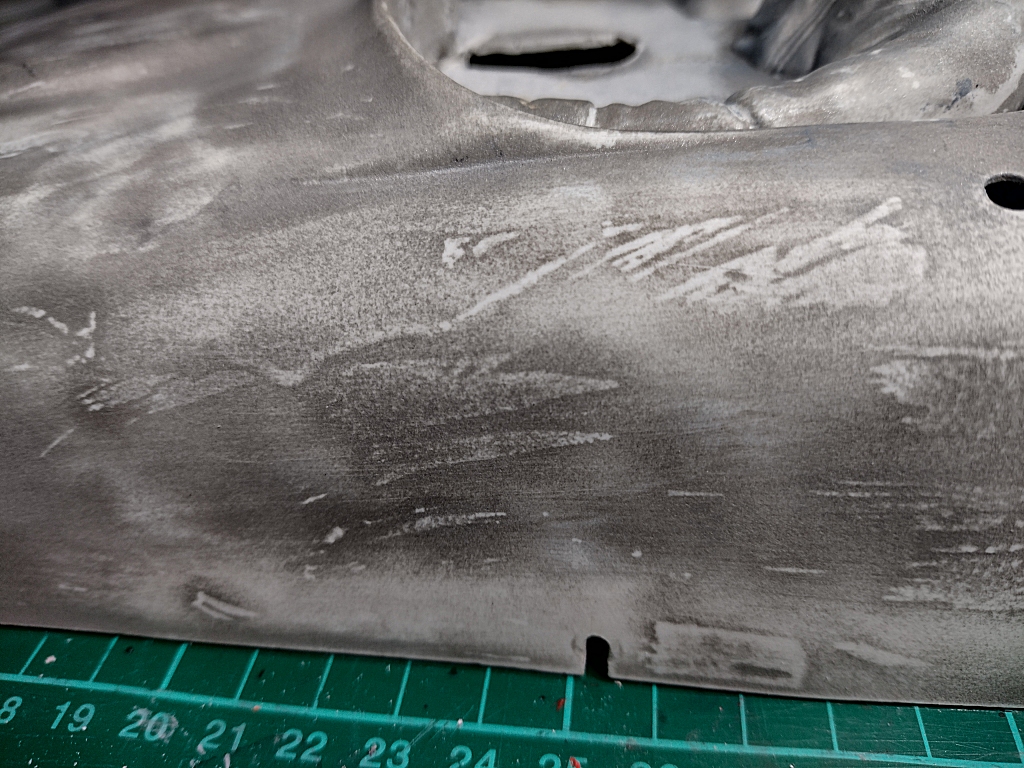
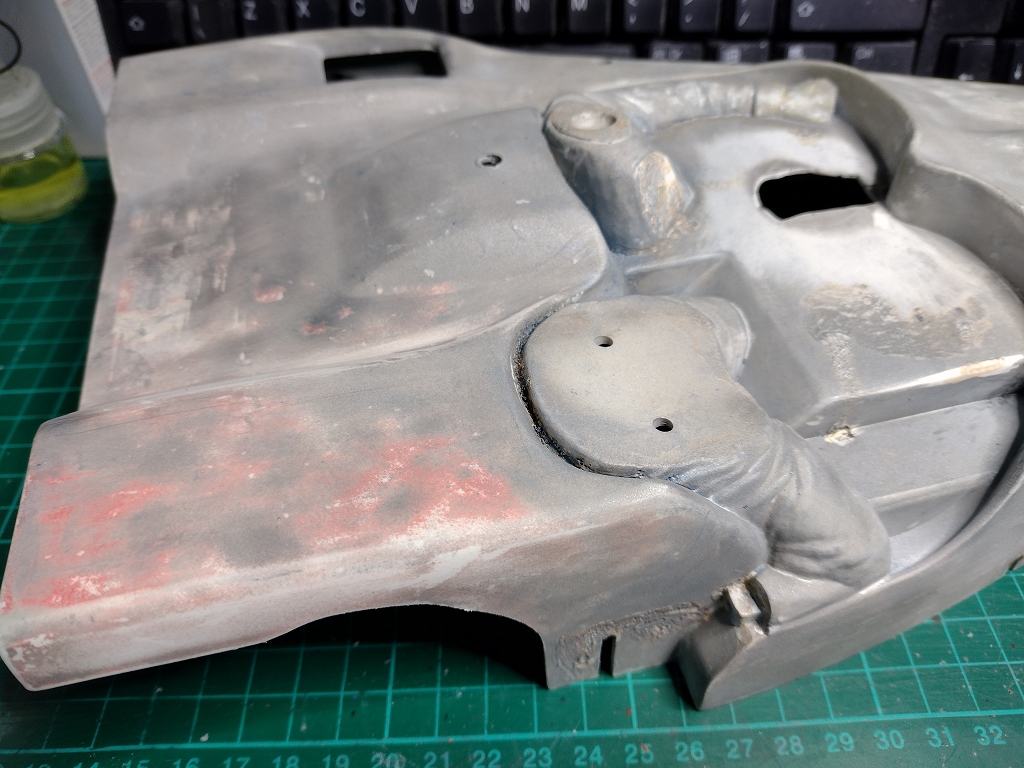
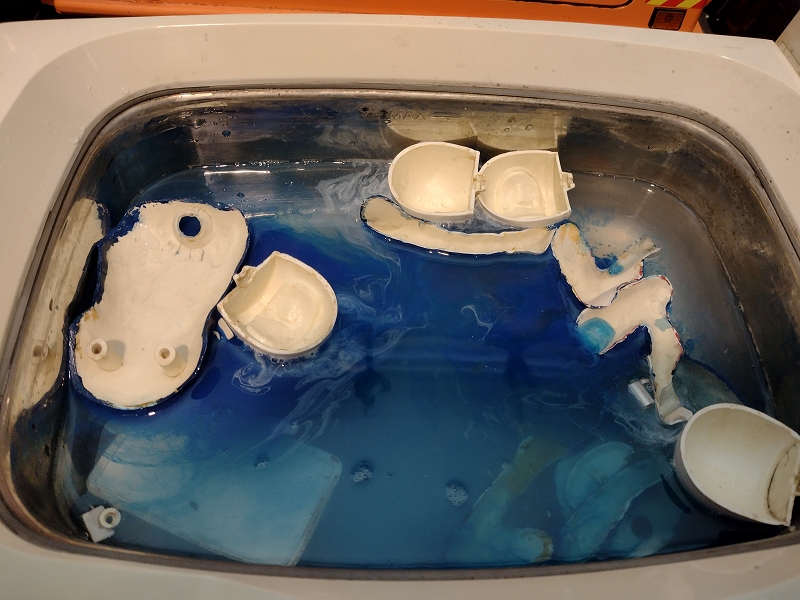
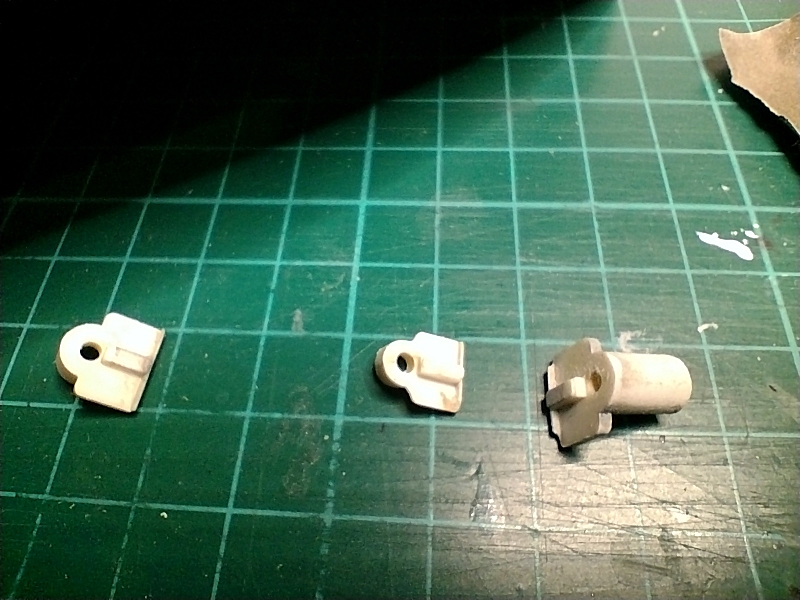
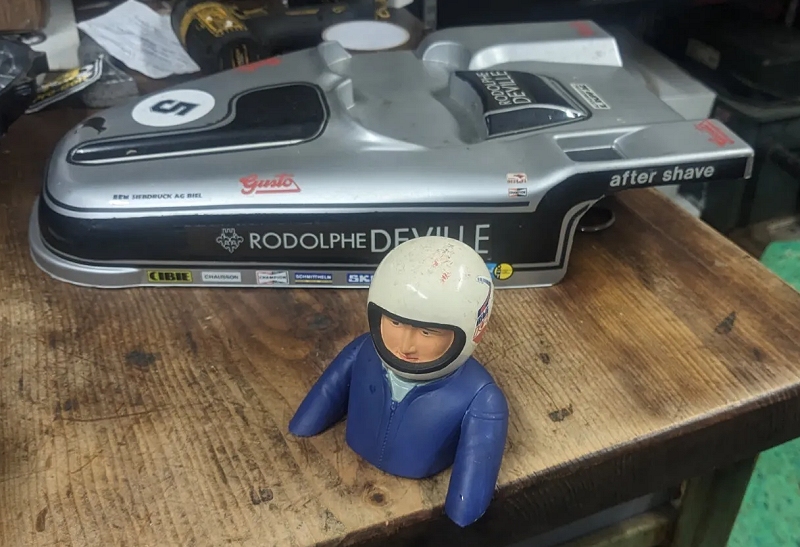
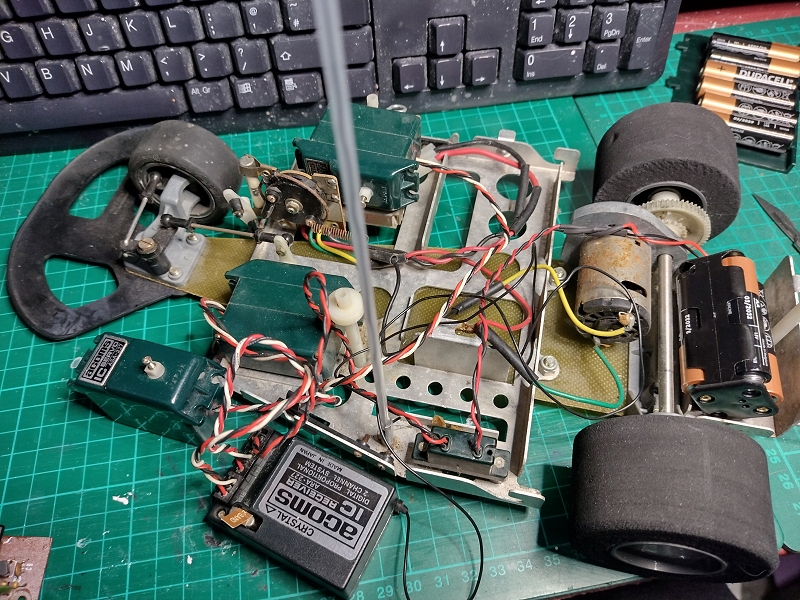
The “decent” B2B (which I thought had a repainted body but a chassis that had been left alone) was much poorer in the flesh – the chassis had a half-assed and incomplete restoration, and while the paint and clear were very good, it was obvious there had been no additional prep beyond a first pass of paint stripping and a poor quality repair on only one of the many that needed doing, The paint on the driver bodies was indifferent at best, and as for the pilot & passenger helmets, I suspect a better finish could have been obtained by squeezing Tippex on from the bottle, waiting for it to skin over, then spreading it around with a Stikkle brick (see en.wikipedia.or...kle_Bricks). 
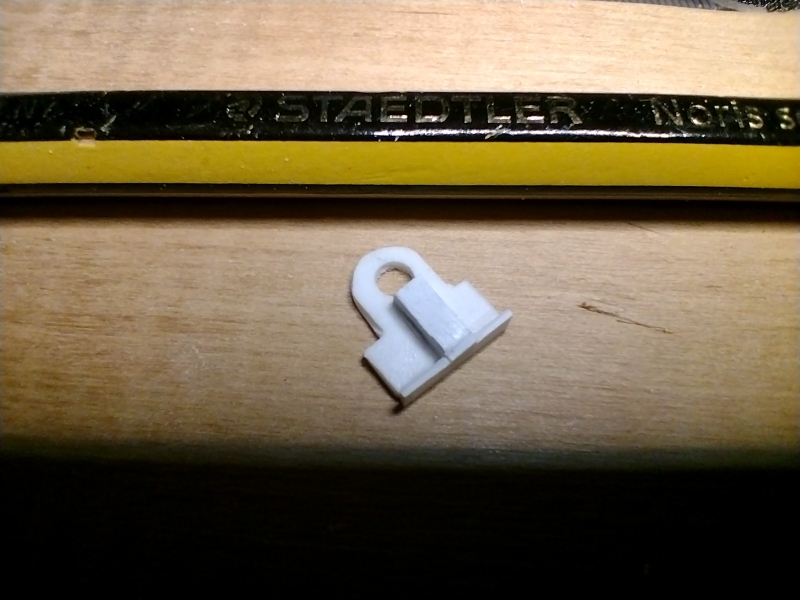
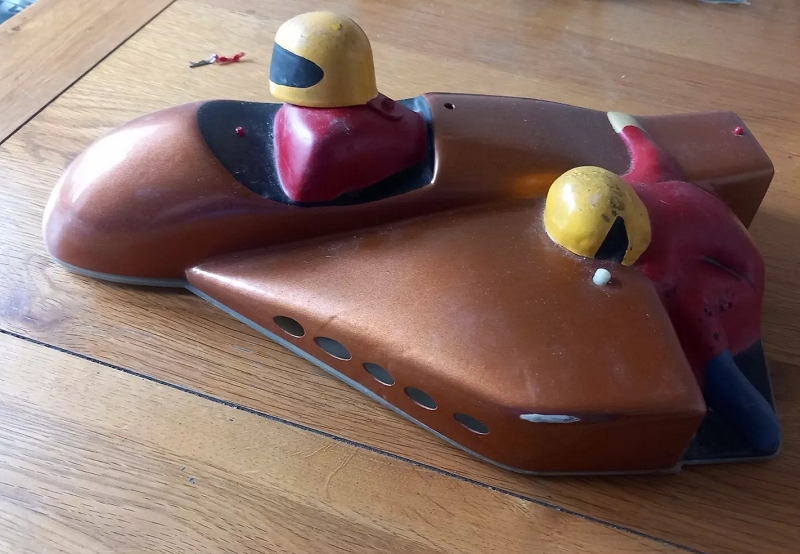
The second chassis was at least complete, but has a few extra holes and needs a thorough strip and clean. 
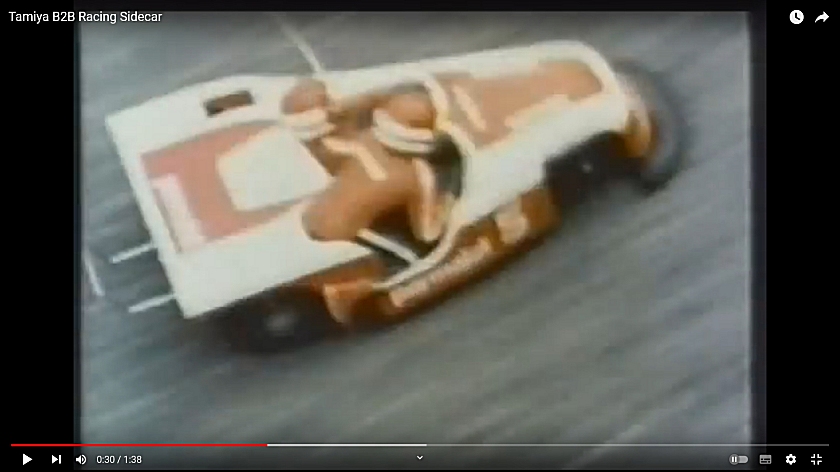
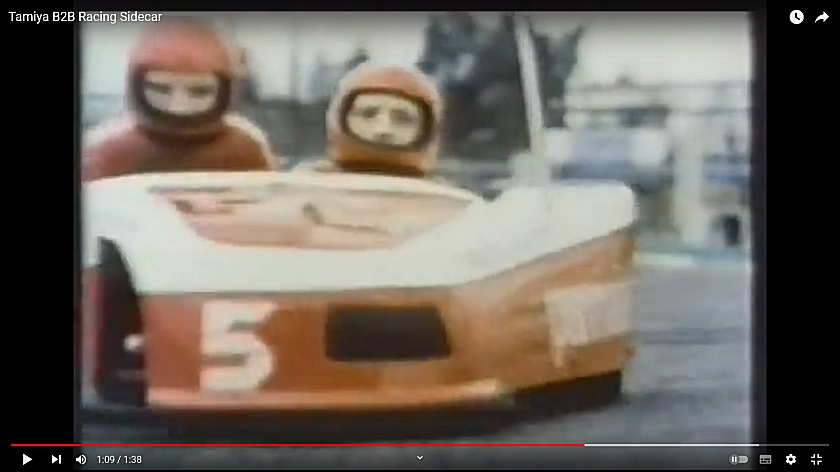
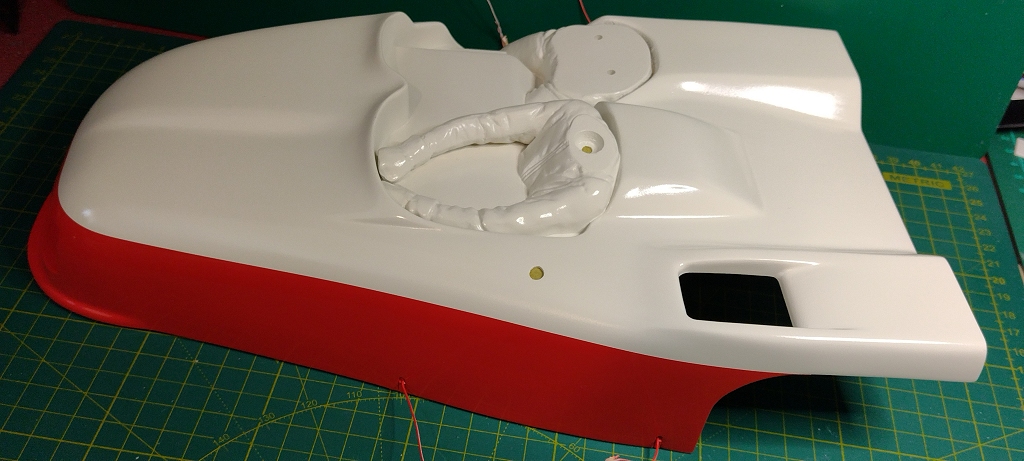
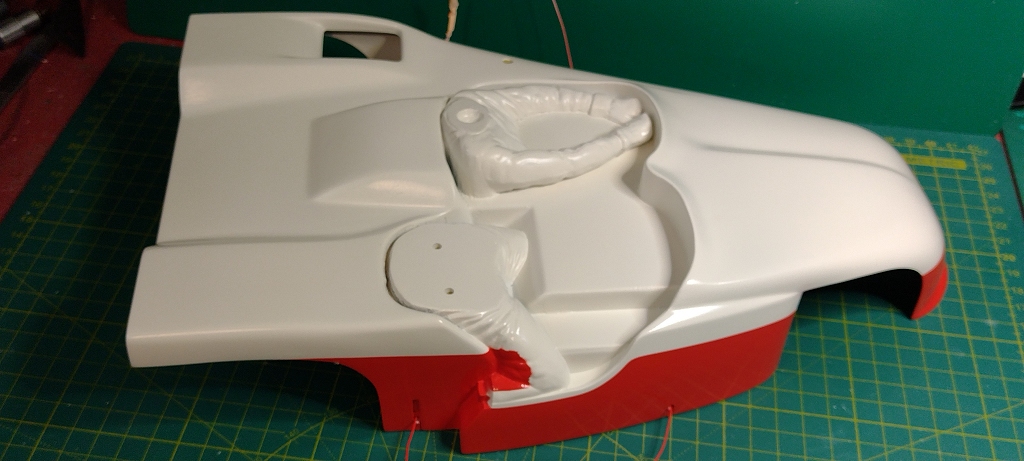
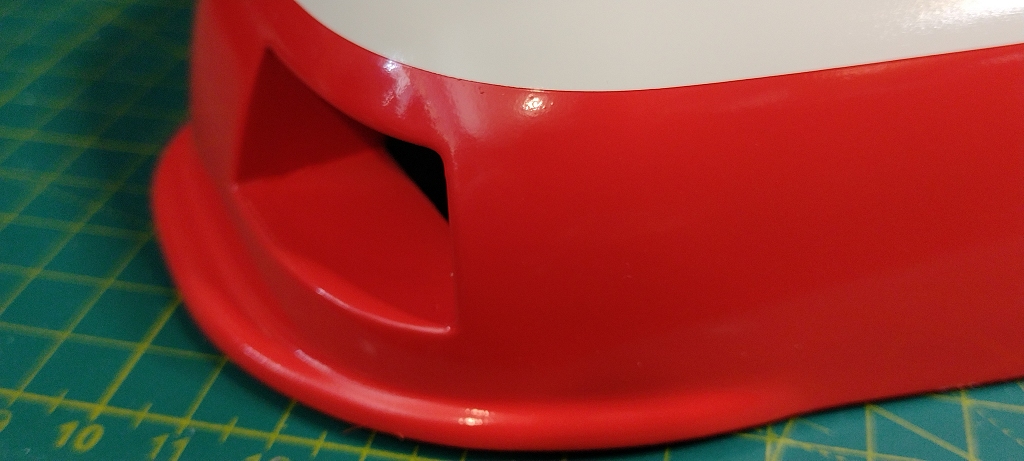
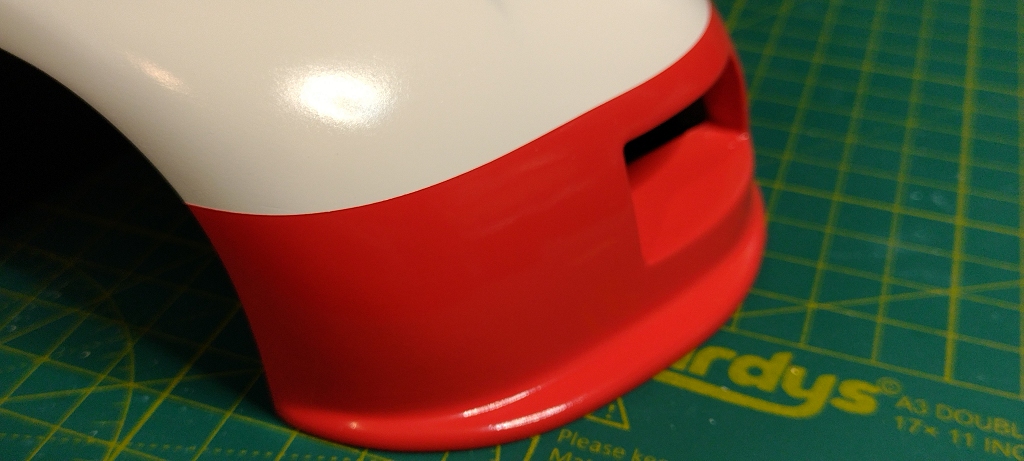
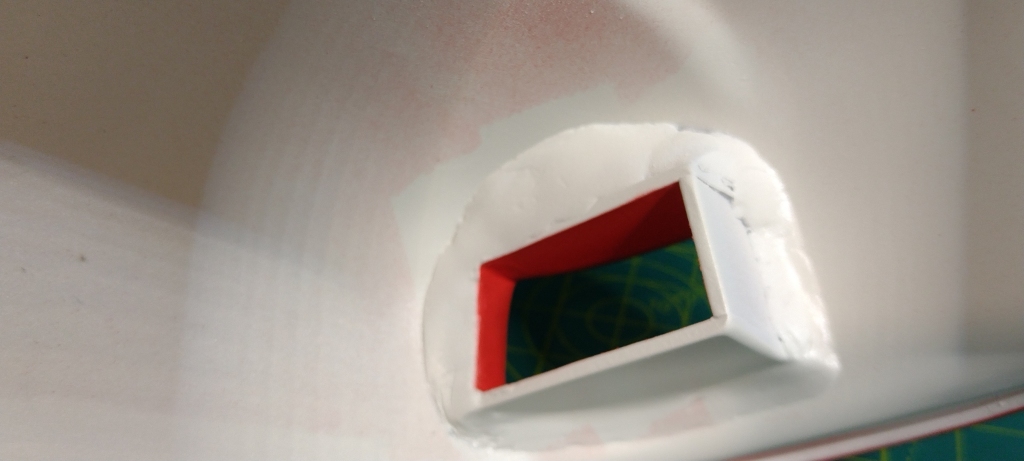
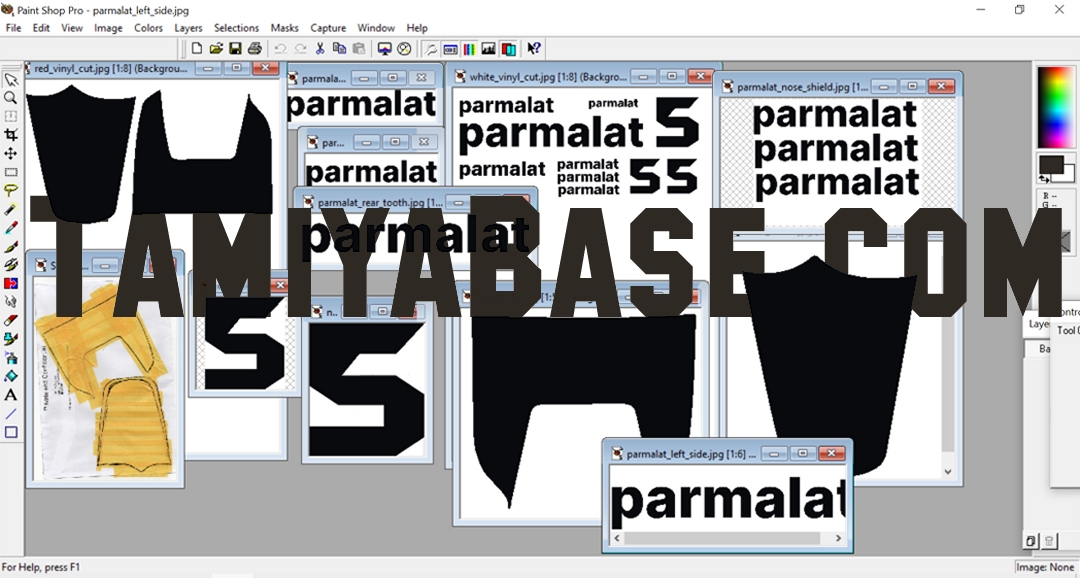
What this adds up to is the better chassis (after some rework) will get the new body in boxart colours and decals at some point in the future, and the dodgy body will go on the poorer chassis. As that will be a bitsa, I feel fine about going with some mods and a different paint scheme – the red and white Parmalat version seen in the Tamiya promo seemed like an obvious choice ![]() Attachments:
The following user(s) Liked this: AndyAus
|
Please Log in to join the conversation.
Last edit: by Jonny Retro.
|
|
I also considered a period yellow, black & white Yamaha colour scheme & did a quick sketch & overlay over Lars’ pic – perhaps I should have bought a 3rd one 😉
Stripping the paint off with Biostrip 20 … Note tape residue painted over by PO … Unrepaired damage on right rear arch & extra hole on rear of bodywork. To be fair, the hole in the cockpit had been “repaired”, but only with poundland epoxy so I punched that out … Attachments: |
Please Log in to join the conversation.
Last edit: by Jonny Retro.
|
|
Crew as arrived, and after a few seconds in the US tank with super strong caustic soda solution:
The body is held on by four small brass bobbins that slot into the chassis, these are held in the correct position on the body by small plastic brackets, each of which are different. One of them was missing, but luckily it was the simplest one, and I had the “NIB” body set to copy from (note pencil for scale). Attachments:
The following user(s) Liked this: 1972 LeMansGT Jim
|
Please Log in to join the conversation. |
|
I don’t seem to have any intermediate photos, but I’ve been busy with sanding & scraping the remaining paint off, bonding in styrene bits, filling, priming, sanding, then filling, priming and sanding again – not to mention cutting out what I believe is meant to be a duct (but painted black on the boxart) & turning it in to a proper opening with some depth to it. I’ll probably blank the end off with some fine mesh, but for now the paint is just VW Alpine White, and VW Mars Red. Short of hopefully getting so clear on it, that will probably be it for this body until the winter – the other bits are just in plain white primer.
That said, I have been working on the decals, although I have to say if I’d known how well the edges would come out, I might have done the top red sections in paint too. Attachments:
The following user(s) Liked this: larbut, stingray-63, AndyAus, 1972 LeMansGT Jim, Scanox, mirrorman
|
Please Log in to join the conversation. |
|
Though I’m not interested in buying other 3-wheelers, they’re not that unusual in RC form. I’m aware of the “Pinky” Mardave based Reliant 3-wheeler (and later/current Kamtec Reliant 3-wheeler), IIRC there was also a Mardave sidecar outfit, TBH this one spotted on eBay recently appears to have Mardave V12 axles etc, but looks over scale & I’m sure the Mardave body was more jelly mould -like…
Also, and currently on ebay ( www.ebay.co.uk/...7134349552 ) there’s this 1/6th vacformed version of the B2B sidecar body: Tamiya didn’t attempt another RC 3-wheeler until the Dancing Rider and Dual Rider on the T3-01 chassis almost 40 years after the B2B. Granddaddy to them all though is probably this 1975 Kyosho IC powered outfit, spotted on Facebook a while back. Attachments: |
Please Log in to join the conversation. |
|
No chance of doing any spraying today, it’s been silly windy & there’s been rain to accompany it at times.
Instead I looked at the radio on “worst” chassis – I’ve have a couple of other options, but as the chassis came with two Acoms ASA-227 servos it made sense to go with that. The switch loom needed a new 4xAA holder & I used my spare ARA-227 RX. One of the servos proved to be duff, going to full lock one way & refusing to do anything else, regardless of what TX & RX I used. Opening it up & resetting the outdrive & potentiometer didn’t help, I’ll just keep it for spares. The “Mk.1” TX I bought on eBay arrived today, it’s pretty good but as often happens, the neutral points had gone well off where they should be. Square outdrives means you can’t correct for it by moving servo horns around a few splines, but the TX can be adjusted internally. The adjusters are on the back side of the board so some dismantling is required, not to mention the sticks & trim tabs having to be at neutral, and having to power the board directly with a 9v DC source. Note the extra body posts – not sure why they’re there as all the chassis parts responsible for holding the body on are there and working. Maybe the PO lost all the bobbins off the body, or just knew better than Tamiya? I’ve also stripped/refinished the rear wheels & made the tyres as straight, flat and round as I could. Attachments: |
Please Log in to join the conversation.
Last edit: by Jonny Retro.
|
|
Thanks for the trimming sets inside the TX Jonny.
The following user(s) Liked this: 1972 LeMansGT Jim
|
Please Log in to join the conversation. |
Afternoon gents, I've been on holiday and also suffering issues with my phone and the site, all of my own making, so I'm resorting to my lap top. A bad explanation for my lack of engagement recently.
Jonny, I reckon we've been bidding on the same B2B sales for a while now. I'm glad you've now got 2. I almost did the same as you and buy a NIB body set with the hope of getting a half decent chassis. Jonny, I have a brand new bumper NIP if you need one and I've also got some, body mounts and screws if any of that helps. |
|
Please Log in to join the conversation. |
|
|