|
Without "sintofer" really big big RESPECT Jonny Just a perfect work!
|
Please Log in to join the conversation. |
I'll be following this thread!
Signature now gets correct formatting if you edit it in your Profile. Use normal BBcode if you want.
www.tamiyabase.com was formatted automatically. |
|
Please Log in to join the conversation. |
|
The filler comes later Stingray, so far I'm just trying to get the shape & added parts broadly correct |
Please Log in to join the conversation. |
|
I had a go at the rear lights ... I'm by no means convinced these are correct, but with no rear or even rear 3/4 views I've just had to guess.
I started with strips of 3mm styrene glued together, whittled them at one end to make them a bit more round, spun them down to about 5mm round in my toy lathe (which is not lasting well, I really don't recommend it 
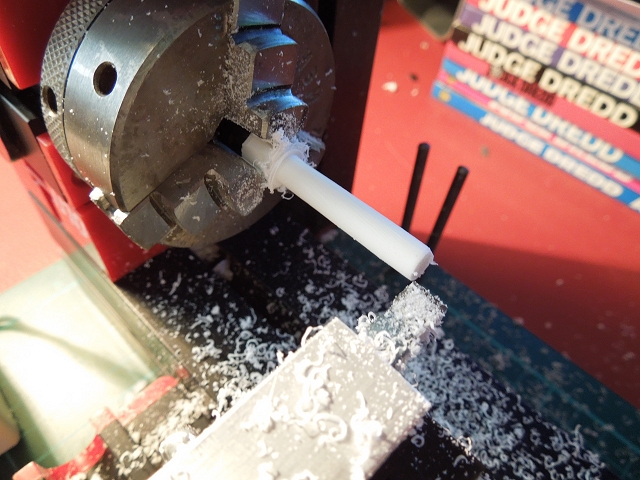
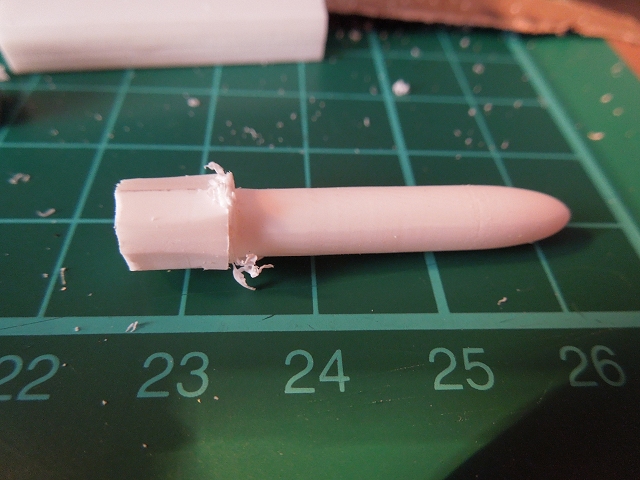
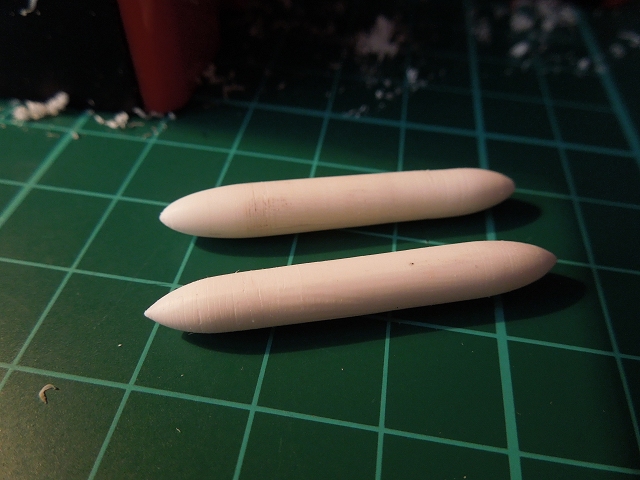
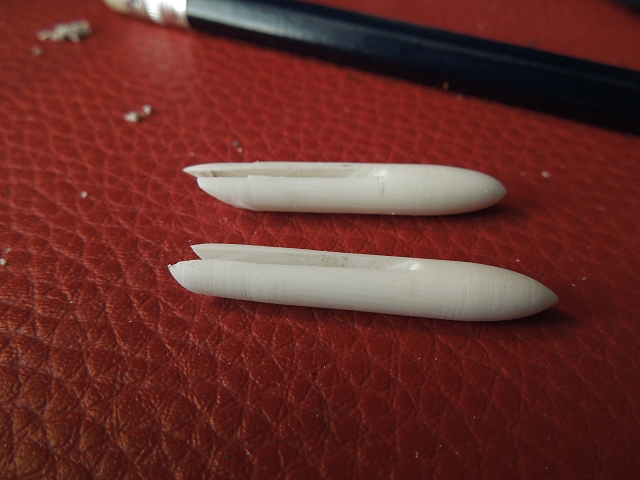
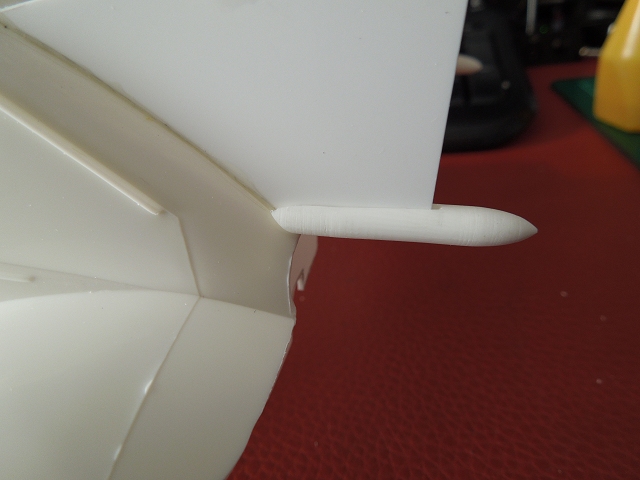
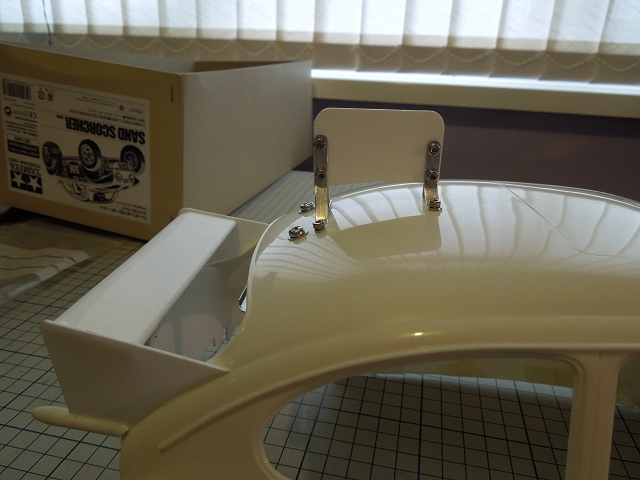
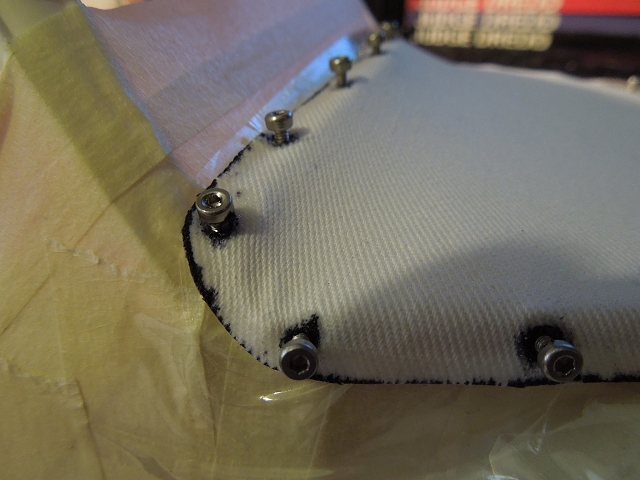
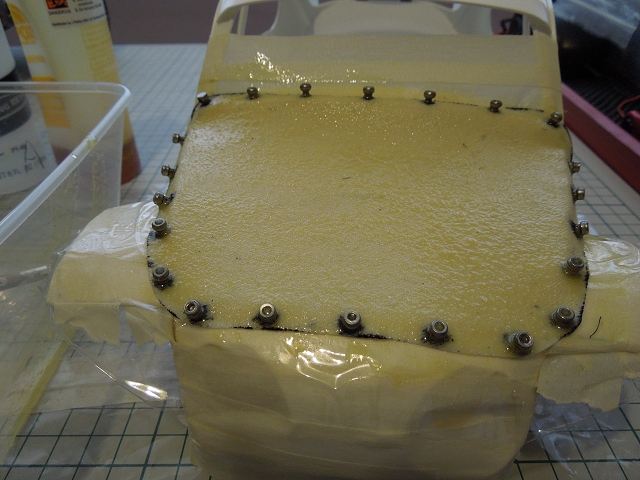
), shaped the ends, slotted & shaped one end to fit the wing sides ... Every time I look at that last pic I keep thinking "To the Batmobile! Thos could be the break we've been looking for!!!" |
Please Log in to join the conversation. |
Signature now gets correct formatting if you edit it in your Profile. Use normal BBcode if you want.
www.tamiyabase.com was formatted automatically.
The following user(s) Liked this: Jonny Retro
|
|
Please Log in to join the conversation. |
|
I also made the roof number panel from scraps of 1mm styrene & 0.5mm aluminium sheet ... this will be incredibly vulnerable to rollovers ... something is always going to break on an item like that, but I'd expect the metal bits to tear around the screw holes & bend flat - I think that's better than damaging the roof.
|
Please Log in to join the conversation. |
|
Excellent! A bit of paint & maybe a small collar of aluminium tape & I'll be there Unless you were referring to the Batmobile |
Please Log in to join the conversation. |
No, the Bug Signature now gets correct formatting if you edit it in your Profile. Use normal BBcode if you want.
www.tamiyabase.com was formatted automatically. |
|
Please Log in to join the conversation. |
|
On to the tricky bit - the tonneau cover on the front end (again, I hope that's what it is on the 1:1 car ):
22 1.5mm holes around the edge of the hole: White cotton cloth (technically its "bakers drill") stretched over the hole & held in with M2 screws: Cloth removed & marked out: Edges superglued so they won't fray ... I was tempted to fold the edge over & hem, but I thought it would look better thinner: Front end taped up - making tape & then a layer of clear: Cloth refitted ... Screws backed off a few turns ... ... & coated with epoxy resin: ... |
Please Log in to join the conversation.
Last edit: by Jonny Retro.
|