TOPIC:
My M chassis builds 3 years 6 months ago #62170
|
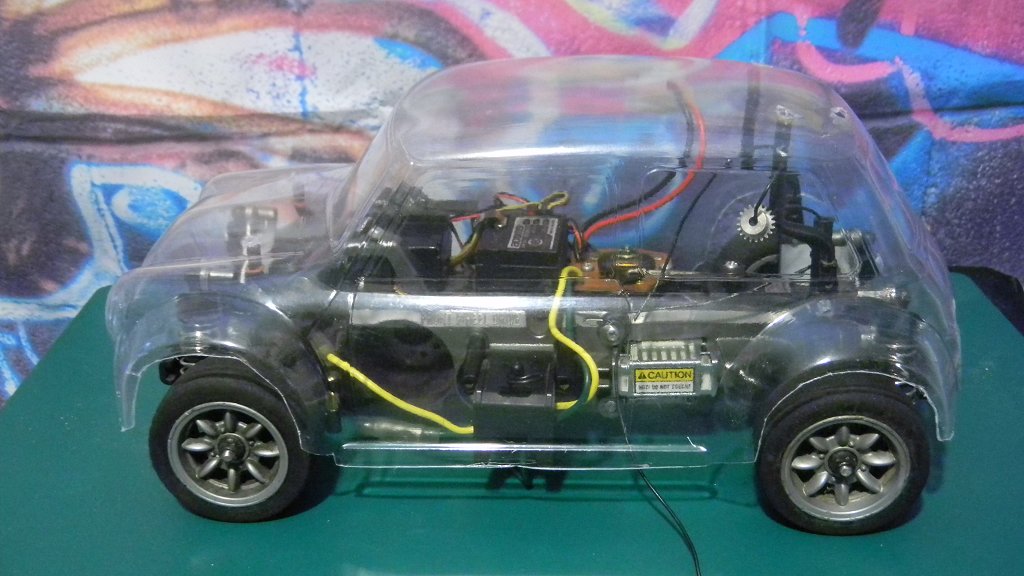
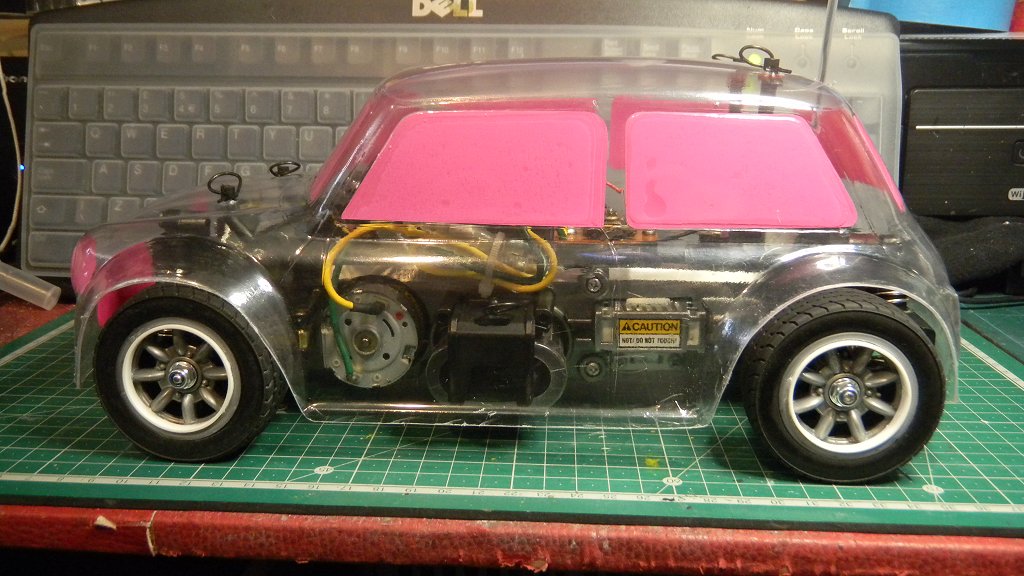
They are the same seat as my beetle.
|
|
Please Log in to join the conversation. |
My M chassis builds 3 years 6 months ago #62179
|
Totally awesome! Impressive enough on its own but to make a pair that actually look alike? Wow.
|
|
Please Log in to join the conversation. |
My M chassis builds 3 years 6 months ago #62262
|
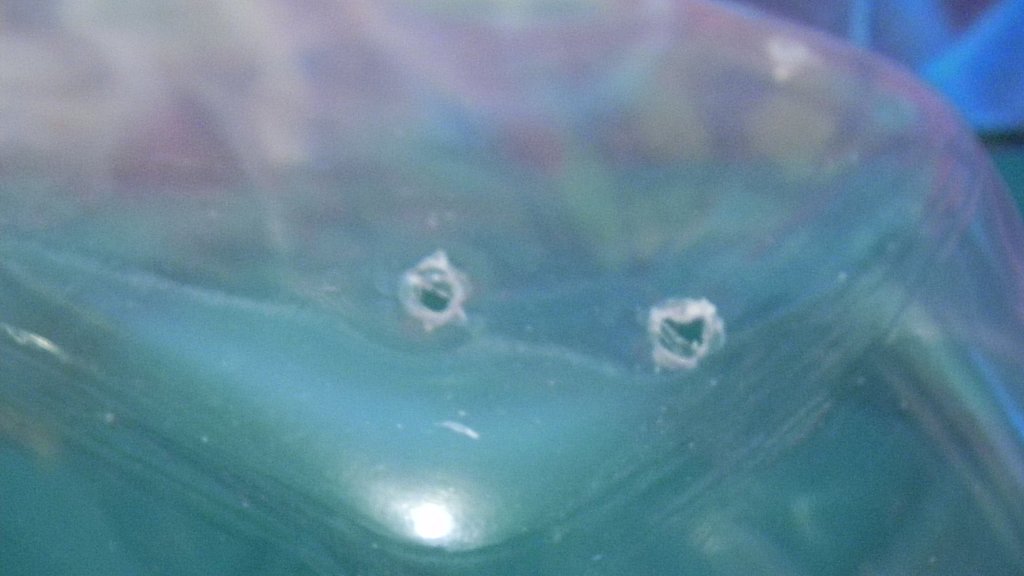
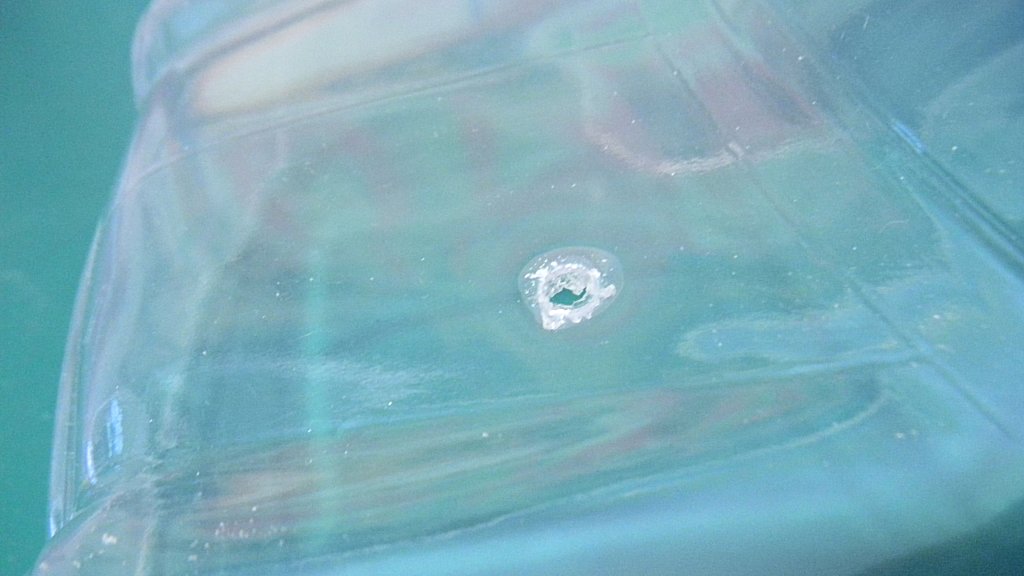
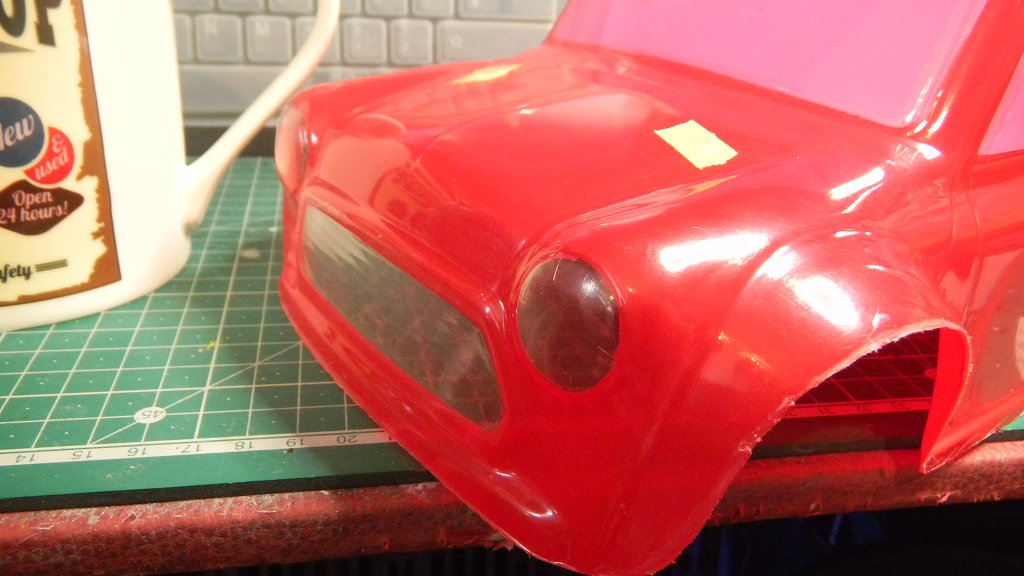
The second of the cars I bought on eBay while febrile turned up after a long delay ... imagining it was an M-03 turned out to be correct (even though it said M-01 in the listing), but the 2new" body turns out to have been badly butchered and the holes made by some sort of hot instrument
I think the best think for me to do with it is correct the body as far as possible & make a replica of "Poppy" (1986 City E in red) with new window masks, buy some decals, get that rather important step screw from somewhere, find the "new" tyres in that size I know I've got somewhere & mod the wheels in the usual manner Attachments: |
|
Please Log in to join the conversation. |
My M chassis builds 3 years 6 months ago #62265
|
At least you got the pinion!! LOL
|
|
Please Log in to join the conversation. |
My M chassis builds 3 years 6 months ago #62270
|
My godness, why do people still do such things?
On FB I see from time to time that they have never heard of body reamer. And if they are installing a different body than stock, they tend to drill multiply holes till the body posts line up is with the holes in the body. These days there is led and magnet body post guide tools out there for cheap, so there is no need to guess the where the holes goes. And if they do not have such tools, it simply the matter of fit the body over the posts and mark center of the body posts with a pen, looking from above the body. Soetimes you wonder how such invidual can survive in this world day to day.. At least the chassis seems to be built ok lol Best to pull it apart to make sure |
|
|
Please Log in to join the conversation. |
My M chassis builds 3 years 6 months ago #62324
|
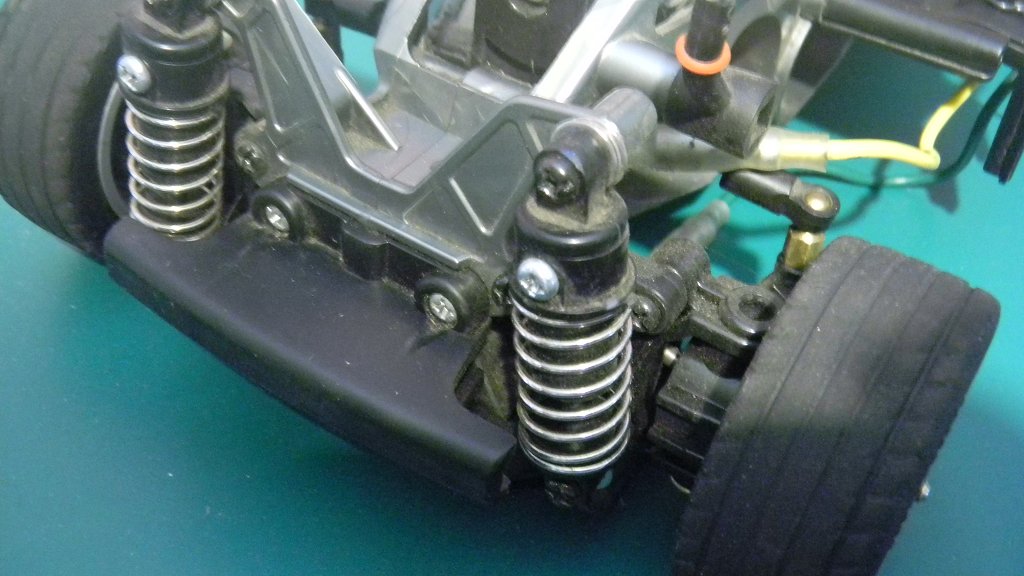
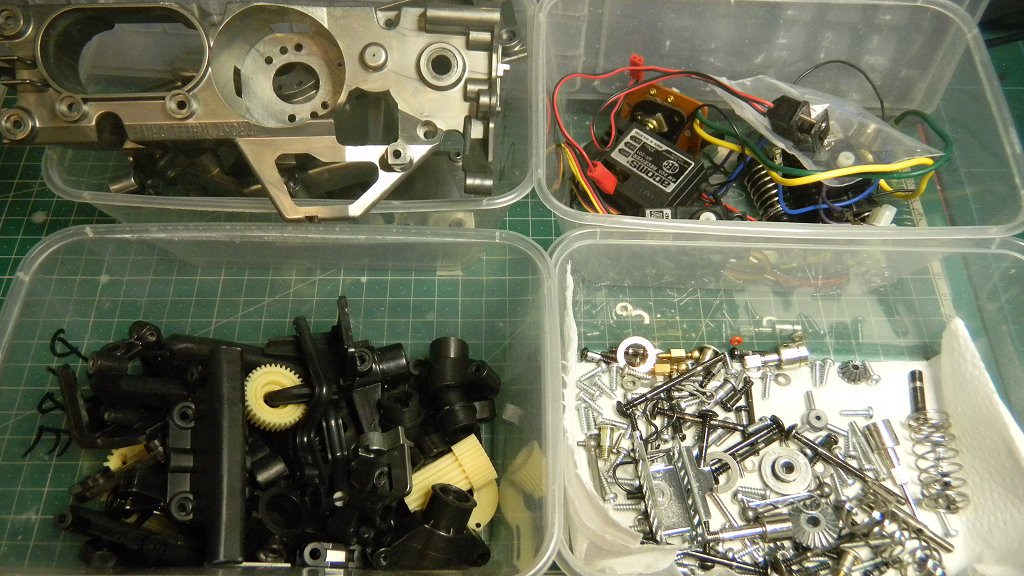
I looked at reshaping the body, but the chassis was so minging I had to dismantle & clean it before I could bear to touch it, it's still sitting in takeaway boxes. I have the distinct impression that it's not a "real" car, just a nearly complete one made up of the unwanted/worst bits from 2 or more others - the state of the body, tyres & broken resistor say one thing, the superficially good chassis says another. Missing parts but new grease and nylon bearings don't fit either.
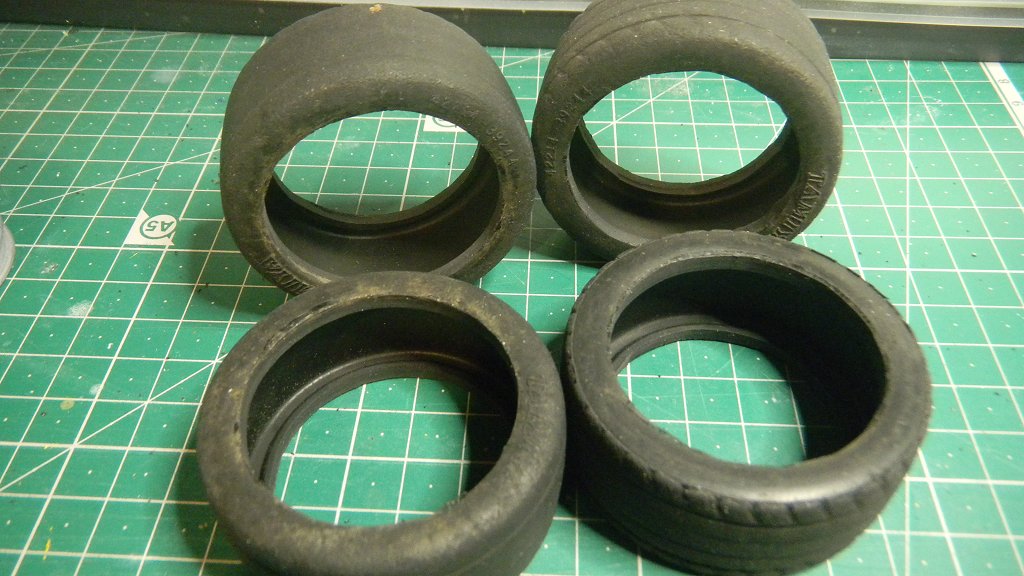
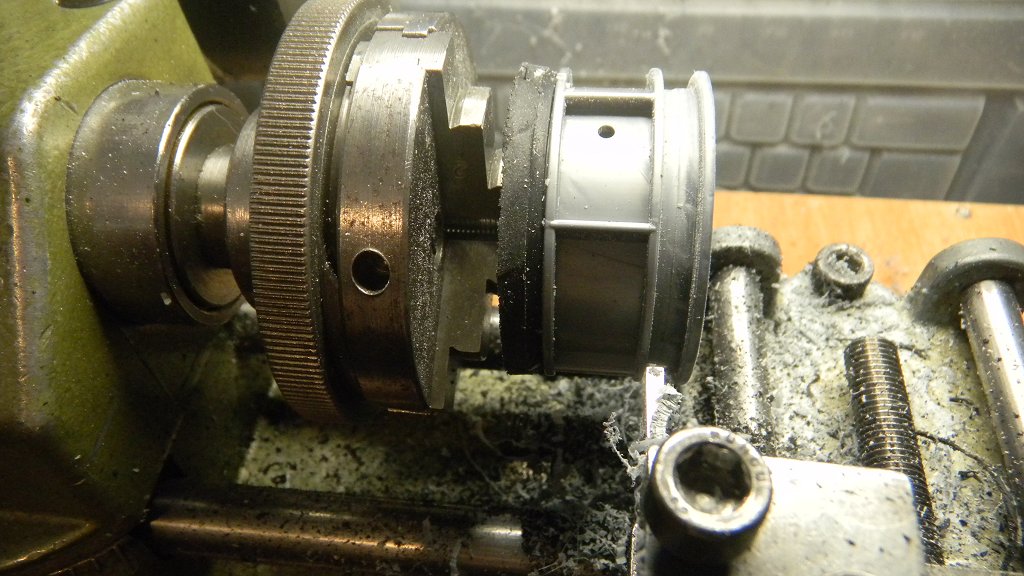
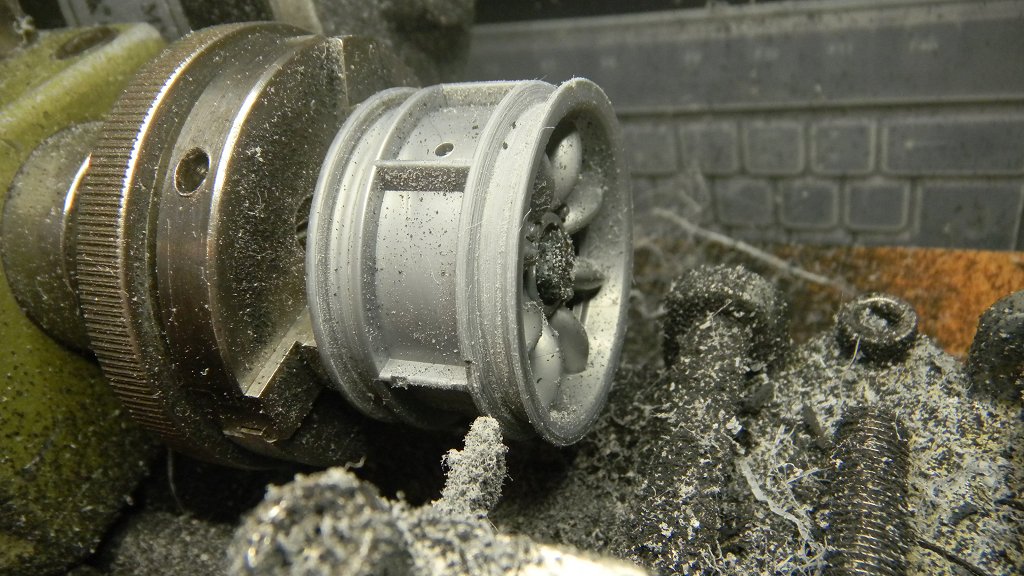
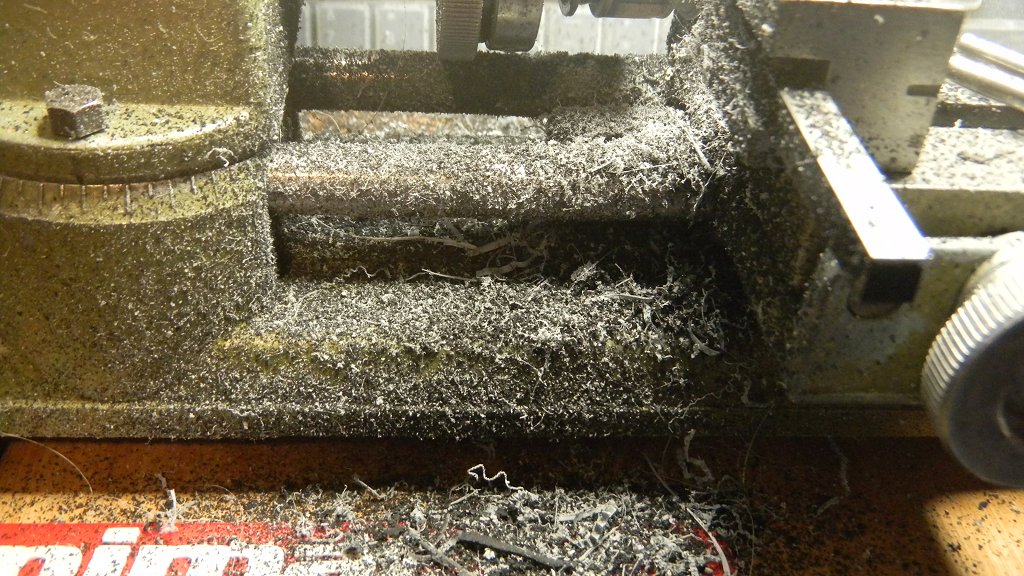
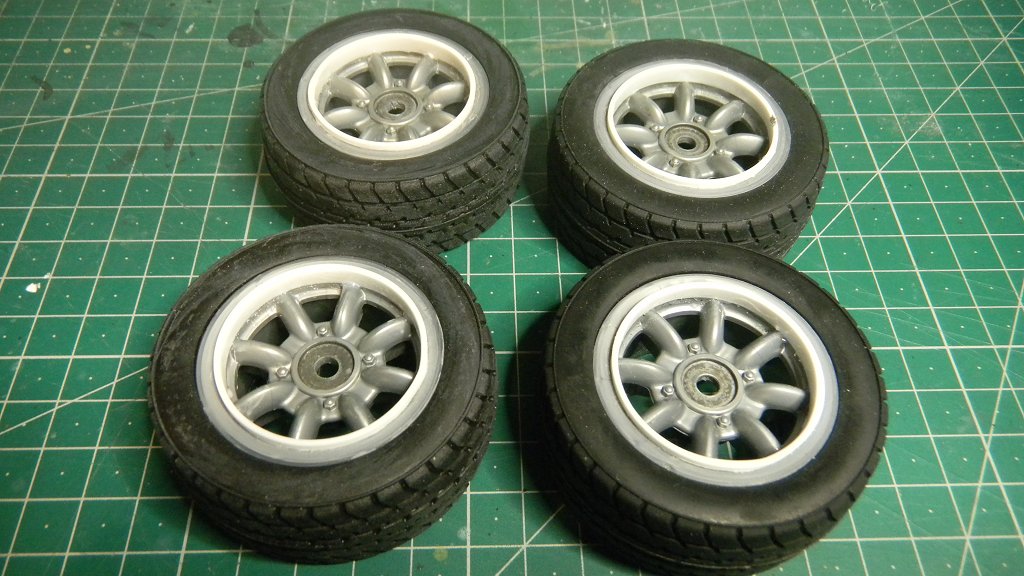
I started on the wheels though, this time it wasn't worth saving the tyres & so cut them off, then turned the remains off on the unimat. Small step drill bit has arrived - I was looking for an excuse to buy one Attachments:
The following user(s) Liked this: stingray-63
|
|
Please Log in to join the conversation. |
My M chassis builds 3 years 6 months ago #62340
|
Just about ready to put the chassis back together - all bits cleaned, 12x 1150 & 2x 850 rubber shielded bearings from RCBearings.co.uk, wheel have had strips added to fake a new smaller rim, then glued again with 2-part genuinely 5 minute epoxy after the DCM joint failed, then turned back to a small pip ...
Attachments:
The following user(s) Liked this: caprinut, stingray-63
|
|
Please Log in to join the conversation. |
My M chassis builds 3 years 6 months ago #62342
|
Nice work Jonny
BTW, did you see the real mini limo for sale on Ebay recently? Think it was pulled down as a scam, was listed under Capri and at 60k quid! I was thinking of your project immediately when I saw it..
The following user(s) Liked this: TamiyafanTrieste
|
|
|
Please Log in to join the conversation.
Last edit: by caprinut.
|
My M chassis builds 3 years 6 months ago #62351
|
I missed that
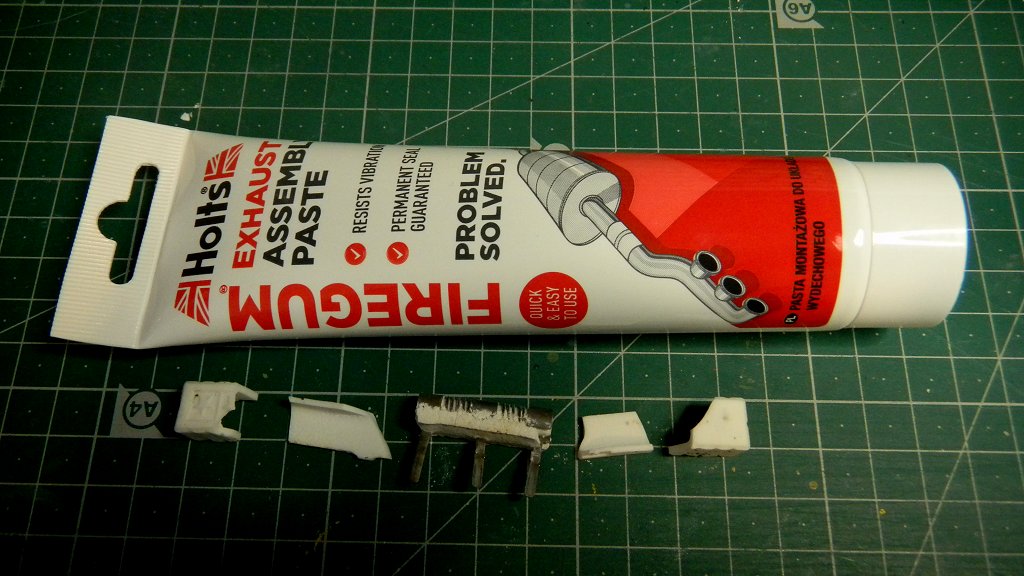
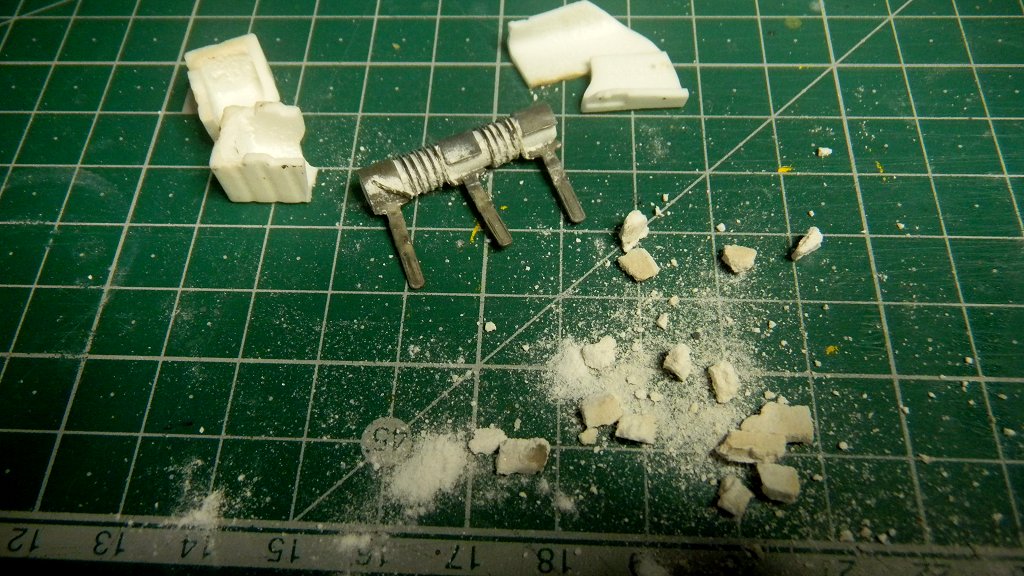
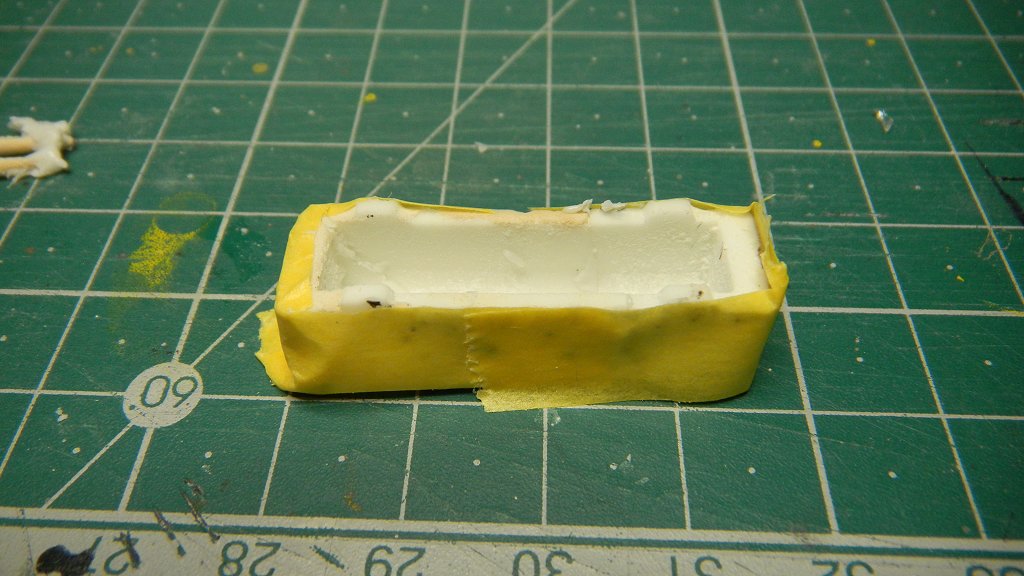
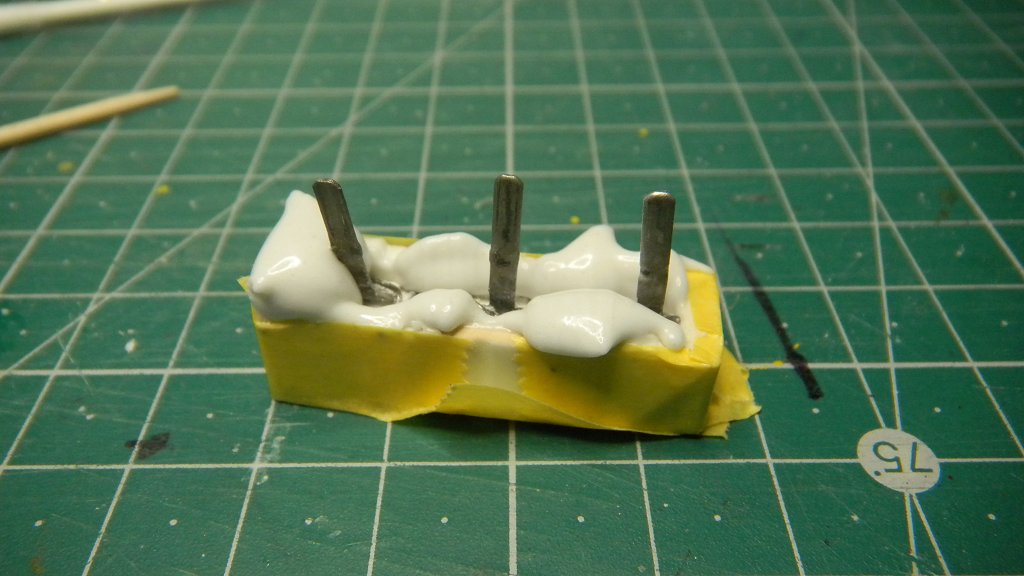
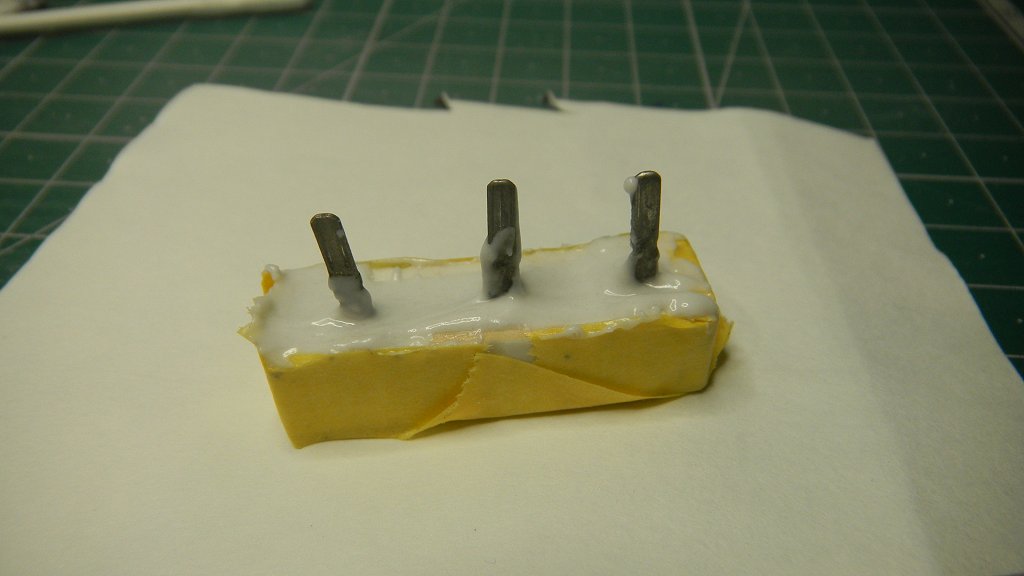
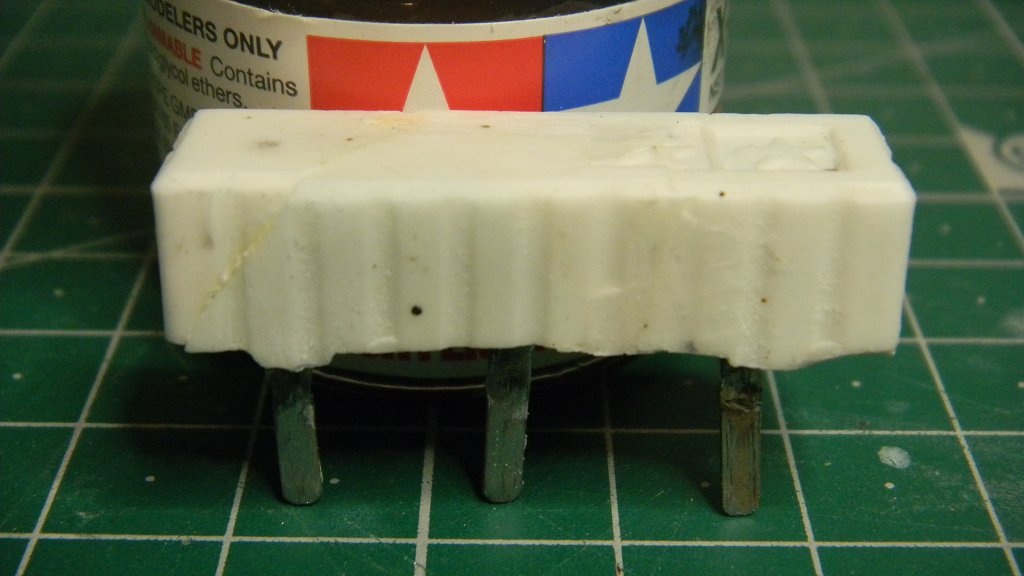
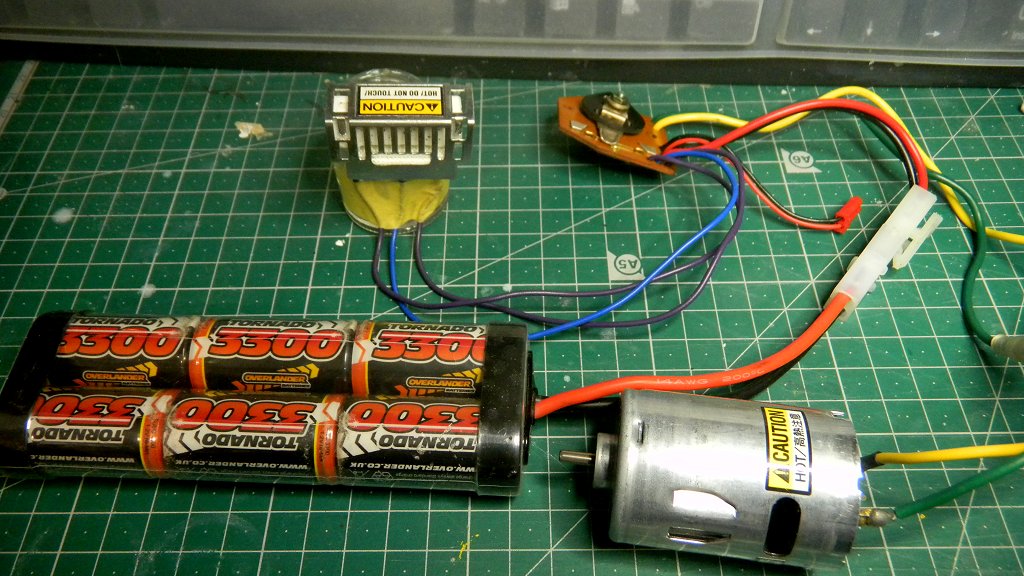
The resistor was broken but the bits were all there ... in fact lots more pieces that I initially thought, thanks to it being comprehensively cracked up No suitable replacements available at the time (not at less than 30 GBP for a whole MSC setup anyway) I bought some Holts Firegum instead - 3.98 GBP, posted. 1st step - scrape out/off any remaining cement. 2nd, stick the bits together & support while it sets. 3, fill box with gum, insert resistor & tidy up the result. 4, leave to set overnight at least. Peel & tidy up and overspill. Testing .. i did it on the bench with a bare motor, it just wasn't drawign enough current to warm up. I did think of using a propellor with an agressive pitch, but TBH unless I was going to run it in custard I don't think the resistance would be great enough. I tried running it on the car, but indoors even the first step (both sides of the resistor) on the MSC was too fast. It look ok (especially under the cage) but only running the car extensively at low speed will show whether this is a reliable fix. Attachments:
The following user(s) Liked this: caprinut
|
|
Please Log in to join the conversation. |
My M chassis builds 3 years 6 months ago #62352
|
Attachments:
The following user(s) Liked this: stingray-63
|
|
Please Log in to join the conversation. |
Time to create page: 0.258 seconds

