TOPIC:
My M chassis builds 4 years 1 month ago #58591
|
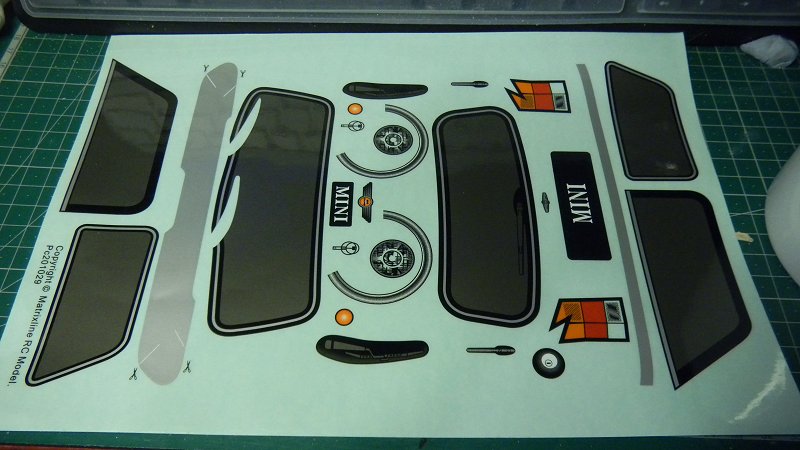
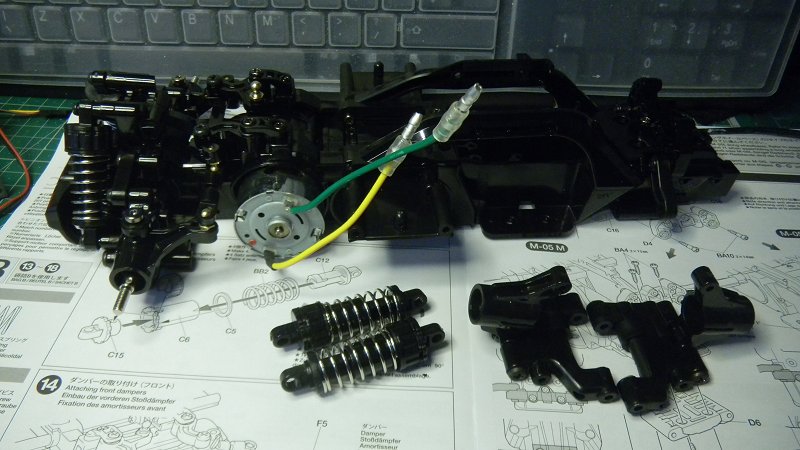
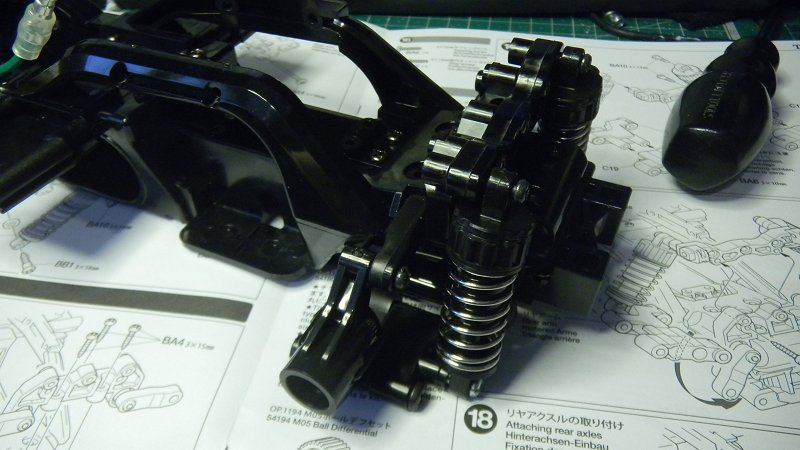
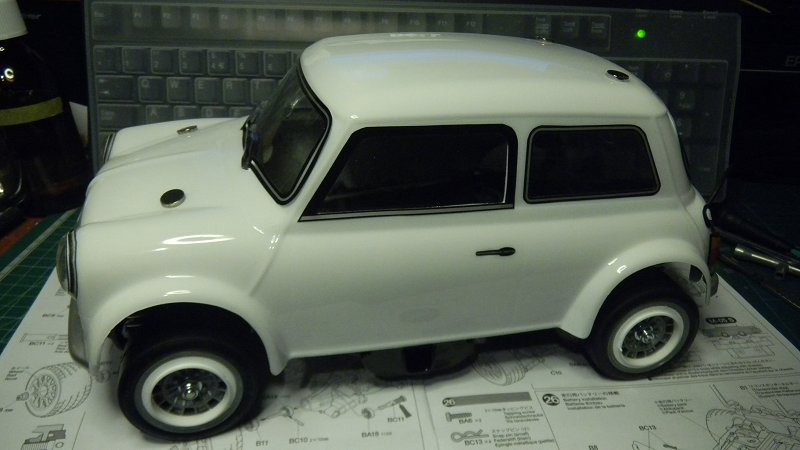
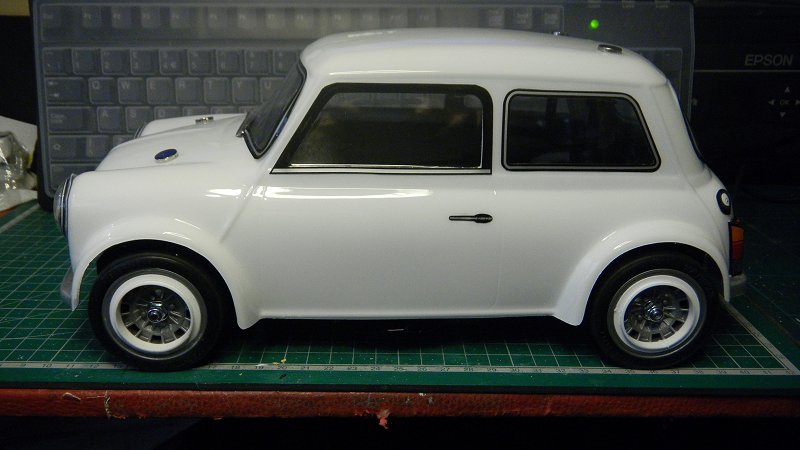
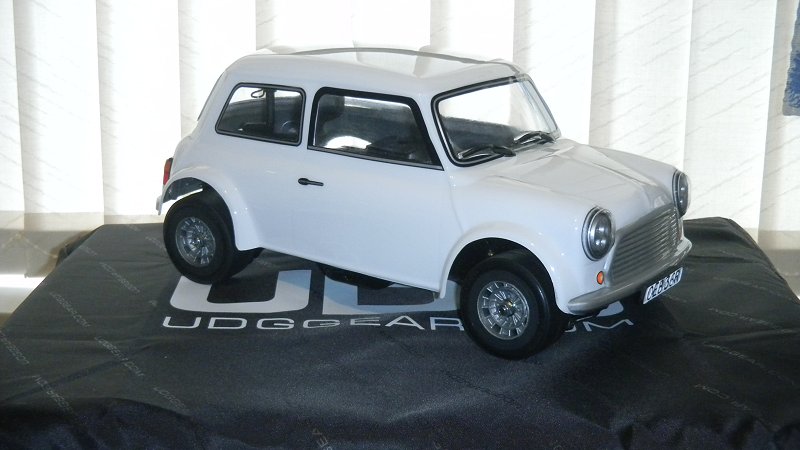
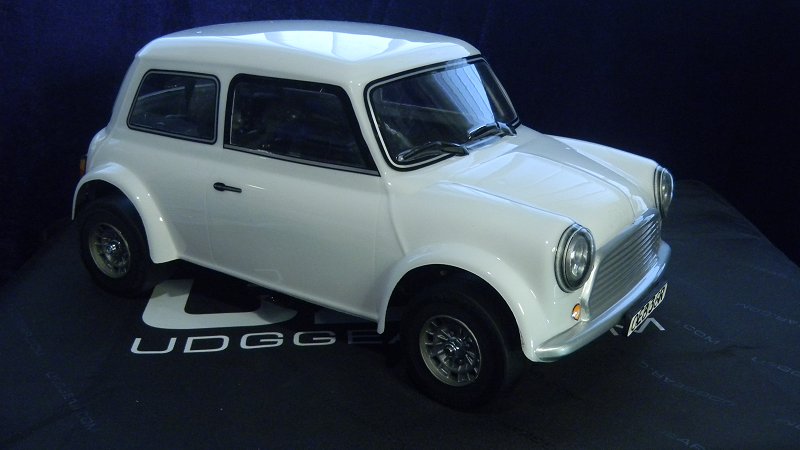
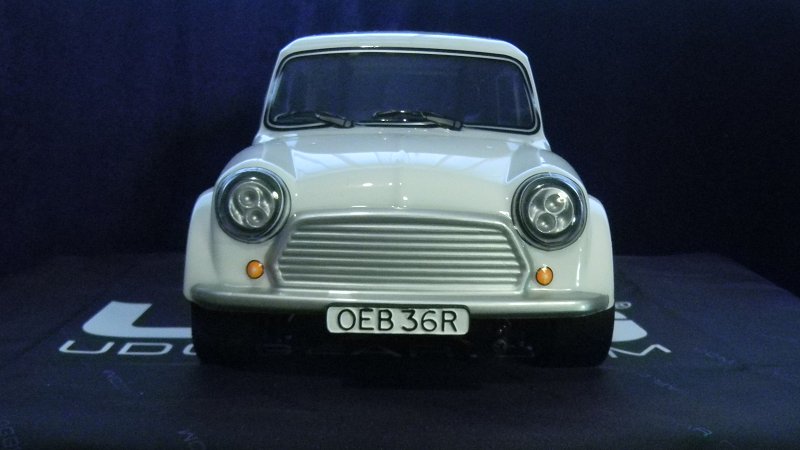
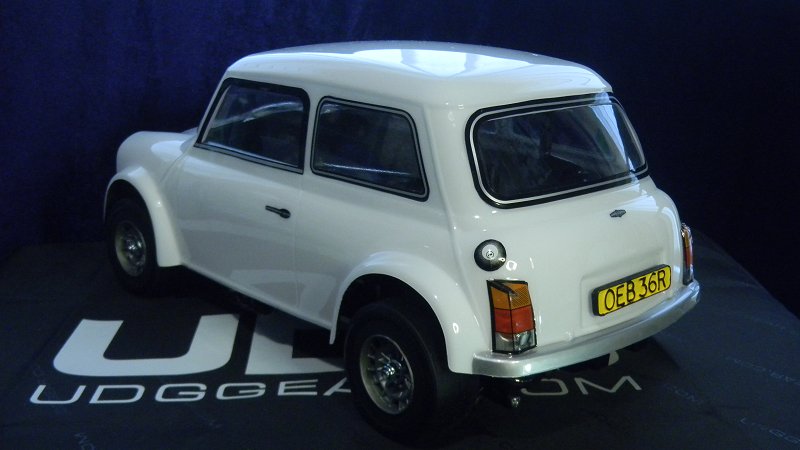
I hadn't touched this for a long time, but at the weekend I felt inclined to do a bit of work on it. I've cut out the tinted (solid, I think) part of the windows & put the decals on, deformation (even with a hairdryer) and bonding is very poor, I'm really glad I painted the bumpers rather than used the supplied decals for them.
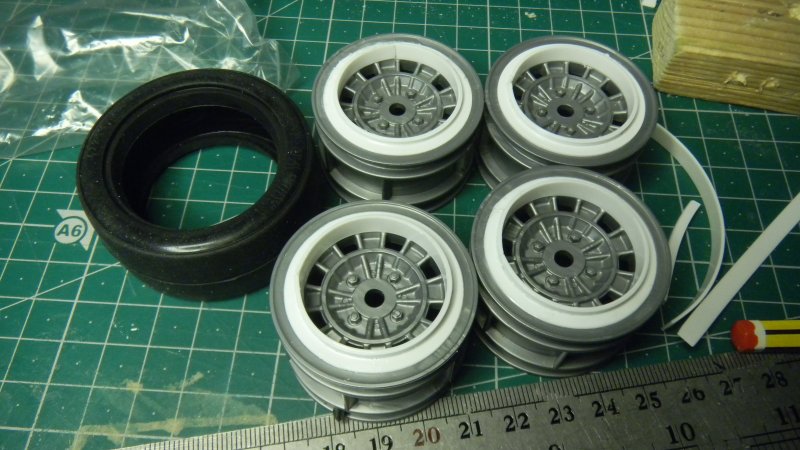
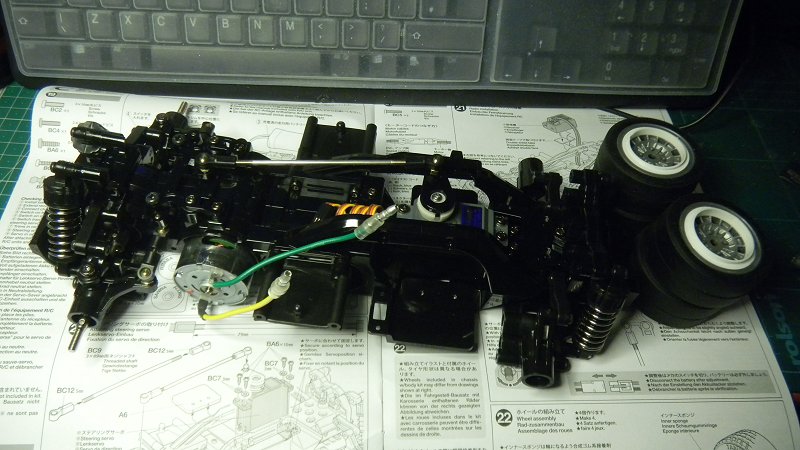
I want the wheel to look like the period 10" items (with high profile tyres) rather than the modern looking 15"/16" (?) wheels & low profile tyres that came out of the NSU TT kit so will modify the wheels & rely on paint - first step in that was adding a 2.5mm square strip & 0.75mm flat strip to the wheels, so I can turn them to the desired shape once they've regained their hardness. |
|
Please Log in to join the conversation. |
My M chassis builds 4 years 1 month ago #58592
|
The following user(s) Liked this: stingray-63
|
|
Please Log in to join the conversation. |
My M chassis builds 4 years 1 month ago #58593
|
Nice idea for increase tires profil Jonny.
|
|
Please Log in to join the conversation. |
My M chassis builds 4 years 1 month ago #58596
|
|
|
Please Log in to join the conversation. |
My M chassis builds 4 years 1 month ago #58597
|
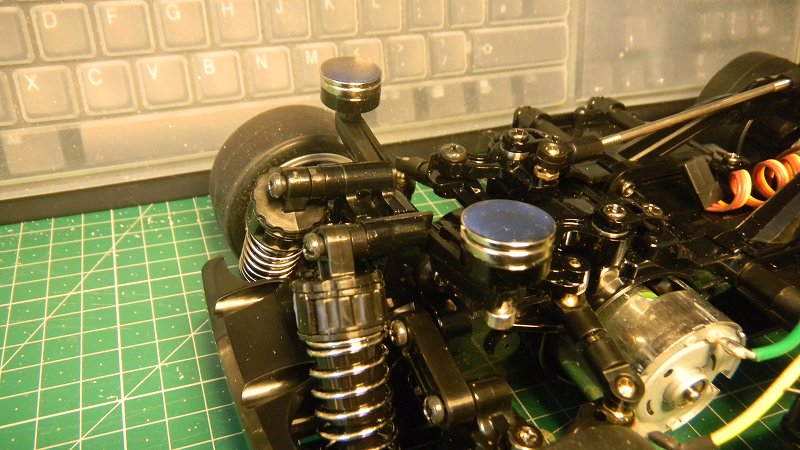
There were no holes in the body so it worth trying to preserve that, by using magnetic body post fittings - but even with the front posts cut down to their lowest extent (and the rears cut down to match) it looked stupid:
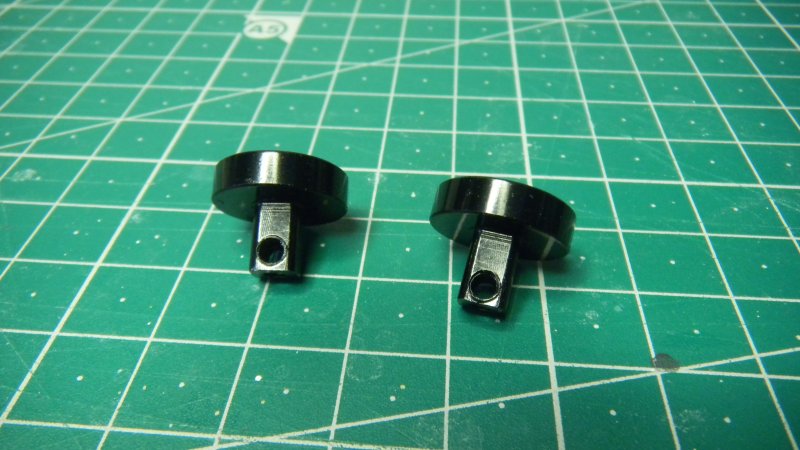
I removed the bottom part of the front mounts, then turned off a section of the upper, removing all evidence of the through hole - then tapped M3 all the way through from the top. Before pic: I also removed all of the vertical part of the kit front posts & drilled through 3mm: I could turn off the last few mm of the square part of the top mount to go down a little further, but I'm fairly happy with the body height now
The following user(s) Liked this: caprinut
|
|
Please Log in to join the conversation. |
My M chassis builds 4 years 1 month ago #58598
|
I should add that the external magnets are there just to keep everything in line during fitting, and now while the epoxy sets on the internal plates
|
|
Please Log in to join the conversation. |
My M chassis builds 4 years 1 month ago #58599
|
Too nice!!!!
|
|
Please Log in to join the conversation. |
My M chassis builds 4 years 1 month ago #58612
|
The following user(s) Liked this: stingray-63
|
|
Please Log in to join the conversation. |
My M chassis builds 4 years 1 month ago #58613
|
Maybe more scale lights with molotov pen for the chromed parts?
www.ian-motion.com/ A friend of mine did this brand |
|
Please Log in to join the conversation. |
My M chassis builds 3 years 7 months ago #61755
|
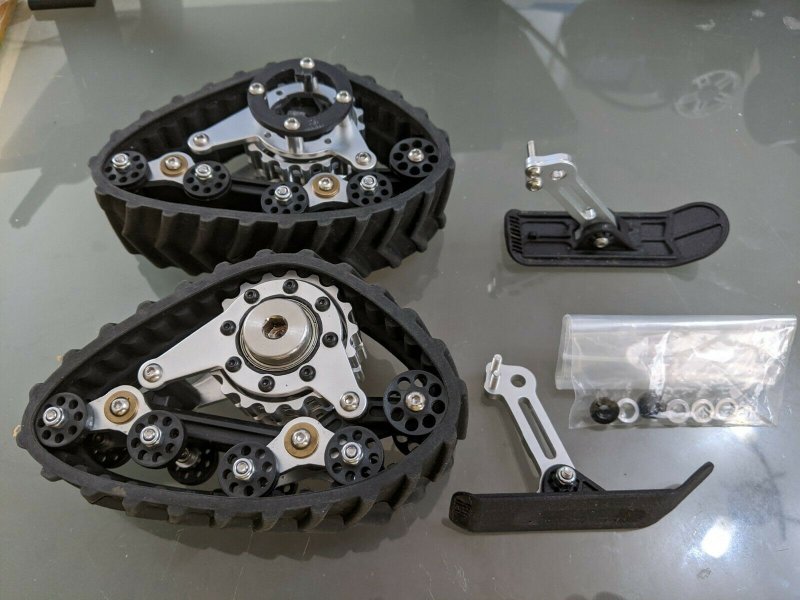
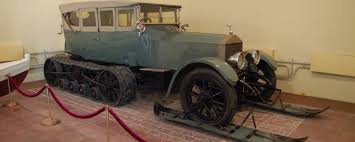
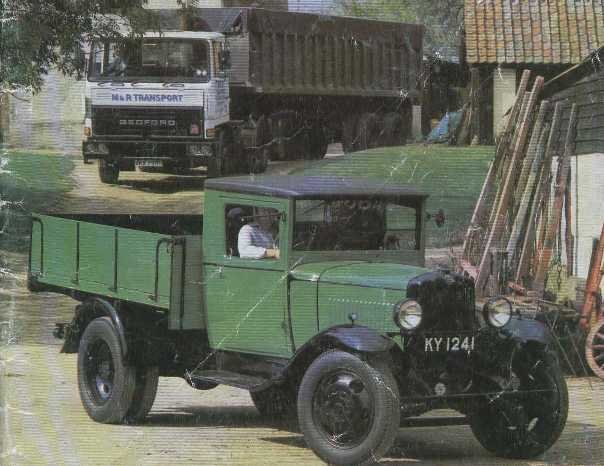
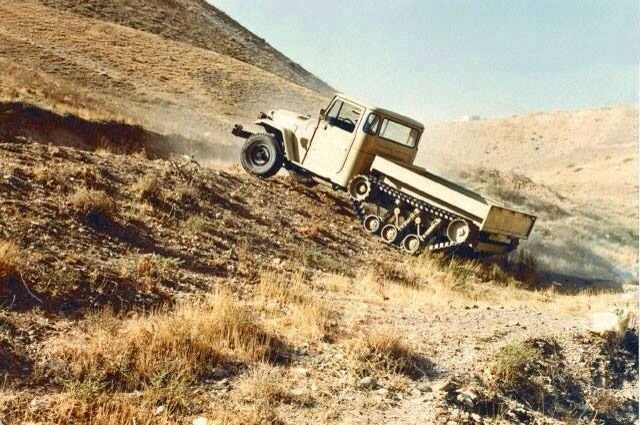
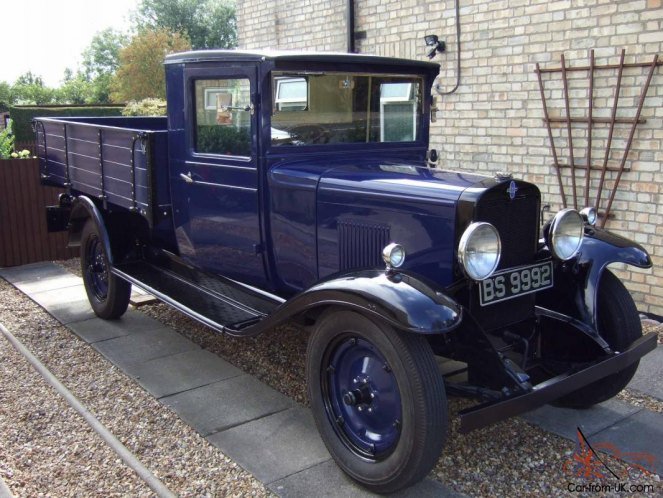
I saw a set of (used) tracks & skis intended for the re-re Holiday Buggy ... quite why anyone would want that combo is beyond me, but I got very enthuisiastic about building a smaller, old looking pickup, and probably paid over the odds for them
This is my "mood board", I'm thinking an older looking pickup with an old fashioned radiator & bonnet, a squarish cab & very basic bed.
The following user(s) Liked this: stingray-63, 1972 LeMansGT Jim
|
|
Please Log in to join the conversation.
Last edit: by Jonny Retro.
|
Time to create page: 0.193 seconds


