edit 18th Feb 2023:
Index
Blackfoot, part 1: Page 1 - eBay Blackfoot purchase, paint strippingPage 2 - more dismantling, buying new shell
Ford F-250 RV (#1):
Page 3 - filling holes in new shell, cut & shut on tailgate FORD logo, theorising about Blackfoot shell on CC-01 chassis, repairing old shell
Page 4 - making RV hubcaps, starting on RV body
Page 5 - more on RV body
Page 6 - more on RV body incl. making light clusters, speaker enclosure, spare wheel
Page 7 - more on RV body incl. more interior units & outside greeblies
Page 8 - discussion on trailer wiring plugs
Page 9 - more exterior greeblies, wiring, wallpaper, soft furnishings
Page 10 - discussion on suspension upgrade, Blackfoot body painted, starting on RV driver cab
Page 11 - more suspension discussion, Blackfoot RV (of sorts) spotted on eBay
Page 12 - more suspension discussion, RV painting started, roof rails
Page 13 - more suspension discussion, RV cab interior fabrication finished, brass work (roof rails/ladder/mirror supports) finished
Page 14 - RV cab interior discussion - whats' on the passenger seat?
Page 15 - prep for RV stripes/decal cutting, DIY CC-01 rear suspension upgrade, RV body spraying started
Page 16 - more RC spraying + masking, decals cut, trailer build, fake manual cover
Page 17 - trailer & cab interior painting, furniture & fittings finished
Page 18 - (June 2014) RV body detail painting, final assembly & "finished" pics Unimog (#2) (+ Blackfoot, pt.2)
Page 19 - next CC-01 project - Morris Quad Tractor, or '75 (angular) Unimog?
Page 20 - Blackfoot rebuilt (finally, August 2014), starting on Unimog (December 2014) - donor car + card mock ups
Page 21 - 1:1 source pics, starting on cab, grille detail
Page 22 - lots of cab details, cab interior
Page 23 - even more cab details, speaker enclosure, oval tank build, load bed, aesthetic chassis extensions, rear fenders, belly tanks & infills, rear bumper, lights & equipment lockers
Page 24 - load bed improvements, detailing the tank
Page 25 - Tamiya release a (lexan) Unimog 425 :whistle: ; paint planning
Page 26 - last few adjustments before paint; new CC-01 Landfreeder kit arrives for next (Morris Quad) project; Etronix 50T motor
Page 27 - Primer; changed mind about next project; driver & interior painted; instrument transfers; more filler on cab
Page 28 - Decals & window rubbers, "dirt" on windows; faded orange paint goes on, tank details & weathering; cab details & plank painting started;
Page 29 - "Final" assembly, wiring, light test; Britains 1/32 Unimog stripped & painted; thoughts on airbrush kit
Page 30 - Britains Unimog done; 1/32 Taimya "curvy" Unimog done to match.
Bedford TM Skip Truck (#3):
Page 30 - Card cab mockup; starting cab in styrene, more cab structure & details
page 31 - Body mounts, starting on rear bed
page 32 - working on loading mechanism, windows, stabiliser wheels, more cab load bed details, driver mods
page 33 - rear lights, seats, door cards & seatbelts, starting on dash etc
page 34 - dash complete, making floor, interior "done"
page 35 - scale hula doll, underbody panels & boxes
page 36 - amber beacons & wiring mods, speaker hiding 1:12 pallets, mud flaps, dismantling & primer, masking, colour coats, paint flaws
page 37 - detail painting, windows, assembly, electrical problems
page 38 - new new ESC, final photos
Volvo C303/Valp/Laplander (#4):
page 38 - research & plans, chassis
page 39 - wheel mods, card body mockup, basic body shape, starting on details
page 40 - final exterior details, starting on interior
page 41 - finishing interior, brass roofrack & fake load, teardrop caravan axle, chassis & most of the bodywork
page 42 - caravan continues - wheelarches/spats, kitchenette
page 43 - caravan continues - wheel mods, primer, paint
page 44 - Laplander primer/rework, starting on colour, caravan final assembly
page 45 - more on colour, detail pating, weathering, interior painting, number plates, lighting test
page 46 - spare wheel transfer finished
Ford CMP Truck FAT-2 (#5):
page 47 - wheel mods, card mockup, main cab sides
page 48 - main cab enclosed, rear body mounts, front arches, water tank, water cannon
page 49 - re-identification, front grille(s), engine cover do-over, external details finished
page 50 - pump failure, starting on interior
page 51 - interior, re-doing the engine cover again, primer & paint
1975 Series 3 Land Rover & 1979 Rice Beaufort Double Horsebox trailer (#6):
page 52 - 1:32 diecast Britains inspiration, chassi building, wheels & radio, initial drawing
page 53 - more drawing, card mockup (+ aside: Landfreeder body painting)
page 55 - making 1/4 round form, starting on body sides, front wing curves, starting on front wings, tailgate, doors
page 56 - windscreen panel, grille & lights, front bumper, bonnet (hood)
page 56 - bonnet (hood) fitting, exterior details, spare wheel thoughts
page 57 - mirrors, number plates, filler cap, heater intake, spare wheel, rear bumper & tow hook, bench seat, load bed, driver mods, dash started
page 58 - dash/interior finished
page 59 - canvas back template, sewing, masking, resin
page 60 - horsebox plans, card template, wheels, frame, skinning, corrugation faking
page 61 - horsebox chassis, mudguards, axles, doors
page 62 - power connector, horsebox divider, primer, filling, some colour
page 63 - more basic colours, 15-month delay, wheel lettering, driver painting, horsebox details & wiring
page 64 - Landy paint details, reassembly
page 65 - wheel dirtying 1971/72
Shelvoke & Dewry Revopak Refuse Collection Vehicle (NX/NY chassis, “W” type cab) (#7)
page 65 - RCV history in diecast, thoughts on scale & wheelbase
page 66 - stretching the CC-01 wheelbase to LWB+88mm
Original 1st post: Yet another project - sooner or later I will have to stop buying new ones & finish some of the old ones :whistle:
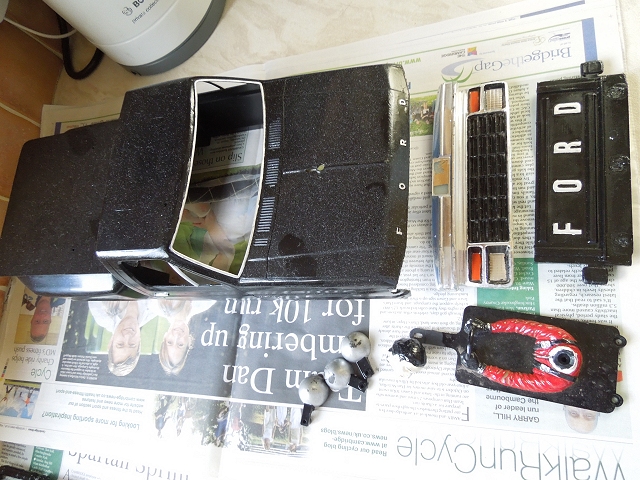
Firstly, wht I bought this one: it was (mostly) complete, had a box, and what really swung it was a set of uncut, good quality repro decals:
I knew it was a bit ropy otherwise, but not quite how bad ... I wouldn't say there was any active dishonesty on the part of the seller - in fact there was far more text ans far more pictures than the average eBay listing - the chassis is just about as described, but between slightly blurry photos and dust on the bodywork, I hadn't realised quite how much work this was going to need.
The chassis isn't so bad - though it must have been abused badly at some point (in fact I think the trucks history must have been some thing like badly abused, really badly restored, abused some more, sold on, then sold on again) ... rear body mounts are new(ish) but the cross brace is missing, wheels had some stress marks, damage on the edges & the tyres heavily glued on...

") .
.

")
 )
)


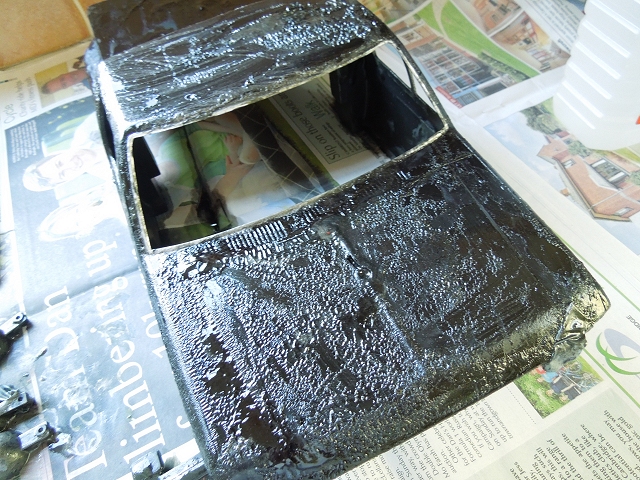
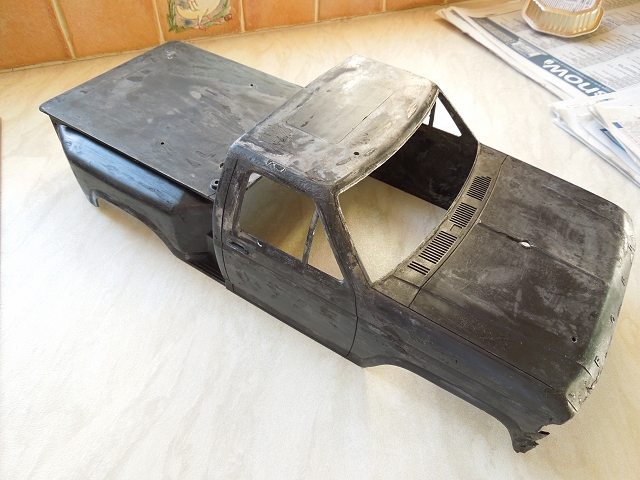
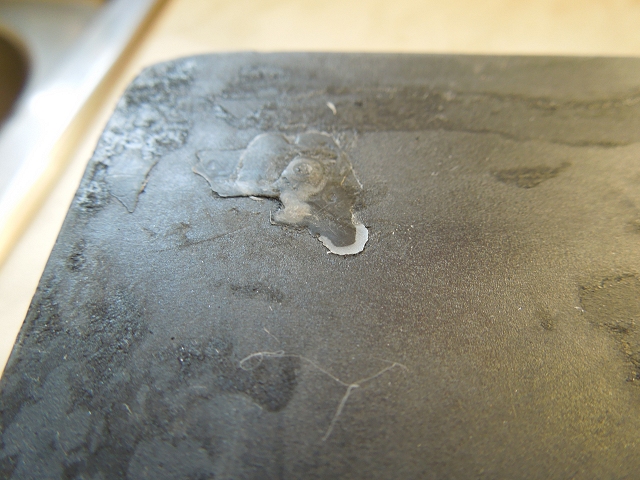
 Still lots of scraping & sanding to do ...