TOPIC:
Richard's adventure in scale garage and related items. 9 months 1 week ago #75880
|
Oh yes Richard. Monogram. Exactly your description. I have to refind them. I begun a vette collection some times ago.
|
|
Please Log in to join the conversation. |
Richard's adventure in scale garage and related items. 9 months 1 week ago #75884
|
Found a very good video that shows the features of the trailer I'm sorta build off.
The following user(s) Liked this: 1972 LeMansGT Jim, GToddC5
|
|
|
Please Log in to join the conversation. |
Richard's adventure in scale garage and related items. 9 months 1 week ago #75888
|
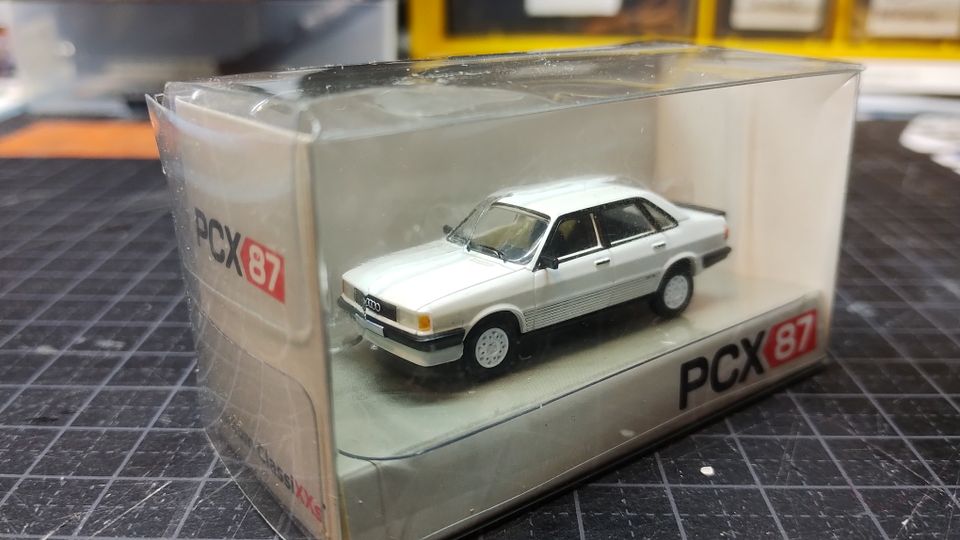
And here it is the car I ordered.
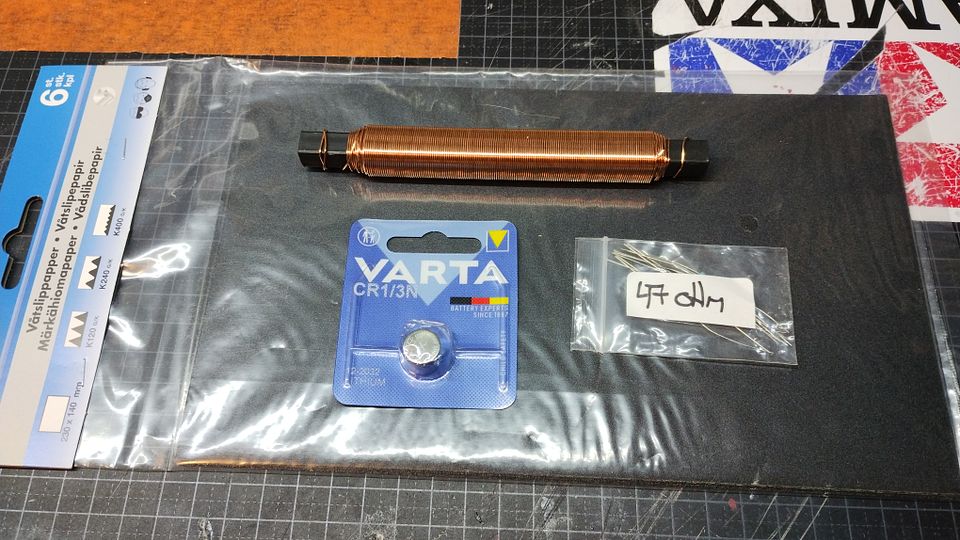
Audi 80 in white. My mate had a 84' CD 5E spec and the same alloy wheels and front spoiler as this, only in silver. Only difference from my mates vs this, is that my mates had front fog lights in the spoiler and headlight washers and wind deflectors (Audi part I belive as his dad never fitted non factory parts to that car) I can still remember the sound from the 5cyl engine to this day. More so when his dad cracked the silencers a couple of times. Quattro from the same year had the same styling, which I belive this is. Also bought some supply material... 120k, 240k, 400k grit papers. 0.7mm copper wire. Approx 11x11mm 3v battery for the trailer build. My mate gave me 10x 47ohm resistors as I need them for the 3v light system I'm planning. |
|
|
Please Log in to join the conversation. |
Richard's adventure in scale garage and related items. 9 months 1 week ago #75889
|
A mythic engine the 5 cylinders.
The following user(s) Liked this: caprinut, 1972 LeMansGT Jim
|
|
Please Log in to join the conversation. |
Richard's adventure in scale garage and related items. 9 months 6 days ago #75892
|
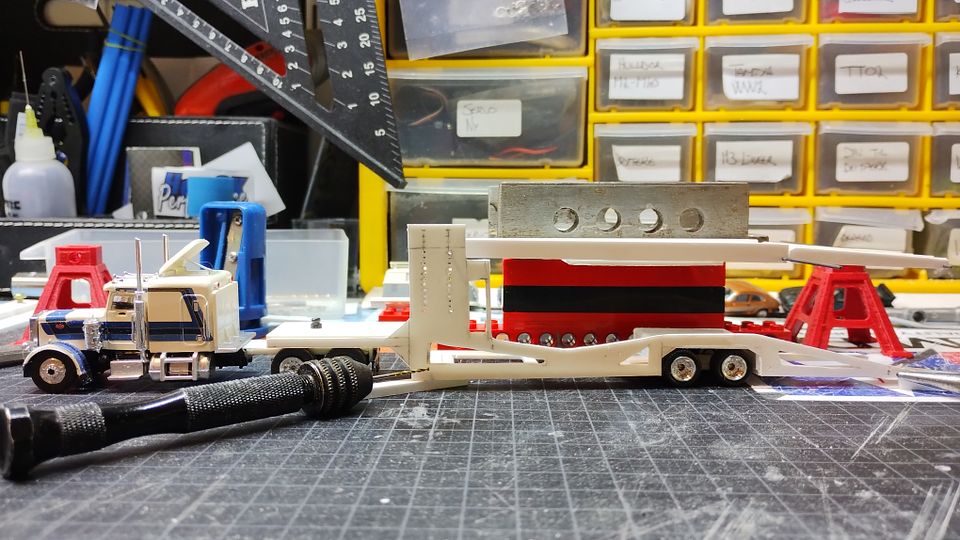
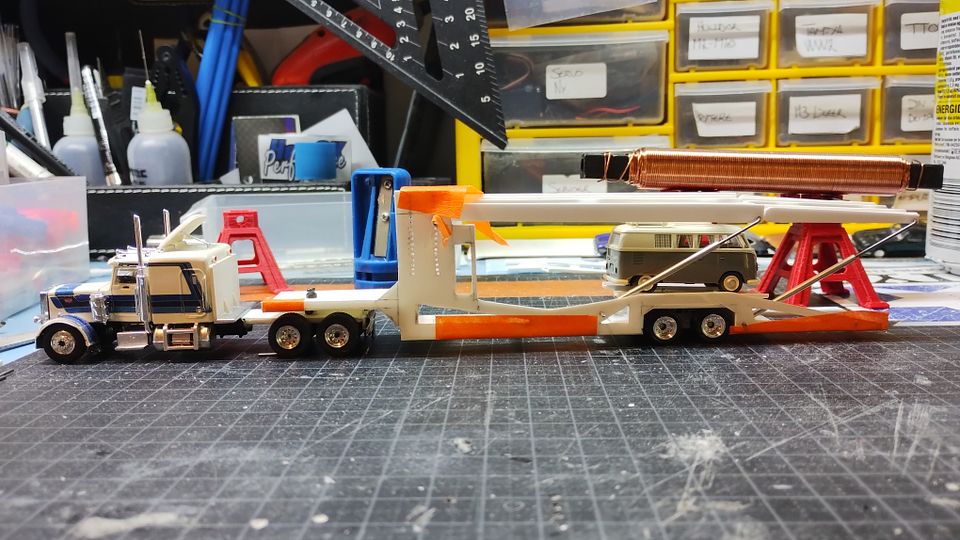
More progress on the car hauler trailer
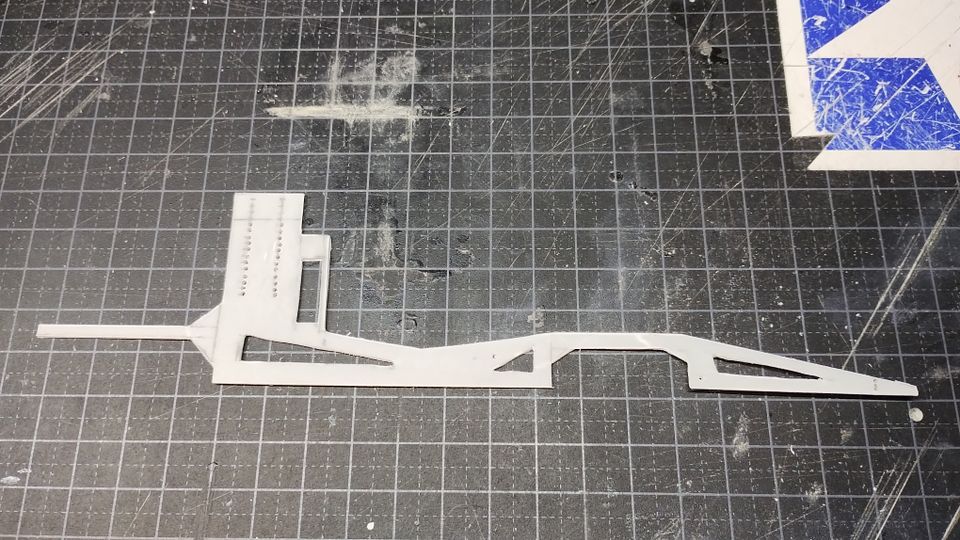
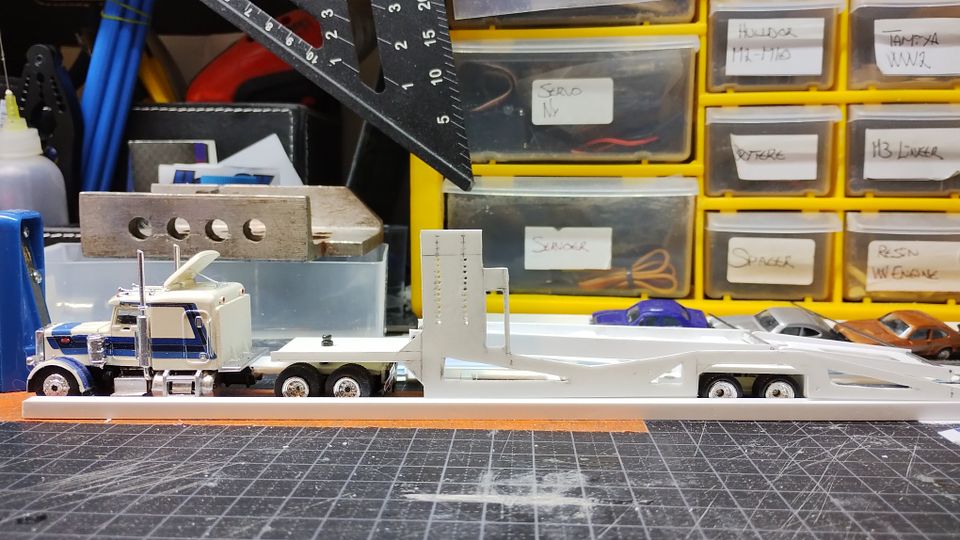
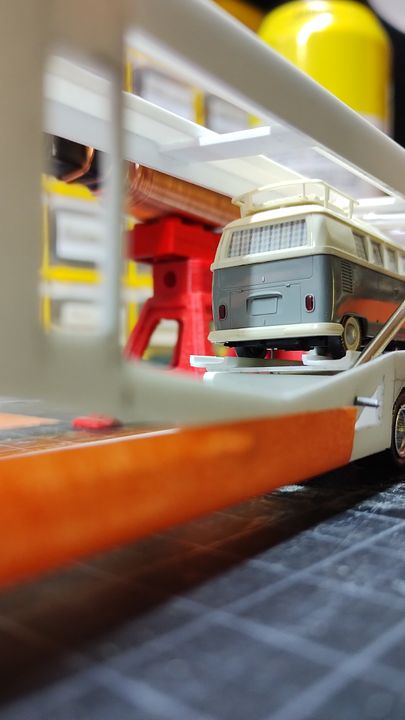
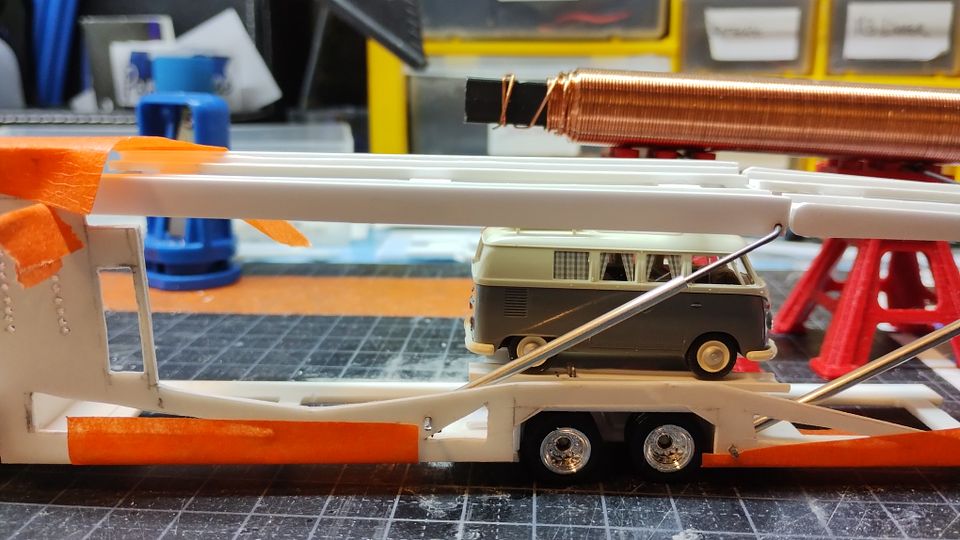
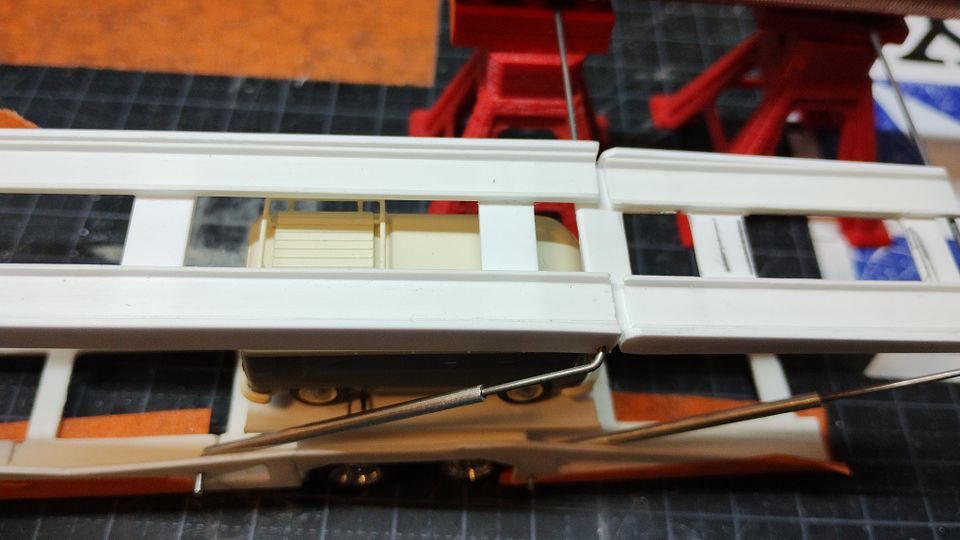
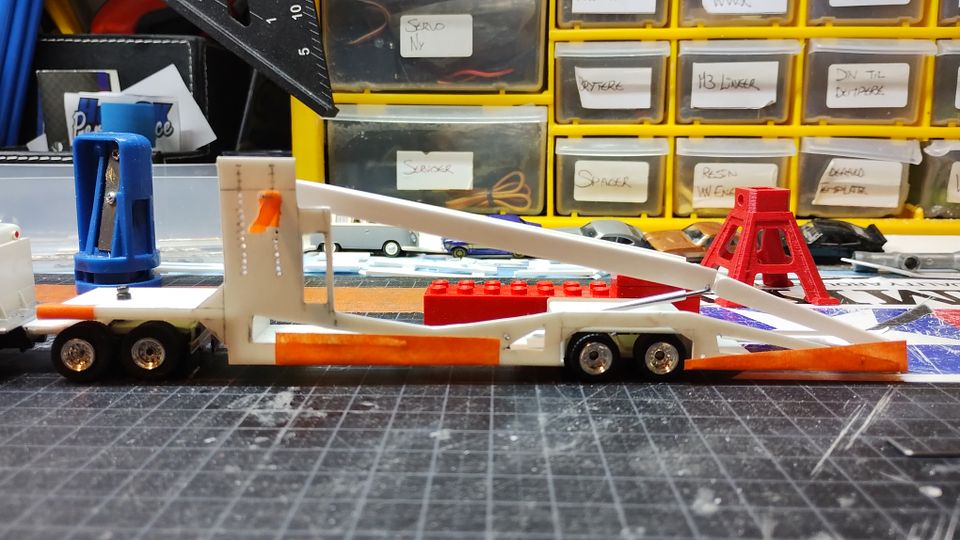
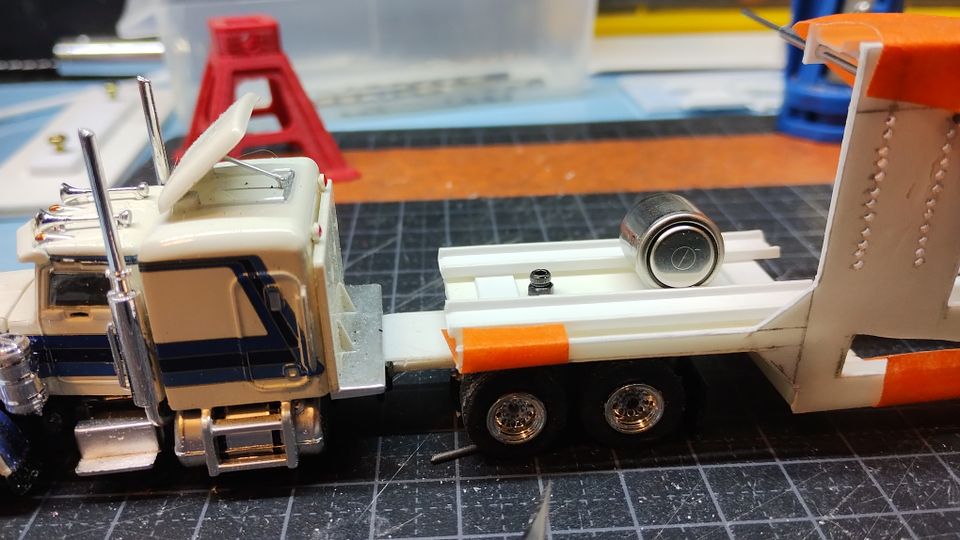
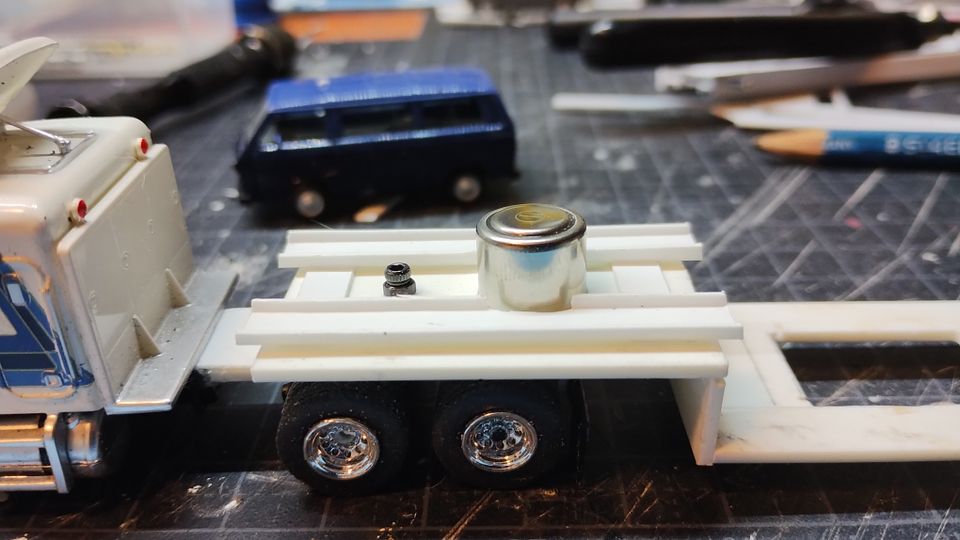
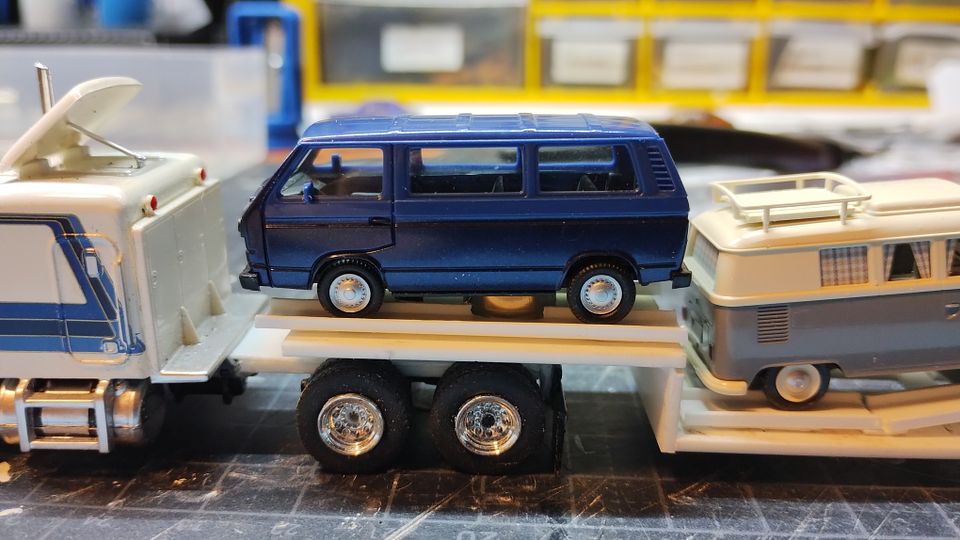
One of the side panels were made today. The hard bit is to make a copy. Used 1mm sheet for this. Yeap, that seem fine to me Test fitted the upper deck And now with the fake hydraulic cylinders I made earlier. In theory there is enough space to drive the VW camper the whole length. Cylinders are 1mm rod that will be bent as U shape and act as pistons. The lower part is 2mm alu tube with a L shape bit of the rod glued in place to make a pivot point. Better viewed here. The L bit will be cu down and locked in place with a 1mm thick ring from that 2mm tube when everything is done. And yes. I does pivot! The battery (11x11mm) I bought seems too big to fit anywhere on the trailer. I will think how I can power the lights. The said battery has 170mah, and with 8 leds at 20mah each, it will take 1 hour to run out of power. I would rather not fit a smaller battery as it might be fiddly to take out. I might be able to molest one of the vehicles to hide the battery. But then it will be located permently on the trailer... |
|
|
Please Log in to join the conversation. |
Richard's adventure in scale garage and related items. 9 months 6 days ago #75893
|
The following user(s) Liked this: stingray-63, 1972 LeMansGT Jim
|
|
|
Please Log in to join the conversation. |
Richard's adventure in scale garage and related items. 9 months 4 days ago #75910
|
Todays progress...
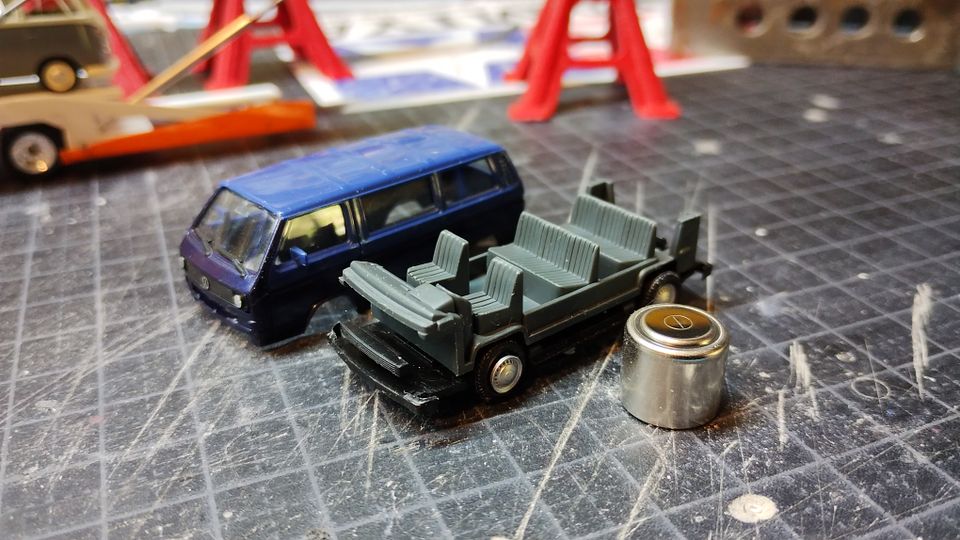
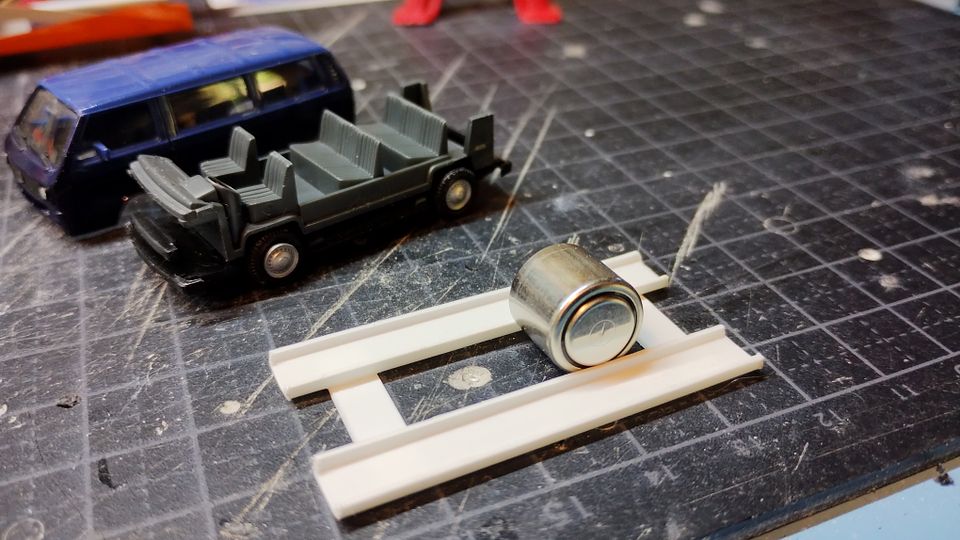
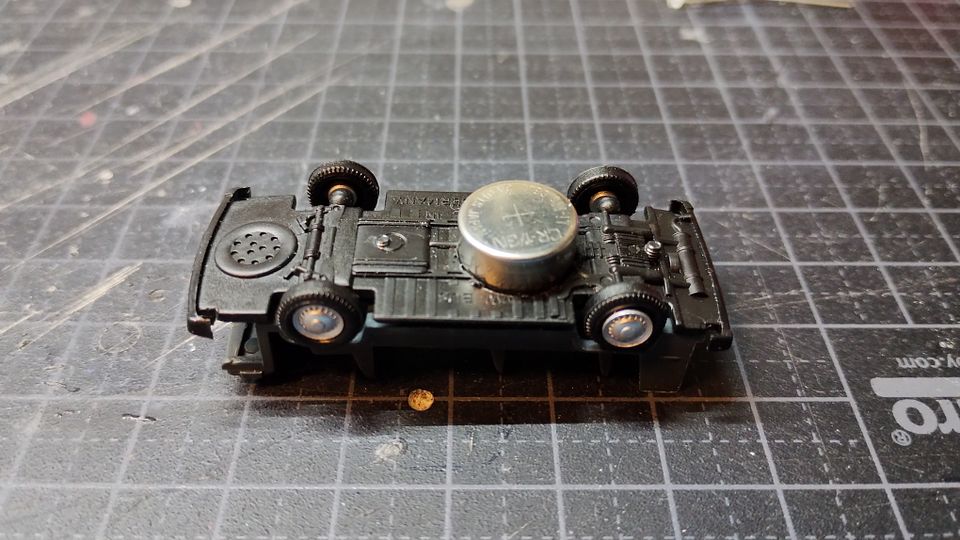
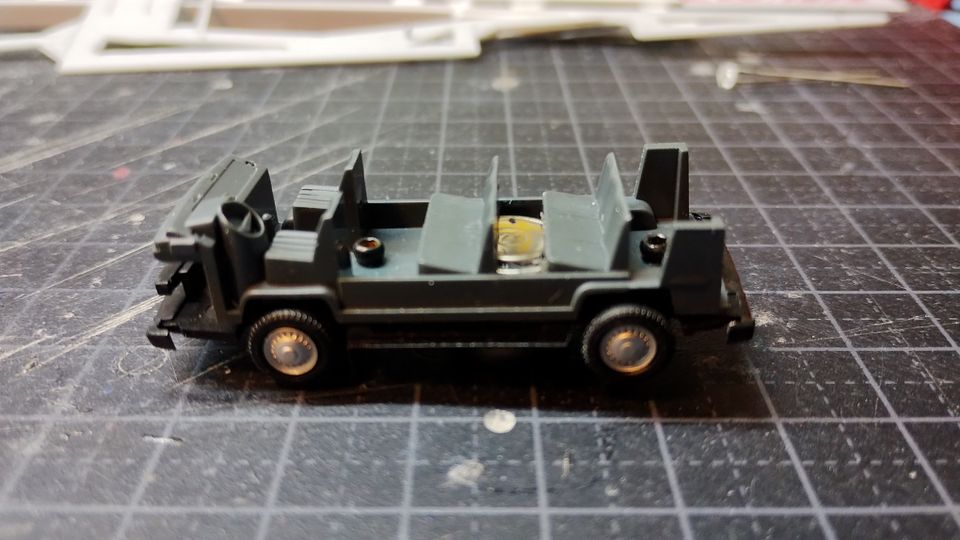
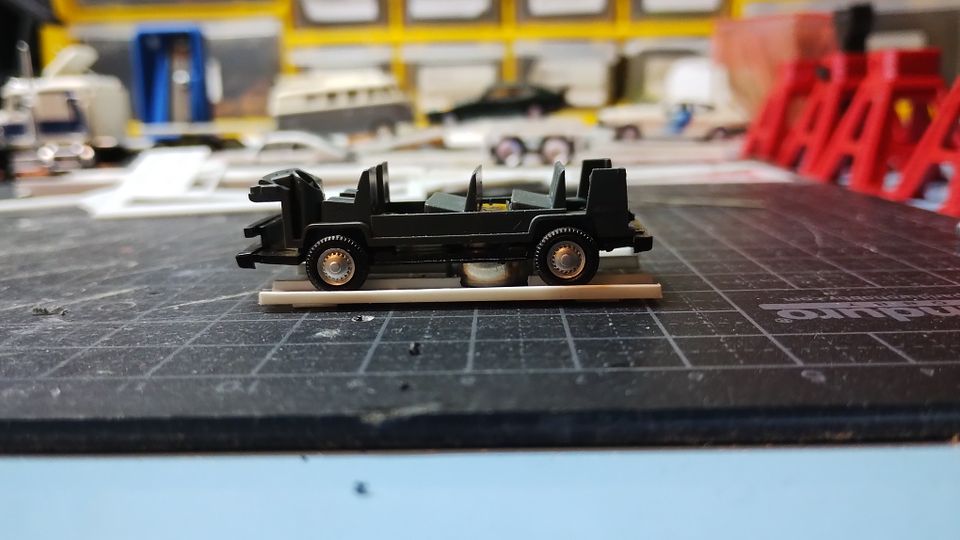
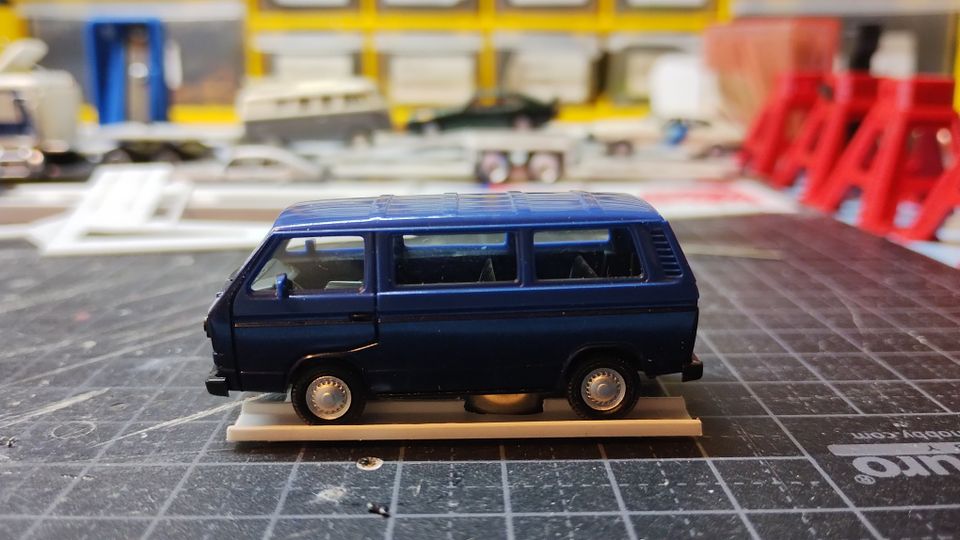
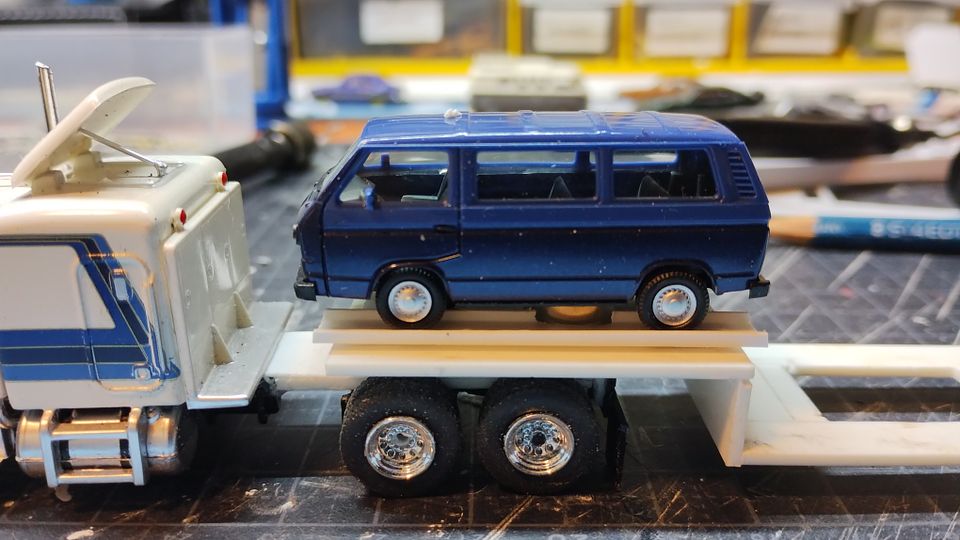
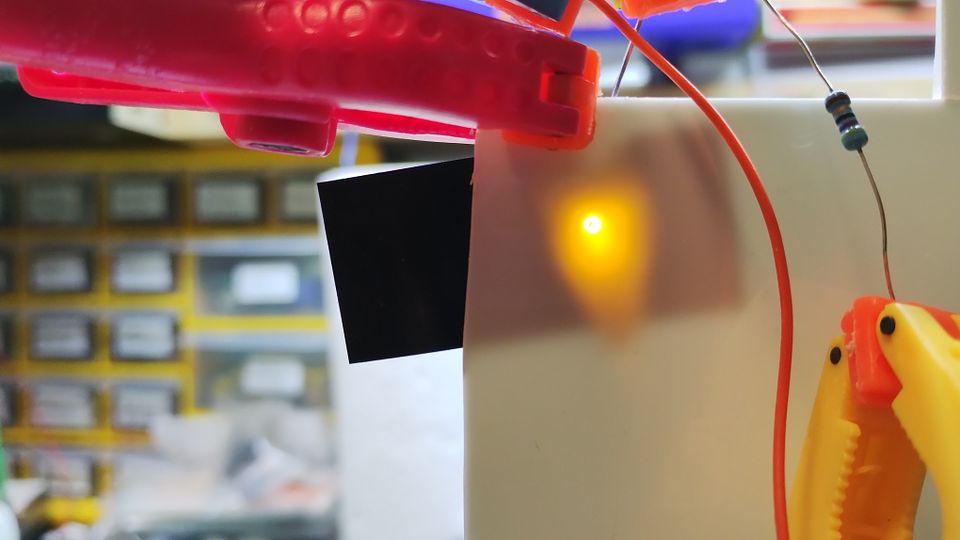
Made the battery fit the Transporter Battery fits right under the seat cushions. Since the locating pin for the interior onto the chassis got removed due the battery location I fixed it the the chassis by two 1.6mm screws. Fits like this on the ramp part And with body on. When finished I will paint the battery black. Battery fitment test. Notice the rear wheel not touching the tracks.. So I made a hole in the trailer so the battery fits with press fitment. Now the wheels is touching the tracks. I did not want to hack the seats up further. And lastly I tested a led idea for the trailer. Here I has drilled a 1.5mm hole and located the led on the backside. I might use canopy glue after paint to fill the hole as it dries clear, which will look like glass. That's the idea anyway. This led is 2.5x3.5 approx on the base. In the middle there is a 1.8mm tap that is used to put it into a 1.8mm hole. Due the limited space I work with, I have cut of the tap and will glue the led sideways. When finished I will cover the backside with plasti dip. |
|
|
Please Log in to join the conversation.
Last edit: by caprinut.
|
Richard's adventure in scale garage and related items. 9 months 4 days ago #75911
|
I like the masking method for the battery.
The following user(s) Liked this: caprinut
|
|
Please Log in to join the conversation. |
Richard's adventure in scale garage and related items. 9 months 3 days ago #75915
|
Thank you Flo!
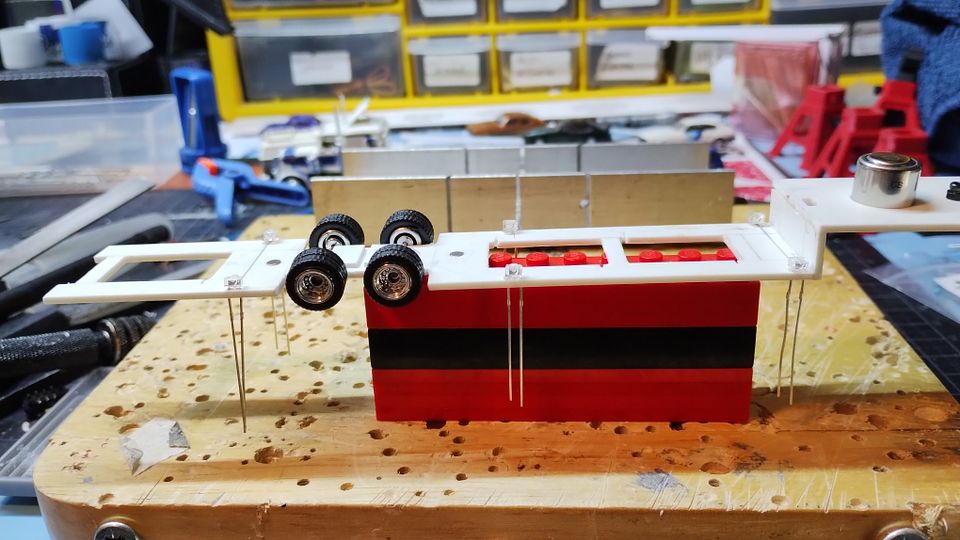
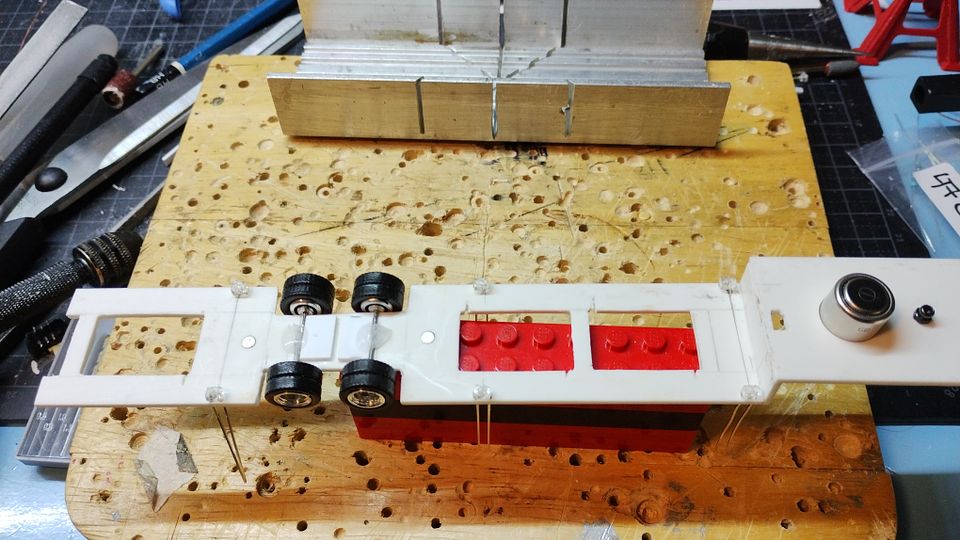
Yesterday I found a 180mAh 1s 3.7v battery attached to board from a old helicopter in my electronic spare part box. There is no way I cuold have used that, so glad I went for the round battery. Todays progress.. Made holes for the side marker lights. I also found a micro on/off switch on a spare circuit board and that will fit in the holde behind the battery on the underside. Last thing I did was to paint the trailer chassis. No pictures of that atm. |
|
|
Please Log in to join the conversation. |
Richard's adventure in scale garage and related items. 9 months 3 days ago #75916
|
Awesome work for a so tiny trailer.
The following user(s) Liked this: caprinut
|
|
Please Log in to join the conversation. |
Time to create page: 0.214 seconds

