TOPIC:
Richard's adventure in scale garage and related items. 9 months 3 days ago #75917
|
|
Please Log in to join the conversation. |


Richard's adventure in scale garage and related items. 9 months 2 days ago #75937
|
|
Please Log in to join the conversation. |

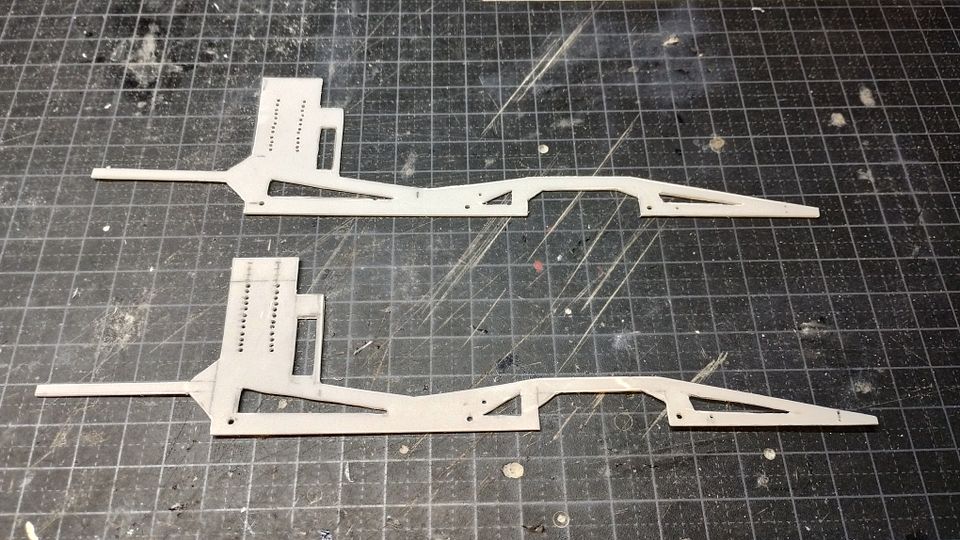

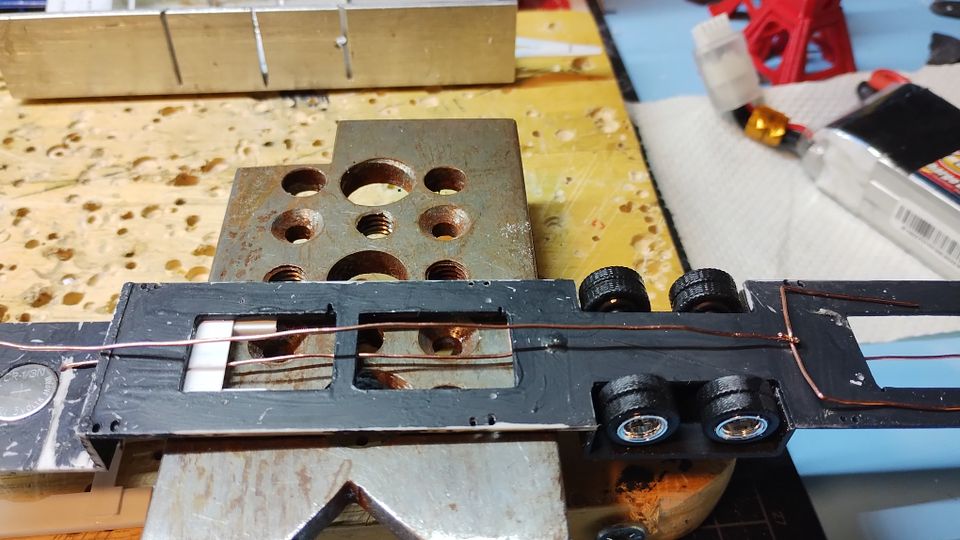
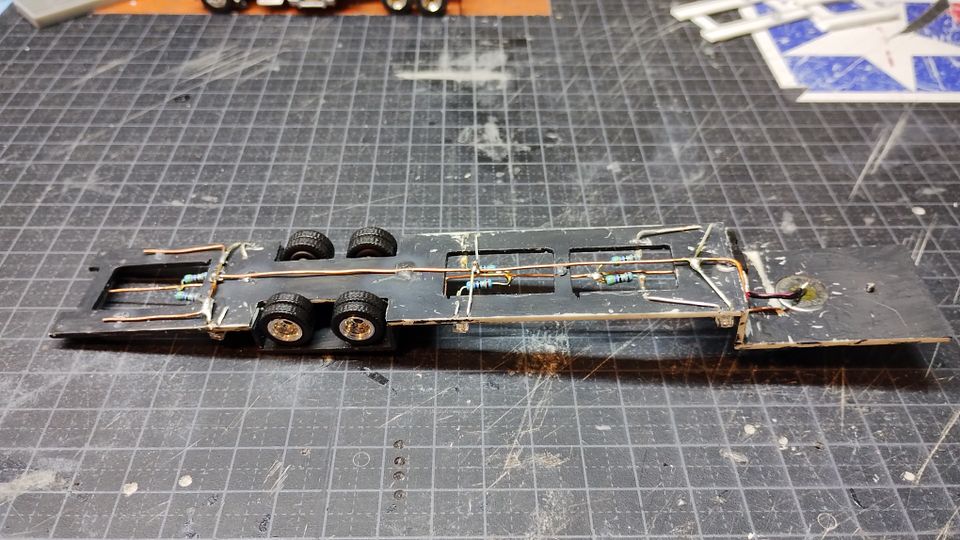
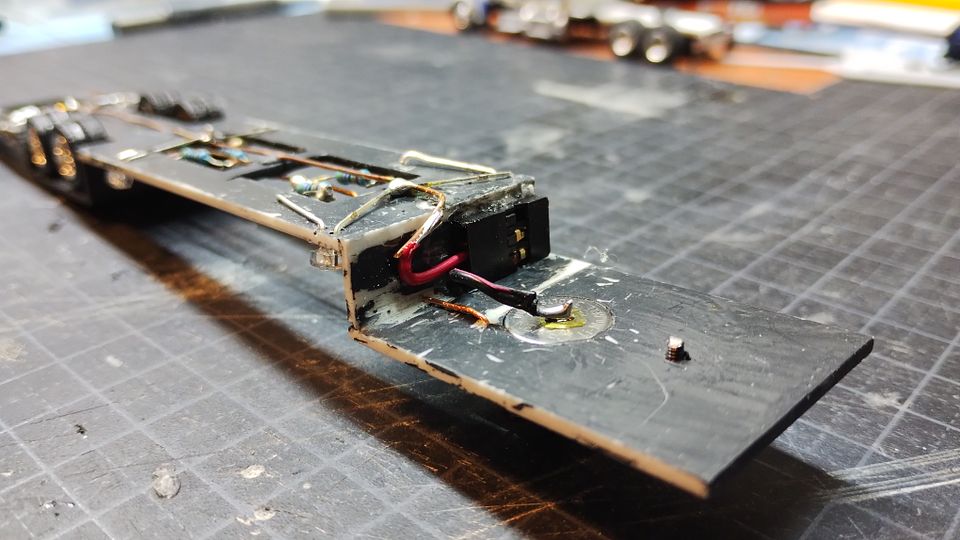
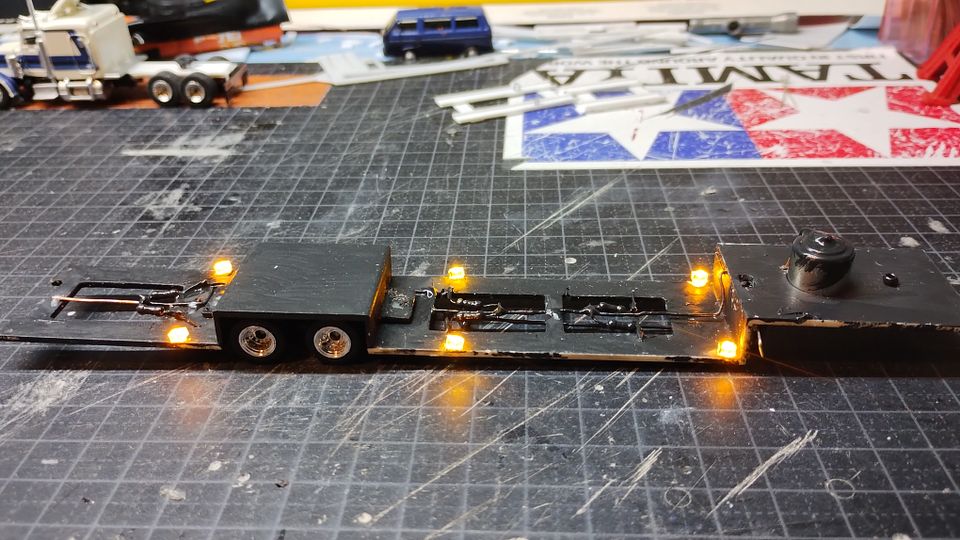
Richard's adventure in scale garage and related items. 8 months 3 days ago #76340
|
|
Please Log in to join the conversation. |
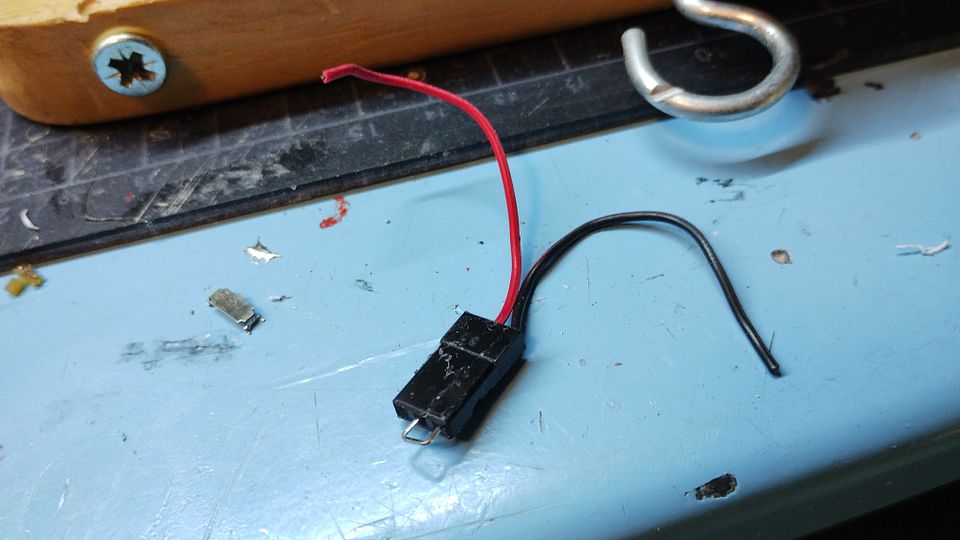
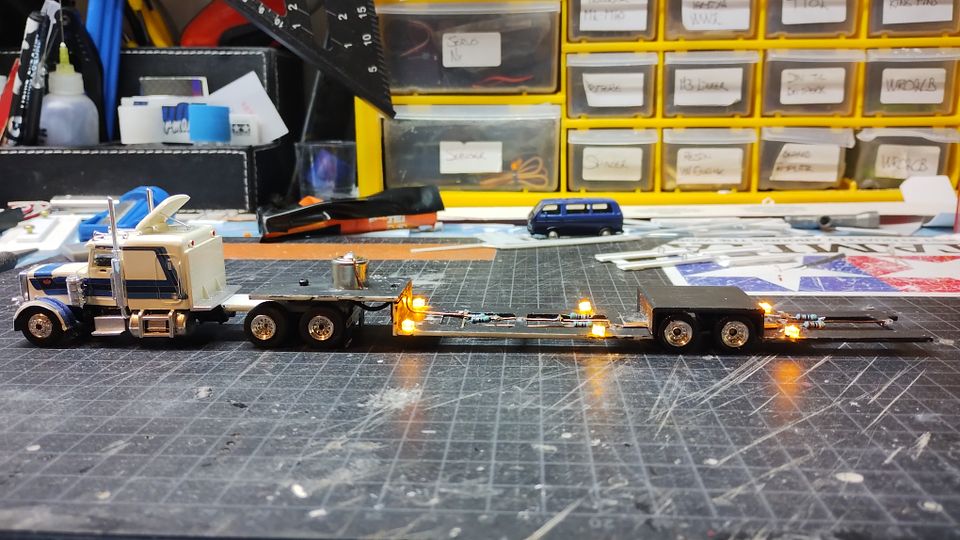
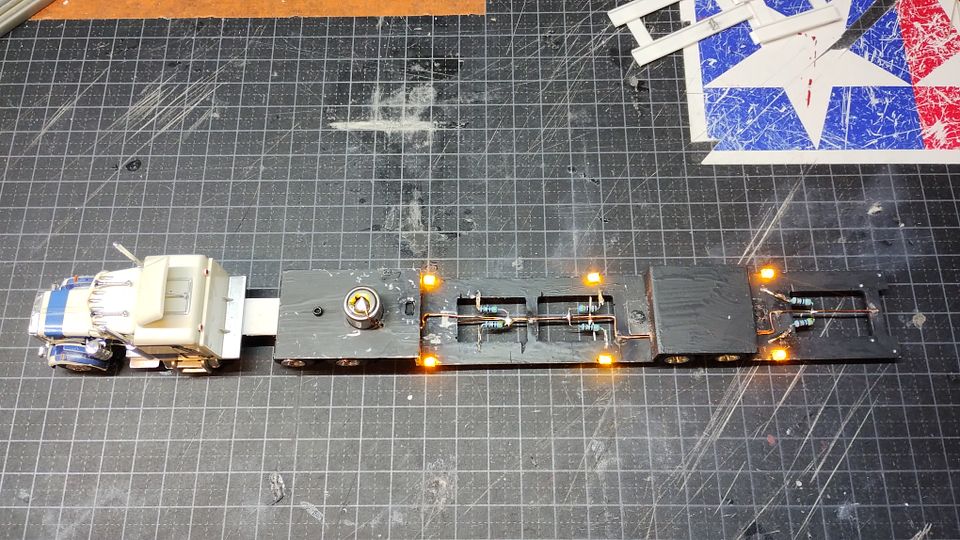
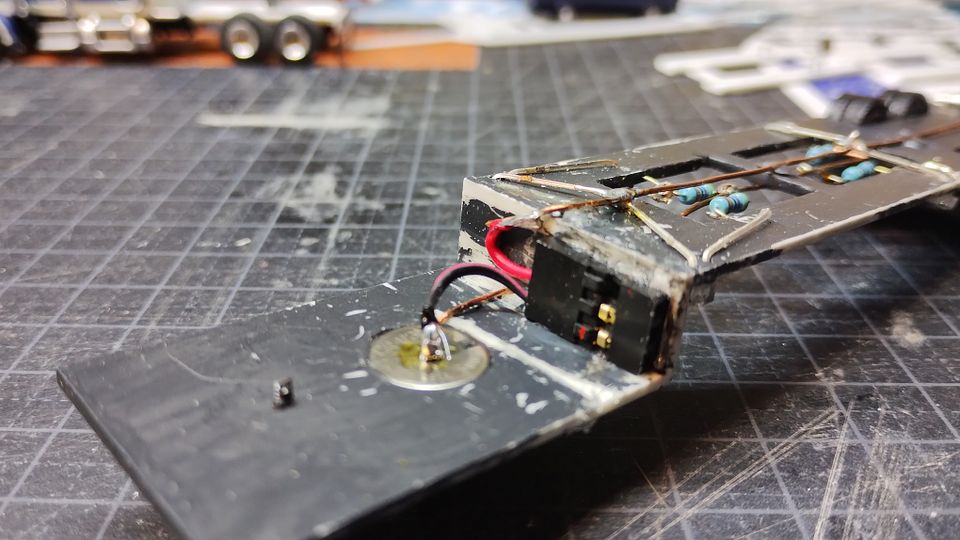
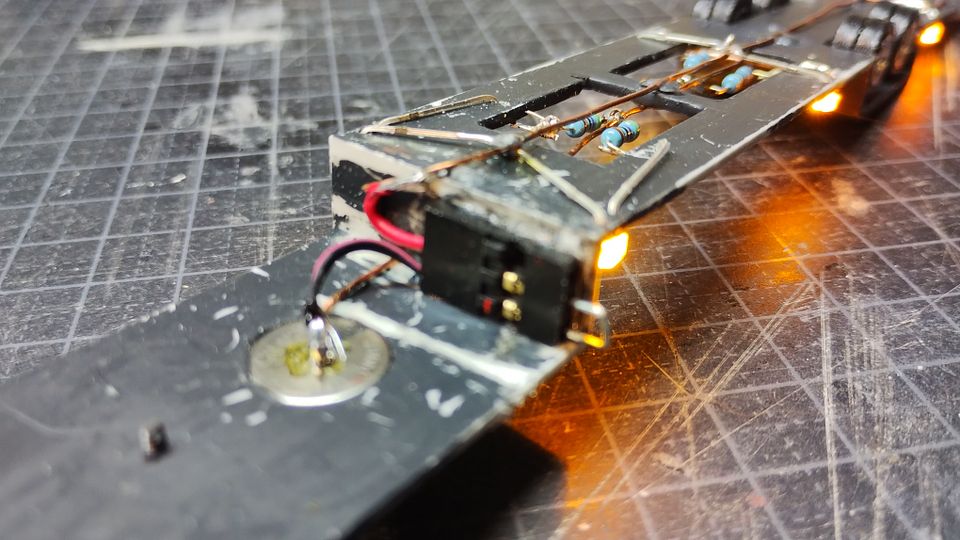
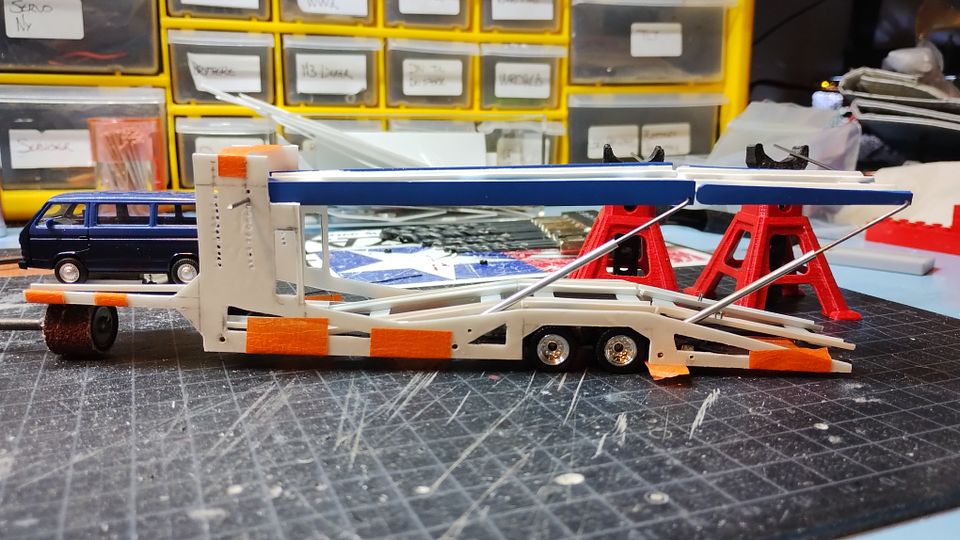
Richard's adventure in scale garage and related items. 7 months 1 week ago #76725
|
|
Please Log in to join the conversation. |
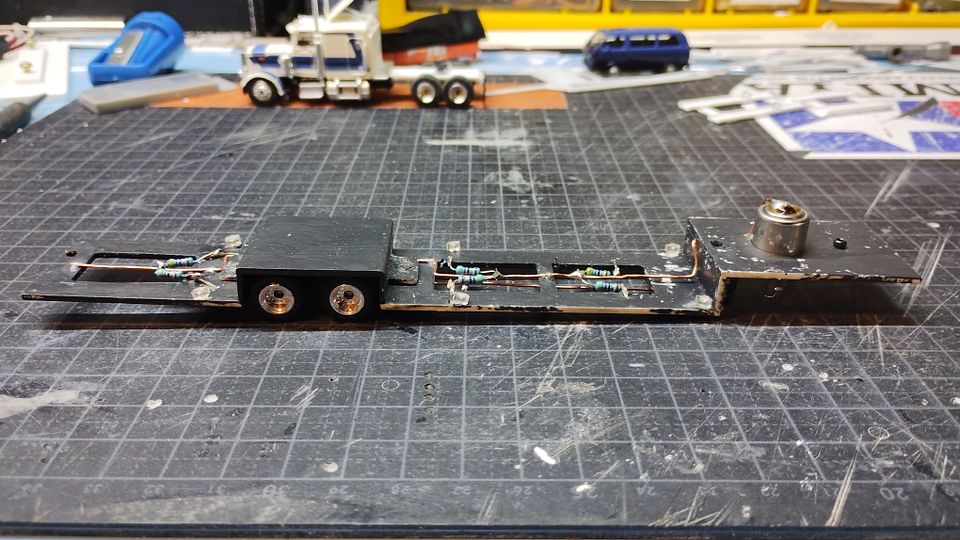
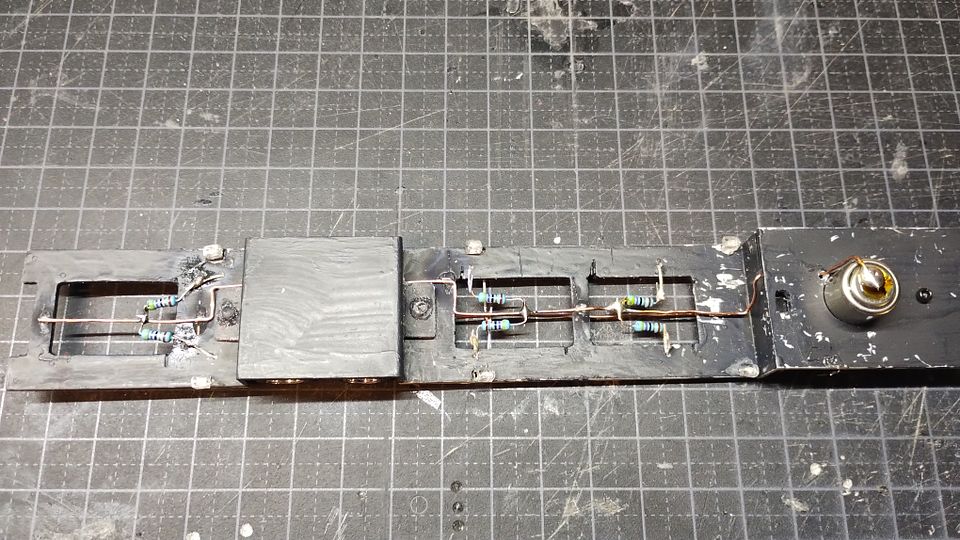
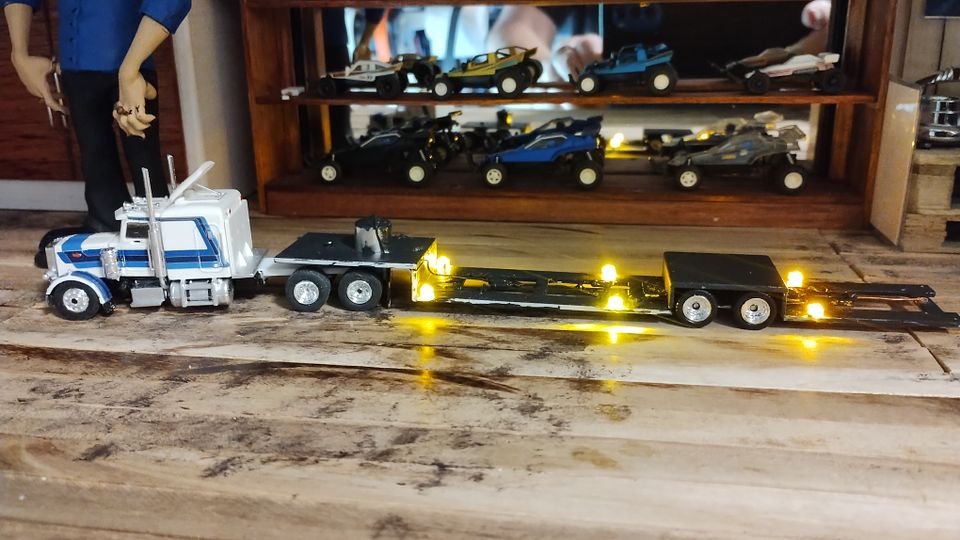
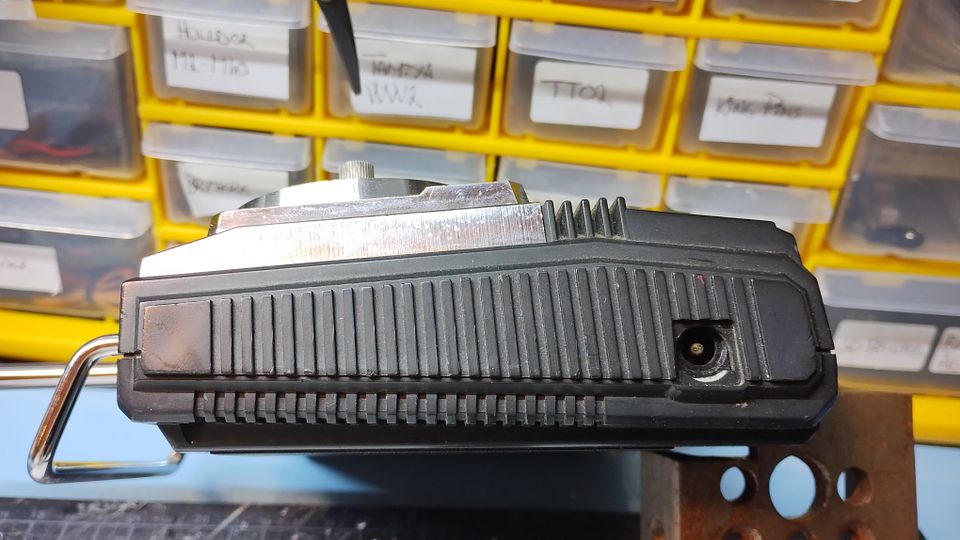
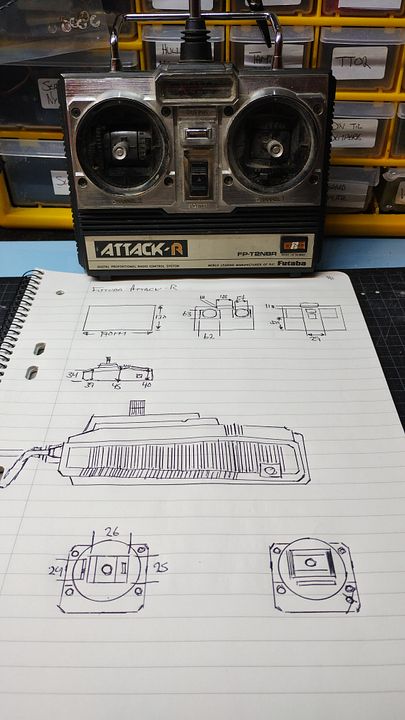
Richard's adventure in scale garage and related items. 7 months 4 days ago #76743
|
|
Please Log in to join the conversation. |
Time to create page: 0.157 seconds