|
|
Please Log in to join the conversation. |
Love your work Mr Retro, entertaining and informative as usual
Good luck getting the e-clip back on the clutch, I did the same thing 'out of curiosity' and had to lever the gear back on using a metal rod while clamping the shaft in the chuck of a lathe. Working alone it is not the easiest task, makes you wonder what it would take to get the thing slipping when driving ? Terragni
The following user(s) Liked this: Jonny Retro
|
|
Please Log in to join the conversation. |
They don't, they're just another great Tamiya idea that doesn't work!
I stuffed mine with grease thinking that might help, which it did for 2 turns of the clutch then the comedy strength sprig squeezed it all out & it went back to being non-functional. Can't say I had any problems putting it back together though (re the circlip)
Custom F2
...
Hilux crossmember drawing
...
F2 axle drawing
...
Quattro radio lid
...
Holiday Buggy motor bracket drawing
...
Quattro resto
...
HitnMiss engine
...
Wild Willy resto
...
Mardave Cobra resto
...
Thunder Dragon resto
...
Grasshopper resto
...
XR311 resto
...
Modded XR311
...
Carbon 25th scratch build
|
|
Please Log in to join the conversation. |
|
Thanks for the heads up, terragni ... but TBH I don't anticipate a problem - to undo it I squeezed the spring between thumb & 2 fingers in ohe hand & used a pair of radio pliers in the other... I'm thinking a small vice & an open ended spanner as a spacer would help it go back together
|
Please Log in to join the conversation. |
Use yer teef
Custom F2
...
Hilux crossmember drawing
...
F2 axle drawing
...
Quattro radio lid
...
Holiday Buggy motor bracket drawing
...
Quattro resto
...
HitnMiss engine
...
Wild Willy resto
...
Mardave Cobra resto
...
Thunder Dragon resto
...
Grasshopper resto
...
XR311 resto
...
Modded XR311
...
Carbon 25th scratch build
The following user(s) Liked this: waterbok
|
|
Please Log in to join the conversation. |
|
Had a go at the bumper & holder ...
Drilled 3mm holes each side of the breaks: ... to hold some M2.5 machine screws with the heads cut off: ... after some curing time & a lot of sanding, it's ready for primer: Holder block is two bits of 3mm styrene, glued together ... I had planned to buy some styrene rod & machine down for the tubular bits, but the only online supplier I could find wanted 15 GBP postage, regardless of order size 
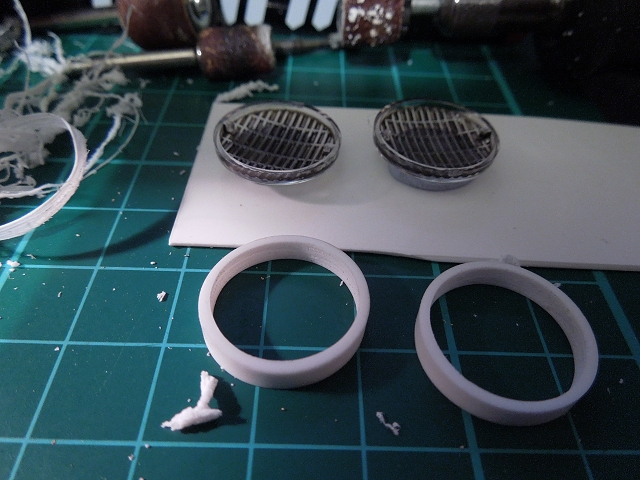
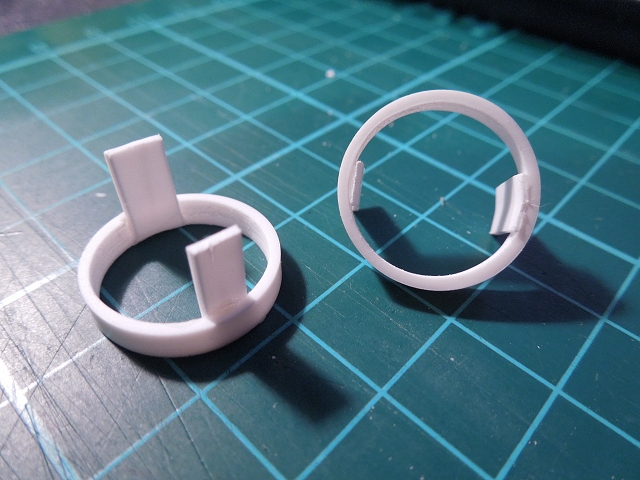
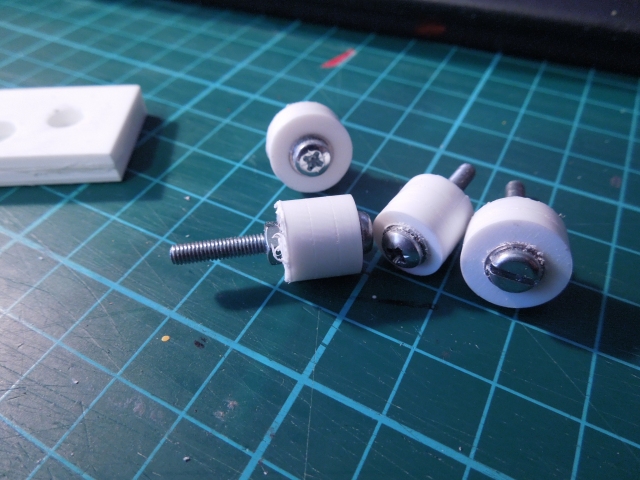
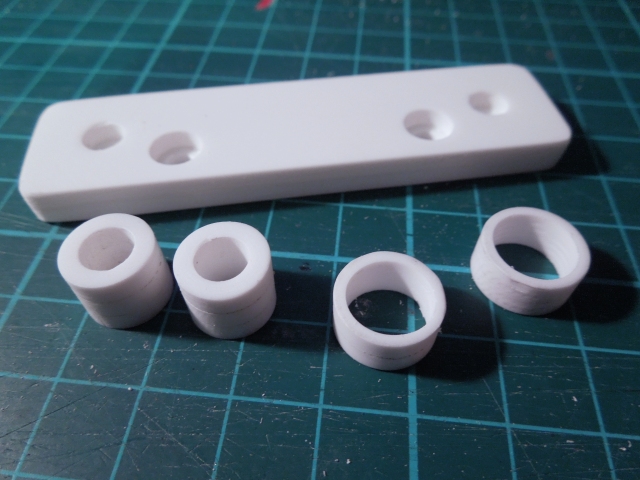
... so the "tubes" started out as squares of styrene sheet glued & (temporarily) screwed together:
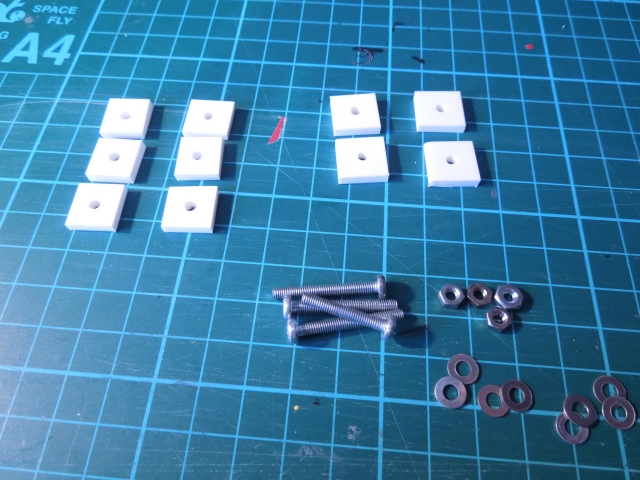
 Squares were rounded off in my toy lathe ... ... and the insides drilled, dremelled & sanded to size... ... before being glued on: |
Please Log in to join the conversation. |
Wow, very impressed, paint it alloy grey and its an exact replica of mine.
can you make a sketch with dimensions of the bumper, would love to make me a rere of that. |
|
Please Log in to join the conversation.
Last edit: by waterbok.
|
For future, if you want short bits of styrene rod, chop up some sprue, put it in a piece of oversize Tx aerial tube & lob it in the oven to melt. Once it's cool, you can just pop the "slug" of styrene out of the tube. Handy for bunging body holes up with the same colour material if you have any scrap bits to melt.
Some plastic coathangers also make a handy source for ABS rod too Joining the bumper with studding made me grin - it's exactly what the former owner of my old (1:1) truck did with the windscreen pillars!
Custom F2
...
Hilux crossmember drawing
...
F2 axle drawing
...
Quattro radio lid
...
Holiday Buggy motor bracket drawing
...
Quattro resto
...
HitnMiss engine
...
Wild Willy resto
...
Mardave Cobra resto
...
Thunder Dragon resto
...
Grasshopper resto
...
XR311 resto
...
Modded XR311
...
Carbon 25th scratch build
|
|
Please Log in to join the conversation. |
Nice job of the bumper holder by the way!
Custom F2
...
Hilux crossmember drawing
...
F2 axle drawing
...
Quattro radio lid
...
Holiday Buggy motor bracket drawing
...
Quattro resto
...
HitnMiss engine
...
Wild Willy resto
...
Mardave Cobra resto
...
Thunder Dragon resto
...
Grasshopper resto
...
XR311 resto
...
Modded XR311
...
Carbon 25th scratch build
|
|
Please Log in to join the conversation. |