Keyword

TOPIC:

Re: Cheetah wreck resto 12 years 7 months ago #2553

This is really nice work!

-Lars
Signature now gets correct formatting if you edit it in your Profile. Use normal BBcode if you want.
www.tamiyabase.com was formatted automatically.

Please Log in to join the conversation.

Re: Cheetah wreck resto 12 years 7 months ago #2568

I think it looks really good so far.

Please Log in to join the conversation.

Re: Cheetah wreck resto 12 years 7 months ago #2577

I agree. Especially like this shot a lot :


Looking like an urban Rambo already! :woohoo:

Please Log in to join the conversation.

Last edit: by Edou.

Re: Cheetah wreck resto 12 years 7 months ago #2596

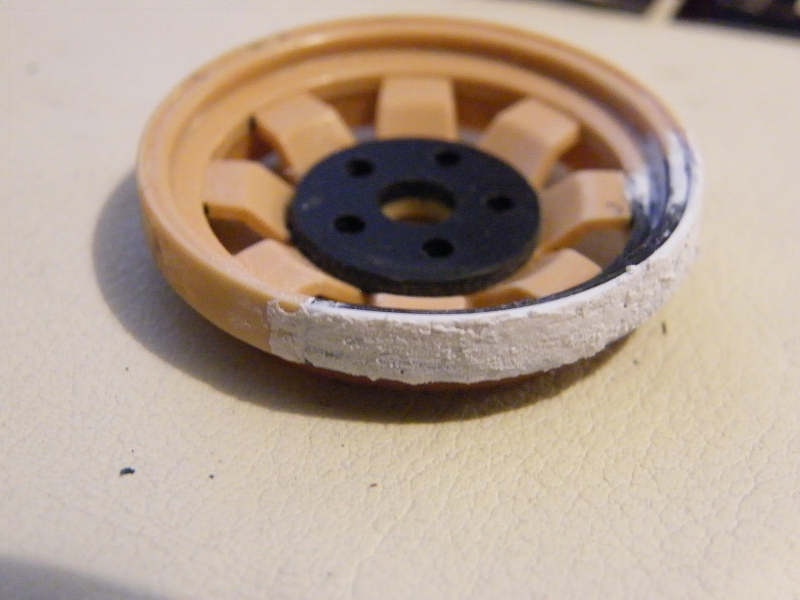
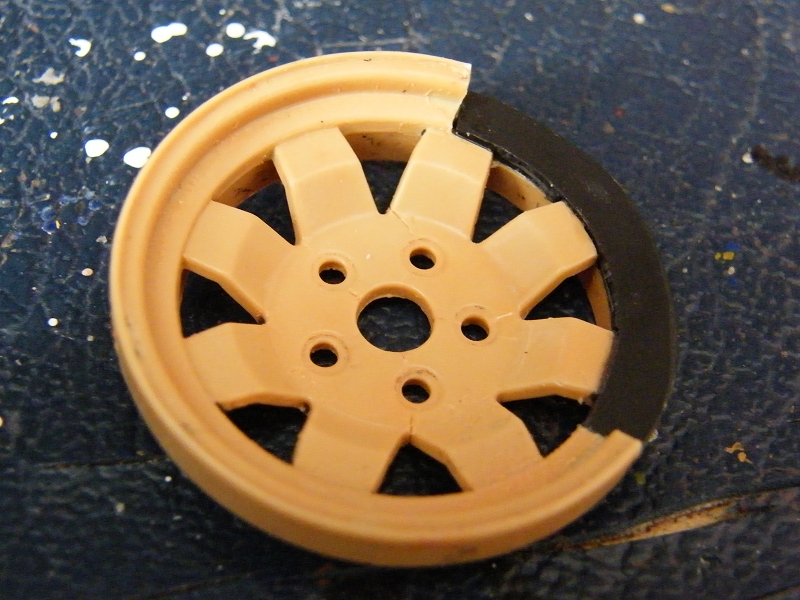
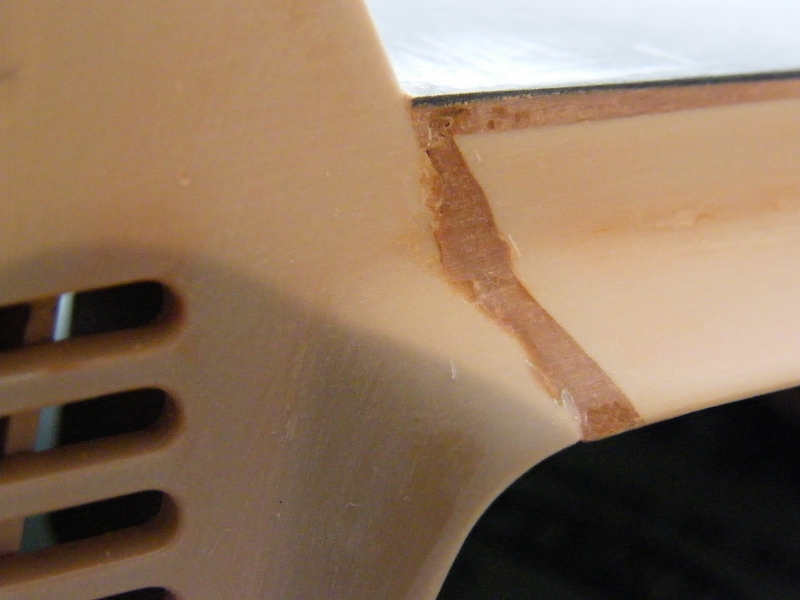
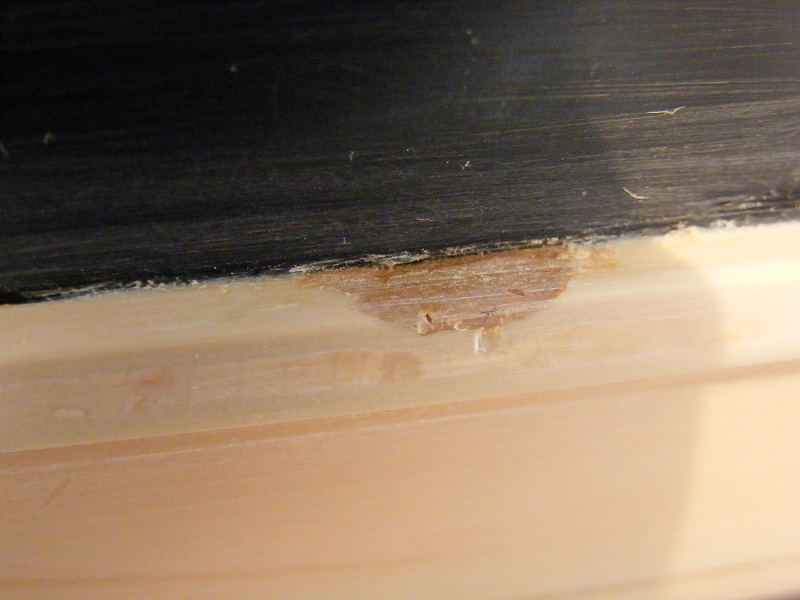
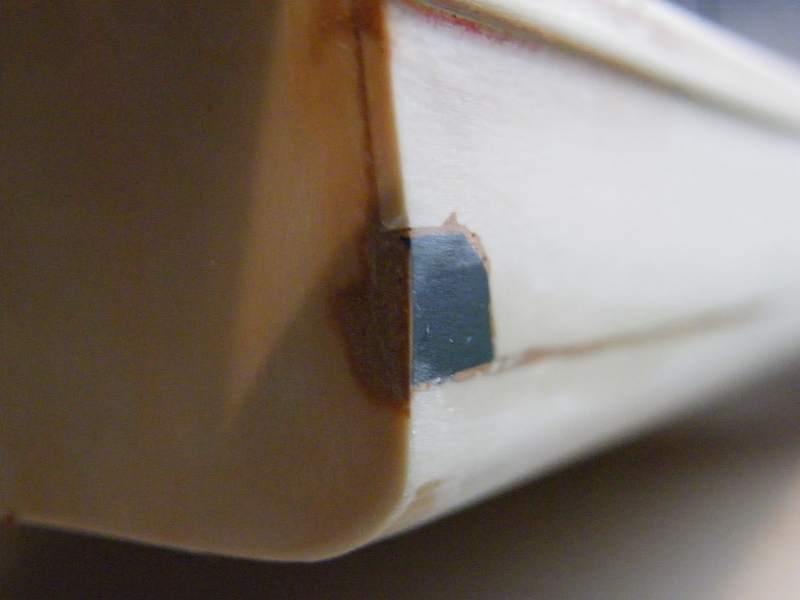
Done some work on the broken wheel - first adding a curved section of styrene sheet ...


... then some more, bent first, and thinner stuff to make the raised lip, still needs filling/sanding.


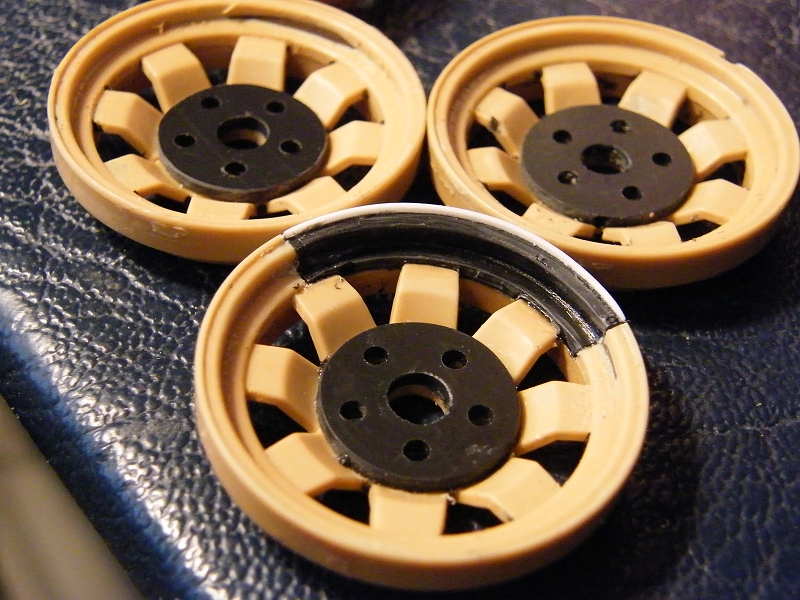
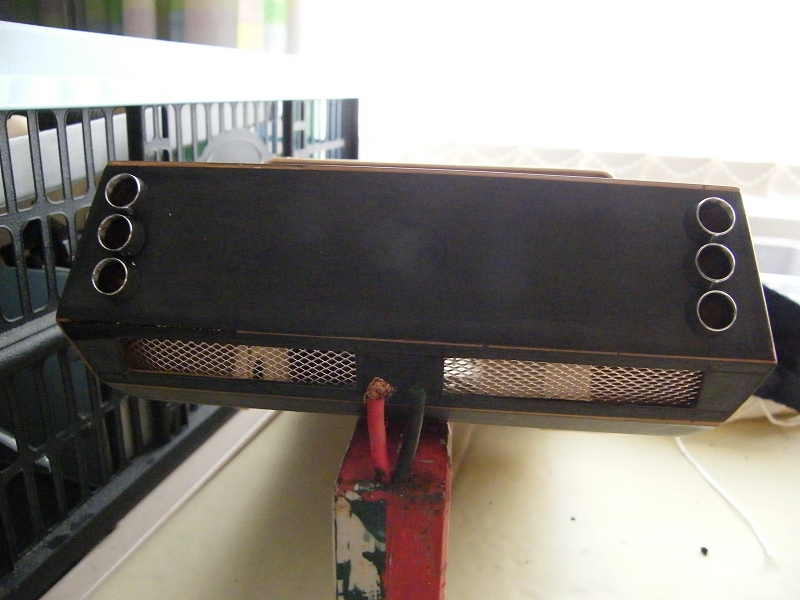
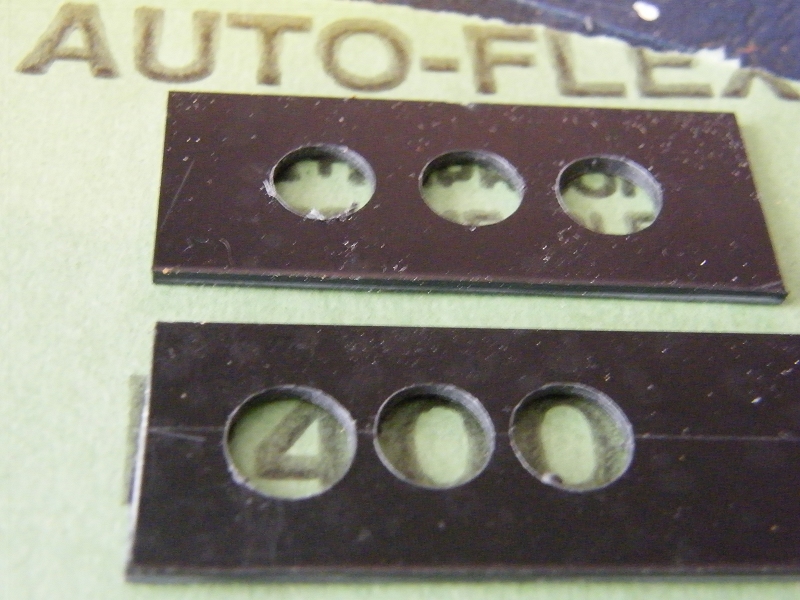
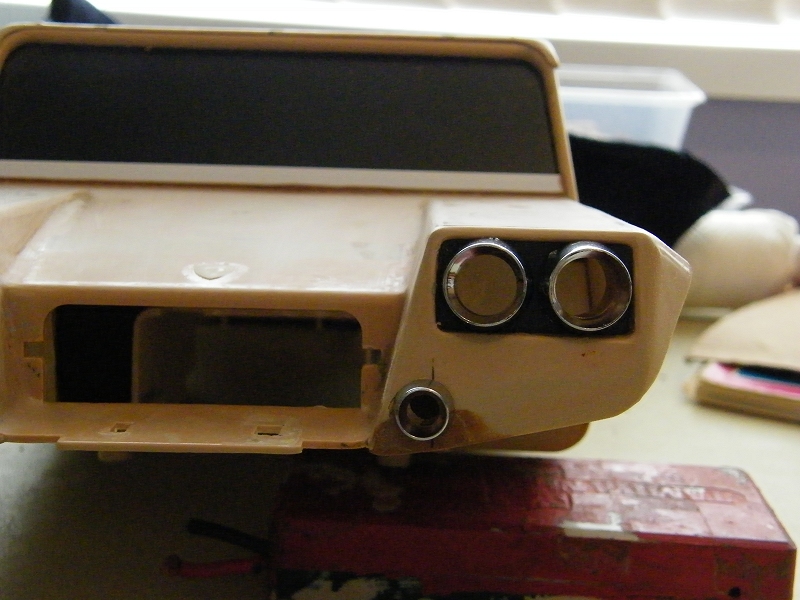
Because the wheels (and all the other plastic bits) are not only cracked but also very fragile I've added some "hubcaps" ...


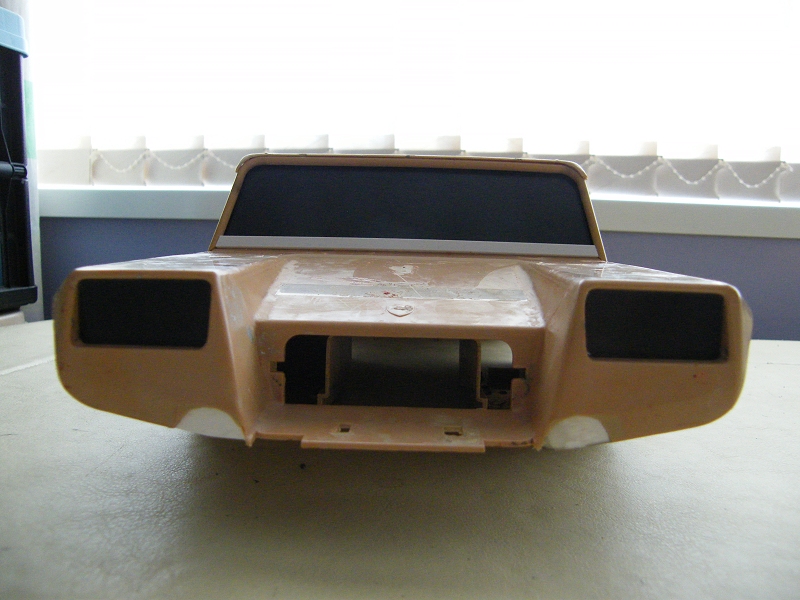
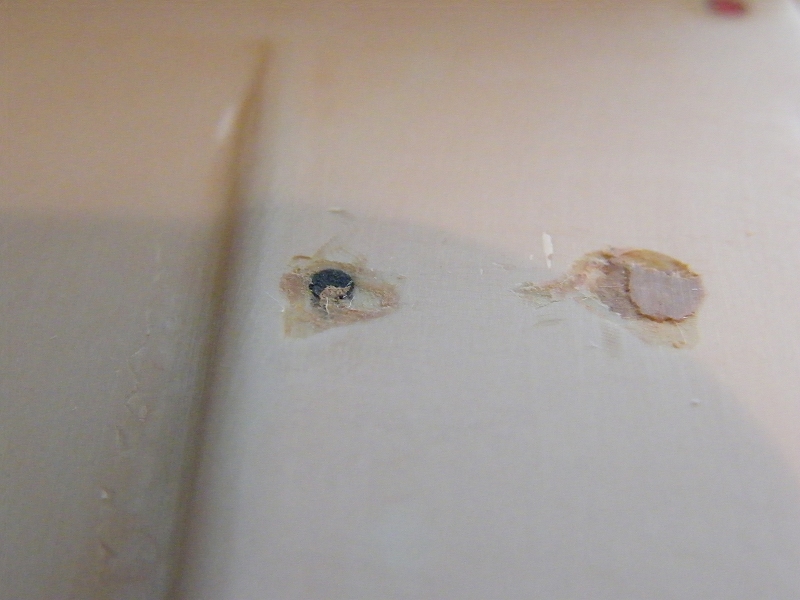
It seems every time I do a bit of work on anything I can hear bits cracking - I guess it's down to the plastic being 30+ years old, abused with lots of incorrect paint, probably stored badly for much of it's life, and the final straw - me stripping the paint off.

Everything seems extremely brittle, the new stuff is extremely difficult to bond with the correct adhesive (poly cement) ... TBH I'm questioning the wisdom of even thinking about ever running it ...


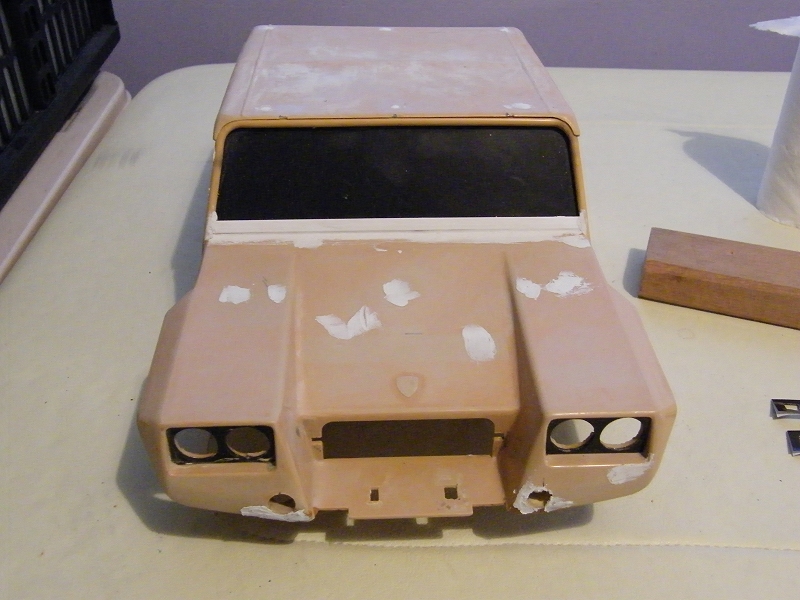
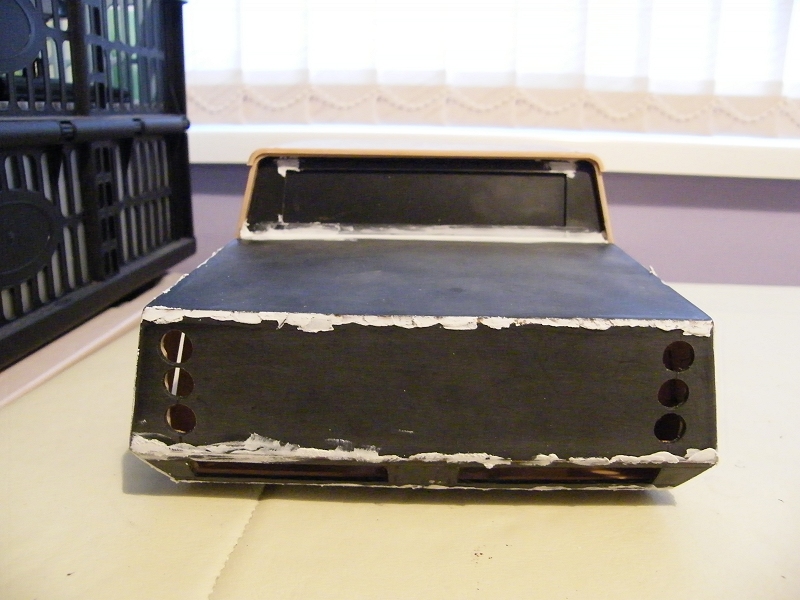
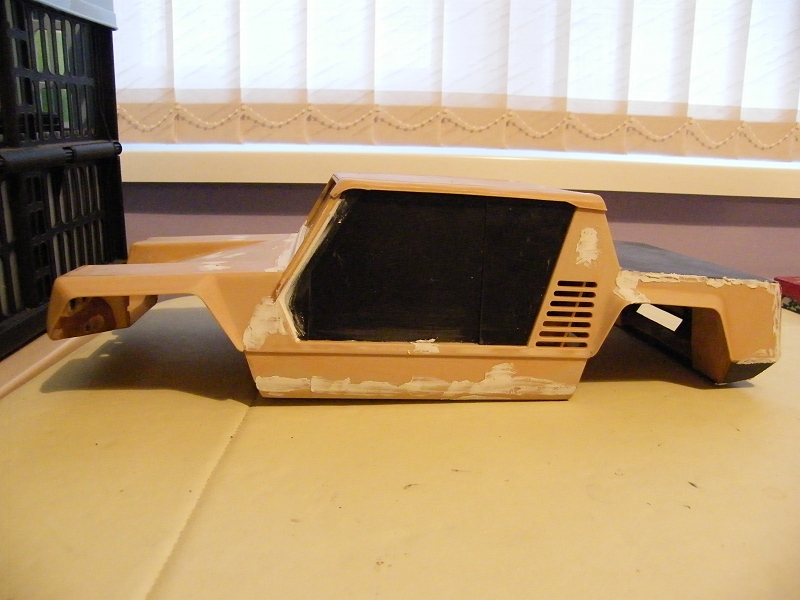
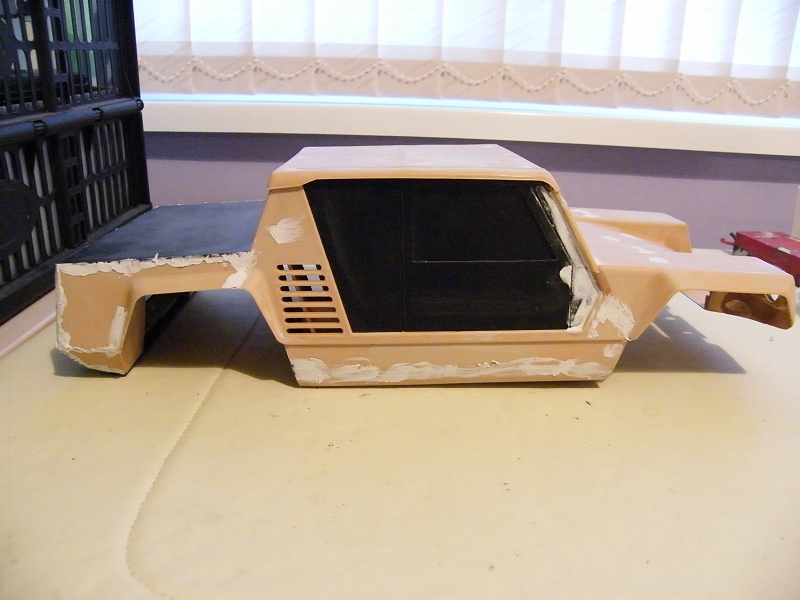
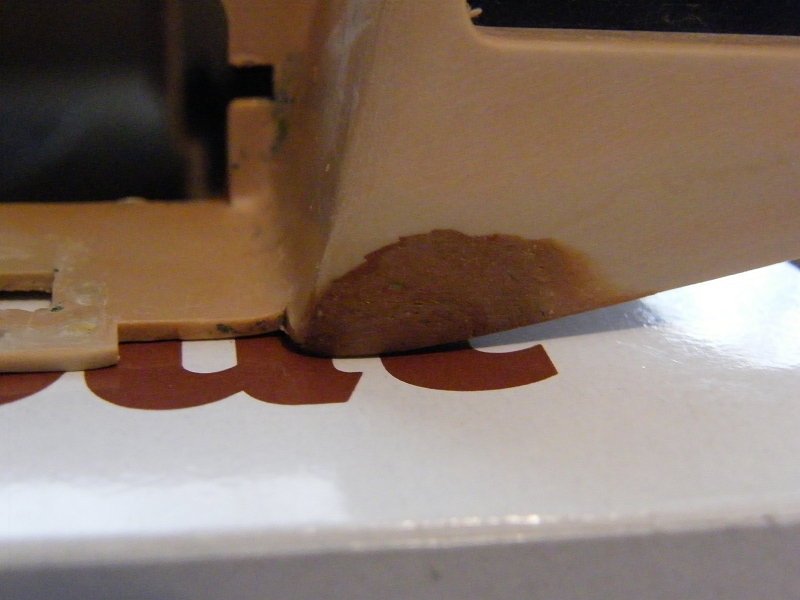
Anyway, I decided against using car body filler on the shell - just too much risk of melting the styrene, and too many fiddly bits to do with just tools - and went with epoxy putty instead to do the first fill.

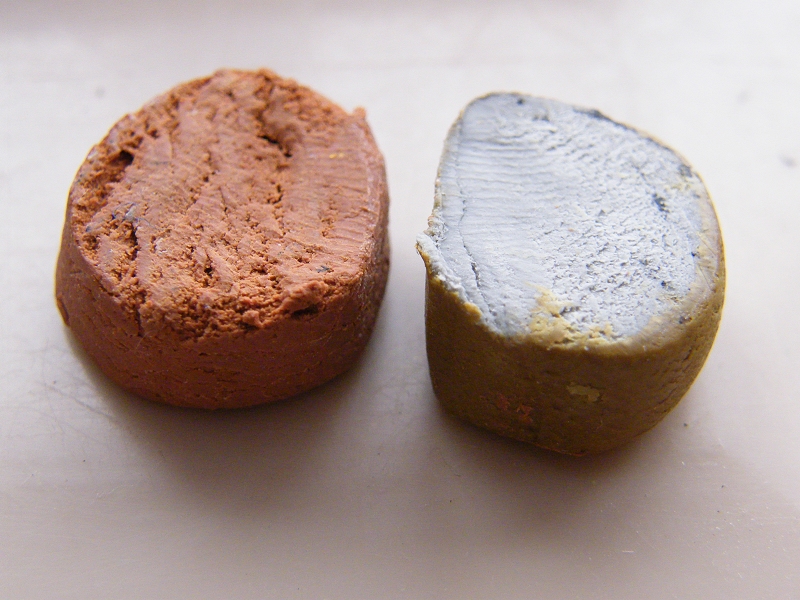
I used Milliput "Terracotta" - it's coarser than the "silver" variety, but it's what I had, and I'll be going over it again with something else anyway. it's a 2-part putty which needs equal parts mixing together; it's worth doing only in very small batches, it takes quite a lot of mixing, which puts a lot of heat in, which starts the curing process - leave it too long (more than 10 minutes, say, and it begins to harden, gets very granular & difficult to work.


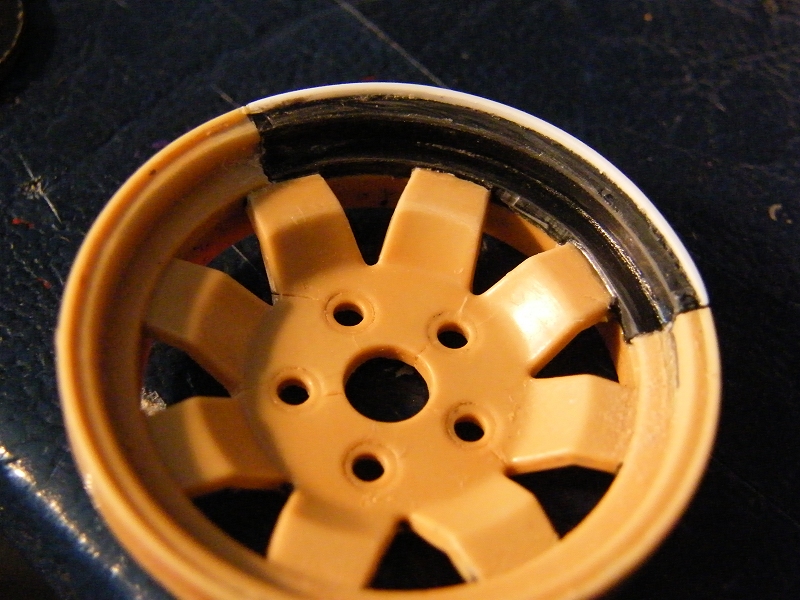
The white styrene sheet I'd used to give a "back" to fill against proved to be totally inadequate, so I went for much more reinforcement, once it's on you can wet it & smooth it out ..


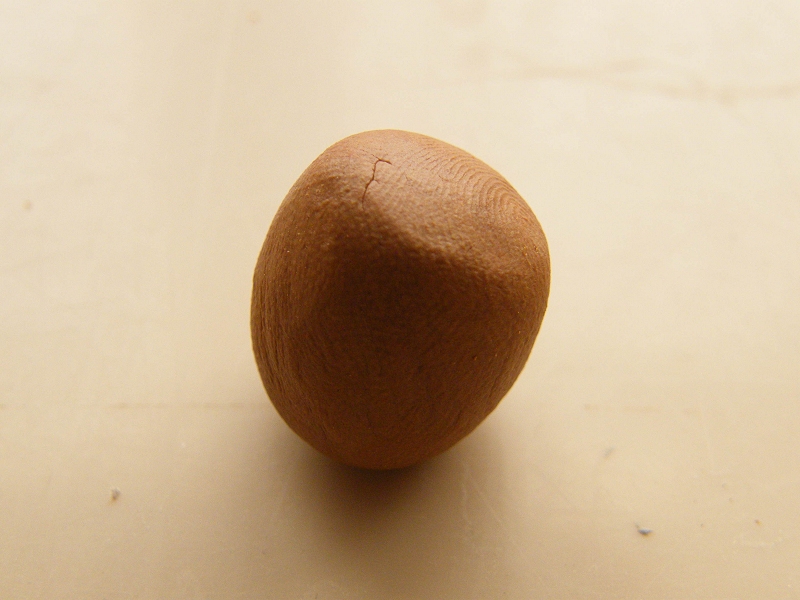
Milliput is _supposed_ to be "rock hard" after 2-3 hours, but this is totally unrealistic - after three hours you can still leave thumbnail marks in it, but that's an ideal point to do any rough carving needed, realistically it needs to be left 6 hours before it's even handled, an left overnight before it can be sanded ...

Please Log in to join the conversation.

Re: Cheetah wreck resto 12 years 7 months ago #2597

Having left it overnight I did some rough sanding (240 grit, dry; followed by 400 grit, wet) - you can see there's a lot more filling needed ... I've ordered some Squadron "White" fine putty for the thin skims needed, while I'm waiting for that to arrived, I'll probably crack on with making holes for the light fittings, and recreate the apertures in the rear valance :)


Please Log in to join the conversation.

Re: Cheetah wreck resto 12 years 7 months ago #2598

This is like "School of body repairs", and it's brilliant.
Keep it coming :cheer:

-Lars
Signature now gets correct formatting if you edit it in your Profile. Use normal BBcode if you want.
www.tamiyabase.com was formatted automatically.
The following user(s) Liked this: Jonny Retro

Please Log in to join the conversation.

Re: Cheetah wreck resto 12 years 7 months ago #2599

This is like "School of body repairs", and it's brilliant.
Keep it coming :cheer:

-Lars


Thanks :)

LED holder holes & rear valance apertures were quite time consuming - the apertures were marked out with a sharpie, then marked very lightly several times with a scalpel against a steel ruler, then more forcefully several times to cut about 1/2 way through, I then dremelled out most of the aperture leaving 0.5 - 1mm inside the line, then finished off with the scalpel...

If you do it like this, after the initial light cuts, the scalpel will stay in its own track & not deviate, so you don't have to use the ruler, whereas if you use too much force to start with, either the ruler will move, the scalpel will slip, or bend ... either way you end up with a wonky line... usually I'd just snap the piece of after cutting through halfway or less, but obviously this time the pieces are captive, but the 1/2way through cut acts as a guide & the remaining thickness will cut quite easily & accurately.

I did manage to crack part of one of the repair panel joints though - so more glue, reinforcement & filling needed there ...


Holes for the LED holders were drilled @ 1mm, 2mm, 4mm & 6mm (very slowly/carefully for the larger size - styrene sheet tends to grab & tear with big drill bits), then enlarged with a reamer ... I bought this for doing lexan bodyshell holes & it's rubbish - my fault for buying a cheap one - but on larger diameter holes on styrene, it's brilliant ... mesh & holders are only held in with gravity ATM ...


I did a couple of tests first - having measured everything I was sure holes with centres 12mm apart would come out with the holders nearly touching, but they were miles apart - 10mm was much better.


Holes in the black styrene patches in the front I did roughly the same, but for the ones through the milliput I started with a 1mm drill bit & went up 0.5 mm at a time, then finished off with the smallest sanding drum I had for my Dremel - I only have two 10mm holders ATM, that's why the other side is hidden.


That's probably enough for today - I need to tidy up & especially to Hoover up!
Attachments:

Please Log in to join the conversation.

Re: Cheetah wreck resto 12 years 7 months ago #2601

Great stuff! I can very much appreciate your eye for detail. B)

Please Log in to join the conversation.

Re: Cheetah wreck resto 12 years 7 months ago #2609

To misquote Bill & Ted, "Putty on, dude!" :D


This is Squadron Products "White Putty" - which despite the warnings about the nasty things it contains & the need to se it in a well ventilated area, etc, really wasn't too bad ... or maybe I just have a high tolerance due to the way solvents get thrown around like water at work :blink:

Application methods varied, mostly knifed on, but on some of the less accessible joints I put it on direct from the tube & spread it with a finger, and on the roof, again direct from the tube, but spread by pressing with a peice of cloth culled from a heavy old cotton shirt to try to match the moulded pattern of the "canvas" roof.

Filler quantities TBH are excessive - but I quickly found that this putty does not like to be worked - after a couple of seconds it starts to grain up, and tear up the styrene it's partially melted - so it needs "enough" to be put on it the first hit.

Please Log in to join the conversation.

Re: Cheetah wreck resto 12 years 7 months ago #2610

Also had a crack at some number plates & slightly oversized "Cheetah" logos (from a BECC kit & handcut on black SA vinyl, respectively) ... TBH I'm not particularly happy with either :(


I spotted this King Blackfoot, which has been really badly repaired, shame really as the chassis looked excellent ... the cost of doing it this badly is pretty much the same as doing it properly, and the time difference isn't that great either - I think the main differences are having a critcal eye towards your work, and the patience to do it over if needs be ...

Attachments:

Please Log in to join the conversation.

Moderators: caprinutstingray-63AndyAus
Time to create page: 0.231 seconds
Cookies are required to make this site work. If you continue to use this site you permit us to use cookies.